Tag Archives: Block of the Month

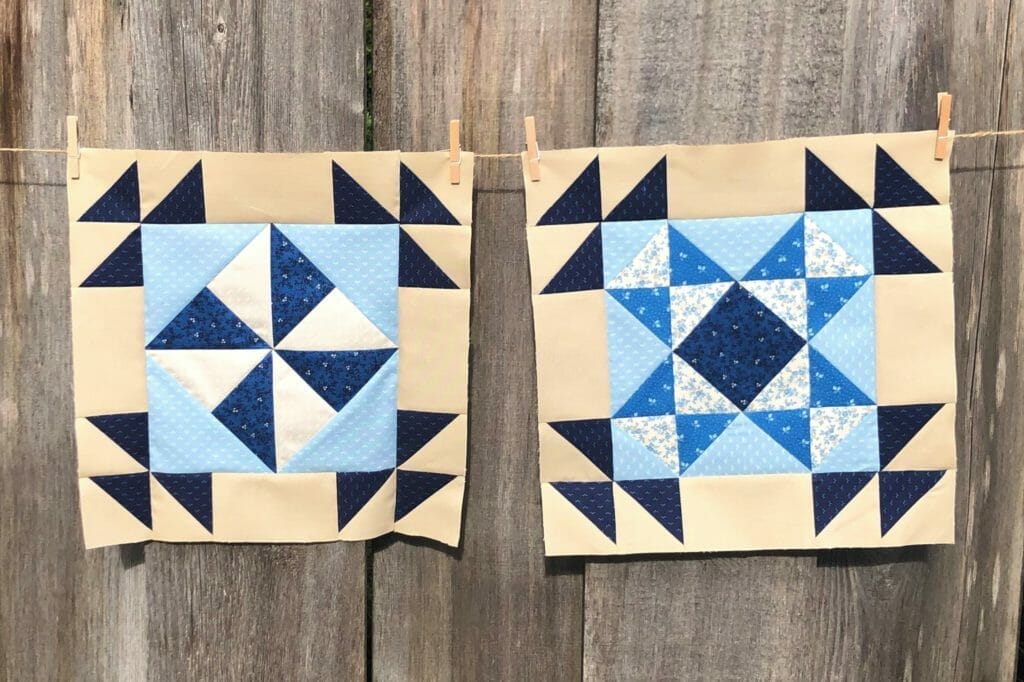
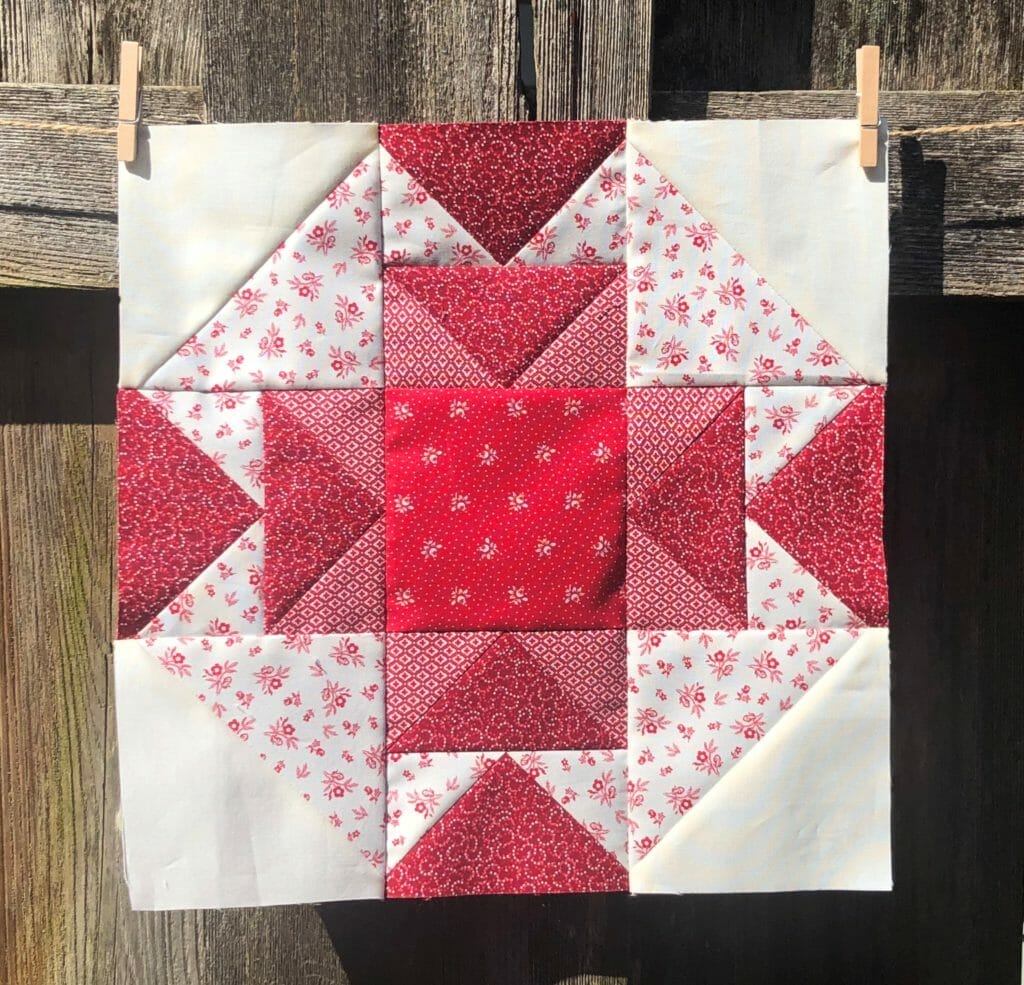
Open Skies BOM – Month 3
6.6.2022

Hi everyone!

Before we begin with the month 3 blocks, let’s chat about a couple of things.

A few of you have asked questions about the scant ¼” seam allowance I suggest in the patterns, and it seems (no pun intended!) to be throwing some of you off. All of my patterns are written to be mathematically correct, so anyone who wants to use a straight ¼” seam allowance will be able to successfully make these blocks. I personally use a scant ¼” seam and then square up the units as I go. But if any of you prefer to use a standard ¼” seam when sewing, by all means, please do! Just make sure your seams are accurate and consistent, and measure as you go to make sure you’ll end up with the correct 12-1/2” square when each block is finished.

Also, in case you haven’t noticed by now, there are A LOT of half square triangles in this quilt. Everyone has their preferred method of making these, so please feel free to step outside the box. While I used the mathematically correct 7/8” measurements on the cutting for these, please know that there is enough fabric for you to round up the extra 1/8” if you like, and then trim to size when done.

I know some of you are also using the Eight at a Time method of making HSTs, which is great! There are a couple of great videos on YouTube you can look up if you are curious about this method. Like I said, do what works for you!

Okay, let’s talk about this month’s blocks!

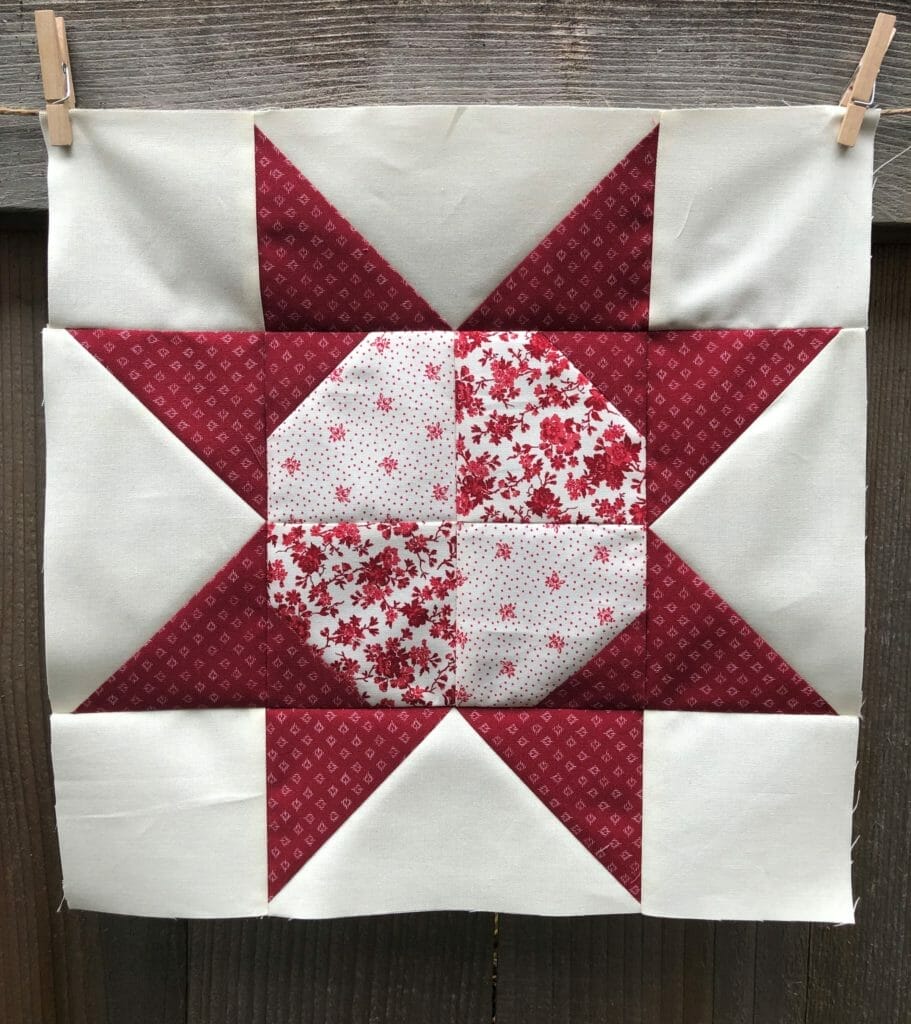
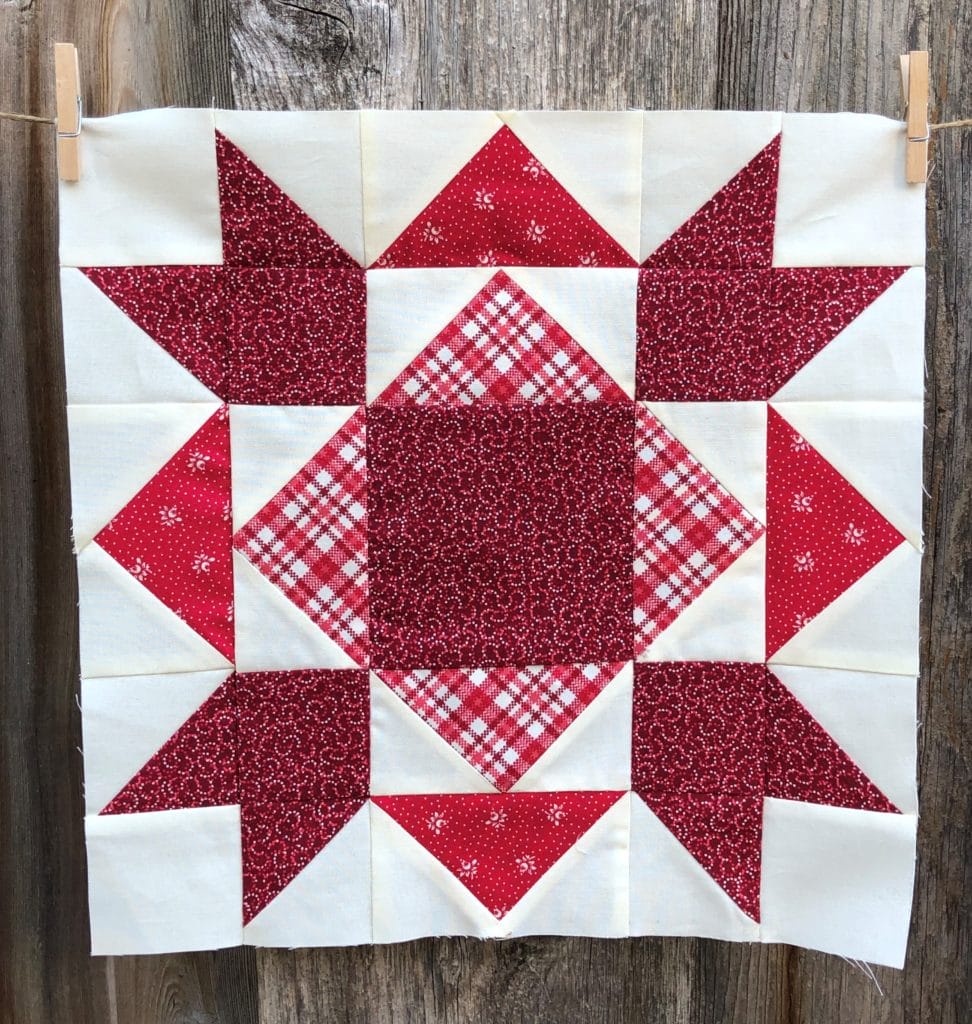
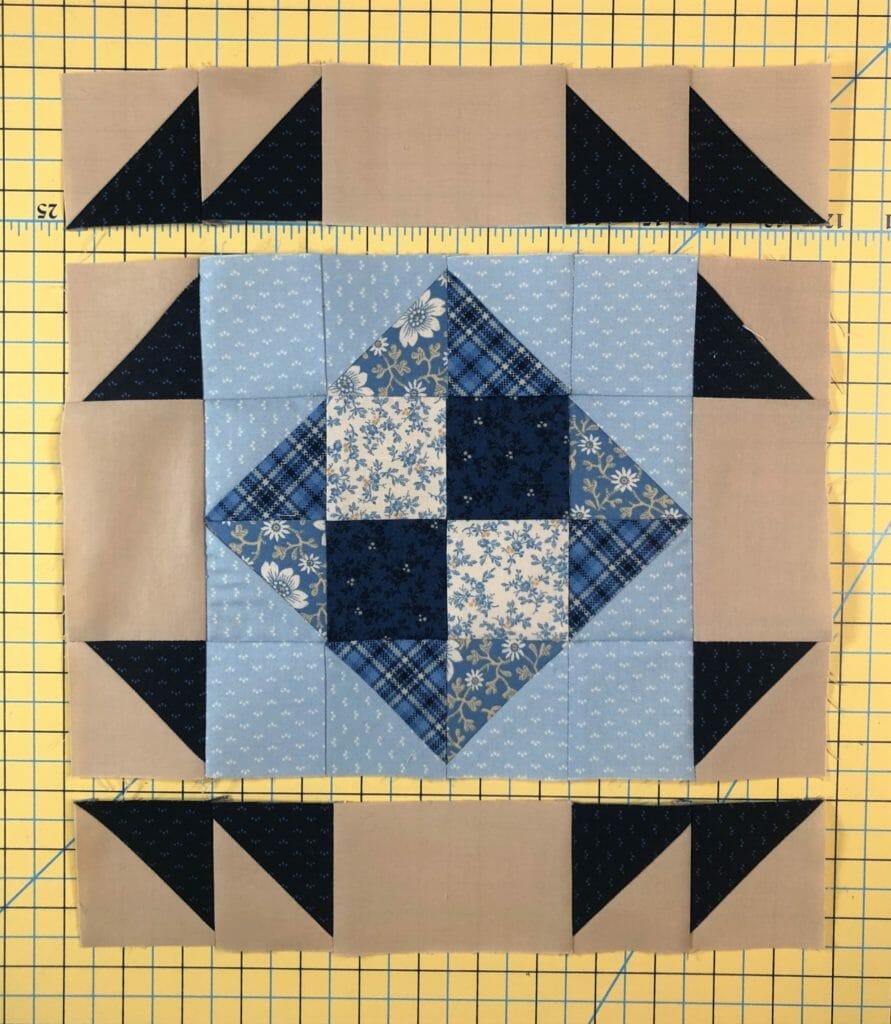
Block # 14
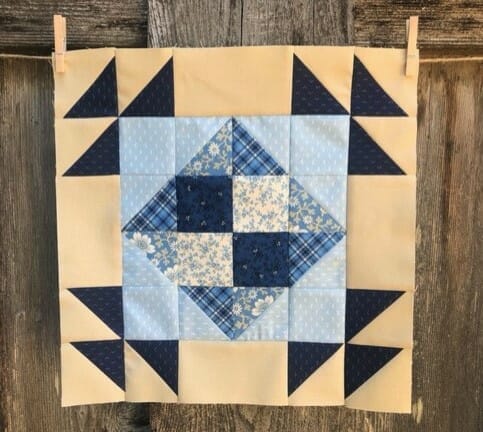
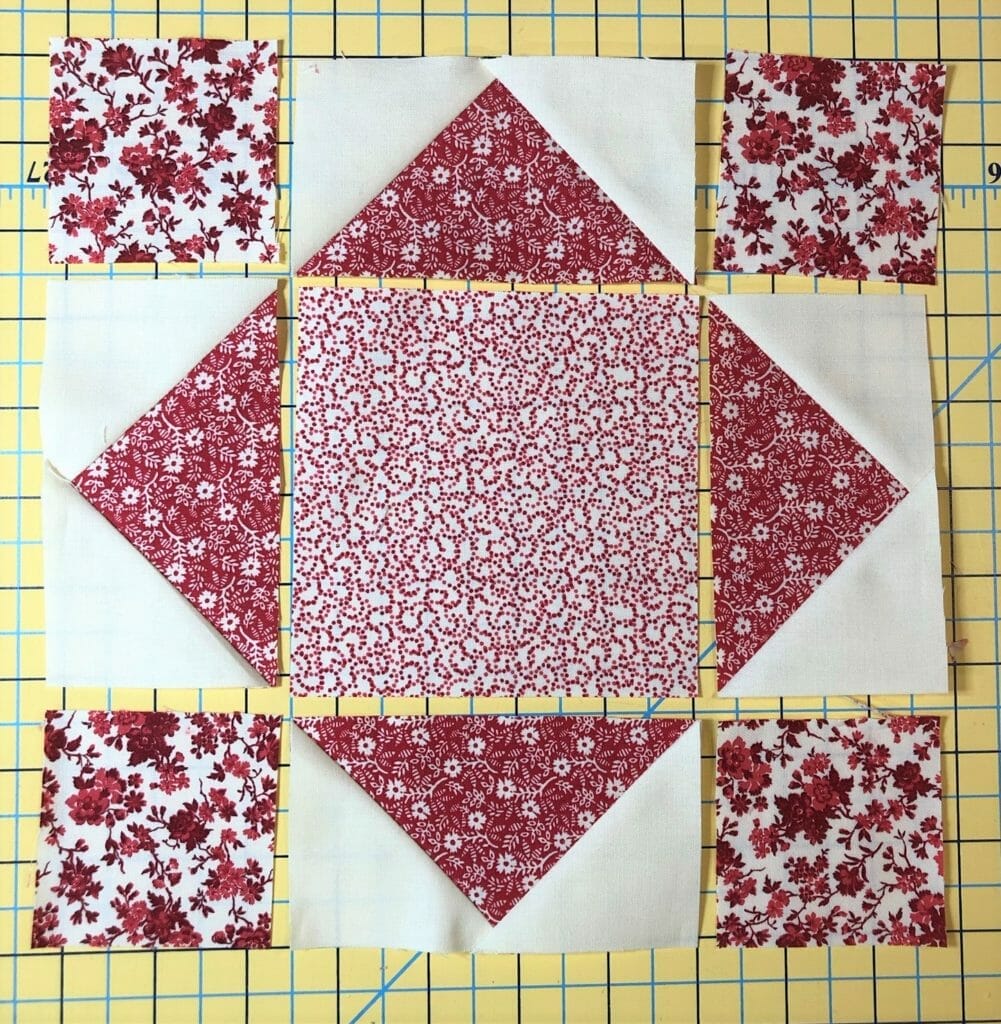
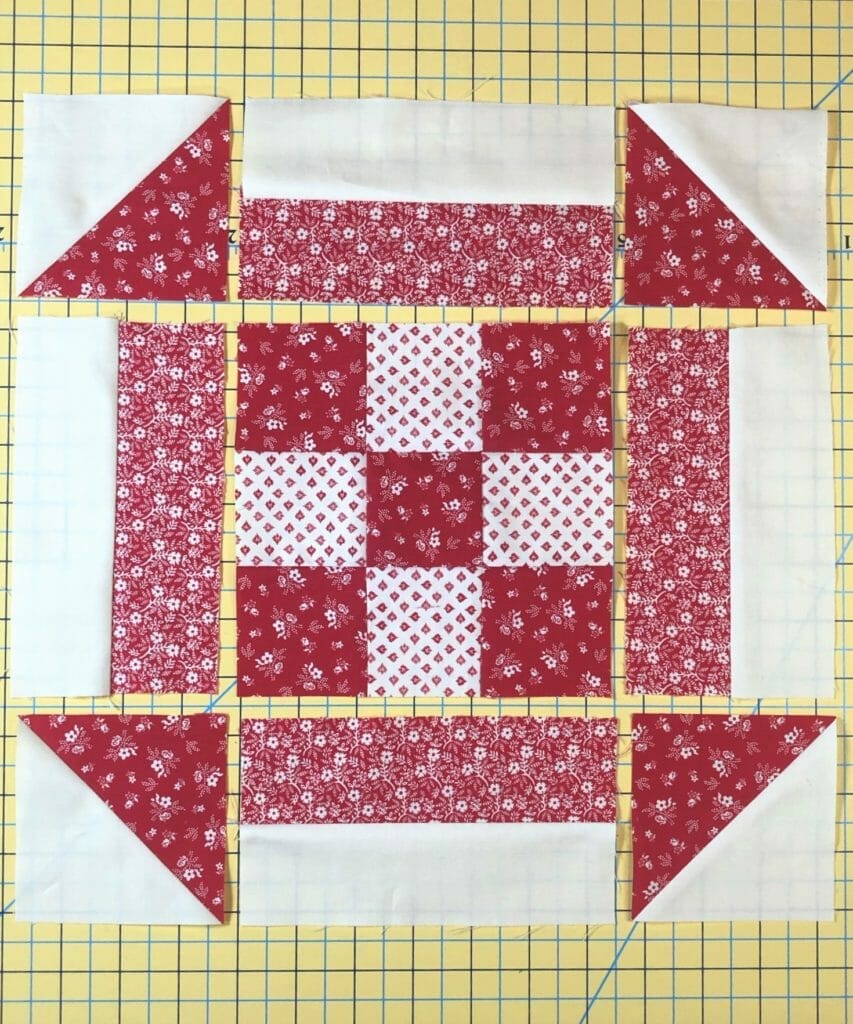
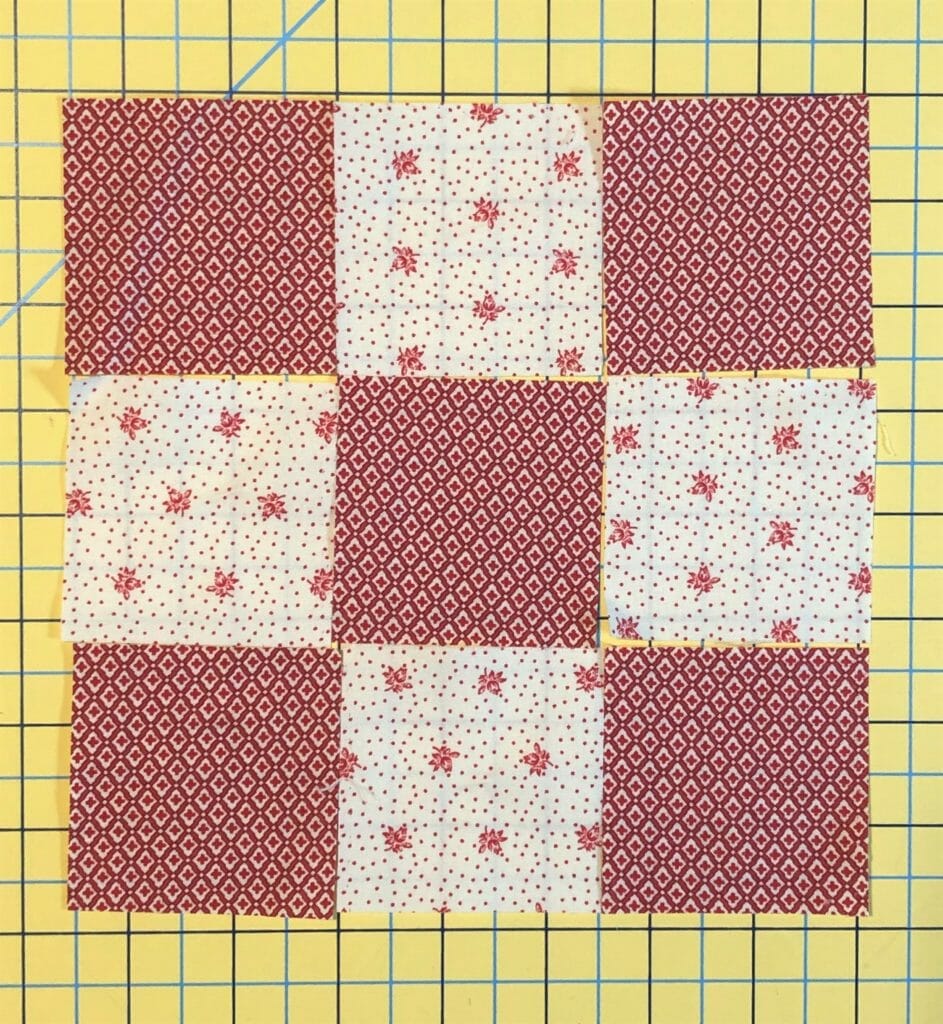
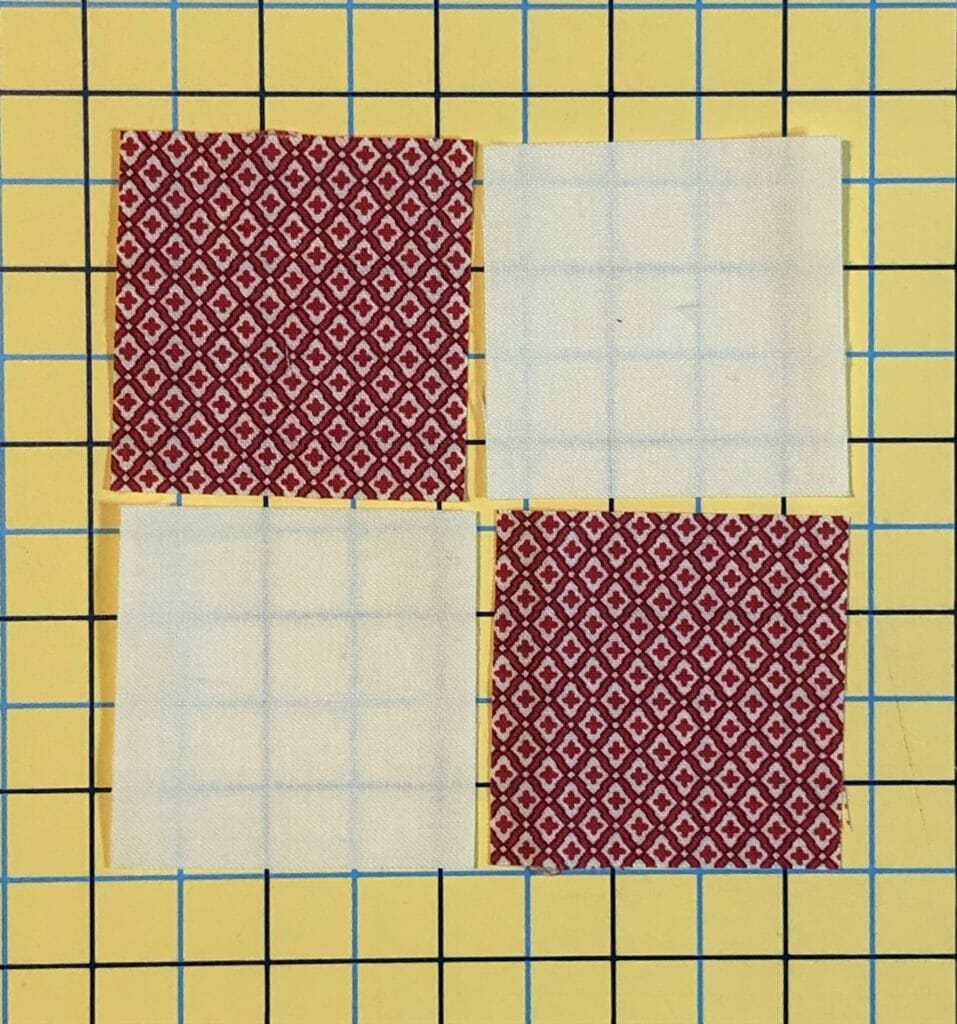
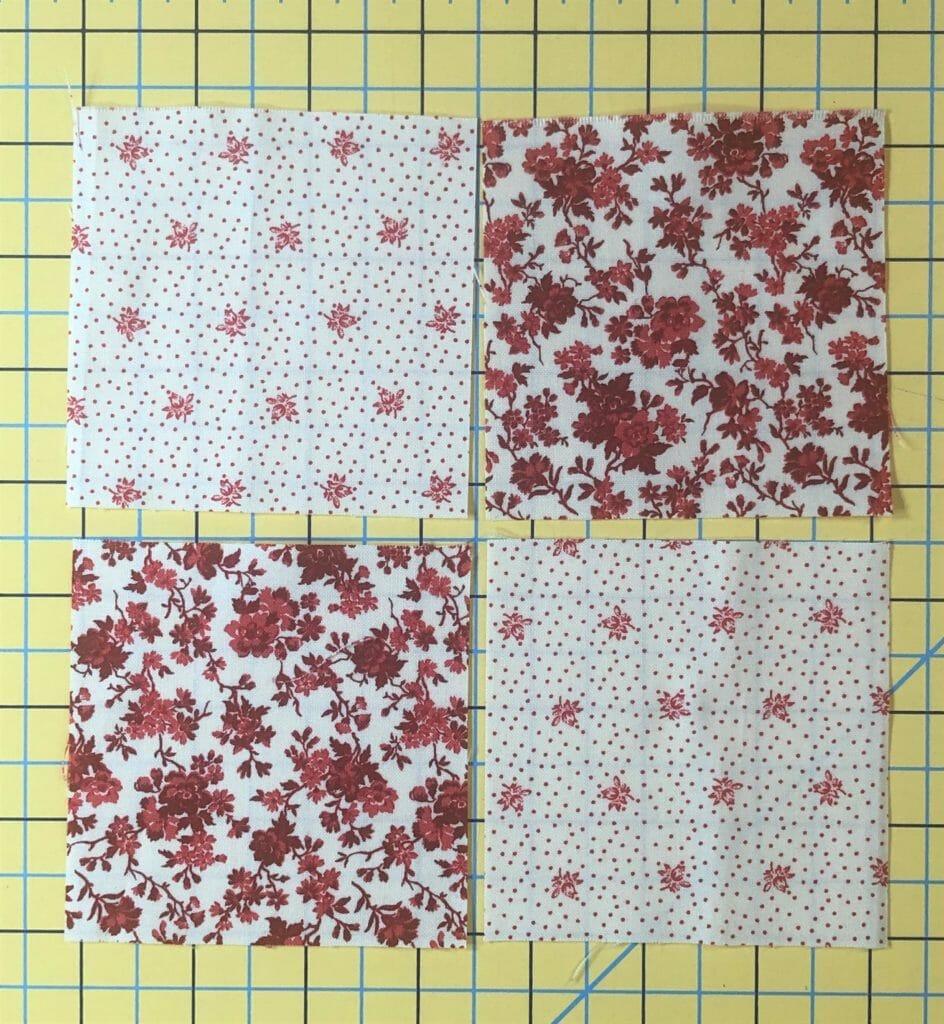
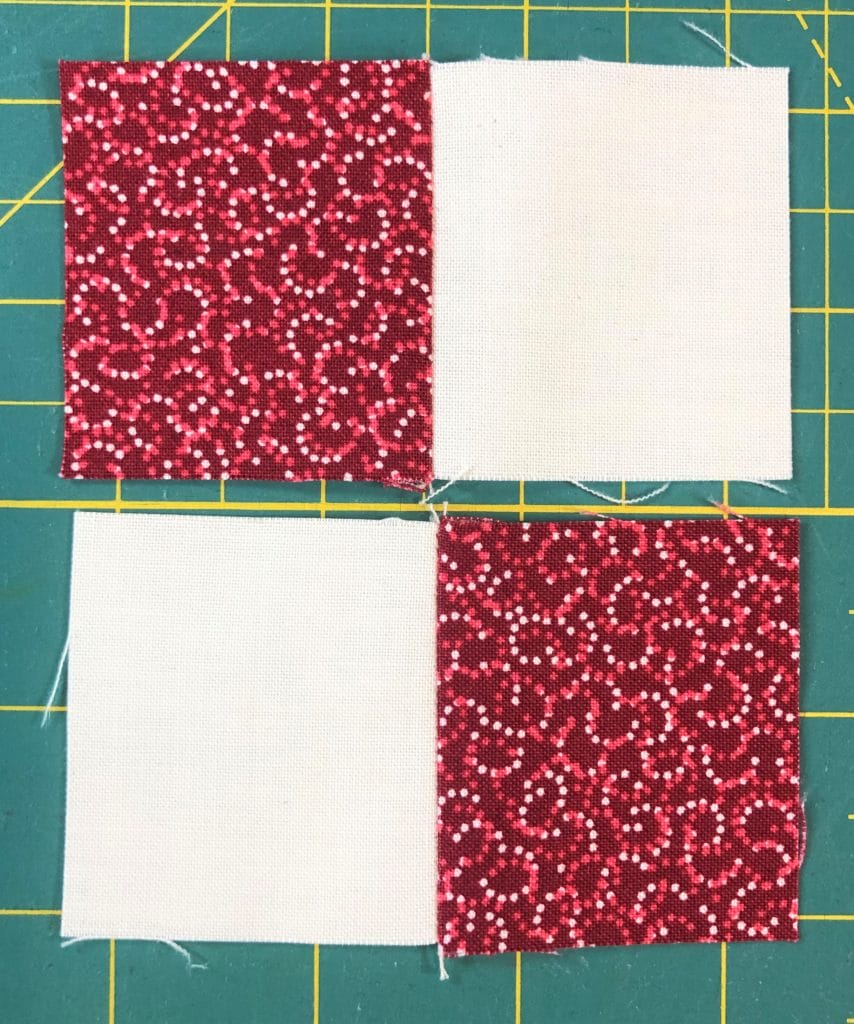
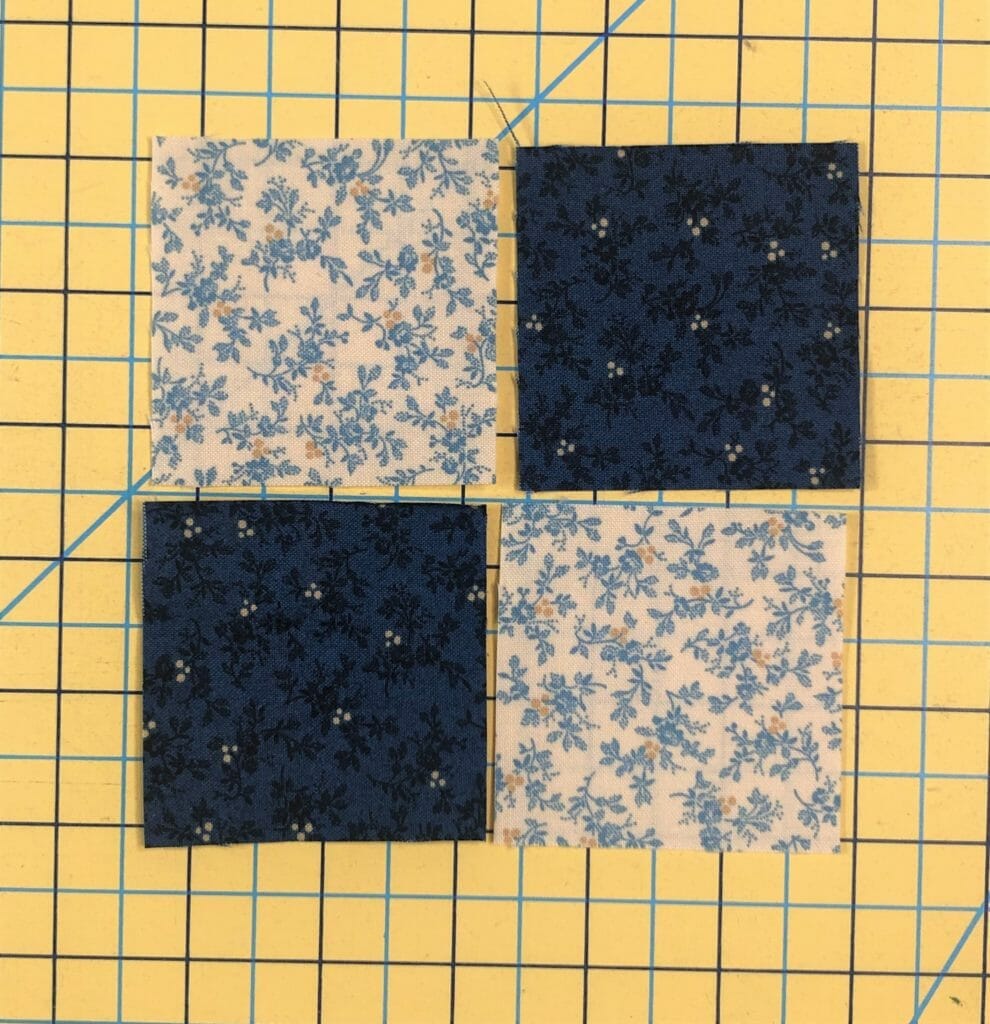
This block has lots of pieces, but it’s pretty straightforward. We’ll begin by making a simple 4-patch.
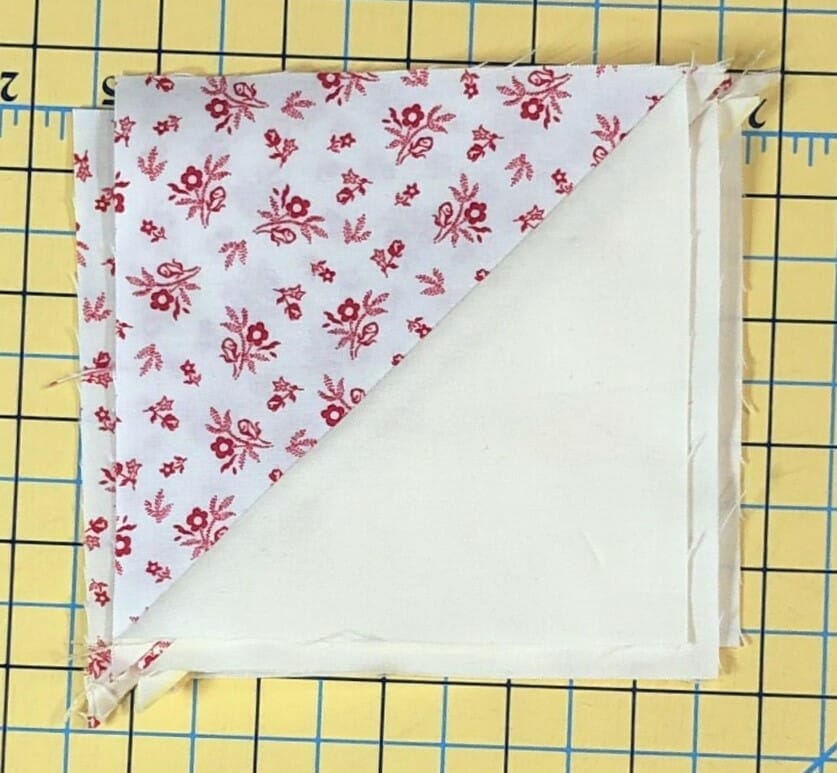
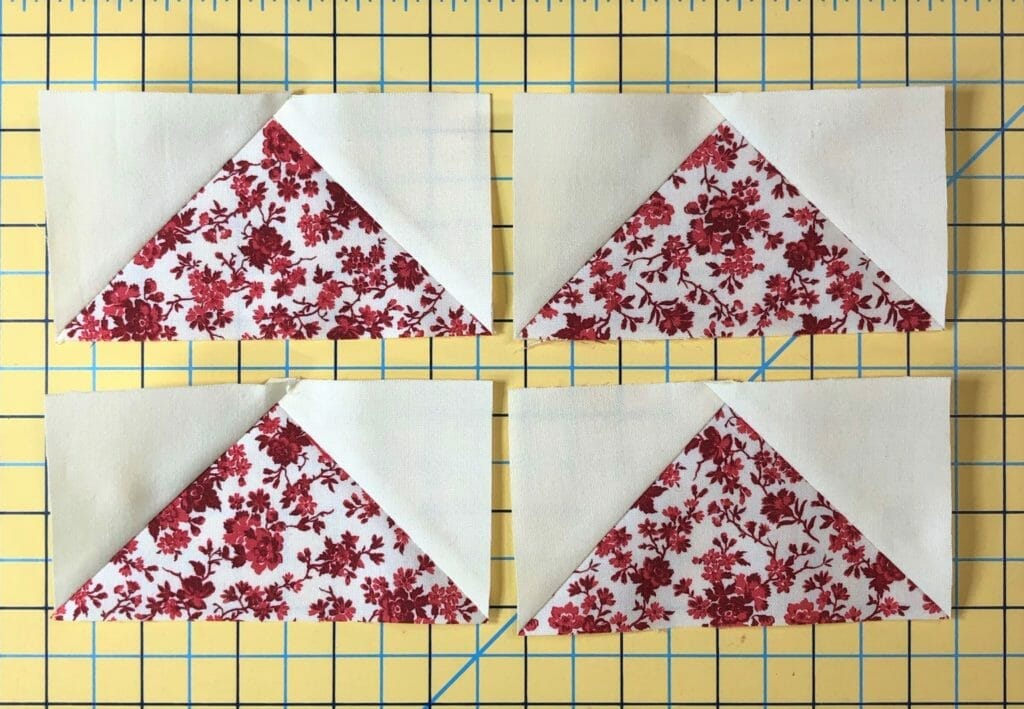
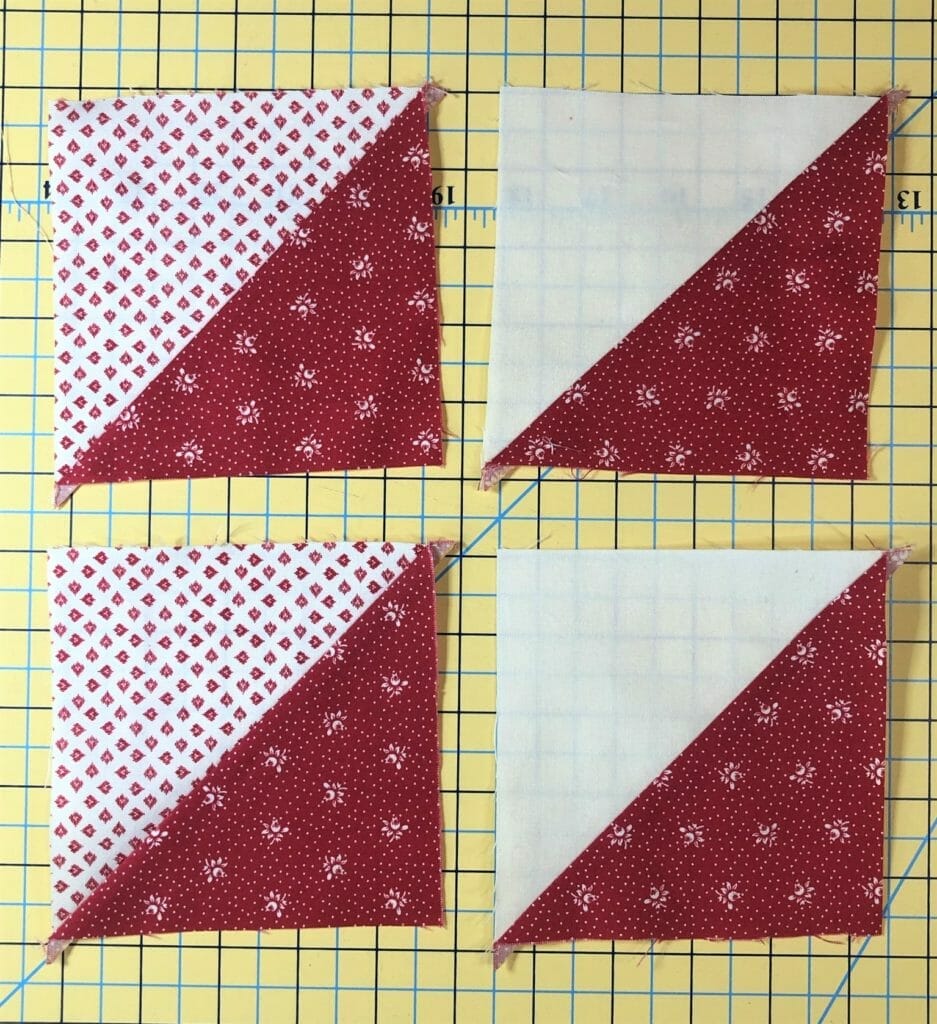
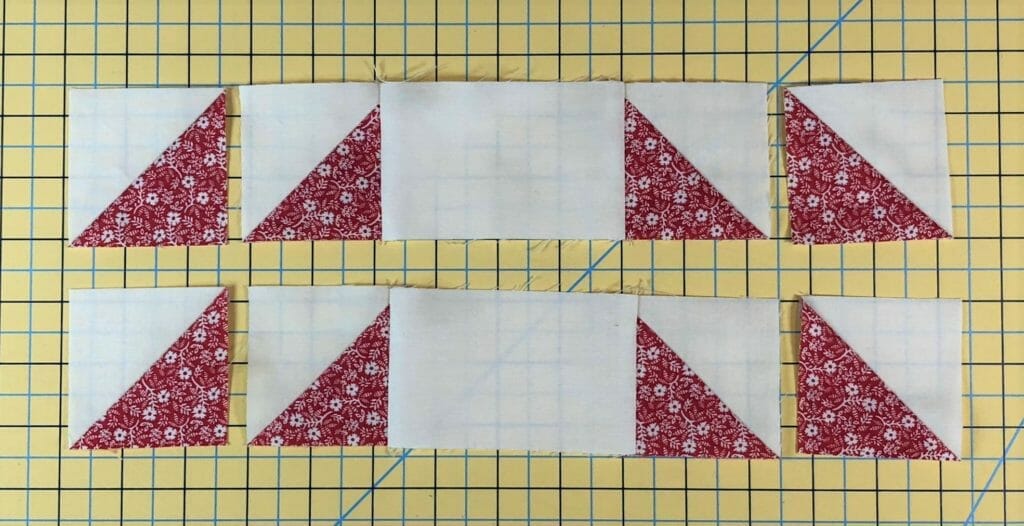
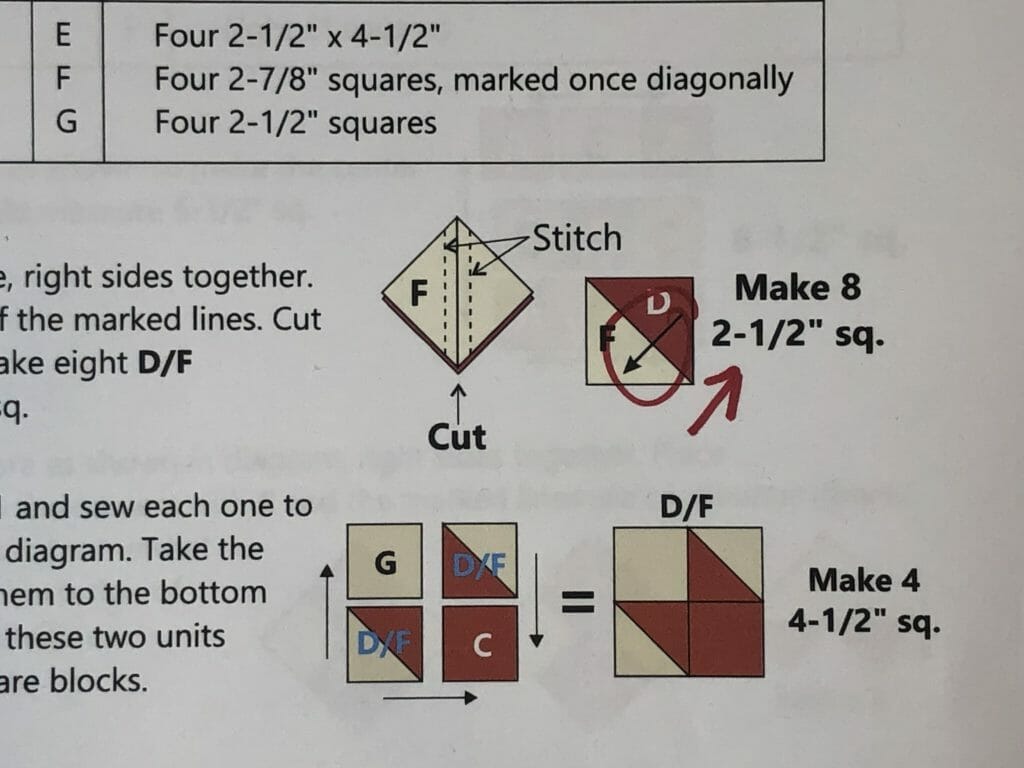
In steps 2 and 3 we will make eight half square triangles – four of each kind.
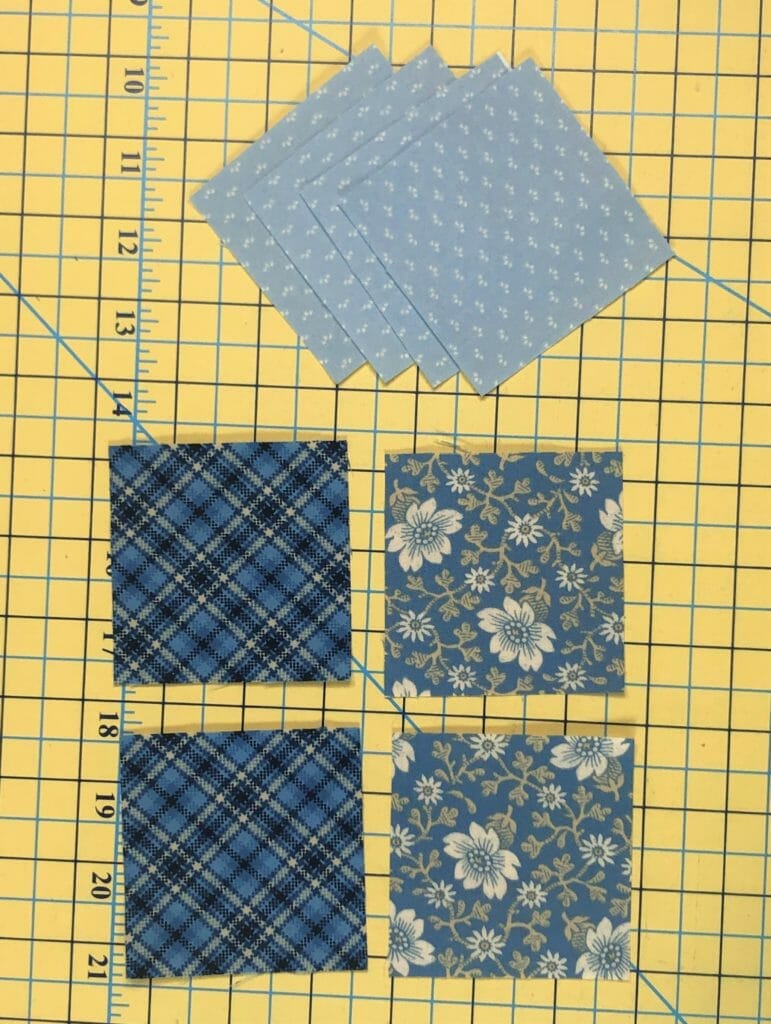
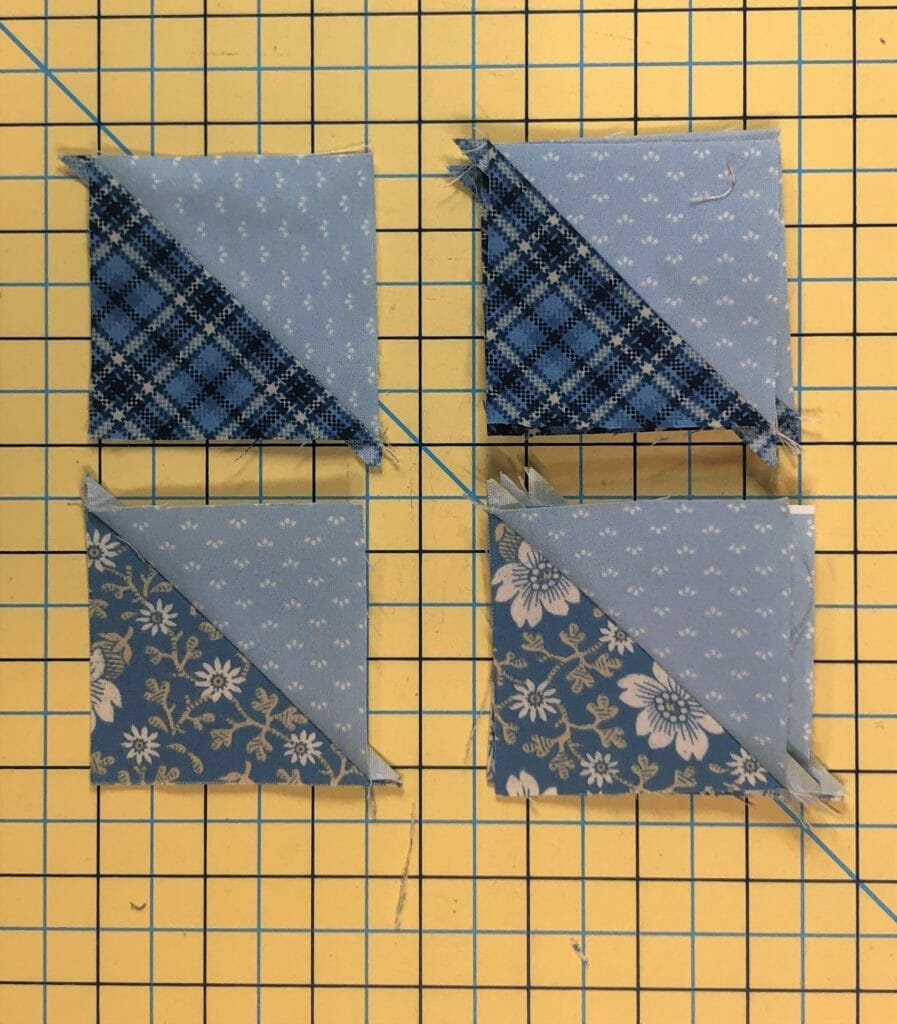
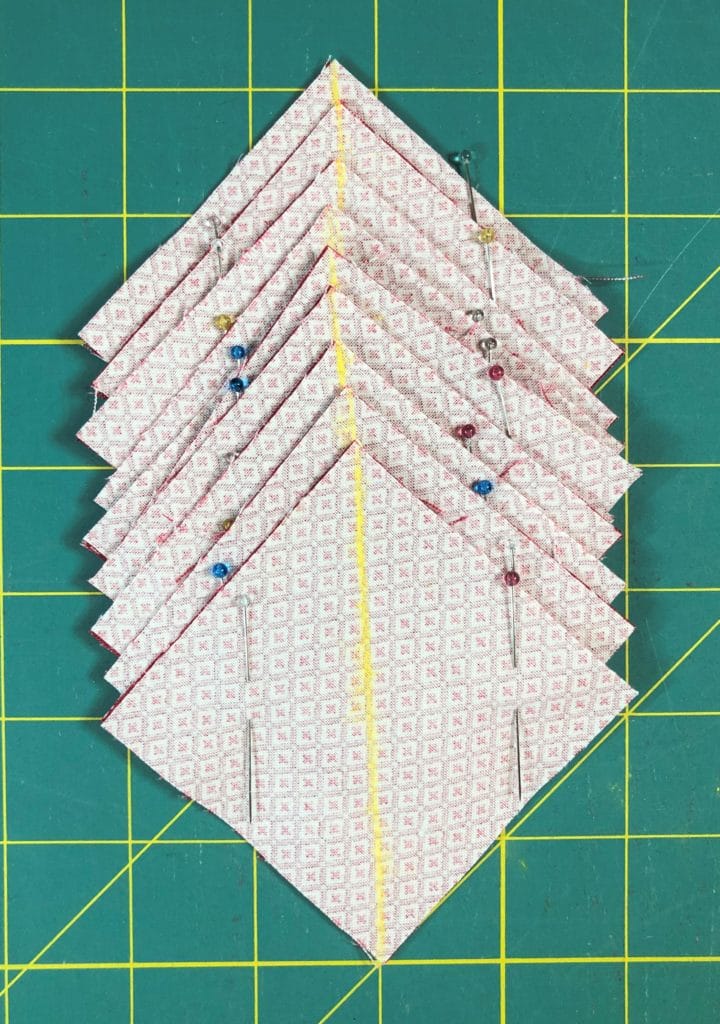
I’ve cut all the squares and am ready to pair them up and mark them for sewing.

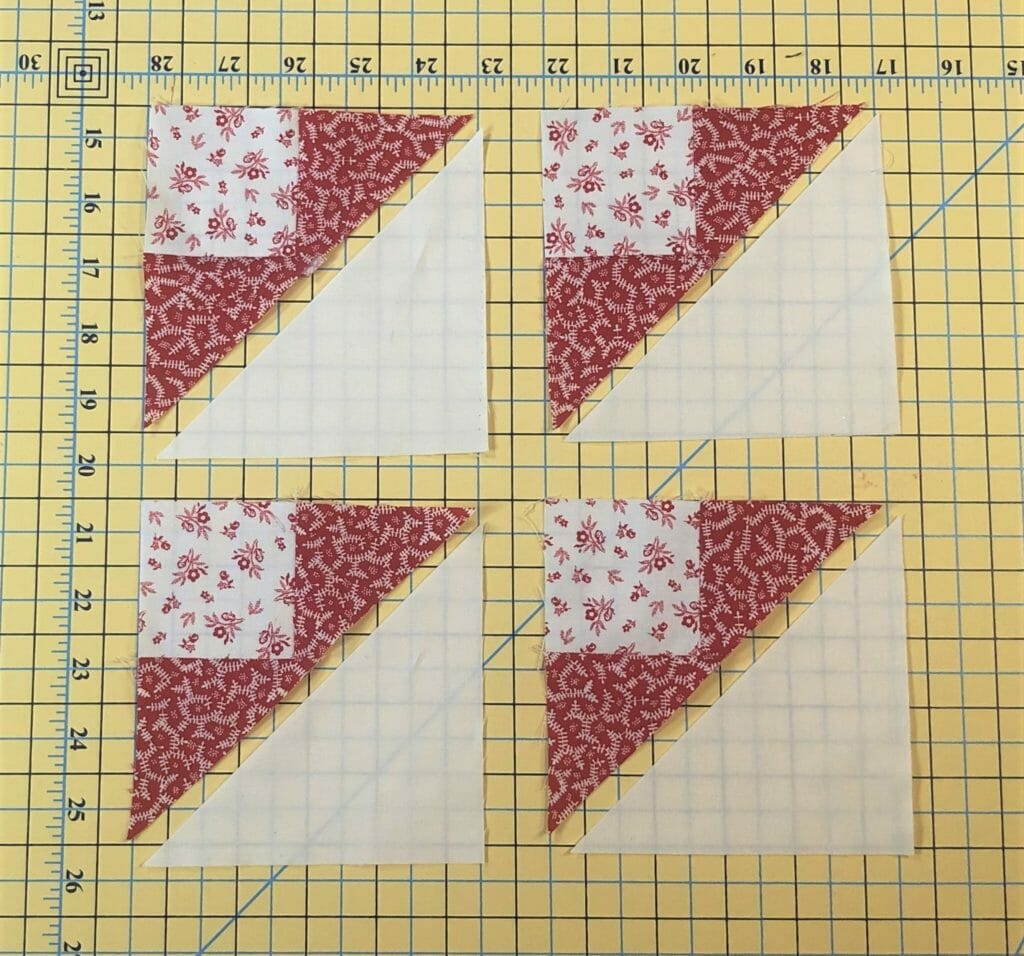
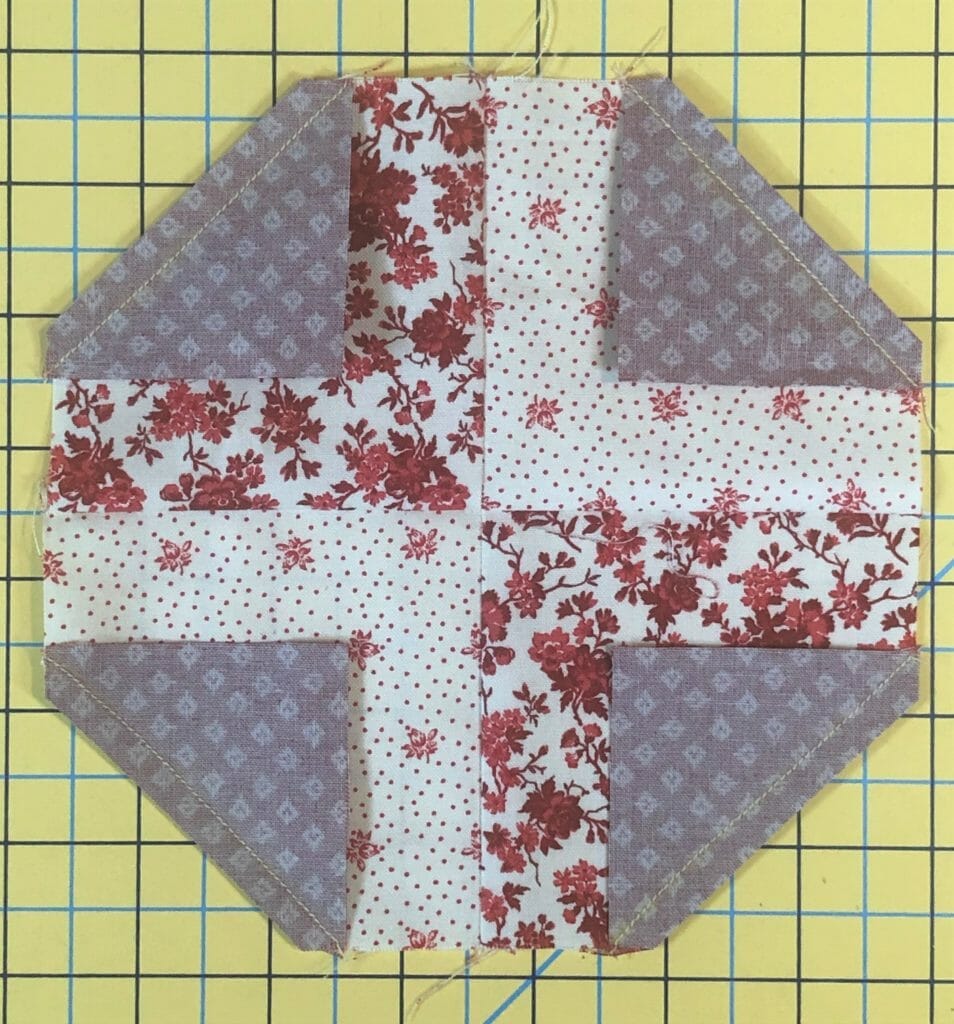
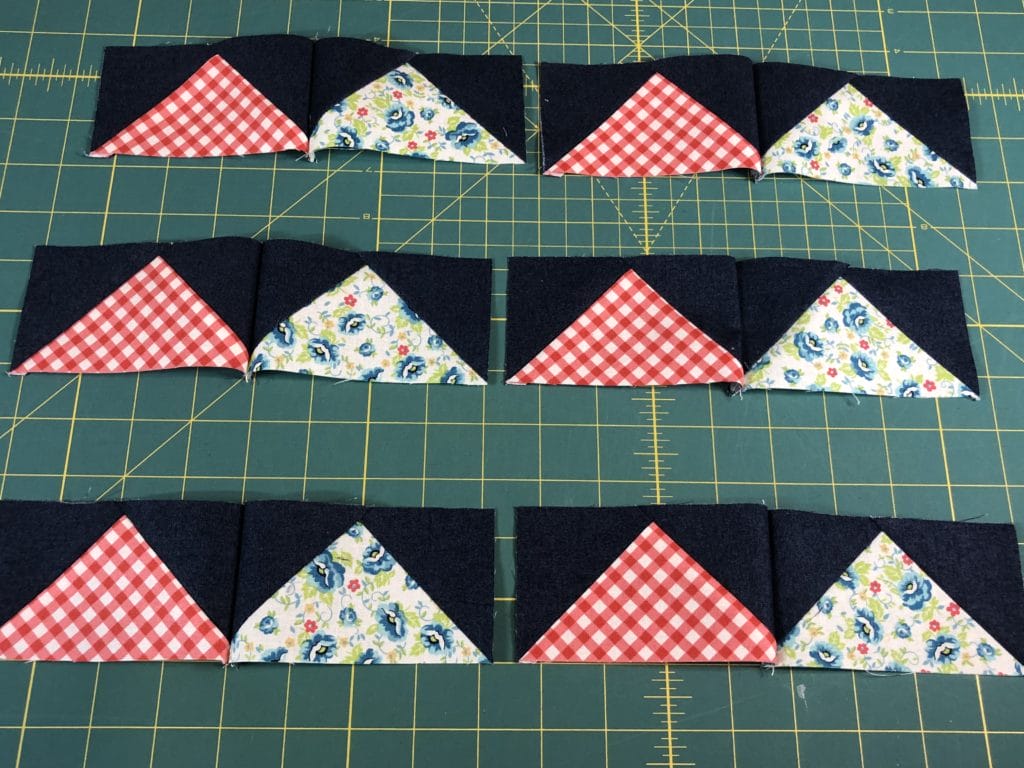
Once the HSTs are sewn and trimmed, I paired them up to get ready to sew them together. Just make sure to keep the Cabin Plaid on the right side of each unit as you sew.
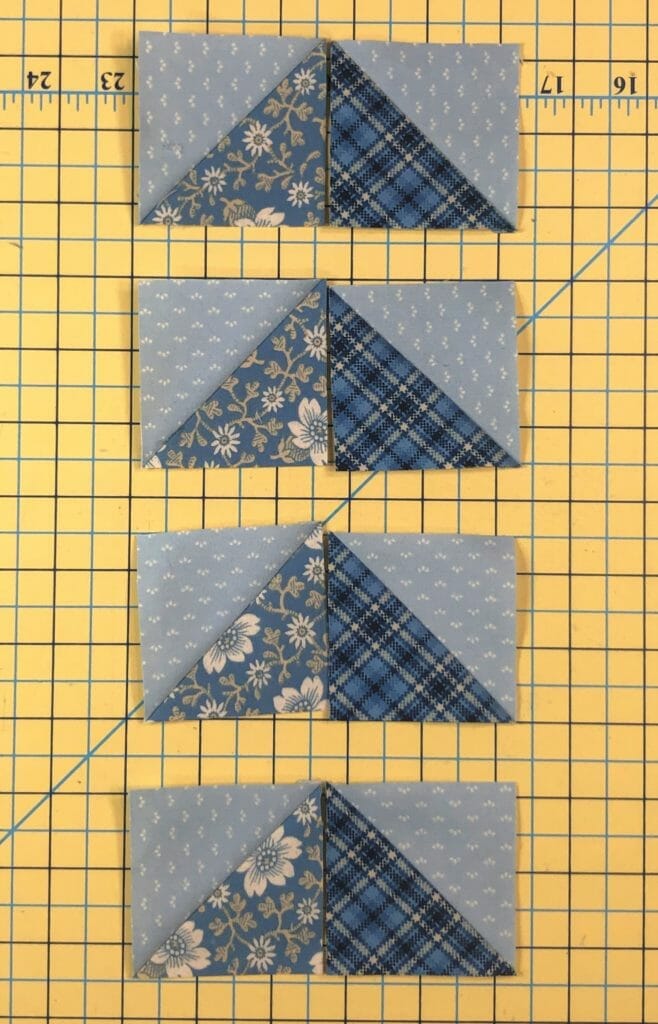
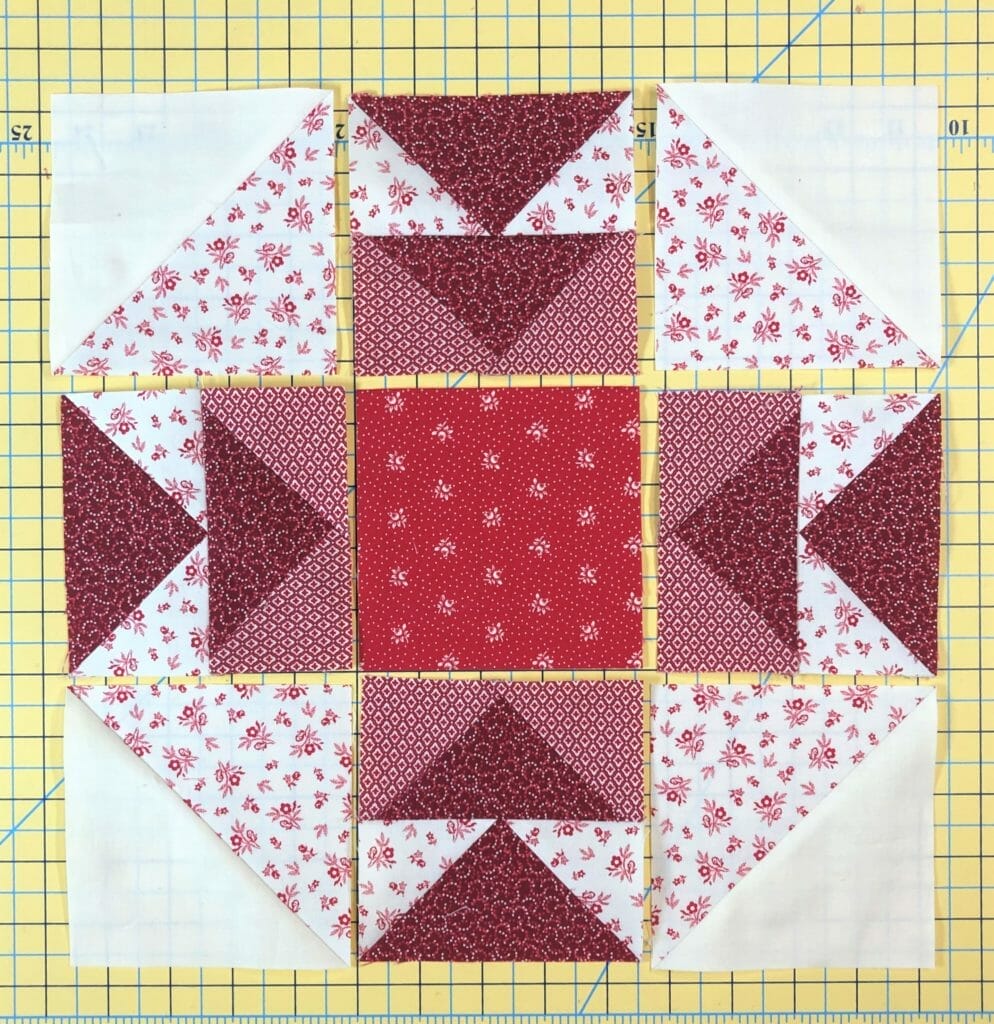
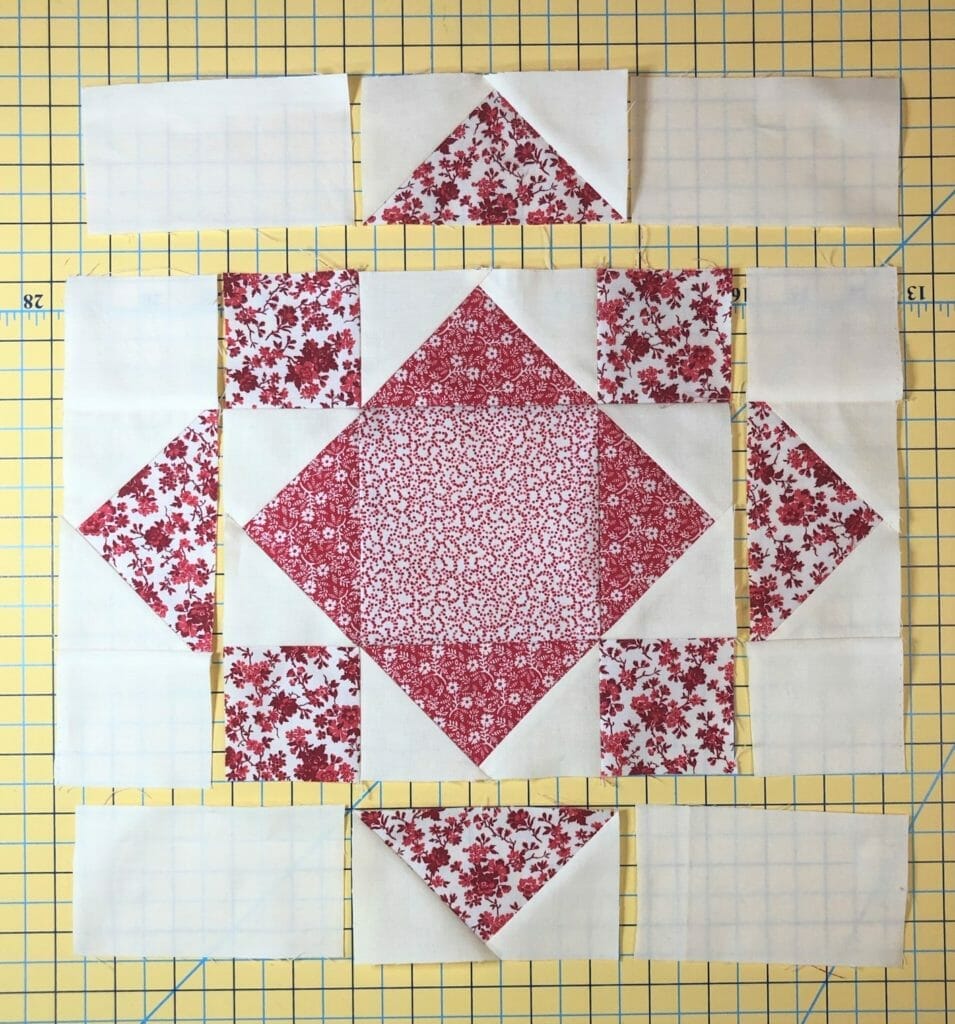
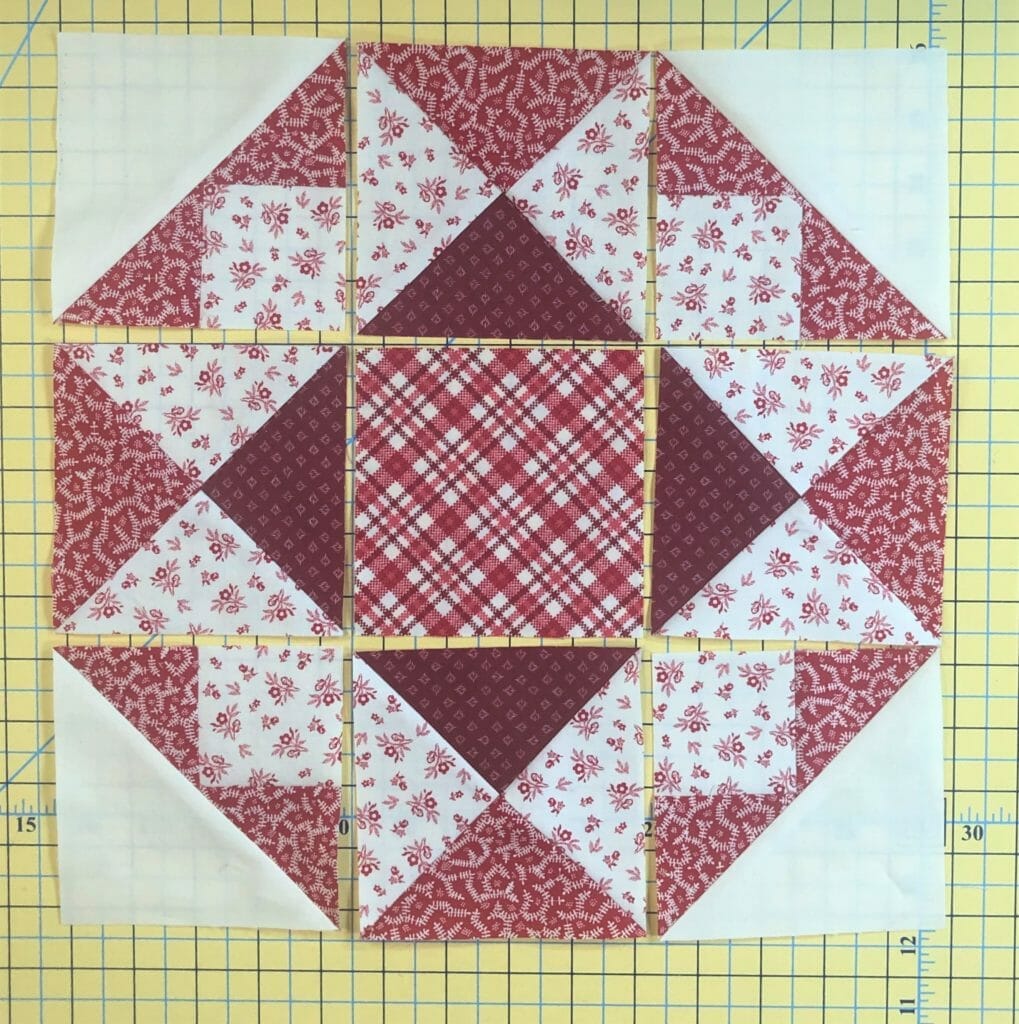
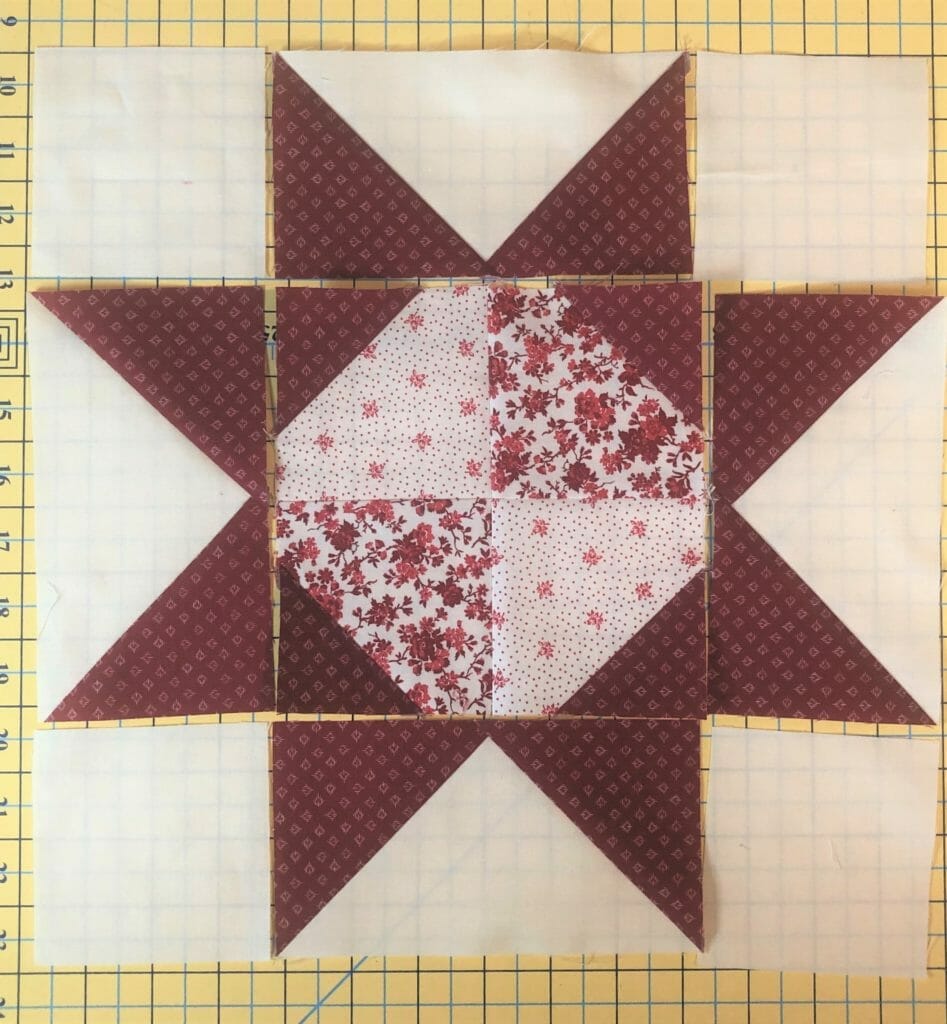
Take two of those completed pairs and sew them to the sides of the four patch. Sew the H squares to the ends of the remaining two units, and then sew those to the top and bottom to complete the center block. If you’ve followed the pressing arrows, all the seams should nest together.
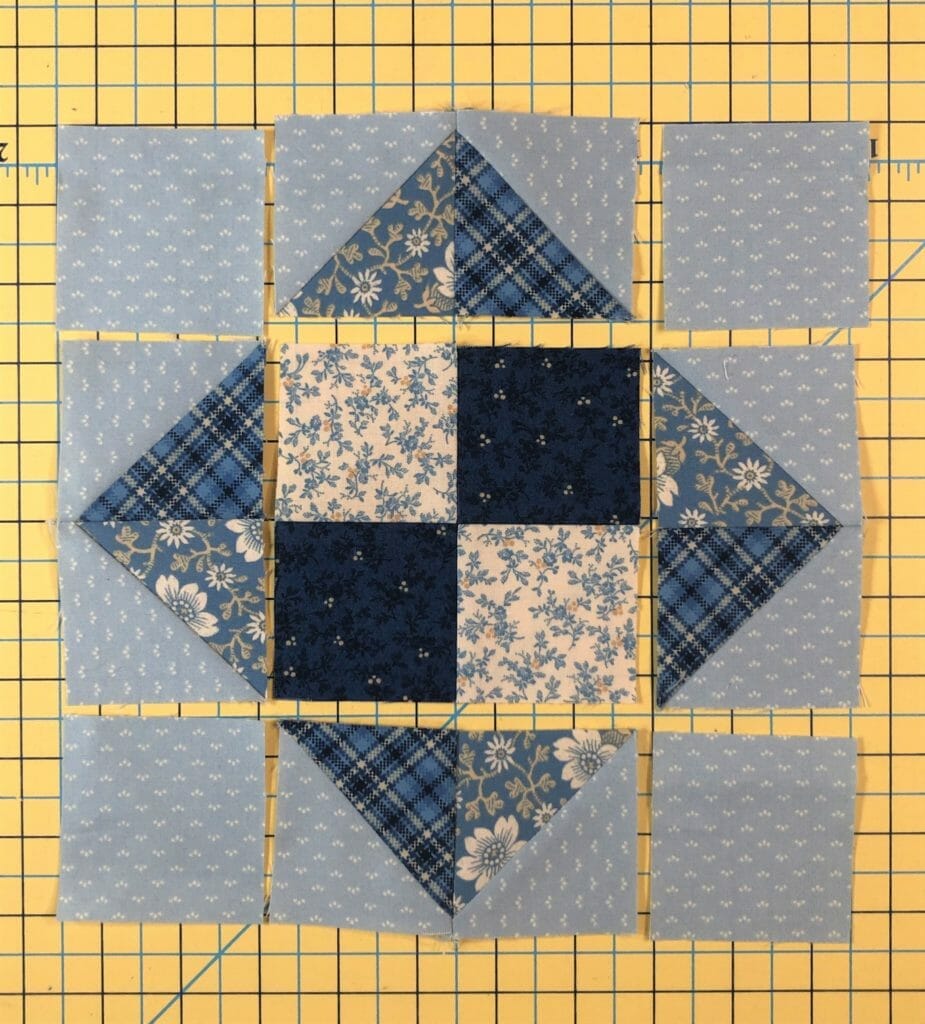
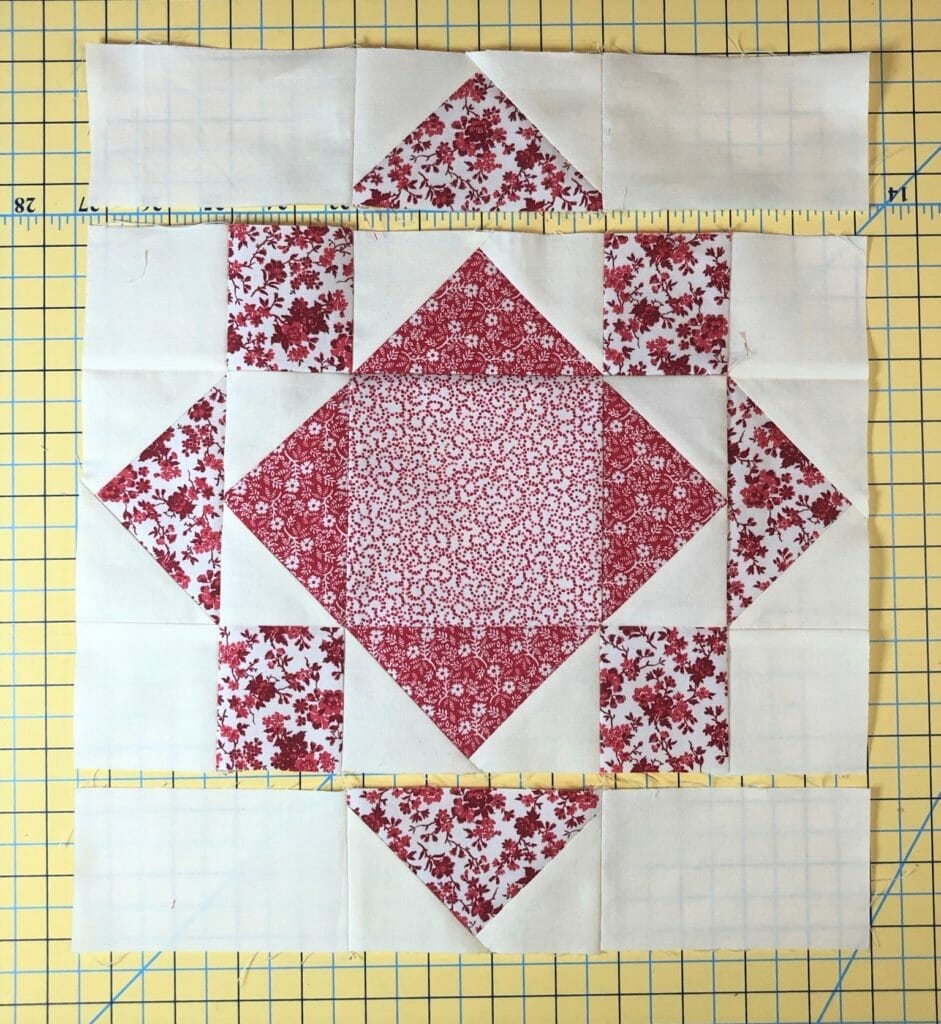
Now all we have to do is assemble and sew on our usual HST borders, and the block is finished!


Block # 18
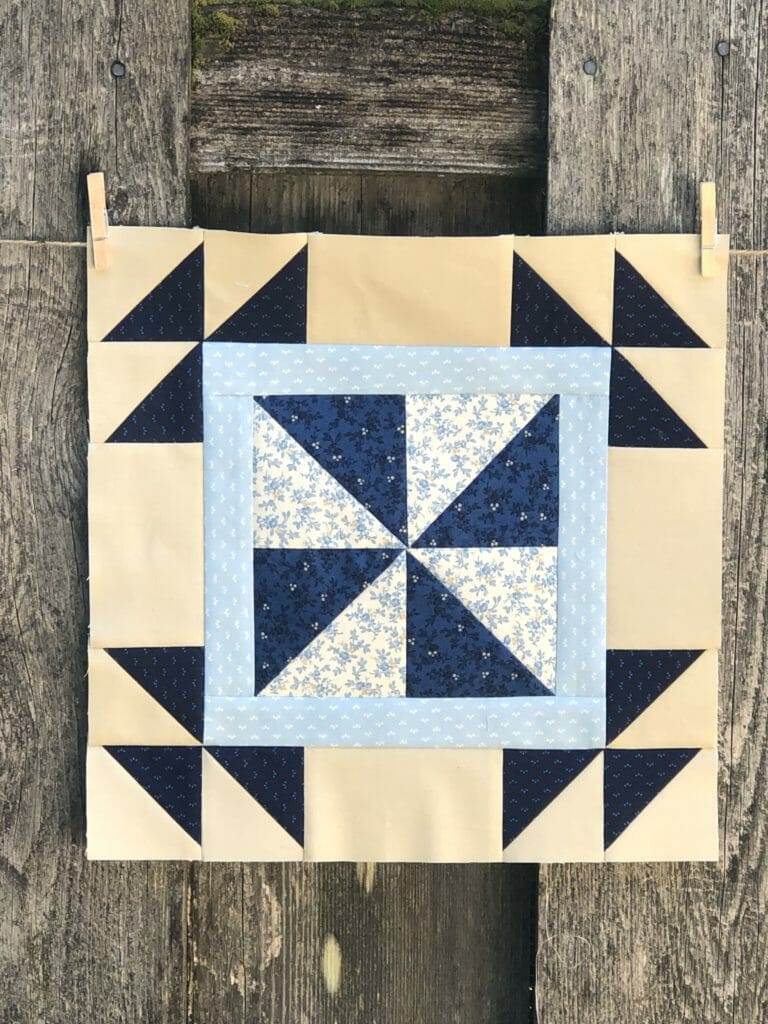
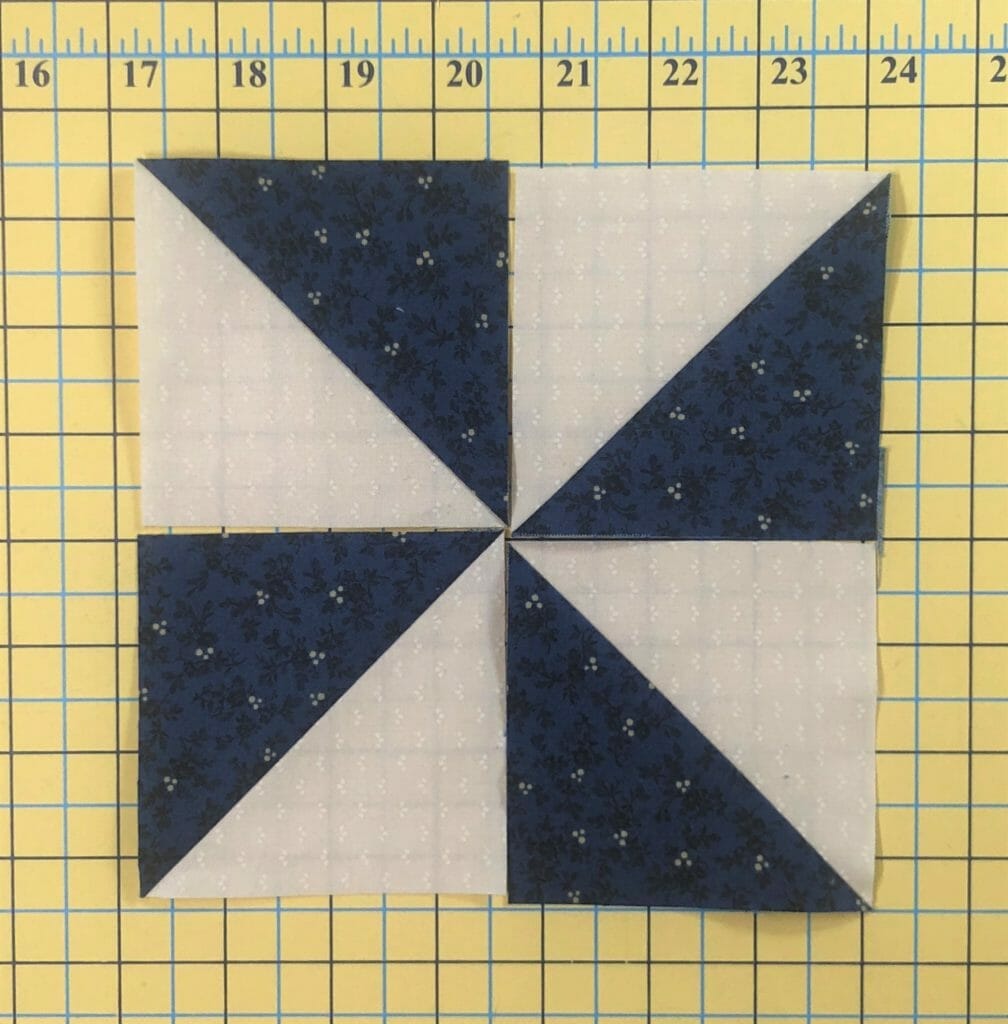
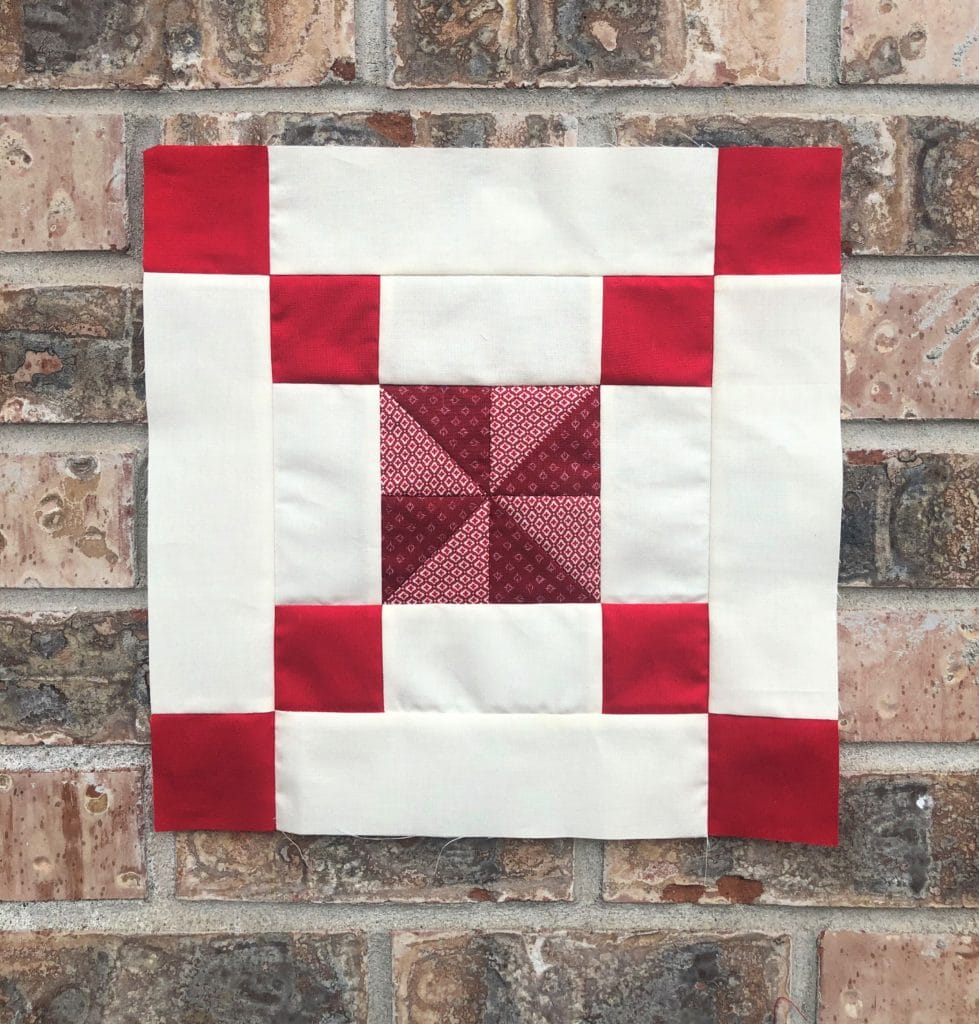
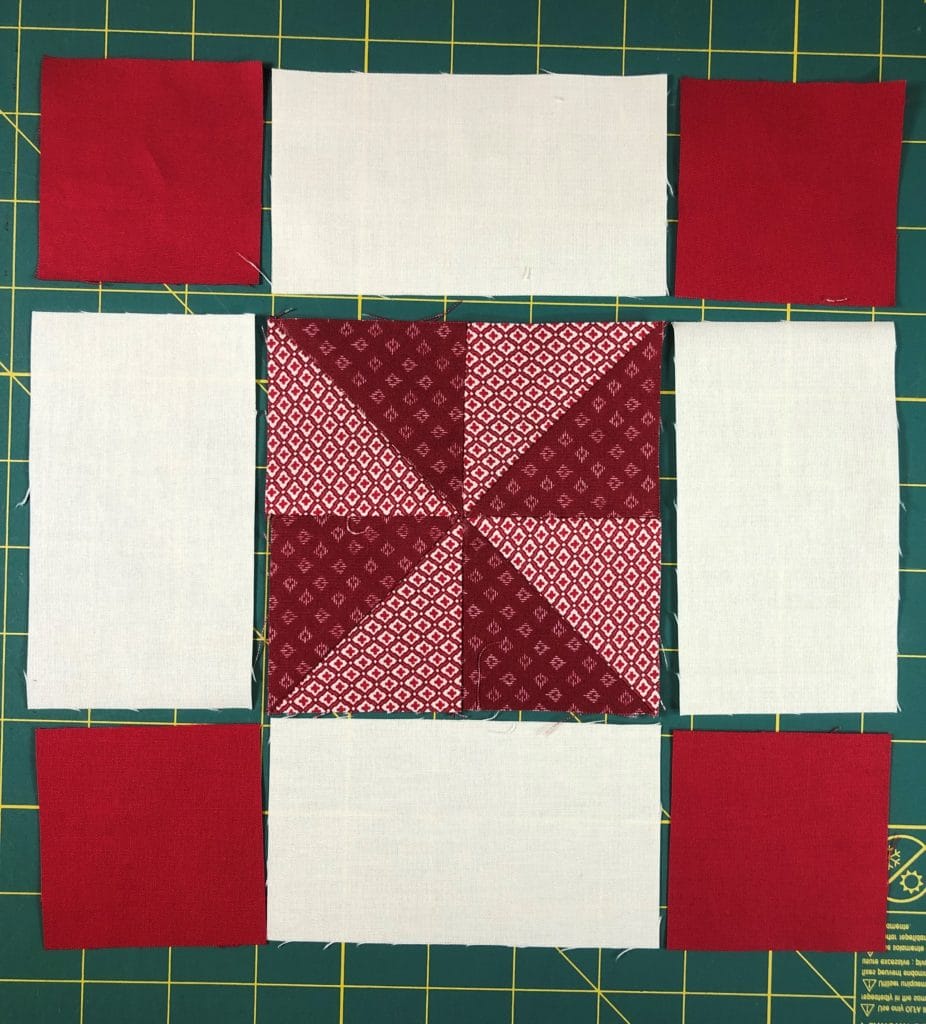
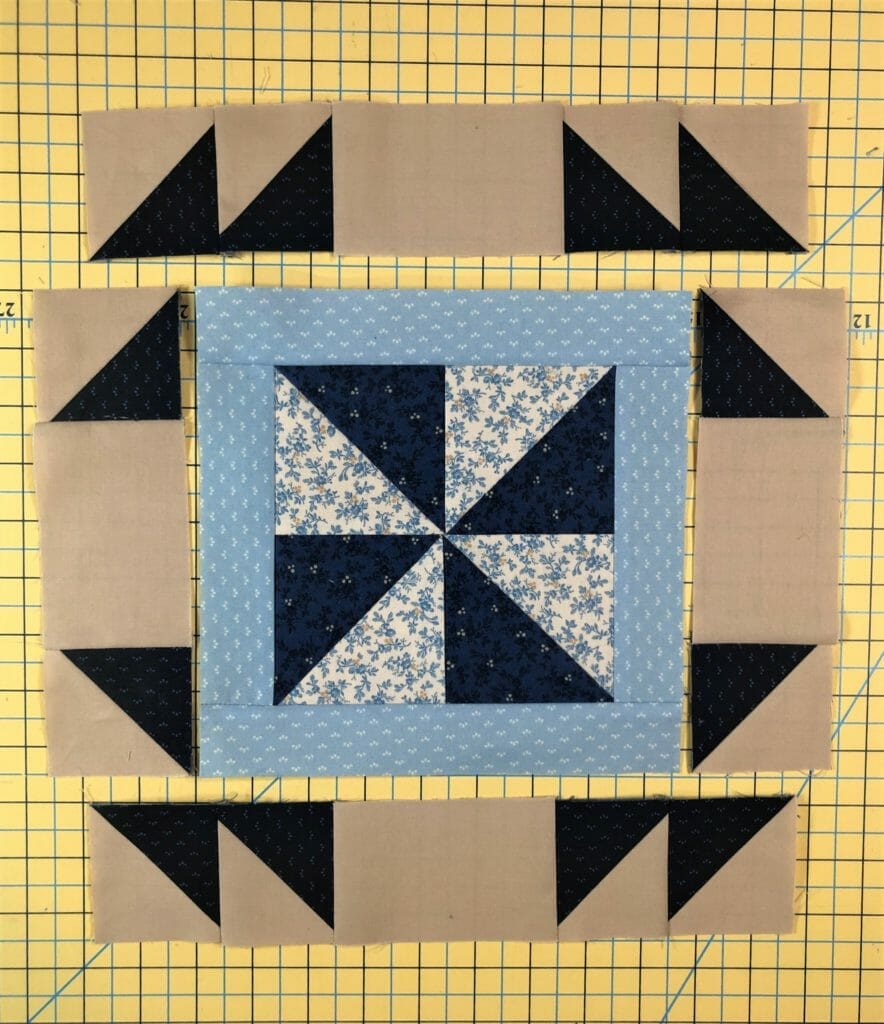
The center portion of this block is block is oh so easy! It’s just a large pinwheel with a border, and it comes together in a snap!

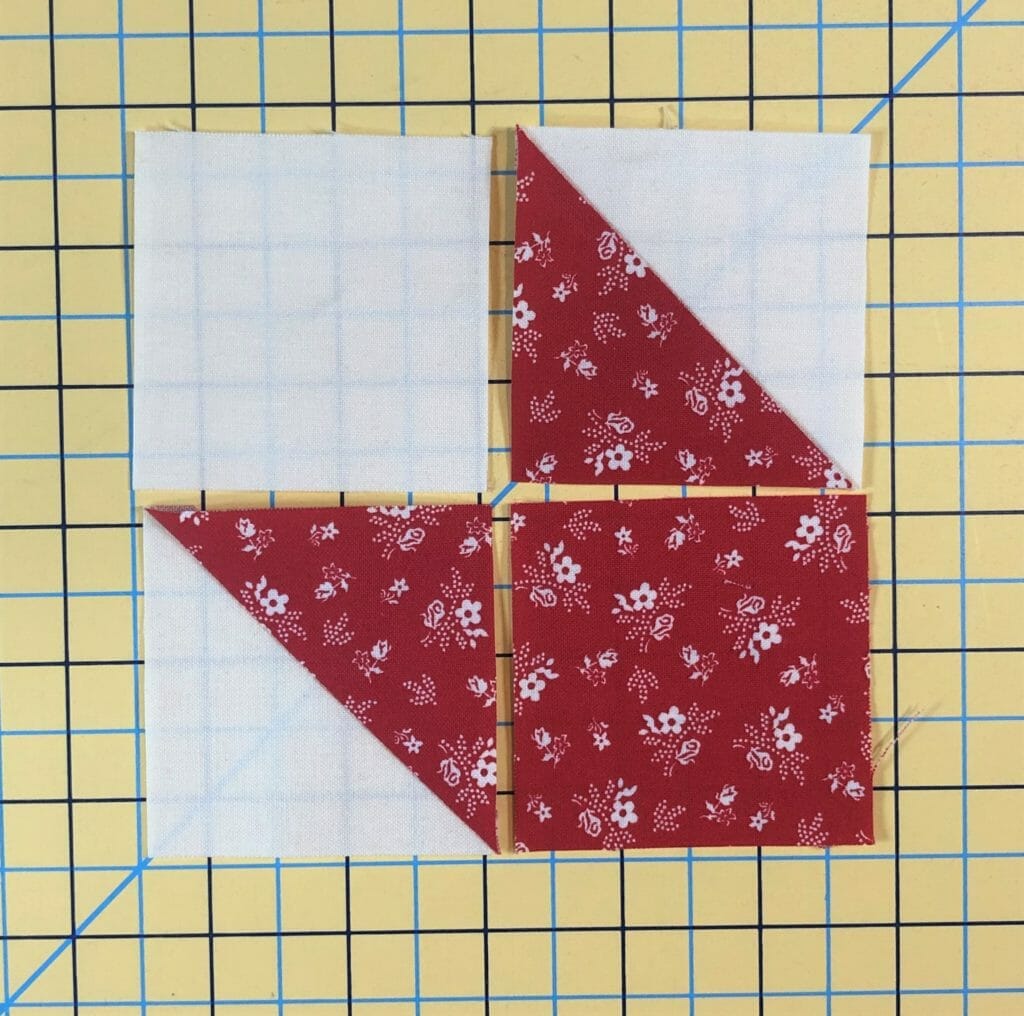
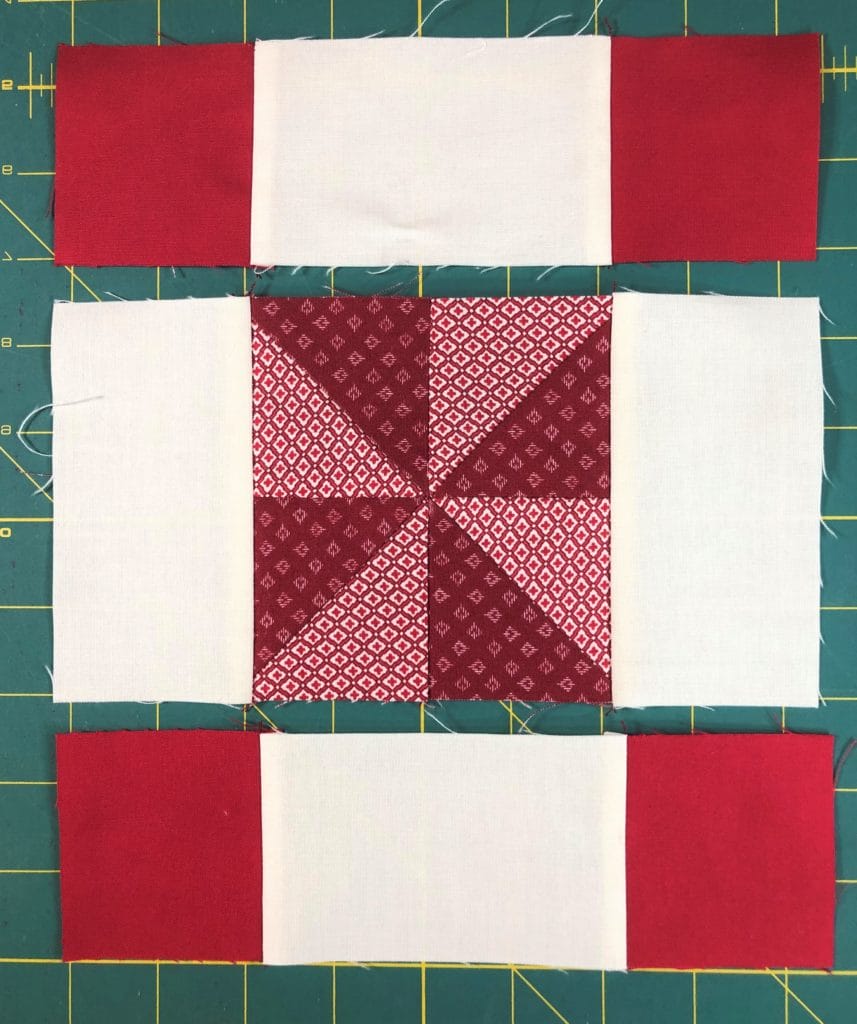
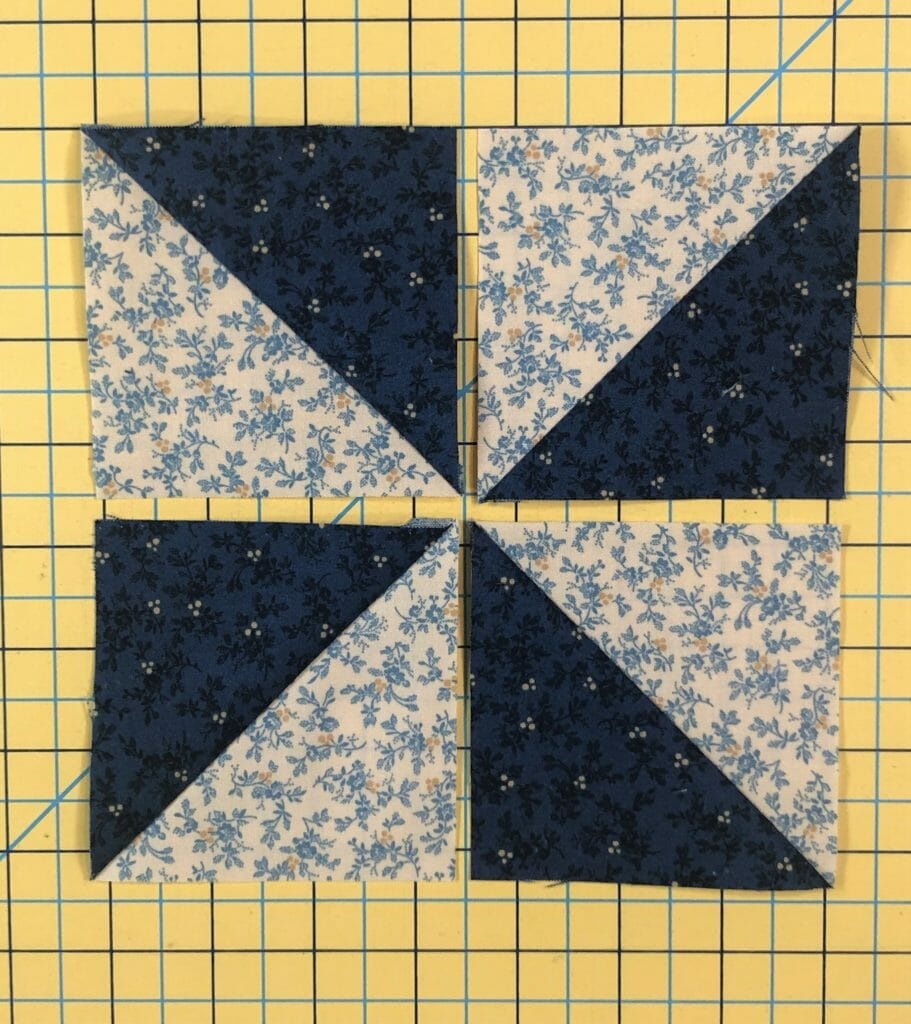
Start by making your four HSTs, and sew them together like the photo below. Make sure your pinwheel block measures 6-1/2” when done. This is when I like to use those scant ¼” seam allowances, so that I have wiggle room for trimming to size.
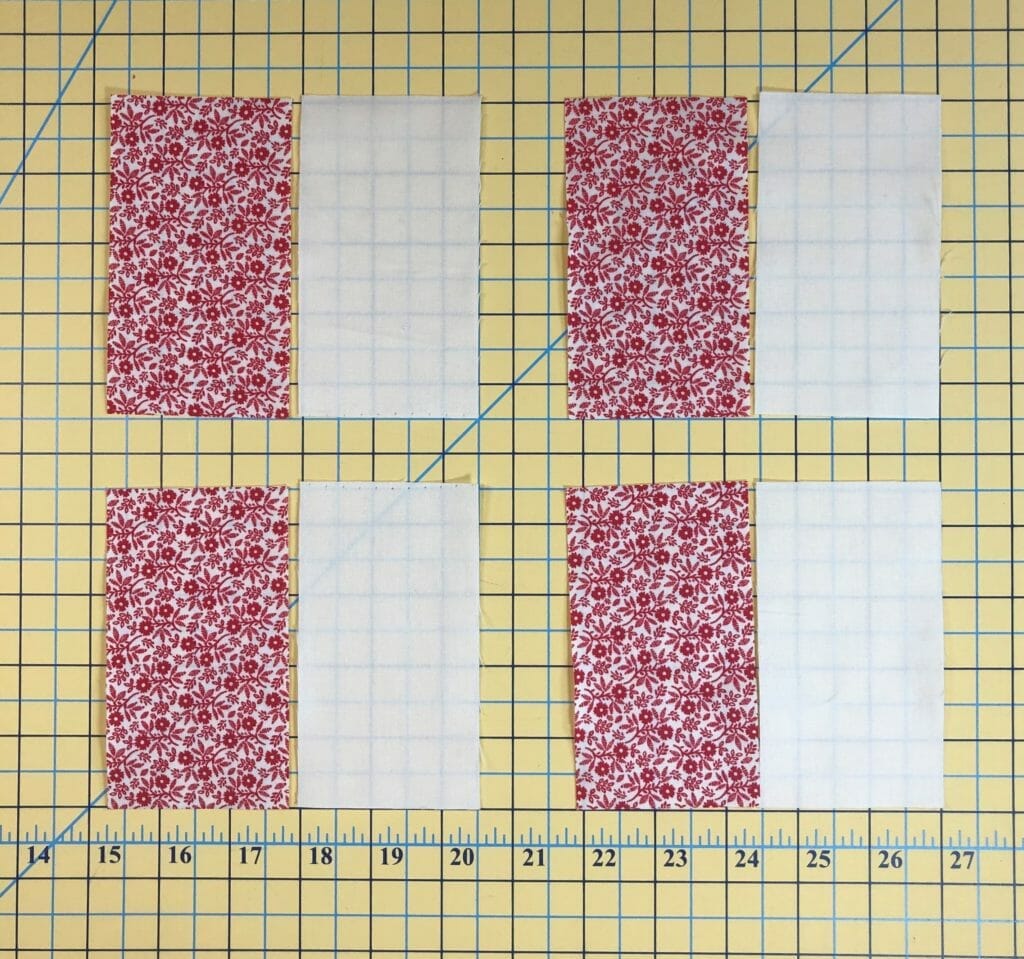
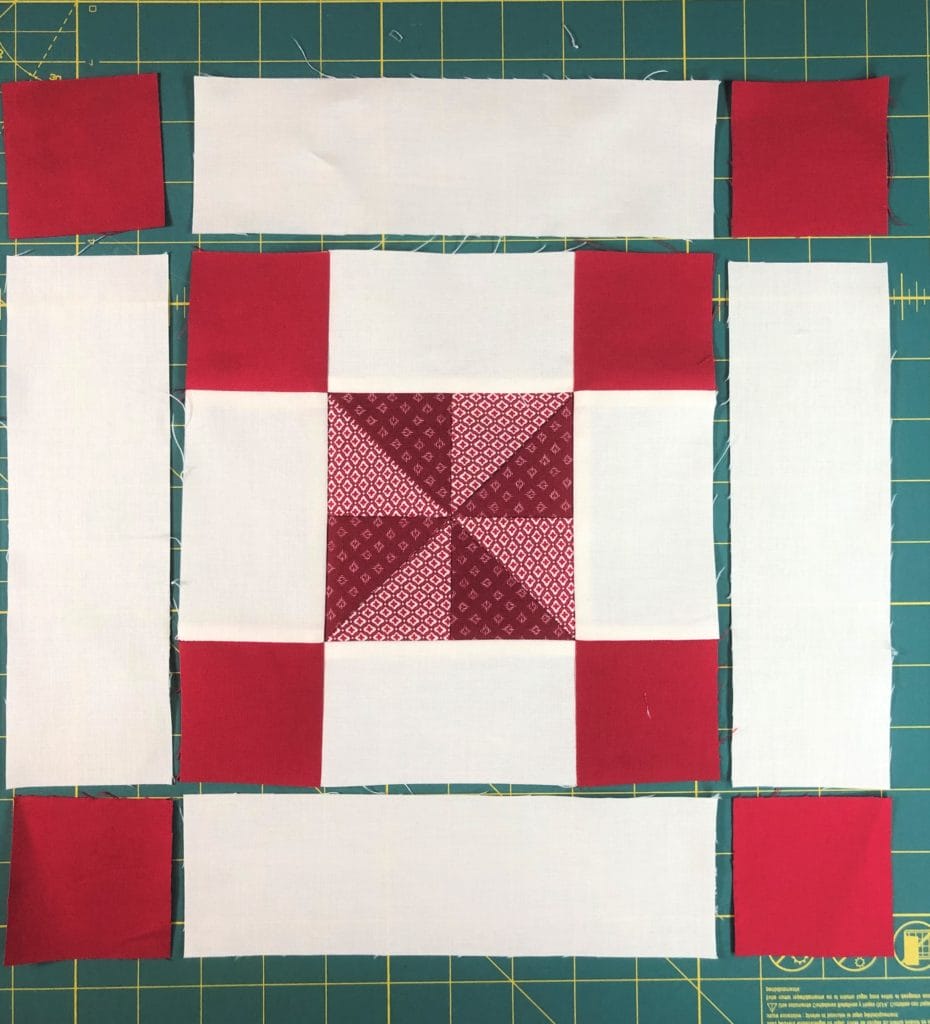
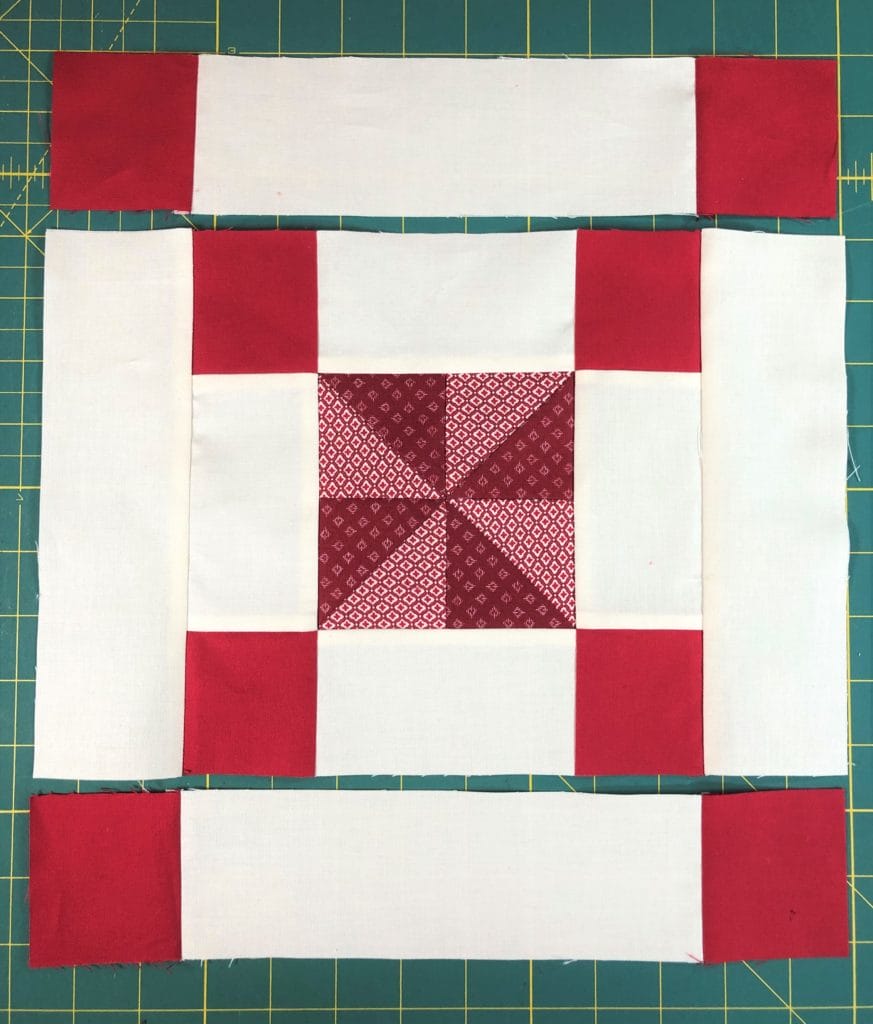
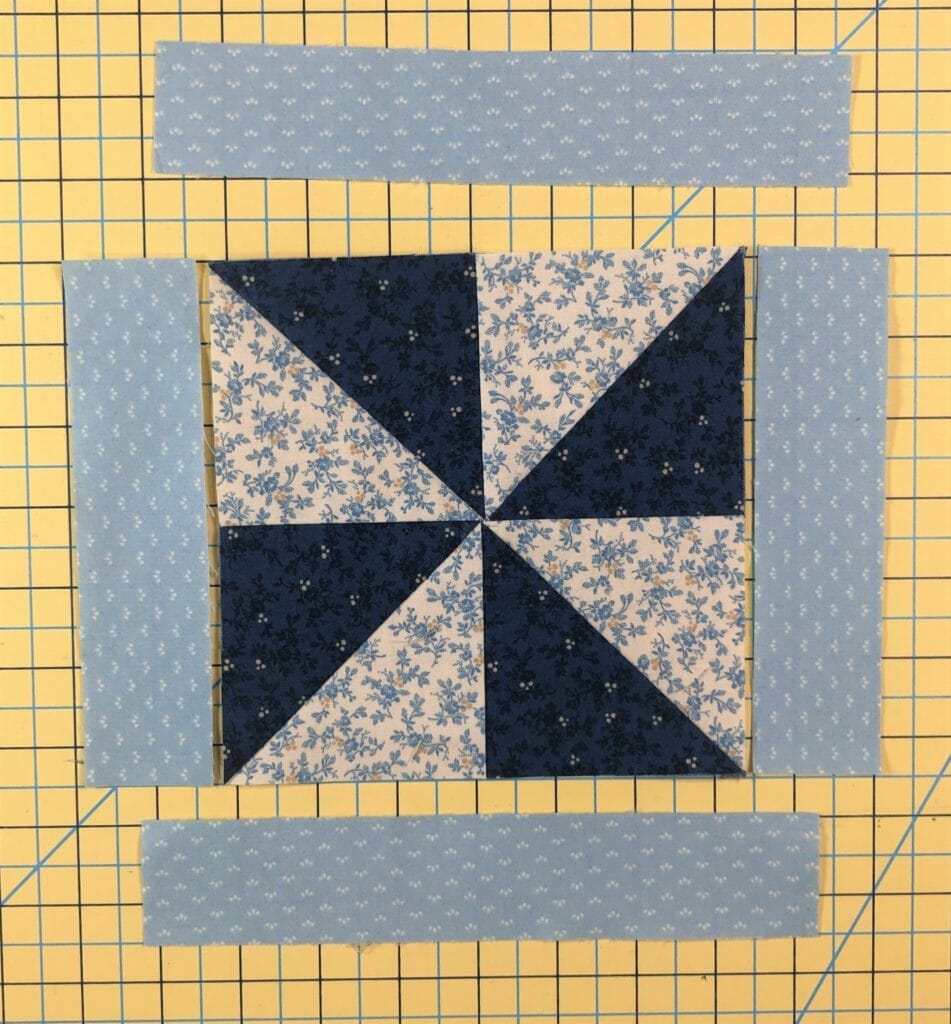
Then sew the F and G strips on as directed. One tip is to cut your strips a bit longer than necessary, and then trim them to line up with the pinwheel as you go. This is especially helpful with the top and bottom strips. This should measure 8-1/2” square when it’s done.
And of course, to finish things off, we will add those borders we are getting so good at.
Block # 20
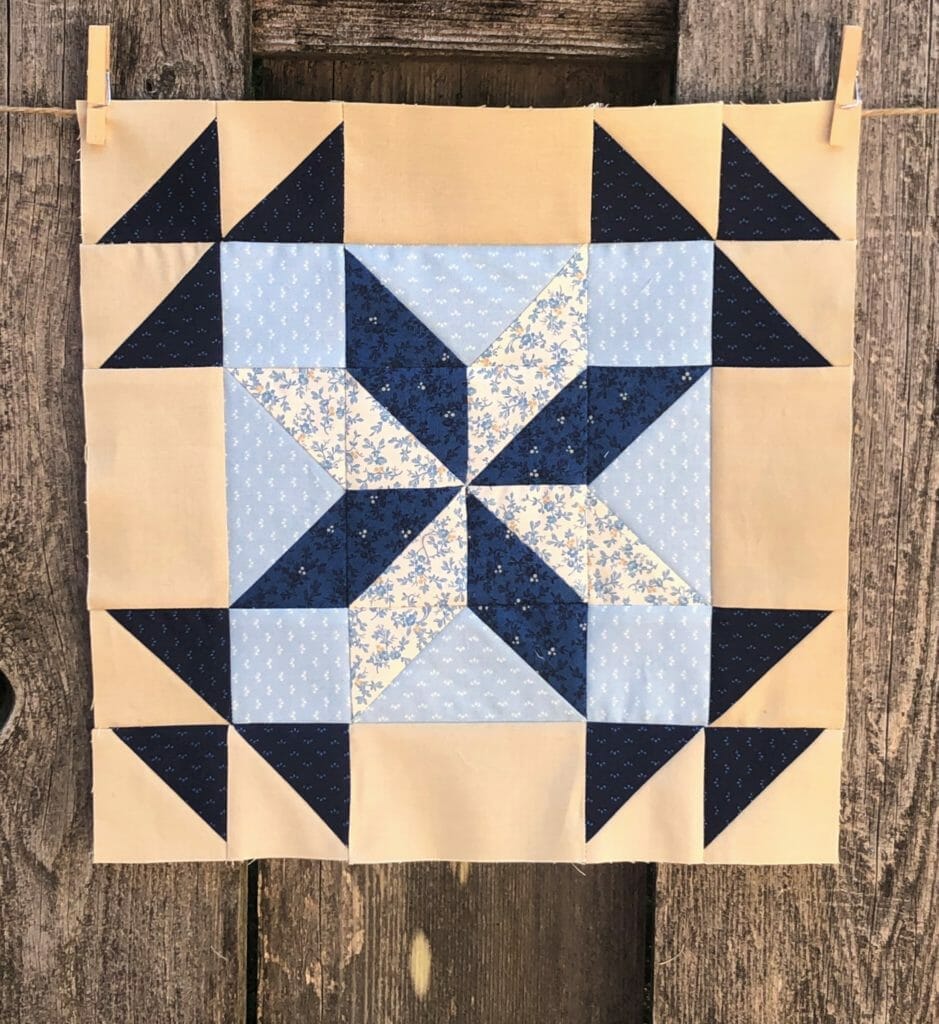
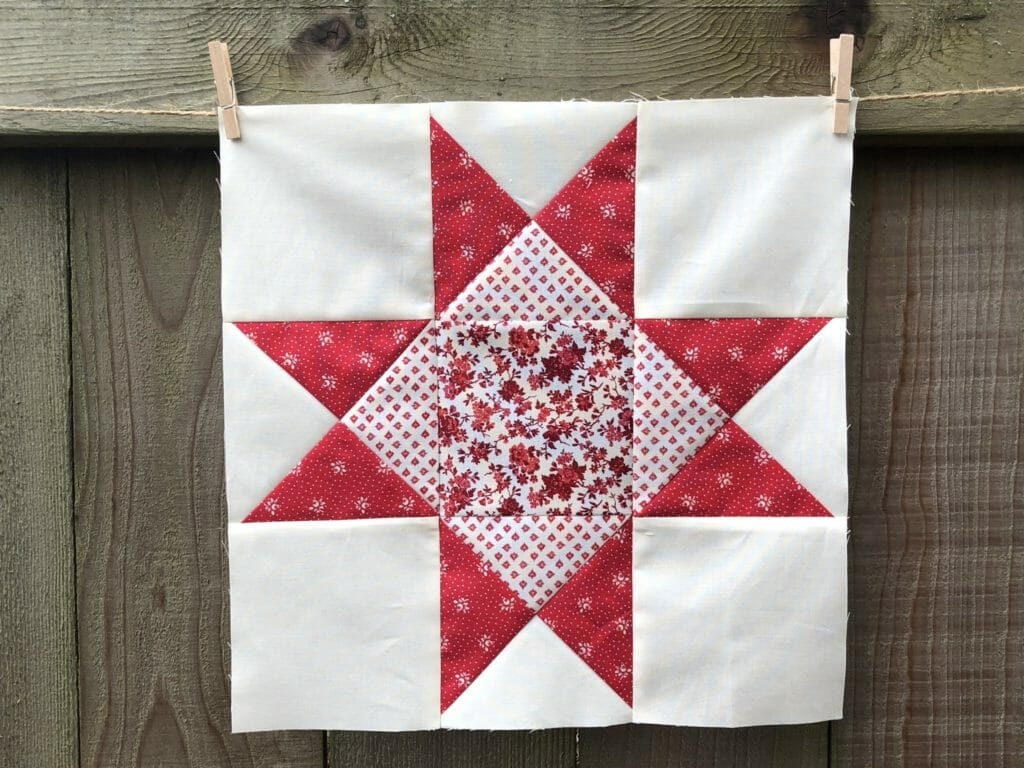
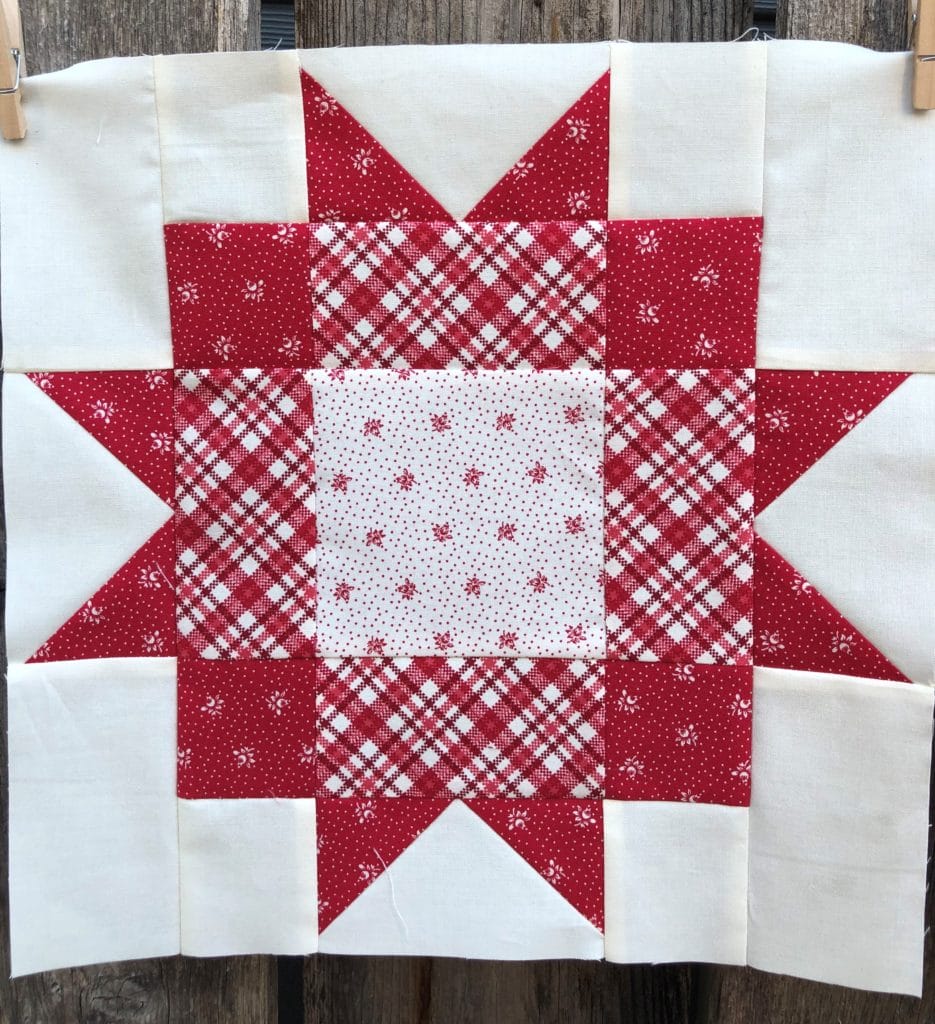
This block is an easy version of the Lemoyne Star. The traditional way to make these is to sew with Y seams and other fun stuff that I don’t personally want to attempt, so we’ll be making this the cheater way.

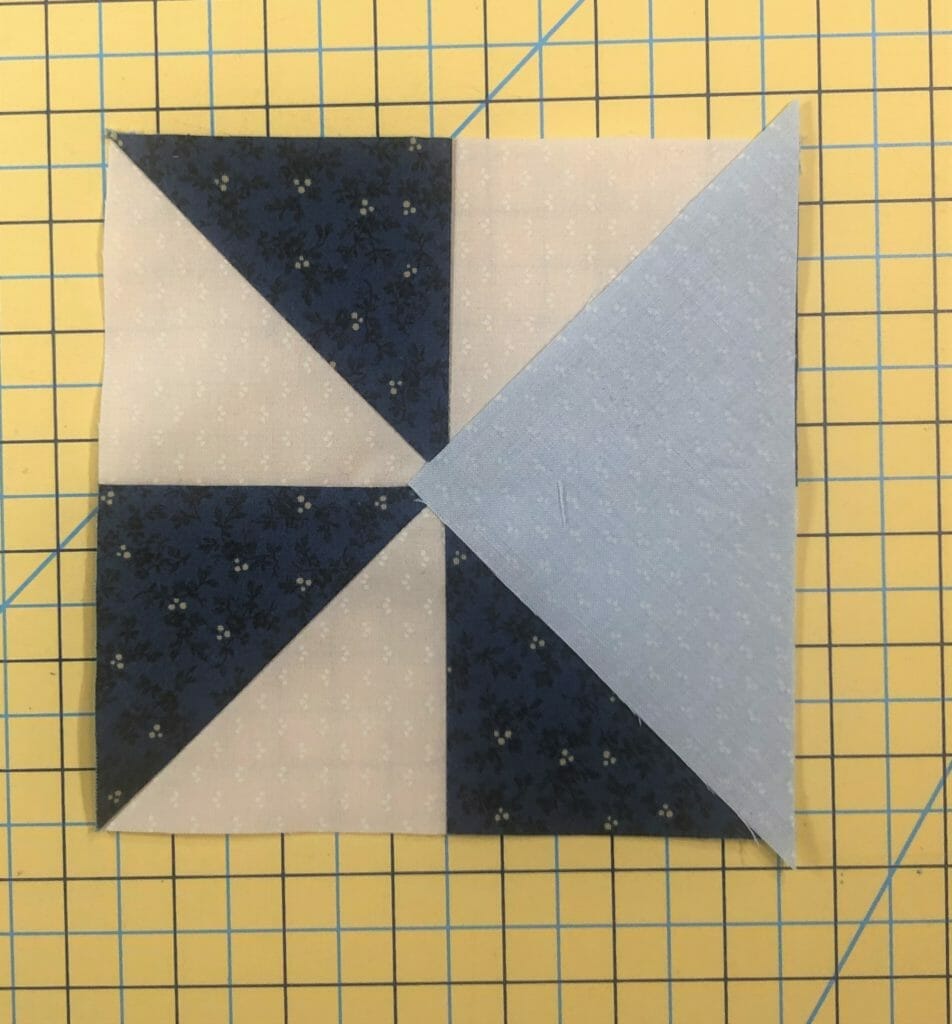
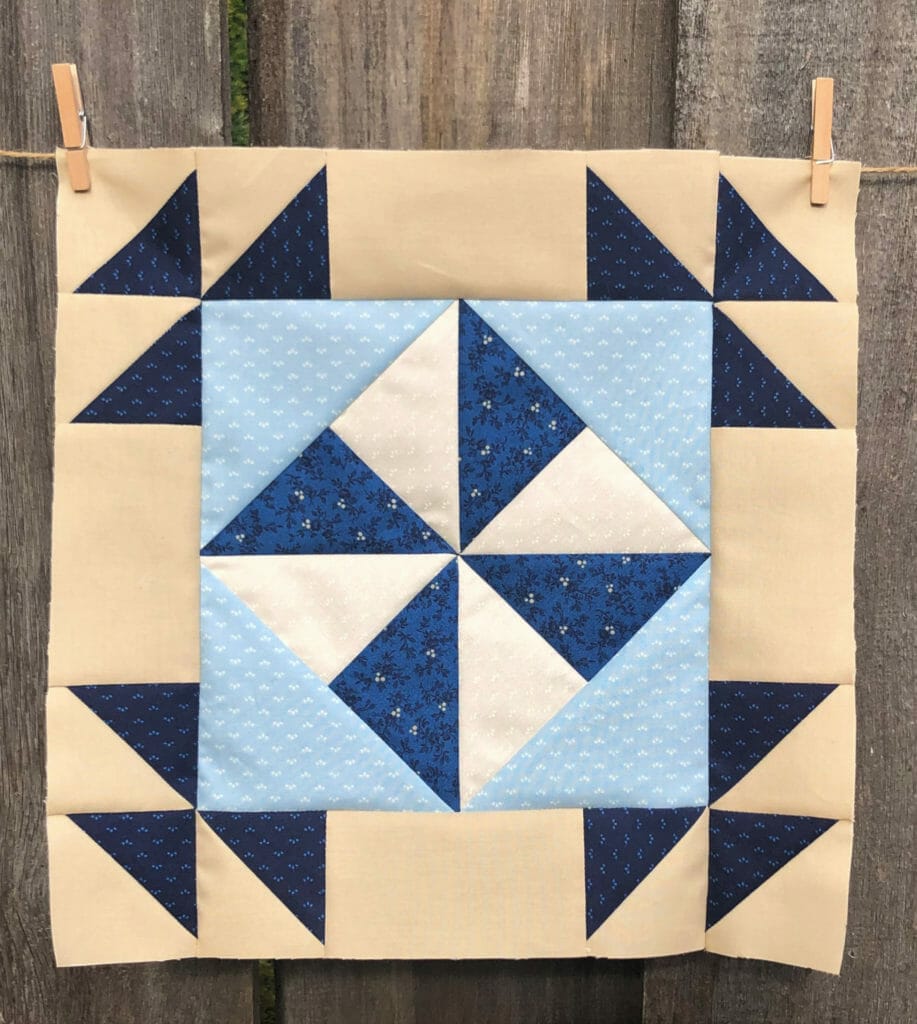
This block starts the same as the last one, by making a pinwheel unit from half square triangles. It’s important  that you have your pinwheel oriented correctly in order for this block to turn out. So please double check as you sew and make sure your D and F triangles are in their proper place, exactly like the diagram in the pattern.

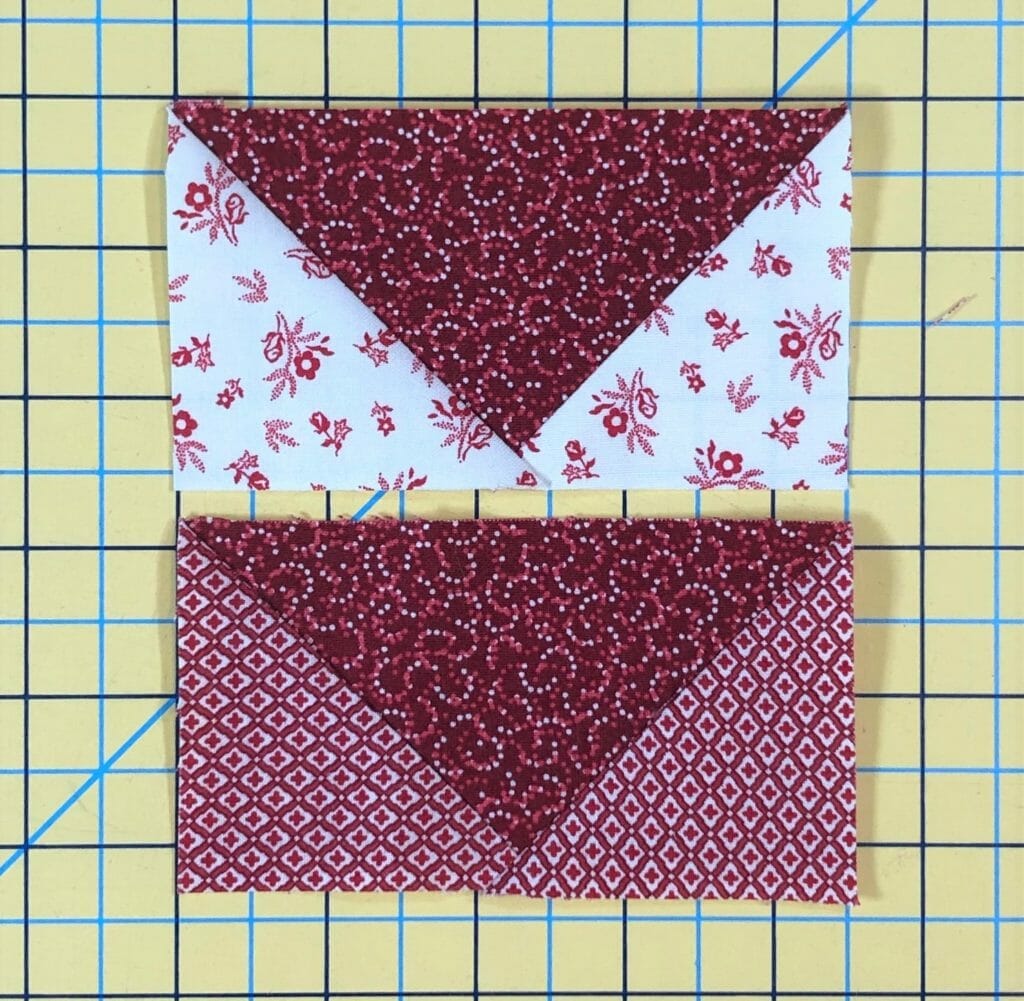
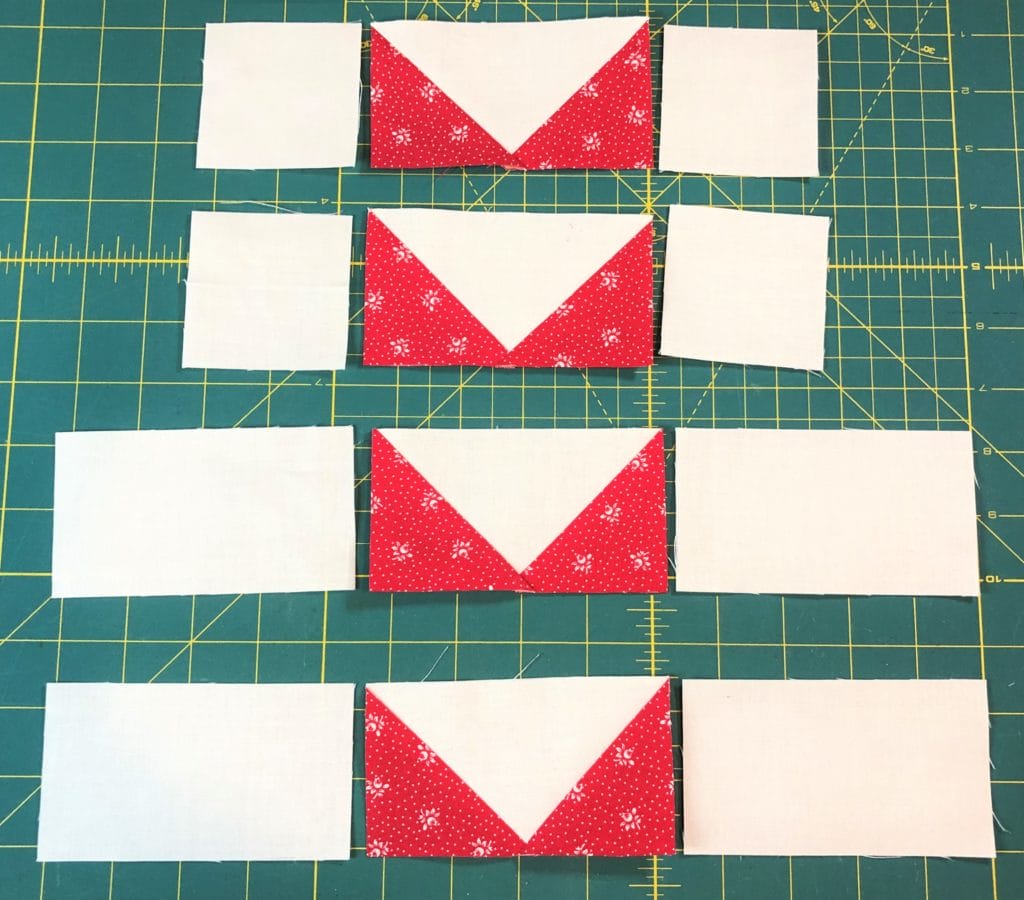
Next comes the flying geese units, and we’ll be using the stitch and flip method. Again, placement is key. You want to start with your Cream G squares on the left side first, followed by the Dark Blue E squares on the right for each unit.
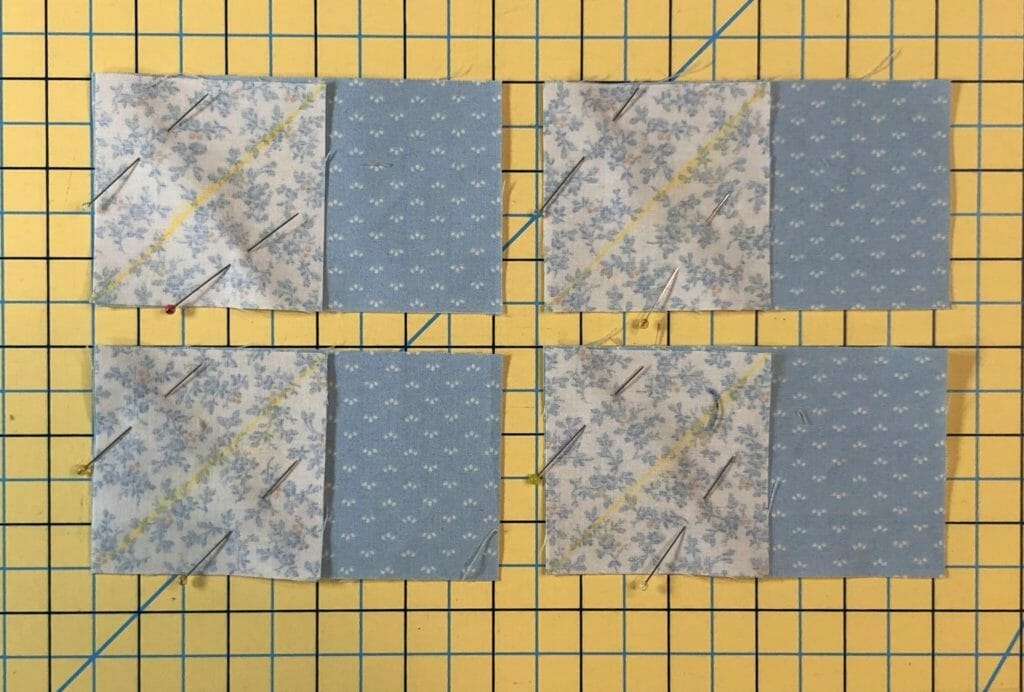
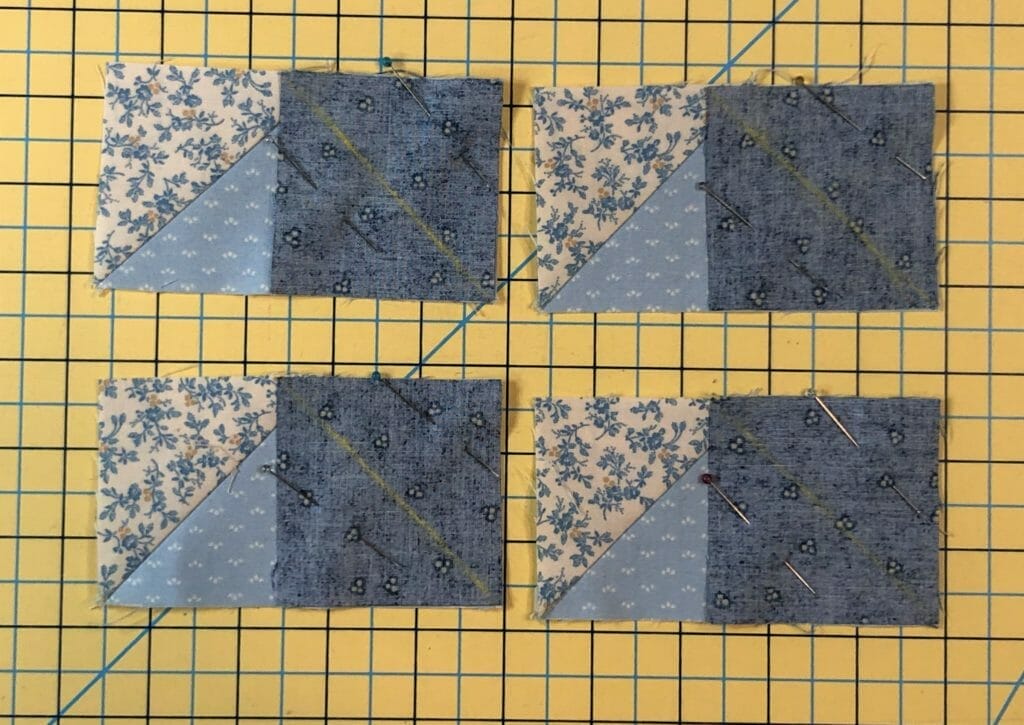
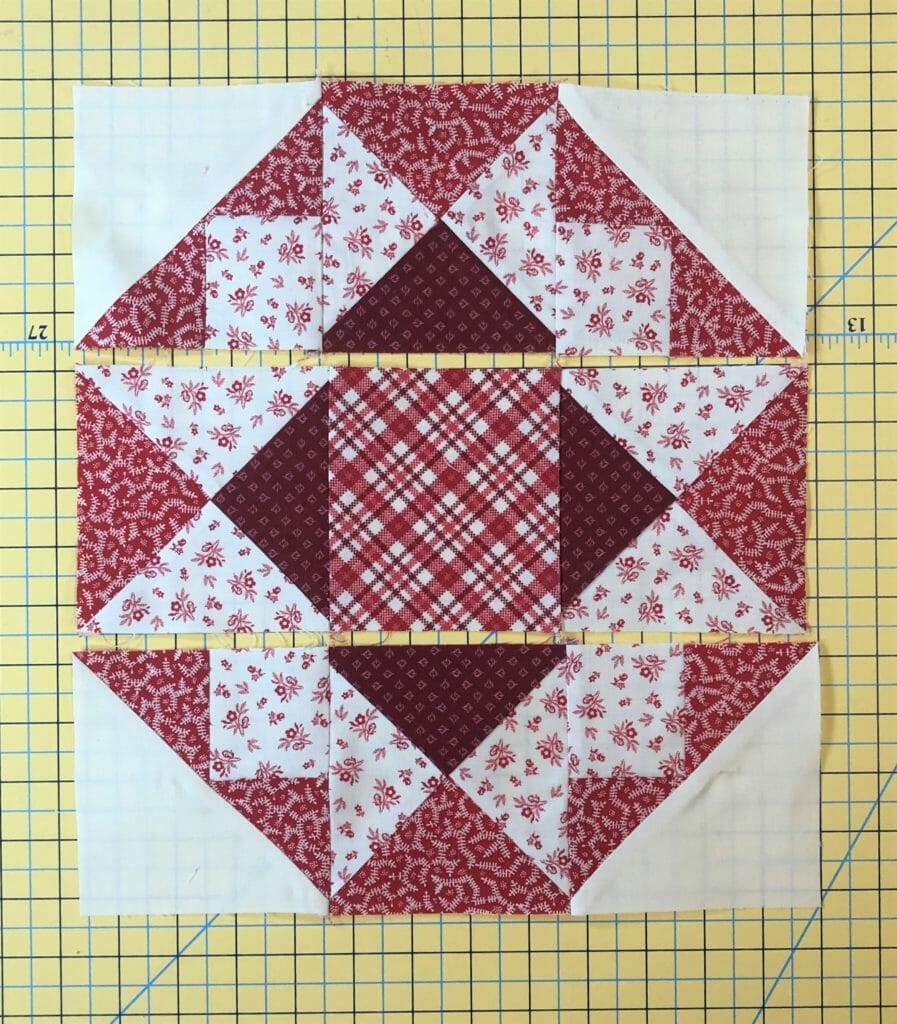
Once you get those flying geese done, you can lay out the block and see that the Dark blues and Creams line up perfectly to make the star. How fun is that?!
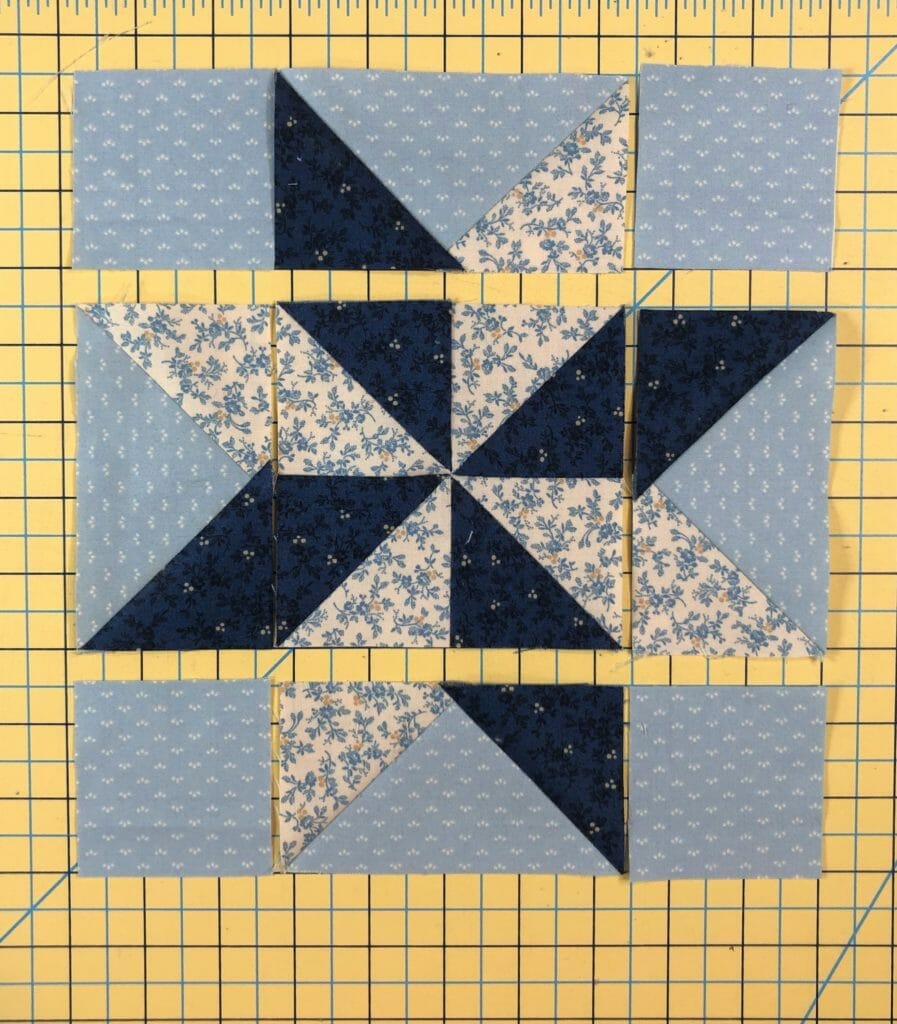
With this is all sewn it measures 8-1/2” square, and now you can add your borders to complete the block.
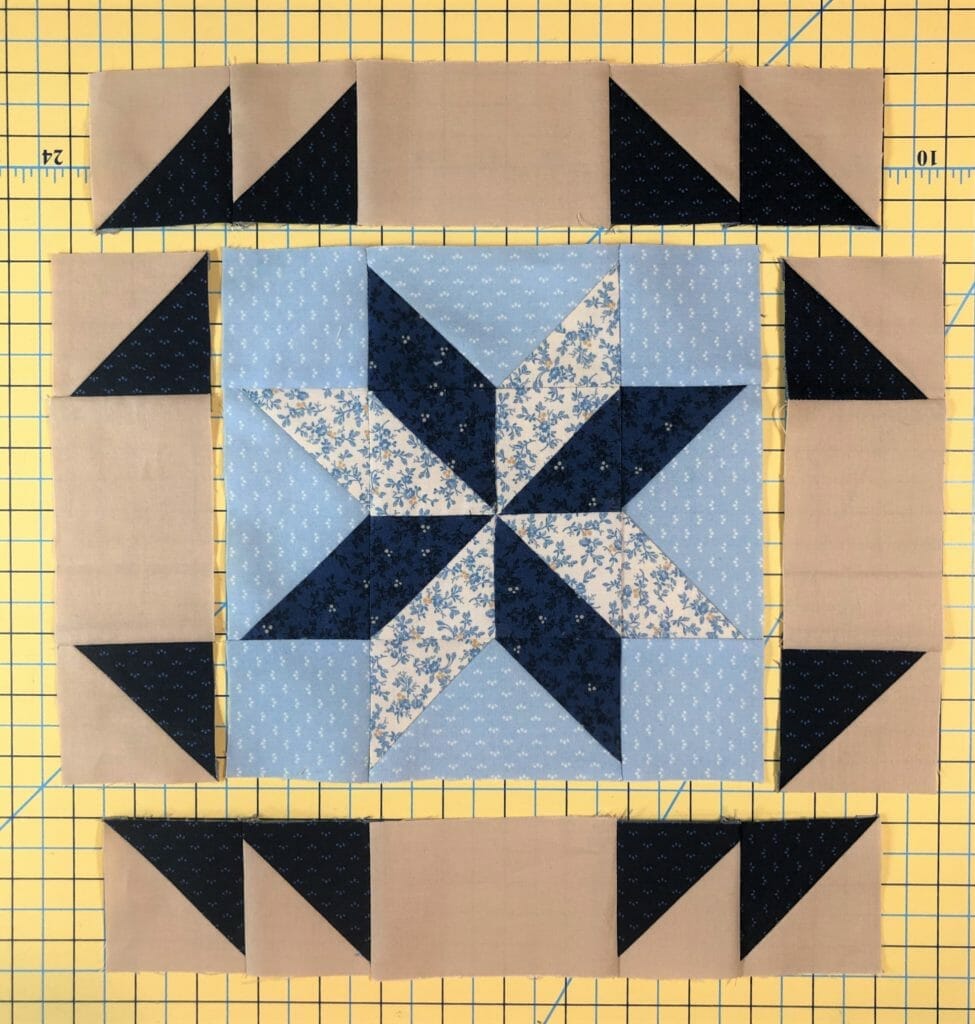
And of course, there are always a few more sashing strips to make as well. I had someone ask if it matters that the A strips are cut crosswise on the fabric instead of lengthwise. I usually cut lengthwise whenever I can for sashing strips, but it’s not imperative. It’s true that cutting as suggested means less give for easing things in, but usually that’s not a problem if the blocks are measuring correctly. If this bothers you, you can cut three out using the FQ and cutting lengthwise, and save your fourth one for the months when you have the extra fabric for making eight, and just cut nine instead those months. It’s totally up to you!
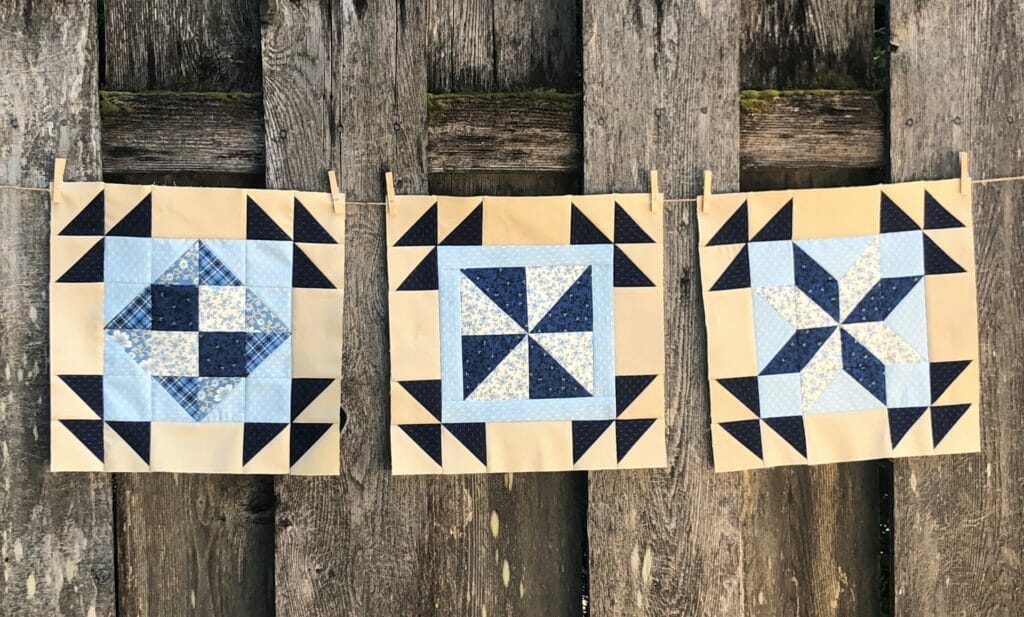
Well, that’s it for this month. Please holler if you have any questions, either on here, or on the facebook group, and I’ll try my best to get to them. Thanks for stopping by!

 Happy Quilting! – Kristin


Open Skies BOM – Month 2
5.2.2022

Hey friends!

It’s been so fun to see everyone’s first blocks on the facebook group. Keep up the good work!

This month we will be doing just two blocks, and 8 sashing strips.

Our two new blocks have one thing in common – Square in a square units. Personally, I have a love/hate relationship with these little guys. I love how they look, but getting them the right size can be tricky. In fact, as I was sewing up these blocks I was seriously questioning my design choices, and wondering what on earth possessed me to do this to all of you. But it’s skill building, right?!

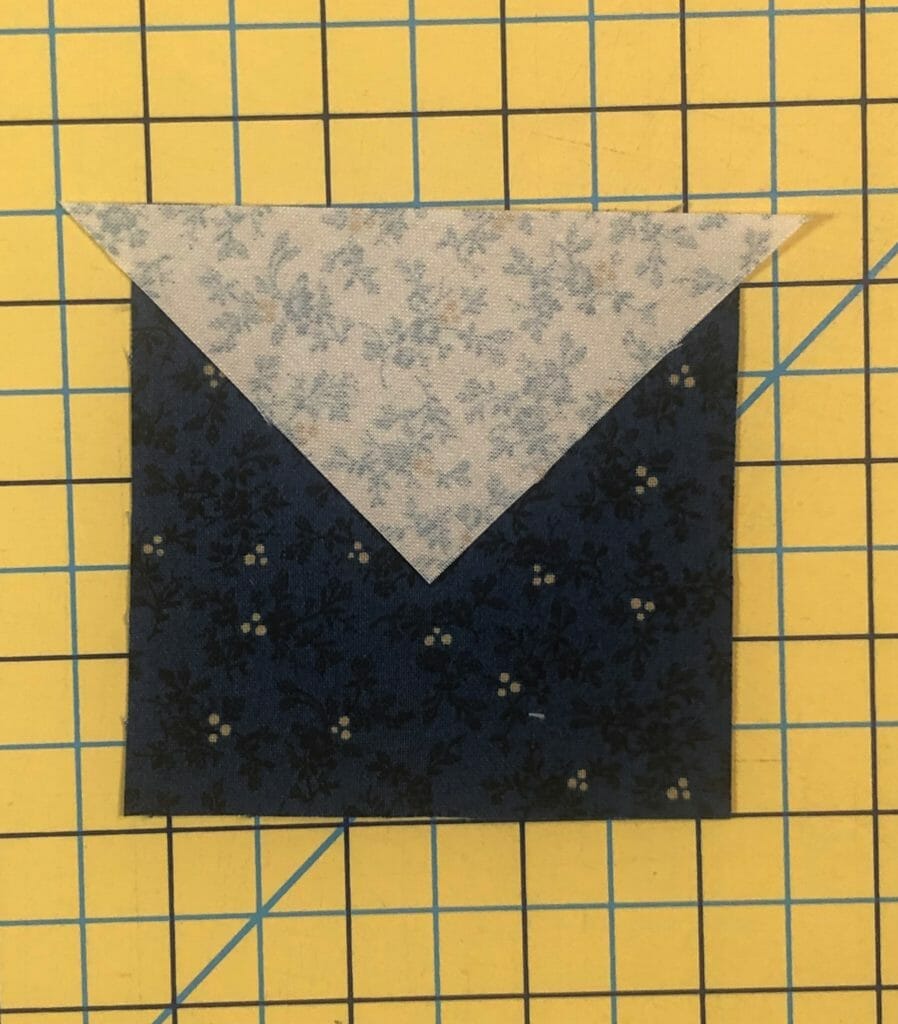
 If I have one piece of advice for making these it’s this: Accuracy in cutting the center square is crucial, but the outer triangles that you’ll attach can be cut bigger than needed, and then trimmed to size after they are all sewn on.

Another tip – STARCH! Any time I’m sewing pieces that have been cut on the bias, using extra starch just helps to keep them from stretching or getting wonky.

Ok, let’s get started!

Block #2

We’ll begin by making a pinwheel unit from four Half-Square triangles. Again, feel free to cut your D and E squares a bit bigger if you like, so that you can trim these down to size. And I know that 3-3/8” HSTs is a weird size! Trust me, it works out.

Make sure your completed pinwheel measures at 6-1/4” square.  This is key.

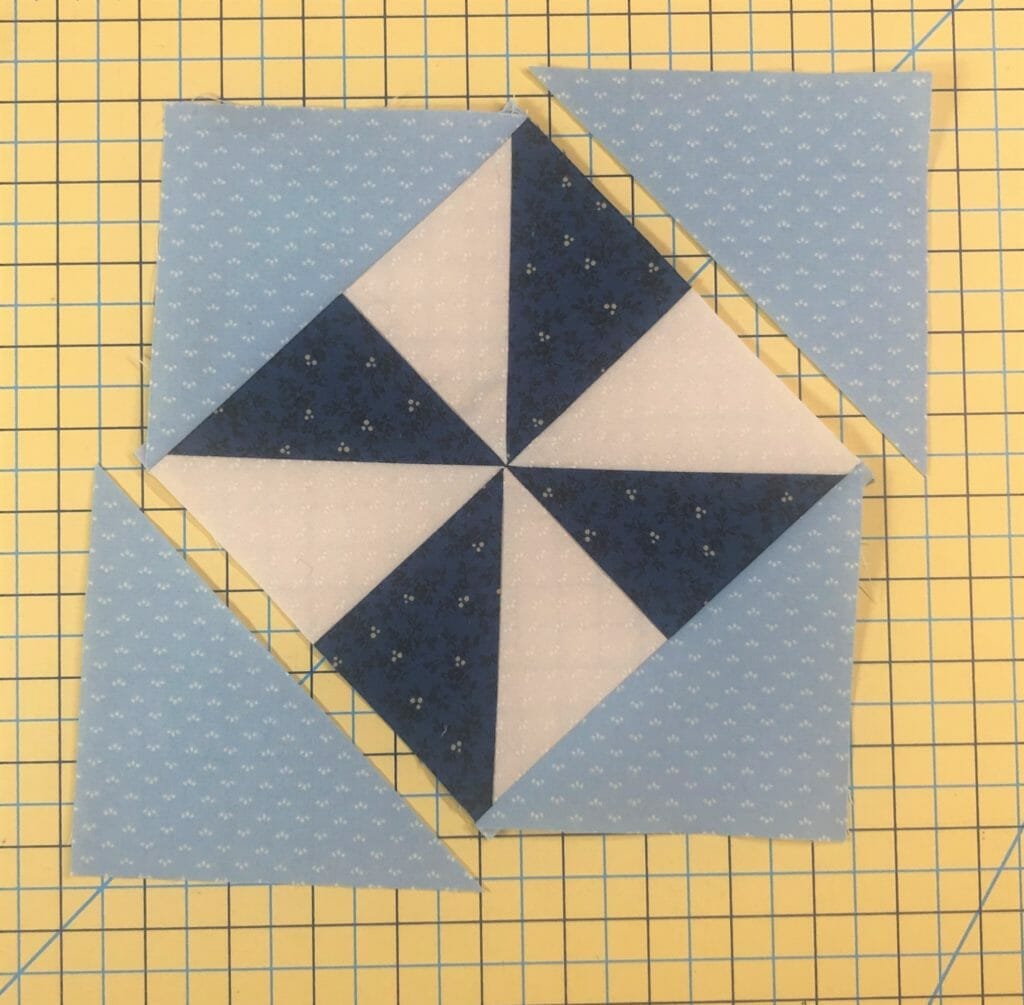
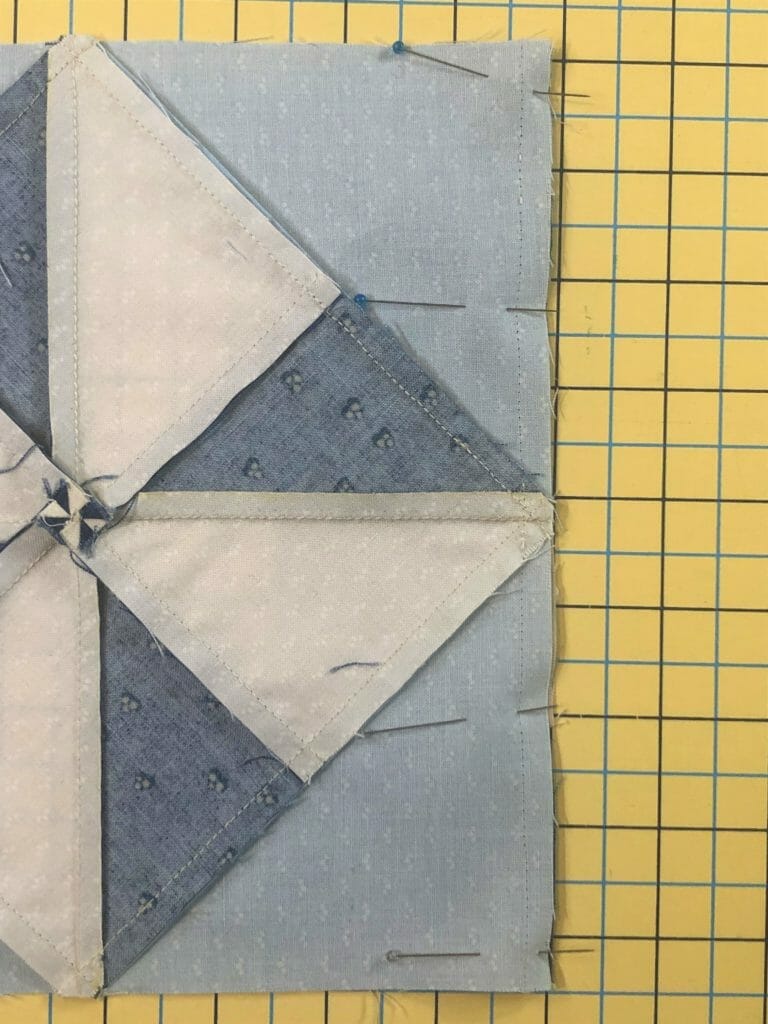
Next, you’ll sew on those well starched triangles. If you are having trouble figuring out where to line up your triangles, use the pinwheel as a guide. The point of the triangle should line up with the seam of the pinwheel, like you see in the photo below:

Do this for all four triangles as you sew them on, one at a time. Acutally, I usually pin mine on two at a time and sew accordingly, even though the directions say otherwise.

Once all the triangles are sewn on, then trim the unit to 8-1/2” square. If it’s done correctly, you should have the proper ¼” seam allowance to make sure you don’t sew off any of your pinwheel points.

Now all we have to do is sew the same border pieces as we did last month, and then attach them to the pinwheel unit to complete the block. If you need a refresher for how this is done, please take a gander back at the month 1 blog post. I also found it helpful to pin the border pieces on the under side so that I could see where the pinwheel intersects on the edges. I always find this helpful so that I can avoid sewing off my points.

In fact, if you look closely at the photo above, you can see that I had to rip out my first stitches and re-do them, because I had, in fact, cut off the point on this side. Ugh!

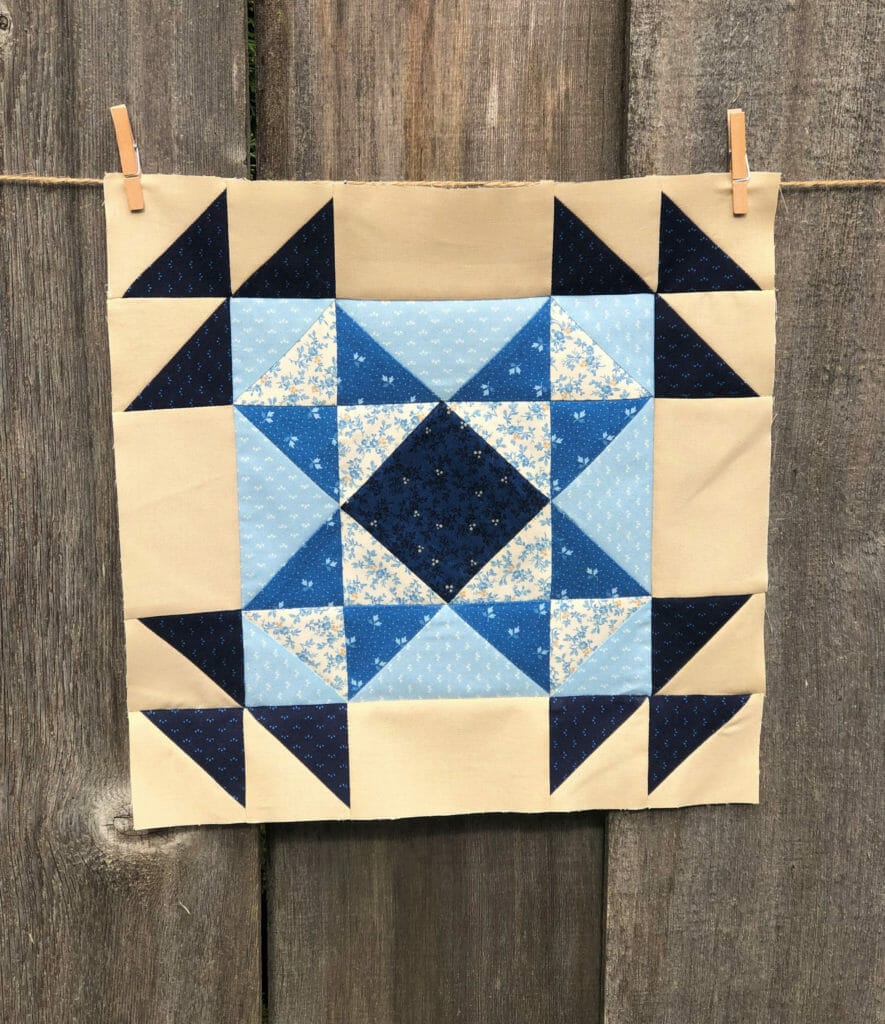
And here is the finished block!

Block #12

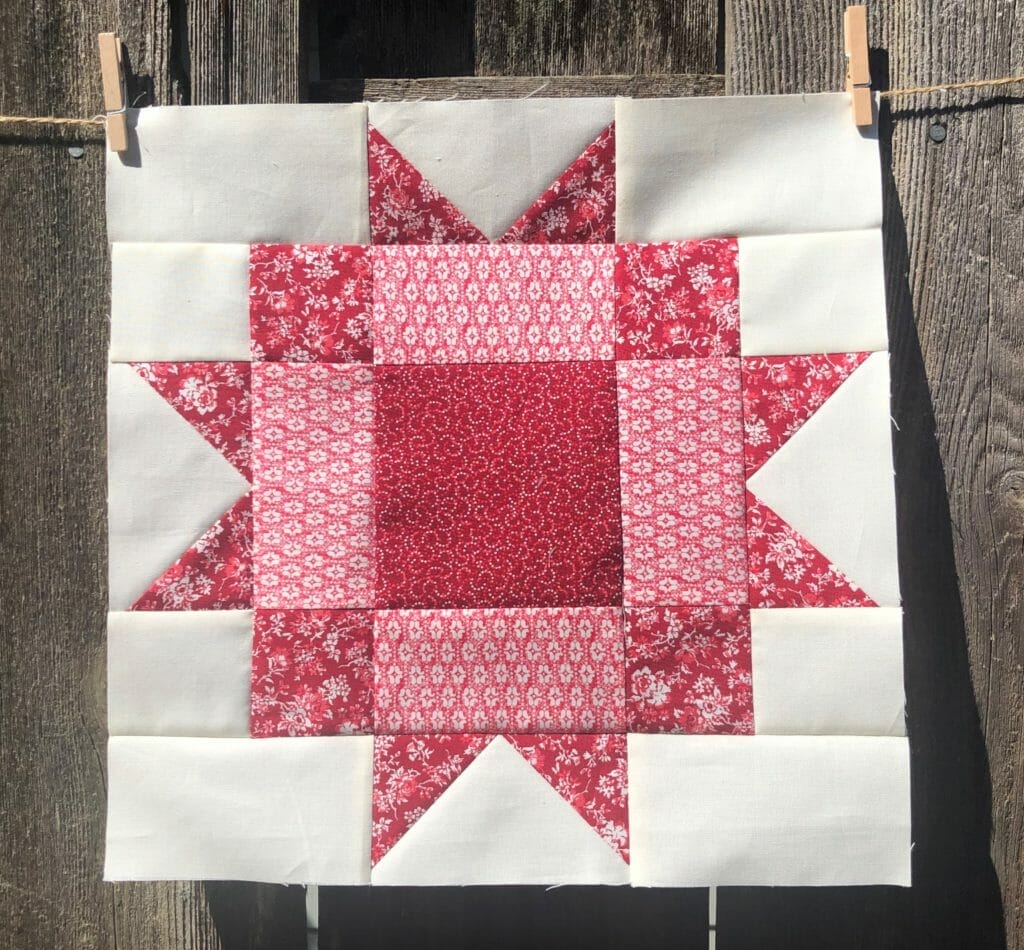
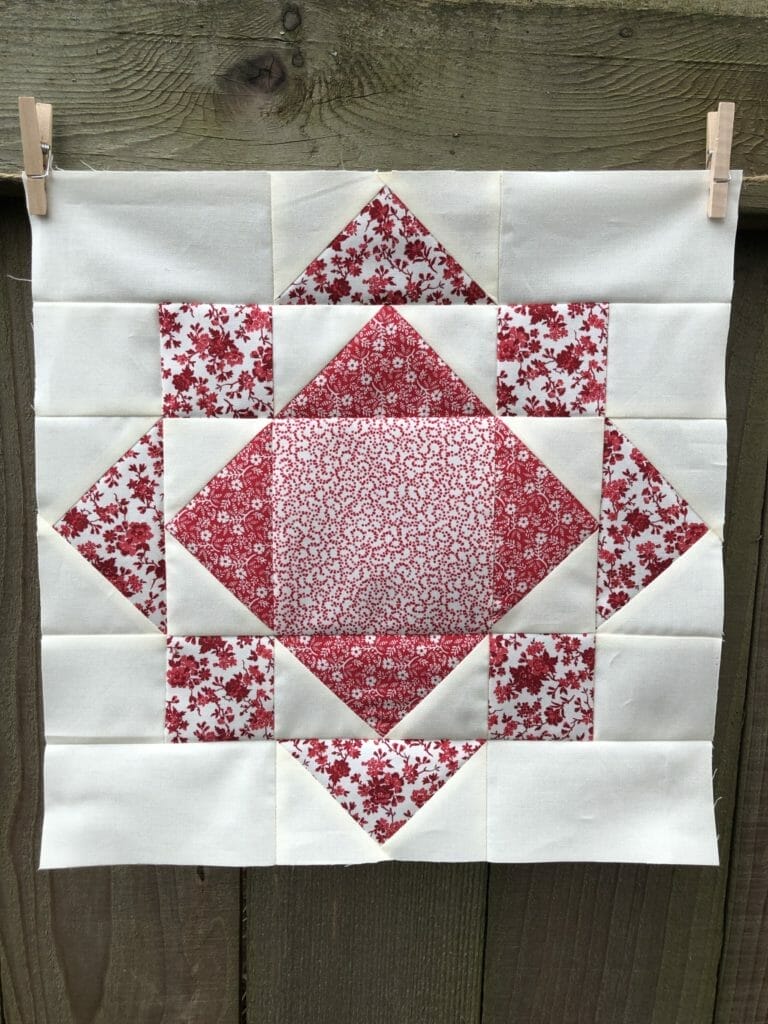
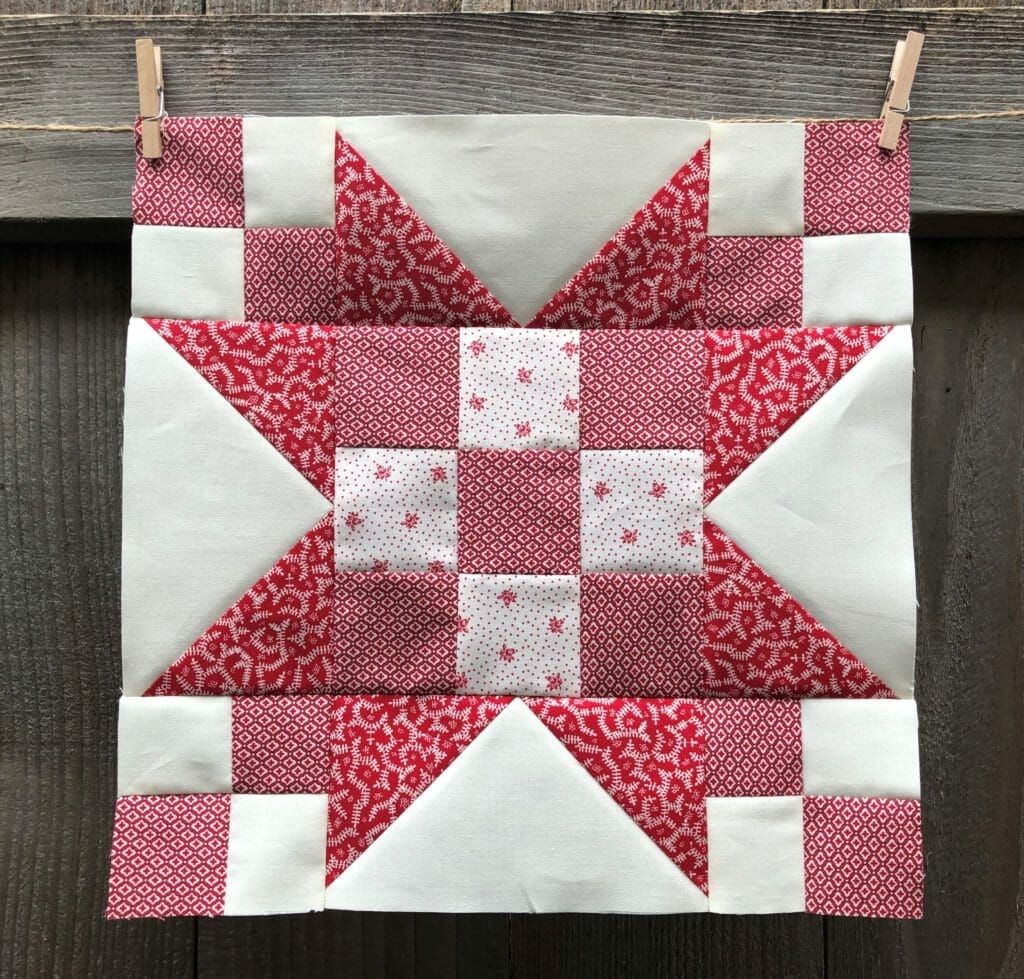
This block is just a sawtooth star that has a diamond (square in a square) unit in the center. Since there are so many triangles coming together in this block, things can get a bit bulky at the seams. If you don’t like all the bulk, feel free to press all your seams open. Personally, I’m kind of obsessed with nesting seams, so I ironed according to my directions, which created a bit of bulk around the center diamond square. I just starched and pressed the heck out of it, and mined turned out pretty flat. But it’s whatever you prefer. Remember, it’s YOUR quilt, and there are no rules, only suggestions!

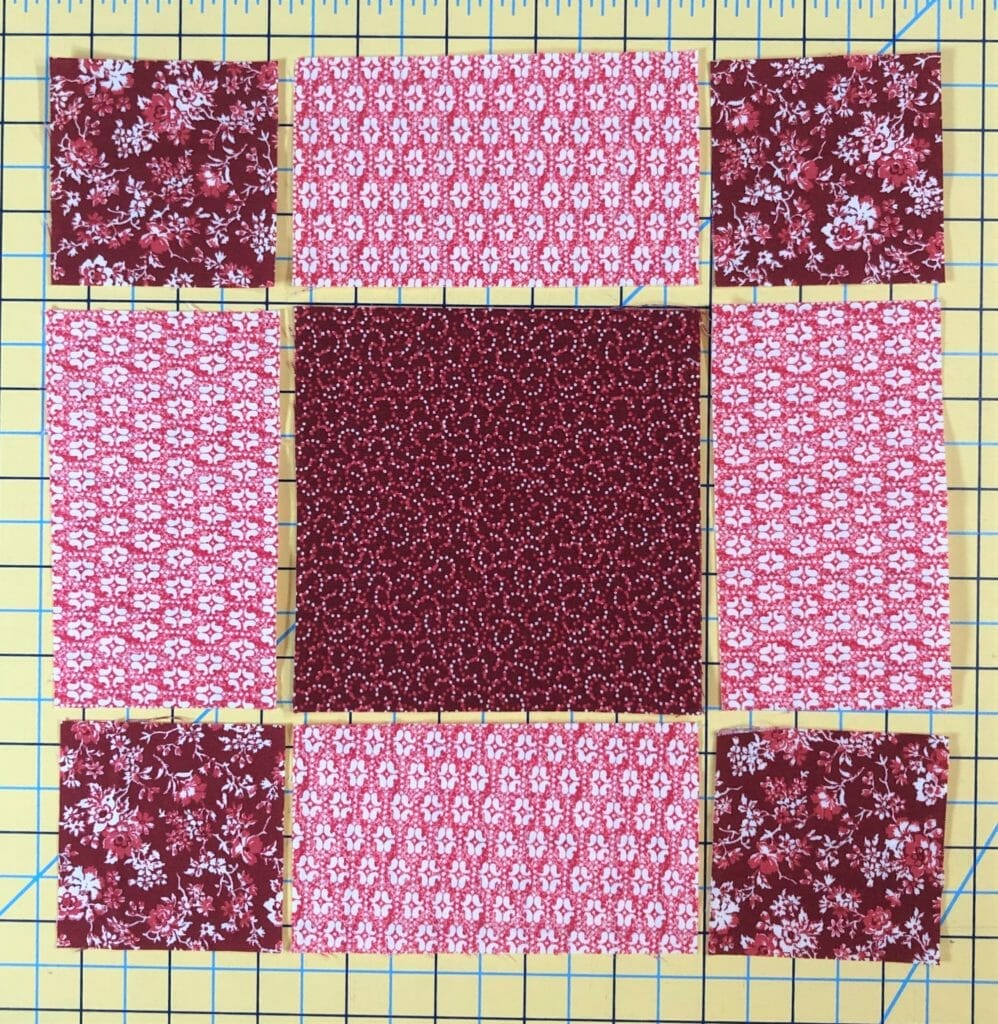
First we will make that square in a square unit as I mentioned earlier, making especially sure that your center D square is cut accurately. You could cut your E squares at 3” and then trim the unit after sewing all the triangles on, if you prefer.

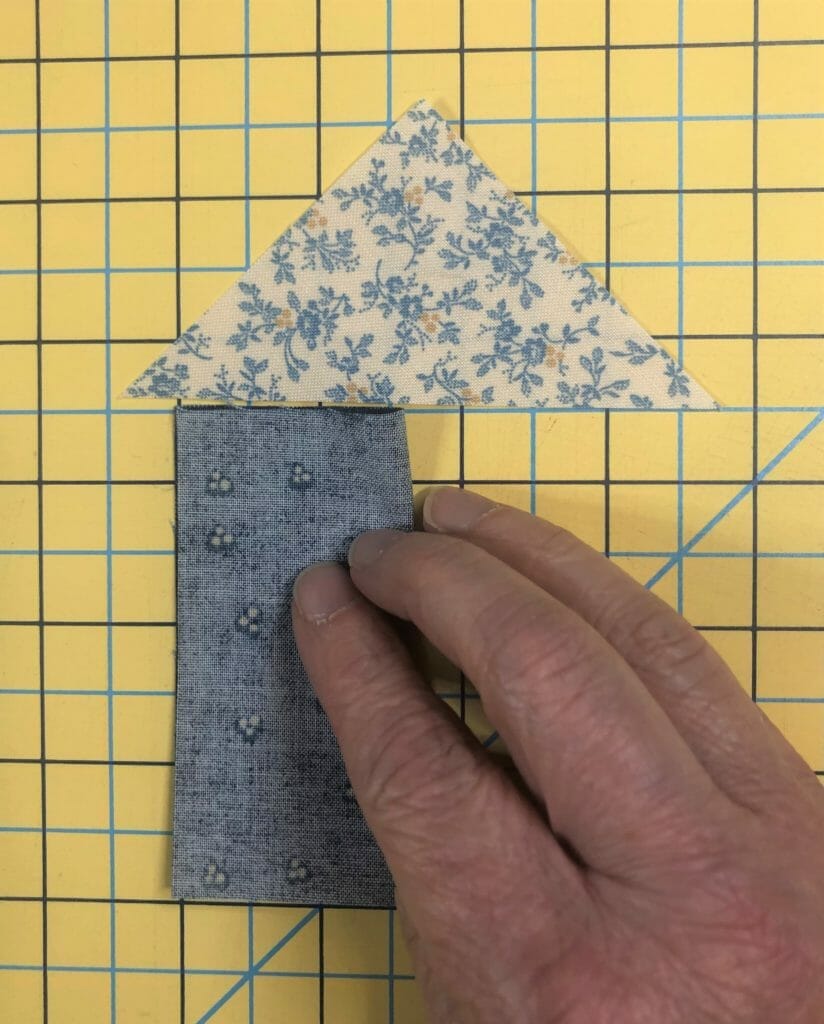
I always find it helpful to fold the center square in half and finger press a seam down the middle, so that I can have a guide to line up the point of the triangle before pinning.

You can’t see it in the photo above, but I promise there is a folded line down the center of the square that I’ve used as a guide to place the triangle before pinning. You want the point of the triangle to be on that line.

Next we will make four HST’s. Apparently I neglected to take a photo of these, but I think you all know how to make them.

Last, but not least, we will make some flying geese. Usually my patterns have directions for no-waste flying geese, since they are my FAVORITE! But after getting a lot of feedback from customers, I decided to just use the simpler stitch and flip method with this pattern, especially since we don’t make that many in the quilt. And to be honest, I felt a little out of practice!

For those wanting to do the no-waste method, you’ll need to cut one 5-1/4” square from the Droplet, Lt. Denim fabric, and four 2-7/8” squares from the Soaring Leaves, Prussian Blue fabric. For anyone unfamiliar with this method for making flying geese, just look up No Waste Flying Geese on the internet, and you’ll find multiple tutorials.

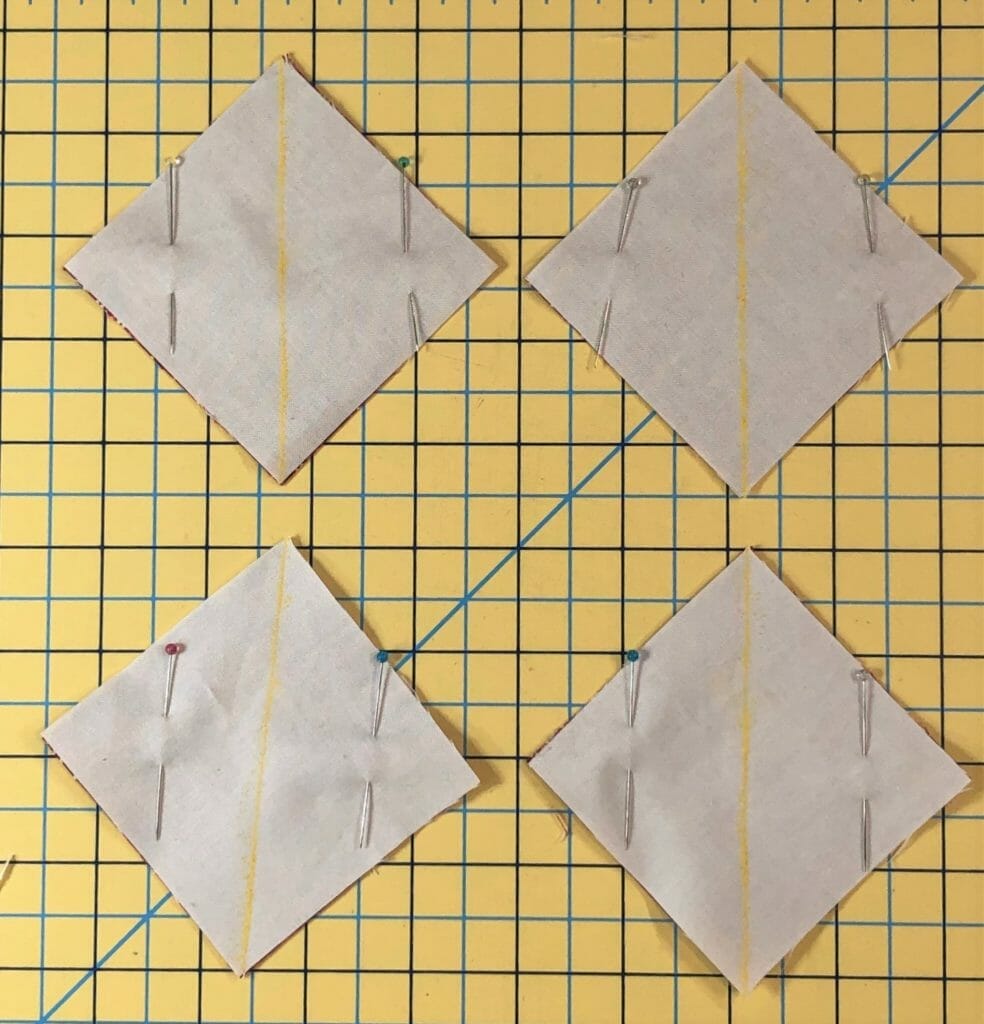
A little tip for the stitch and flip method: I find it helpful to sew just BARELY outside (the side closest to the corner) of the line, so that I don’t end up with my corners coming up short. And by barely, I mean a thread or two. But again, it’s a suggestion, so you do you!

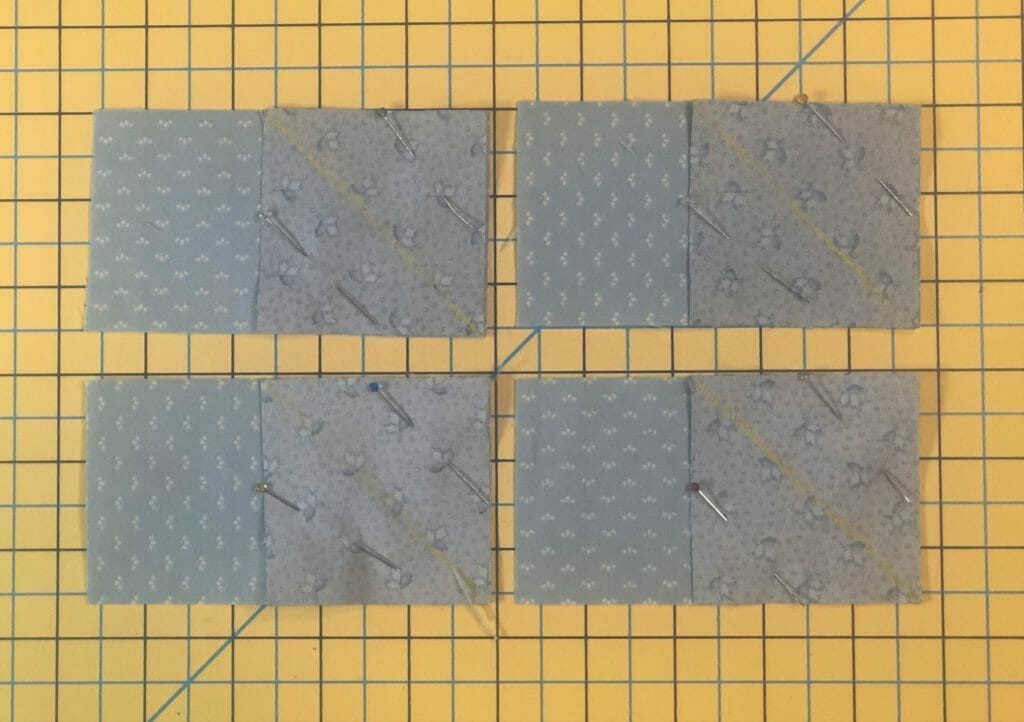
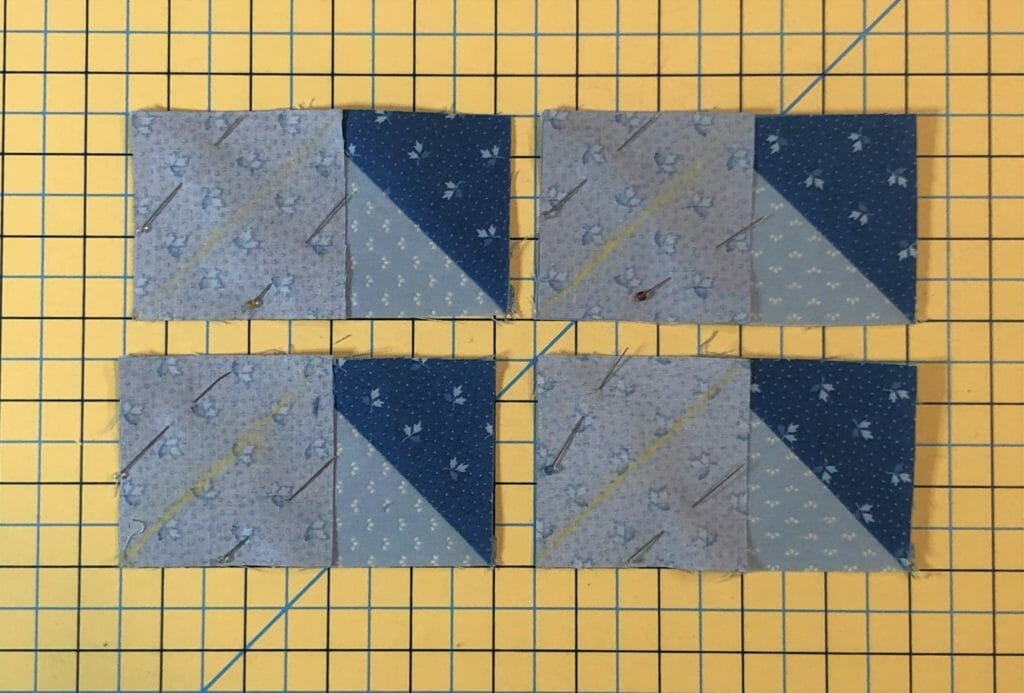
This photo isn’t the greatest, but I’ve got everything marked and pinned.
The second set of squares are ready to be sewn and trimmed.

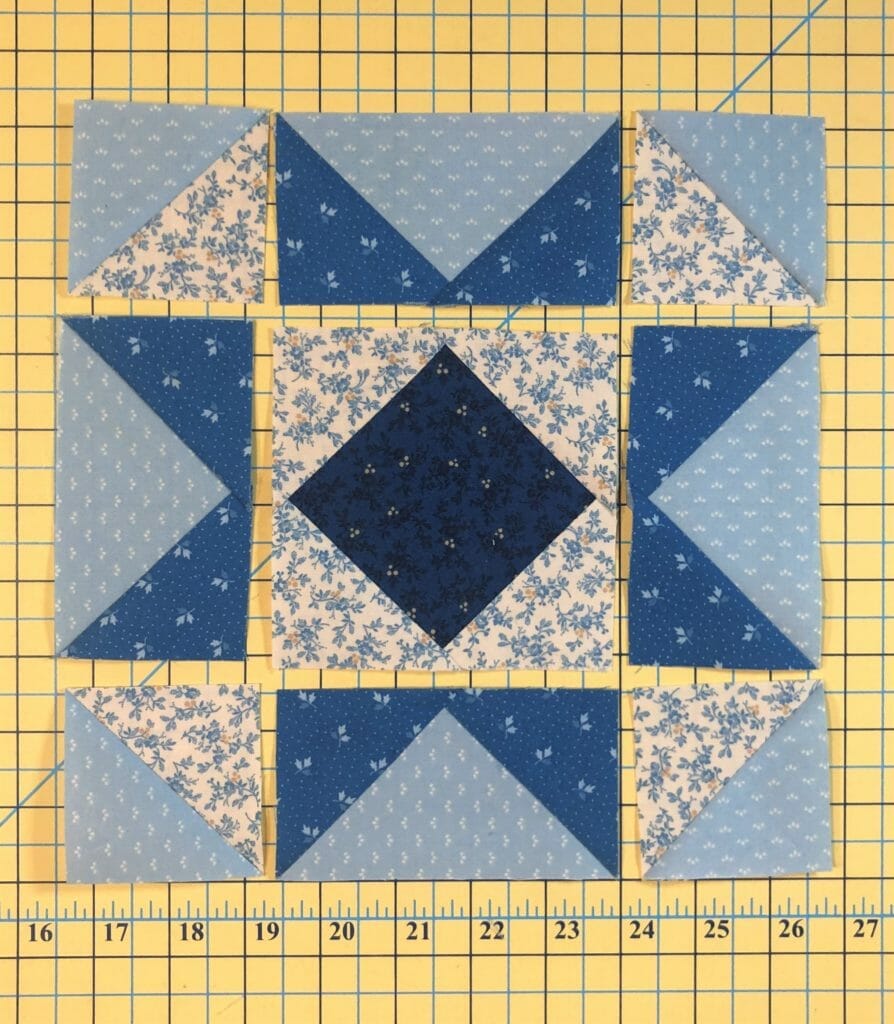
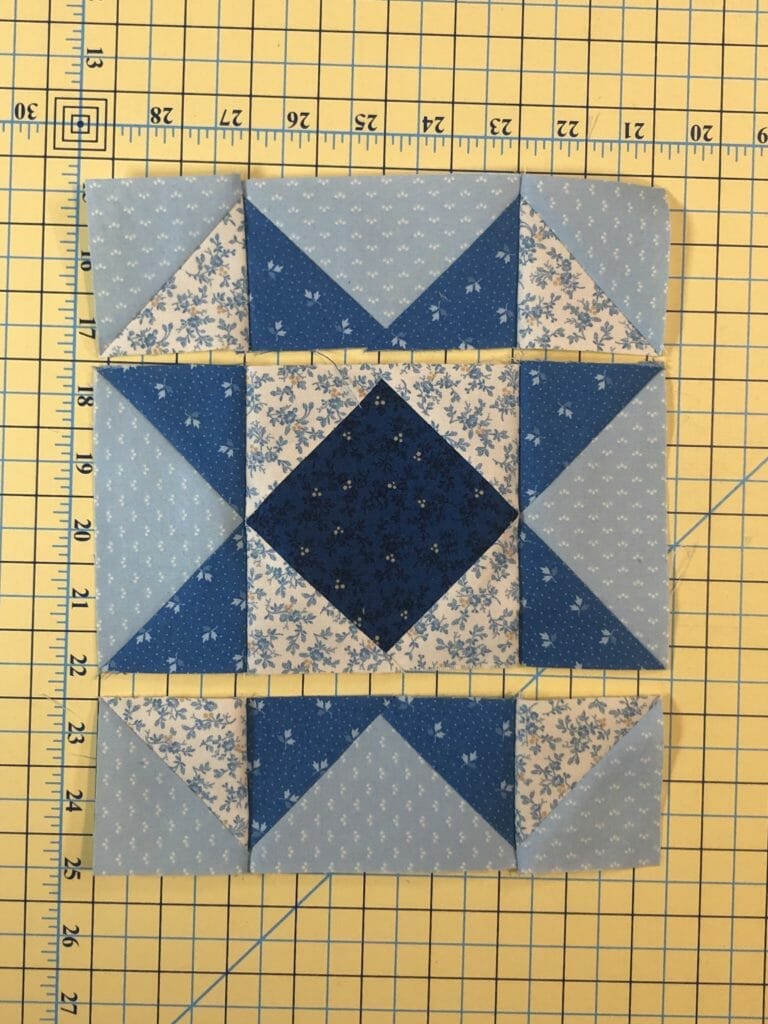
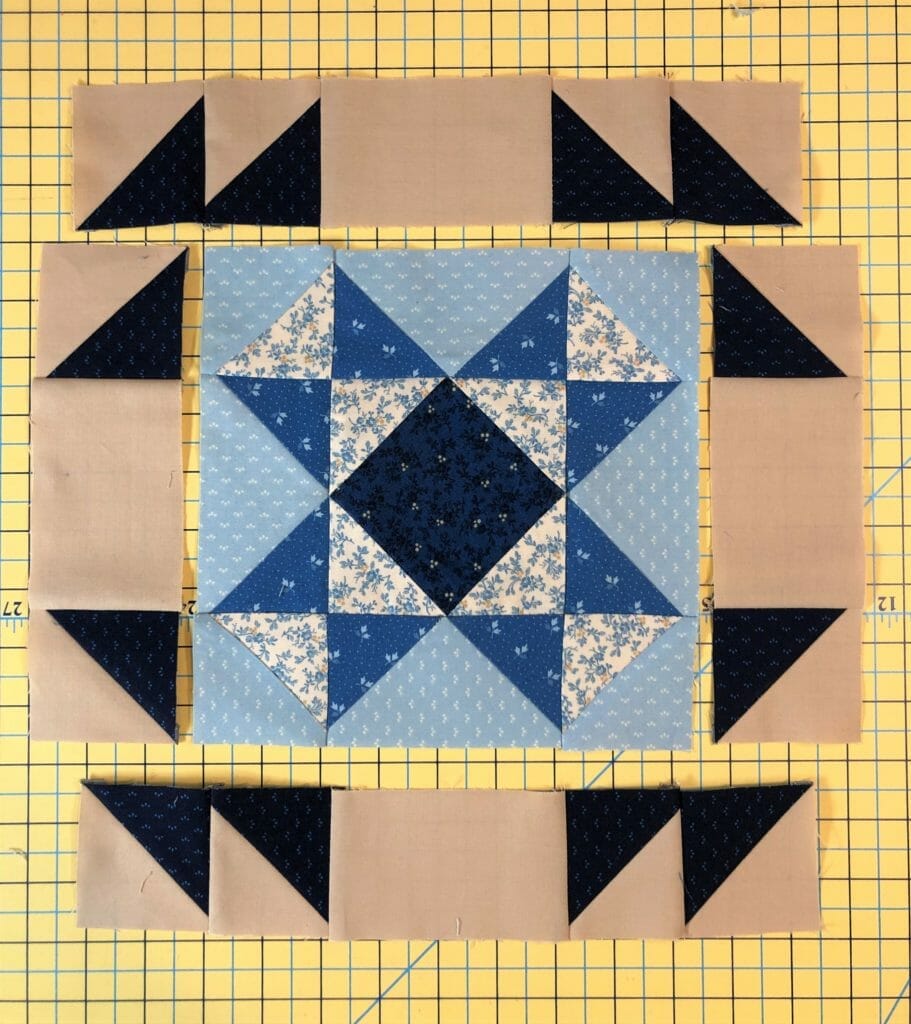
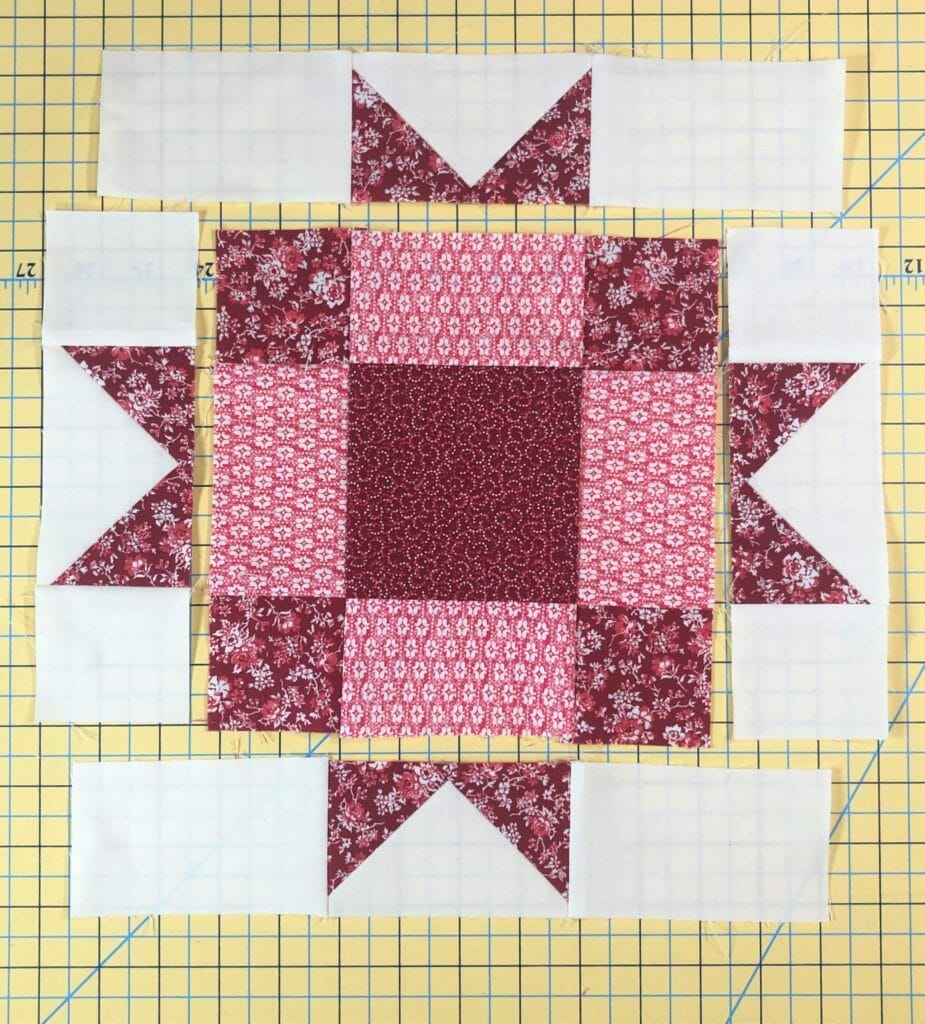
Now it’s time to assemble the block. I always lay everything out and double check that I haven’t flipped something the wrong way before I pin and sew.

As I was sewing and pressing, I continued to spray starch on this block, so that I could have better accuracy with getting my points to line up. I’m not sure I was entirely successful, but I decided it was good enough for me. I used to be really uptight about getting all my points to be PERFECT, and would rip and re-sew things multiple times sometimes, just to get everything to line up. In the past few years I stopped doing that so much, and now just enjoy!

This is also where you might choose to press the seams open, since there is quite a bit of bulk where the flying geese and the center diamond meet up. I pressed mine to the sides like a mad woman, lol!

Hopefully if all went well, this center unit should measure 8-1/2” square, and is ready to sew on our border pieces. We are going to get SO good at making these quilt block borders!

DONE!

And, of course, we have an additional eight sashing strips to make…

If you want to be sneaky, you could even use your extra fabric to make a few extra, since you know that you’ll be making more anyway. I promise I won’t tell!

Well, that’s all for this month. Yay, we did it! Thanks for stopping by, and please either comment below, or shoot me an email if you have any questions.

Happy Quilting everyone!

Kristin


Ruby BOM – Month 9
4.5.2022

It’s me again! This month we will get to make another four unique blocks, and this time three are repeats, and one brand spanking new. Since by now, we should all be pretty familiar with the techniques used in these blocks, I decided to skip over the lengthy tutorials that I’ve covered in months past. But it’s always good to see what these blocks look like sewn up in their new fabrics, so let’s dive right in!
Block #1

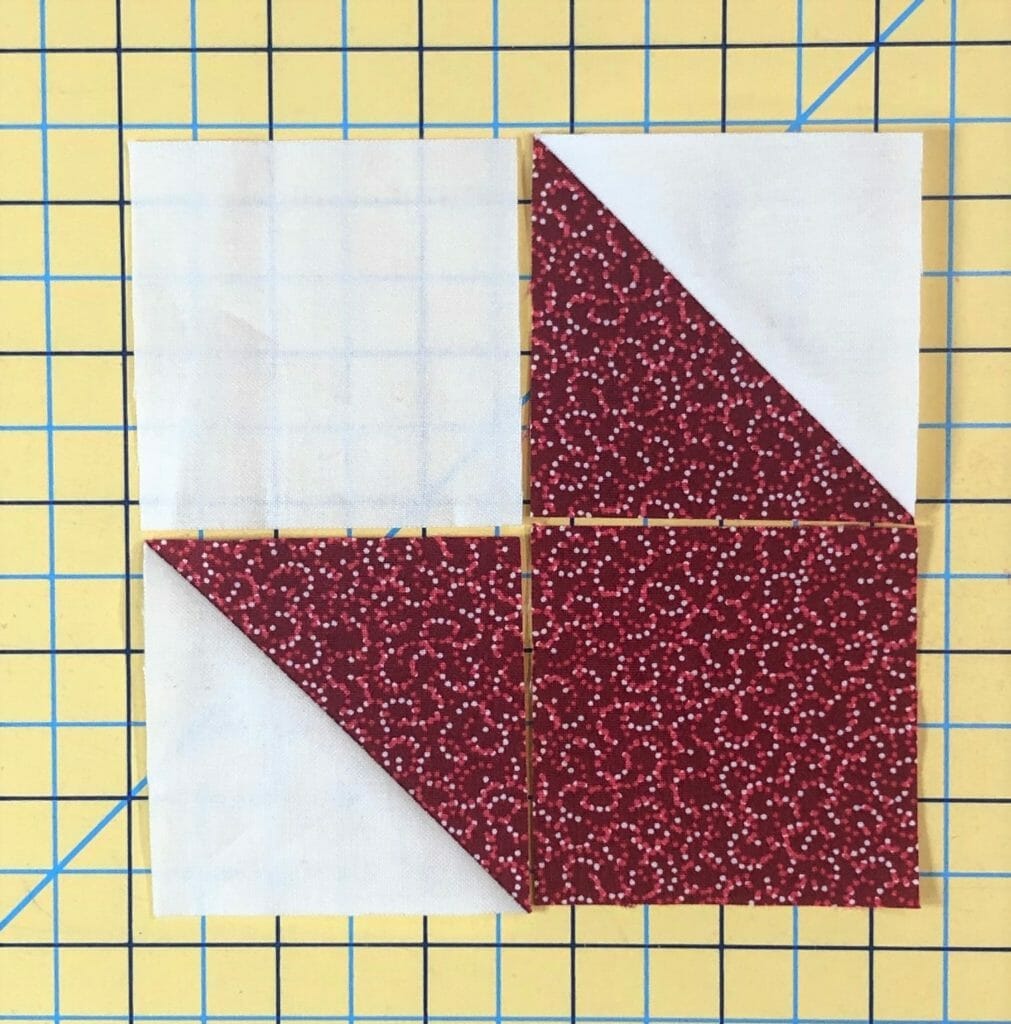
Now that it’s month 9, we FINALLY get to make the first block in the quilt. It’s about time! Technically, we made this same block WAY back in month 1, and it was block #14 then. And why didn’t I switch those and sew block #1 in month one and block #14 now, you ask? The short answer is FABRIC. When I’m planning block of the Month patterns, I need to pay attention to which fabrics will be shipped with which blocks, so blocks with like fabrics get grouped together. So now you know why things sometimes seem out of order. It all works out in the end though!

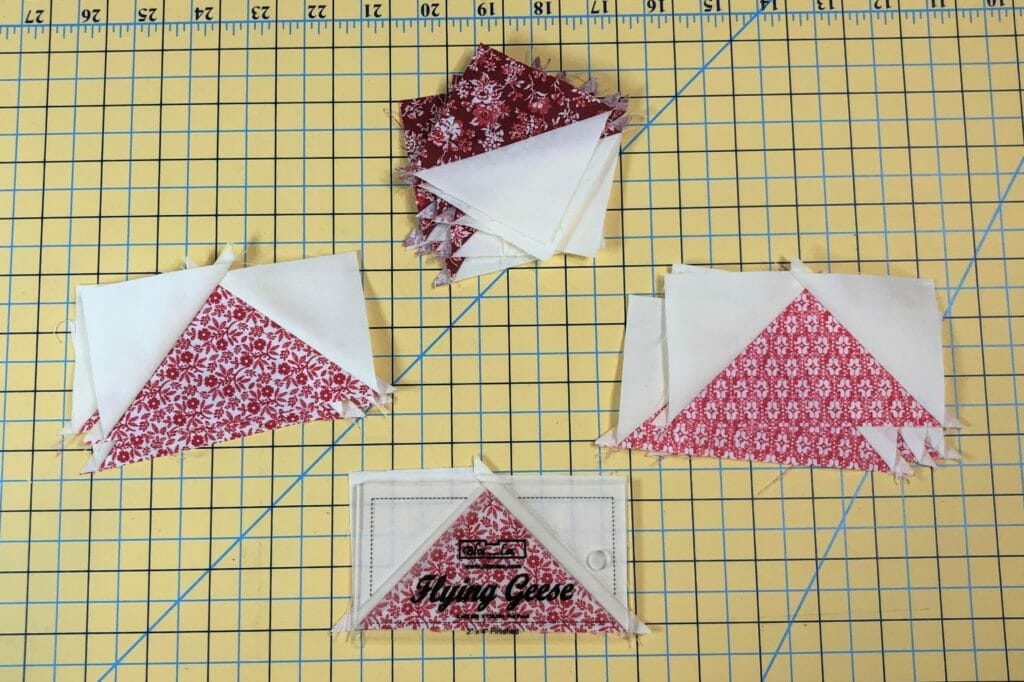
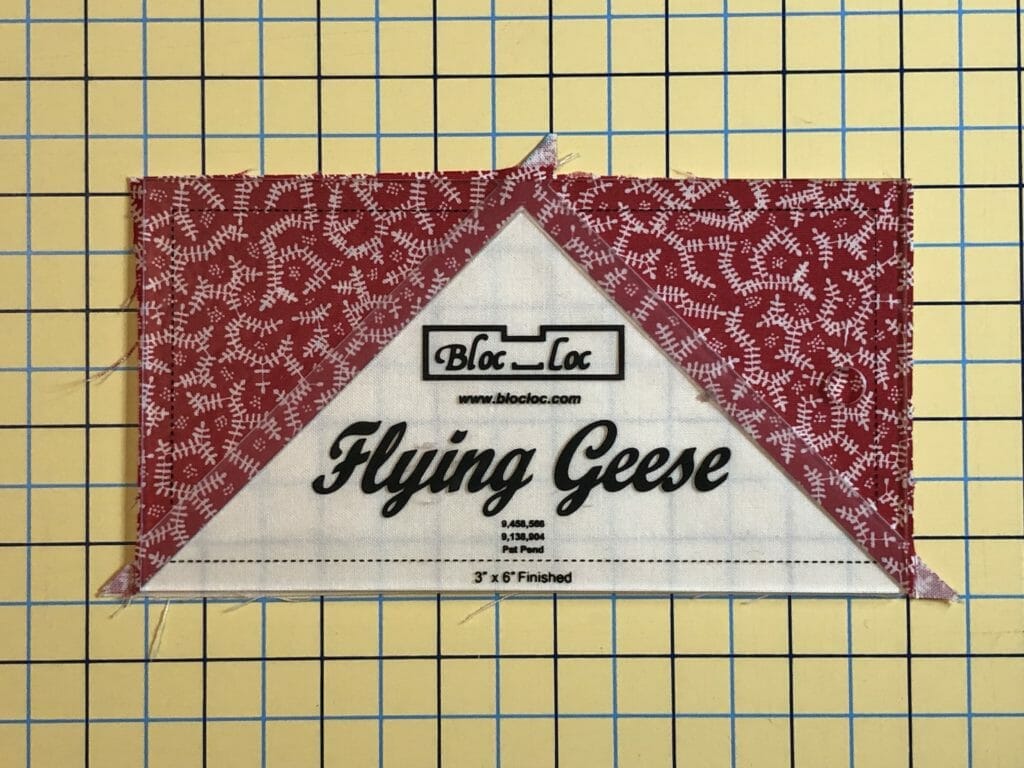
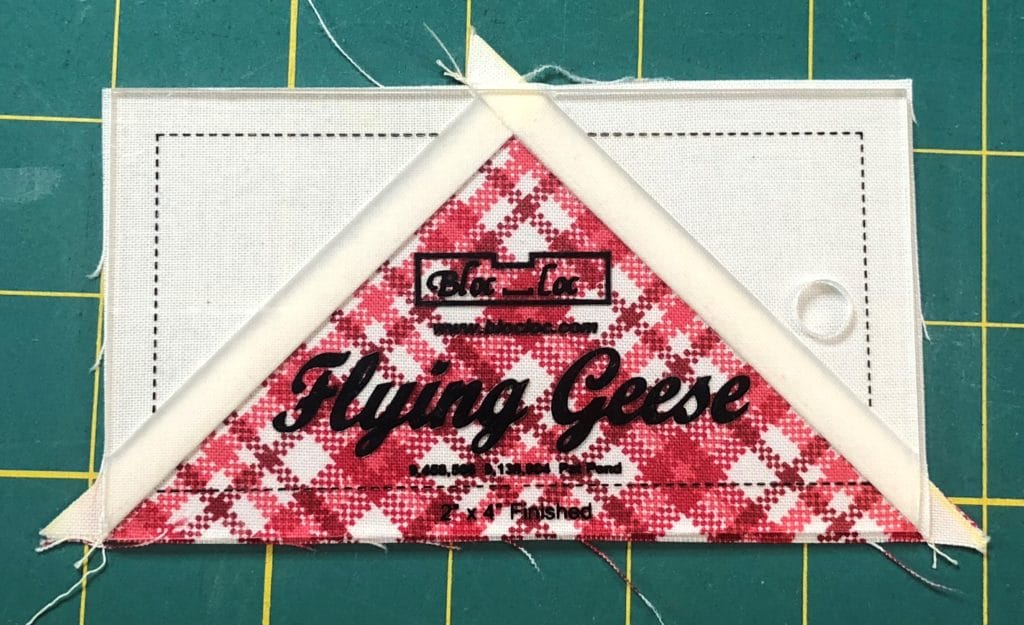
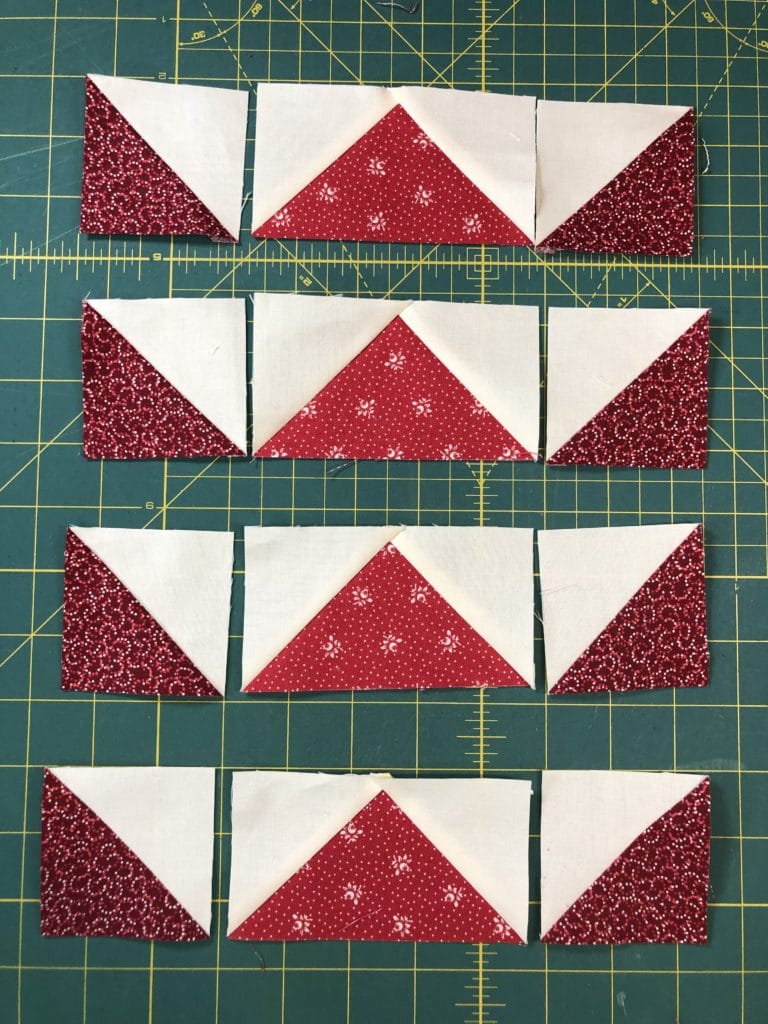
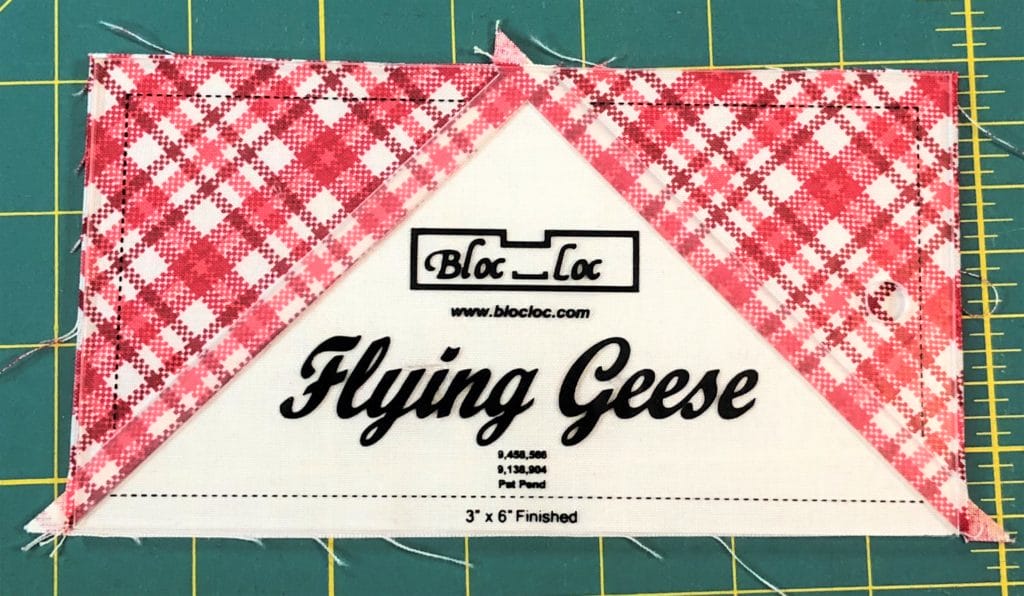
Speaking of being out of order, when sewing up this block, I began by making all of my flying geese and half-square triangles at the same time for this block. As you can see below, they are finished and ready for trimming, using my Bloc-Loc ruler to trim the flying geese units. Since you’ve all made these a million times by now, like I said earlier, I won’t bore you with the details.

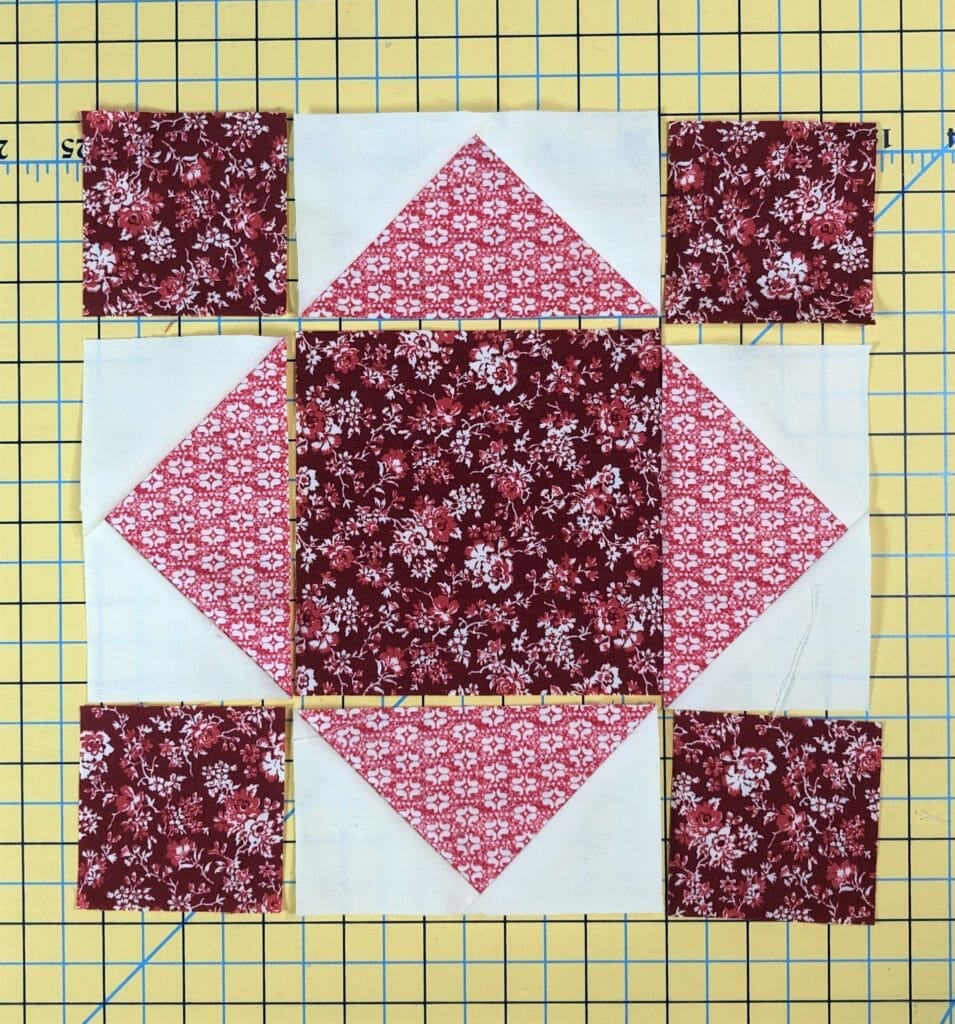
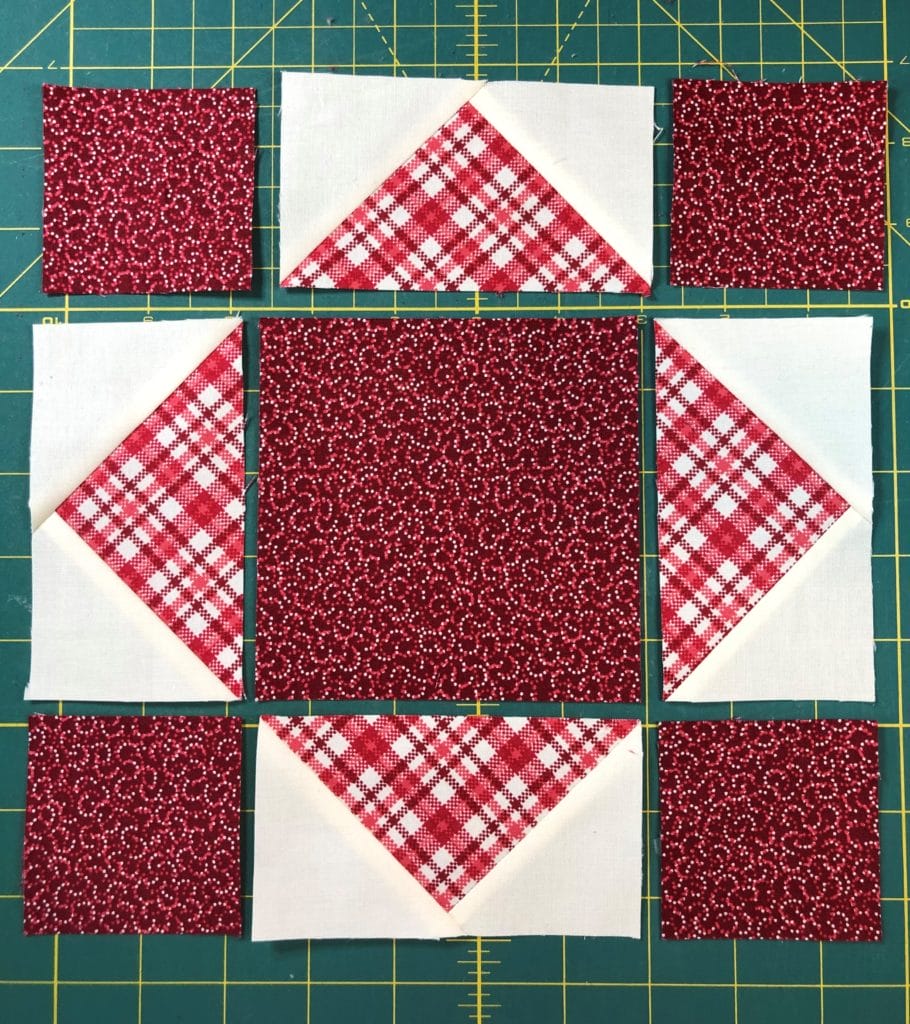
Once those were all finished and trimmed, I was able to get busy assembling the block. Here is the center portion of the unit, which I’ve laid out to begin sewing.

Next, we’ll take the remaining flying geese as well as some Half Square Triangles, then sew those together as shown in step 7. Make sure you press the seam inward toward the flying geese unit on each side so that your seams will nest.

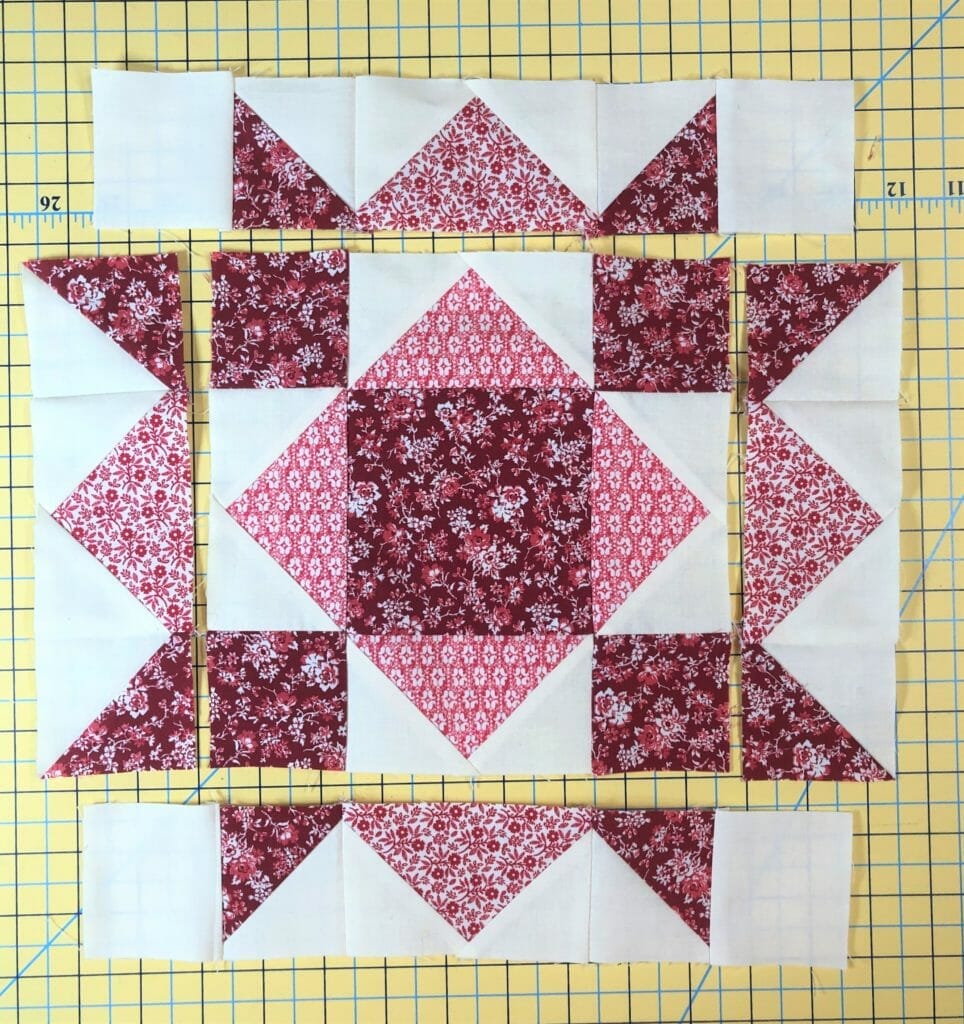
Now, all we have to do is sew those units to the sides, add our G squares to the remaining two units, and then get those sewn to the top and bottom, and the block is finished!

Block #5

This block is our only new one for the month. And this also means, that since it is new, we will be making it again in month 11, so be prepared.

Right off the bat, we are making even MORE no-waste flying geese – in two colorways no less. Once you have both sets completed, you’ll sew them together like it says in step 5. Here is what that looks like in real life:

Next, you’ll make some more Half Square triangles – big ones this time. Always remember that you are free to cut out your pieces just a smidge bigger so that you have wiggle room to trim as needed.

And now we can sew all the units together 9-patch style. Follow the directions and make sure that all your flying geese are pointing inward toward the center square. This was one of those blocks where the seams can get a little bulky, so if you aren’t comfortable with that, remember that you can always choose to press any seams open to reduce that bulk. Otherwise, follow the pressing arrows and you should be just fine.

Block #12

This block is another repeat from month 1 and was known as block #21.

We start by making a simple 9-patch unit for the center like so:

Next, it’s some more of those flying geese we know and love so well. Two of the completed flying geese units will have an F square sewn to each side, and the other two will have the longer G rectangles sewn to the ends.

Now, all that’s left is to sew those to the center unit like you see above. Easy Peasy!

Block #24

For our last block of the month – our ONLY block in our month 9 installment that doesn’t have ANY flying geese! How did that happen?! We made this block previously in month 5 as block #9 in case you want to refer back.

Begin by making some Half Square Triangles as directed.

Now you’ll use those HSTs to make a simple 4-patch unit like so:

After sewing the E and B strips together, you’ll have everything you need to assemble the block.

Here is my block, laid out and ready to sew together.

How easy was that? Another four blocks in the books!

Do you all realize that we only have one more month of Irish Chain blocks, and one last month of four unique blocks, then we are ready to finish our quilt?! We are SOOOO close to the finish line!

I hope you all have a wonderful, happy, and quilt-filled month!

Until next time…

Kristin


Ruby BOM – Month 7
2.7.2022

Hello friends!

This month we get to make another 4 unique blocks. Yay! And once again, some of them may look a little familiar. That’s because three of the four blocks for this month are ones we’ve sewn before. The only block this month that is brand spanking new is block #23. So I’ve decided to go a bit out of order for this blogpost and start with our new block for the month. Let’s dive in!

Block #23

This block begins with making some no-waste flying geese. By now, you know the drill on how to make these, but here are a few pictures to refresh your memories.

Once those are sewn and trimmed, I lay out everything for step 3 before I begin sewing the components together. I have a love/hate relationship with blocks that have the flying geese sewn outward to make a square in a square effect. I love using this block in designs, but sometimes when sewing it can be tricky to get those flying geese to match up in the corners and make a smooth-looking diamond shape in the block. So I really pay attention to how things are lining up as I’m pinning, and yes, I use LOTS of pins to keep everything in place for sewing.

Once you have the center section sewn together, it’s time to make even more flying geese.

 After those are done, I again lay everything out before I begin sewing. I always do this, and mostly it’s because way back when I first started quilting I would confuse myself and end up sewing things going the wrong way, so this helps me to see what I’m about to do before I start pinning. Because nothing is more aggravating than thinking you’ve finished sewing your block, only to realize that you did it wrong and have to rip it out. Ugh!

You can see in the picture below that I already sewed the F squares to the ends of the D/E flying geese. Sometimes I get ahead of myself!

Almost finished…

This block is also one that no matter which way you press the seams, you’ll end up with some bulk in spots. If this bothers you, feel free to press the seams open for steps 6 and 7. Personally, I just pressed the heck out of those seams according to my instructions. But if you want to adjust, by all means, feel free. Once your quilt is done, no one will see how you pressed anything anyway.

I really love how this block turned out. In fact, a loooong time ago, I even designed a whole quilt using this block as the base for my design.

Okay, now let’s go back to the beginning of the pattern and talk about the not-so-new blocks we’ll be making this month.

Block #2

This block is the same as block 15 from month 3, so you can refer back to that blog post HERE if you’d like a refresher. But it’s always good to see how this block comes together with the new fabrics, so I’m posting a few pics of how this month’s version comes together.

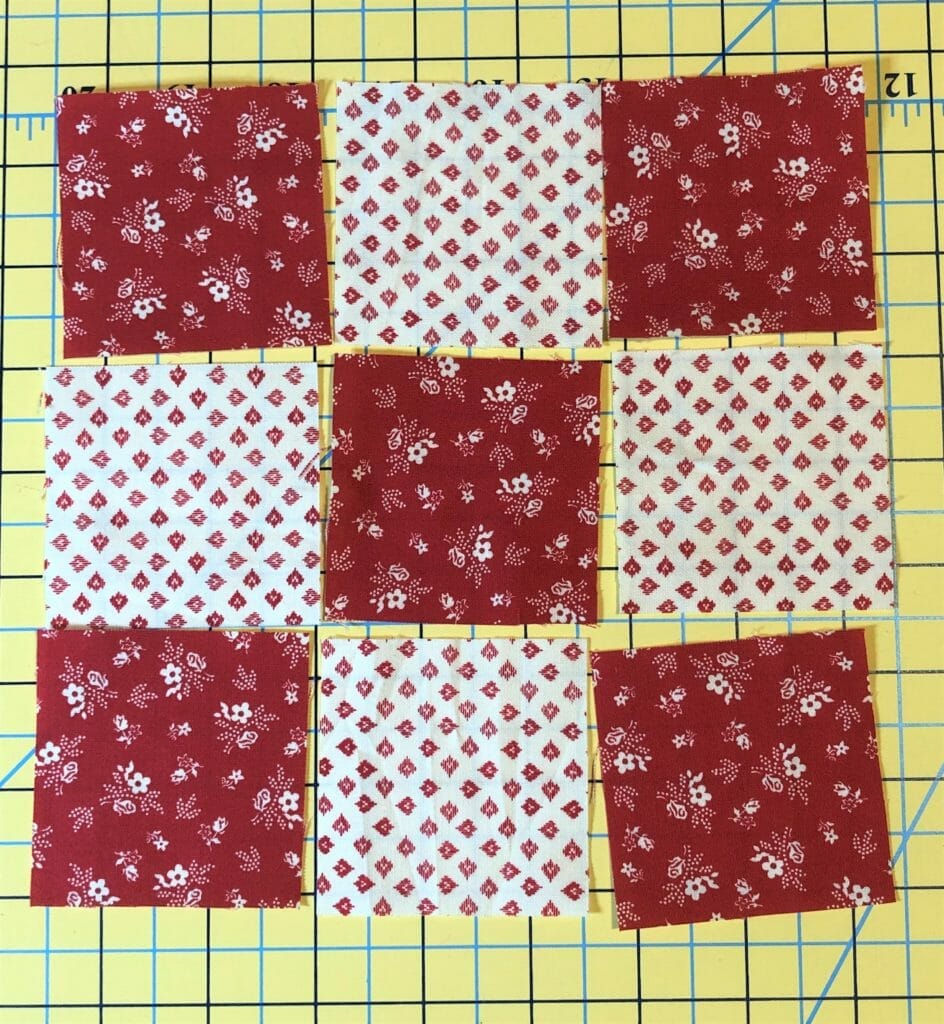
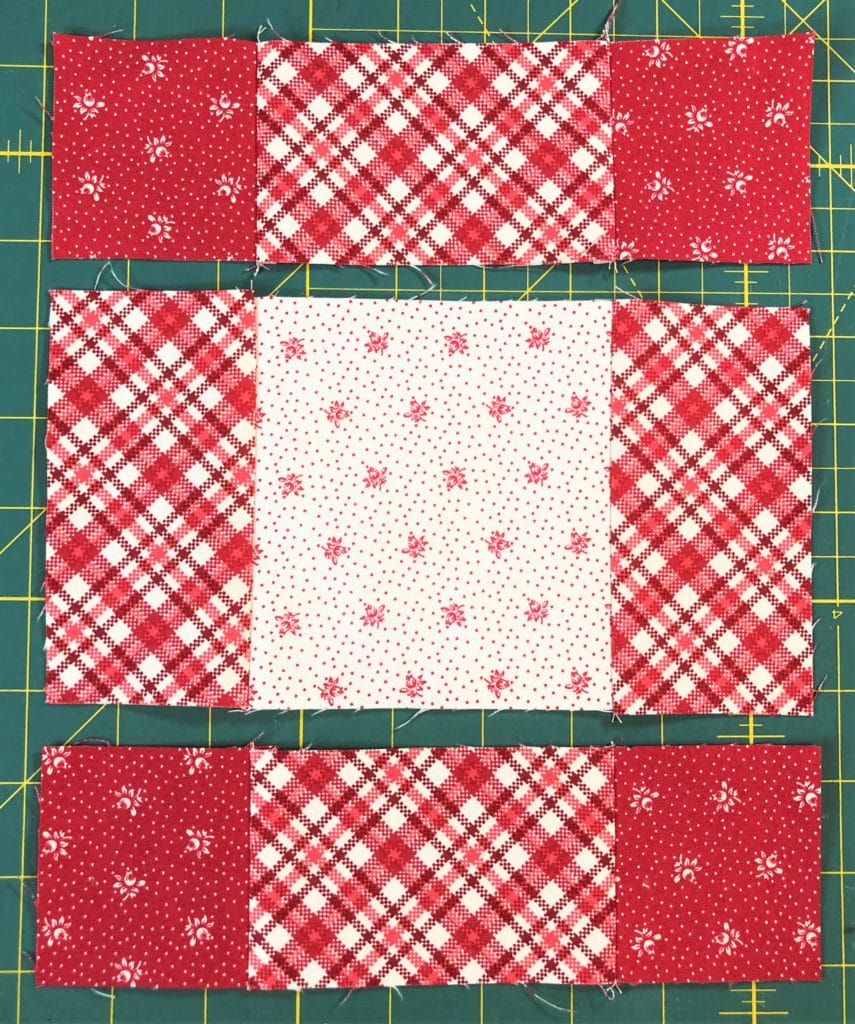
Here are the squares for the center 9-patch, ready for sewing.

After I made the 9-patch unit, I sewed the HSTs for the corners of the block.

Here are all the components of the block, ready to sew into rows.

Block #4

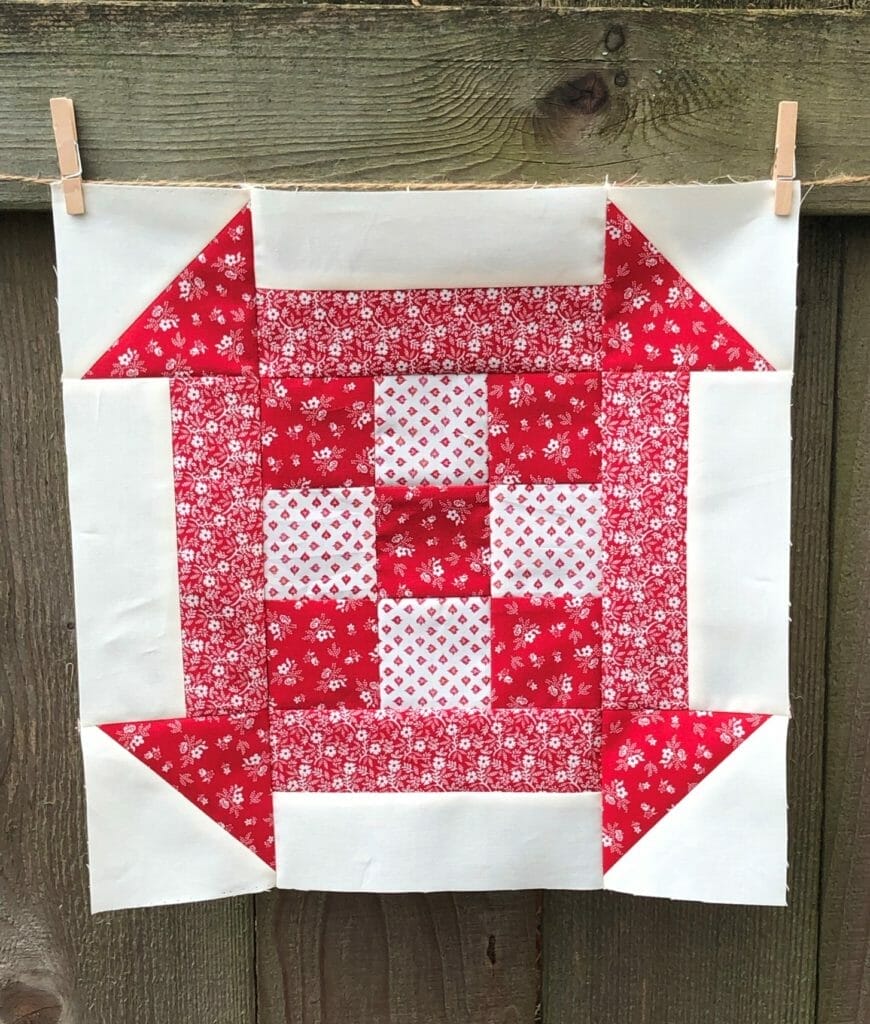
We originally sewed this block way back in month 1, and it was block #16, in case you want to refer back. The only slightly tricky thing about this block is making those quarter square triangle blocks, and making sure you’ve got everything in the right place as you sew and cut.

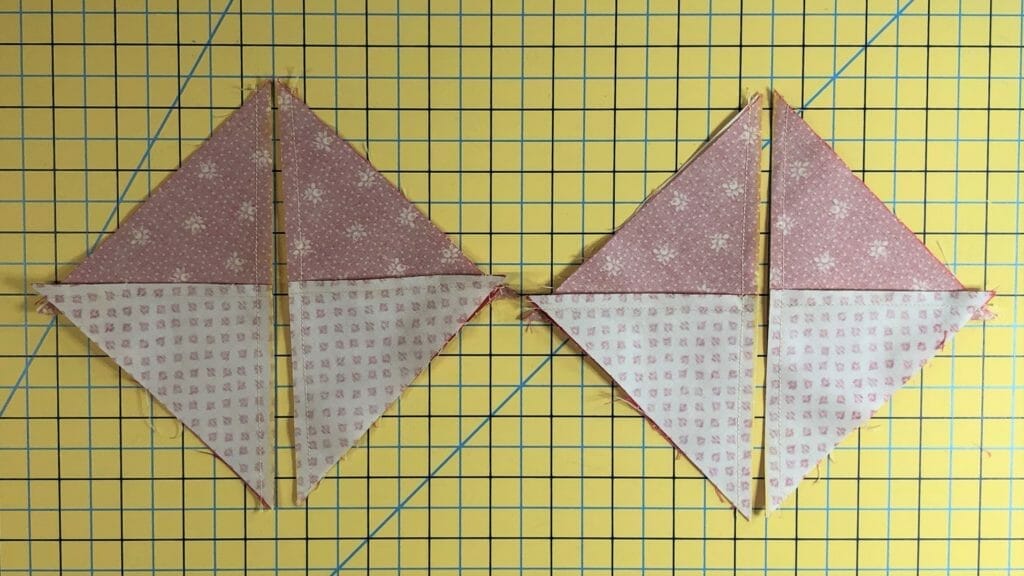
First, you’ll make your half-square triangles.

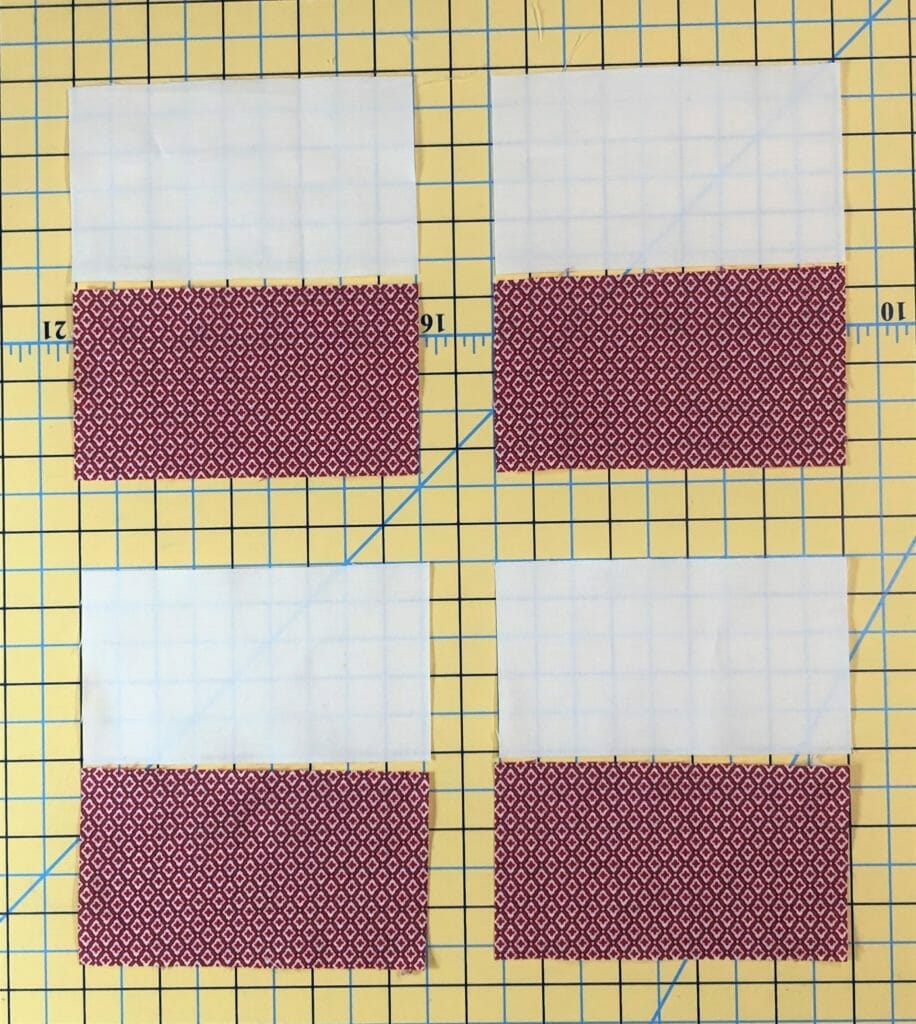
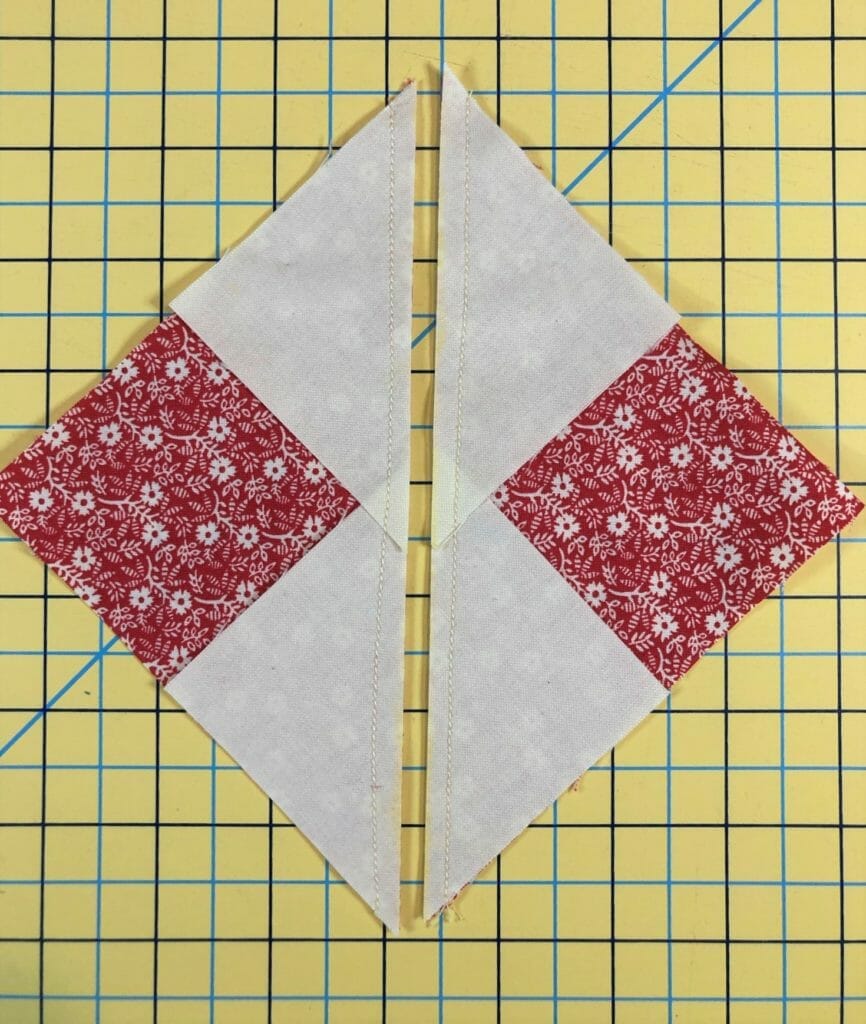
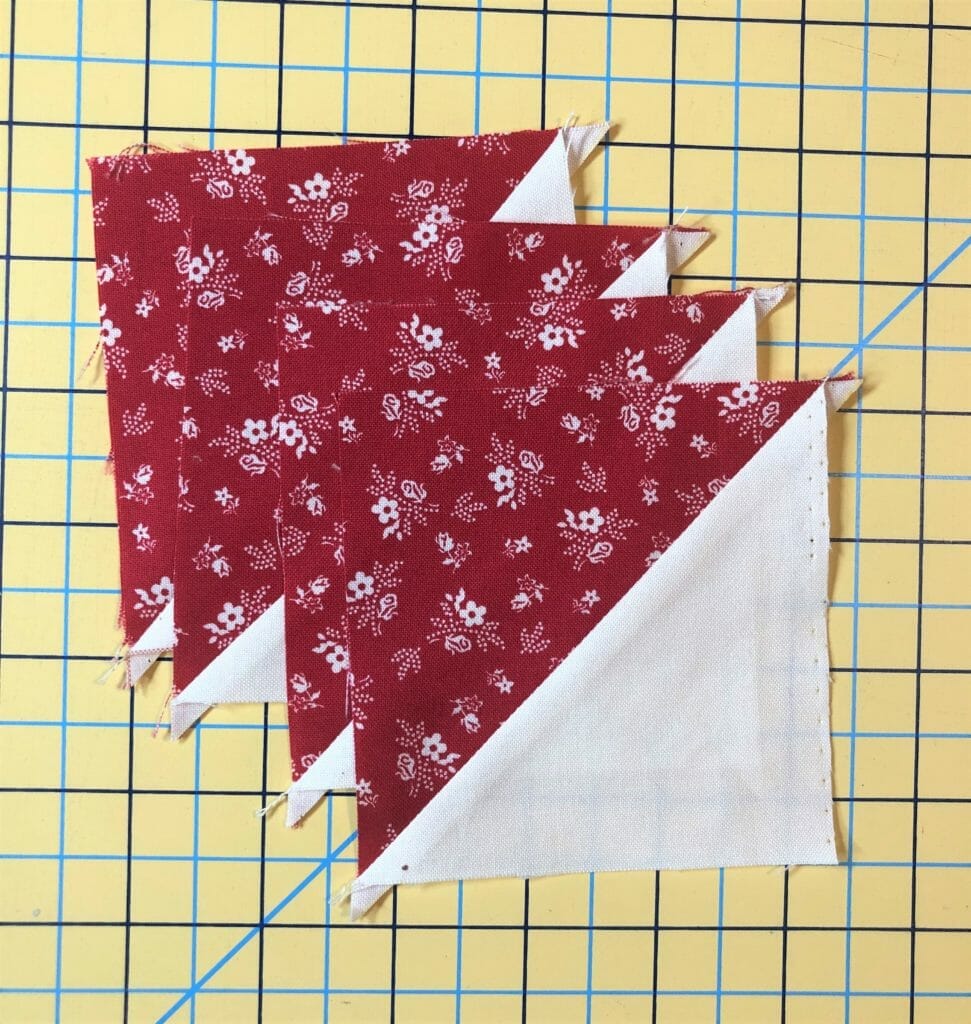
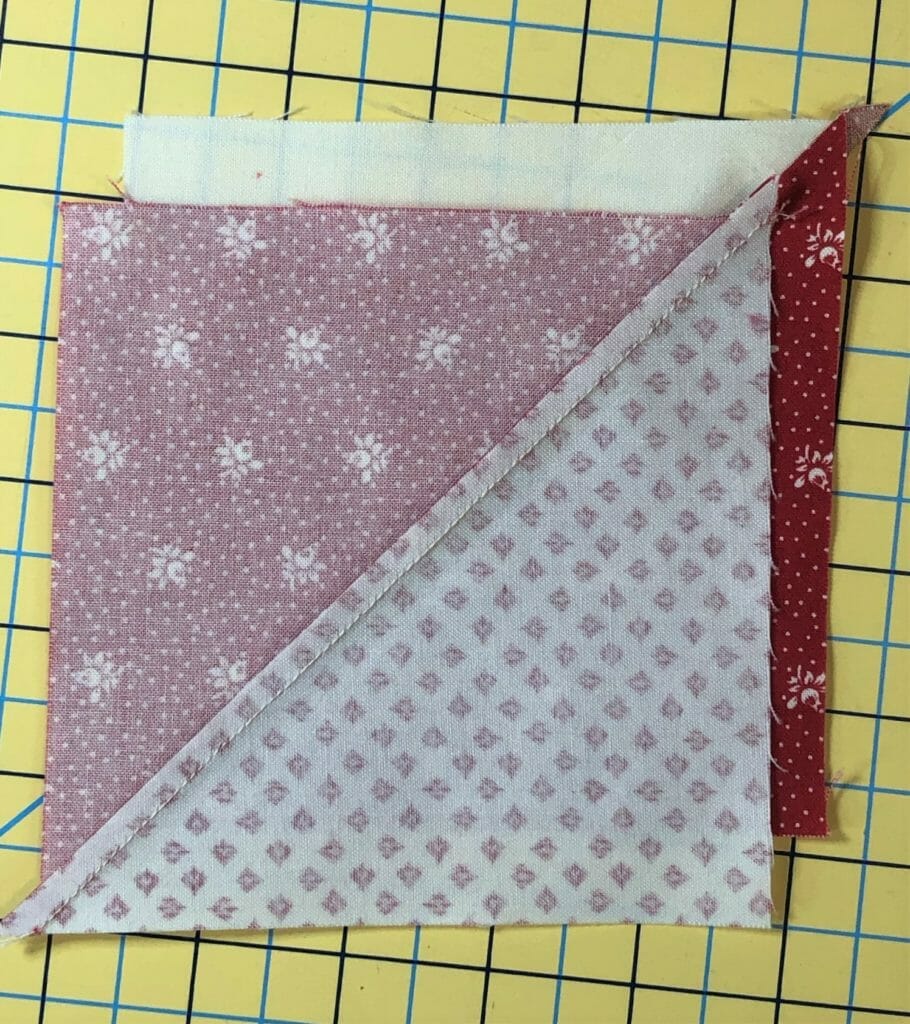
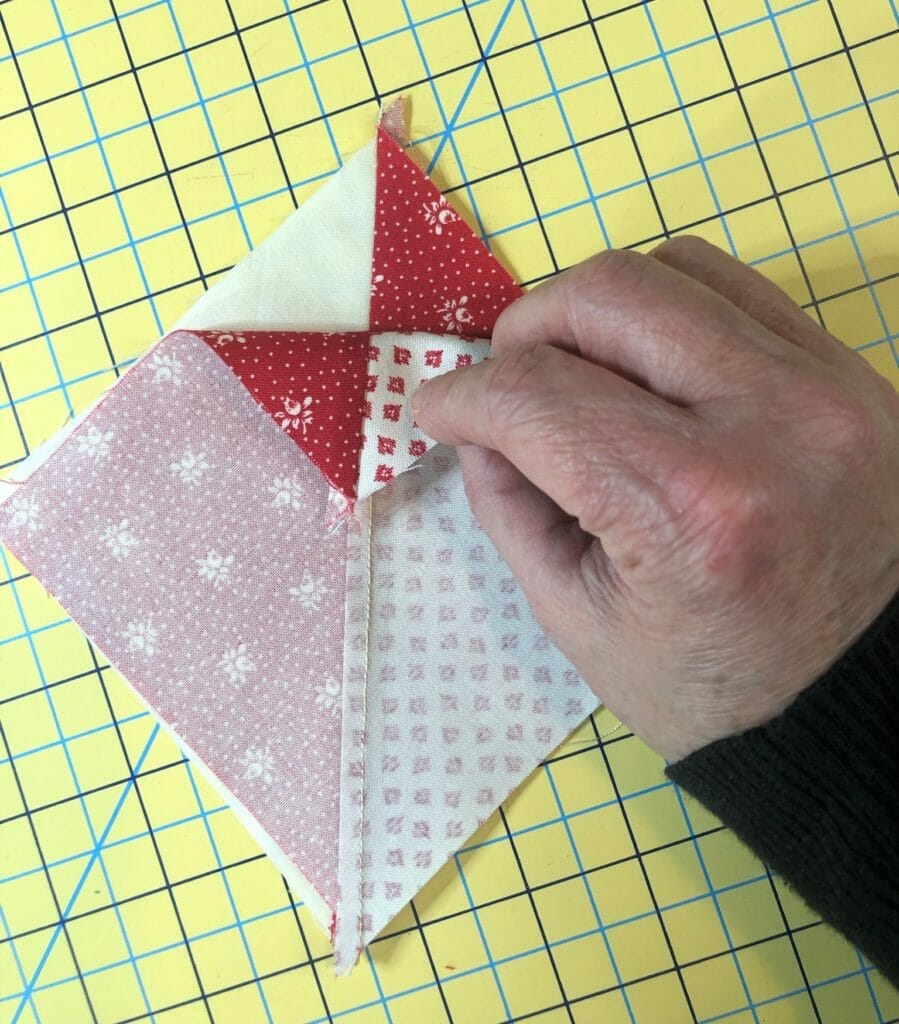
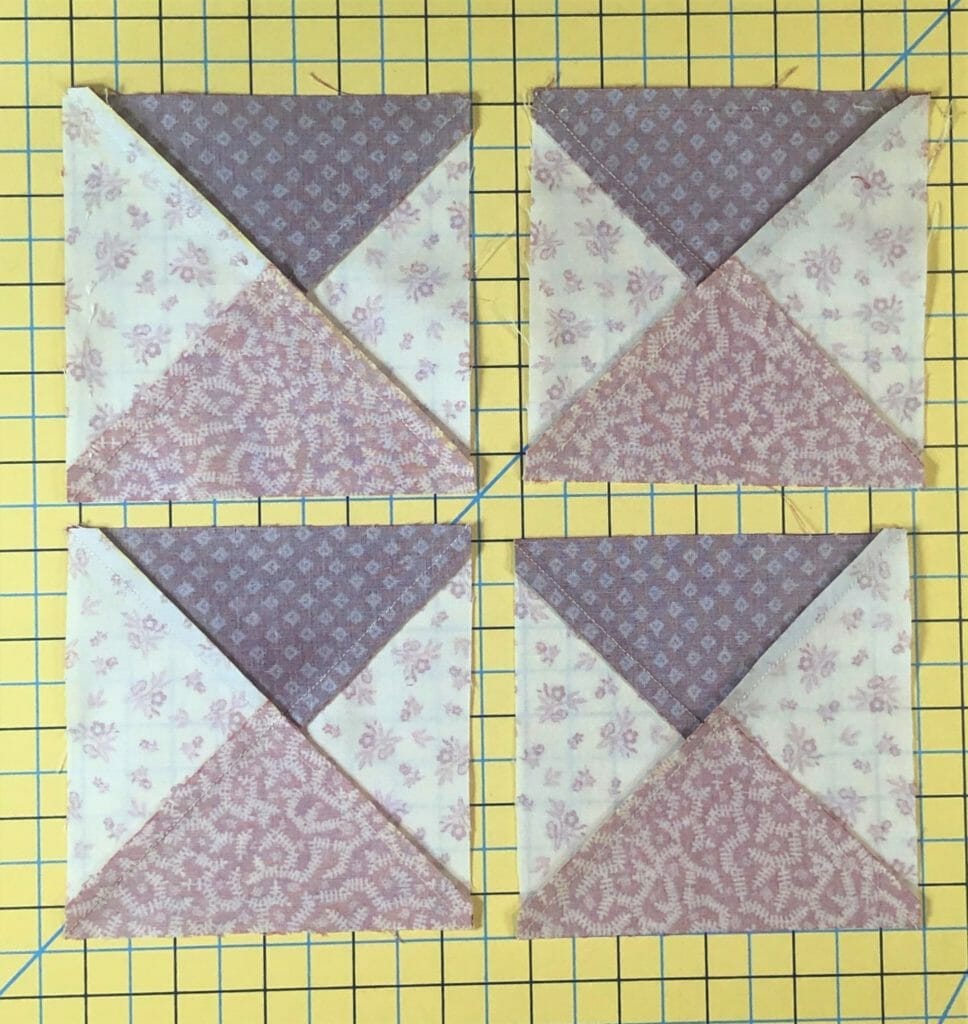
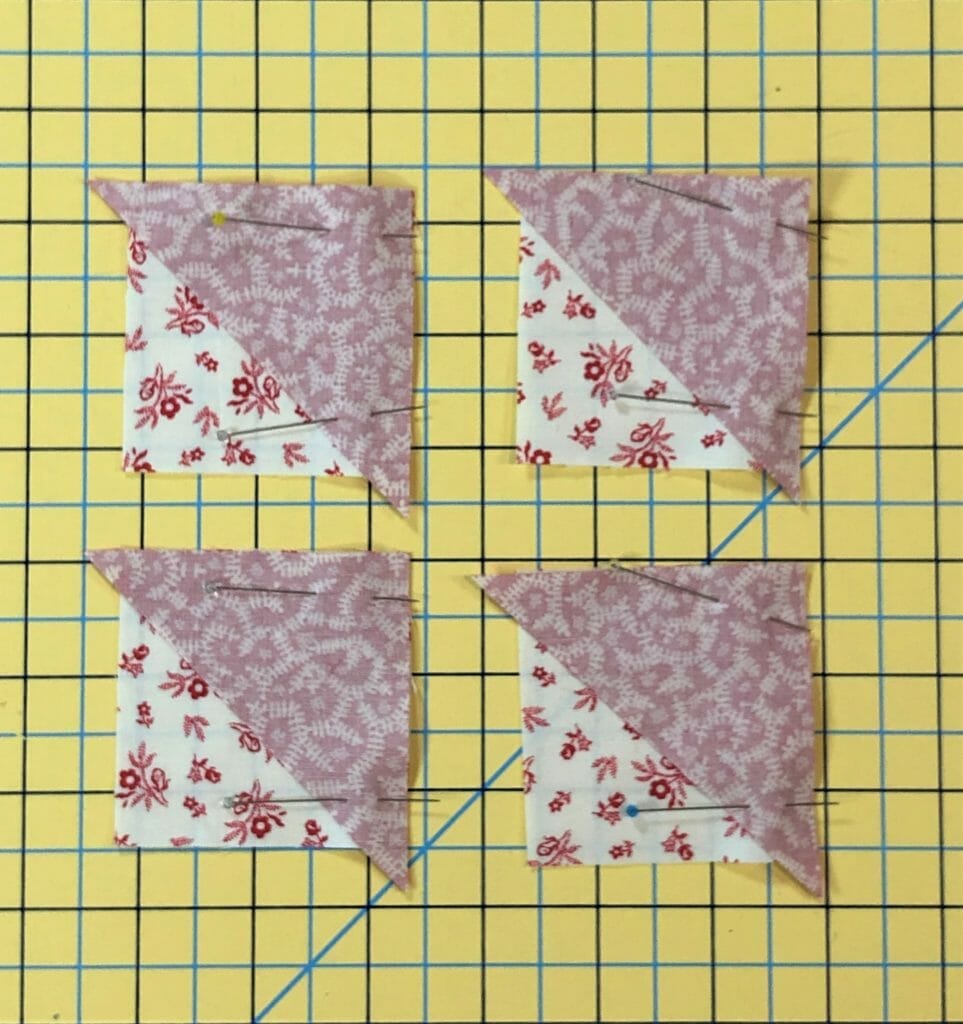
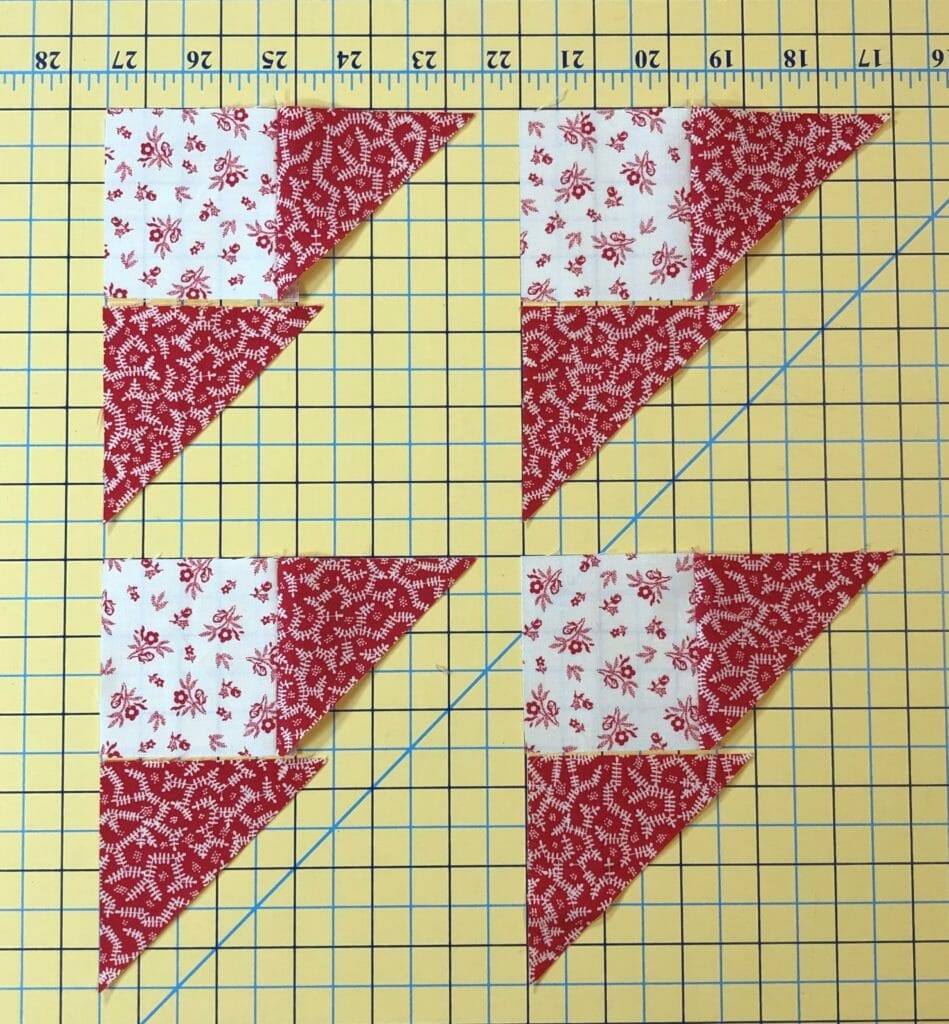
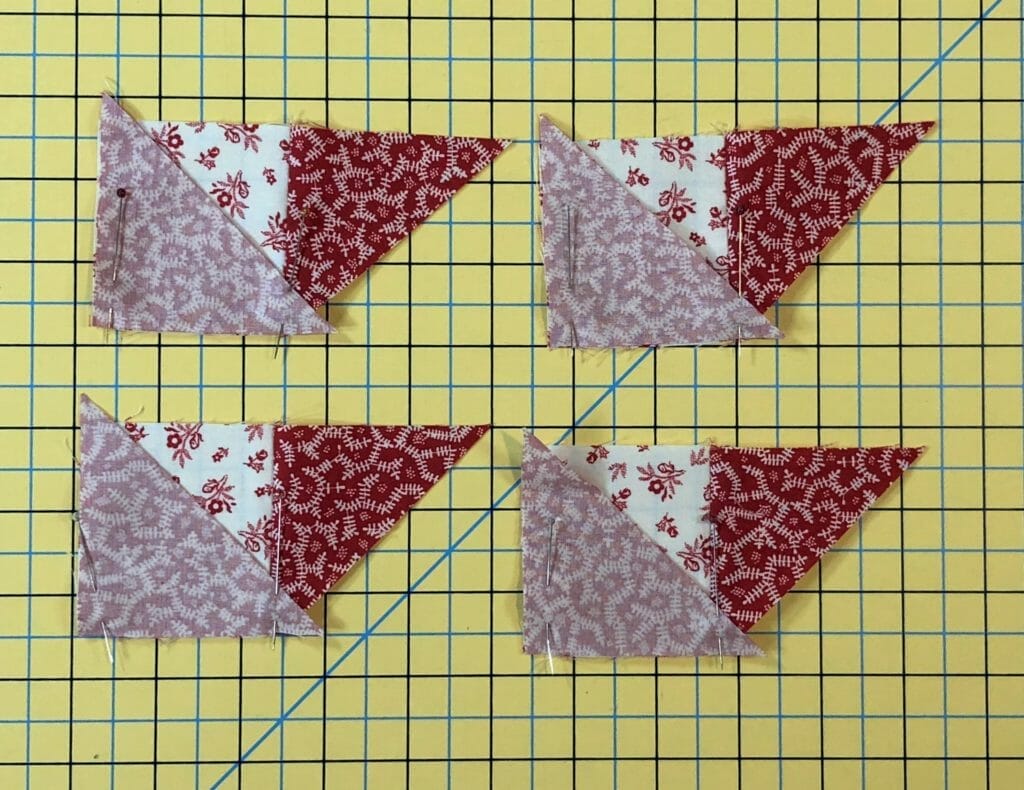
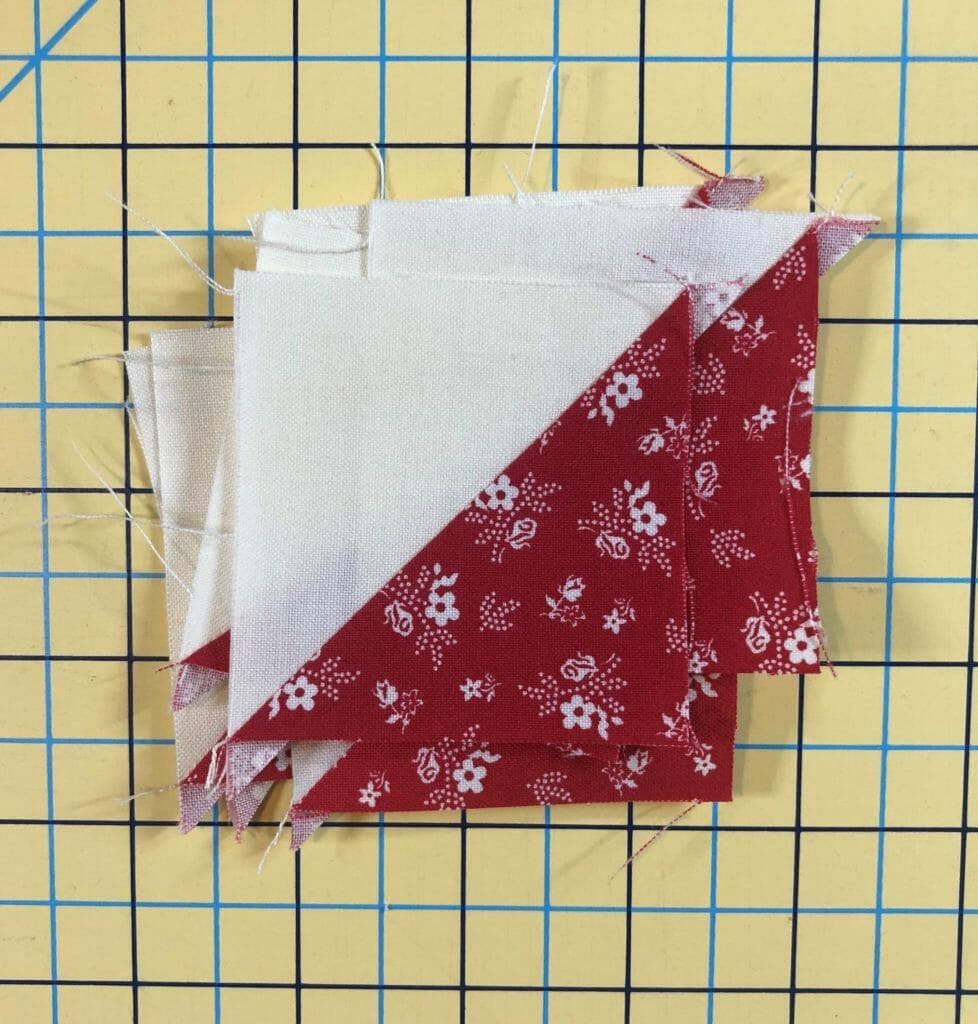
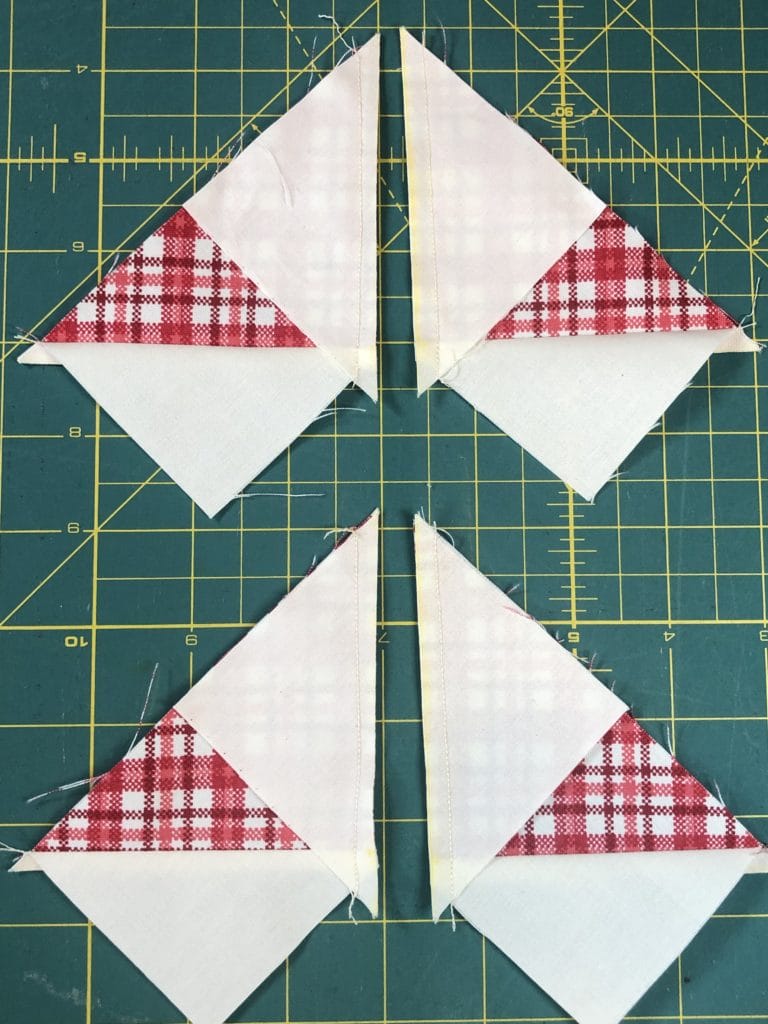
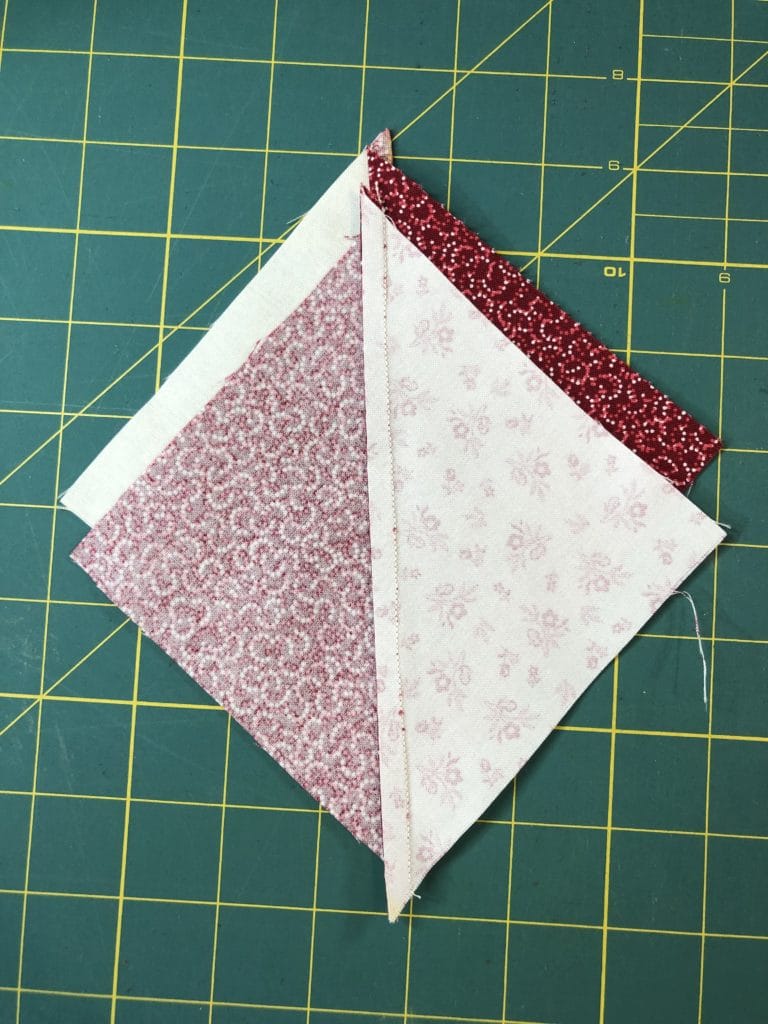
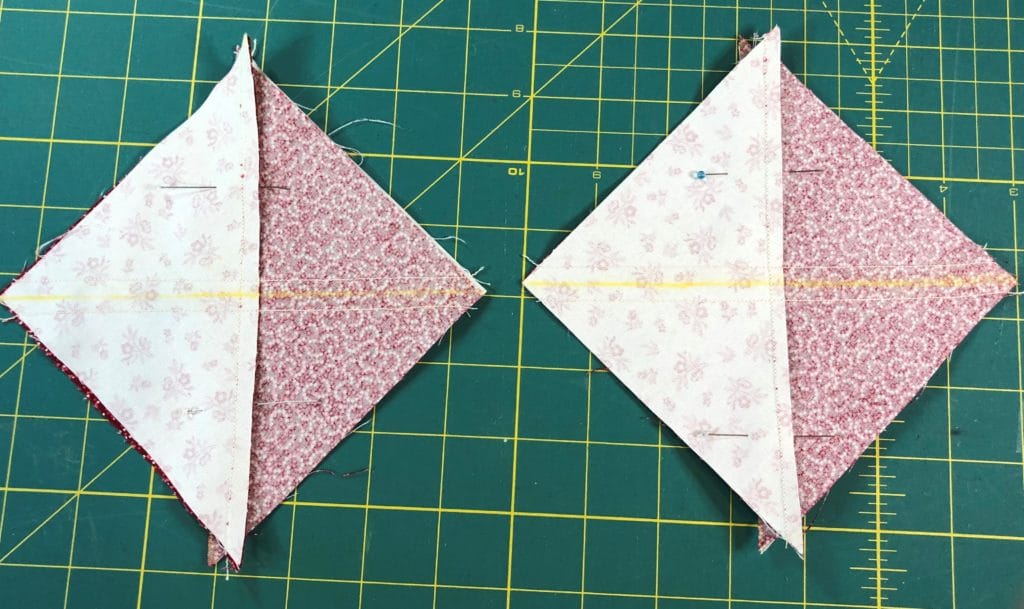
After those are done, you’ll pair up one of each kind and place them right sides together. They aren’t lined up in the photo below on purpose so that you can see how the Red Corsage II fabrics on the bottom and top units are to be on opposite sides. While I normally would trim my HSTs before sewing, when making Quarter Square triangle units, I always wait until I’ve finished them before trimming. That’s why you still see the tails in the photo.
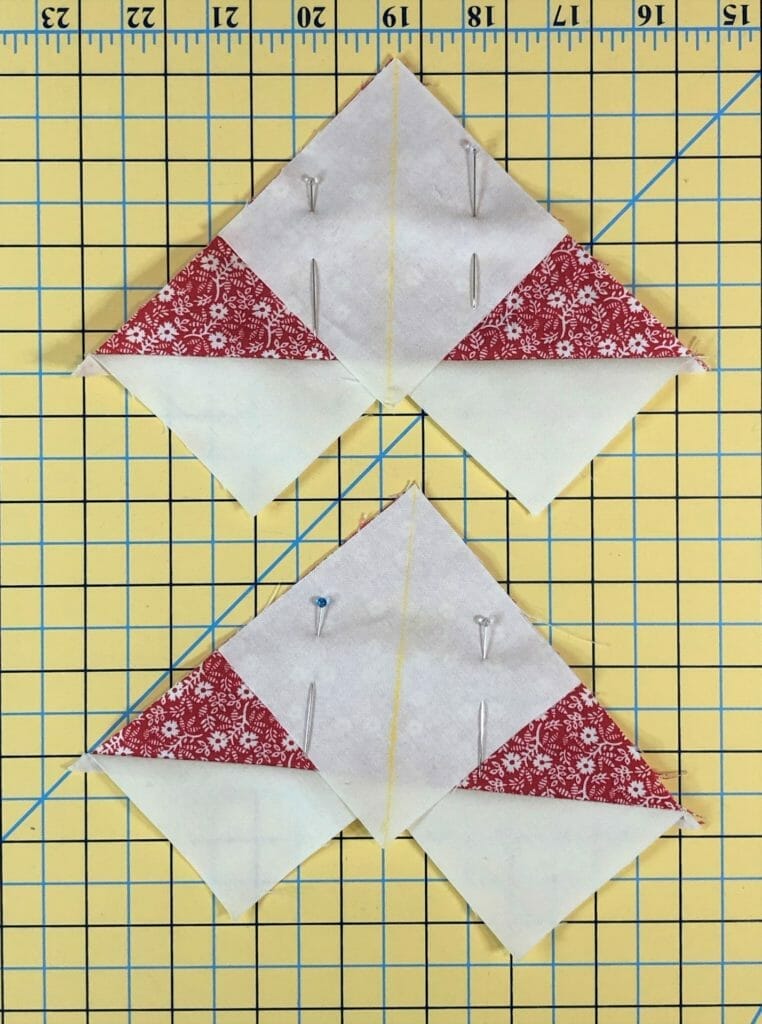
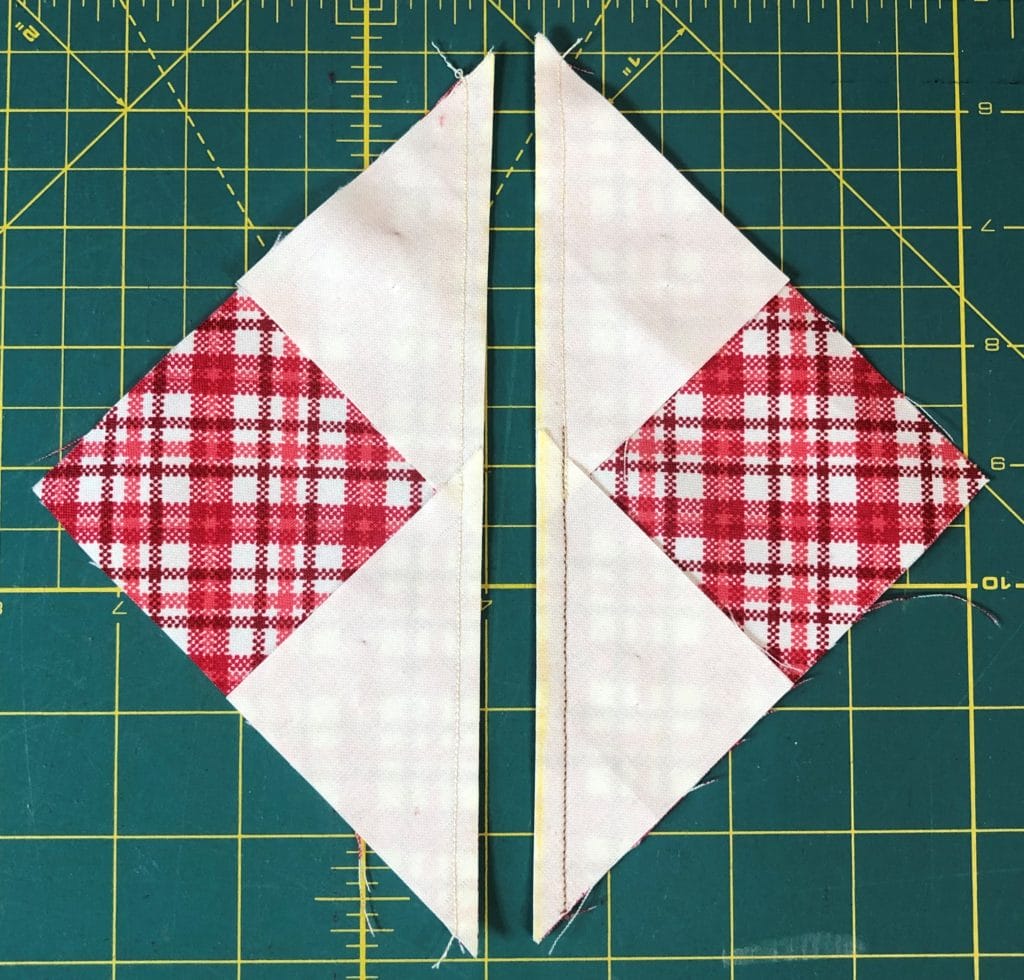
If they are placed properly, you should be able to peel back the top unit and it should look like this:

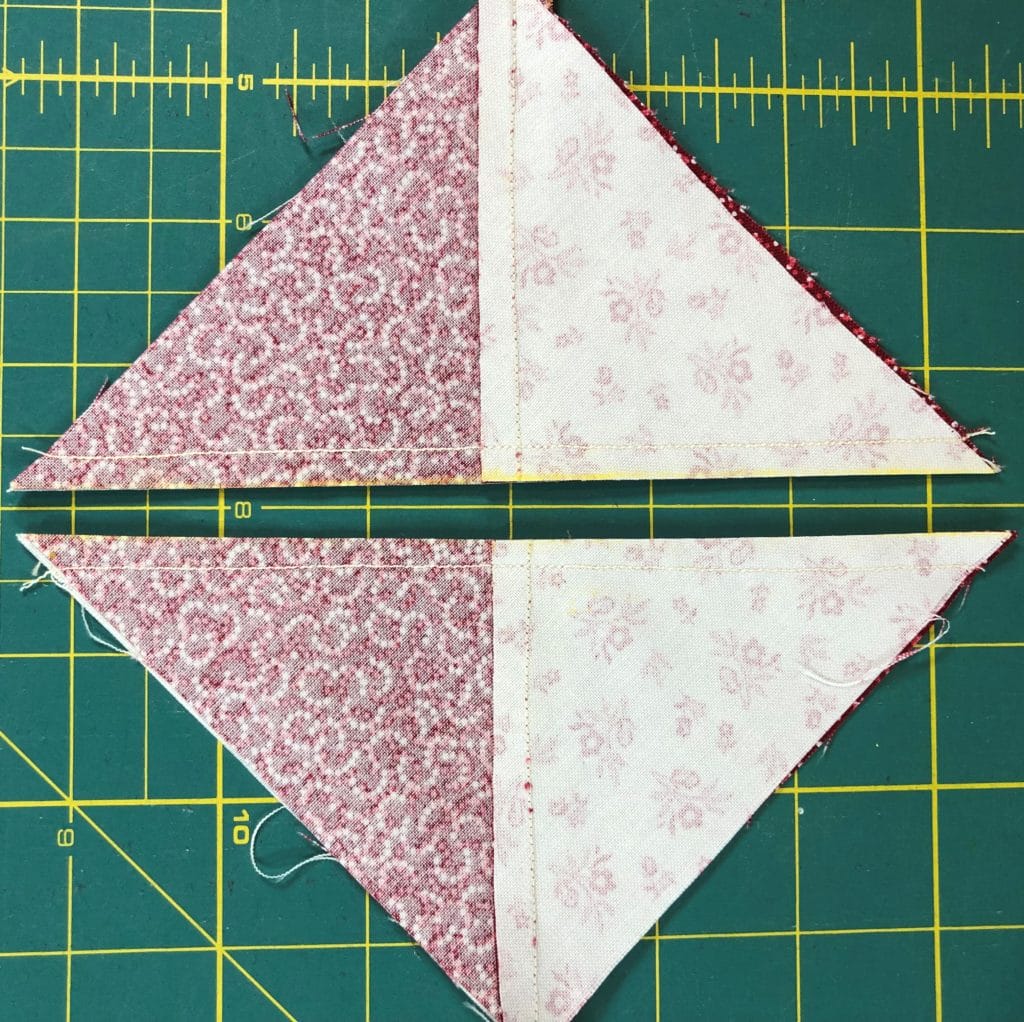
I’ve skipped ahead a bit here, but this is what they should look like after you sew on either side of your marked lines and cut on the line. Now all you have to do is press them open and trim them to size.
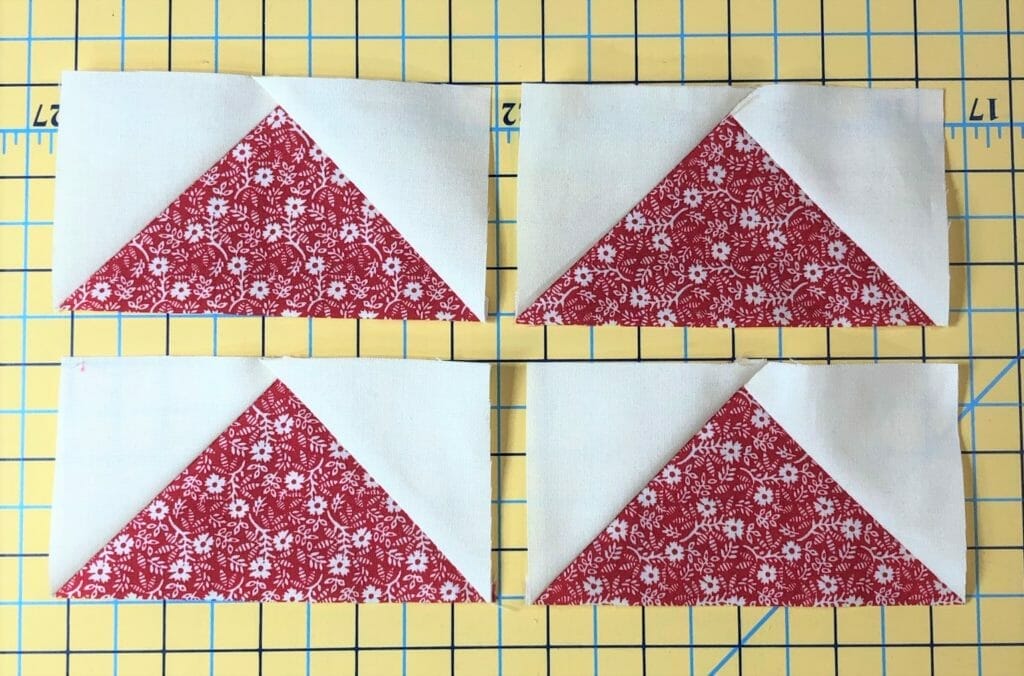
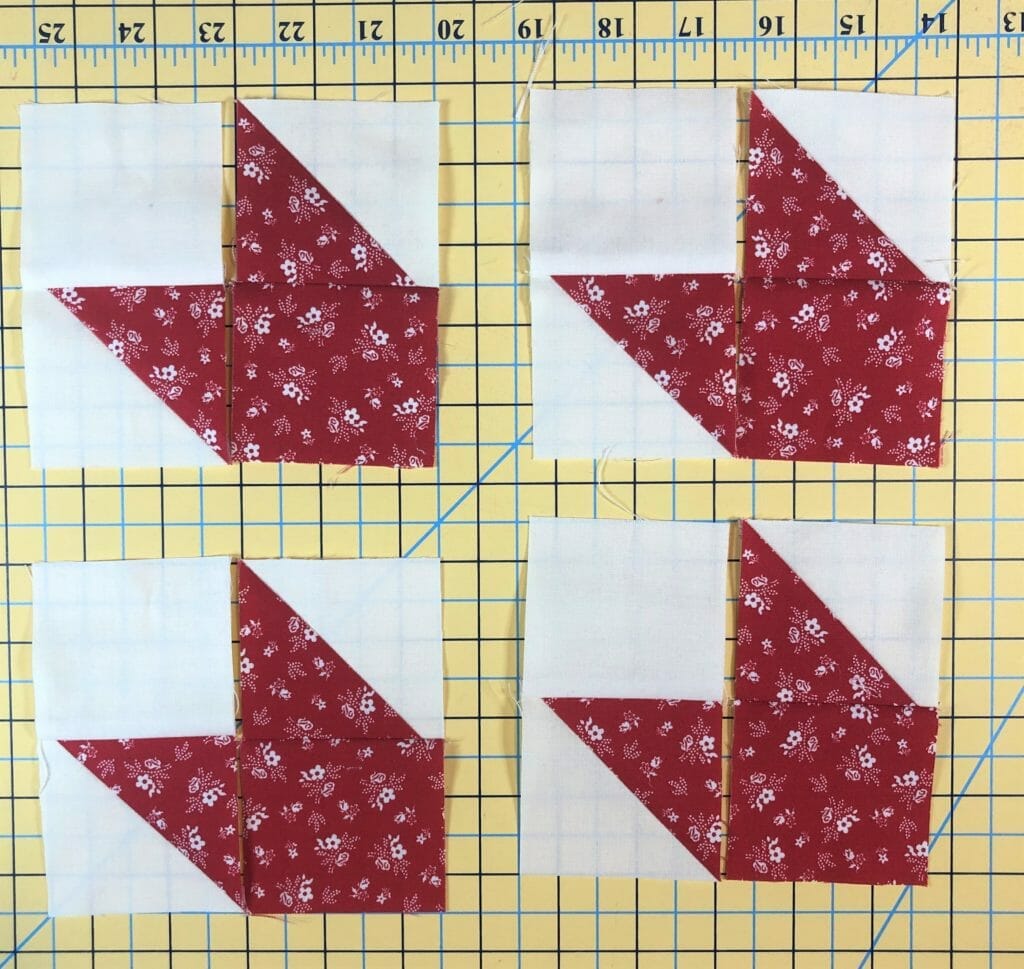
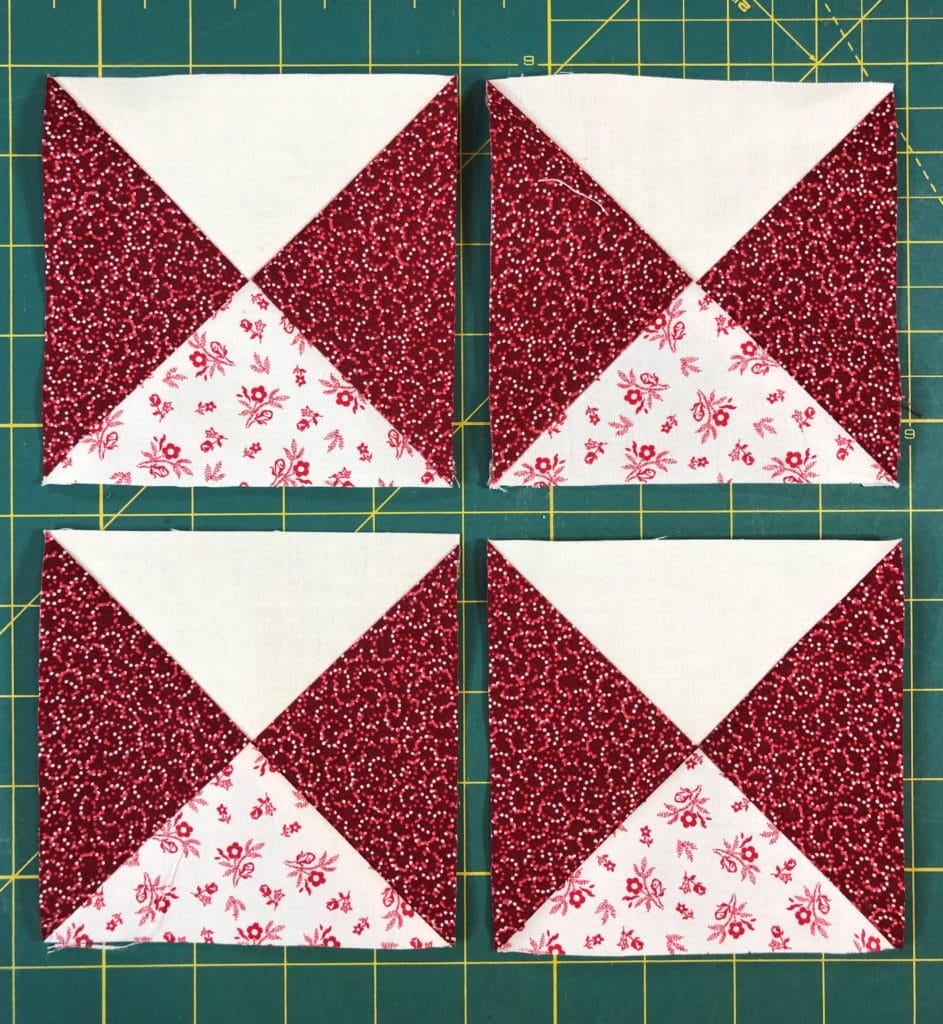
Now you just have to lay the block out, sew the units into rows, like I’ve shown below, and then sew those rows together. Easy peasy!

I have always loved Ohio Star blocks. They are quick and easy, and just darling in quilts. The first quilt block I ever made in my whole life was an Ohio Star block, so maybe that’s why I adore them.

Block #11

Our last block for this month is another repeat from month 3 and was known as block #6 back then.

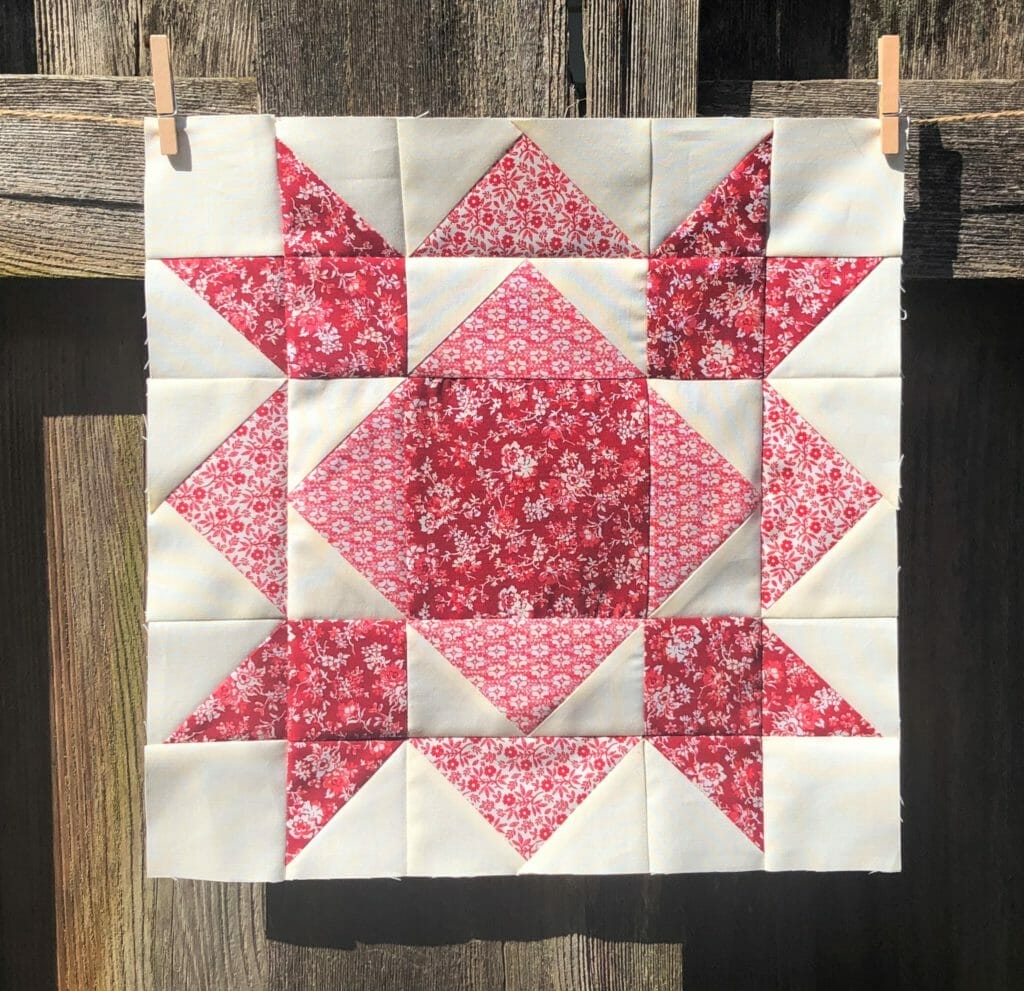
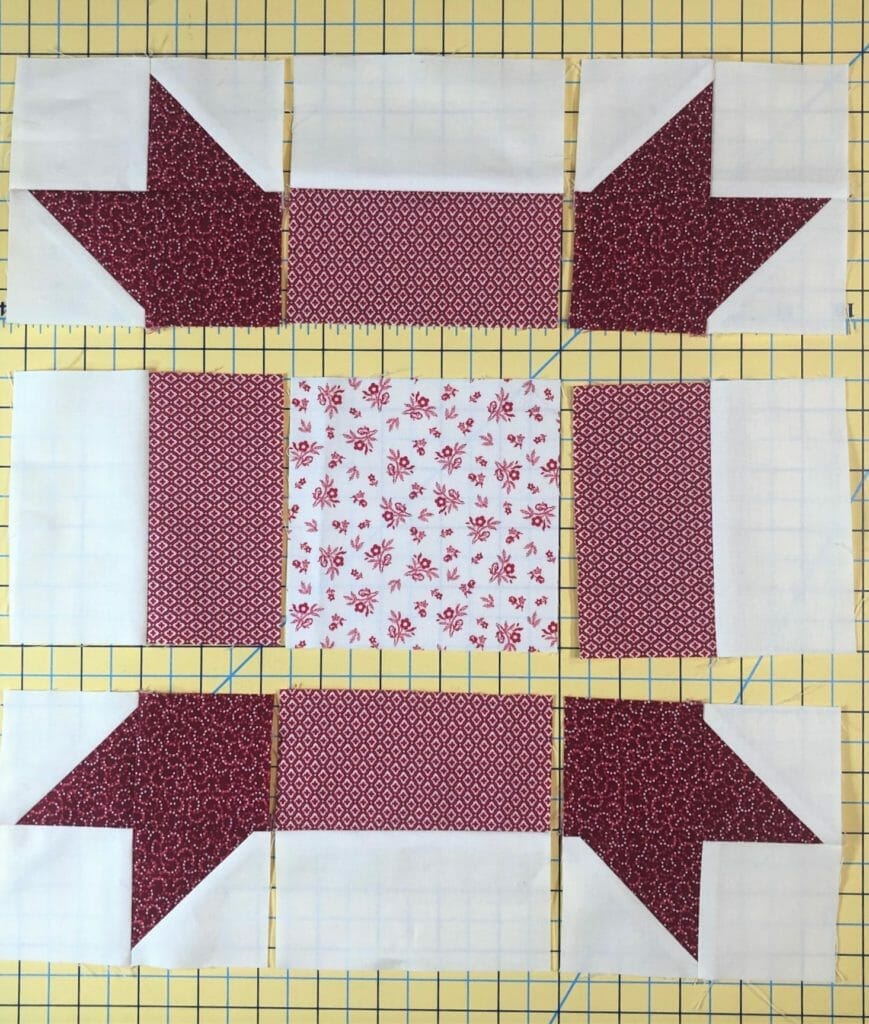
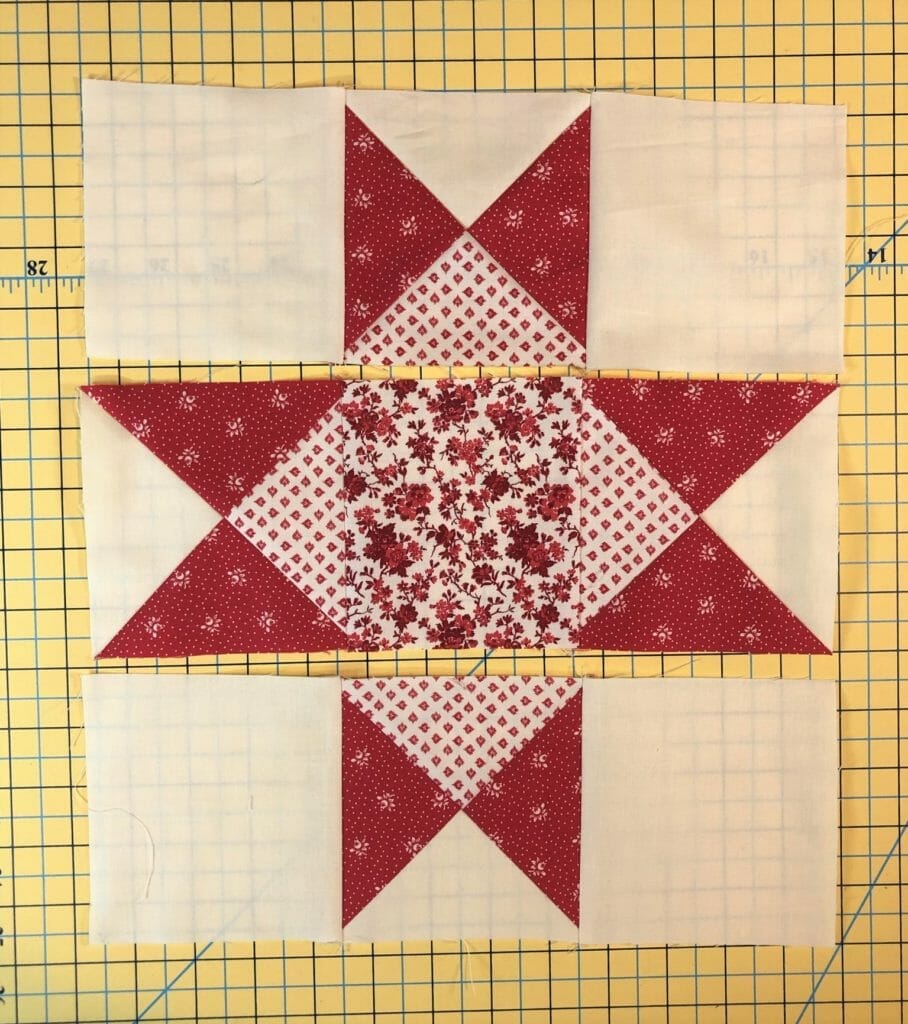
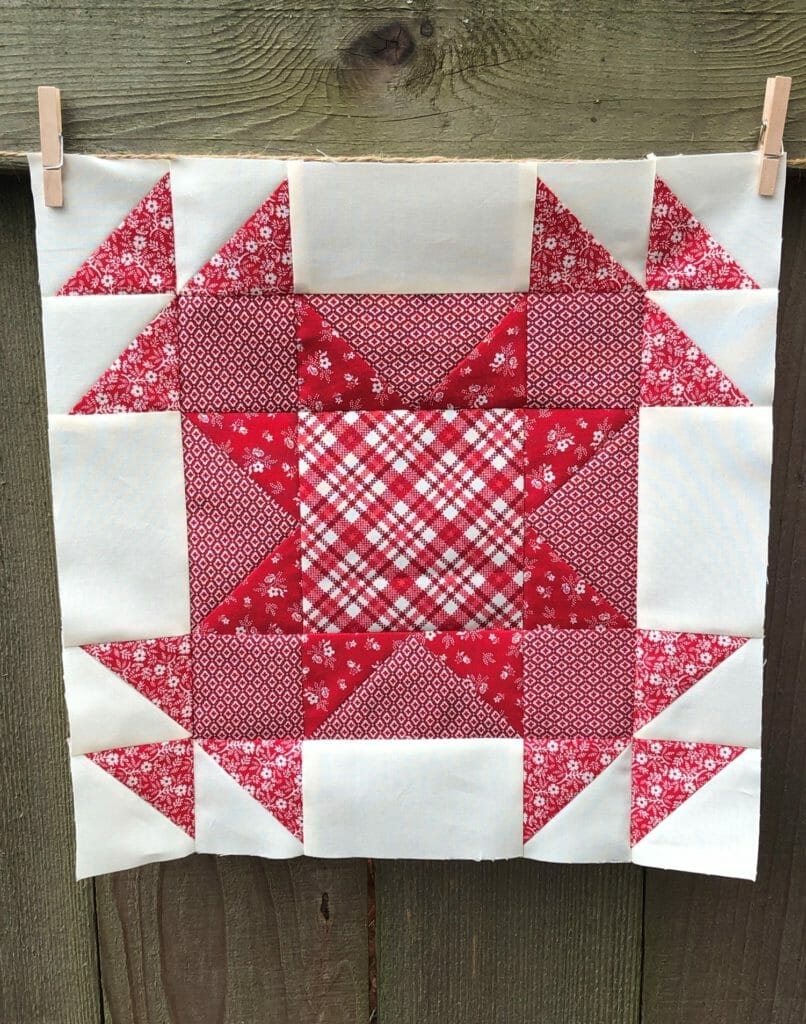
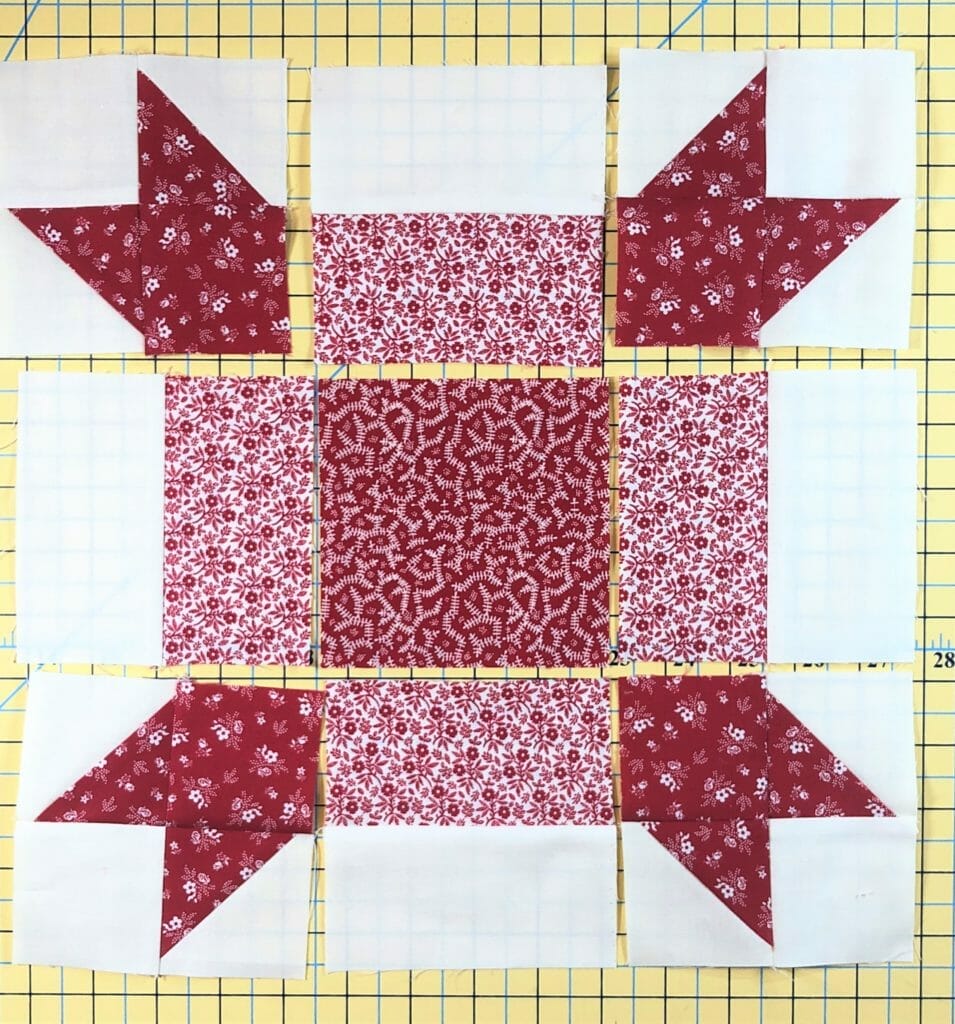
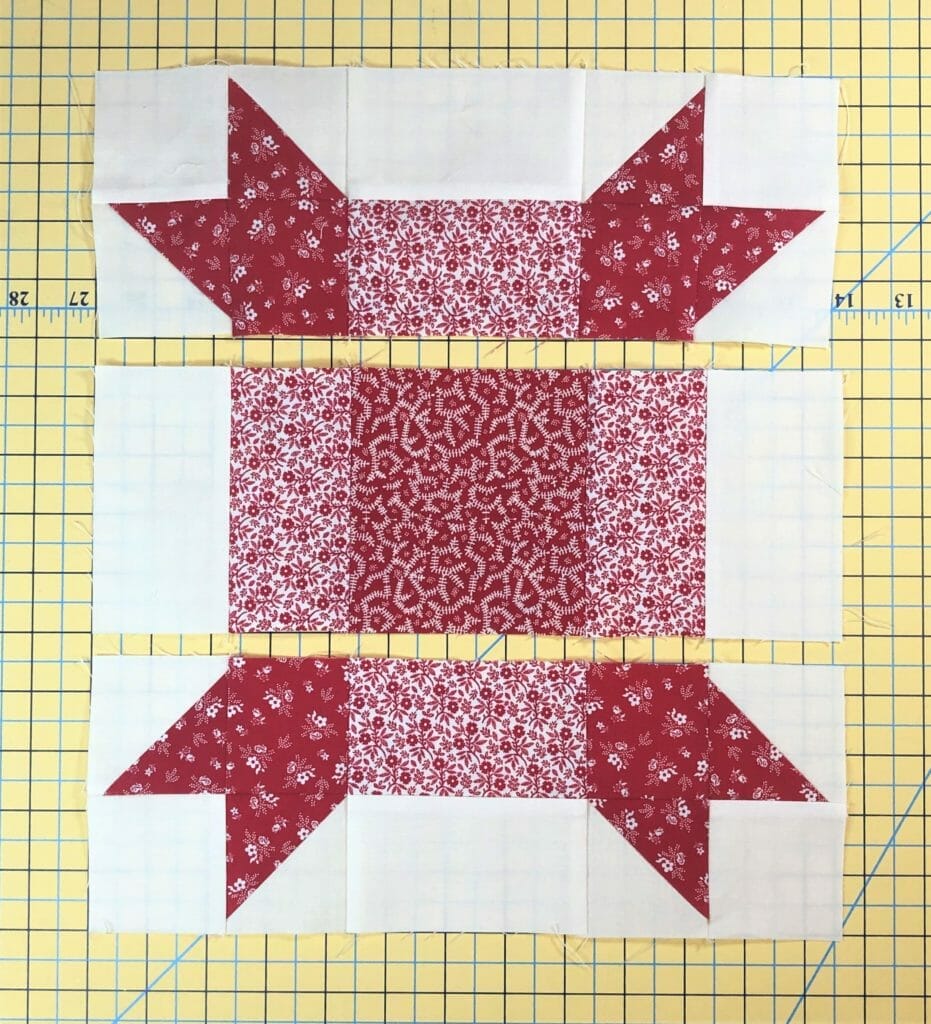
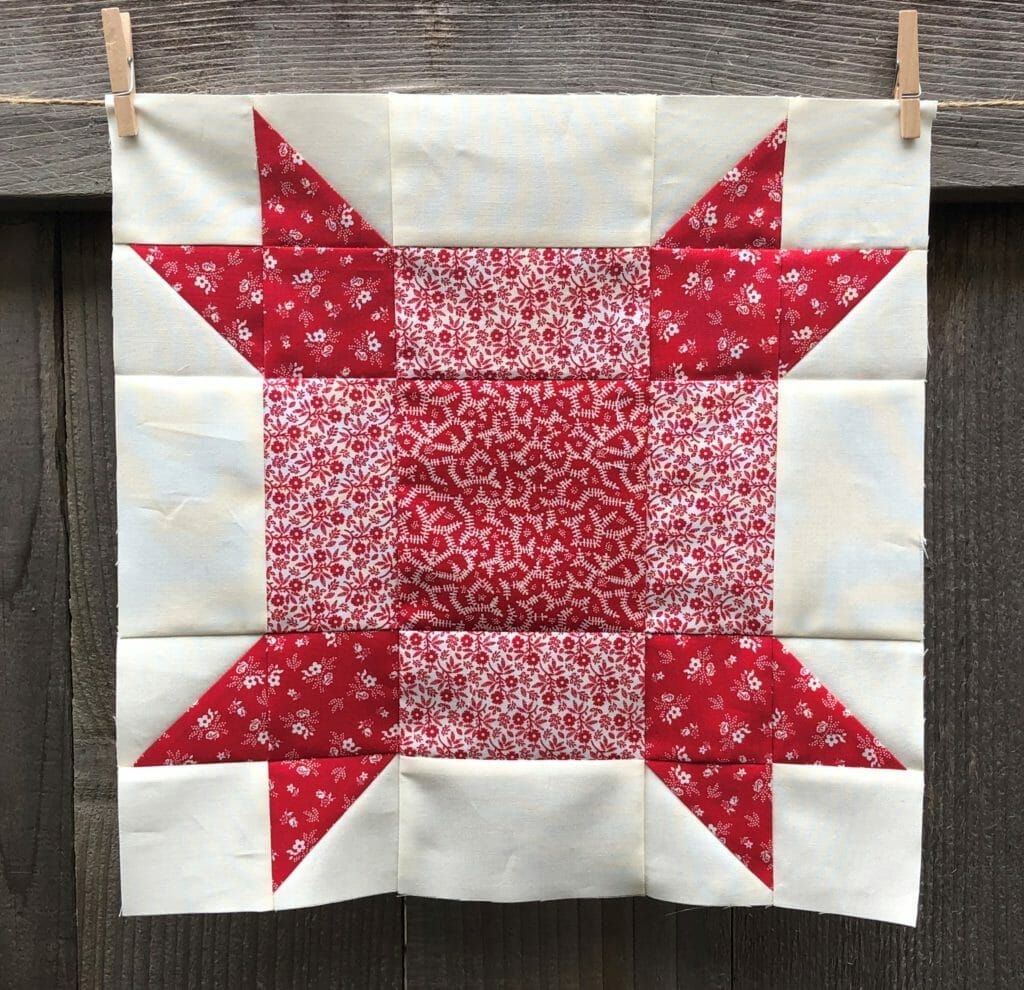
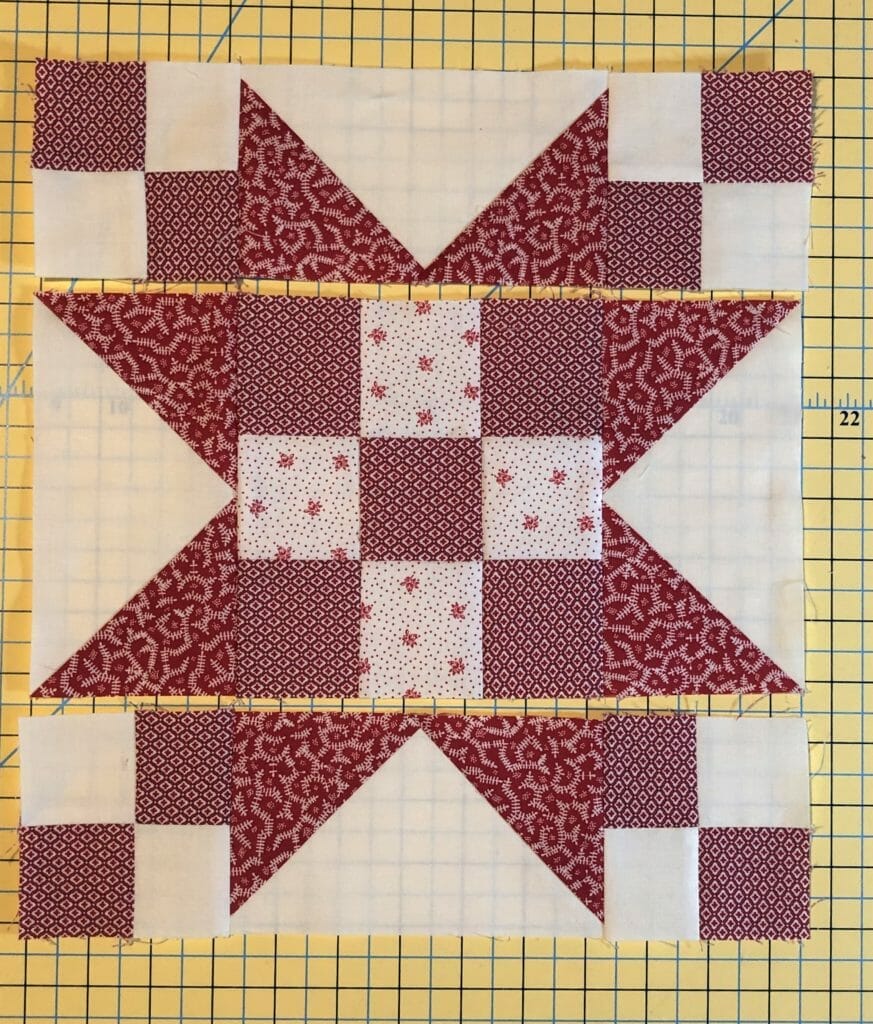
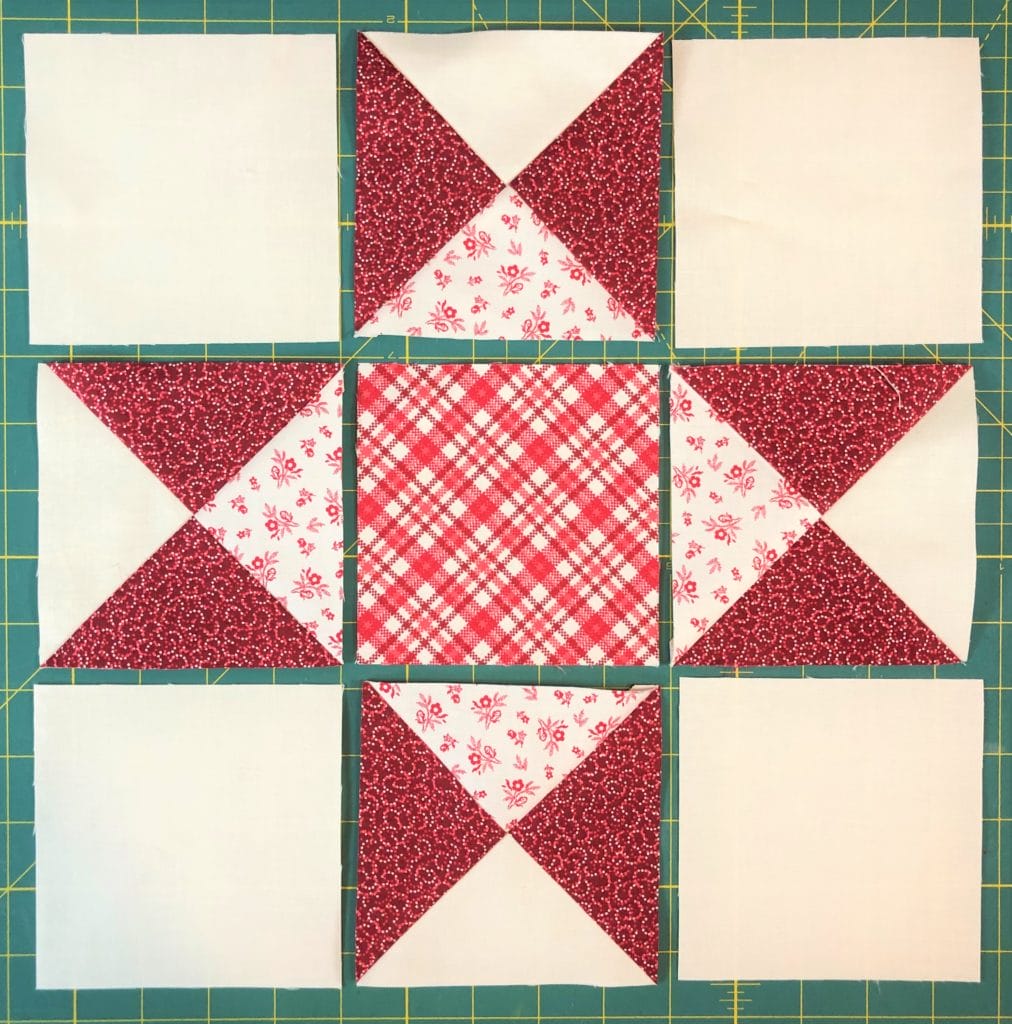
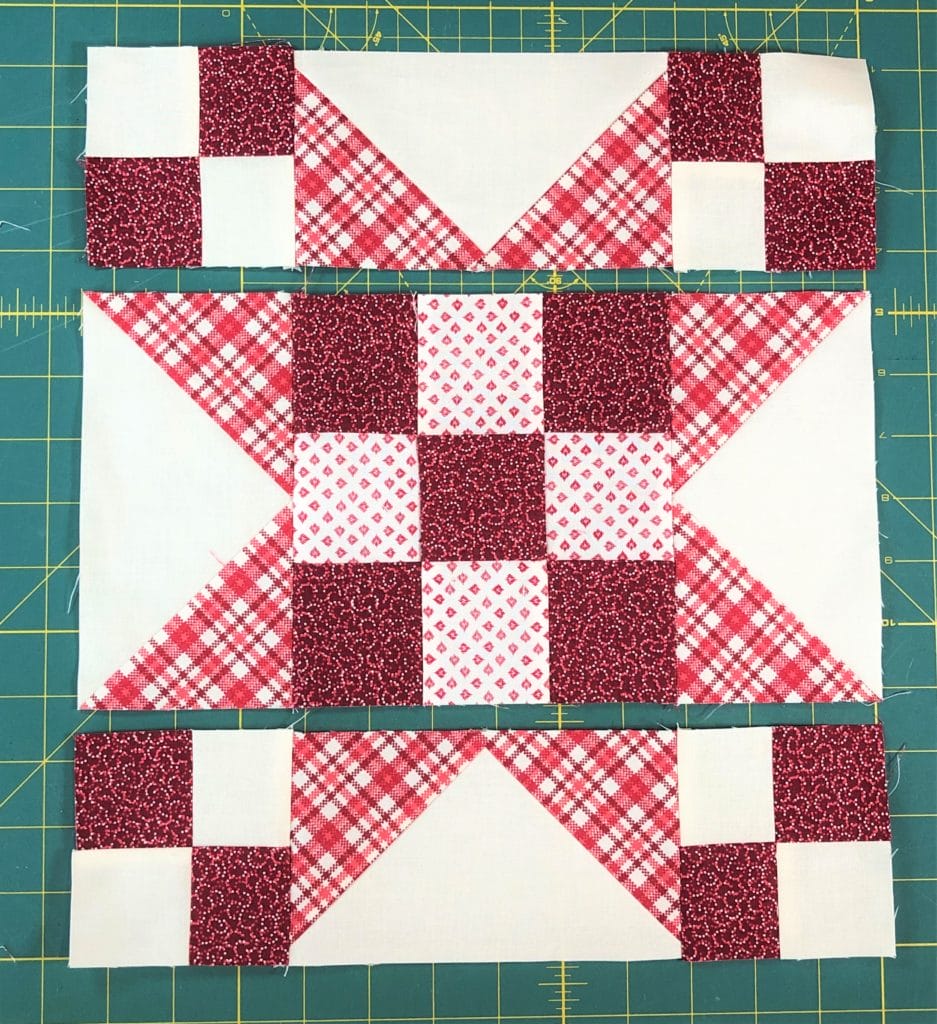
This block has lots of half-square triangles around the perimeter of the block, along with some more flying geese to make the center star points. The day I was working on this block I was listening to podcasts, as I tend to do while sewing, and got so engrossed in what I was listening to that I got a little carried away and kept forgetting to take pictures for all of you. Ack! So what you see below is what I have to show you. I’ll do better next month, I promise!

Here is the center star at about step 3, almost finished.

The top and bottom rows of the block are just about finished as you can see here:

And now the block is almost done!

This one is another personal favorite of mine, even though it’s a lot more work than the Ohio Star block. I really do need to make an entire quilt with this block. I know I would love it!  Perhaps I’ll make an FQ sampler…in my spare time haha! For now, I’d better just focus on getting this quilt finished, along with about 5 others that are partially done in my UFO pile. So many projects, and so little time!

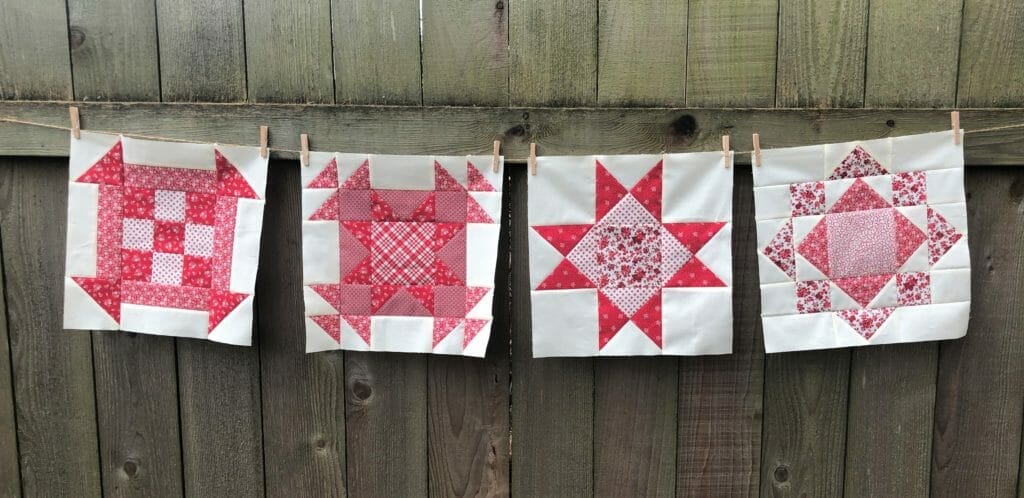
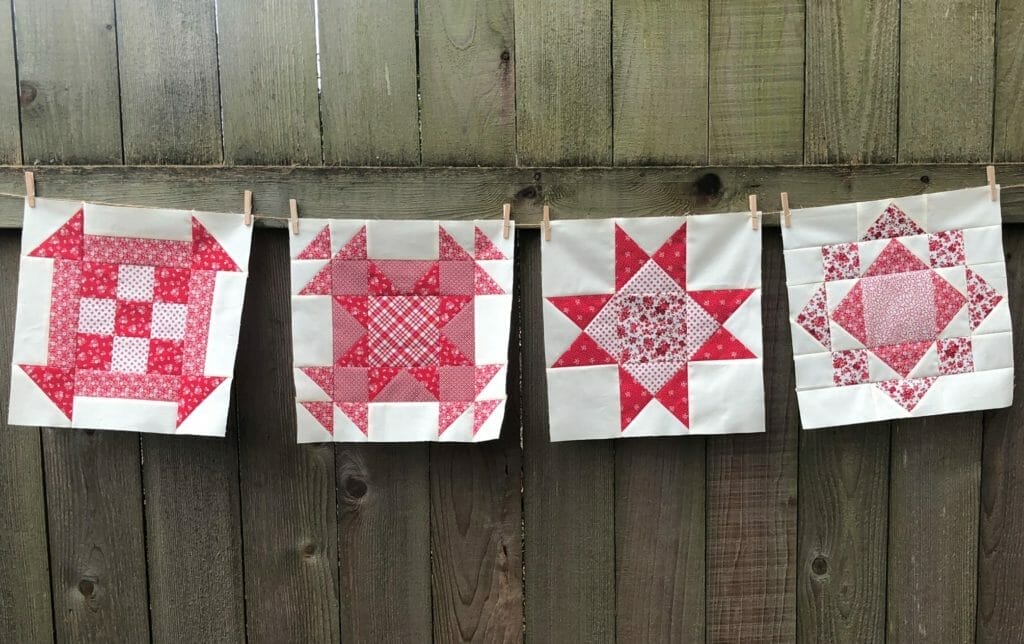
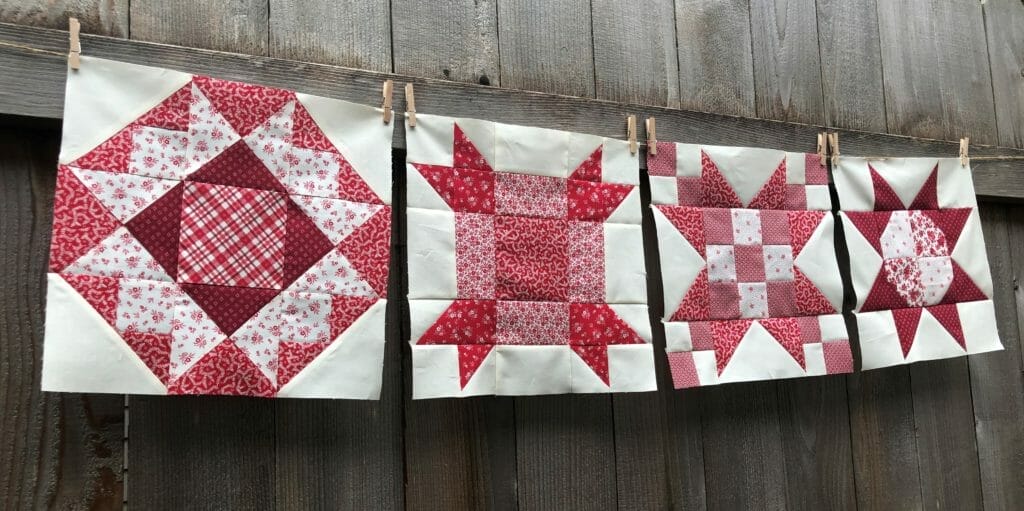
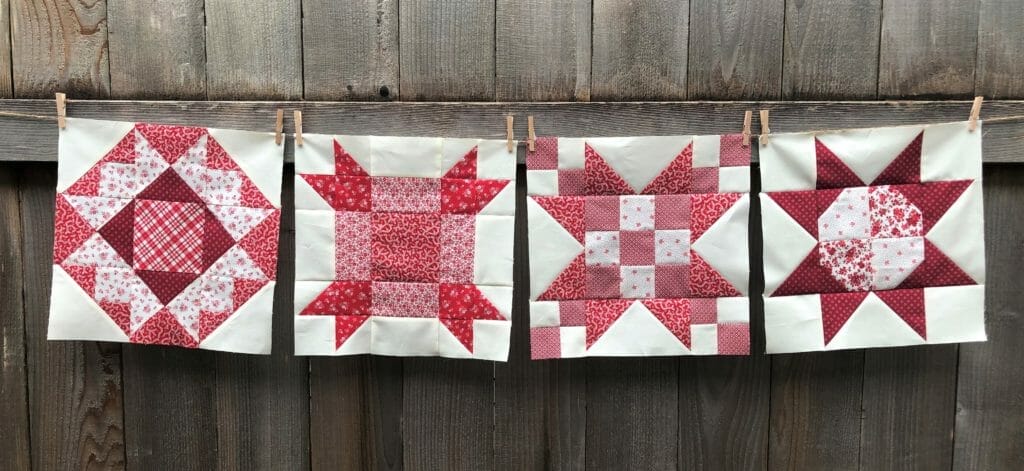
Here’s one last look at all the completed blocks. I love them, and I hope you do too!

I hope you enjoyed putting this month’s blocks together, and I’ll catch you all next time!

Happy Quilting!

 Kristin


Ruby BOM – Month 6
1.6.2022

Hi everyone, and Happy New Year! I hope you all had a wonderful holiday and got some time to enjoy the sights and sounds of the season. Christmas time is my absolute favorite!

As for my family, we tried something completely different this year, and spent Christmas with our extended family on a Caribbean cruise, courtesy of my very wonderful and generous father. We had planned it way back in March, thinking we would be post-pandemic by now. We were a bit nervous to still go, but it all worked out well, and we had a blast! It was warm, sunny, and very relaxing. However, I must admit, it didn’t feel very “Christmas-y”. (Is that even a word?) We all agreed that as fun as it was, next year will be back to Christmas at home, complete with chilly evenings, lots of baking, and too many Hallmark movies.

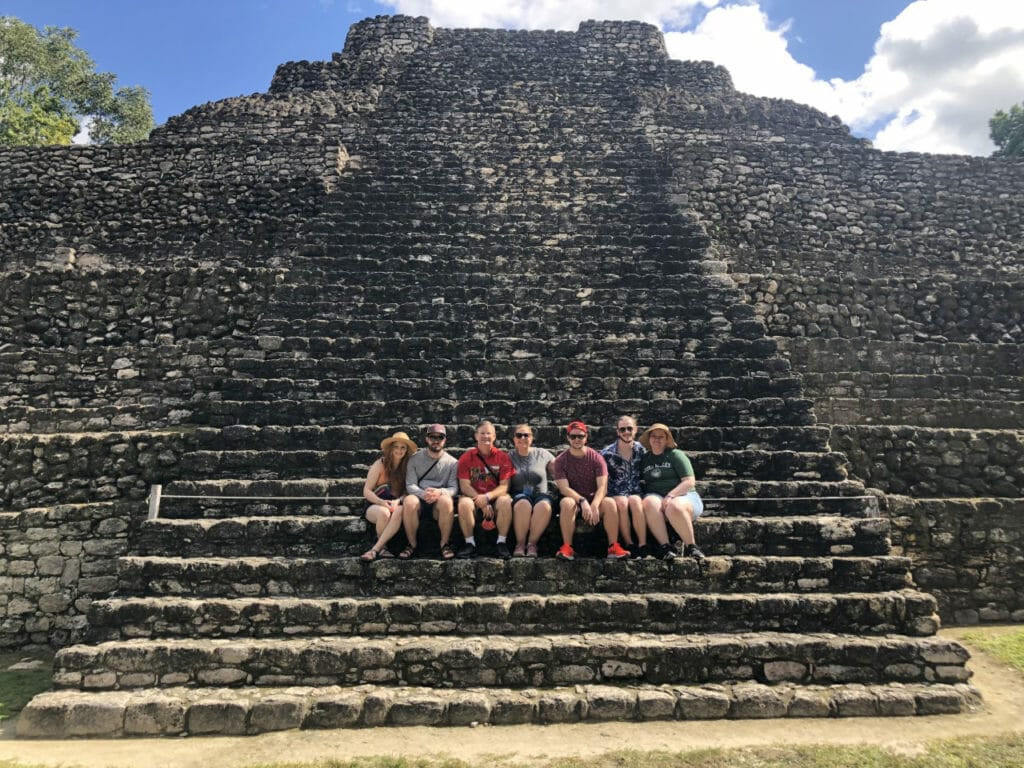
Here’s a little snapshot of me and some of my family taken on Dec. 23rd.  You’d never guess looking at this photo that it was two days before Christmas, haha! Shorts, tank tops, and sunglasses don’t exactly evoke that cozy holiday feeling, do they? In case any of you are wondering, this was taken at the Chacchoben Ruins in Mexico. It was fascinating!

Ok, enough about me. Let’s get on with talking about this Ruby quilt.

This month we will be making ANOTHER five Irish Chain blocks. I know, not very exciting, especially since we’ve done this before. And we will do it again! Since I’ve already written not one, but two blog posts about sewing up this block, I don’t think any of you need me to do it a third time. Feel free to refer back to blogposts for Month 2 and Month 4 if you want a refresher.

After getting these 5 additional blocks made this month, you should have a total of 15 finished. This means, if you’re counting, we have 10 more to go before we’re done with them.

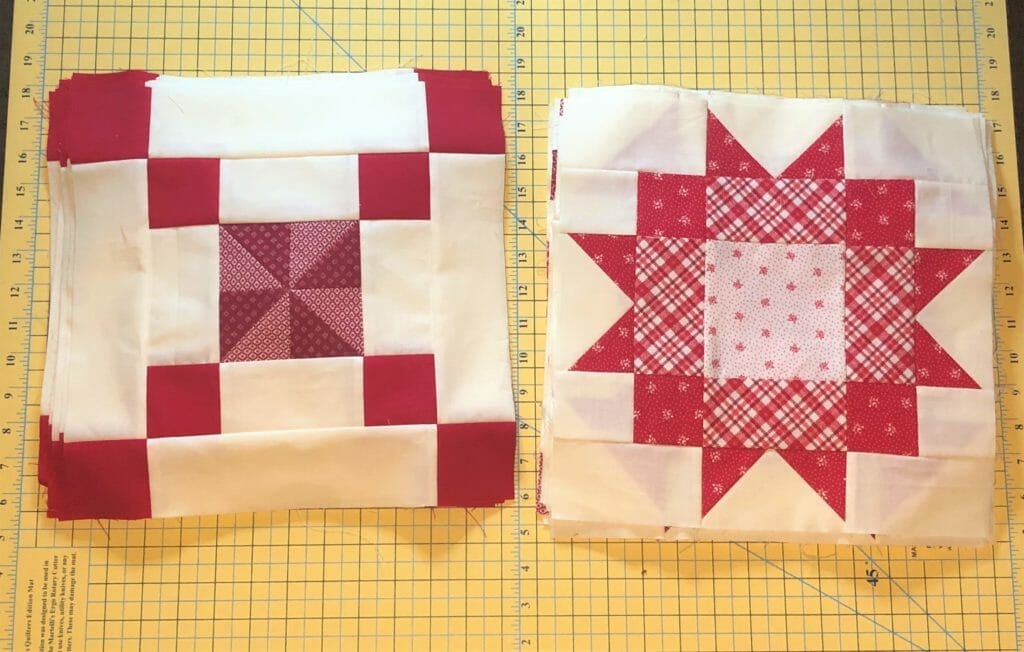
Here are my finished stacks to date: The left stack is just the Irish Chain blocks, and the stack on the right has all the unique blocks we’ve made thus far.

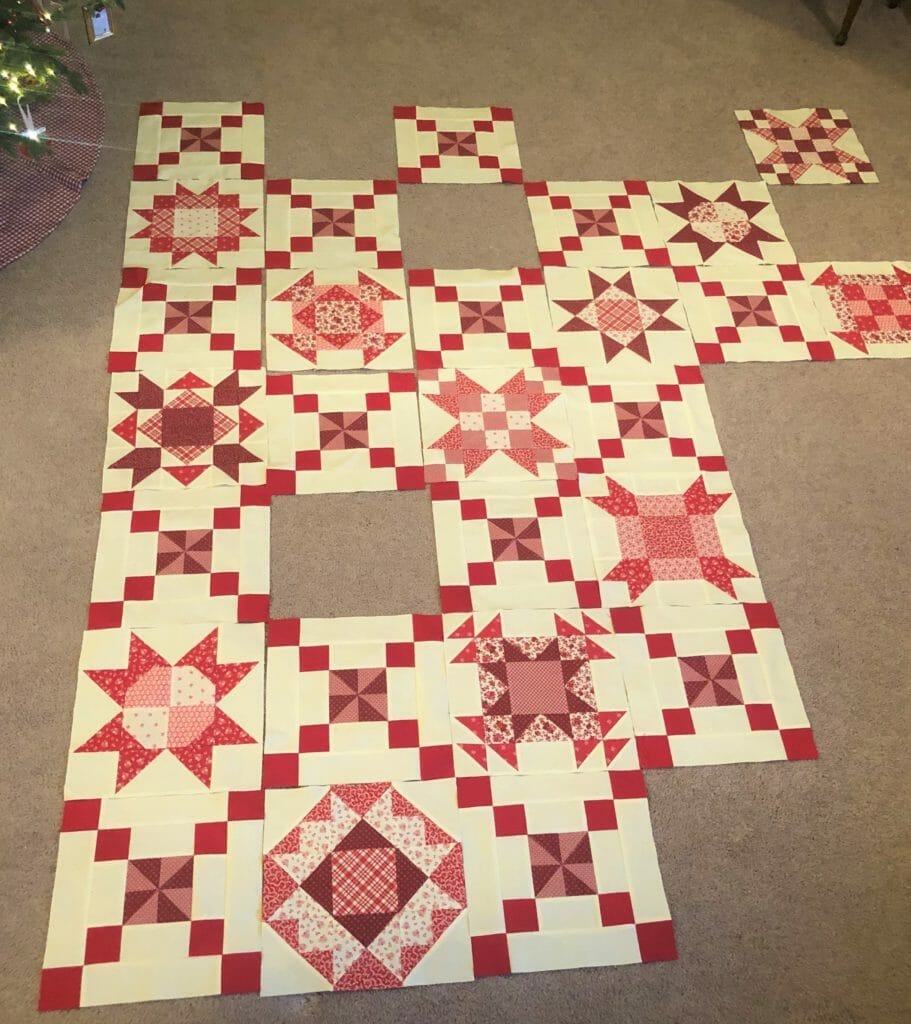
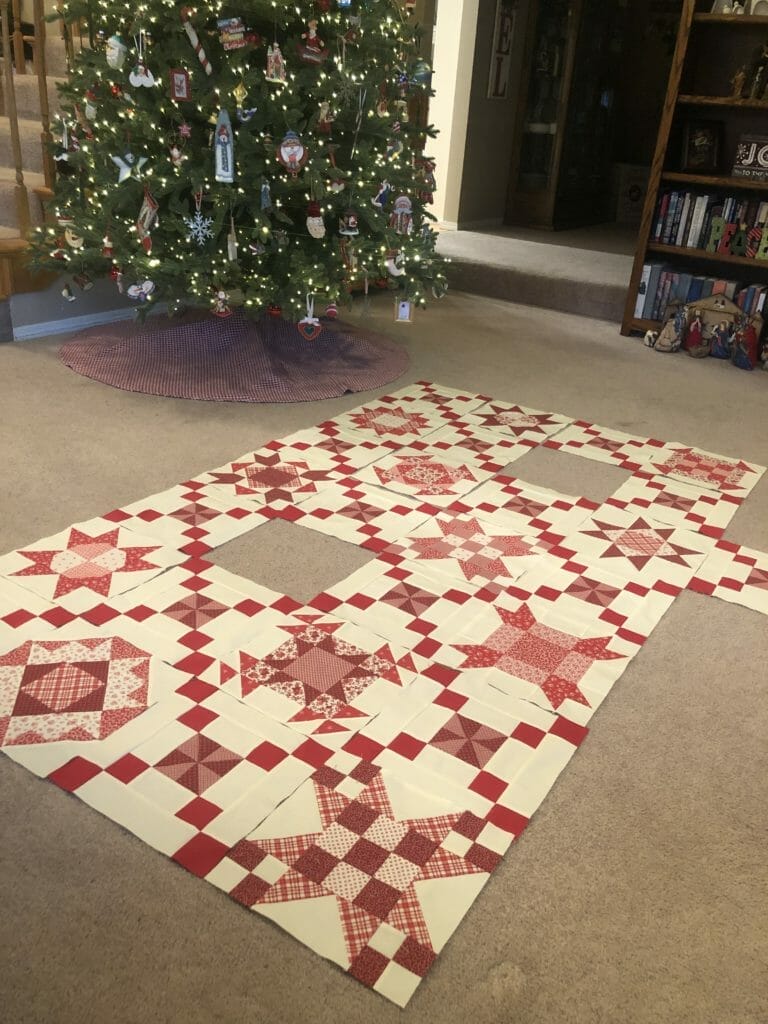
Since my design wall is currently occupied by another project, I decided to lay out everything we’ve done up to this point on my living room floor. As you can see, we still have some holes to fill in, even when I move some blocks around, as you’ll notice I did in the bottom photo. BUT, it is actually starting to look like a real quilt now, which is exciting.

And I must say, that the colors of this quilt do look quite festive, especially next to my Christmas tree. (Yes, I STILL decorated, even though I knew I would be gone. Did I mention I LOVE Christmas?)

So I guess finishing up this quilt over the coming months will help me feel like it’s Christmas all the time!

Until next time…Happy Quilting!

Kristin


Ruby BOM – Month 5
12.2.2021

Welcome back, and Happy Holidays everyone! I hope during this season that you all get to take a little time for yourself, and hopefully some of that ‘me’ time involves quilting. As for me, I’m still working on getting up the last of my Christmas decorations. My tree is up, but still has yet to be adorned with ornaments. I also inherited SO MANY decorations from my mom’s passing earlier this year, and I think I need a bigger house to fit them all. For some insane reason, my husband disagrees. I mean, a couple hundred santas isn’t too much, is it? I know some of you might think I’m exaggerating. I am not. My mother LOVED Christmas on a whole other level, and even after dividing everything up with my siblings, there is still enough at my house to open my own Christmas store. And honestly, I LOVE IT! But I digress. You are all here to read about this month’s Ruby blocks, not my holiday shenanigans! Back to business…

This month we will be making another 4 unique blocks, although a couple of these may look familiar to you. If you look closely at the finished quilt, you’ll see that every “unique” block actually appears twice, with the two blocks sewn in different fabrics. I’ve written separate instructions for each one, just so you don’t get confused as to which fabric goes where. I made that mistake in an old BOM, and vowed never to do that again! Lesson learned.

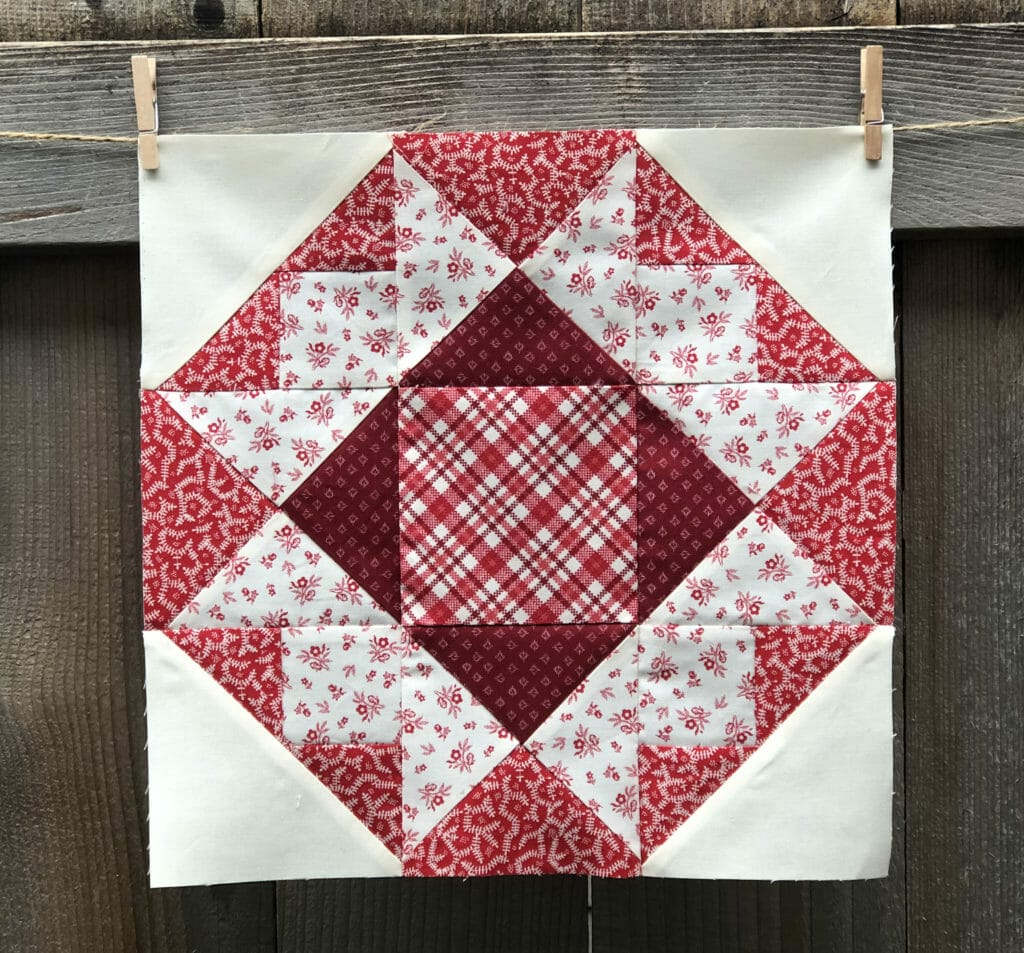
Block 3

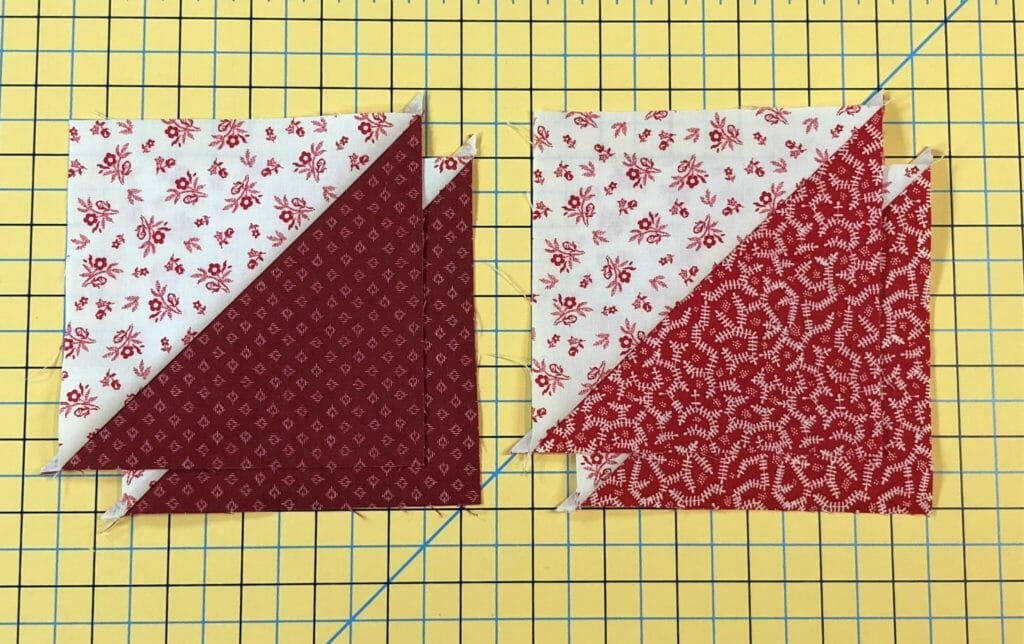
Block 3 is making an appearance for the first time this month.  The first order of business is to make some hourglass blocks. We’ll begin by making some big half-square triangles in steps 1 and 2. Normally I trim and square up all my blocks as I go, but with hourglass blocks, I wait until they are finished, which means I don’t worry about those little triangle tails for now.
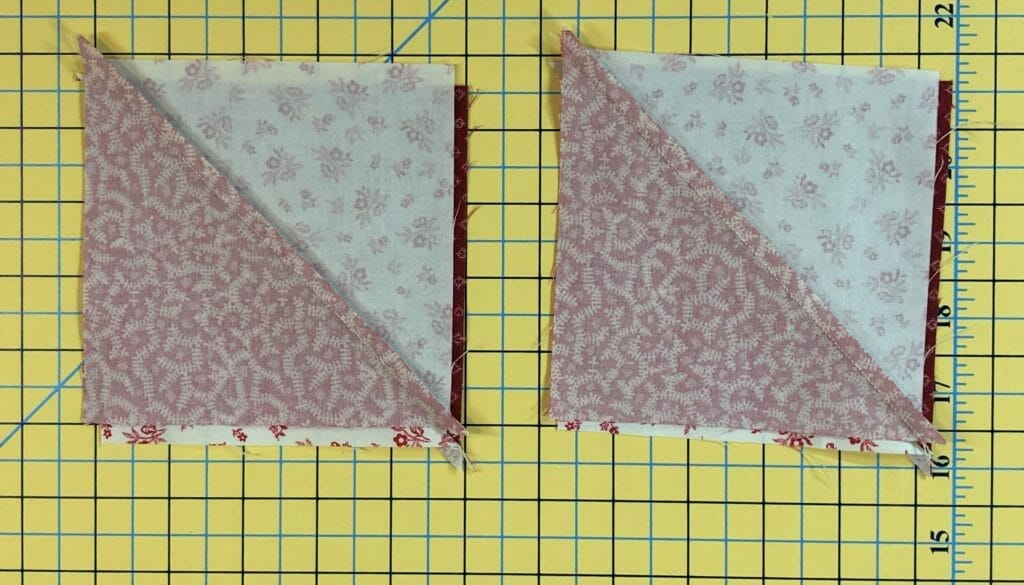
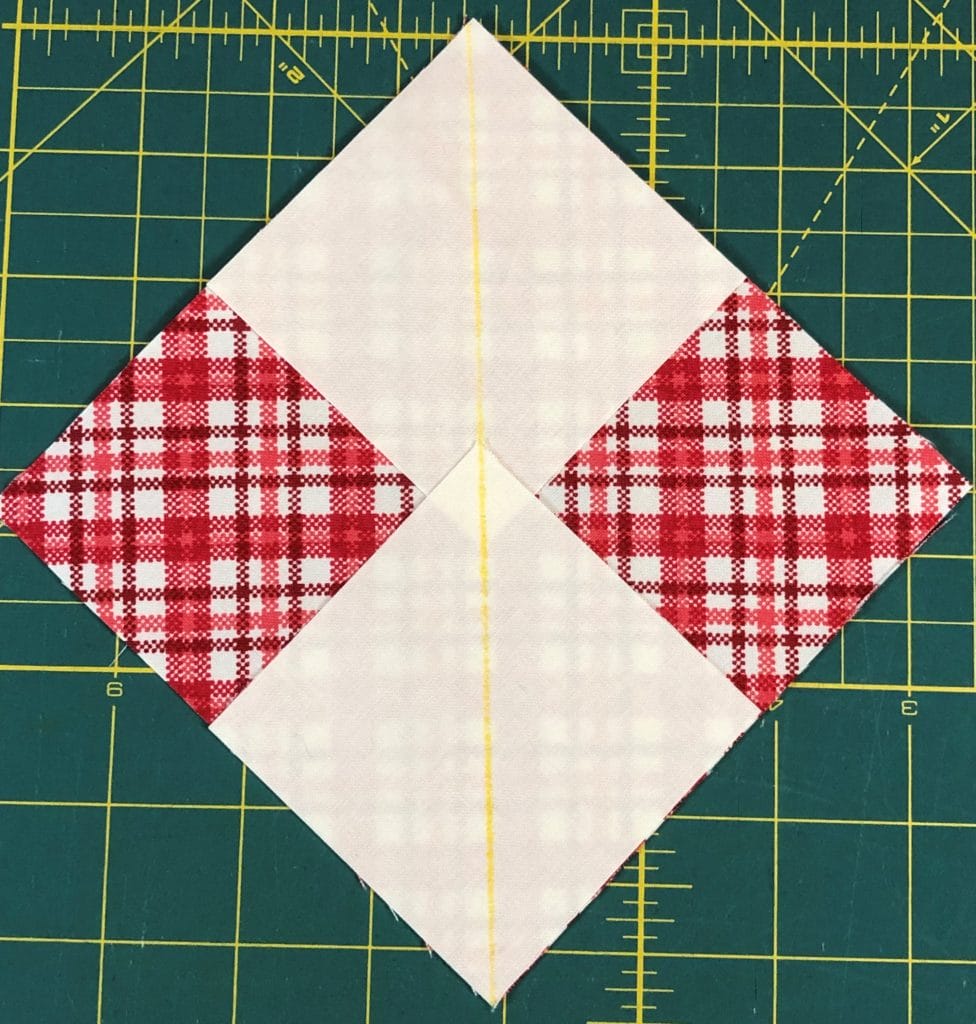
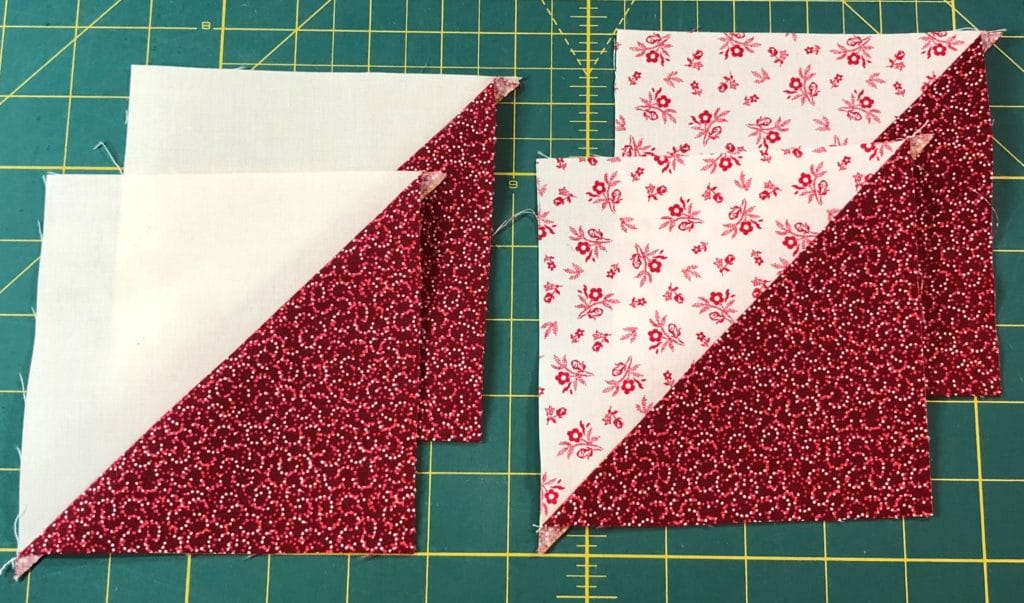
Then we will take an HST from each step and pair them up. The diagram in the instructions and the photo both show the two pairs not lined up exactly, just so you can see how the C triangles should be opposite of one another, but the two HSTs should be matched up in all the corners.
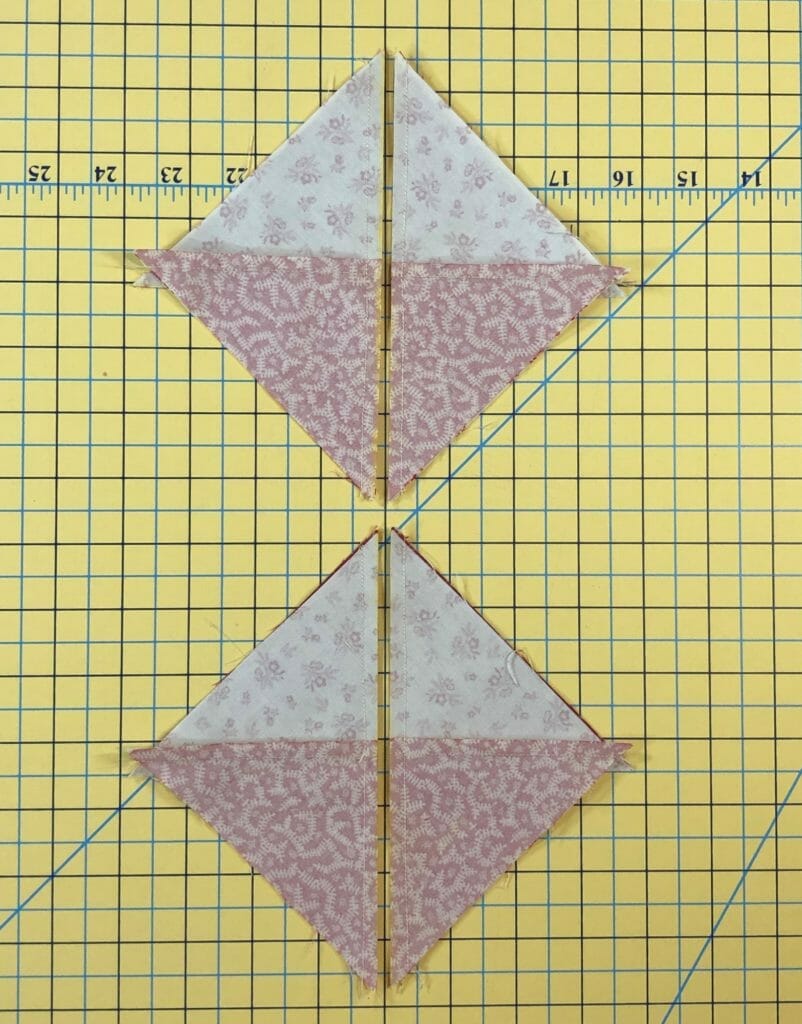
After marking a line that is perpendicular to the seam of the HST, you’ll sew a ¼” away from each side of the line, and then cut on the line. This will give your 4 hourglass blocks, which you should now trim to be 4-1/2” square.

In the pattern I don’t have an arrow for pressing the hourglass blocks in step 3. Normally it doesn’t matter too much, but for these I decided to press them toward the B triangles. Here is a photo of the back side of the blocks, so you can see for yourself. I think it helps to minimize some of the bulk later on.

For the next units in the block, we’ll take two F triangles and sew them to each D square, just like it says in the directions. I usually trim off the tails as I go. Here are a few photos so you can see the steps of what I did:

The above photo shows the F triangles pinned and ready for sewing.
After sewing the first set of F triangles, I’ve trimmed off the tails hanging down at the bottom, and am now getting ready to pin the next set of F triangles to the units. I like to line them all up before I flip them into place for pinning and sewing.
This photo shows the F triangles flipped up from the previous photo and pinned in place so they can be sewn to the unit.

After sewing on the G triangles to each unit in step 5, I make sure all the units are measuring at 4-1/2” square, and trim accordingly.

The G triangles are lined up and ready to be pinned and sewn into place. Somehow I didn’t take a picture of them sewn and finished. Ack! I guess you’ll just have to see the finished product below.

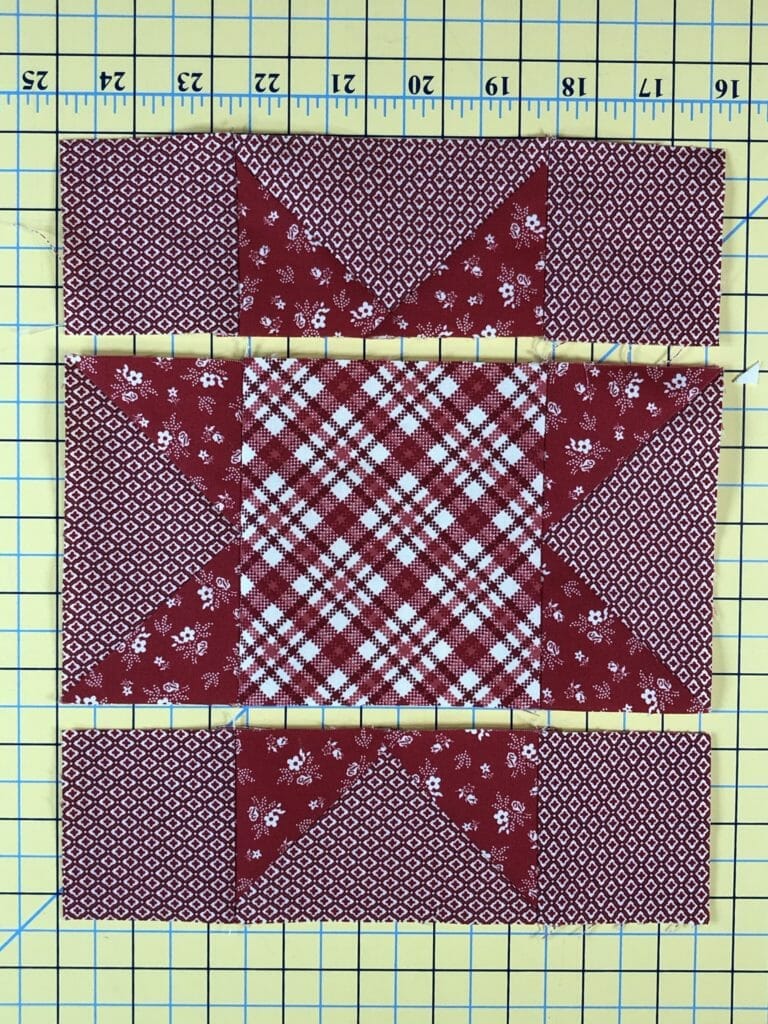
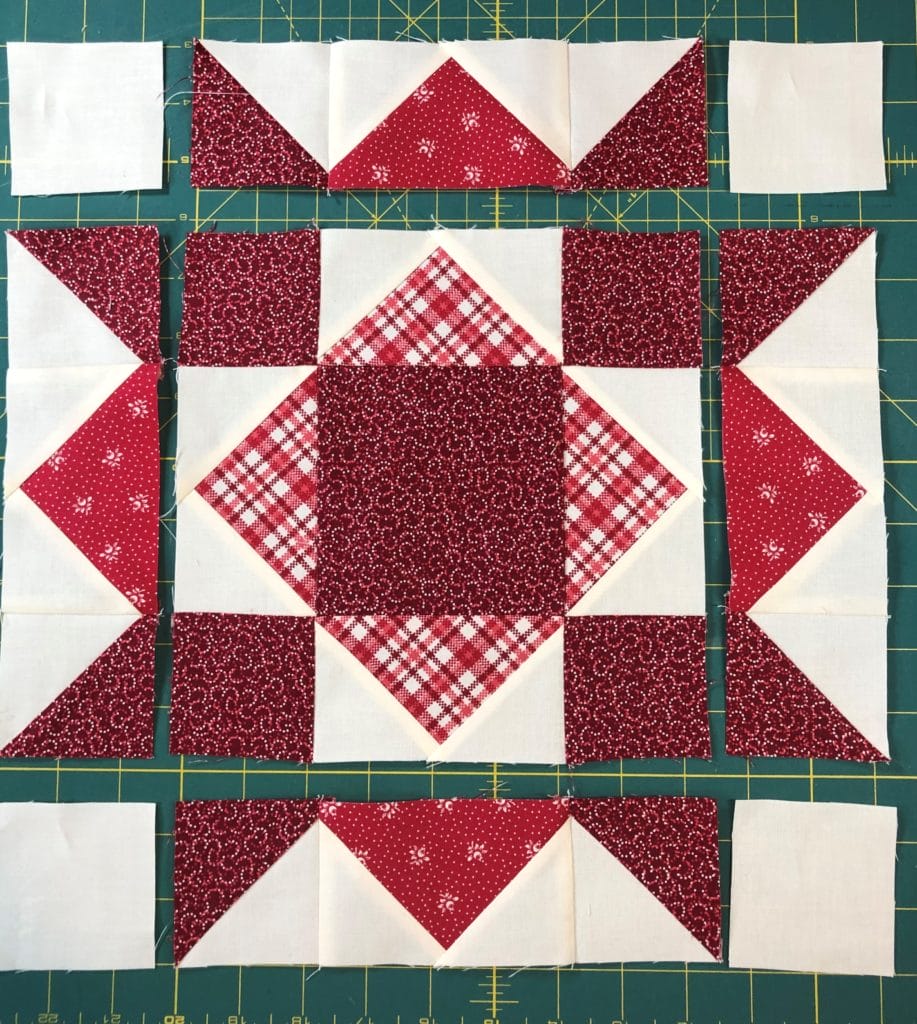
Now all we have to do is assemble everything for the block. As I’ve mentioned many times in previous posts, I always lay out the components of my block before I begin sewing. I tend to make less mistakes this way.  For this block, you’ll want to pay attention to the placement of those dark red B triangles, making sure they frame the center plaid square. You’ll also want those large solid Cream triangles to be in the outer corners of the block.

I’ve sewn the block into three rows and can now sew those rows together to finish the block.
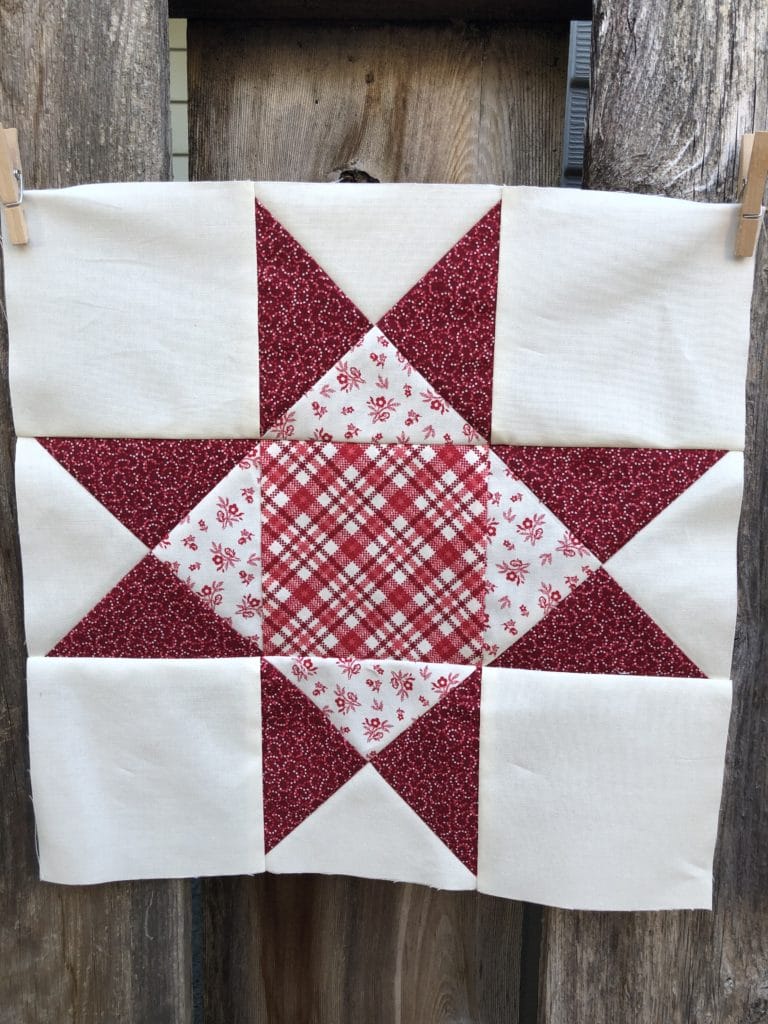
Finished!

Block 9

Block 9 is another new one we’ll be making, and thankfully it is pretty simple. Because it’s December and we all have lots to do. Maybe I’m just speaking for myself 😉

 Right off the bat I need to make a correction! The pressing arrow in step one is WRONG. Your lives will all be a bit easier if you press toward the red D triangle. I mean, it’s not the end of the world if you press toward the Solid Cream, but everything just lays down a little nicer in the end if you press the opposite way.

My messy pile of finished-but-not-trimmed D/F units.

Once you have those D/F units made you can move on to step 2 and sew them to some red and cream squares as instructed to make some nifty little blocks, which will become the corners units of the large block.

All the pieces are laid out here so that I make sure everything is oriented correctly for the unit.
Almost done!

After sewing the B and E strips together like you see below, it’s time to assemble the block.

Getting those B and E strips ready to sew…

Again, I’ve laid everything out, and will now sew the block into rows.

With the rows complete, I can now sew them together and finish the block.

Block 13

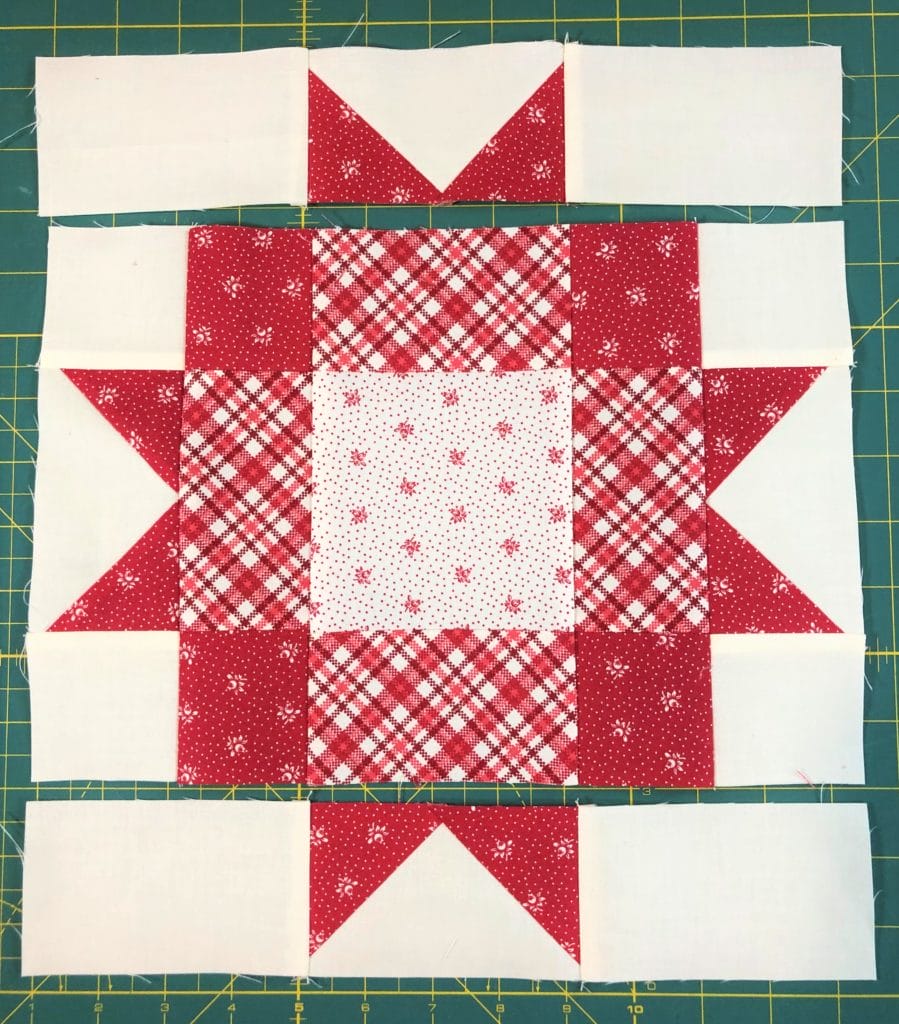
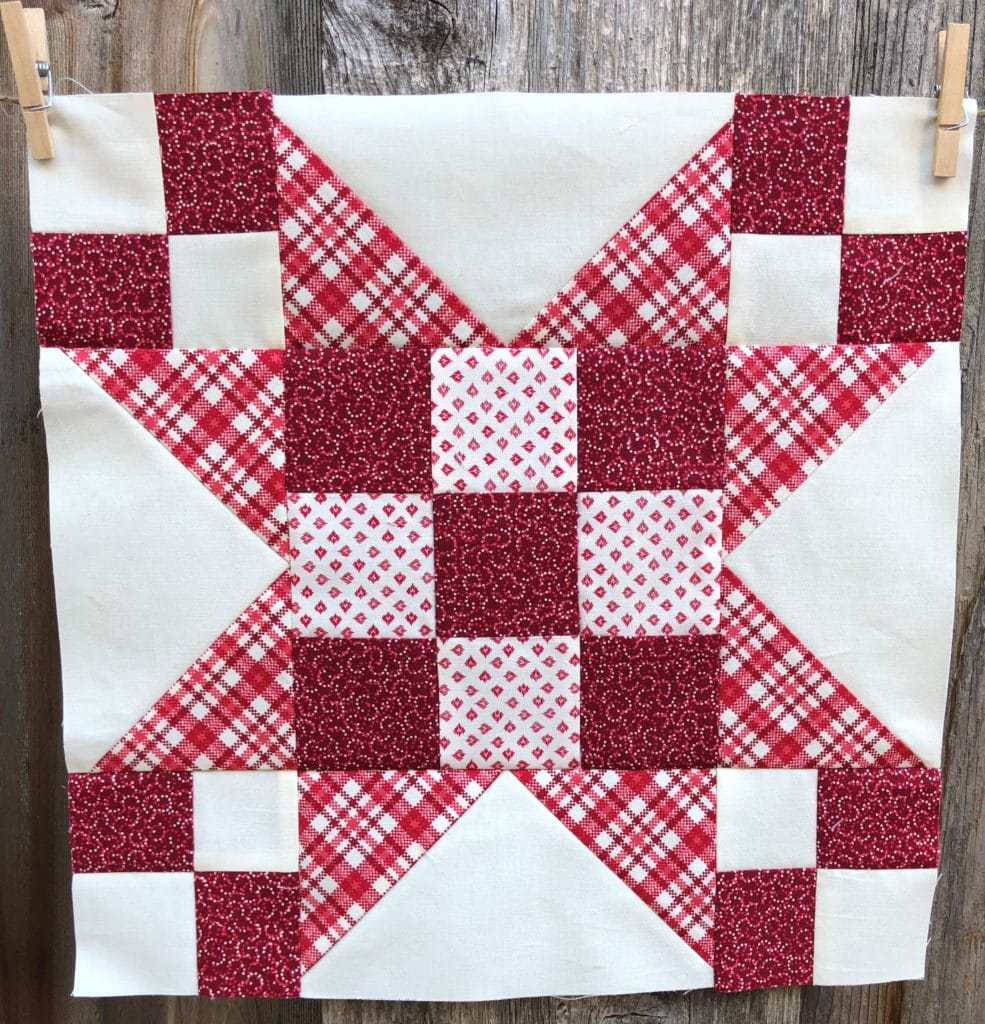
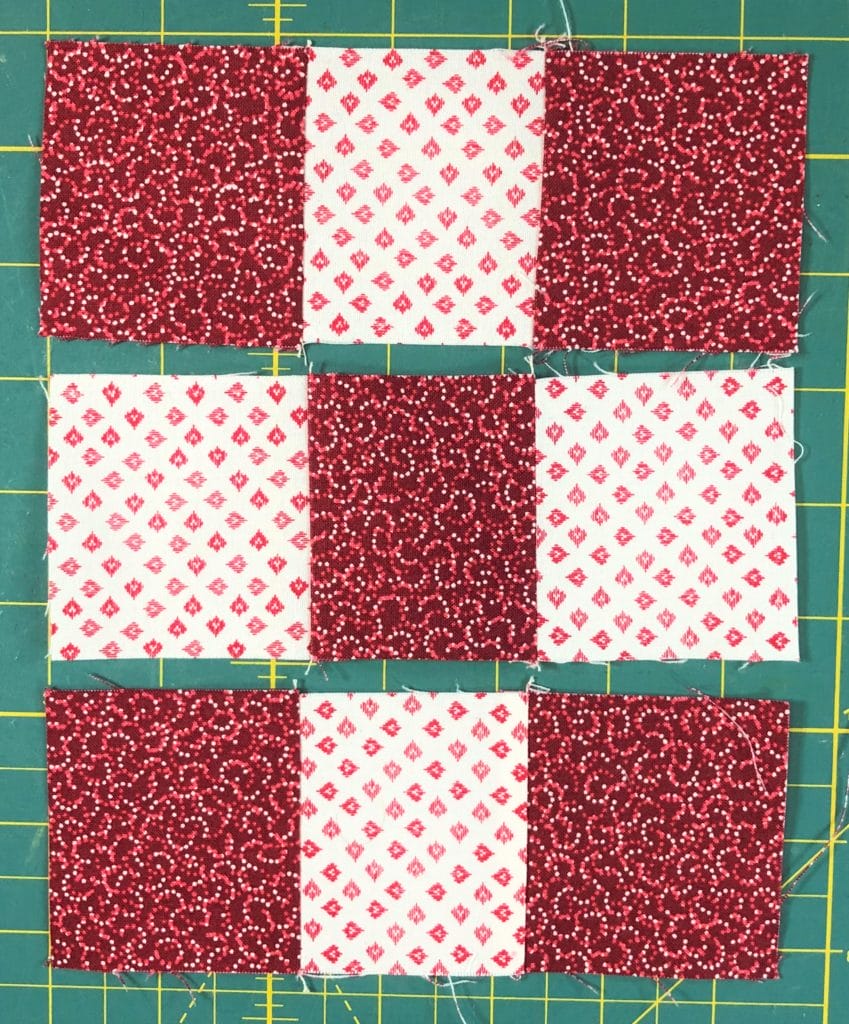
The next two blocks should look familiar to you. Block 13 is a repeat of block 22 from month 1. The instructions are all the same as before, just the fabrics have changed. I won’t bore you with another step-by step tutorial, since you can find that in the Month 1 blogpost. But I’ll show you some photos below of this block sewn up in the new fabrics.

Here is the 9-patch unit from step 1 – with the squares all lined up and ready to sew:

The flying geese units you’ll be making in steps 2 and 3 will look like this when done. For some reason I only took a photo of the block getting ready to trim. As I’ve mentioned before, I love Bloc-loc trimming rulers. They are an investment, and not necessary for making this quilt. I just find them oh-so-handy for getting my flying geese units absolutely perfect.

I lined up all my 4-patch units that we are making in step 4 so I could do some assembly line sewing. The Bonnie Red fabric is technically directional, but the pattern is so subtle that it doesn’t matter too much if your squares aren’t all facing the same direction. If it’s important to you, then line them up the same way. I don’t think anyone will notice though, if you decide to throw caution to the wind here.

And just like that, all the units are done and ready to be sewn into a fabulous block! Below you can see that I’ve already sewn the rows of the block together.

All done.

Block 19

Block 19 is our next repeat of the month, and it’s another one that goes pretty fast. We made this block in month 3, only then we called it Block 7. My blog post from month 3 will have all the nitty gritty details for making the block, but I’ll post some more photos just like I did above, so you can see the fabrics we are using this time.

Here is the 4-patch unit from step 1:

Step 2 has you sew all the D triangles and trimmed like you see below. I still have to press them open and trim the block.

The C/F flying geese units are sewn up using the Spades, Scarlet fabric, shown below.

And now the units are all done and ready to be joined together to make the block.

Not the prettiest picture here, but you get the idea.

Four more blocks are in the books, which means we are almost half-way done! Those finished blocks should really be stacking up now.

Next time we chat, it will be 2022, so I want to wish all of you a joyous and happy holiday season, and a wonderful new year!

Until next time- Kristin


Ruby BOM Month 4
11.2.2021
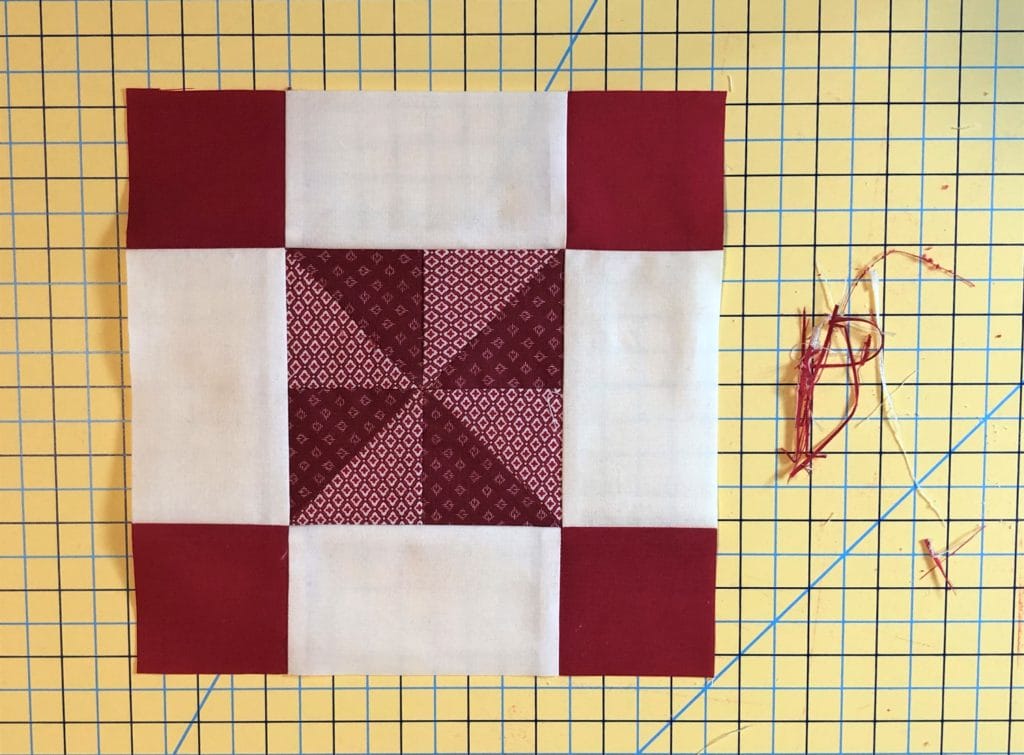
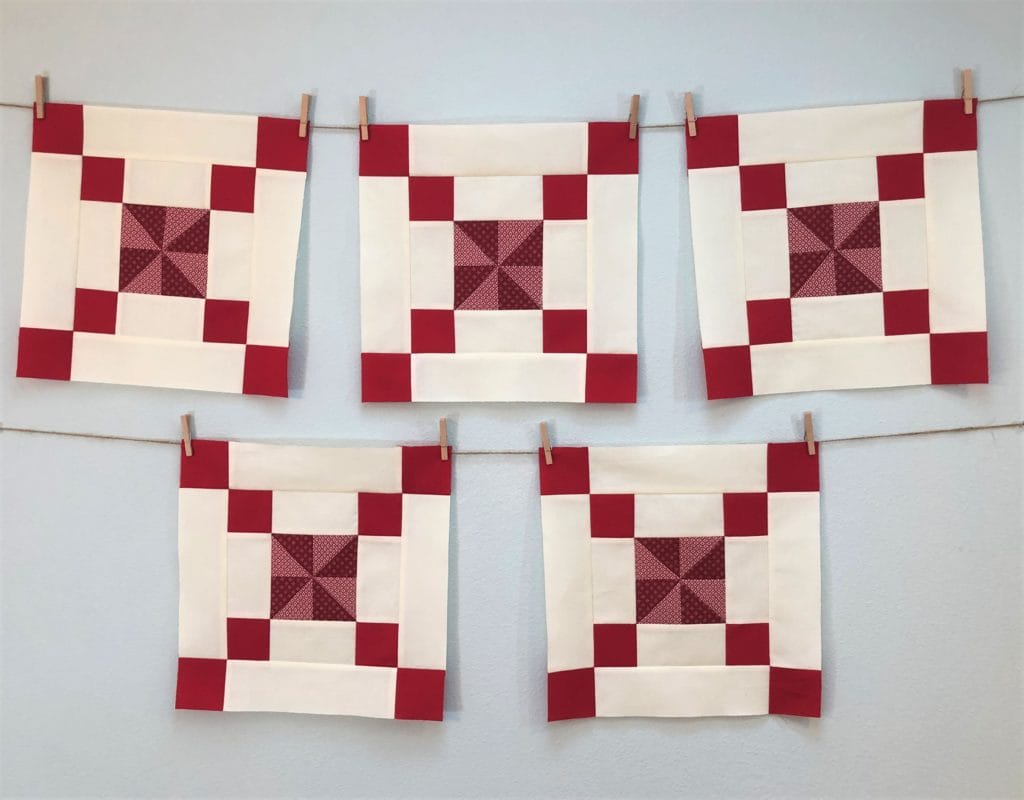
Five red and white quilt blocks hang from twine, they feature a red pinwheel design at center and small red squares at the corners.

Can you guys believe it is already November?! I don’t know about you all but this year has flown by for me. And here we are, already working on month 4 for the Ruby BOM. Just think, after sewing these blocks, we will be 1/3 of the way done with this quilt!

This month may look a bit familiar to all of you, since it’s exactly the same as month 2. Surprise! For those with sharp memories, you may recall that we are making our 25 Irish Chain blocks in this quilt over the course of many months. This month we will be making another 5.

Since I previously did a blogpost with a tutorial for making the block, I won’t bore you again with the details. Please feel free to refer back to Ruby BOM month 2’s blogpost if you want a refresher.

This month I thought I would show you how I sew when I’m making multiples of the same block. Probably many of you already do this as well. It just makes things go so much faster!

Step One

Cutting and pinning.

I begin by cutting out everything for all 5 blocks and then get to work.

Whenever I’m piecing a quilt, I look at the entire pattern first. I try to see how much sewing I can do at the same time, even if that means skipping around a bit.

For these blocks, I know that I need to make the half-square triangles right off the bat, so I get those ready.

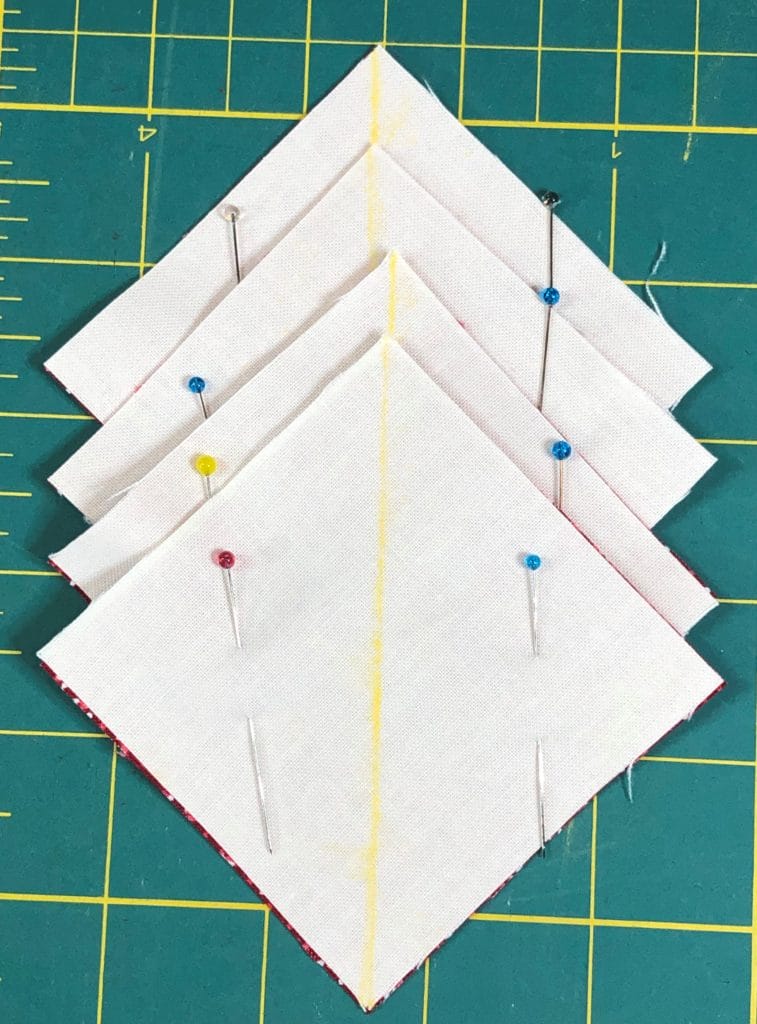
Squares of fabric are pinned in pairs, right sides facing, with a marked line corner to corner and pins on either side of the line.

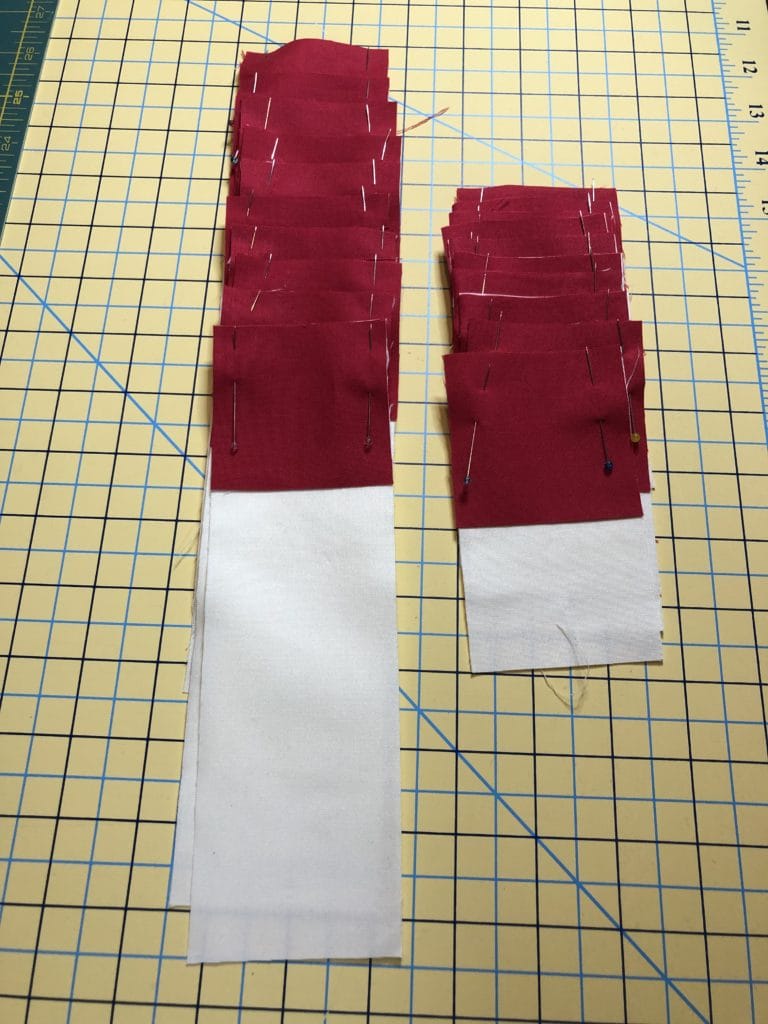
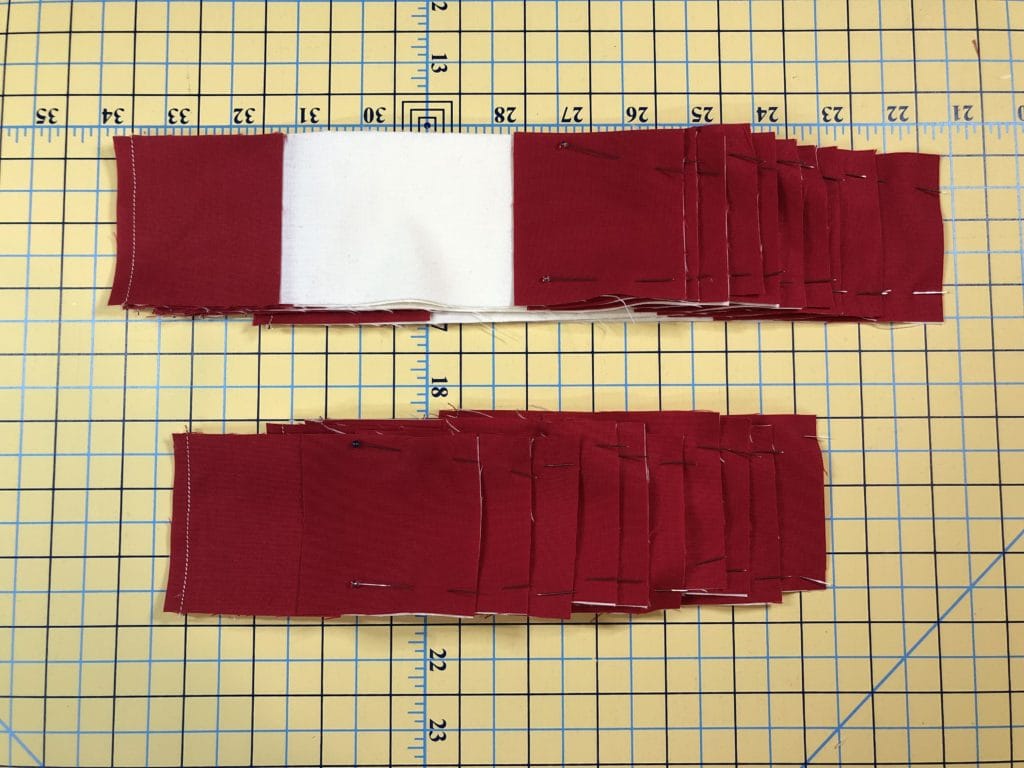
But I also know by looking ahead in step 3 where it says “Take the two remaining D strips and sew a C square to each end”, that I’ll need two of those C/D/C units for each of the 5 blocks. So I get all ten of those prepped and pinned for sewing too.

And then looking even FURTHER ahead in step 4, I see that each block also has two units with a C square being sewn to each end of an E strip, so I get all ten of those pinned as well.

Step Two

Piecing Squares, Strips, and HSTs

Then I sit down at my sewing machine and get to work.

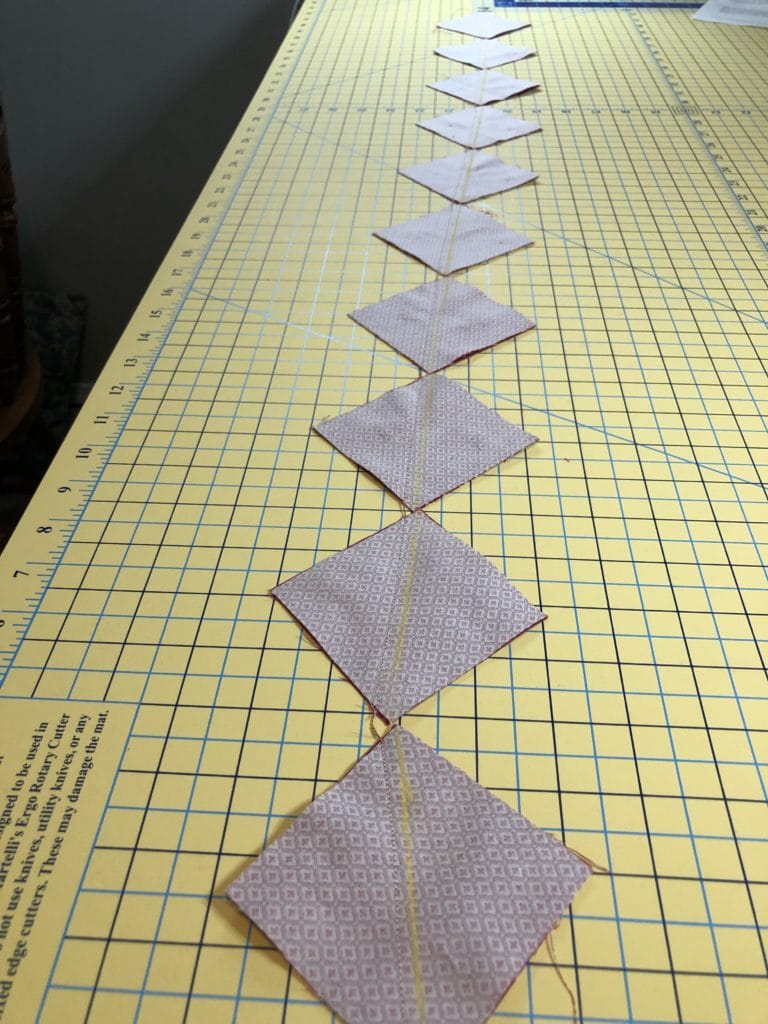
I always do chain piecing whenever possible. Below is a photo of my chain of half-square triangles after my first pass along one side. I don’t clip the strings, but just run the chain back through on the other side. I then clip everything when I’m done.

Squares of fabric with right sides facing have been sewn next to the marked lines into a strand and are resting on a cutting mat.

Once I have all that prep sewing done, I finish up my half-square triangles, square them up, and start making my pinwheel blocks.

Step Three

Piecing Pinwheels

This time I paid attention to the orientation of the pinwheels, and laid everything out from the start (to make sure I didn’t mess those up like last time)! If you want the nitty-gritty of putting these together, you can refer back to Ruby BOM Month 2.

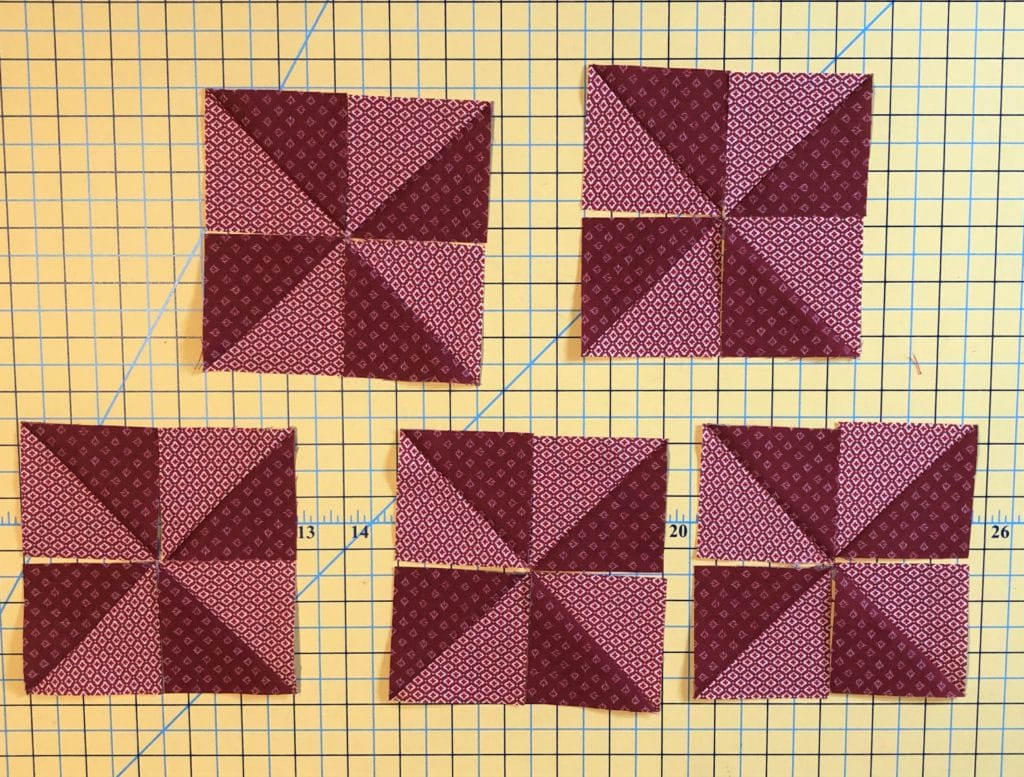
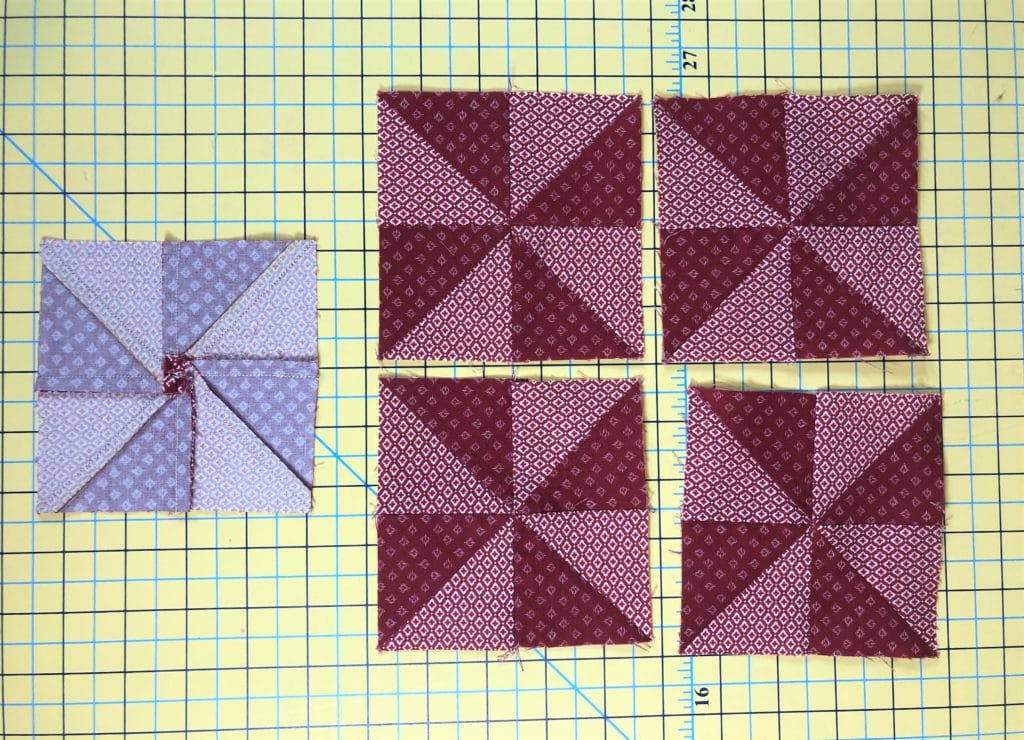
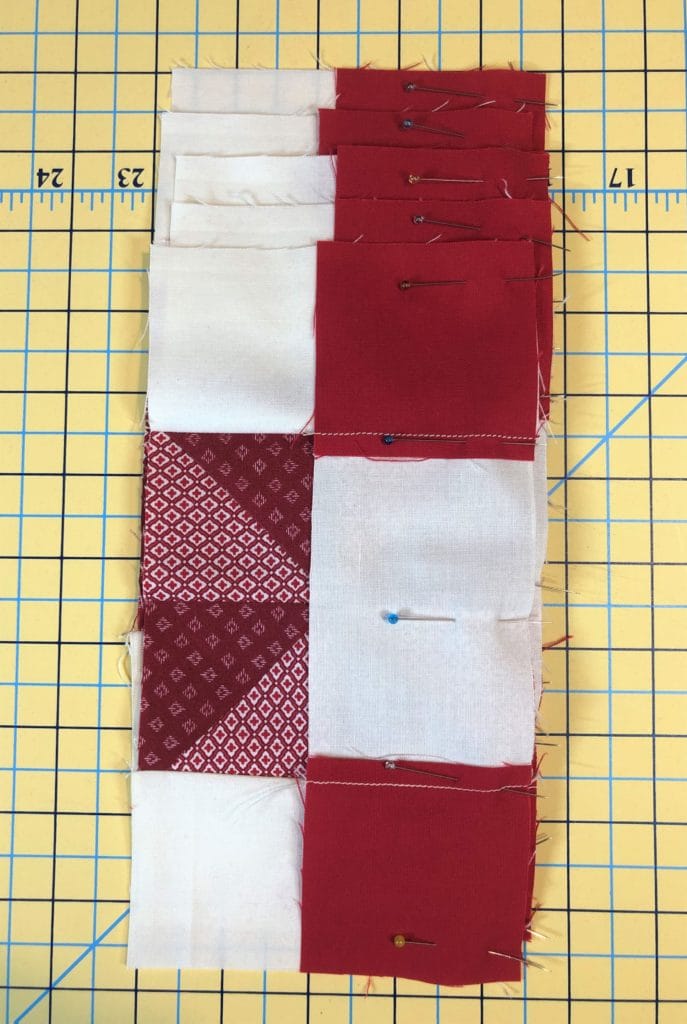
I’ve included a photo of the pinwheels with one showing the back side so you can see how I pressed the center open. This allows the block to lay flat. If you carefully press the center open, it should naturally push one seam up and the other seam down. You should also end up with a tiny pinwheel in the center where you’ve pressed open!

Red fabrics are sewn into 5 squares with a pinwheel design and are resting on a cutting mat.

Step Four

Assemble Blocks

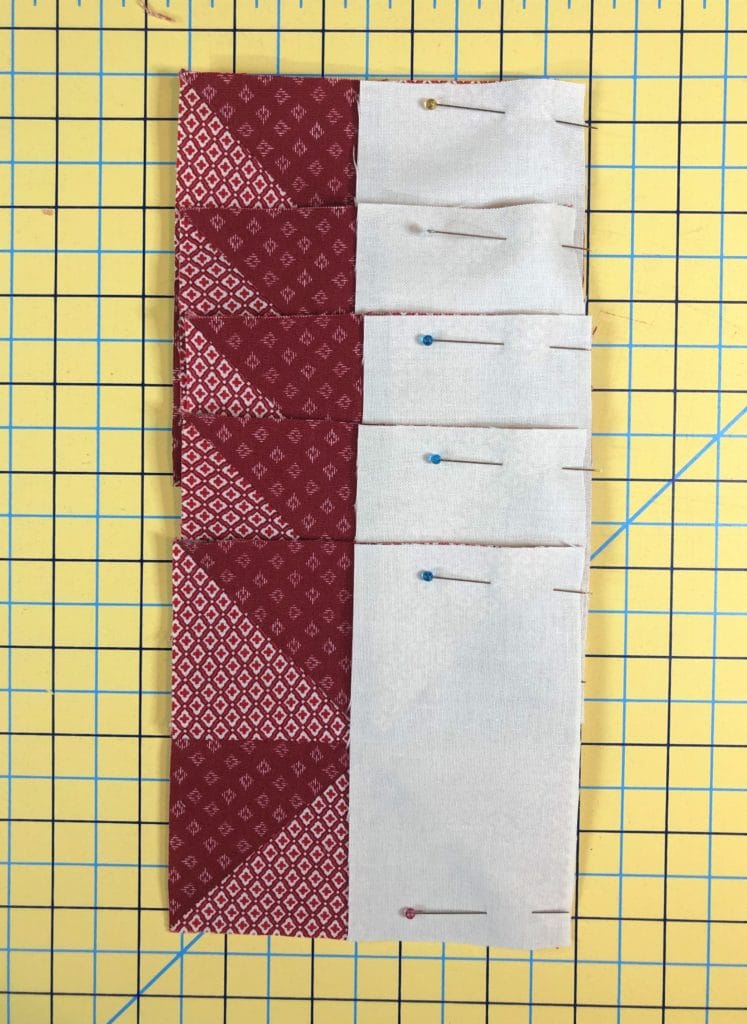
After the pinwheels are finished, there is more assembly line pinning and sewing to get all the D strips to the sides of the pinwheel.

Sew strips to pinwheels

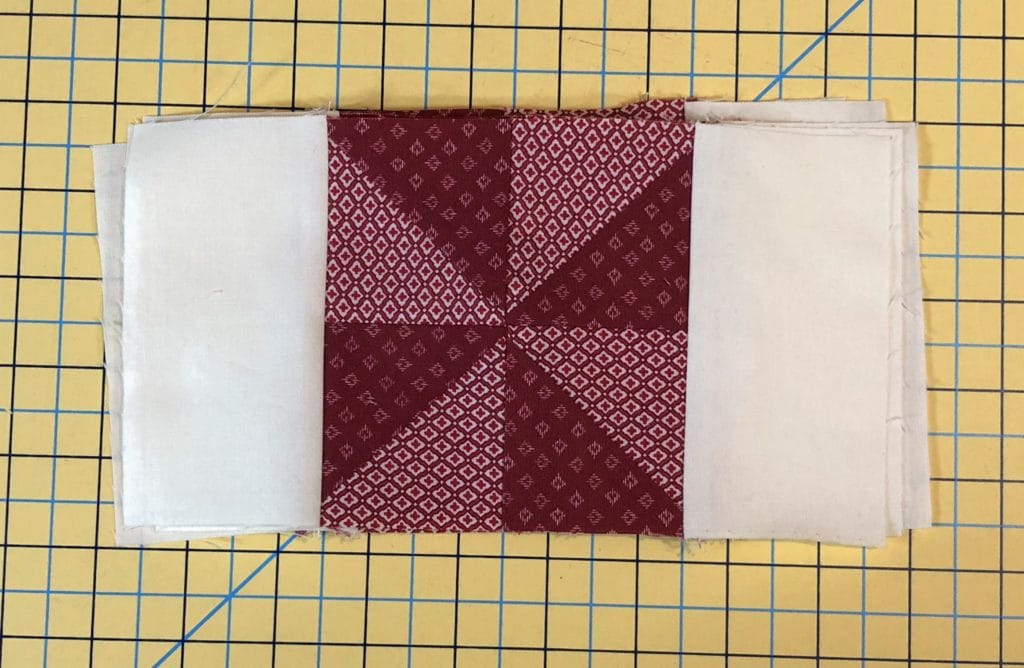
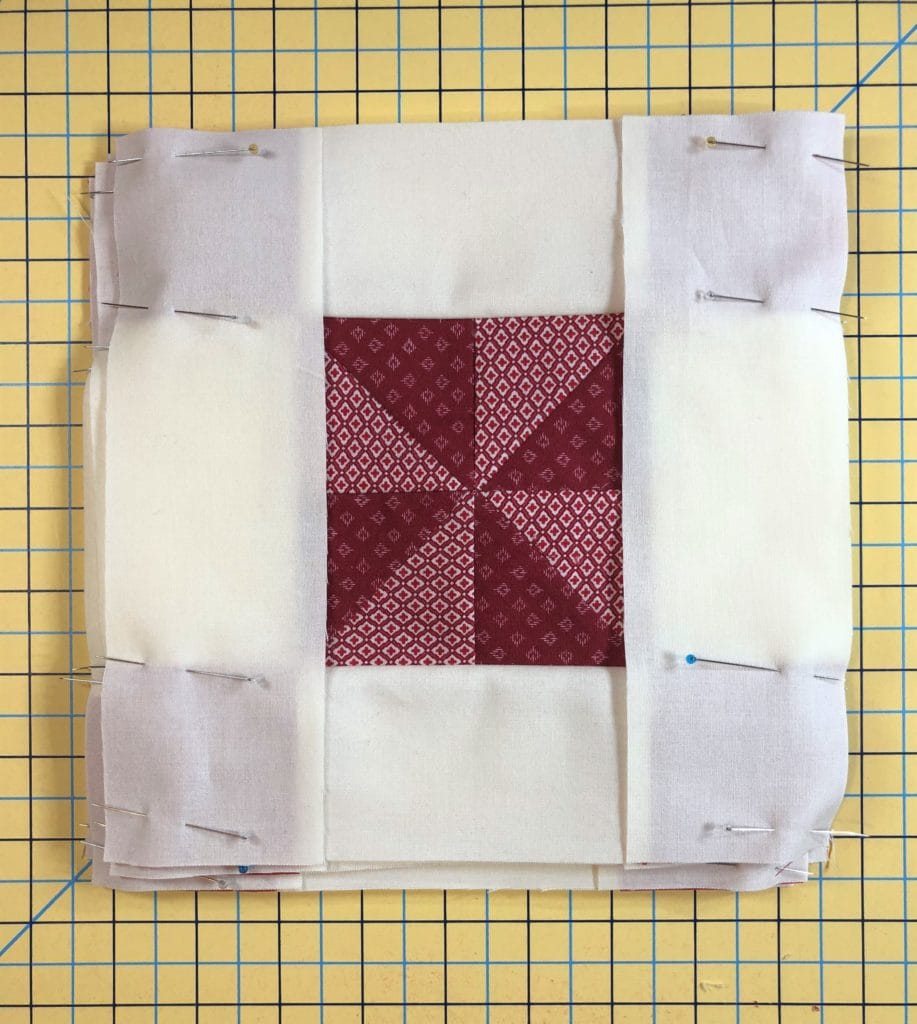
Now that the sides are pressed open, I can put those C/D/C strips I previously made on the top and bottom. I like to pin at each seam, especially when there is a seam I can’t see on the back side. The pins serve as a reminder, so that I can make sure my seams aren’t flipping up as I sew.

I usually don’t press things until I have both sides sewn on, as you see below.

Press and trim

After pressing everything, I like to go ahead and square up the units. Make sure they are all 8-1/2” square. As you can see from the photo, there isn’t much to trim off. I like having the edges all cleaned up for the next step.

Attach final strips

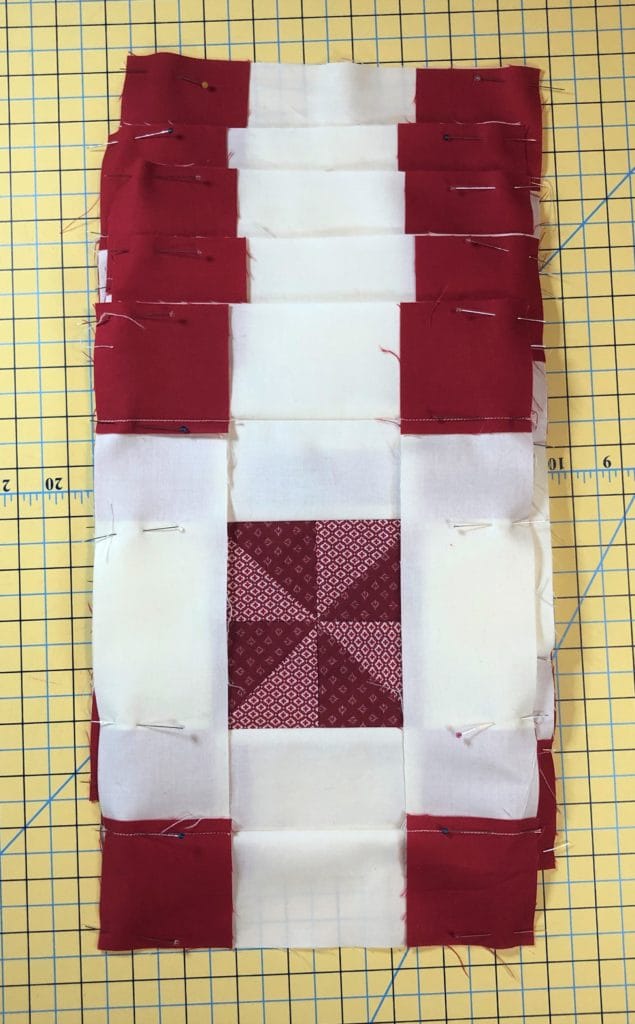
All that is left is to sew on the final E strips, along with the C/E unit’s I’d previously made. Sometimes I like to pin both sides at once, so I can stay at my machine and sew like crazy!

By sewing the blocks this way, I was able to get all 5 done in a matter of hours. I love it when things come together quickly! By the time we are done with this quilt, we will be able to make these blocks in a flash, right?!

I hope you all have a wonderful November, and I’ll catch you all next month for Ruby BOM Month 5! – Kristin


Ruby BOM Month 2
9.1.2021

Hello again friends!

I hope you all enjoyed making our first four blocks in Month 1. I really loved reading everyone’s comments and photos on Facebook this past month. If you haven’t joined our Ruby Facebook group, I would highly recommend it. It’s a great place to share ideas and stay motivated!

For Month 2 we will be making our first set of the Irish Pinwheel Chain blocks (which I probably should have called Irish Chain Pinwheel blocks, but I digress). There are 25 of these blocks in the quilt, so I’ve broken them down into chunks of 5 and have spread them out over the course of the BOM, just so we all don’t get bored making so many at once! Maybe I’m just speaking for myself, haha!

I’ll walk you through the instructions for making one block:

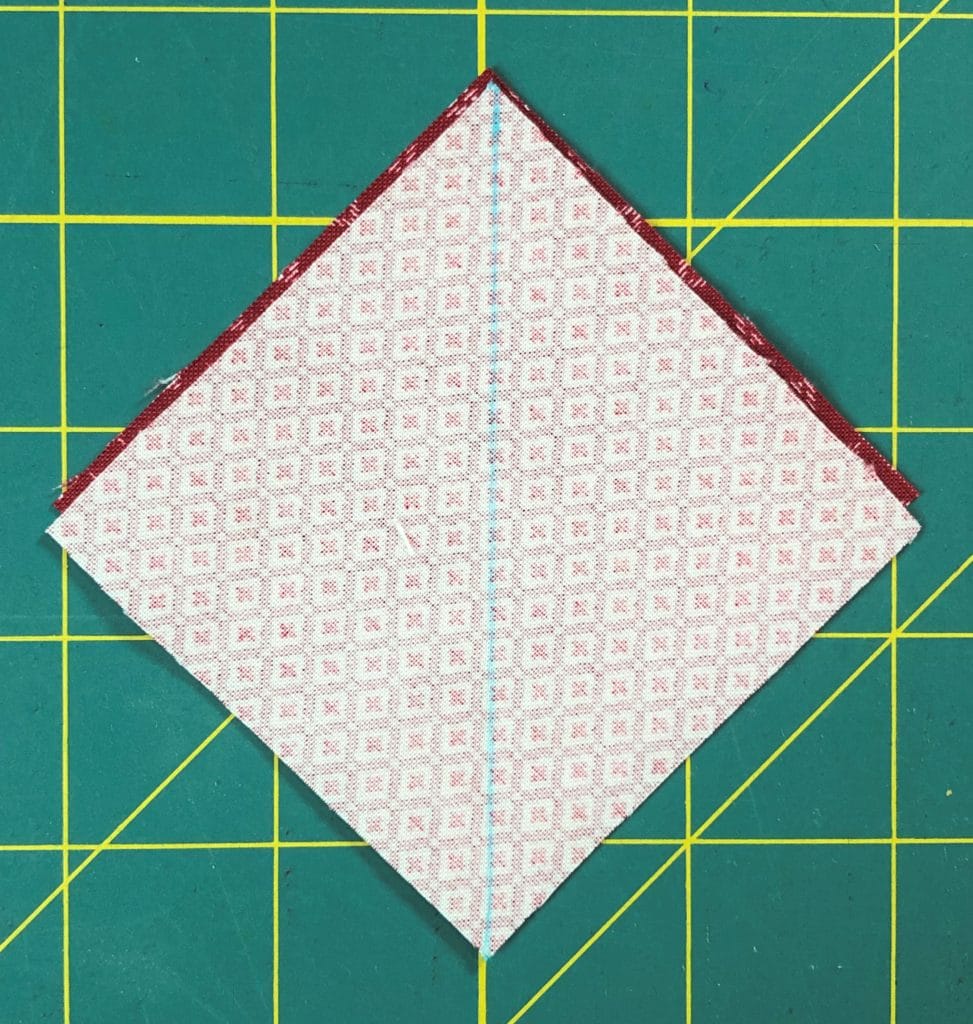
This block begins by making some half-square triangles. Once you’ve paired up your A and B squares and have marked a line like you see below, you are ready to stitch on both sides of the marked line. Obviously the squares shown below aren’t lined up correctly, because I wanted you all to see the square underneath. You’ll want yours matched up perfectly.

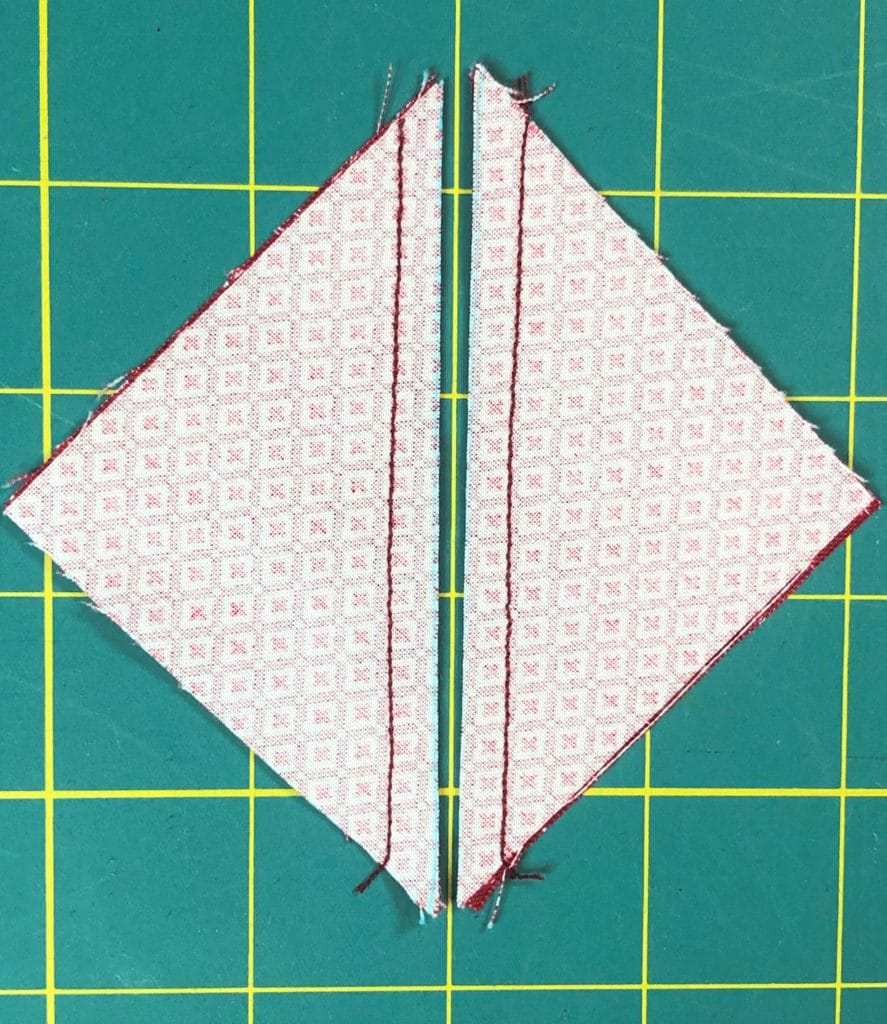
Once you’ve sewn everything and have cut on the marked lines, you can press open and square up your blocks to 2-1/2″ square.

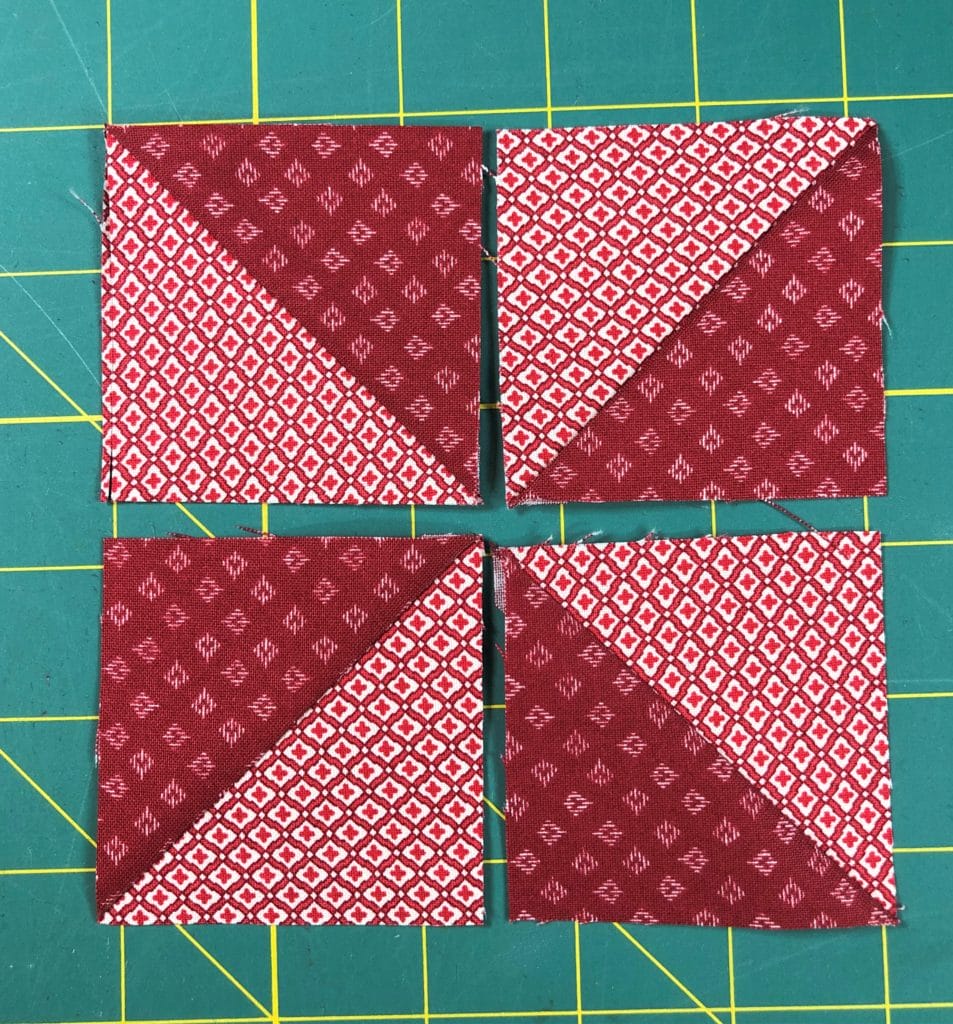
Then you’ll sew those half-square triangles together to make a pinwheel. If you want your pinwheels oriented the same throughout the quilt, you’ll want to pay close attention to the diagram, making sure that all of your A and B triangles are in their proper position. 

And I must confess, while sewing up my first block for this month’s tutorial, I plumb forgot to pay attention to the direction of my pinwheels. And when I was done and I compared my finished block with my own diagram, OF COURSE they were going the WRONG WAY. If I had been sewing this for myself, and not this blog, I honestly would have left it, and just made sure all the other ones matched. No one would have been the wiser, right? But since you all have my directions and diagrams, and would have seen my mistake, I figured I’d better follow my own instructions and fix it! Thankfully I’d only made the one block and not all five. Otherwise I might have cried…or screamed loud enough for the neighbors to hear.

Once you have your pinwheels sewn up, all you have to do is add the Ivory strips and the Red corner squares. So easy!

I like to sew my blocks into rows first, and then sew the rows together, like you see below.

After the first set of strips and squares, your block should now measure 8-1/2” square. I always measure and trim as I go so that everything turns out the correct size in the end.

Once the last strips and squares are sewn, the finished block should now measure 12-1/2” square.

Things are all laid out and ready to sew the last step.

And here is the finished block!

Some of you have asked for thread suggestions. For this block I used the Scarlet thread, because that’s what I already had in my machine. I really should have used the Cream or Ivory thread, since there is so much of the Ivory background in this block. So do as I say, not as I do! If you really want to get fancy, you could use a red thread for the pinwheels, and then switch to the Ivory thread for sewing the strips.

I hope you have fun making these Irish Pinwheel Chain blocks, because you’ll be making a LOT more of them as we go along! But I’m guessing you all knew that.  🙂

Have a great month, and Happy Quilting!

Kristin


Welcome to the Ruby Block of the Month!
7.29.2021

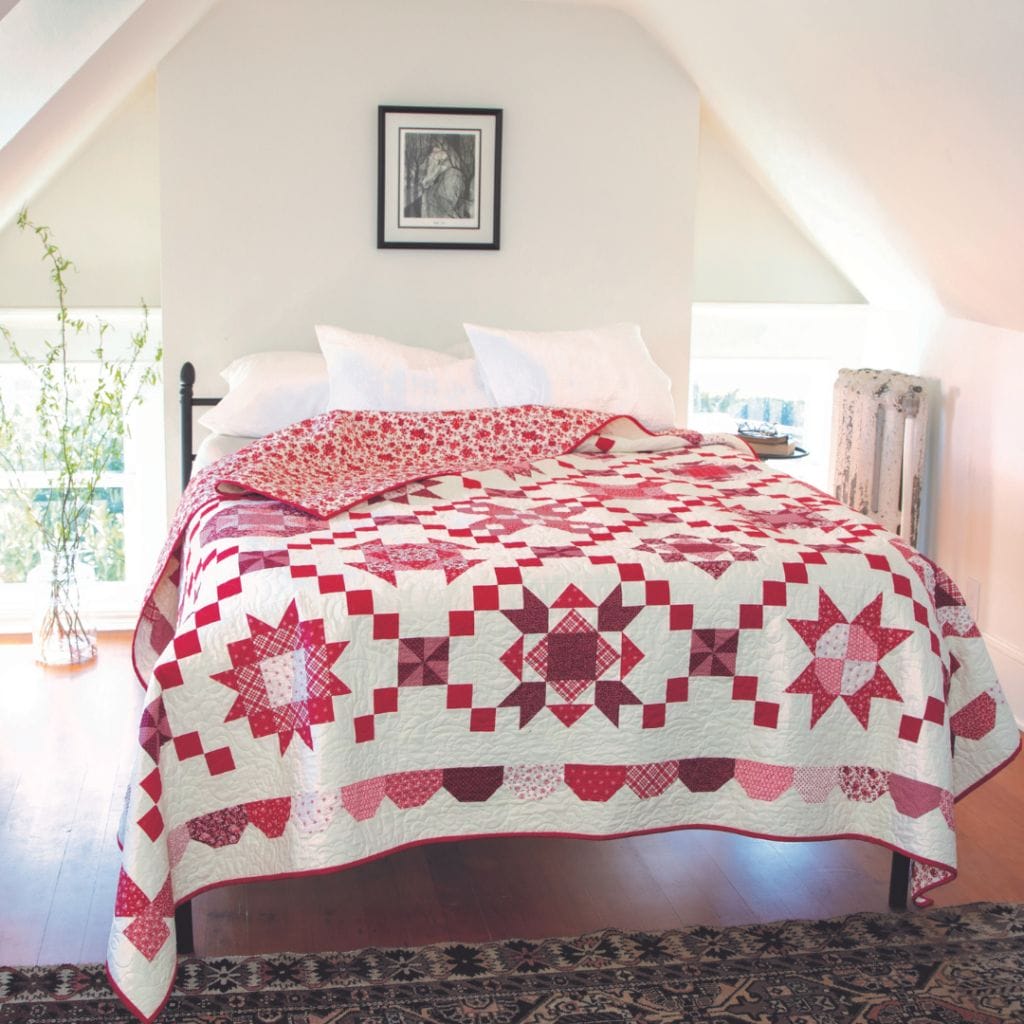
Hello friends! I’m excited to join you on this journey over the next twelve months while we sew up this not-so-little gem of a quilt called Ruby. I’ve always LOVED red and white quilts so I jumped at the chance to design one for Connecting Threads.  I’m pretty happy with the results, and hope that you will be too, especially once it’s all finished.

Threads

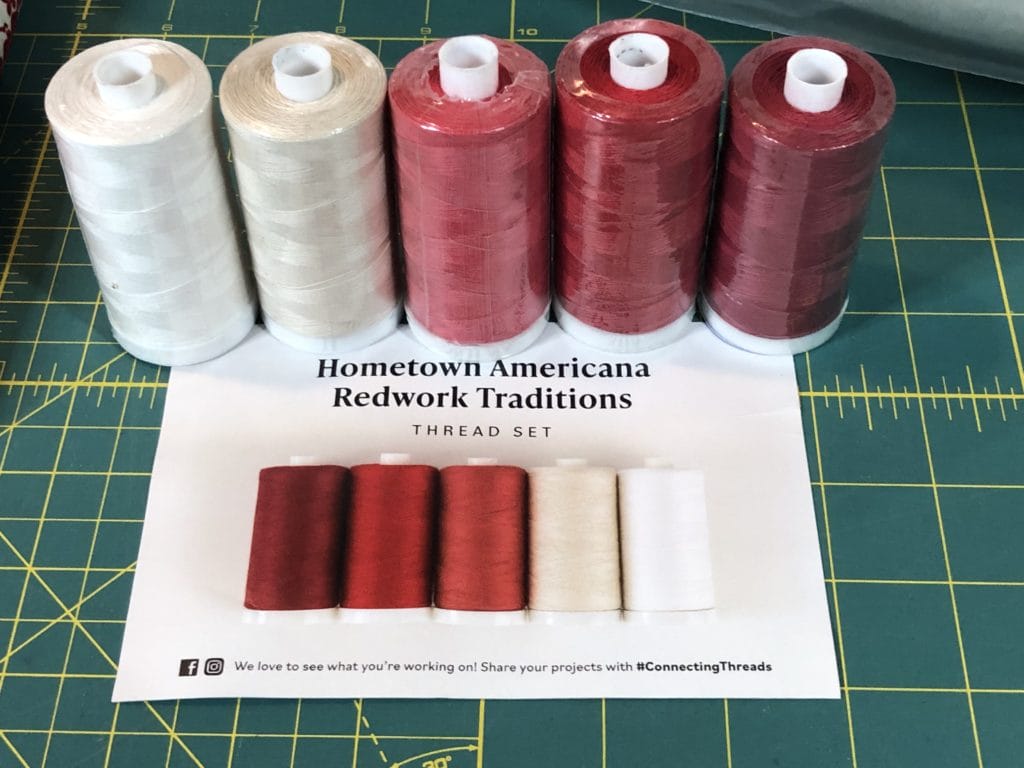
In preparation for this BOM, I snagged a few extra supplies from Connecting Threads. I love their thread and use it all the time anyway, so lucky for me there is a thread set that goes PERFECTLY with this quilt. It’s the Hometown Americana Redwork Traditions Thread set. Of course, you don’t have to use this thread to make the quilt, but since all the colors are perfect for whatever blocks we’ll be making, I just decided I wanted it from the start.

Backing Fabric

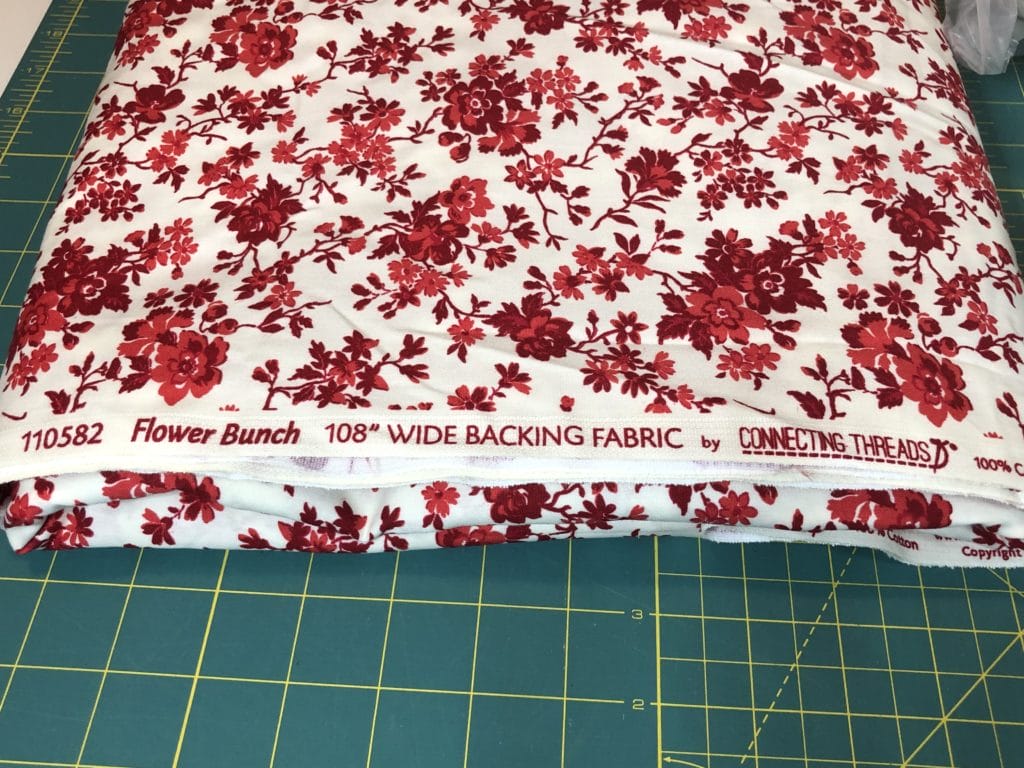
I also got backing fabric, because, depending on the popularity of any given CT fabric collection, there is a chance that the backing fabric I want might not be available by the time I’m ready for quilting. And since we will spend 12 months making the top, I really wanted to make sure I could get what I wanted. So while you don’t have to buy backing fabric now, I would strongly suggest you do, especially if you want something that coordinates.

The pattern states that you’ll need 9.75 yards of standard 44″ wide fabric for the backing. You can also choose to get 3 yards of the 108″ backing fabric as I decided to do. If you go that route, you’ll want to get 3 yards. I picked Flower Bunch (#110582), which coordinates perfectly with this quilt. In fact, it’s so pretty it could be a whole cloth quilt on it’s own. I love it!

Cutting

Before we begin cutting and sewing, I’d like to offer a few tips. I know many designers who write patterns in a way that has you cutting pieces slightly larger, and then trimming things down after sewing parts together, so that everything is just right when you are done. While there is absolutely nothing wrong with that, I chose to write my patterns so that everything is mathematically correct and let customers make their own adaptations as they see fit.

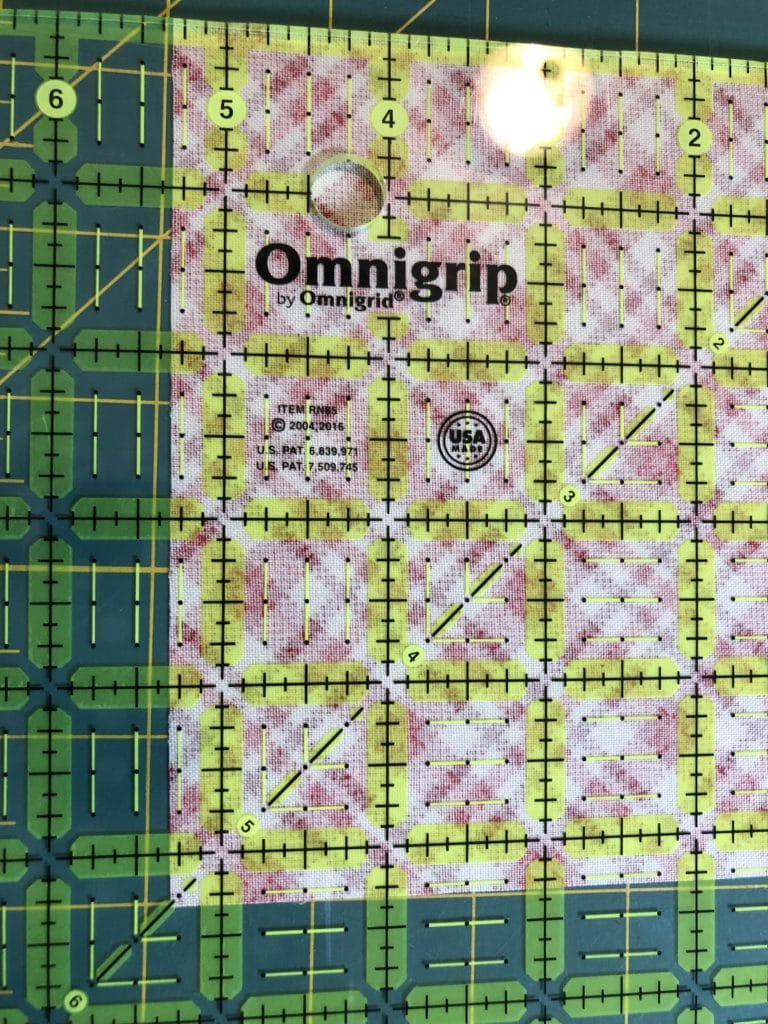
That being said, whenever I’m personally making a quilt, I generally cut all my pieces just a scant bigger (like about 1/16” at most), and I also sew everything just a scant under the ¼” seam allowance. This always gives me great results, and allows for me to square things up as needed.

Here is a photo of about how much bigger I cut my pieces, just to give you an idea. If you look closely at the ruler, you can see this piece is just a bit bigger than the 5-1/4″ measurement that is stated in the pattern.

Of course, feel free to cut and sew as you see fit, I’m just letting you know what I do that helps me to get the results I’m after. And don’t worry about having enough fabric if you want to cut things a bit bigger with this kit. I’ve allowed for AMPLE fabric with this BOM, so you should be all good!

This Month’s Blocks

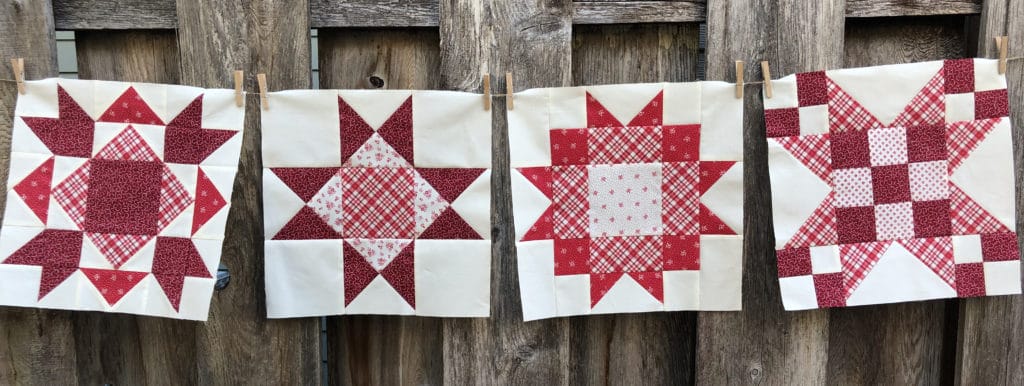
 Okay, let’s get started with this month’s blocks! Here are the first four we will be making:

BLOCK 14

If any of you have made previous quilts of mine, you probably know that I LOVE the no-waste method for making flying geese. I think mostly because it bothers me to cut those triangles off with the traditional method and throw them away. I know there are those super talented quilters who can magically come up with something amazing out of those tiny triangles, but I’m not one of them. I used to always save them, thinking that someday I would create a masterpiece, but I would inevitably  throw them away sometime later, always feeling a bit guilty. Dumb, I know, but using the no-waste method I don’t have any guilt haha!

Below are some photographs of steps 1 and 2 for block 14, just so you can see what this looks like in ‘real life’.

When I’m all done pressing my flying geese, they always need a good trim, and I use the Bloc-Loc flying geese tool to square up my units. This is another tool that is entirely optional. They aren’t cheap but I really like how all my flying geese end up absolutely perfect when I use this to trim them.

After making the first set of flying geese, you’ll attach them to the A square, along with the B squares,  to make the center portion of the block.

Next we will make some more flying geese in steps 4 and 5, followed by 8 half-square triangles in step 6. These flying geese are the same as above, and half-square triangles are pretty straight forward.

The Half-Square triangles are marked, pinned, and ready for sewing. You will stitch 1/4″ away from each side of the marked line.
Here they are, sewn on both sides of the line and trimmed so they can be pressed toward the dark side.

Somehow, while sewing and trimming, I didn’t snap a pic of the completed half-square triangles, but you can see them below all trimmed up and ready to go. In step 7, we will sew these units together like so:

Now it’s time to sew all the components together. Pay attention to the pressing arrows so that all the units will nest together. If all goes according to plan, the block should measure 12-1/2” square.

BLOCK 16

This block is traditionally called the Ohio Star block, and it’s one of my favorites, probably because it’s pretty easy!

We will begin by making some quarter-square triangle blocks. You’ll start by making two sets of half-square triangles: Two will be with the A and C fabrics, and two will be with the D and C fabrics. Usually at this point I would trim these up, but when making quarter-square triangle blocks, I always wait until the very end to square everything up, because with these blocks, it doesn’t really matter until the end. Plus it gives me some extra wiggle room in case I need it later.

Next, we will pair a C/A square (from step 1) with C/D square (step 2), and place them so the C triangles are on opposites sides, like so:

Notice how the Scadoodle, Scarlet fabric is on the left side for the top block, and on the right side for the bottom one.

Draw a line across the square, and then stitch on either side of the marked line.

After you cut ON the marked line, you’ll end up with two quarter-square triangle units. You’ll repeat this so that you’ll have a total of 4 of these squares. Trim them up to be 4-1/2” square.

Now it’s time to assemble the block. This block is pretty simple, but you’ll just want to make sure that all of your Corsage II Ivory triangles (A) are framing the center B square. I always lay out all my pieces before sewing so that I make sure everything is oriented correctly.

BLOCK 21

This block is also pretty straightforward. Again, you’ll want to pay attention to the pressing arrows so that when the block is all sewn together you’ll have those seams in the right direction.

You’ll start by making a modified 9-patch like so:

I’ve sewed the rows for the 9-patch and am now ready to sew them together.

Next you’ll move on to making some more of those no-waste flying geese. This is the same drill as before with the previous block. And once those are finished you’ll add some of the background F and G pieces to the ends of them like you see here:

Now all you have to do is attach those completed flying geese units to sides, and top and bottom of the center unit, and you are good to go!

BLOCK 22

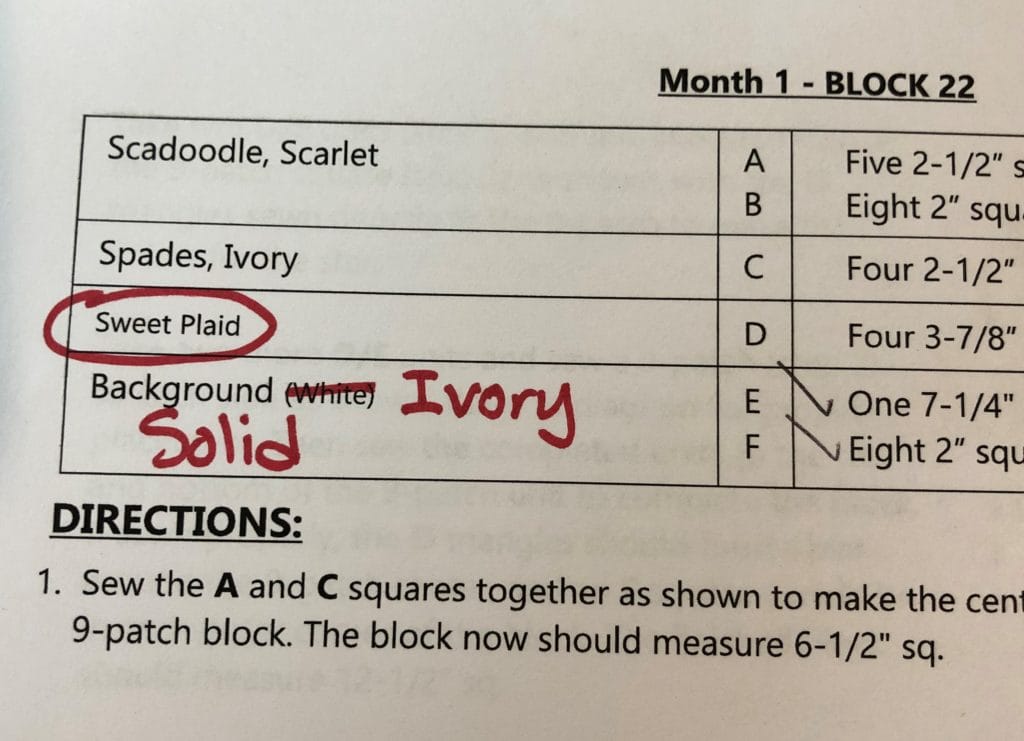
Before we begin the instructions for these blocks, I have to apologize for a silly mistake in the cutting instructions. You’ll notice that the last fabric is labeled “Background (White)”, which is obviously not correct, since there is no White fabric in this pattern. This is a generic term I use when writing patterns, which gets changed to the actual fabric name for the final edit. The dumb thing is, I MARKED THIS IN RED PEN to change it, and then somehow didn’t. Ugh. Anyway, please know that “Background White” is really Solid, Ivory.

UGH! Seriously!

Now on to sewing! We’ll start by making a simple 9-patch and then make, you guessed it, even more no-waste flying geese. (Gee, this sounds kinda similar to the last block…)

Then we’ll make a few easy 4-patch units – Four of them to be exact.

After I sew each F square to a B square, then I sew the pairs together to make the 4-patch units.

The only thing to worry about when assembling this block is the orientation of the corner 4-patch units. As you can see from the picture, the Ivory F squares should be in the outer corners. At least, that’s how I’ve done it. That being said, since this is YOUR quilt, you can switch up the orientation if you so desire, and put those red squares in the corners instead.  It’s entirely up to you, just make sure that whatever you do, it’s on purpose. That advice probably applies to more than just quilt blocks, haha!

The rows are sewn together and ready to finish the block.

I hope you’ve enjoyed these first few blocks. Next month we’ll get started on some of those Irish Chain pinwheels. Stay tuned!

-Kristin


Annabelle BOM Month 9
4.7.2021

We did it! We’ve finally made it to the finish line! Four our very last month we will be making a few more flying geese, then sewing our flying geese rows together and on to the quilt. After that, all we have left to do is attach those final navy borders and we are done!

Our last flying geese adventure for this quilt involves the same procedure as all the previous flying geese, with one notable exception. This time, we will iron our seams INWARD, rather than outward. I know that is counter-intuitive, but this will enable us to get all the seams to nest together when we make the border.

Press the navy seams UP toward the red gingham at this step.

Here is a photo of what the back of the flying geese will look like when ironed.

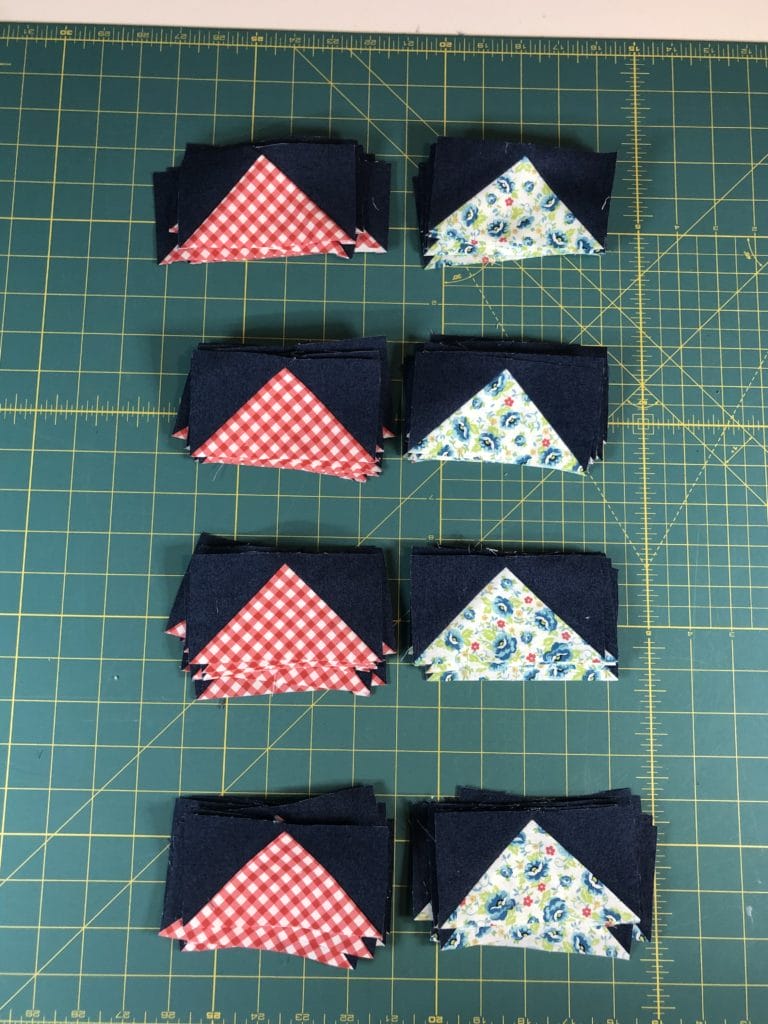
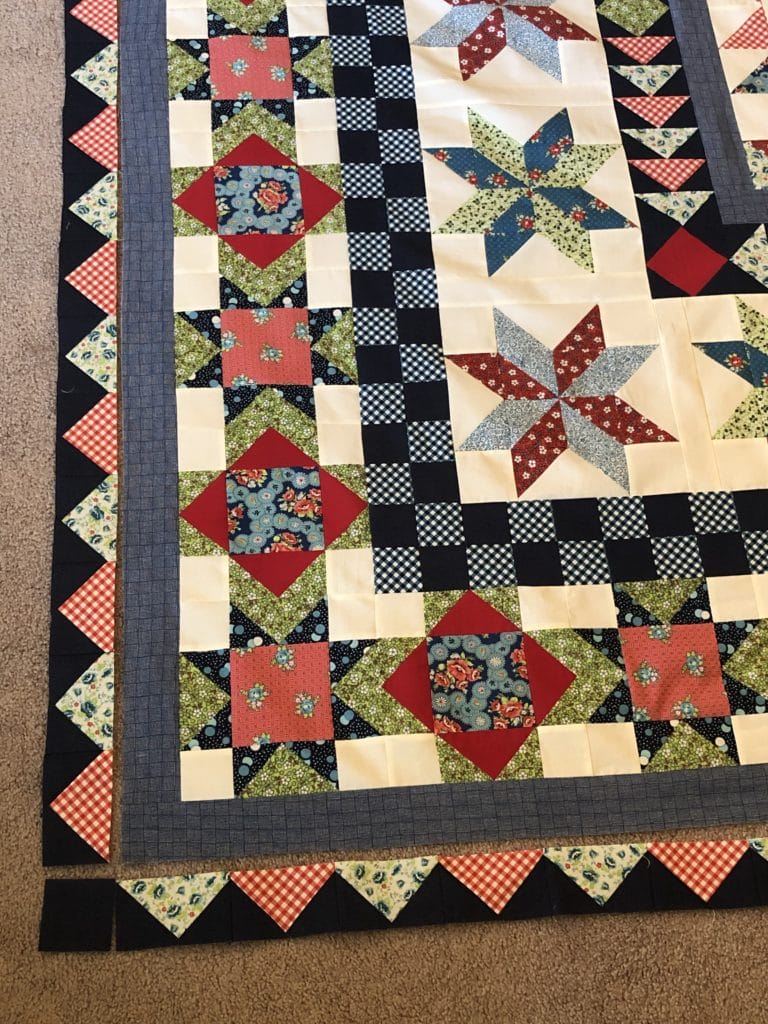
Now that we’ve finished all those geese, it’s time to make our border! We will alternate between the red gingham units we just made and the pale blue floral units we made last month. I began by sewing these as pairs, and then sewed the pairs together as needed to make the borders.

I separated out all the pairs to prep for sewing.
The pairs are all sewn together and ready for making those borders.

When I sewed these borders on I actually lucked out that they fit almost perfectly. Sometimes I’m not so lucky though. Back in my Month 5 Blogpost I discussed ways to fix pieced borders that don’t fit quite right, so feel free to refer back to that if you need some tips for easing things in.

When I laid out my flying geese rows to prep for pinning and sewing, I was happy to see they all fit perfectly.

On to our final borders – Hooray! I confess I got so excited to finish that I just went to work sewing and didn’t take any pictures of the final navy borders being sewn. But here is a photo of how I pressed all the borders when done. I pressed away from the flying geese borders on both sides.

I will also mention that whenever I’m sewing a pieced border to a strip of fabric, I always sew with the pieced side up. Does that make sense? I just like to see where all the seams are. This also allows me to make sure I’m not cutting off any points as I sew.

I realized that I had quite a bit of leftover navy fabric after I was done with my flying geese. This may be due to the fact that Connecting Threads sent me all the yardage in one unit total, rather than cutting each fabric in to the monthly installments that you all received. So I decided to take advantage of the extra by making my borders all just a bit wider that I recommend in the pattern. Don’t hate me, but I just couldn’t resist! I was able to cut my borders 6 in. wide, rather than the 2-1/2” in the pattern. Naturally I did this without considering whether or not I will have enough of the navy gingham for the binding, because clearly I wasn’t thinking ahead. Ugh. Fortunately for me, I chose the same navy gingham for my backing and ordered plenty extra, so I should be able to save myself from my lack of foresight.

Here is my finished quilt top (in the picture below). Please ignore the mysterious hands of my husband and son holding it from behind haha! Thanks in part to the wide borders, it was way too big for my backdrop stand, so my family had to assist me while standing on the benches on our deck to keep this quilt from dragging on the ground. And the wind would NOT stop, so getting a semi-decent picture was a bit of a challenge.

Now I just have to send this off for quilting and then I can put it on my bed. I can’t wait!

Thank you all for joining me these past months. I have thoroughly enjoyed taking this quilting journey with all of you! I hope you all are happy with your finished project, and that you will think about joining me again for another Block of the Month sometime in the future.

Take care, and Happy Quilting! – Kristin