


 Tutorials
 1.2.2024
NOTE: these blog posts for the Amherst quilt top are part of a limited series for our Block of the Month subscription program. Sign-ups for the Amherst BOM are no longer available. You can learn more about our upcoming Block of the Month subscriptions here.
Hello friends!
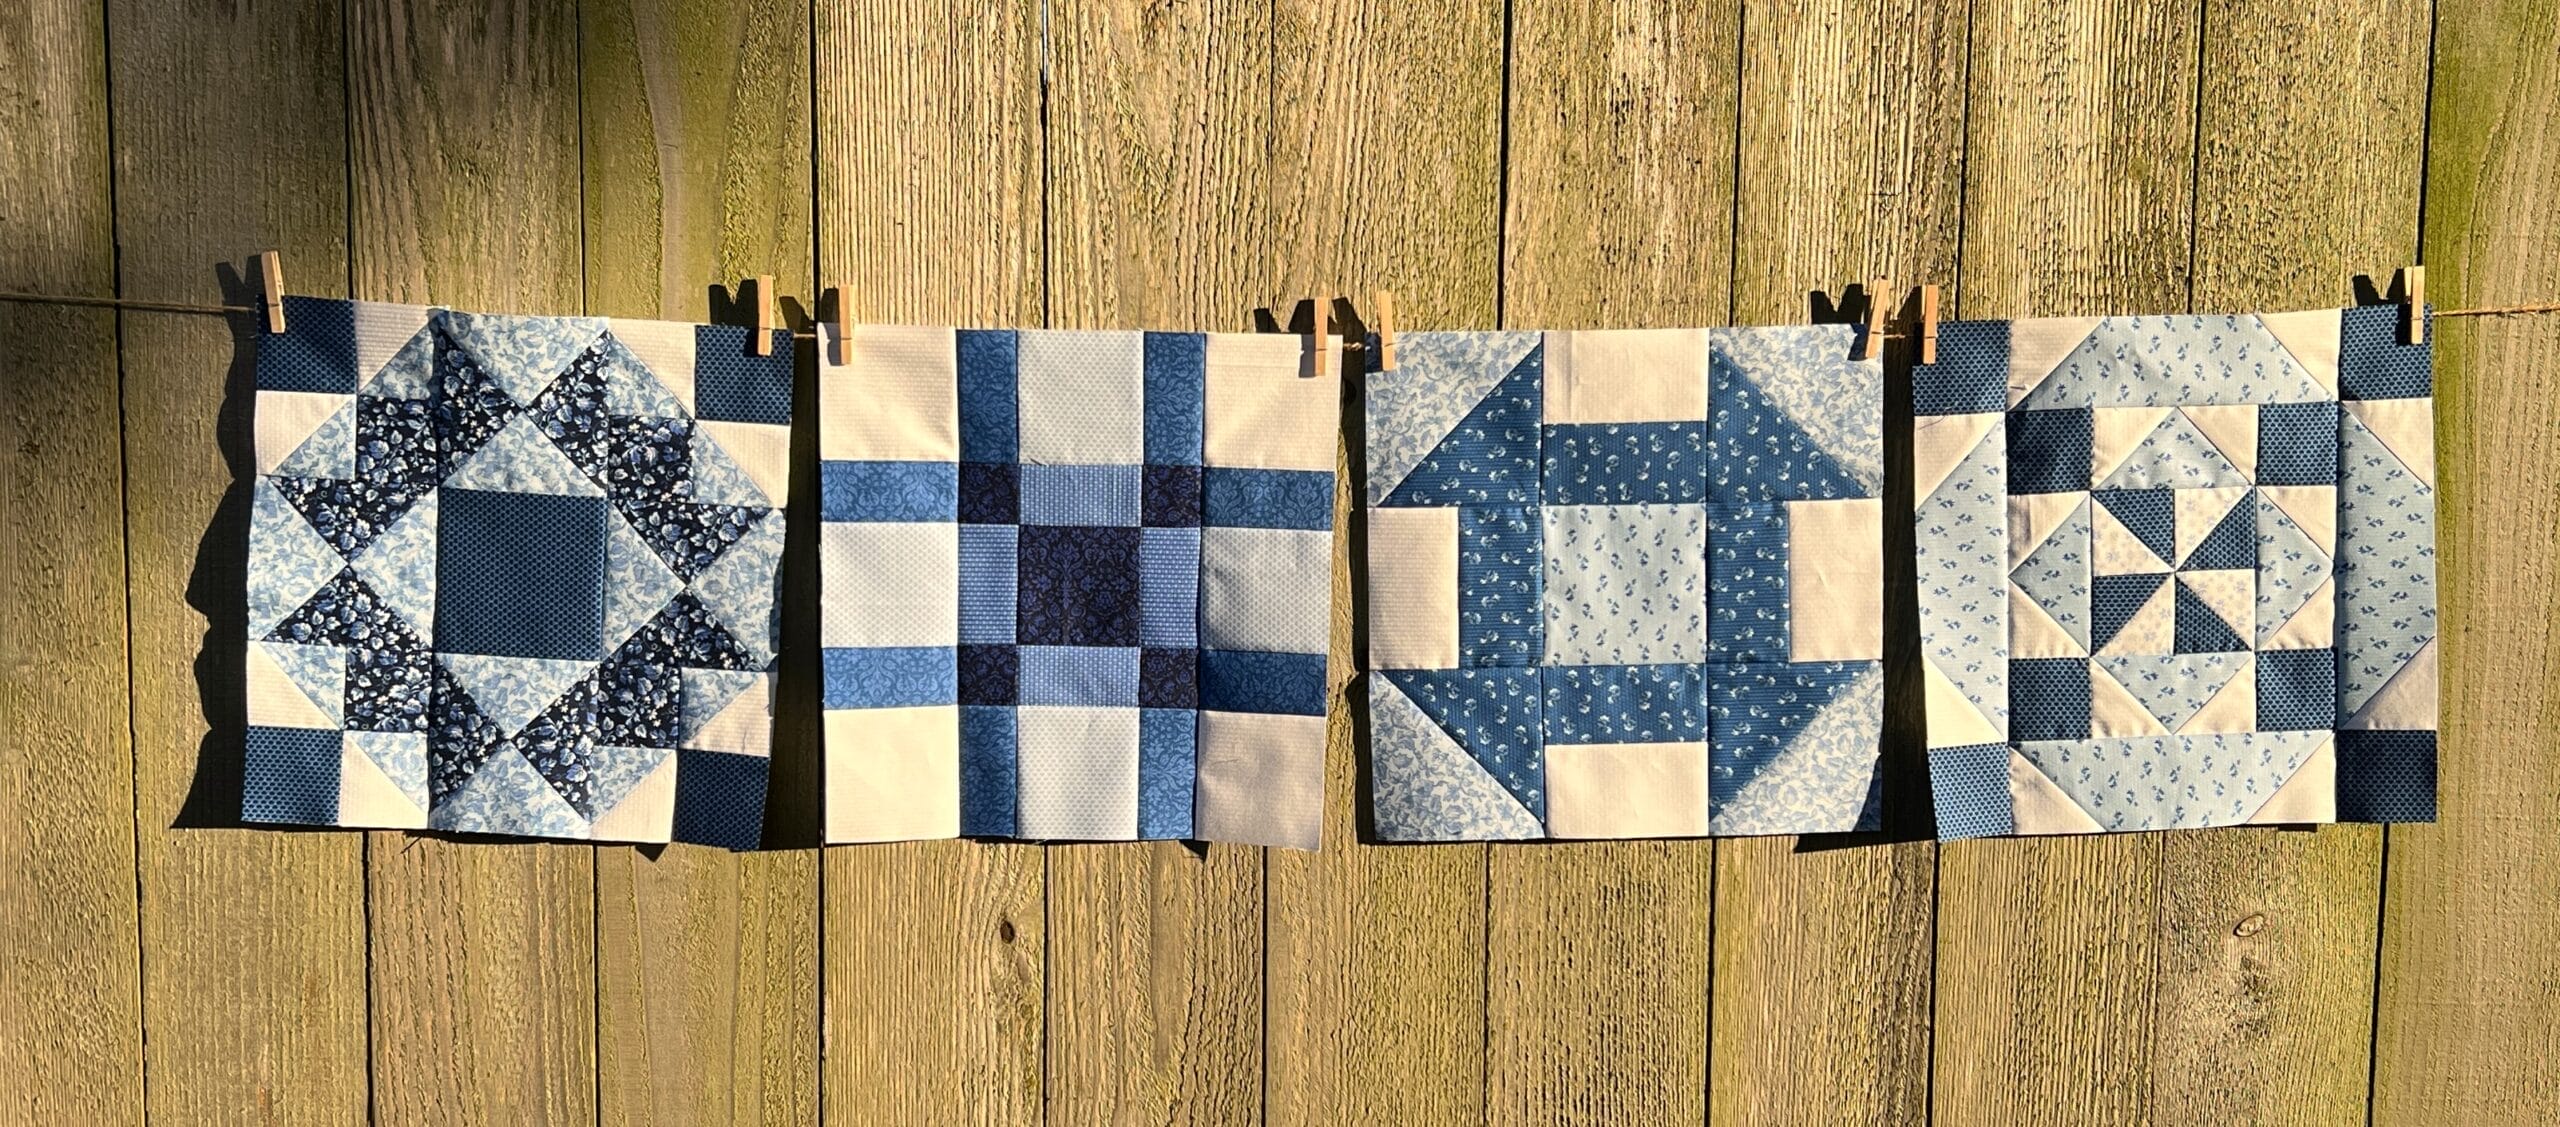
Well, we’ve almost made it to the end! This month we are making our final four blocks for our quilt. All the blocks this month have techniques we’ve already covered in previous months, so hopefully this will be smooth sailing.
That being said, there is an error in the pattern for block #30. At the end of step 1, your HST should measure 2-1/2” square NOT 3-1/2”. At the end of step 2, the pinwheel should measure 4-1/2” square, not 6-1/2”. I have a corrected version of this page, which many of you have already received by sending me an email. For those of you that haven’t requested an updated version, simply shoot me an email asking for the Amherst Month 8 correction, and I’ll send it your way.
Okay, now that we’ve got the most important information out of the way, let’s go over the blocks:
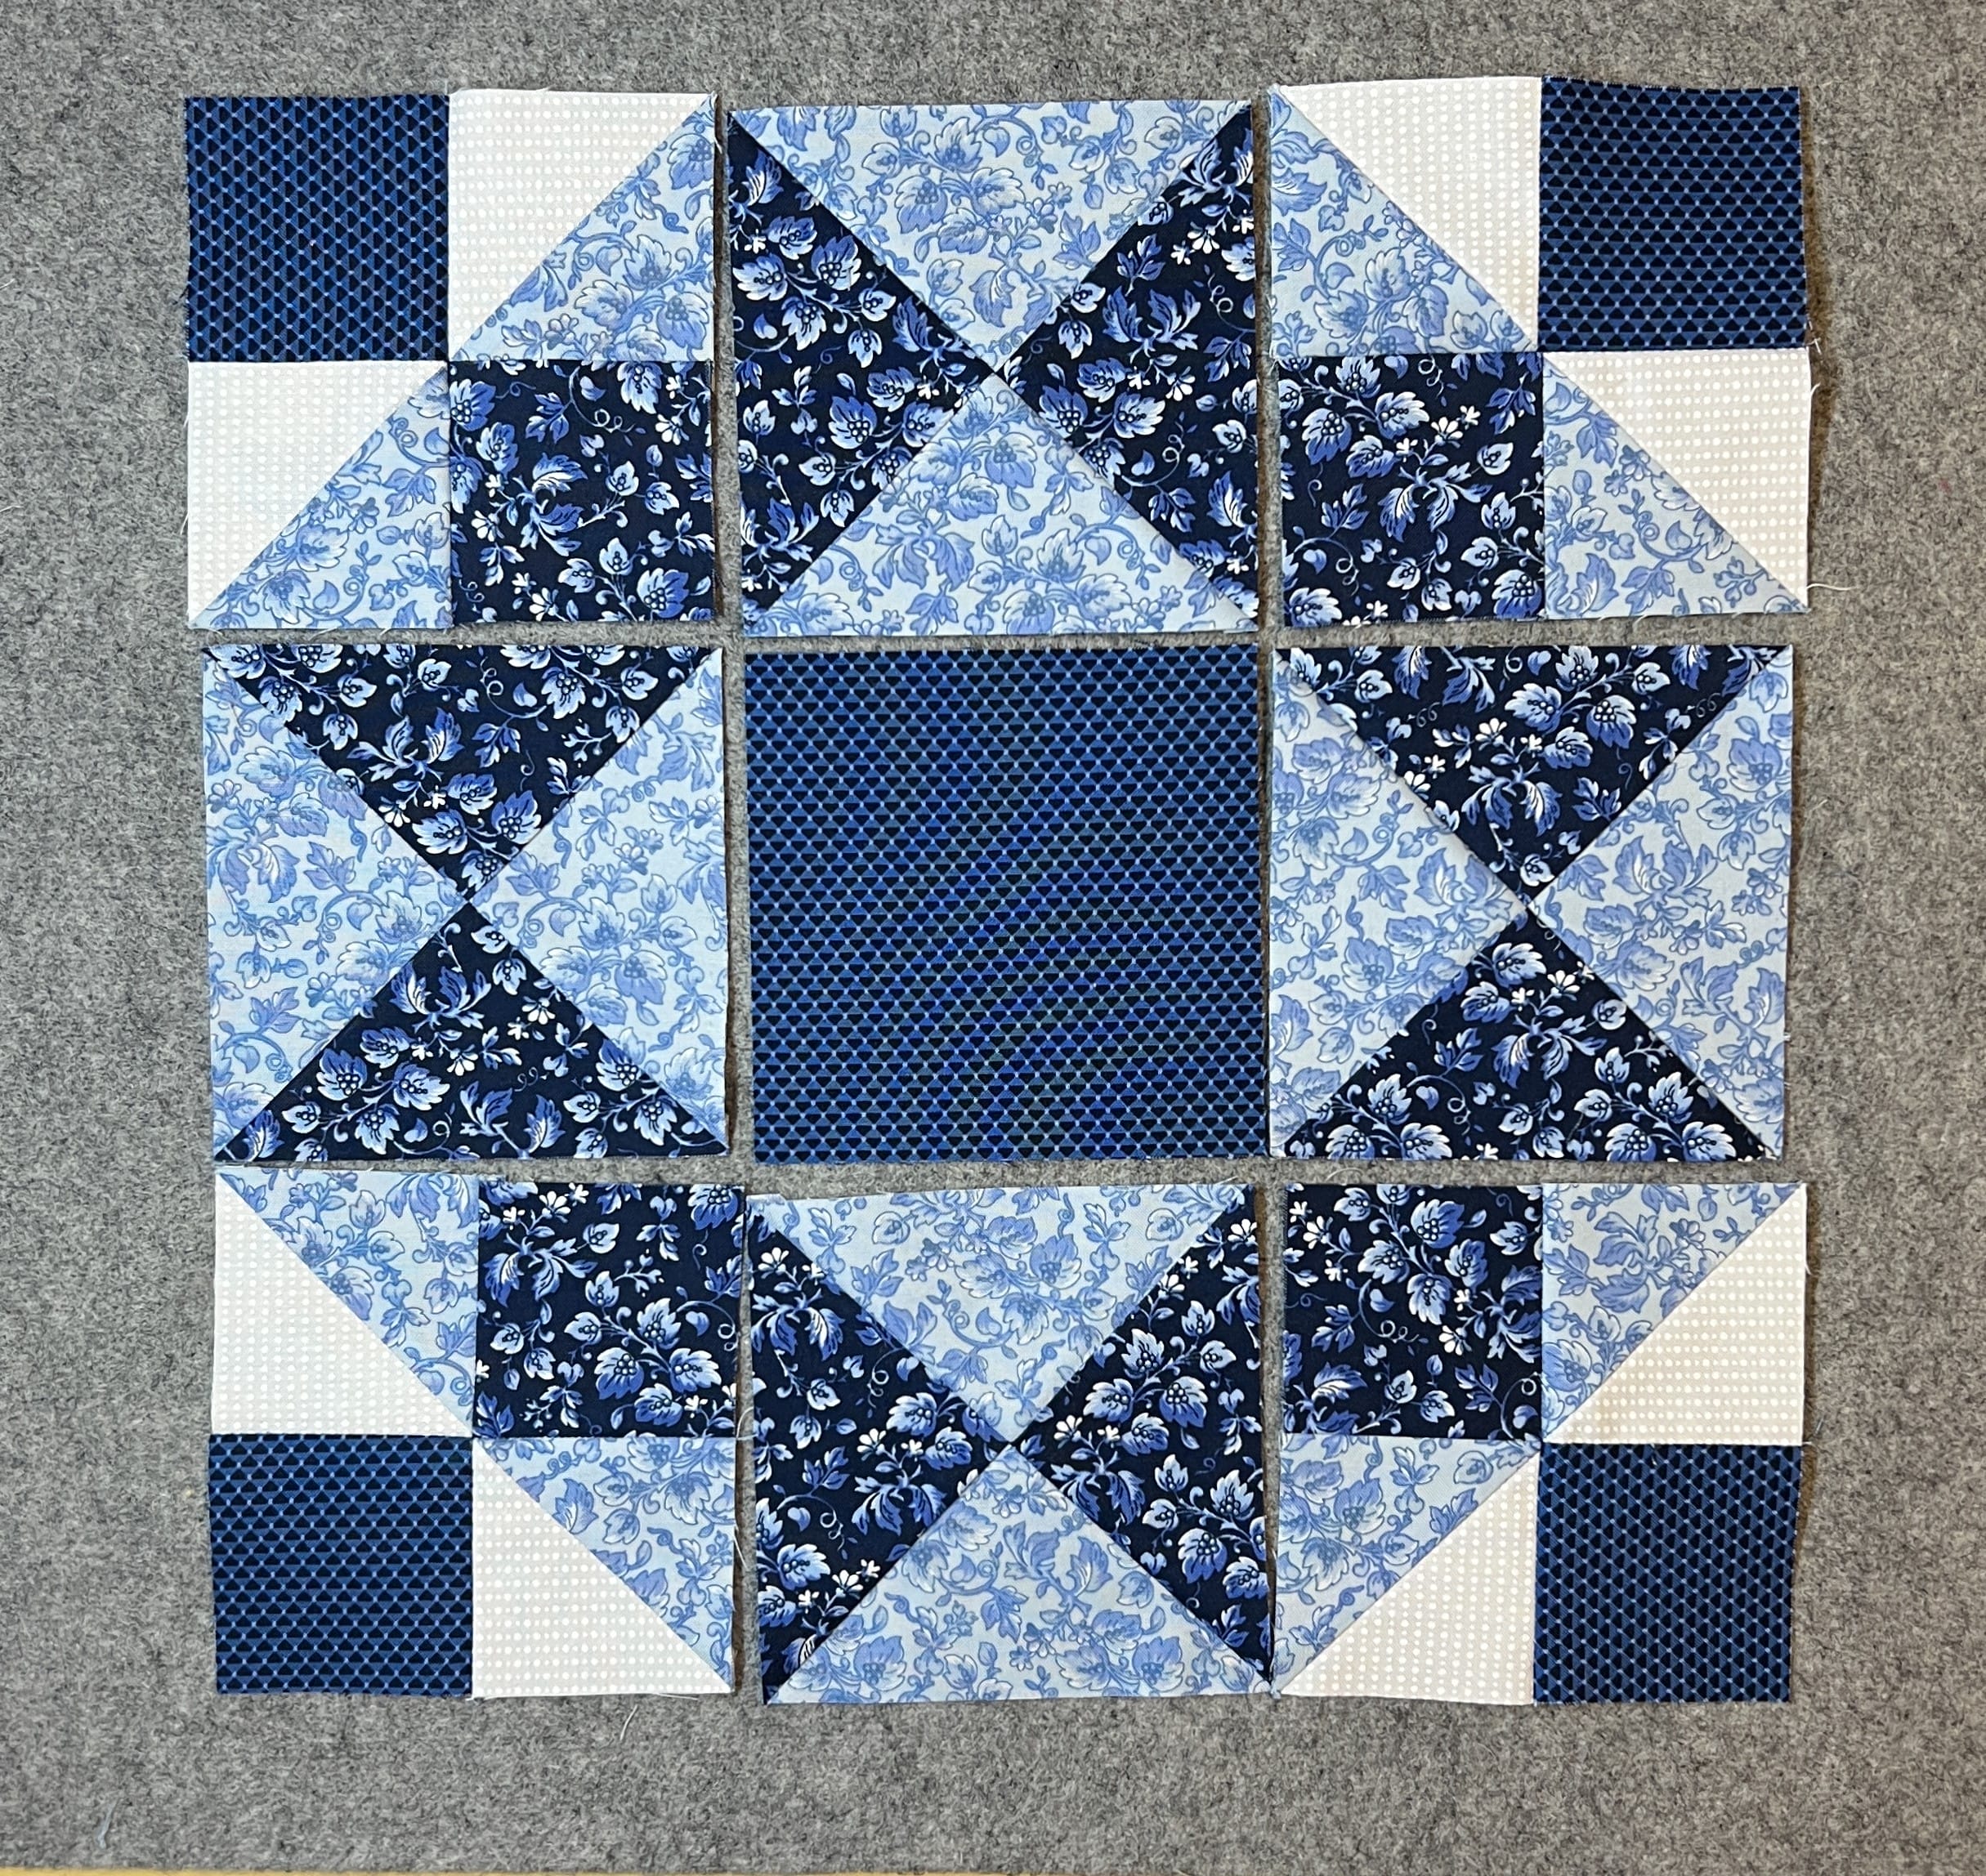
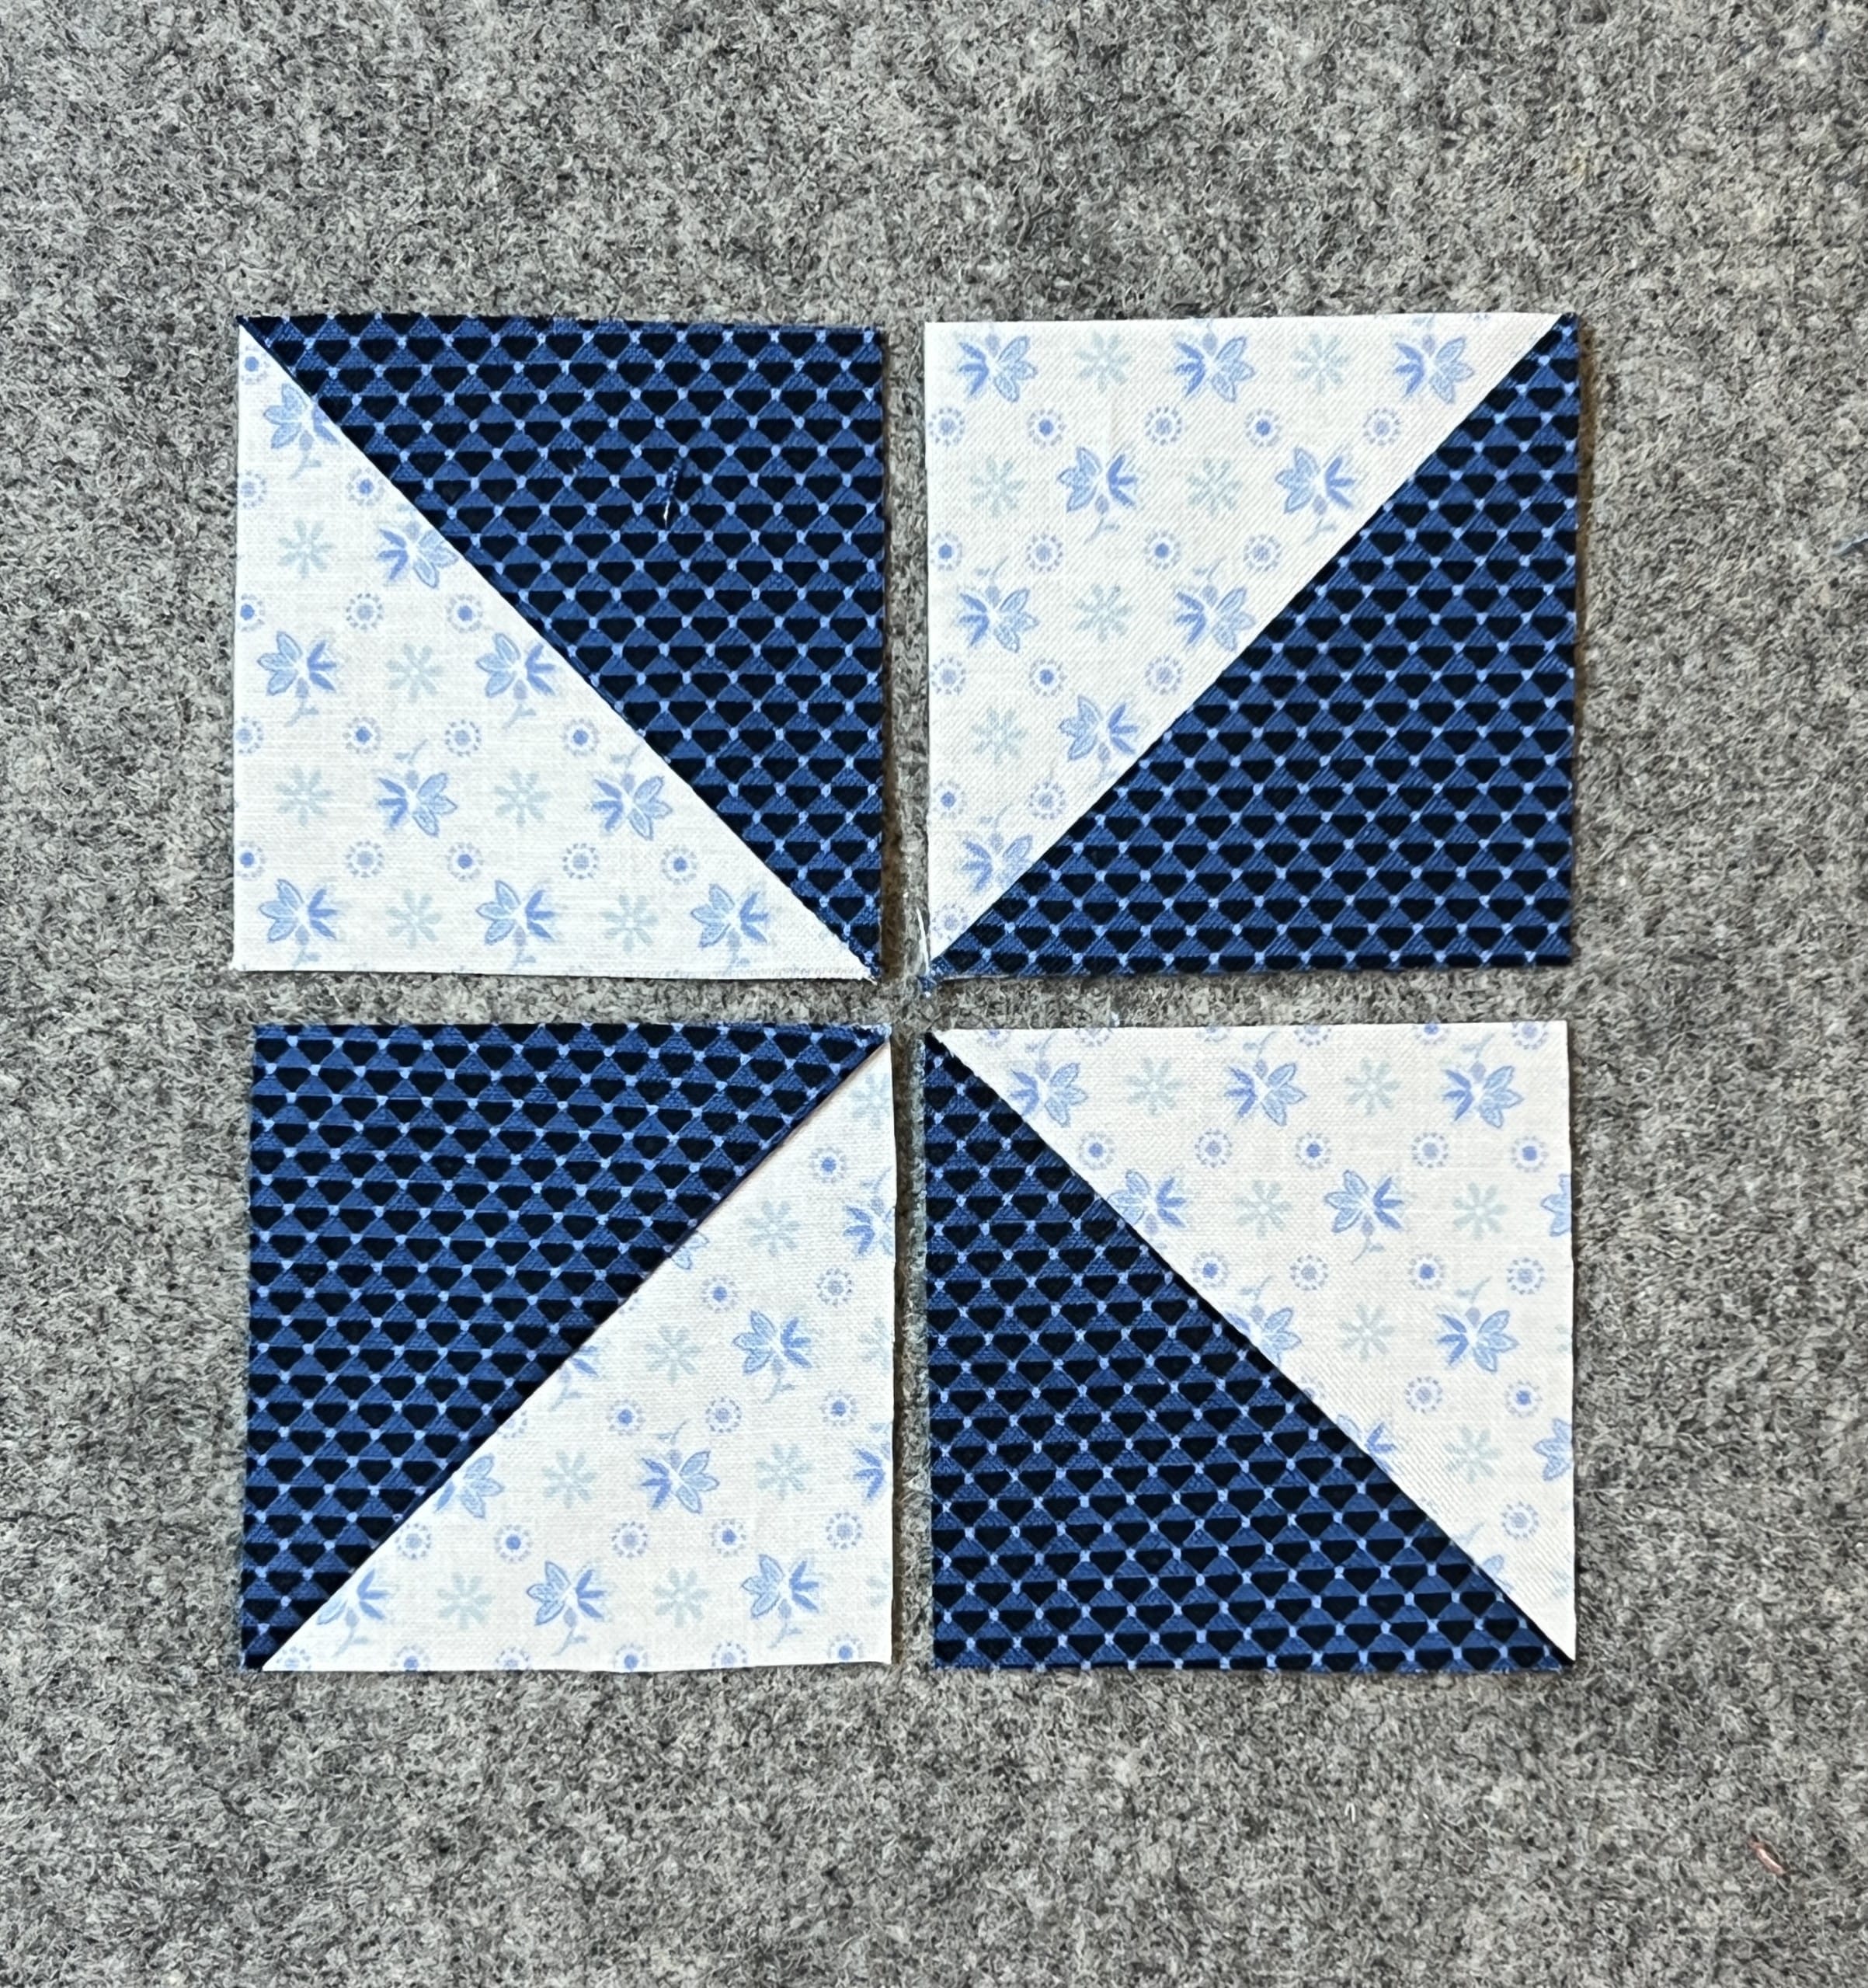
Block 9

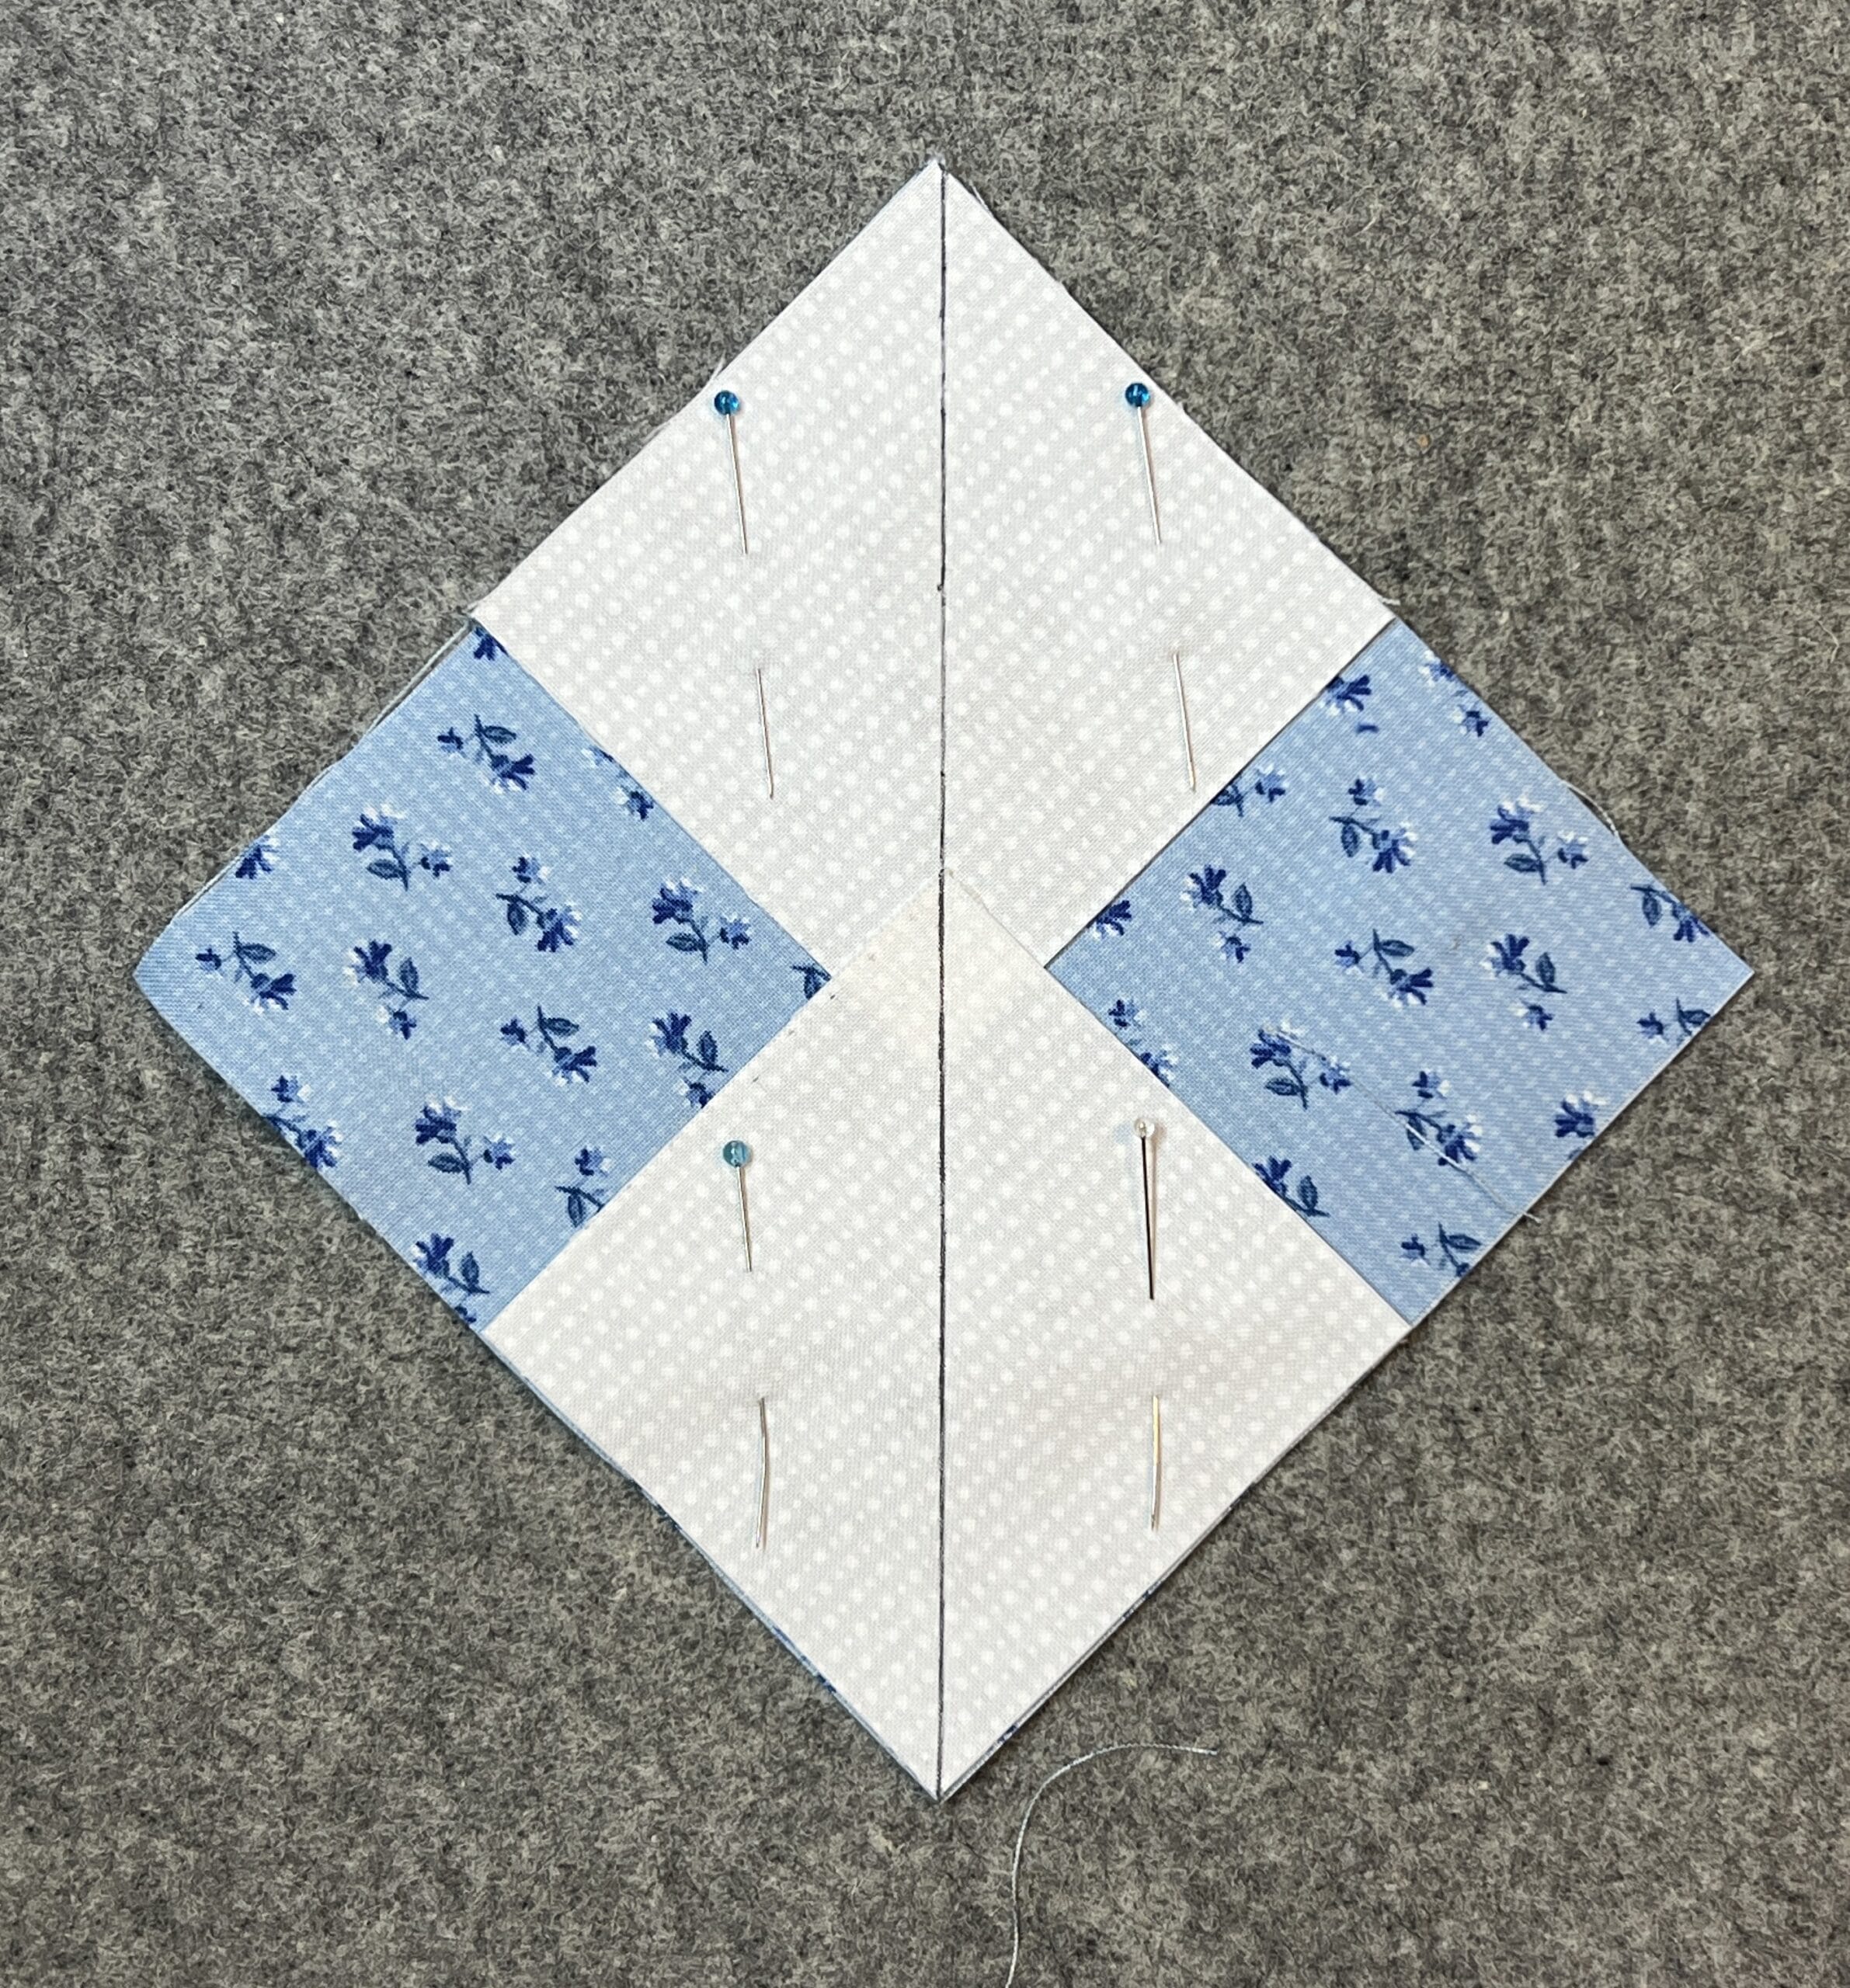
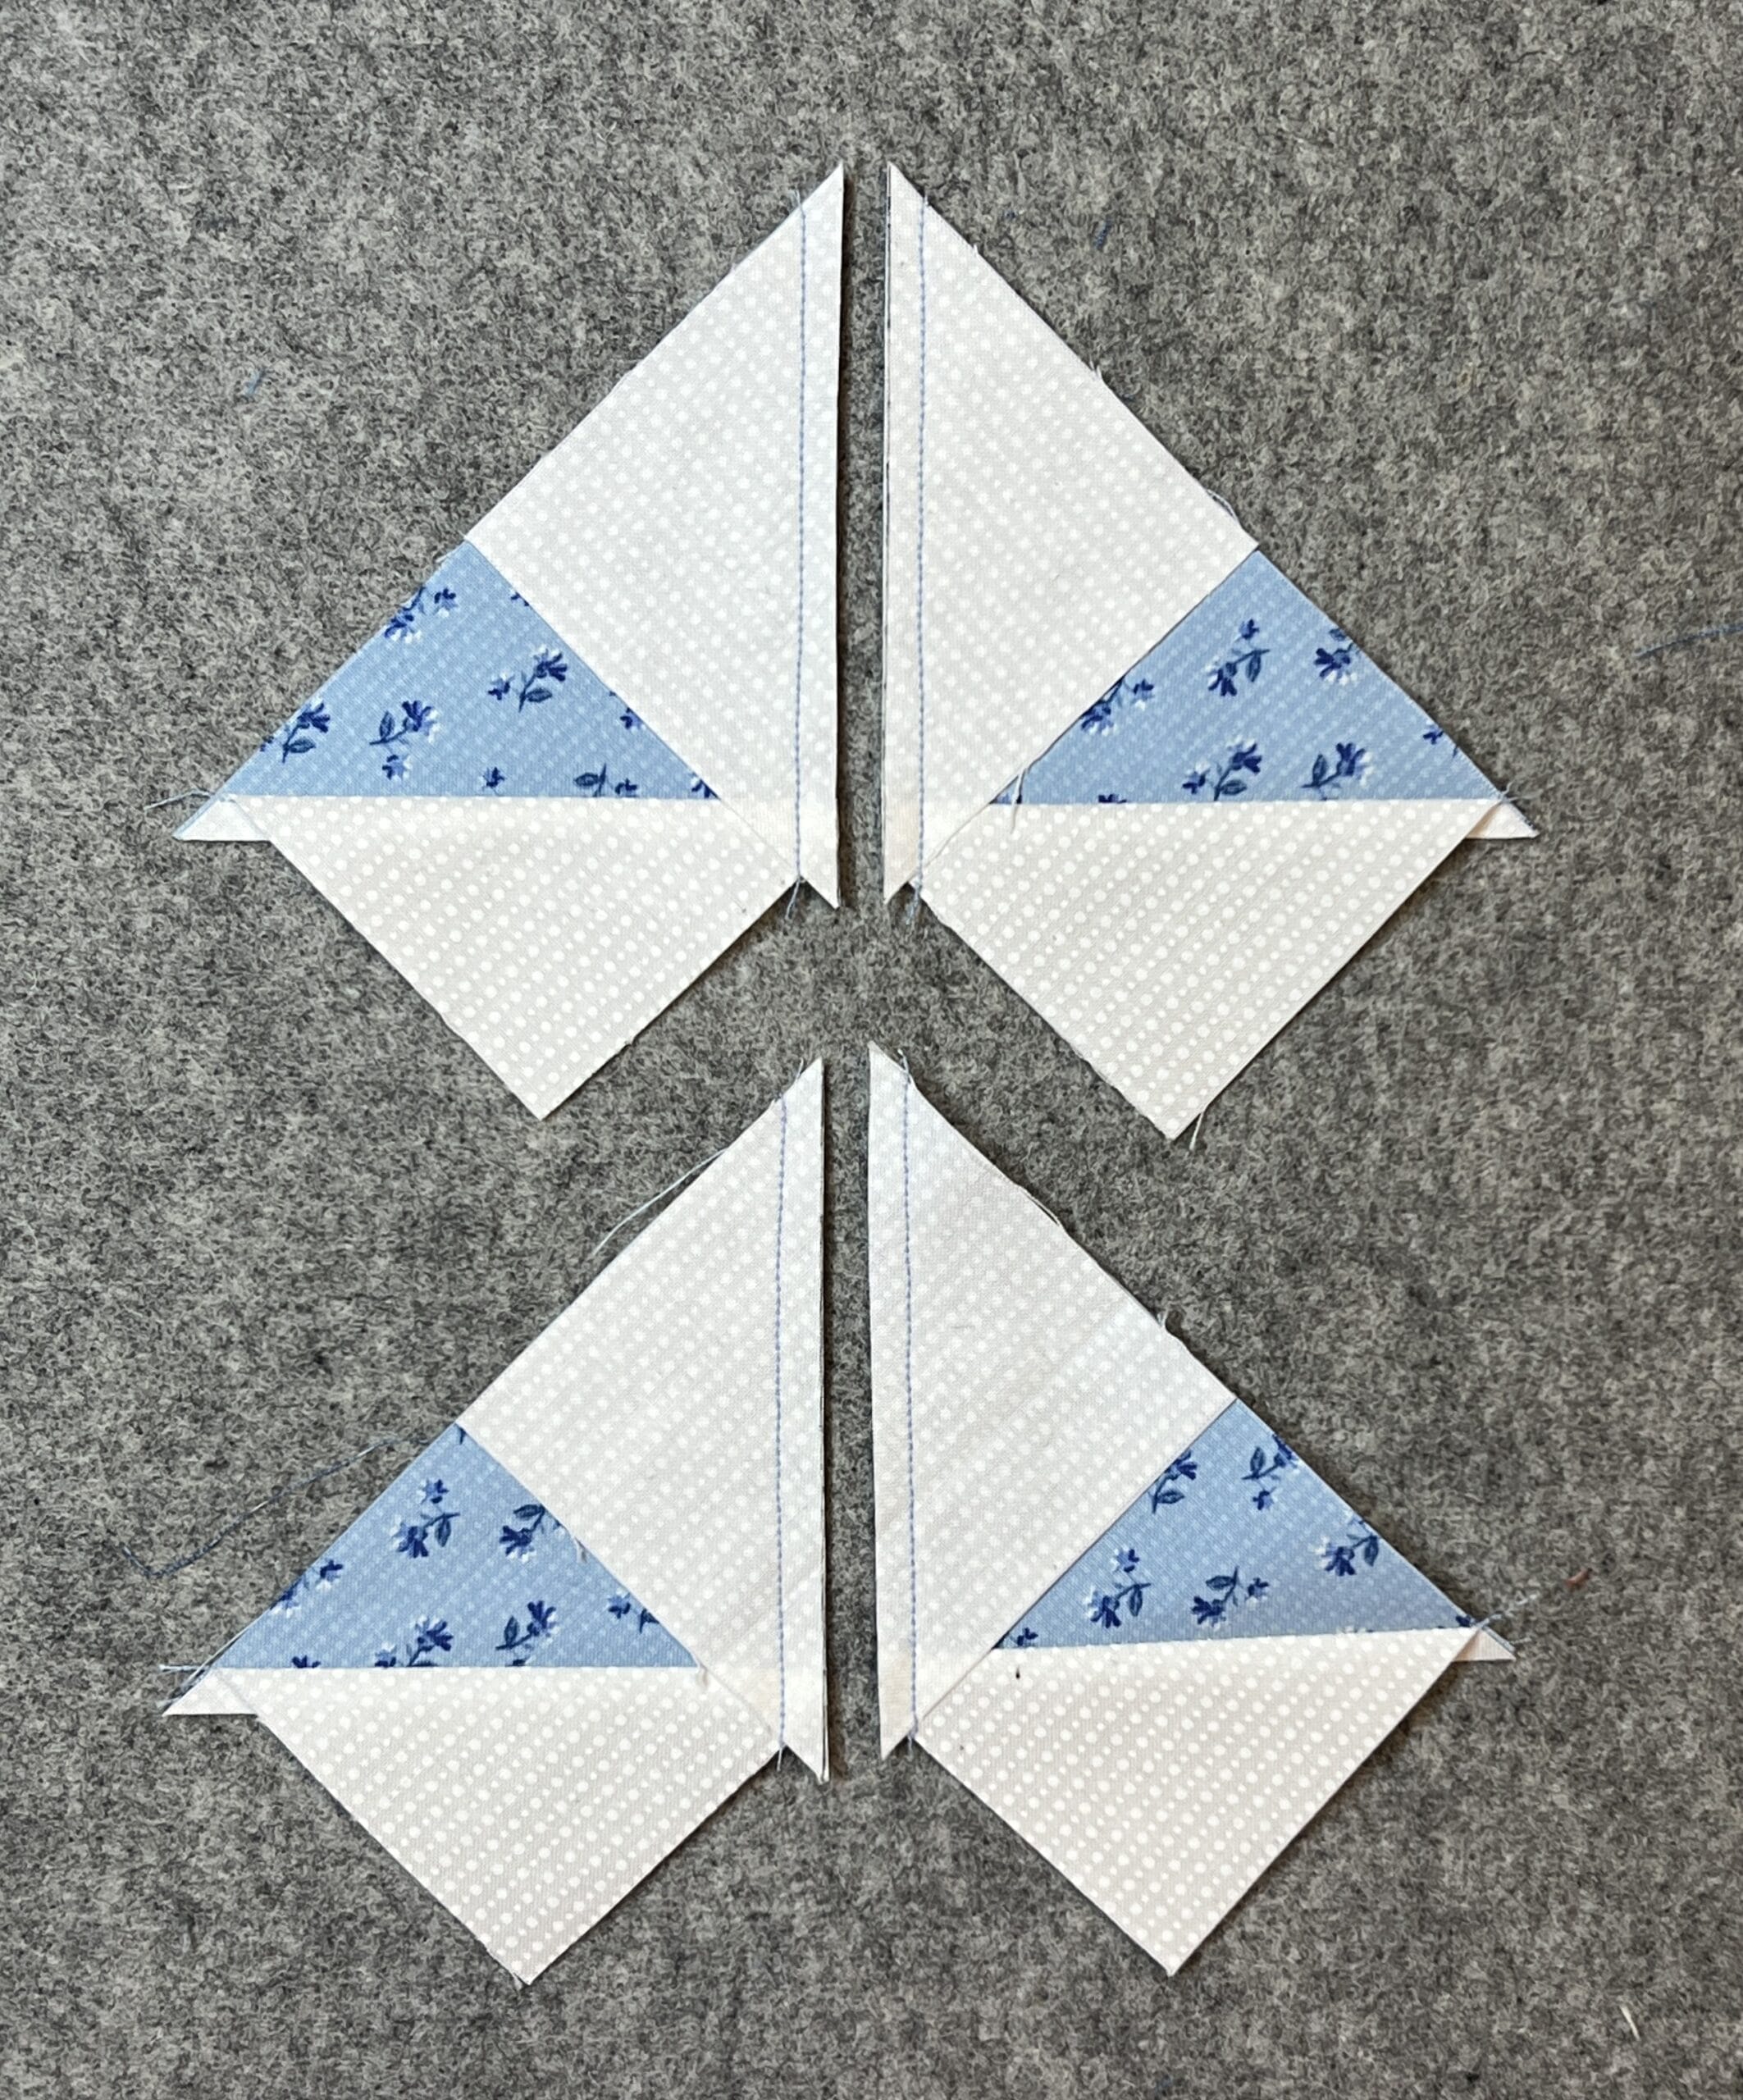
This block just has a few simple components in it. In steps 1 and 2, you’ll make some large HSTs and then sew these together as directed to make four quarter square triangles, or hourglass blocks. The top two HSTs in the photo below show how they two triangles will be paired up, and below shows how they are pinned together with the line drawn for sewing on either side.

I know I’ve mentioned this before, but I generally trim and square everything up as I go, but these units are an exception. I won’t trim anything until the end of step 2, once the hourglass units are complete.
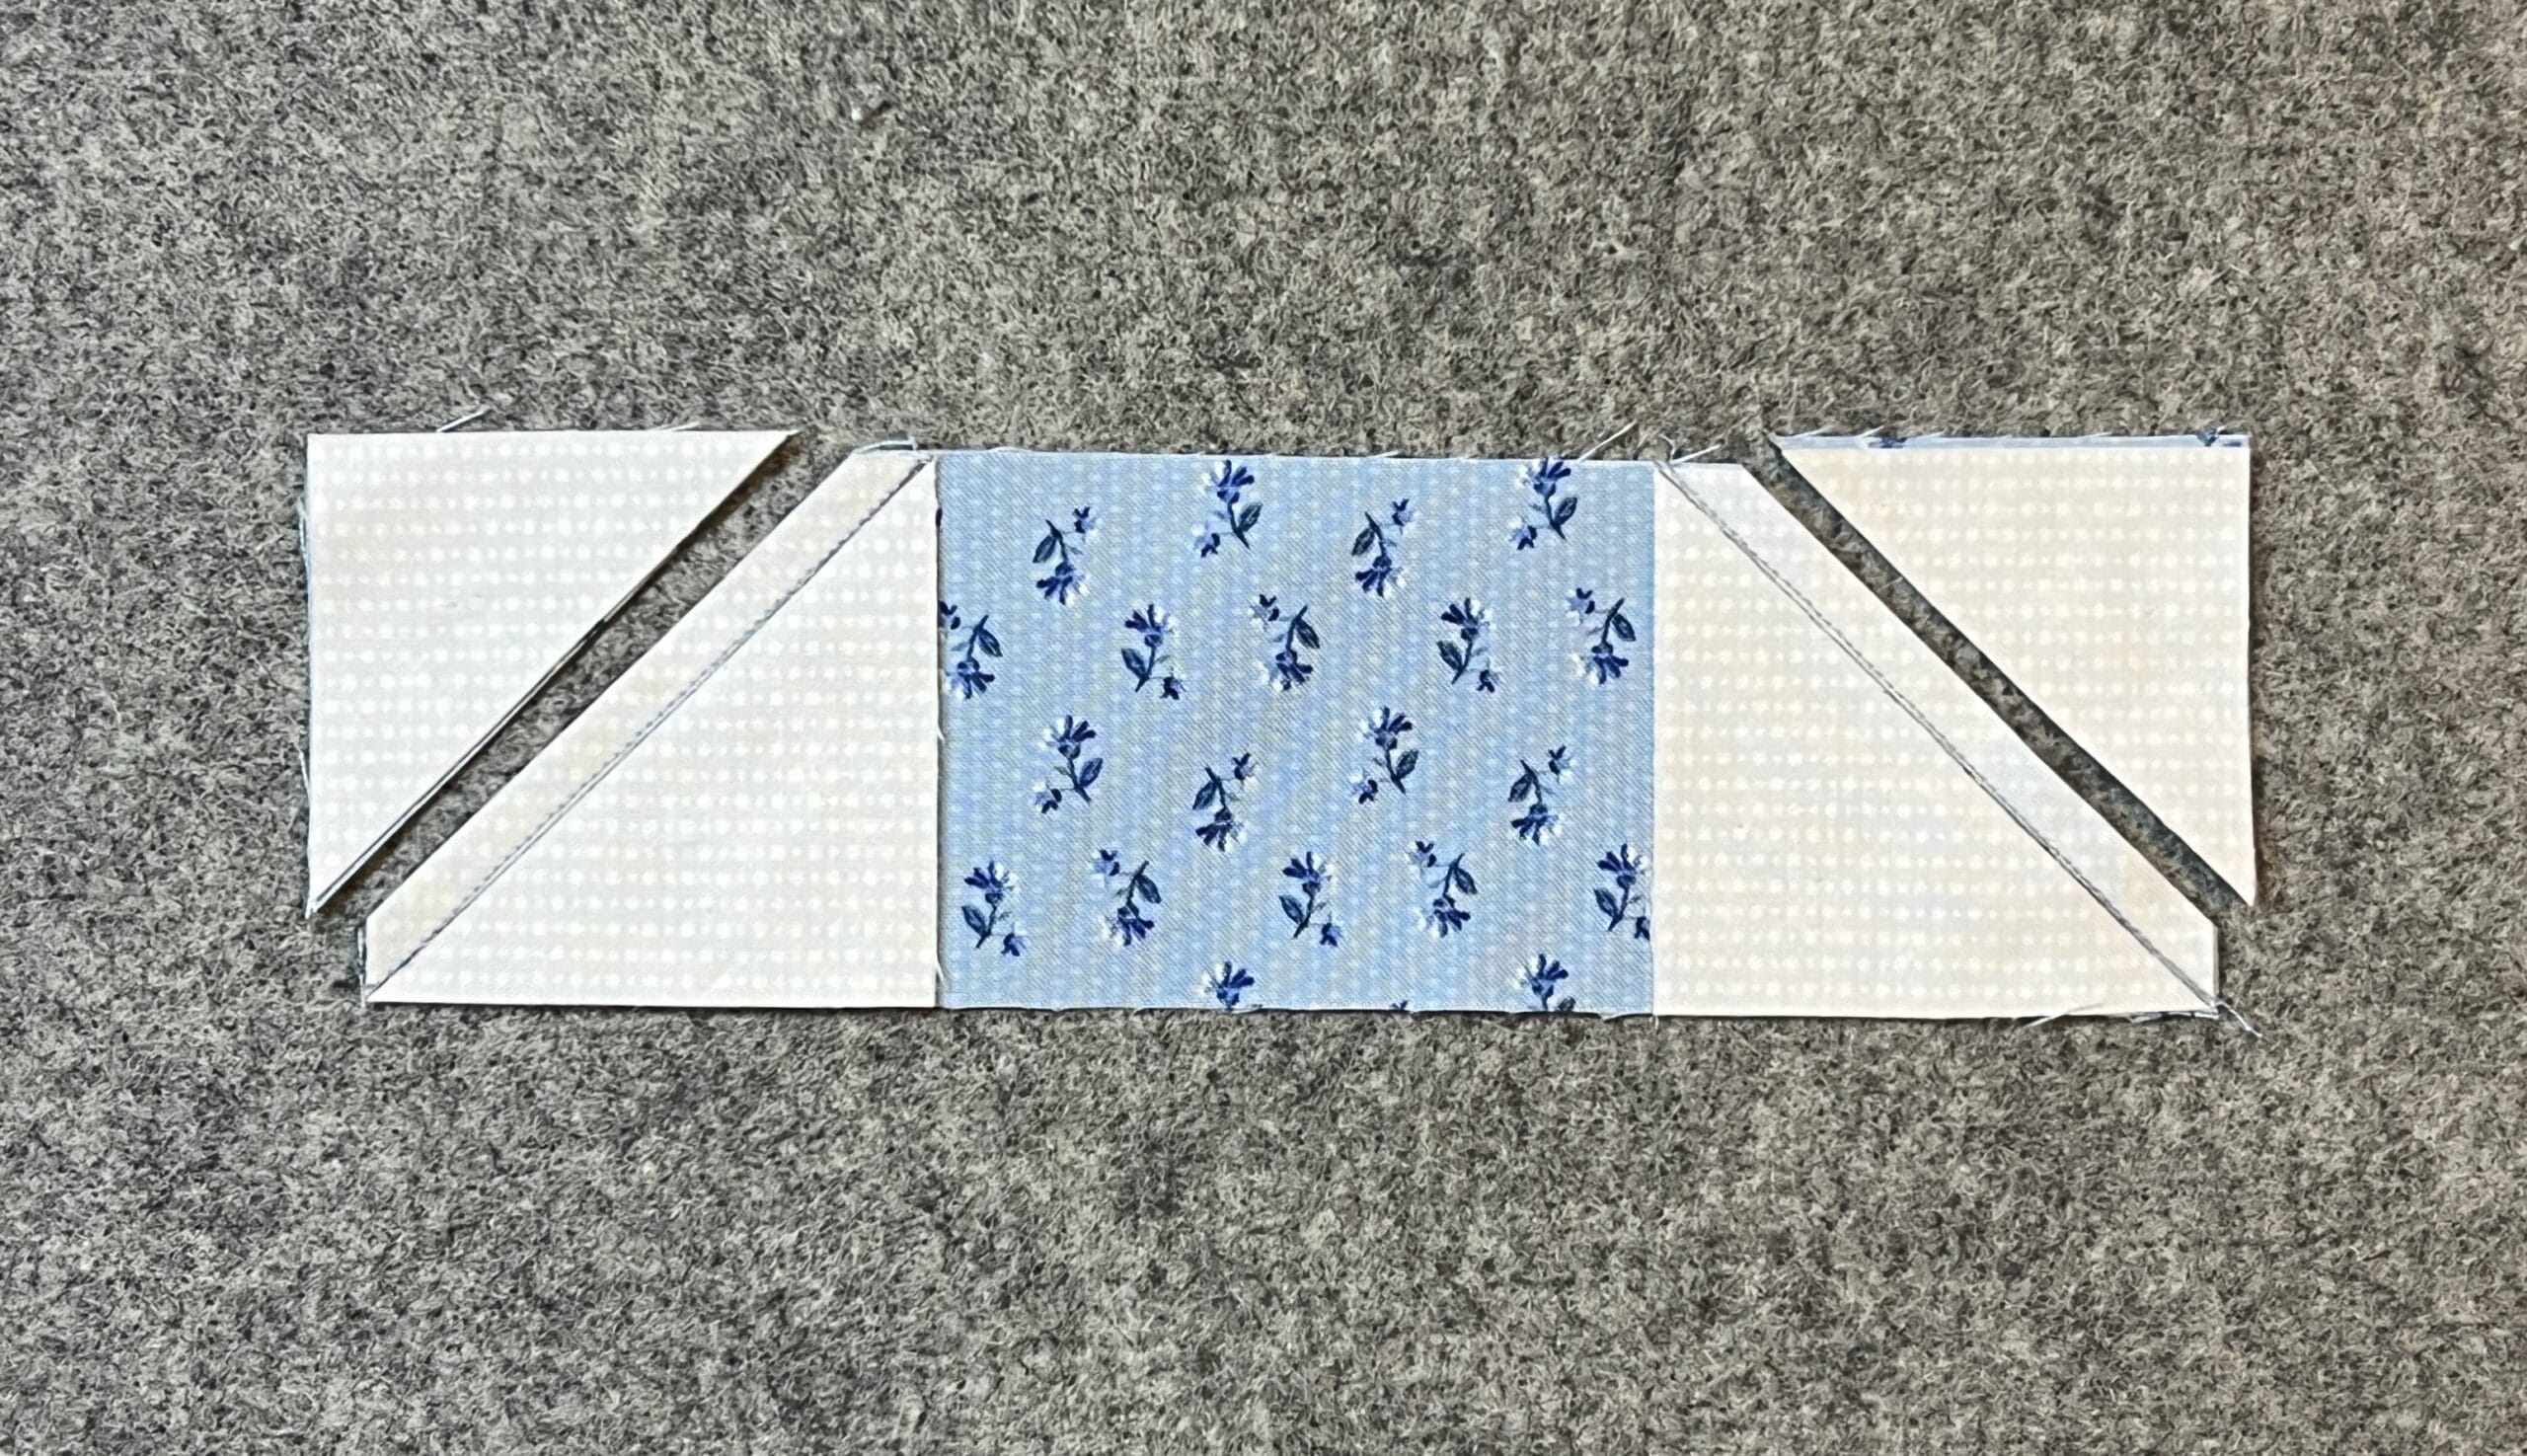
In step 3, you’ll make more HSTs. After sewing this block up again recently, I decided to switch the pressing direction for the A/E units, so that things will nest together better later on. The pressing direction changes are also included the updated pattern. Now all the components are made and gathered together for assembly.

In step 4, you’ll split those eight HSTs into two groups of four and follow the instructions for attaching the C squares as directed. You’ll want to press BOTH units toward the C squares. Once those units are done, they just need to be sewn together as a 4-patch unit.

Now the units just need to be sewn together like a 9-patch unit, and the block is done. Just make sure you’ve matched up the Leaves, Navy fabrics so that they form a ring around the block.
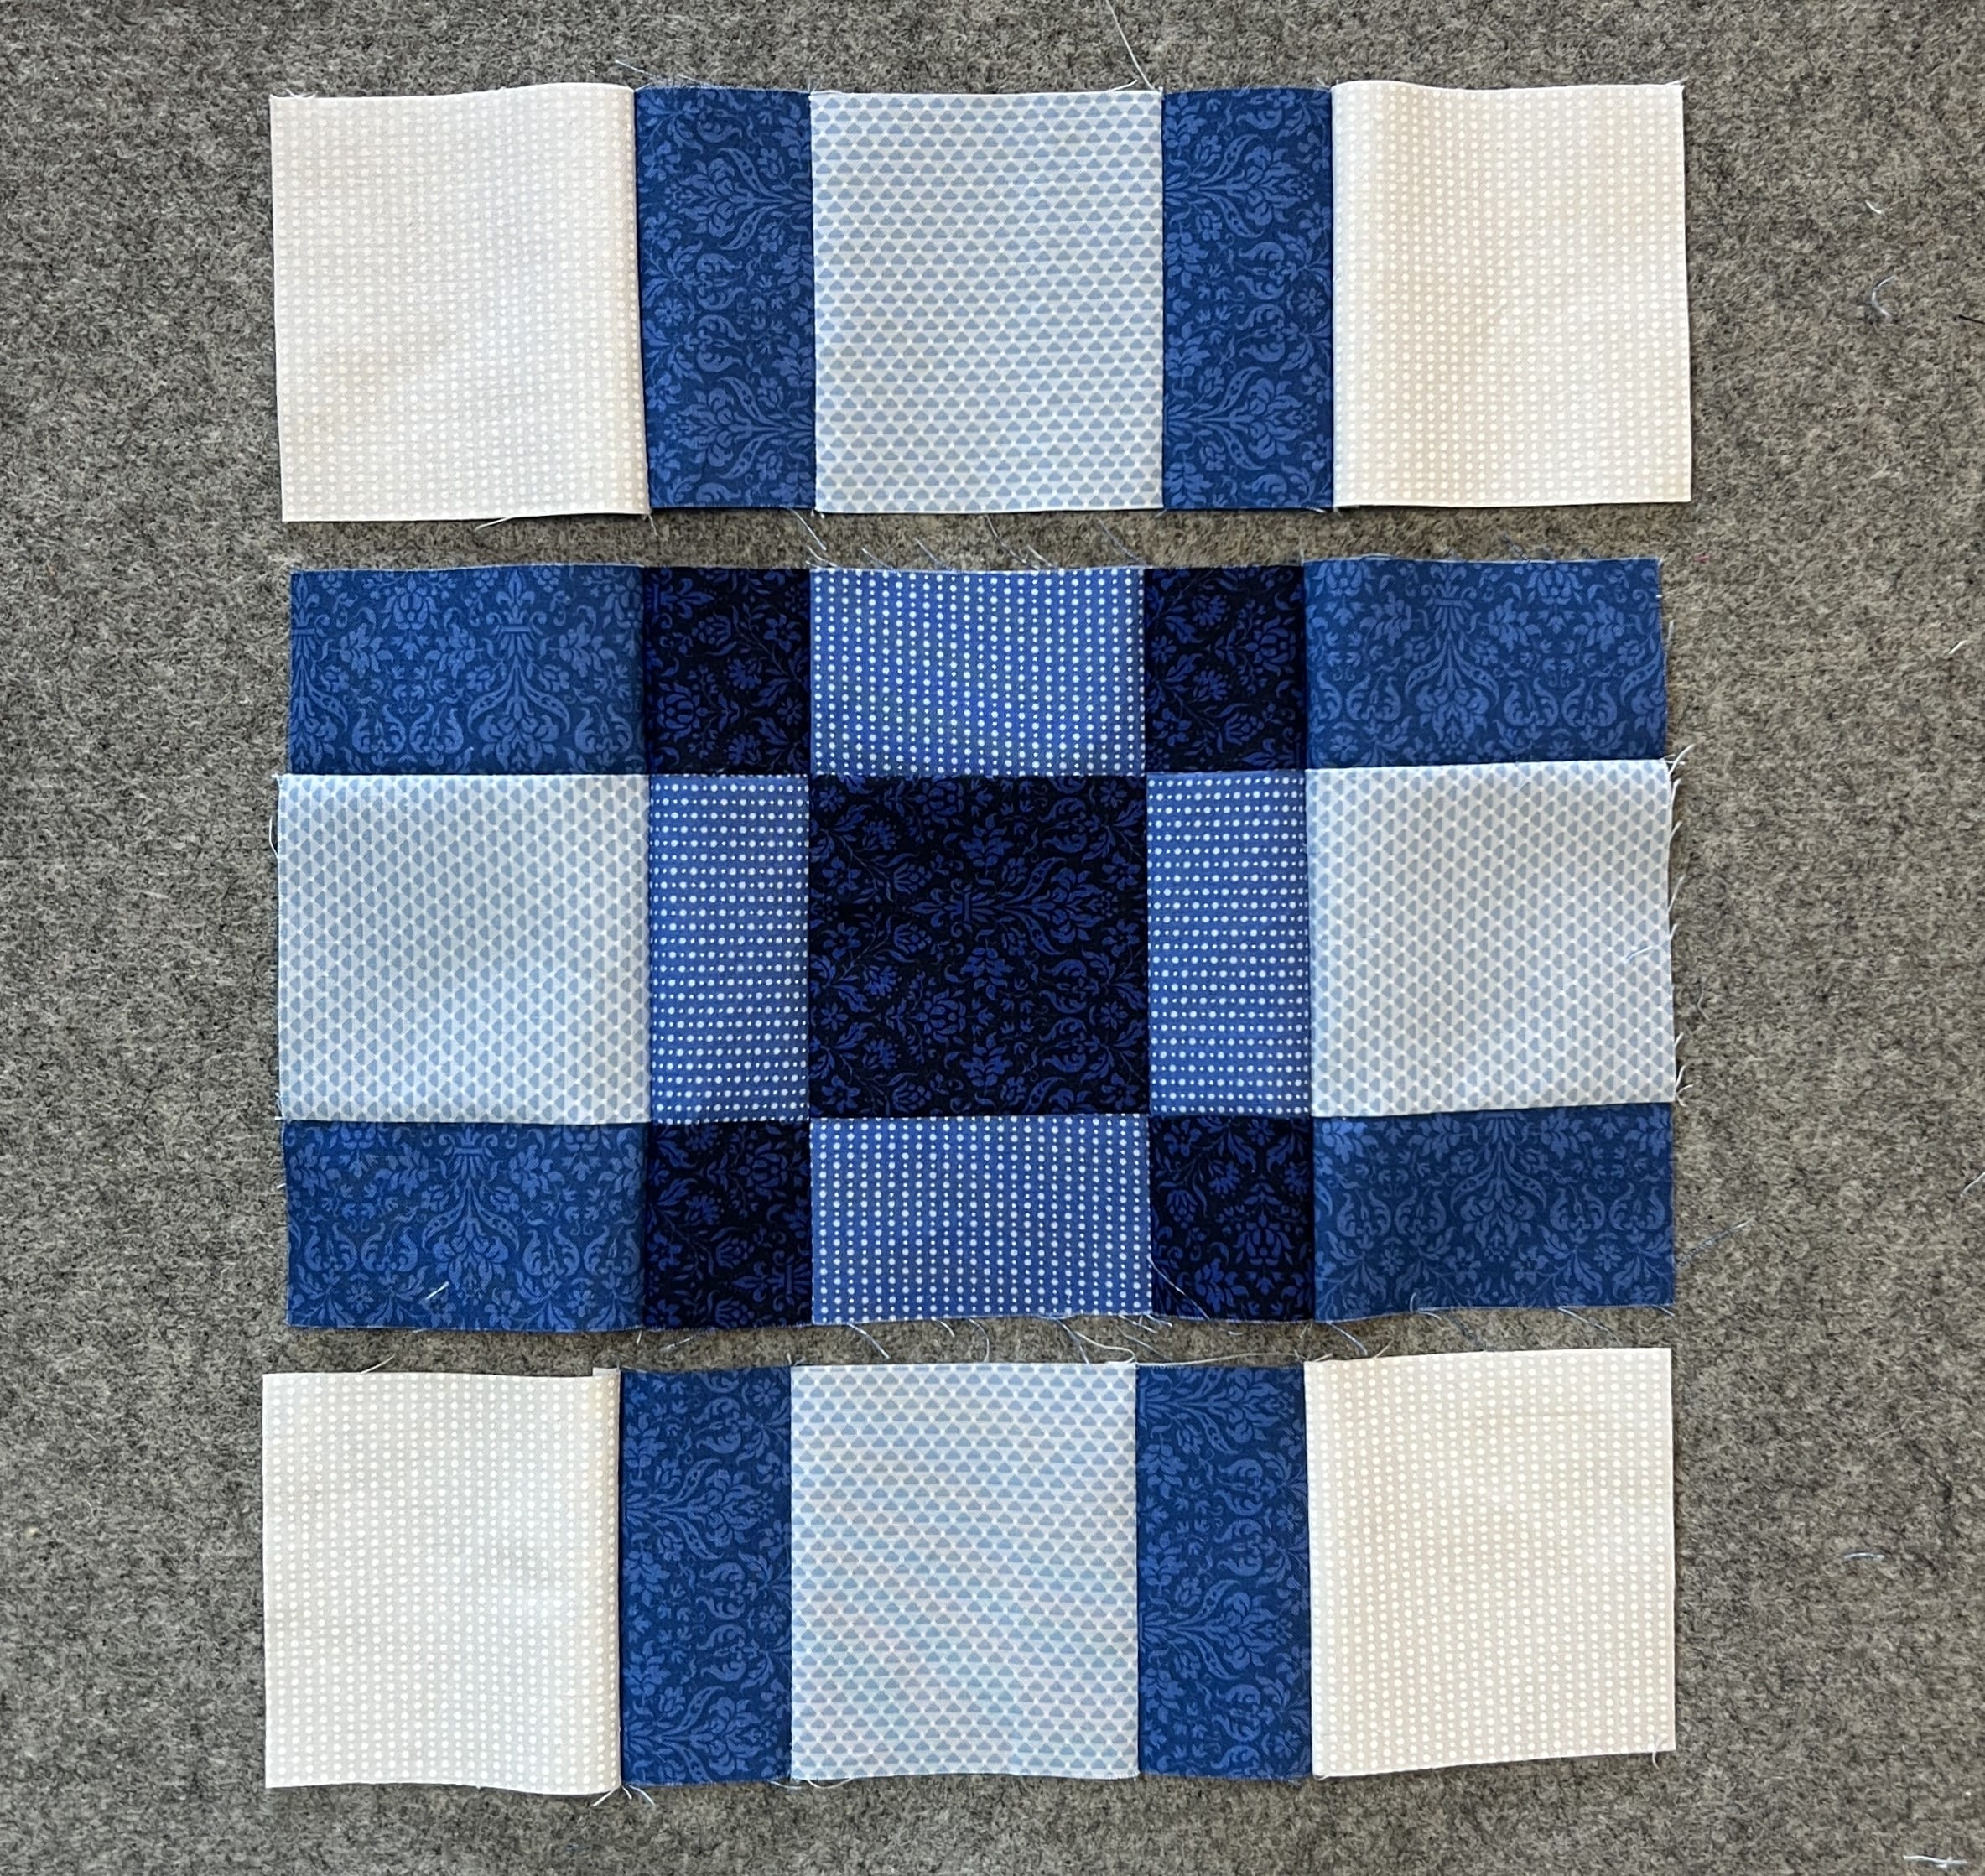
Block 10
The photo doesn’t really do this block justice. I was fighting the wind and this was the best one I could get while the weather was somewhat cooperating. As I’m sure you’ve all figured out by now, I’m a quilter, not a photographer.

This next block is super quick and easy, since is just sewing squares and rectangles together. I’ll give another plug here for pre-starching your fabrics. I find it really helps keeping those skinny rectangles looking straight and crisp after sewing them into the block.
Once you’ve cut out your pieces for the block, sew the center 9-patch unit together. Don’t forget to pay attention to the pressing arrows, because they matter throughout the block.
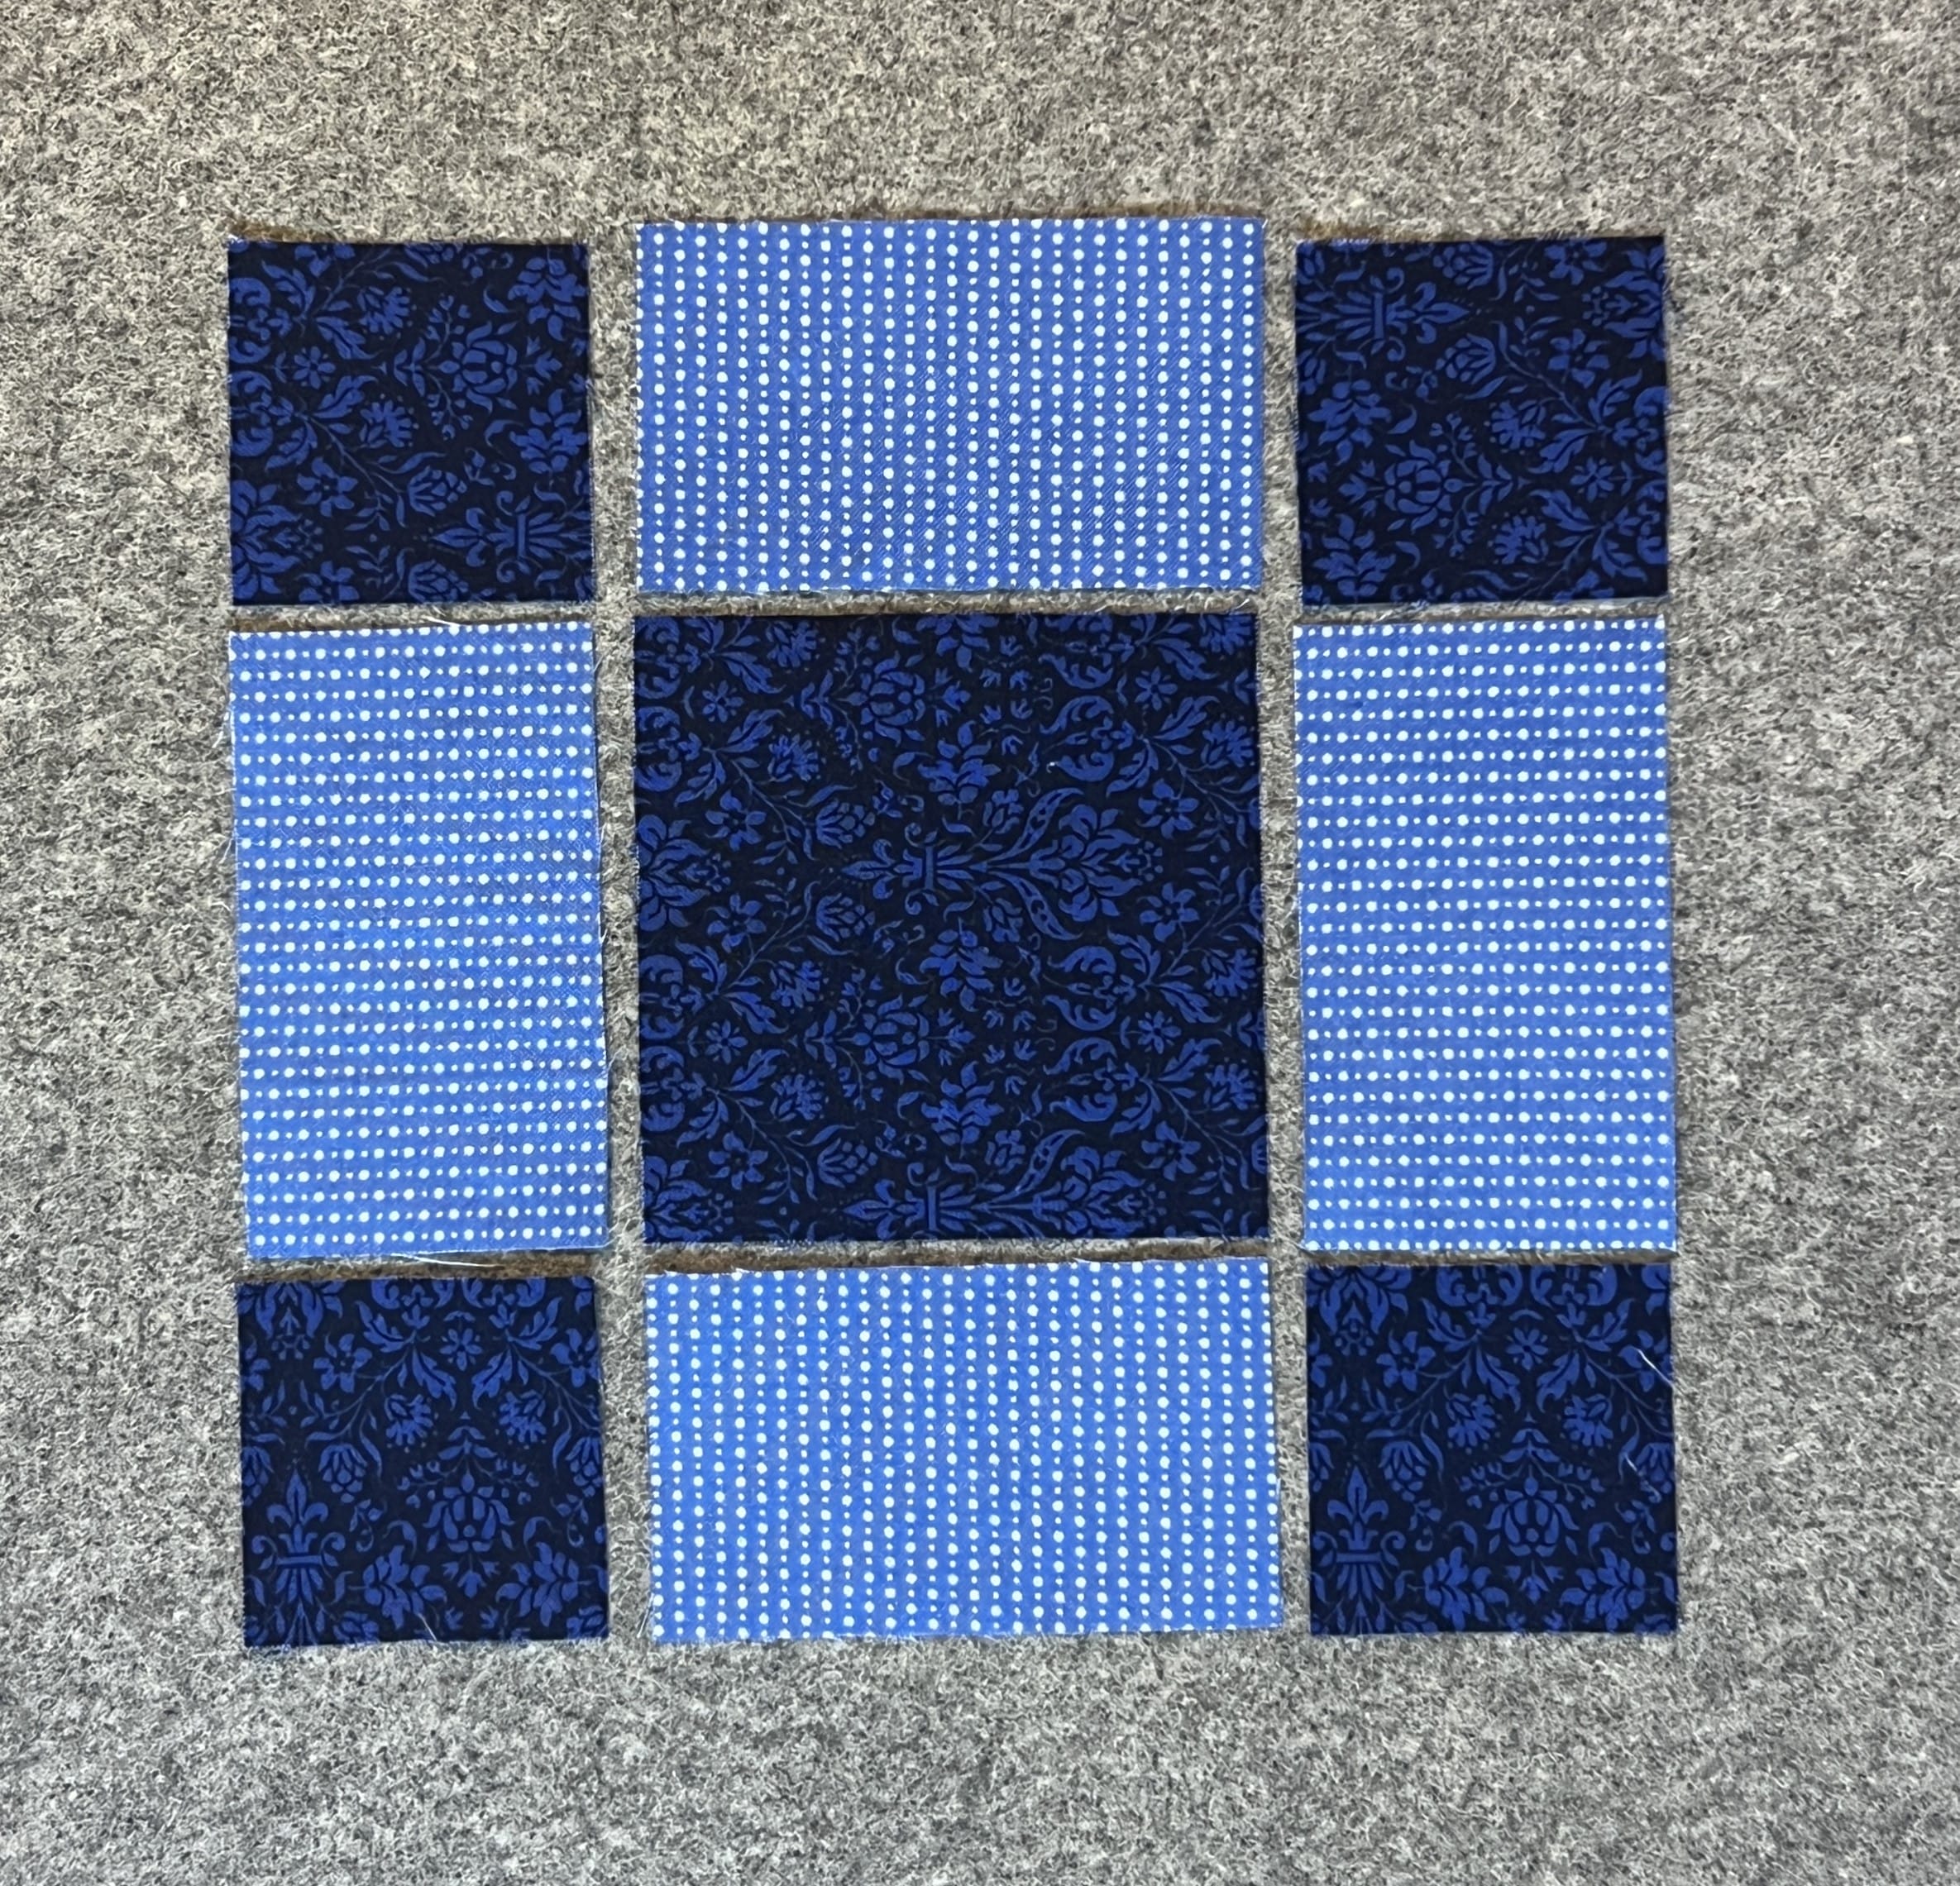
Then sew four E/F units as shown.
Sew those to the sides, adding the A squares to the corners, and you’re all finished. Oh if all quilt blocks could be this easy!
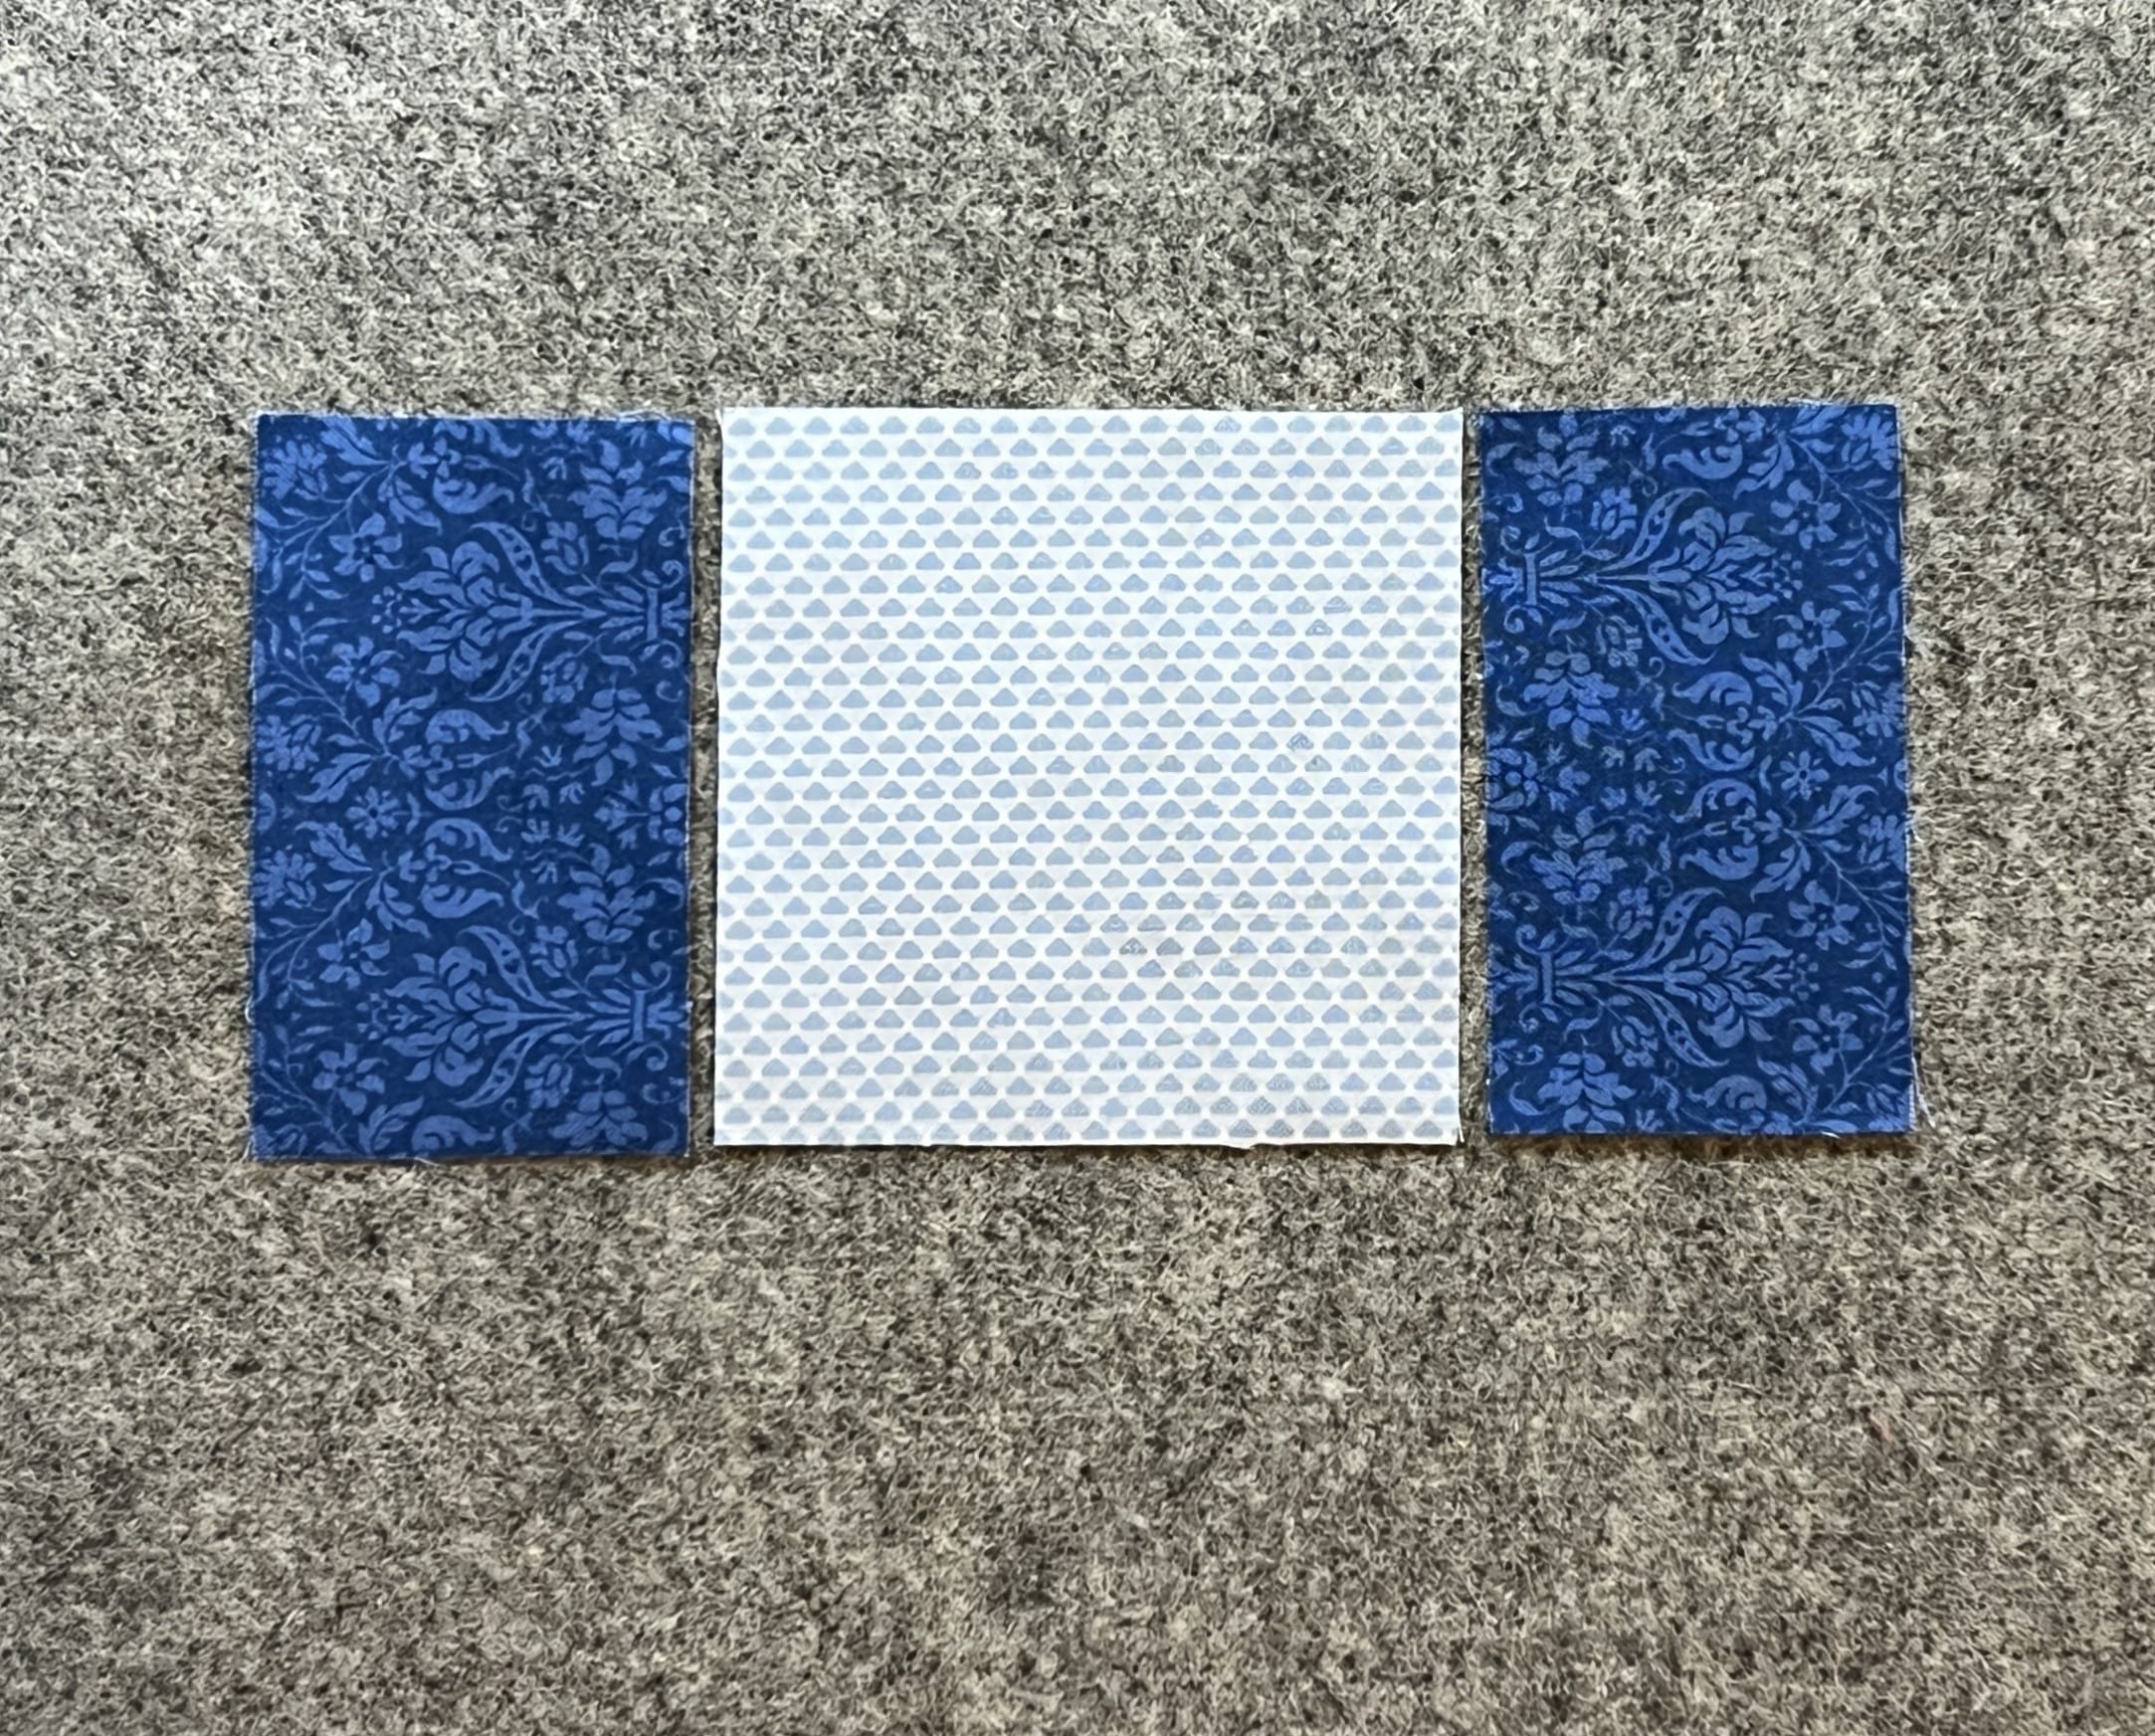
Block 15

Our third block for the month is also quite simple. It’s a traditional Churn Dash block, and I’m guessing many of you have made this at some point in the past.
Make your Half Square Triangles, and trim them up to 4-1/2” square.

Next, sew the A and B rectangles together in pairs. I think I skipped a photo for this because there wasn’t really anything exciting to show. Once you have those done, you’ve got everything you need to sew the block together.
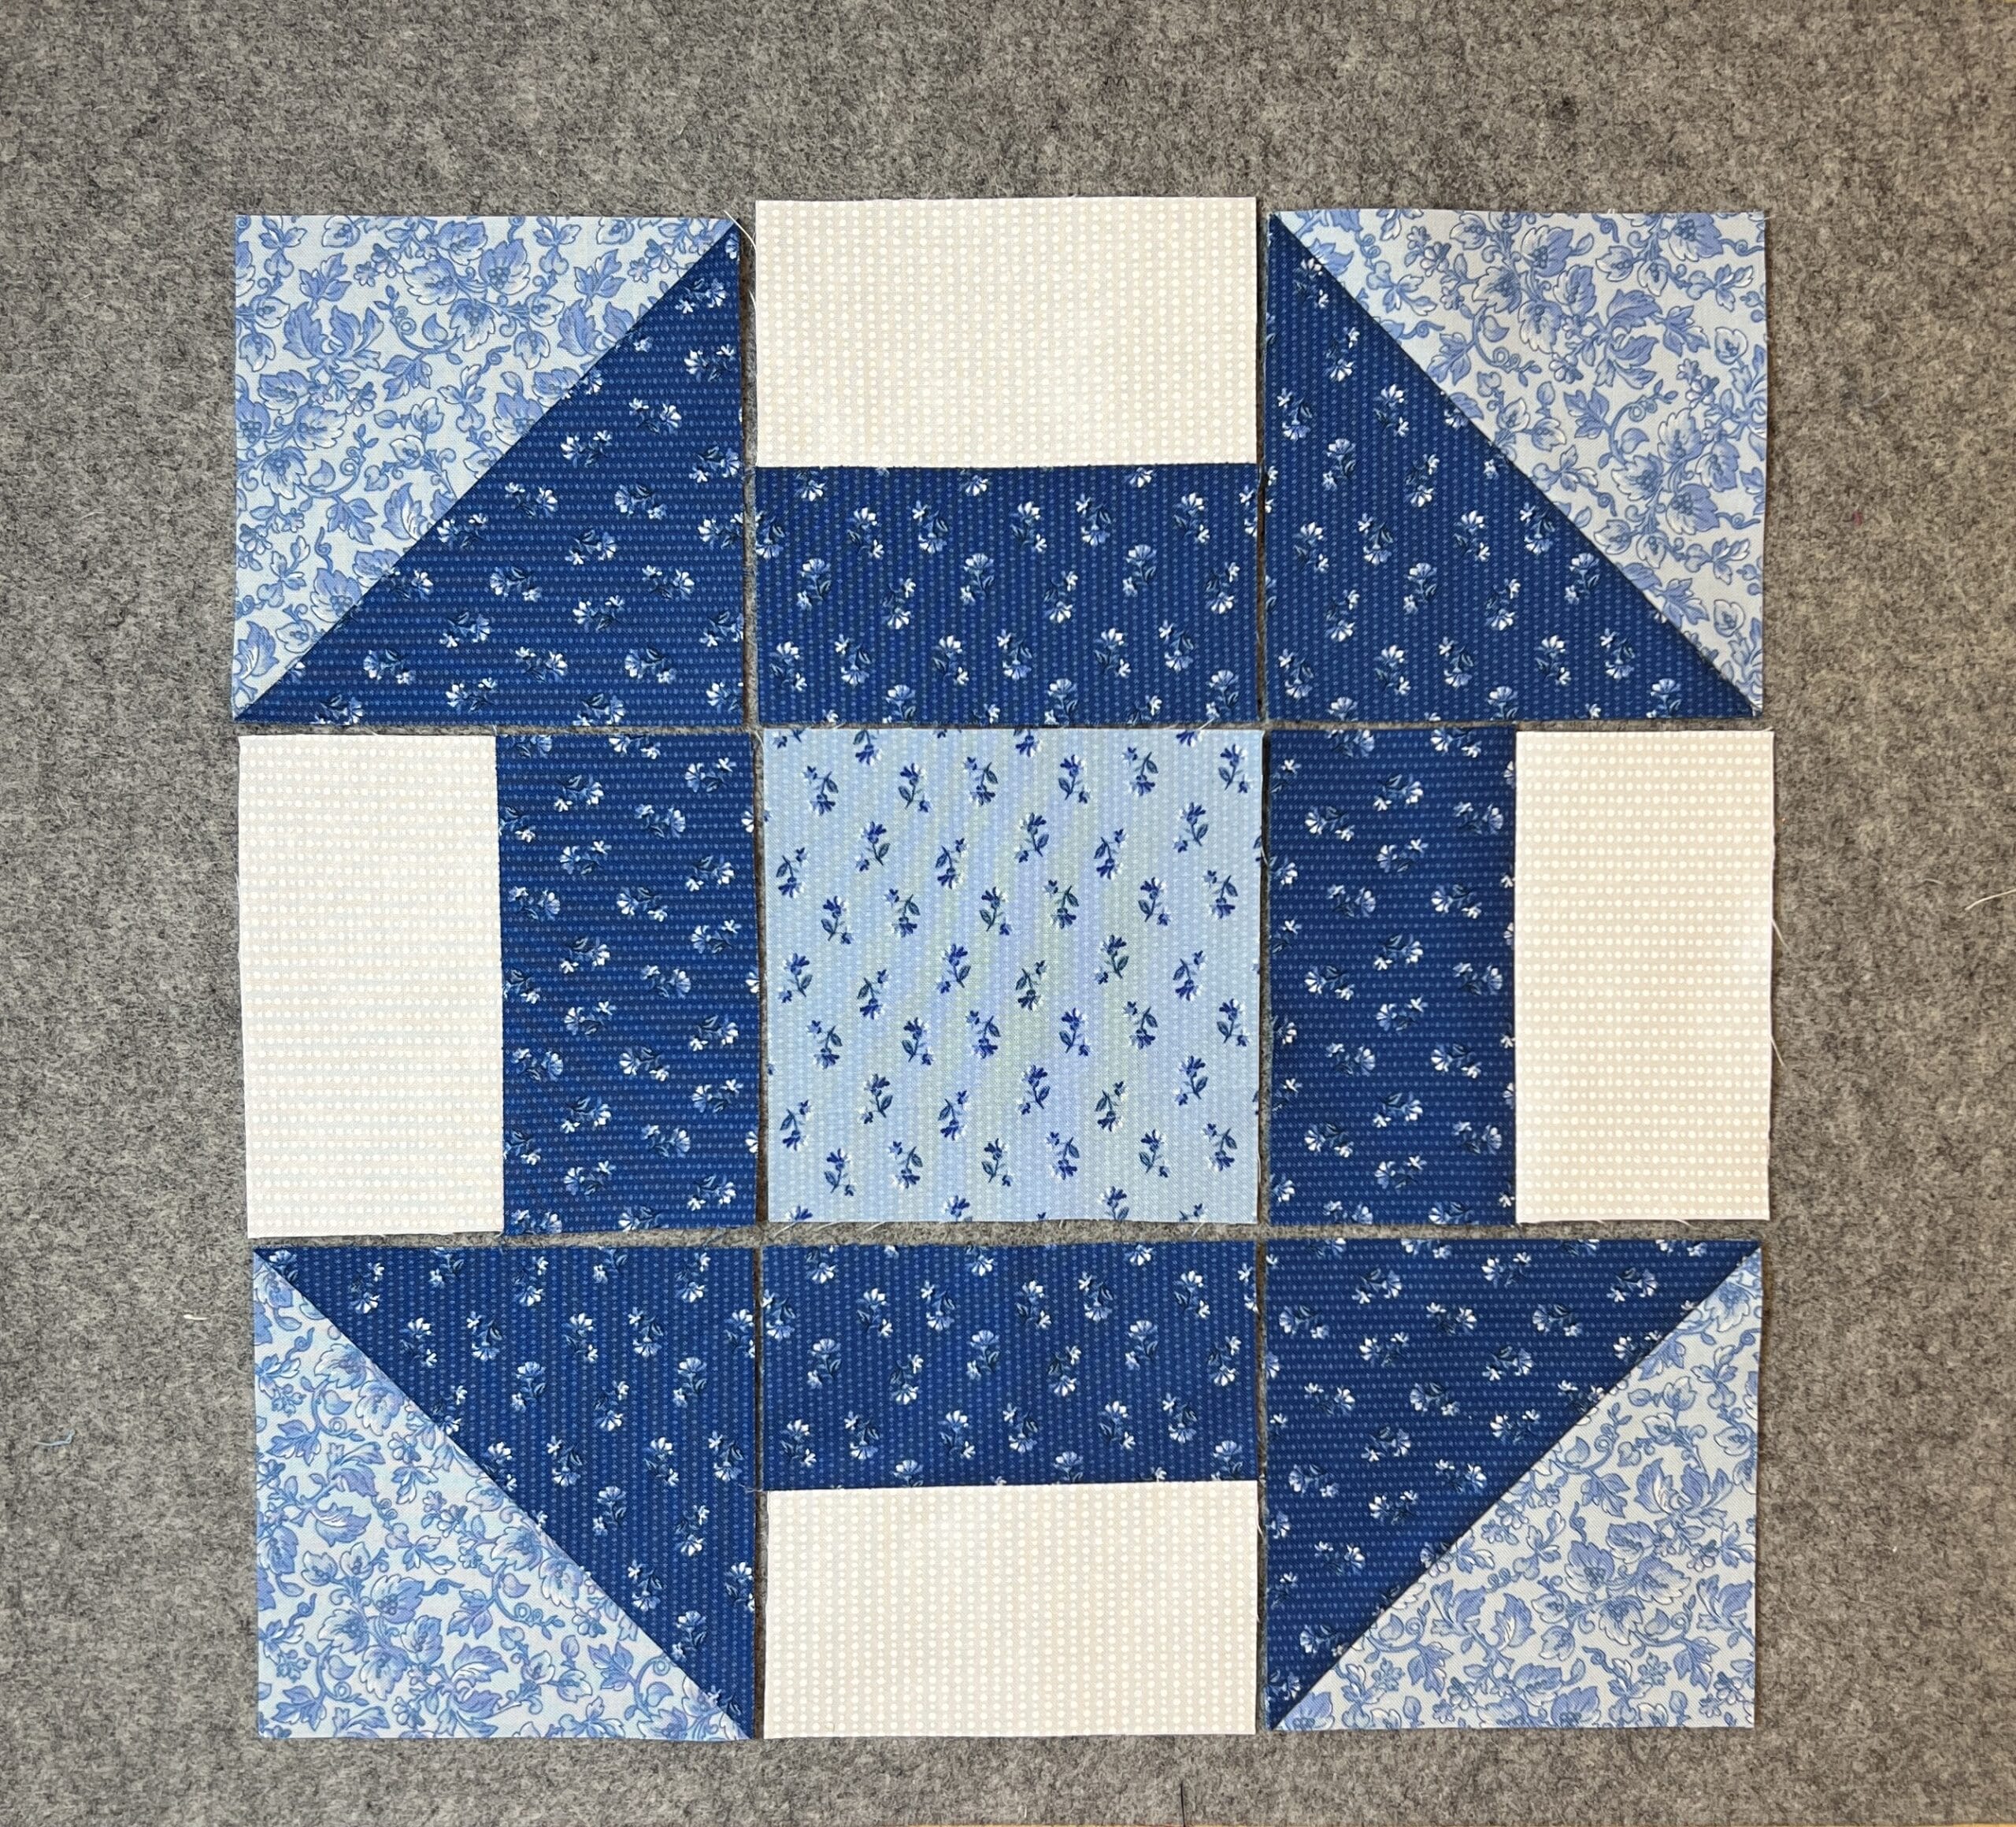
When you sew all the units together to finish the block, make sure the Flower Chain, Admiral Blue fabric is framing the center square as shown.
Block 30
Yep, another lousy photo for this one too. Between the wind and the weird angle of the sun, I was doomed. It actually looks like I didn’t iron it, but I swear to you I did. Oh well!

As we’ve already discussed earlier, steps 1 and 2 have the incorrect measurements for the pinwheel block. Just cut the C and D pieces like it says at 2-7/8” (or 3” if you are cutting larger and trimming later), then follow the instructions to end up with HSTs that are 2-1/2” and a pinwheel that is 4-1/2”.
Next you’ll make some no-waste flying geese. You all know how these go.
In step 5, you’ll make a 9-patch unit with the flying geese units framing the pinwheel center, with some squares in the corners.

Our final component for the sides of the final block uses the stitch and flip method to form triangles on each end of the G rectangles.
Sew these units to the sides of the block, add a couple more squares to the ends of the remaining two units and then sew these to the top and bottom to complete the block.

And now we are ALL DONE sewing blocks for this quilt! I hope you’ve enjoyed making them, and perhaps learned something new or gained more confidence in your quilting and sewing skills. One of the things I love about sampler quilts is knowing the variety of blocks will provide many opportunities to do just that! As long as I’ve been quilting, I’m still learning new things all the time.
In the new year we will get to sew all these blocks together with some sashing, and finally finish our lovely quilts! Hooray!
Until next time, Happy Quilting, and Happy Holidays!
Kristin

