An easy pattern that makes great use of scraps, these fabric hair bows are a delightfully sweet project for any level of sewist. Just like potato chips, you won’t be able to stop at just one! Let’s jump right in:
This pattern is designed to make one bow, but can be easily adapted for more!
Difficulty: Easy, a great pattern for beginners.
Finished Size: About 3 ½” wide and 4 ½” tall.
MATERIALS:
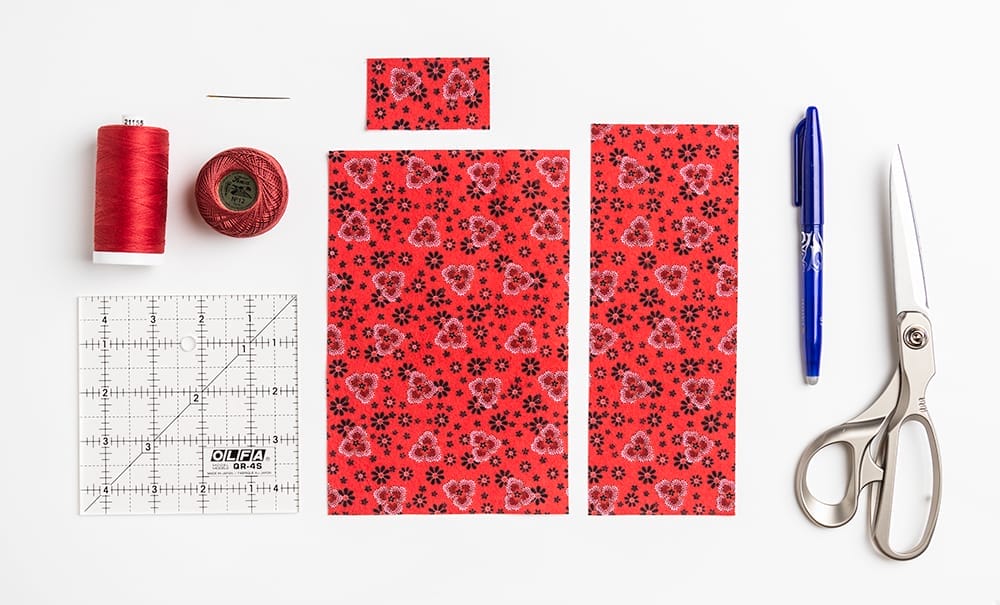
- 1 fat quarter or leftover scraps
- The sample shown here is made with Clementine Flannel in Lt Barn Red from out Winter Meadow Flannel collection.
- Matching Essential™ Thread
- It’s very helpful to have a matching thread color, as you’ll be using it to sew closed an opening on the tail piece. If you want to avoid this, you can opt to hand sew the opening closed!
- I used Terracotta #21155.
- Perle Cotton Thread or similar embroidery thread
- Having a thicker, sturdier thread for sewing your bow pieces together is very helpful. It does not need to match your fabric color, as it will mostly be hidden under the tie or on the back!
- I used Yuletide Perle Cotton set in Size 12.
- Hair Clip (optional)
- These are similar to what I used and would offer some versatile attachment options!
- Basic sewing supplies
-
- Scissors (my favorite linked here!)
- Point 2 Point Turner
- Gripper Needle Puller
- Hand sewing needle (the Gold n’ Glide needles are great!)
- Small ruler with a 45º angle line (like this 4 ½” Creative Grids ruler)
- Marking tool (like the Frixion Erasable Gel Pens)
CUTTING:
From your fat quarter/scraps, you will need:
- One 7 ½” x 5″ piece for the bow
- One 8″ x 3″ piece for the tail
- One 1 ½” x 2 ½” piece for the tie
Onto the fun part: let’s make a fabric bow!
INSTRUCTIONS:
- Cut your fabric pieces. Follow the Cutting directions above.
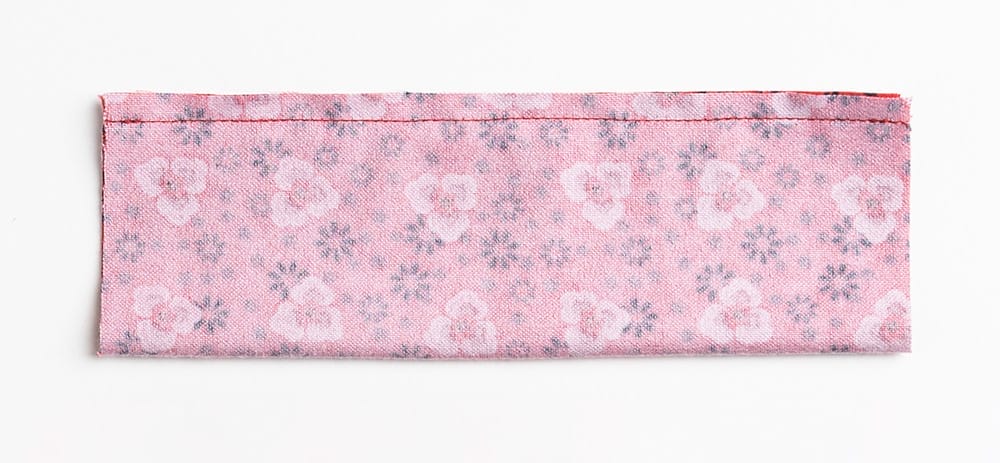
- Fold the 7 ½” x 5″ piece in half, long-wise, right sides together. Sew along the 5” side using a ¼” seam allowance (this will be the same throughout the pattern). See Image 1 below for reference.
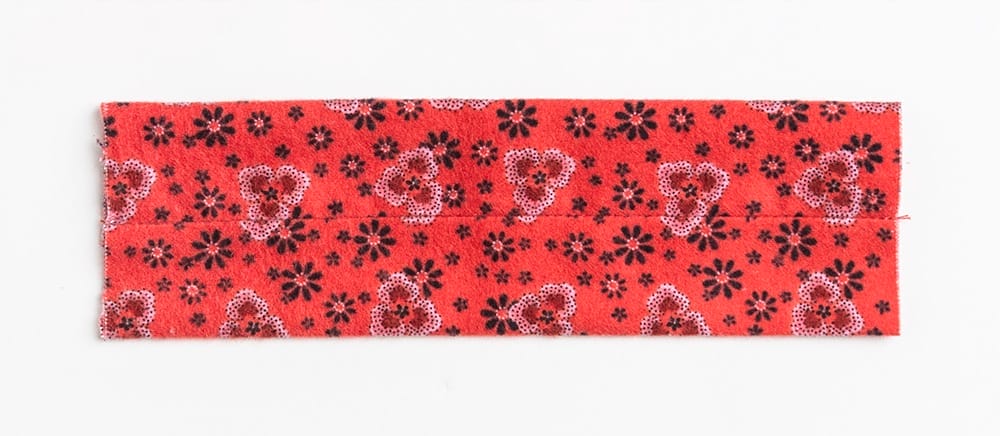
3. Press the seam open and turn right side out. Press the piece flat, making sure that the seam line is on the middle, as seen in Image 2.
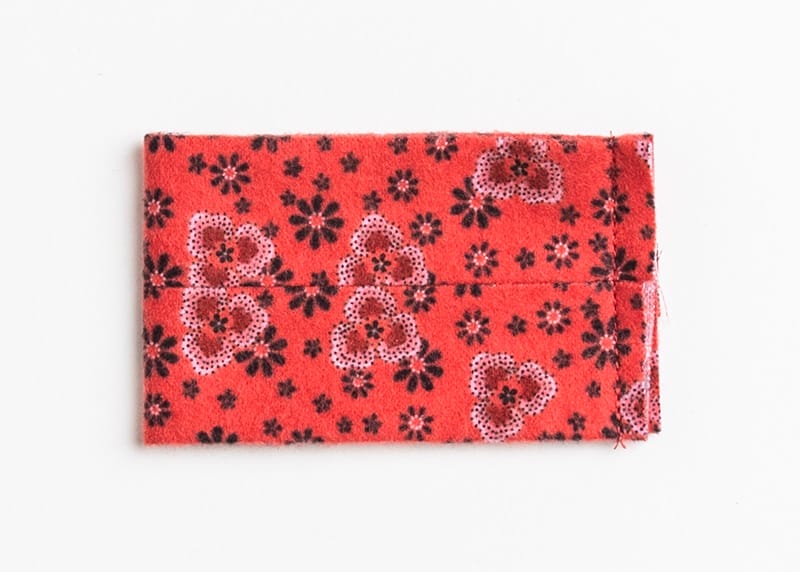
4. Fold in half again with the seam line on the outside, as seen in Image 3. Sew along the short 2” side.
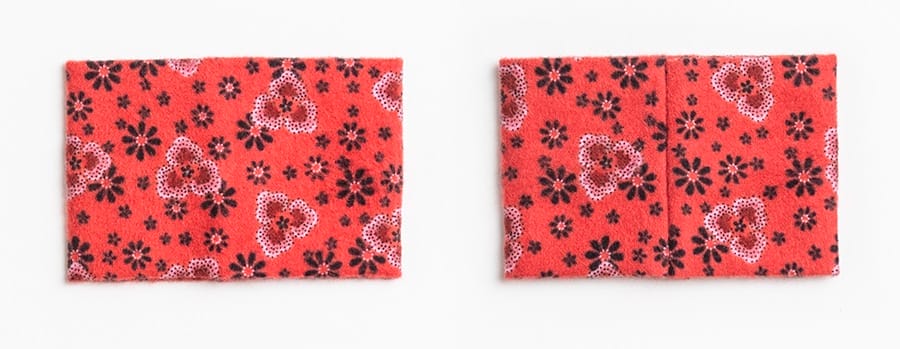
5. Press the seam open – it’ll be a little thick, so give it a good press! Fold the piece right side out (the long seam line will now be on the inside of the loop), with the short seam line centered on the back. See Image 4 for reference.
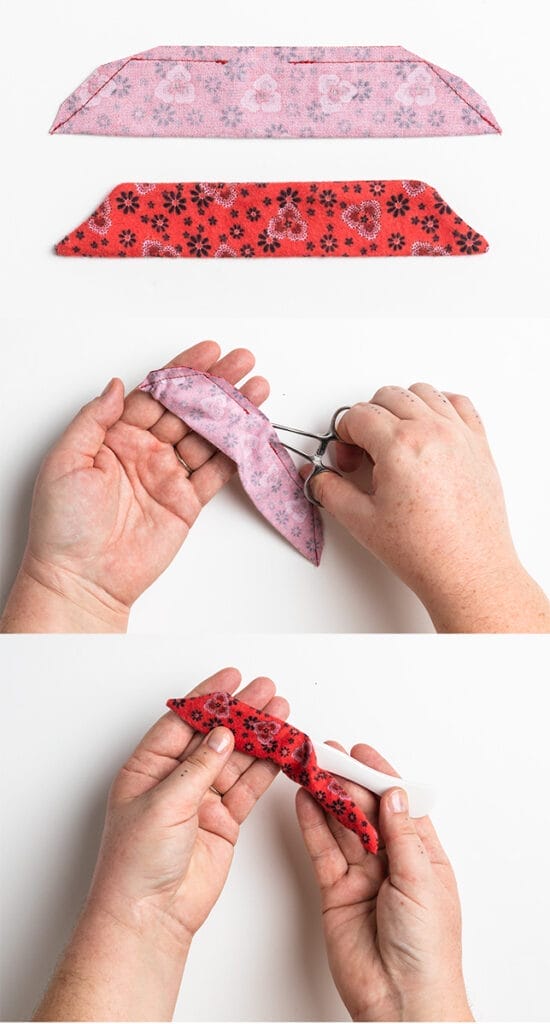
6. Take the 8” x 3” tail piece and fold in half, long-wise, right sides together. Take a ruler with a 45º angle line and place along 1 ½” sides. Mark a 45º line on each short end. See Image 5 for reference.
7. Sew along the 45º corners and the long 8” side, leaving a 1” opening in the middle. See Image 6 for reference.
8. Trim the corners and turn tail piece right side out. Using a Gripper to pull the corners right side out can be helpful and the Point 2 Point Turner is great for getting crisp points! See Image 7 for reference.
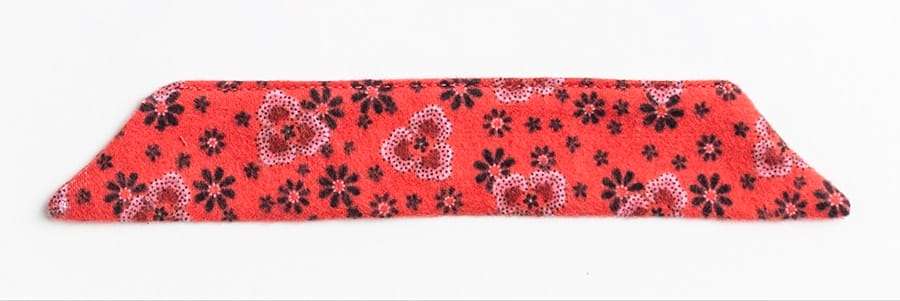
9. Once your tail is right side out, give it a good press. Sew the 1” opening closed. Hand-sewing will give you the cleanest look, but you can also machine sew it closed! I like to machine sew along the entire edge, giving it a more polished look. See Image 8 for reference.
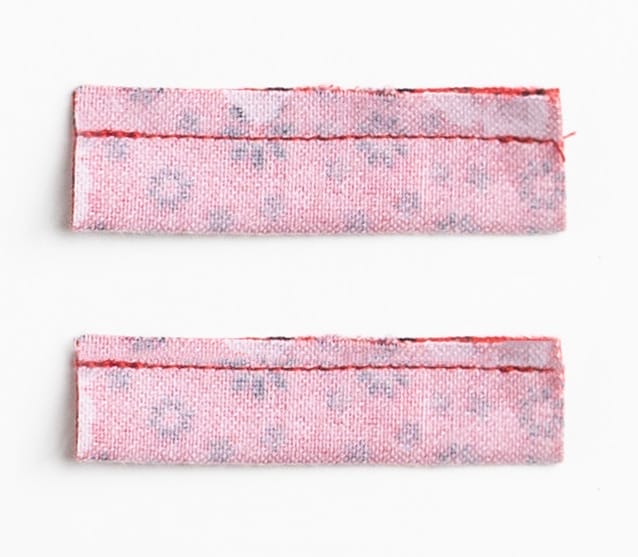
10. Take the 1 ½” x 2 ½” tie piece and fold in half, long-wise, right sides together. Sew along the long side, then trim your seam allowance to about 1/8”. Press the seam open and turn right side out. See Image 9 for reference.
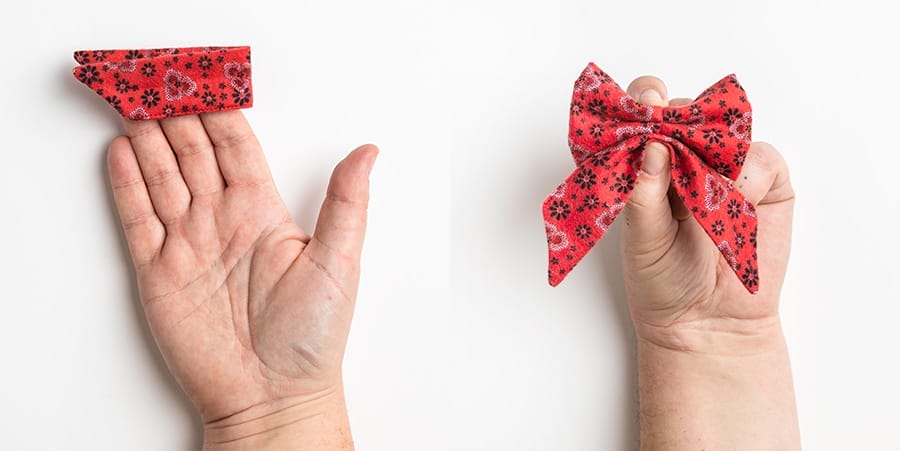
11. You now have all 3 bow components ready to assemble! Start by taking your bow piece and folding it in the middle. Not sure how you want to fold it? My favorite method is taking the top and bottom, folding them in towards the center of the piece, then folding the entire bow in half. Take a look at Image 10 below for clarity:
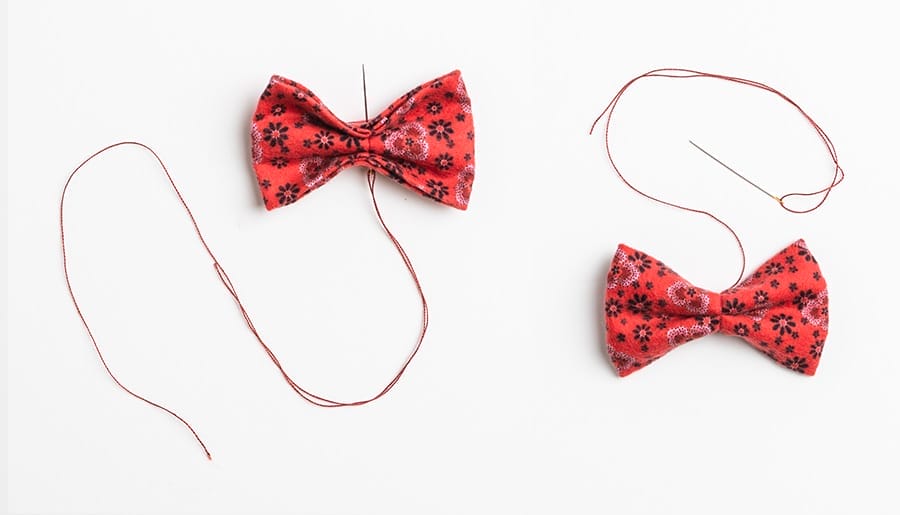
12. Take your Perle Cotton and load up a hand sewing needle with about 15” – 20” of thread. Push your needle right through the middle of your folded bow piece as seen in Image 11. Wrap your thread around the middle of the folded bow piece once and tie off. Leave the thread attached!
13. Grab your tail piece and fold in half to mark the middle. Fold or scrunch up the tail piece at that middle mark and place on the bottom of your bow piece, right below the thread your just tied off. Folding is entirely up to you – I tend to just scrunch it up a bit and attach it, then adjust evenness later. See Image 12 below for reference.
14. Just like you did with the bow piece, wrap the Perle Cotton around the tail piece and the bow piece together, then tie off. Cut your thread. Make sure they’re tightly tied together, it’ll make the next step easier! This is also a chance to straighten out the tail piece – since you didn’t sew it directly onto the bow piece, you can nudge it a bit to even it out! See Image 13 below for reference.
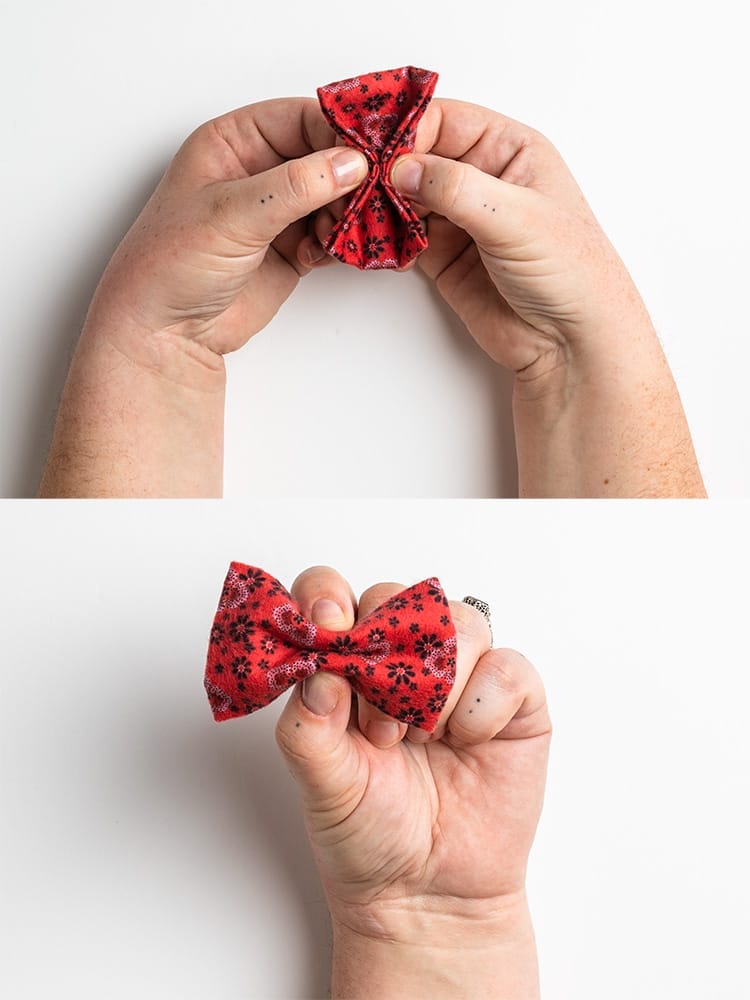
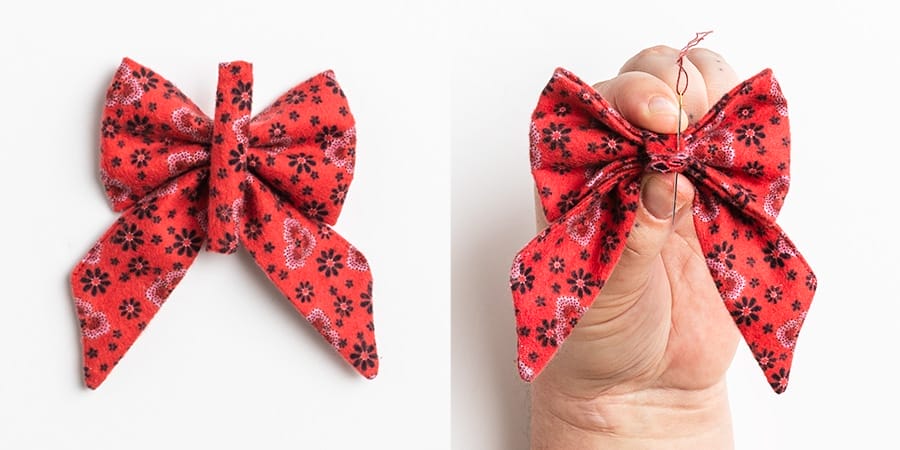
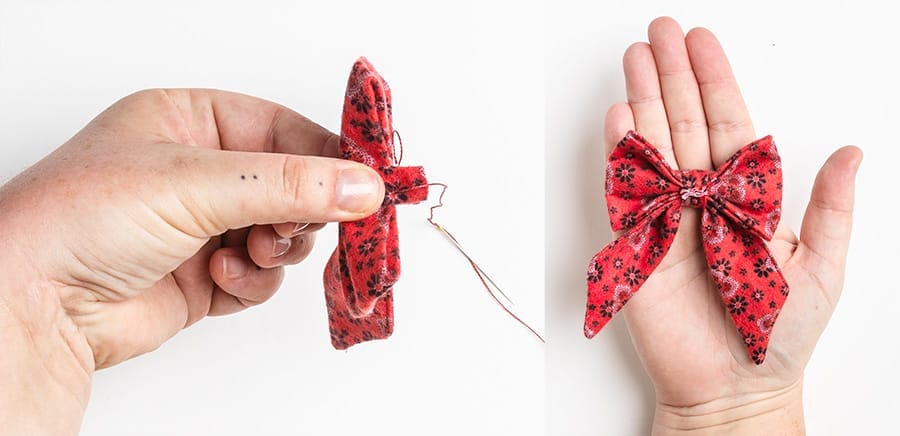
15. Take your tie piece and place over the center front of your bow. Take the two tail pieces and wrap around to the back. This is where things get a bit tricky – I’ve found it’s best to take the bow/tie and hold it tightly between two fingers, making sure the tie is centered and tight in the front. See Image 14 for reference.
16. Grab your needle, which should still be loaded up with a few inches of Perle Cotton. Sew your tail pieces together, as close to the bow as possible, making sure you tighten as you go. The tail piece will be a bit too long, but I’ve found it’s easier to sew this little piece taut with that extra length! Once it’s sewn, trim the seam allowance of the tail pieces to about 1/8”. See Image 15 for reference.
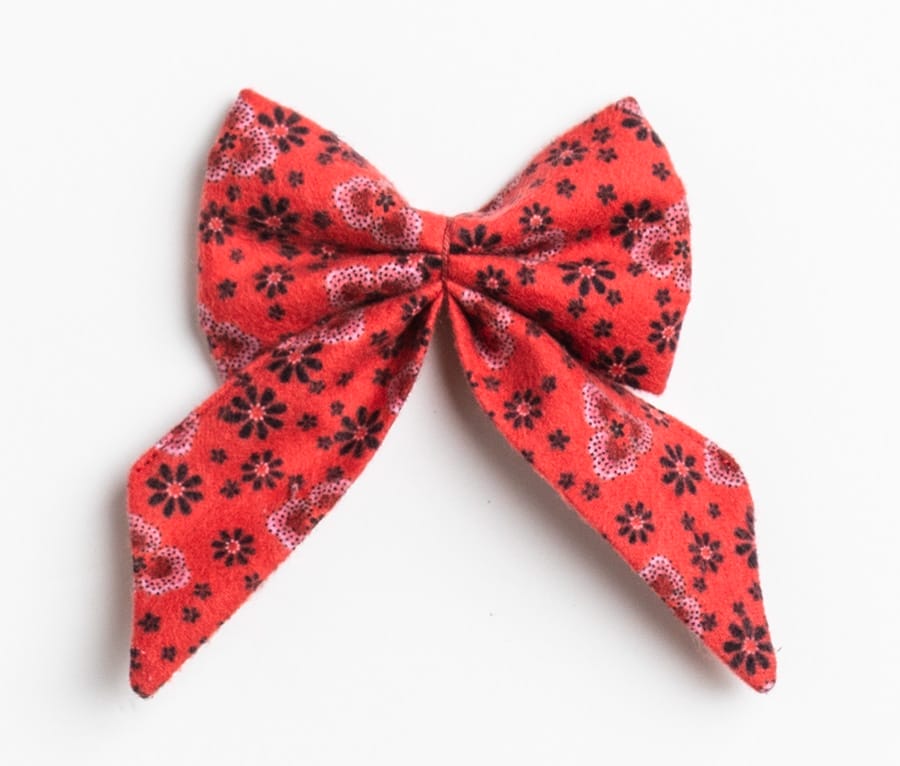
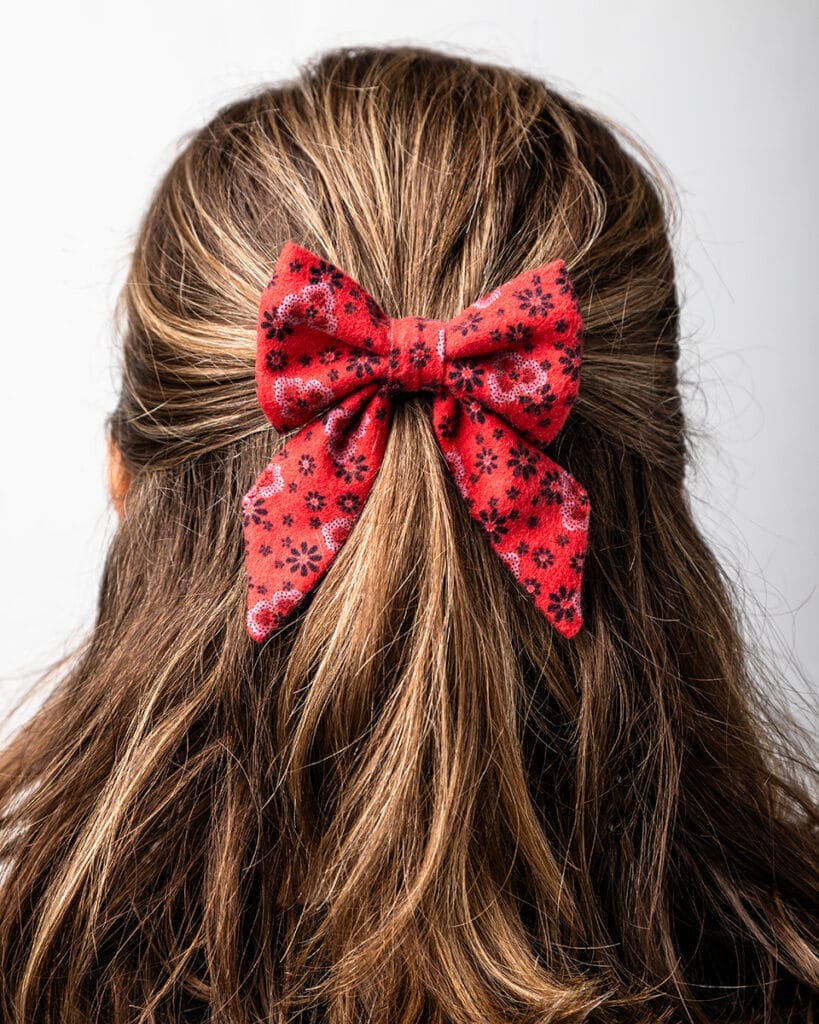
Voilà, you have a beautiful fabric bow! Nudge any of the pieces to straighten things out. If using a hair clip, you can slide it right between the tie piece and the bow piece – this is why we don’t sew everything together, so it’s easy to adjust and customize with pins, hair clips and more!
Tips:
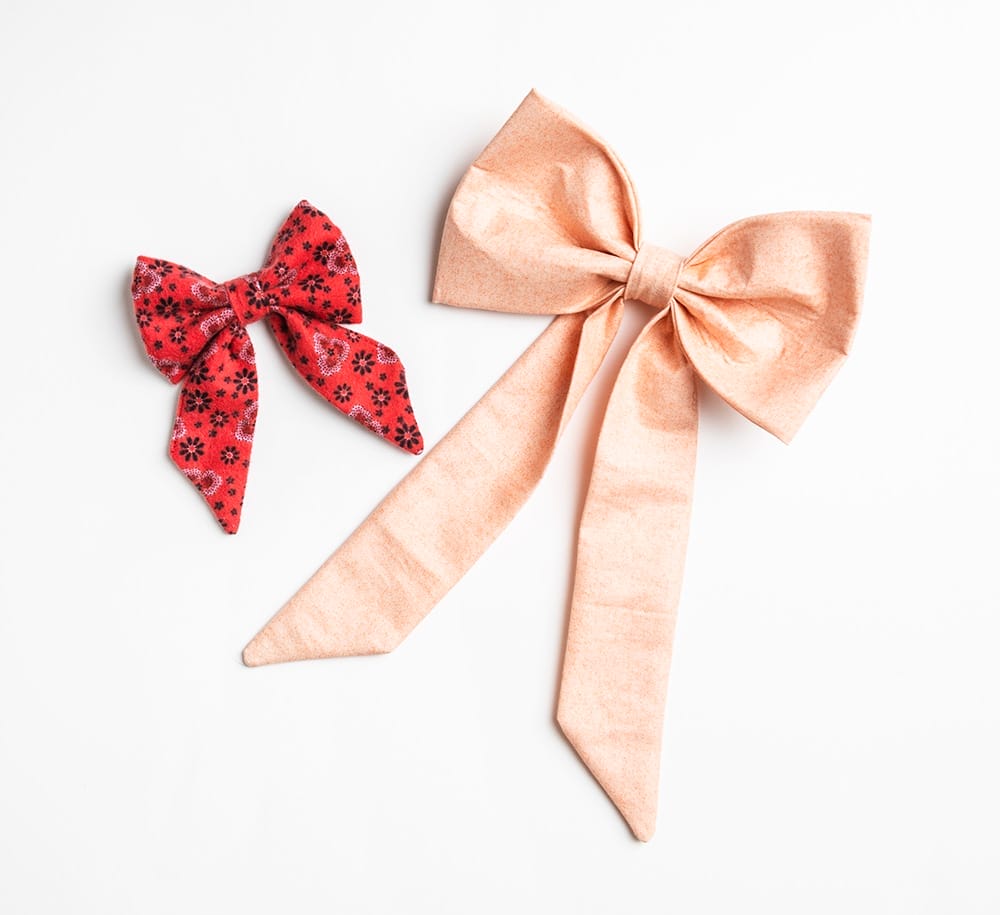
- Flannel is the perfect fabric for these bows – it’s thicker than standard quilting cotton, which lends well to keeping the bows stiff. You shouldn’t need to use any interfacing with flannel!
- If using standard quilting cotton, you can try using a featherweight interfacing on the bow portion for sturdiness (as seen in the photo above, on the right hand side). I have found that for smaller bows, like the size in this tutorial, interfacing is NOT needed. For larger bows, like the one pictured above, interfacing may be helpful.
- Resizing this pattern is so simple! Want a larger bow? Double the size of each piece for a big, décor-sized bow! Want a longer tail? Add 2-4” to the tail piece! Experiment with the size of your pieces and find what works best for your projects!
Don’t forget to tag us on Instagram and Facebook with your finished bows!
Happy sewing!


 Tutorials
