


 Tutorials
 9.1.2021
Hello again friends!
I hope you all enjoyed making our first four blocks in Month 1. I really loved reading everyone’s comments and photos on Facebook this past month. If you haven’t joined our Ruby Facebook group, I would highly recommend it. It’s a great place to share ideas and stay motivated!
For Month 2 we will be making our first set of the Irish Pinwheel Chain blocks (which I probably should have called Irish Chain Pinwheel blocks, but I digress). There are 25 of these blocks in the quilt, so I’ve broken them down into chunks of 5 and have spread them out over the course of the BOM, just so we all don’t get bored making so many at once! Maybe I’m just speaking for myself, haha!
I’ll walk you through the instructions for making one block:
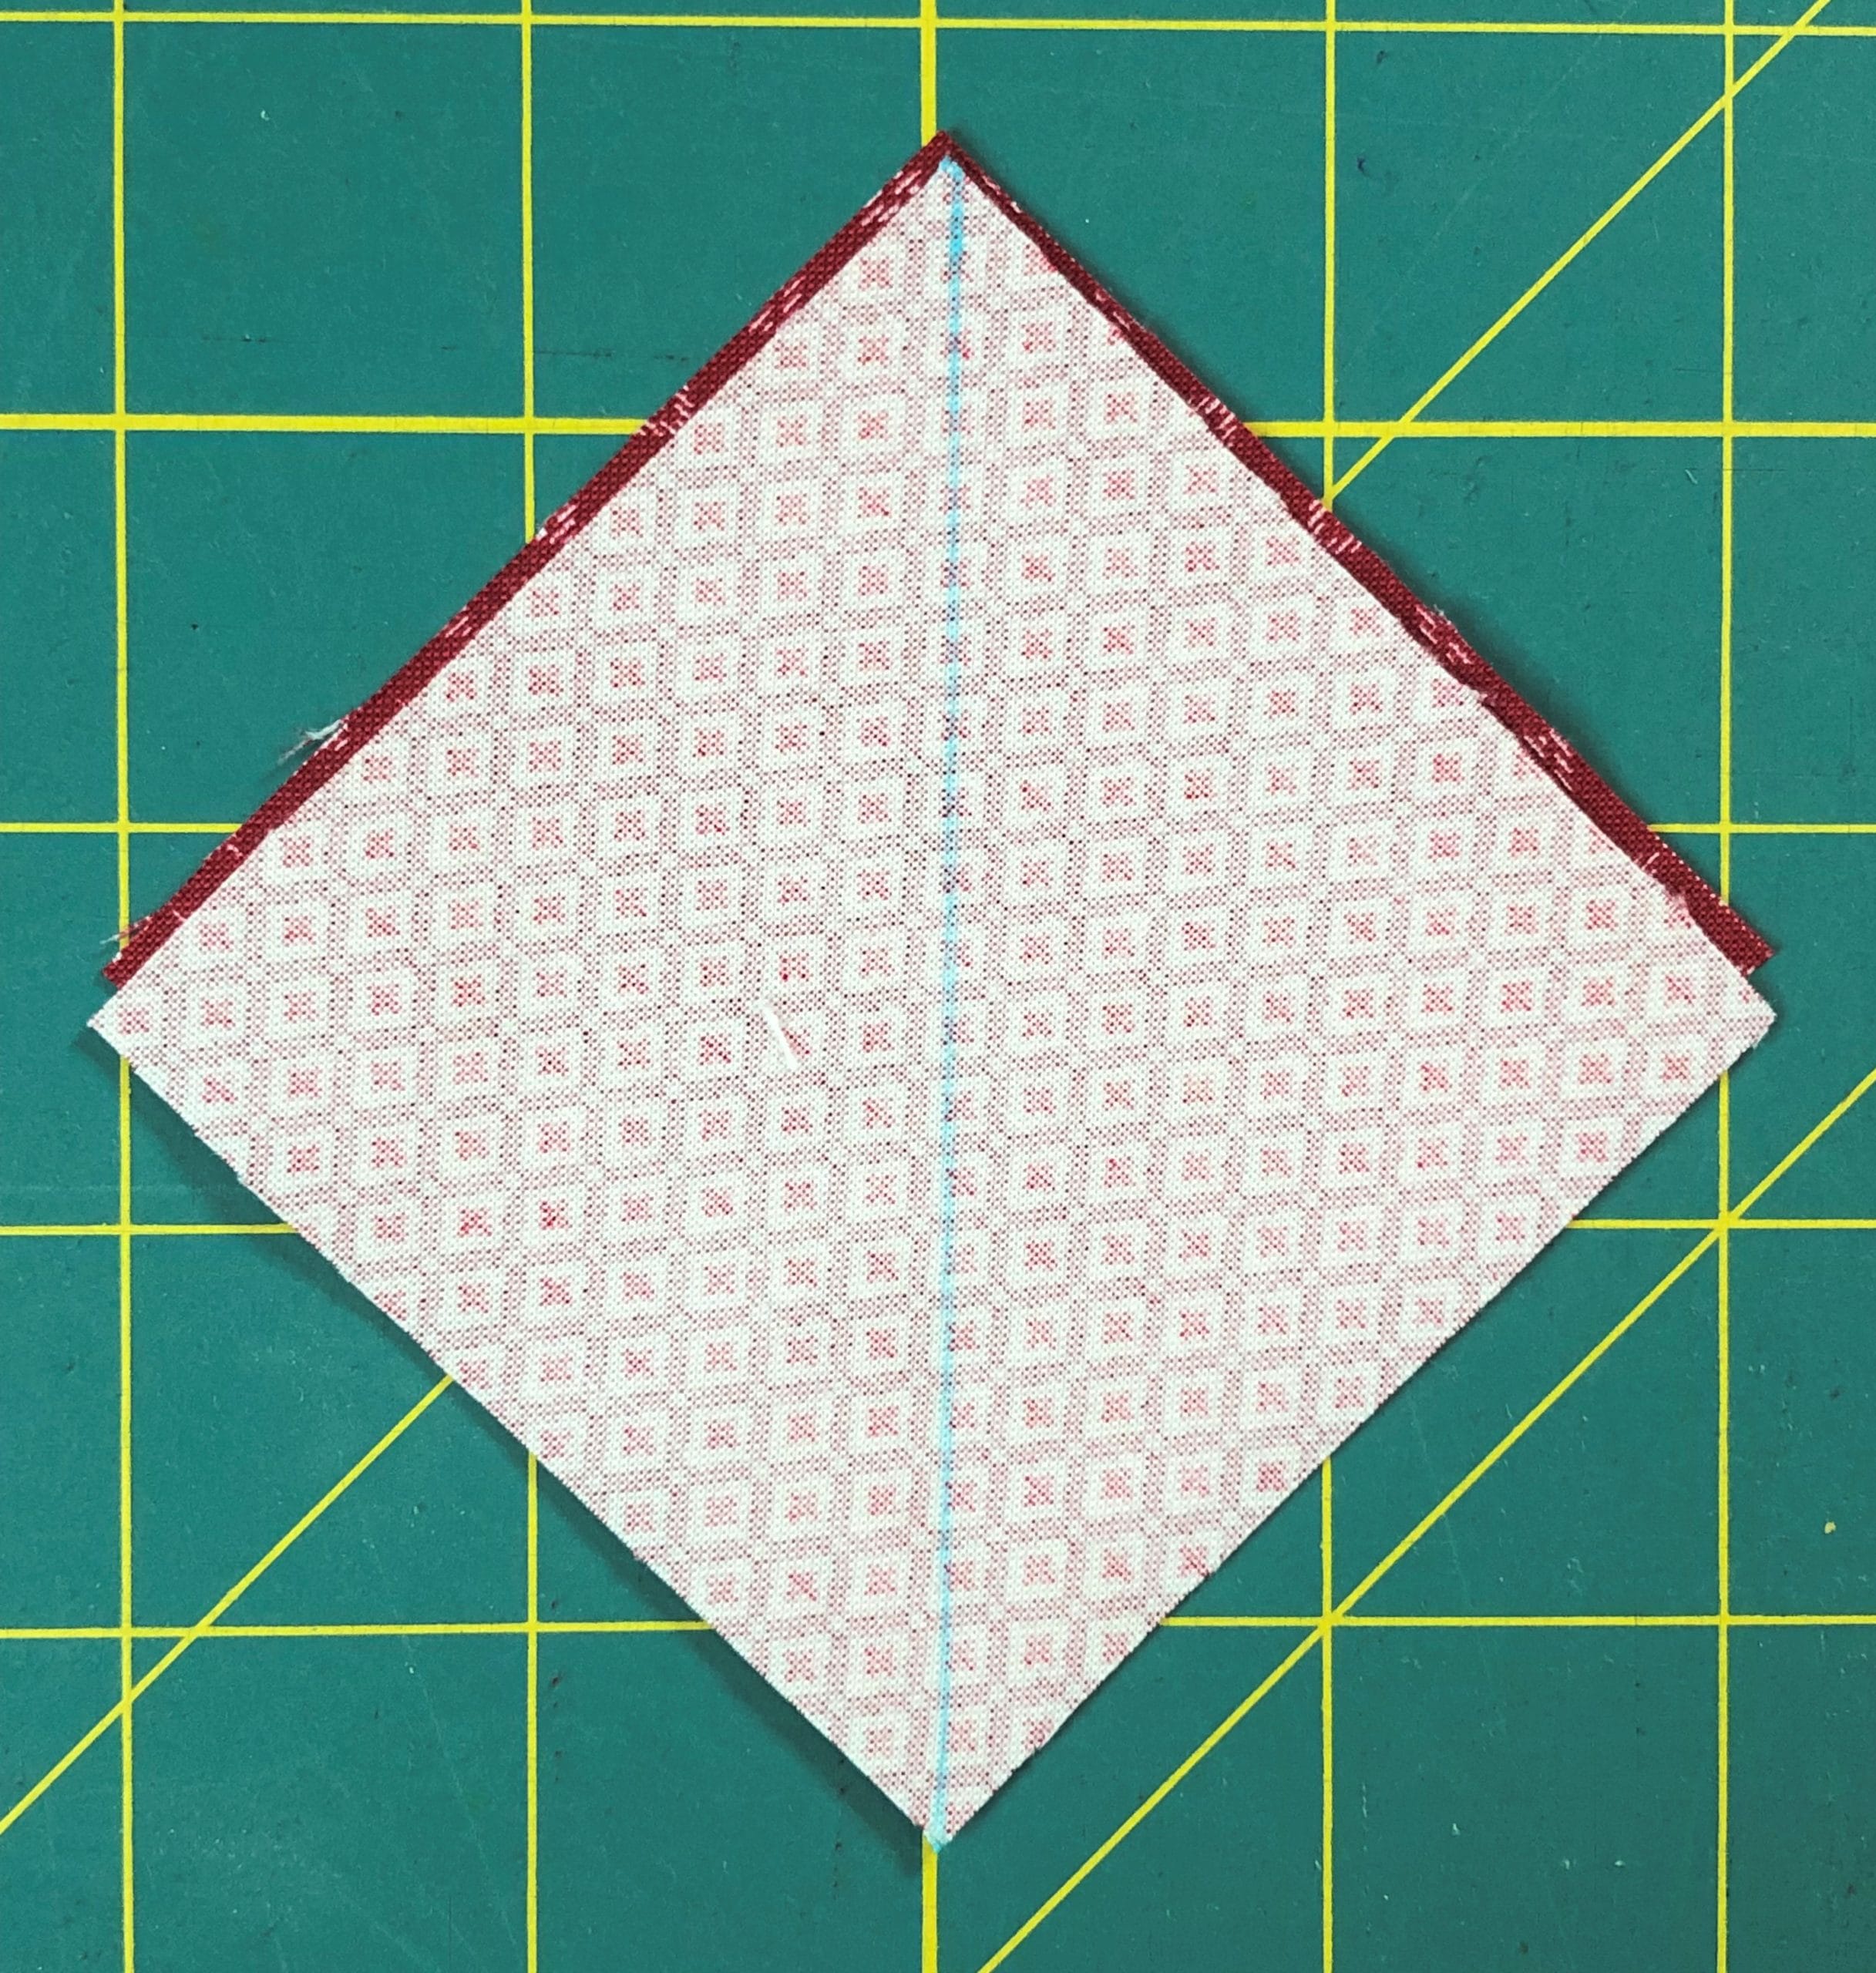
This block begins by making some half-square triangles. Once you’ve paired up your A and B squares and have marked a line like you see below, you are ready to stitch on both sides of the marked line. Obviously the squares shown below aren’t lined up correctly, because I wanted you all to see the square underneath. You’ll want yours matched up perfectly.
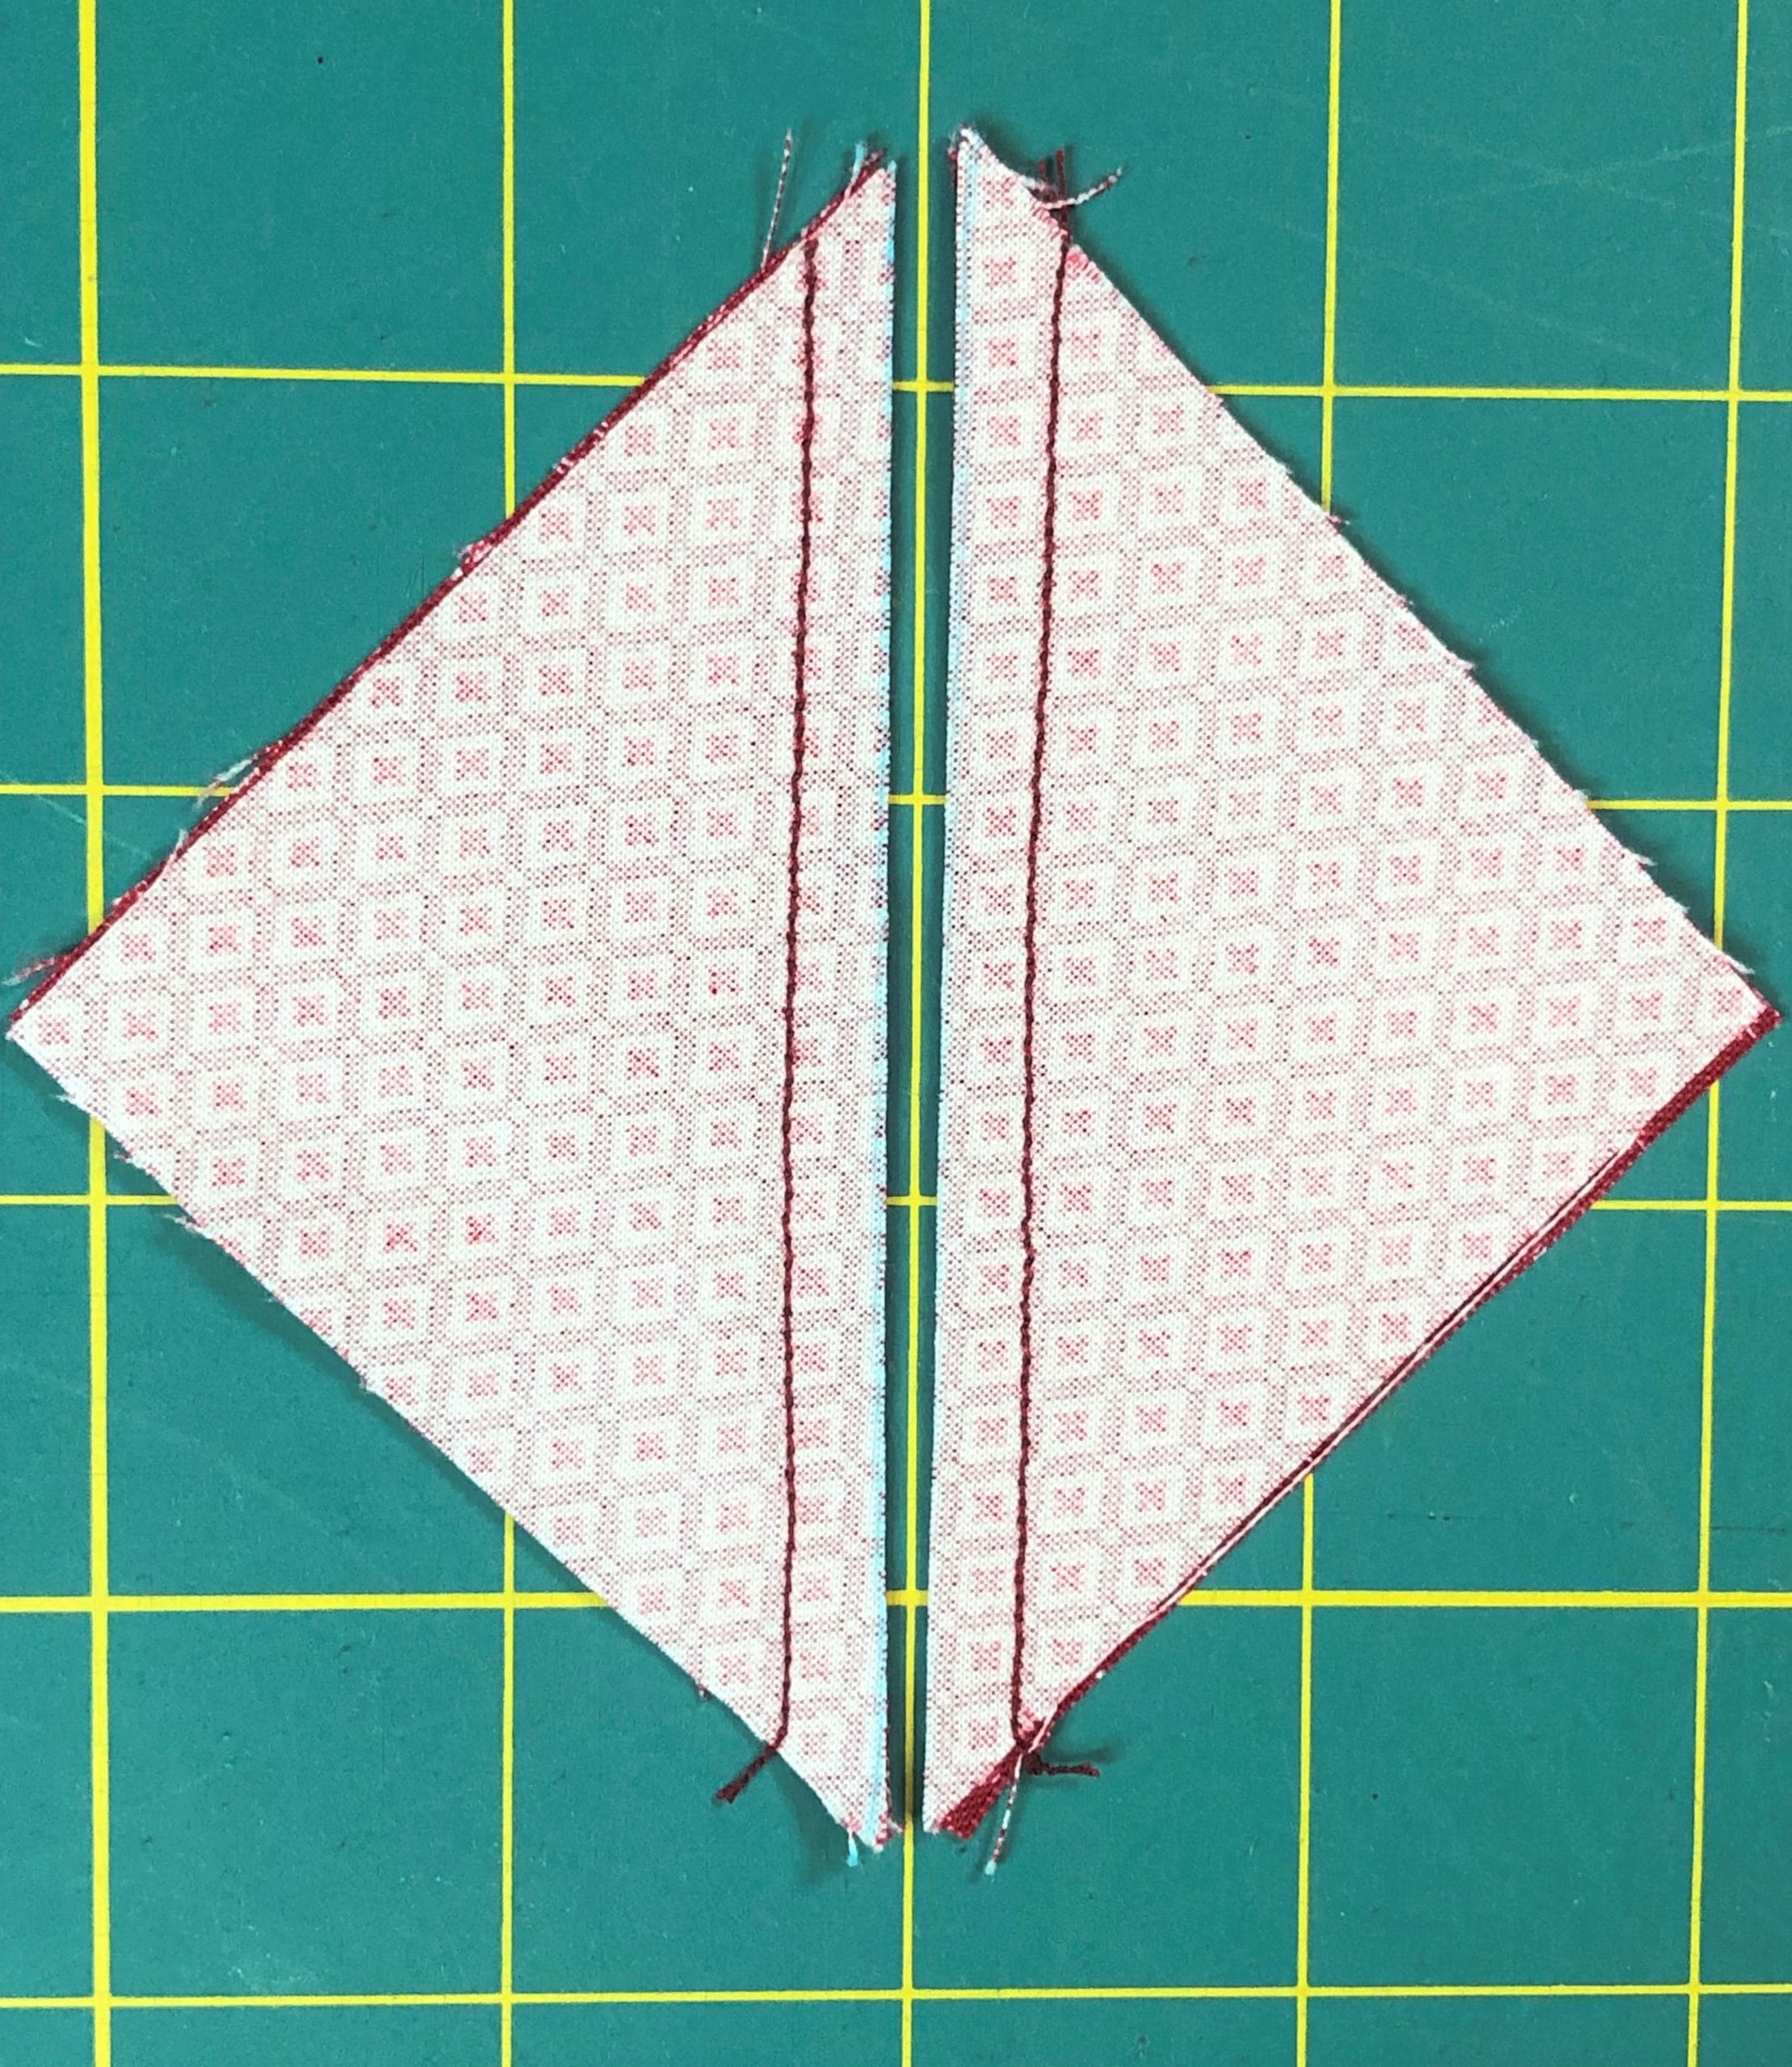
Once you’ve sewn everything and have cut on the marked lines, you can press open and square up your blocks to 2-1/2″ square.
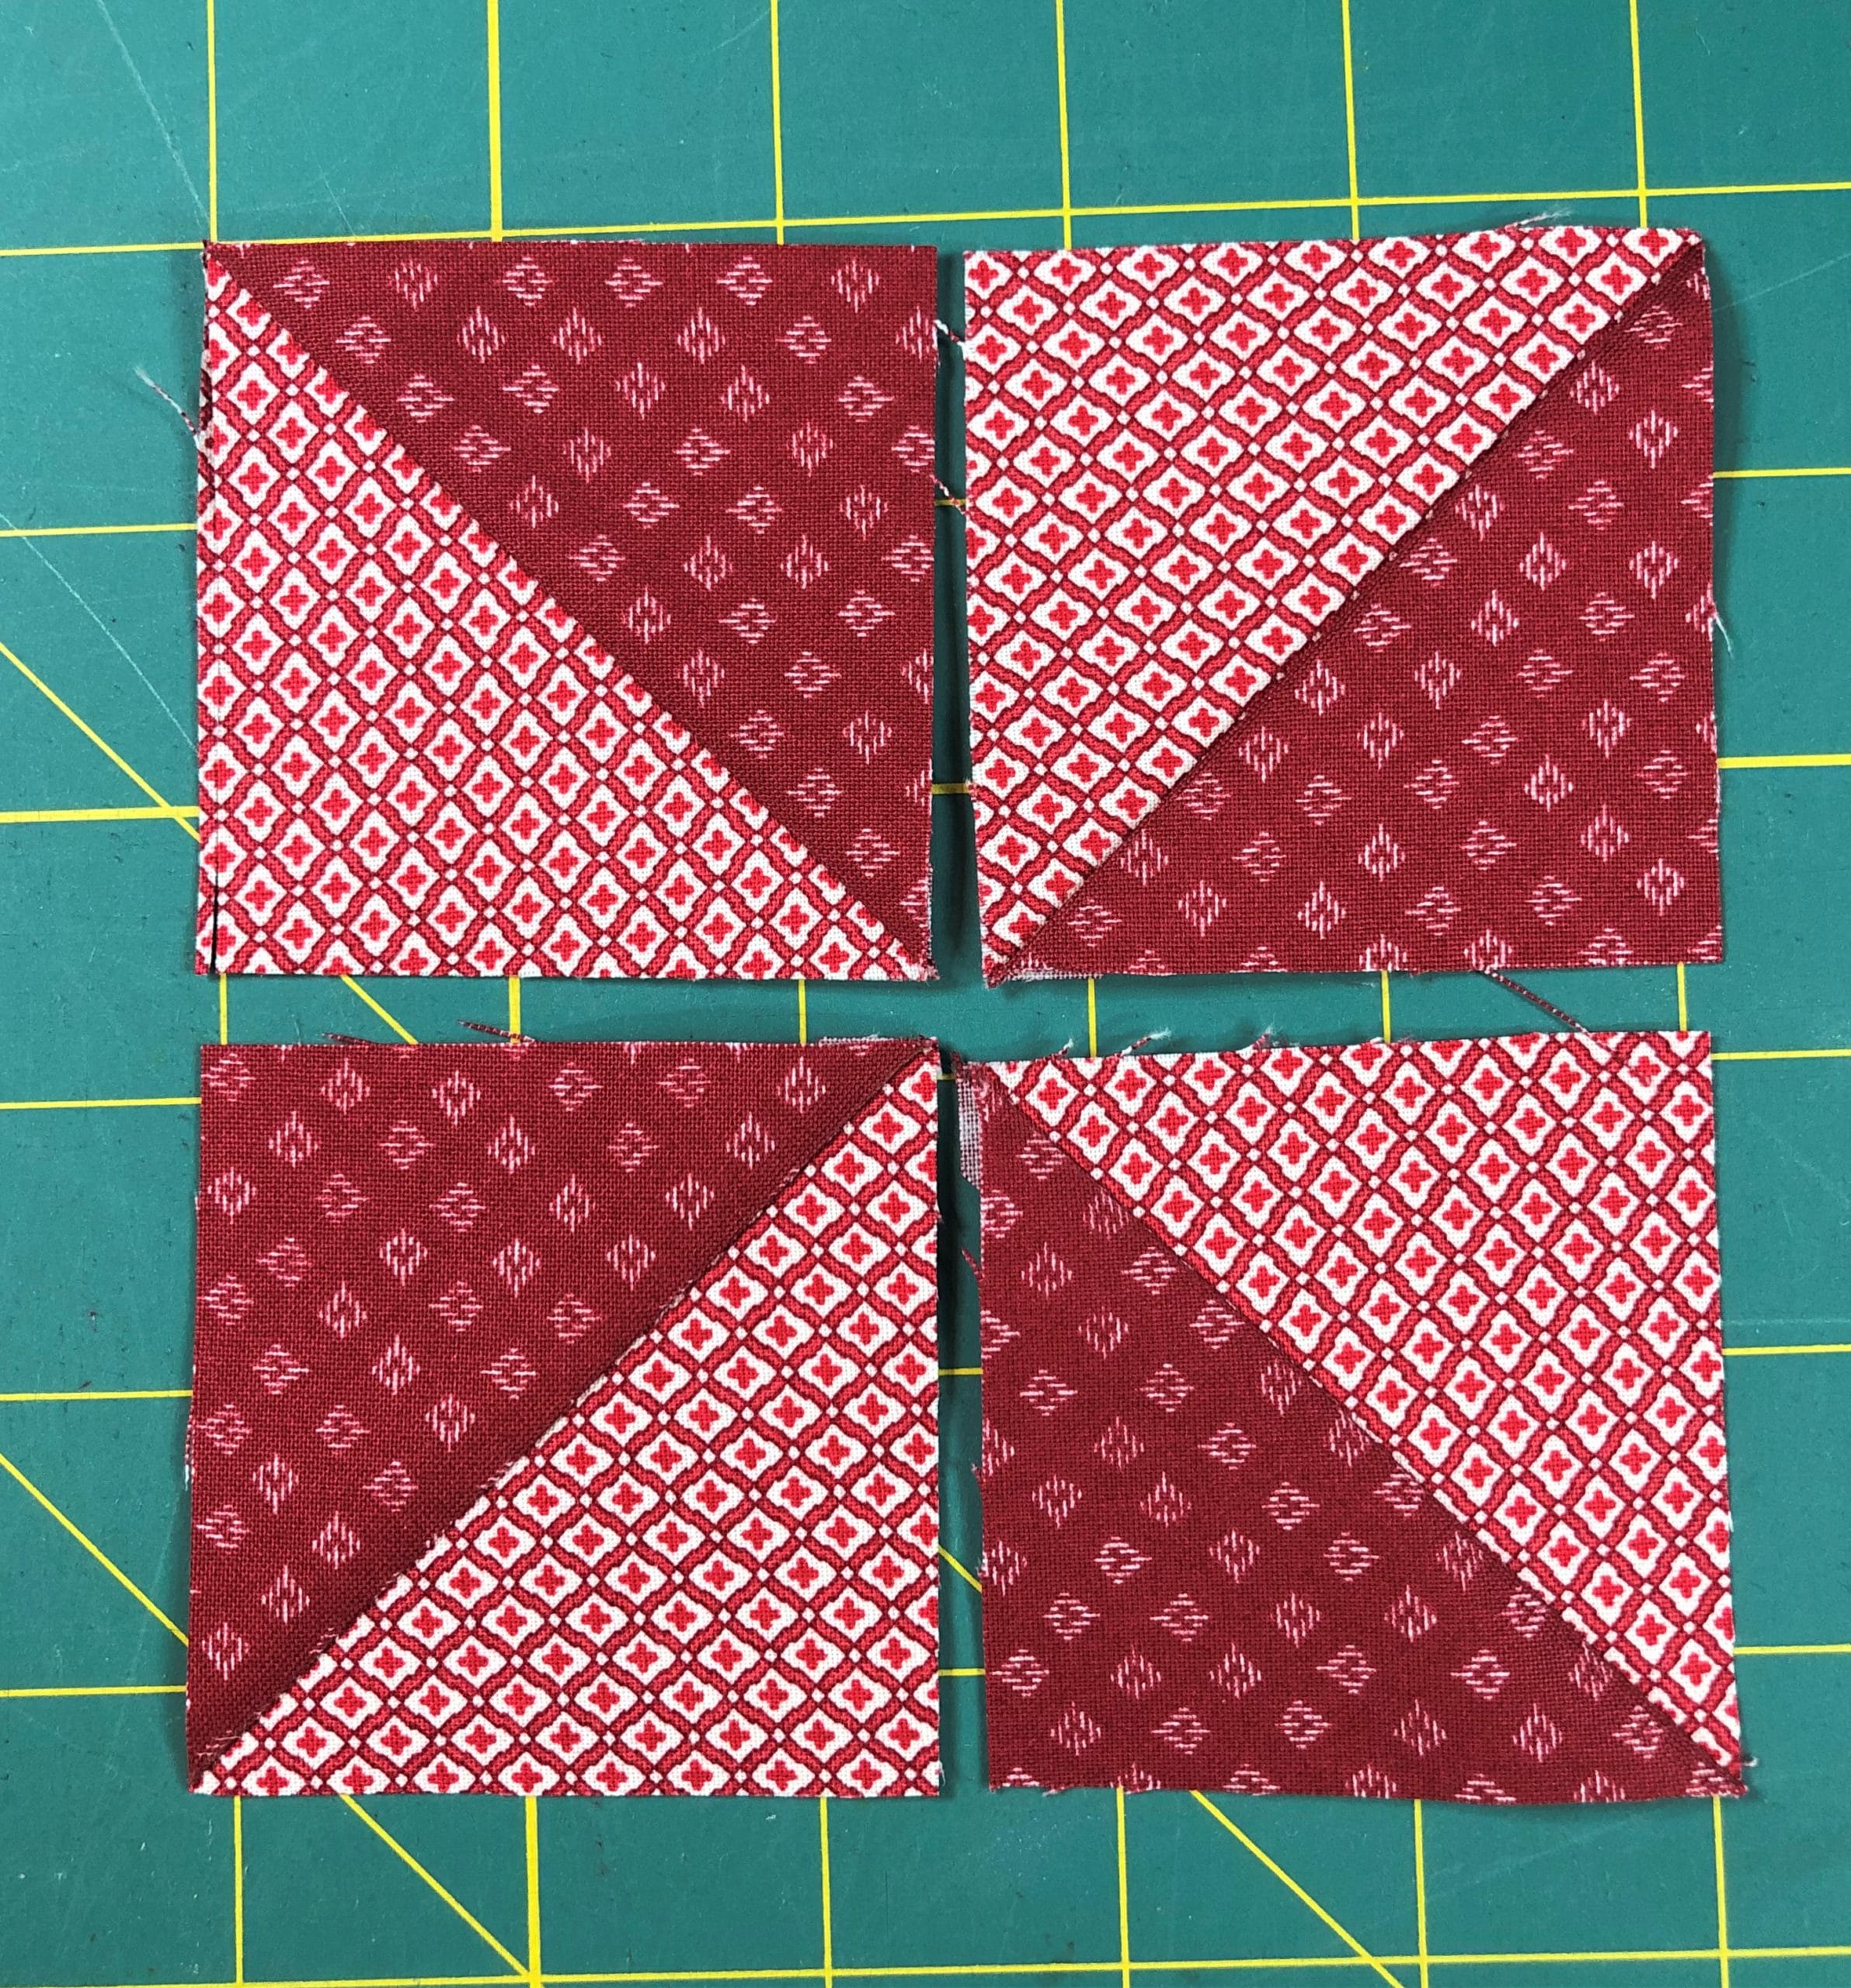
Then you’ll sew those half-square triangles together to make a pinwheel. If you want your pinwheels oriented the same throughout the quilt, you’ll want to pay close attention to the diagram, making sure that all of your A and B triangles are in their proper position.
And I must confess, while sewing up my first block for this month’s tutorial, I plumb forgot to pay attention to the direction of my pinwheels. And when I was done and I compared my finished block with my own diagram, OF COURSE they were going the WRONG WAY. If I had been sewing this for myself, and not this blog, I honestly would have left it, and just made sure all the other ones matched. No one would have been the wiser, right? But since you all have my directions and diagrams, and would have seen my mistake, I figured I’d better follow my own instructions and fix it! Thankfully I’d only made the one block and not all five. Otherwise I might have cried…or screamed loud enough for the neighbors to hear.
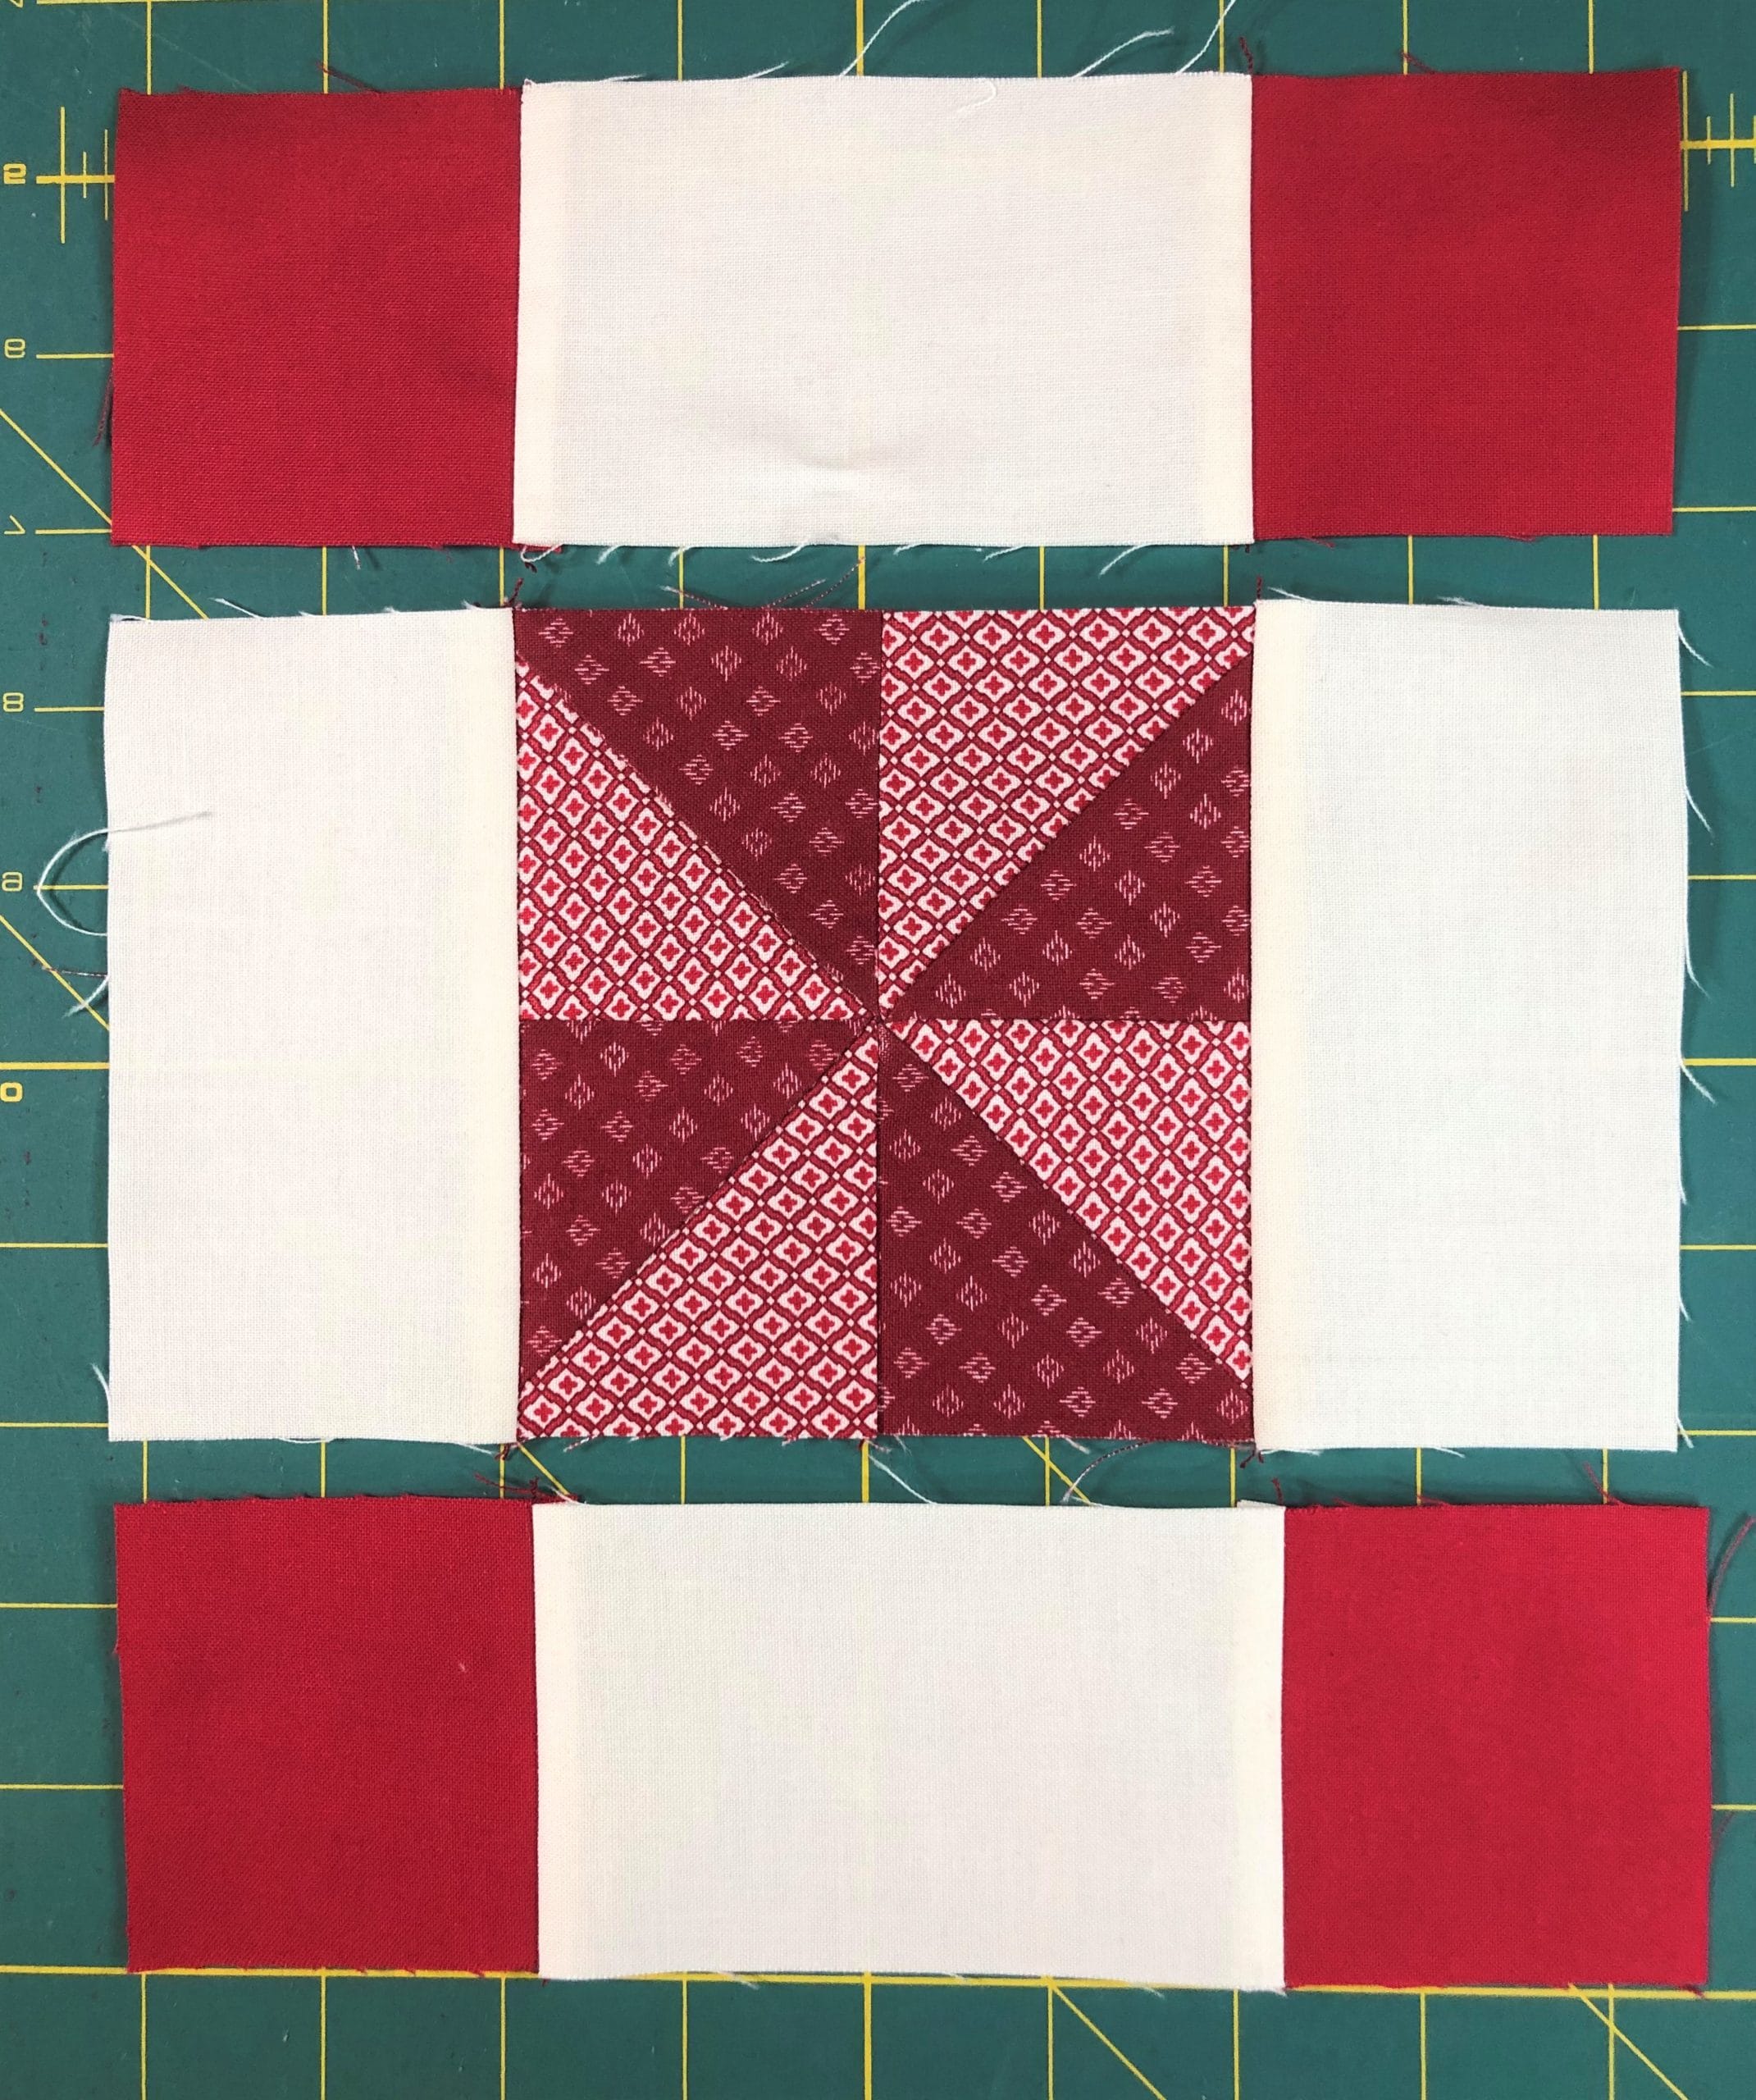
Once you have your pinwheels sewn up, all you have to do is add the Ivory strips and the Red corner squares. So easy!
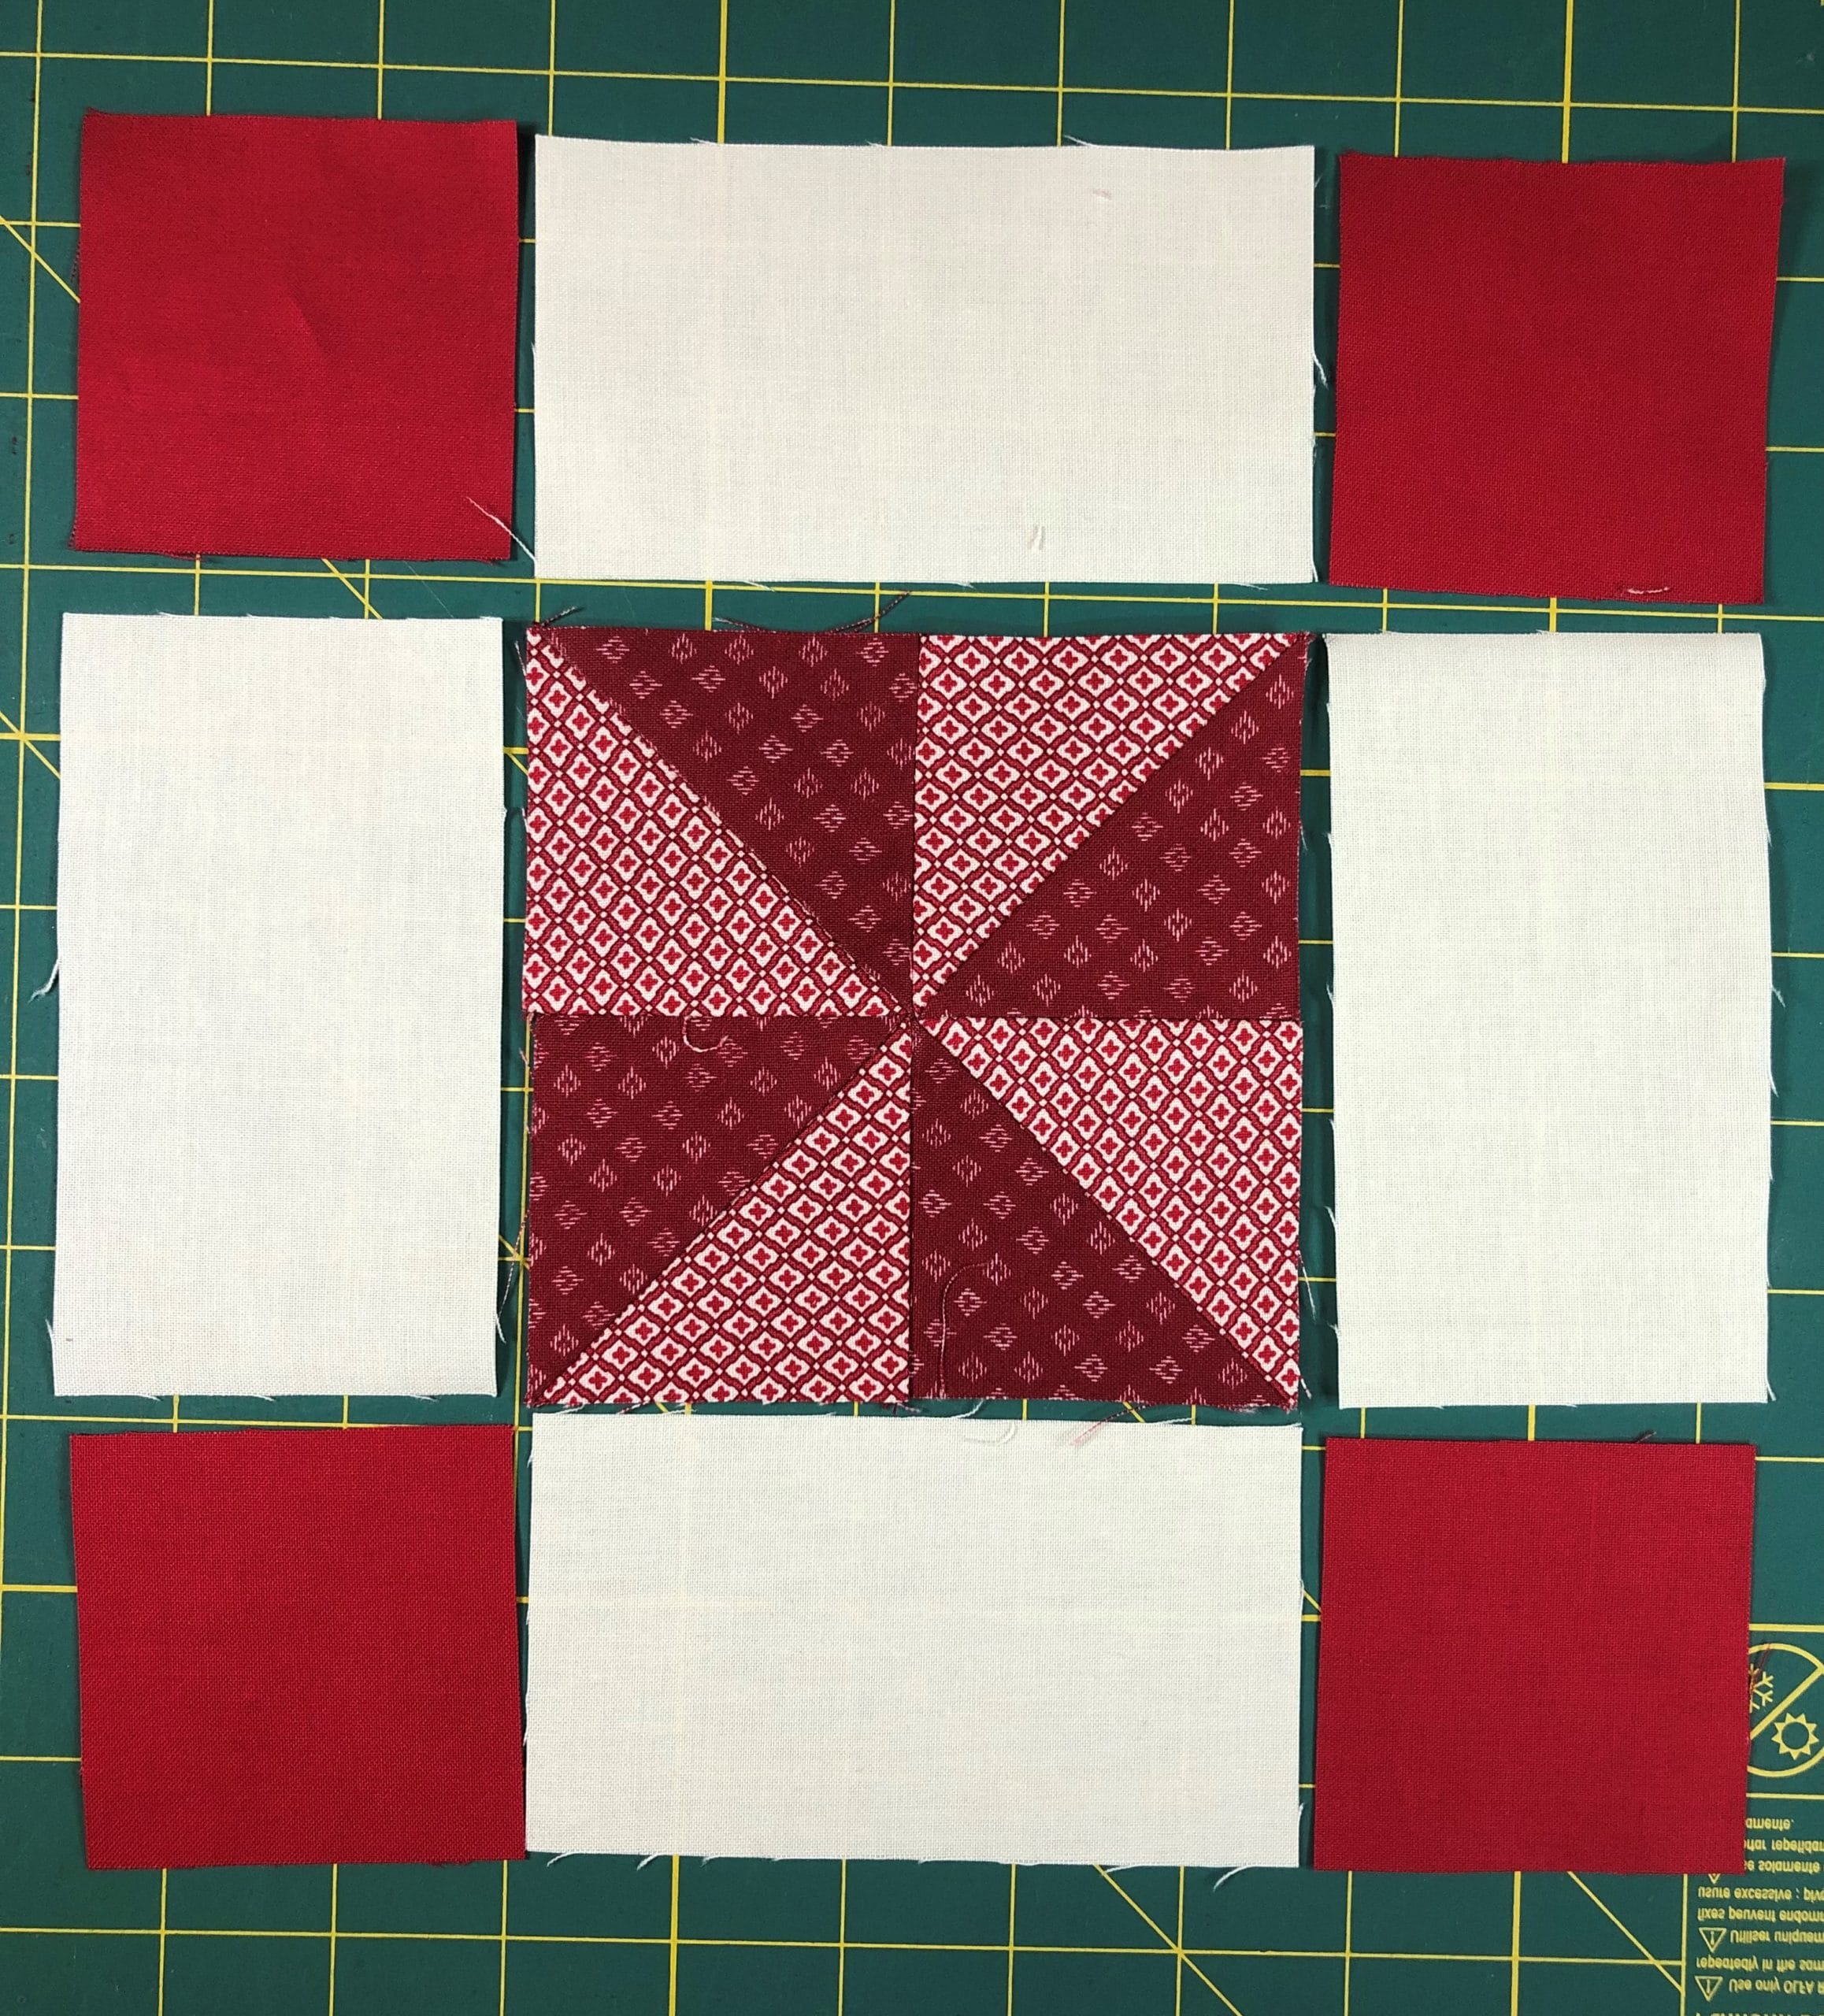
I like to sew my blocks into rows first, and then sew the rows together, like you see below.
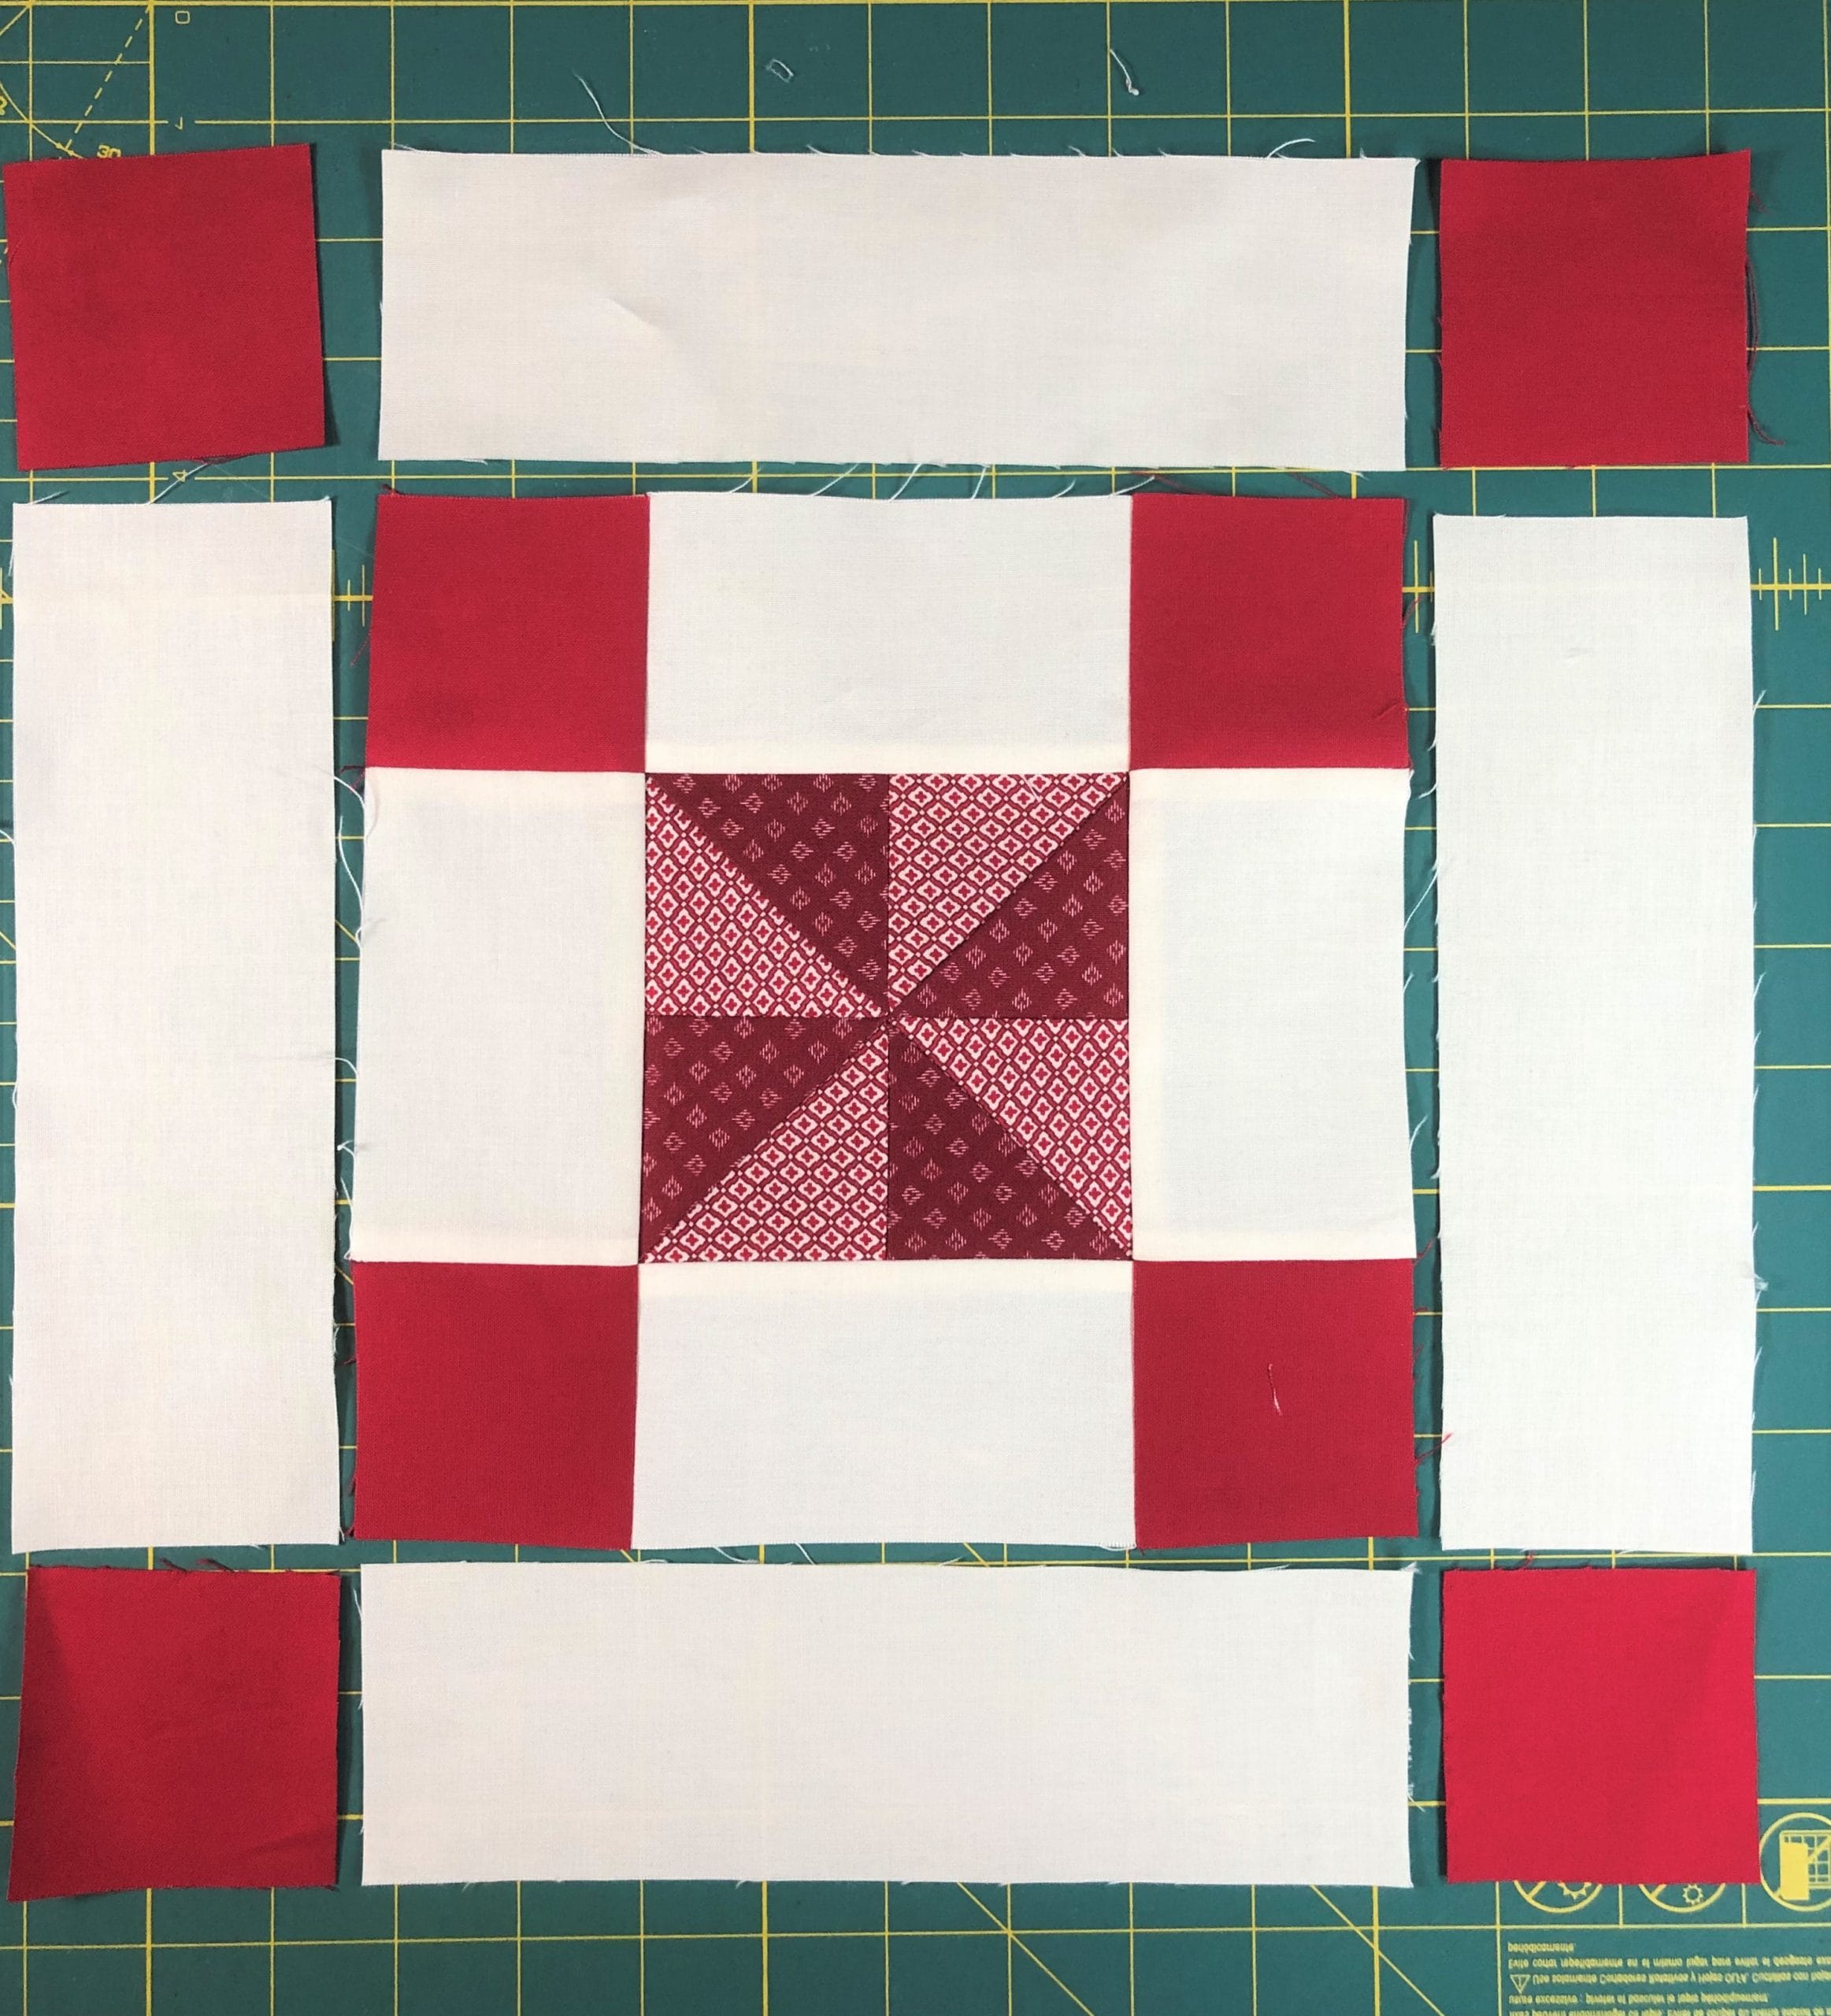
After the first set of strips and squares, your block should now measure 8-1/2” square. I always measure and trim as I go so that everything turns out the correct size in the end.
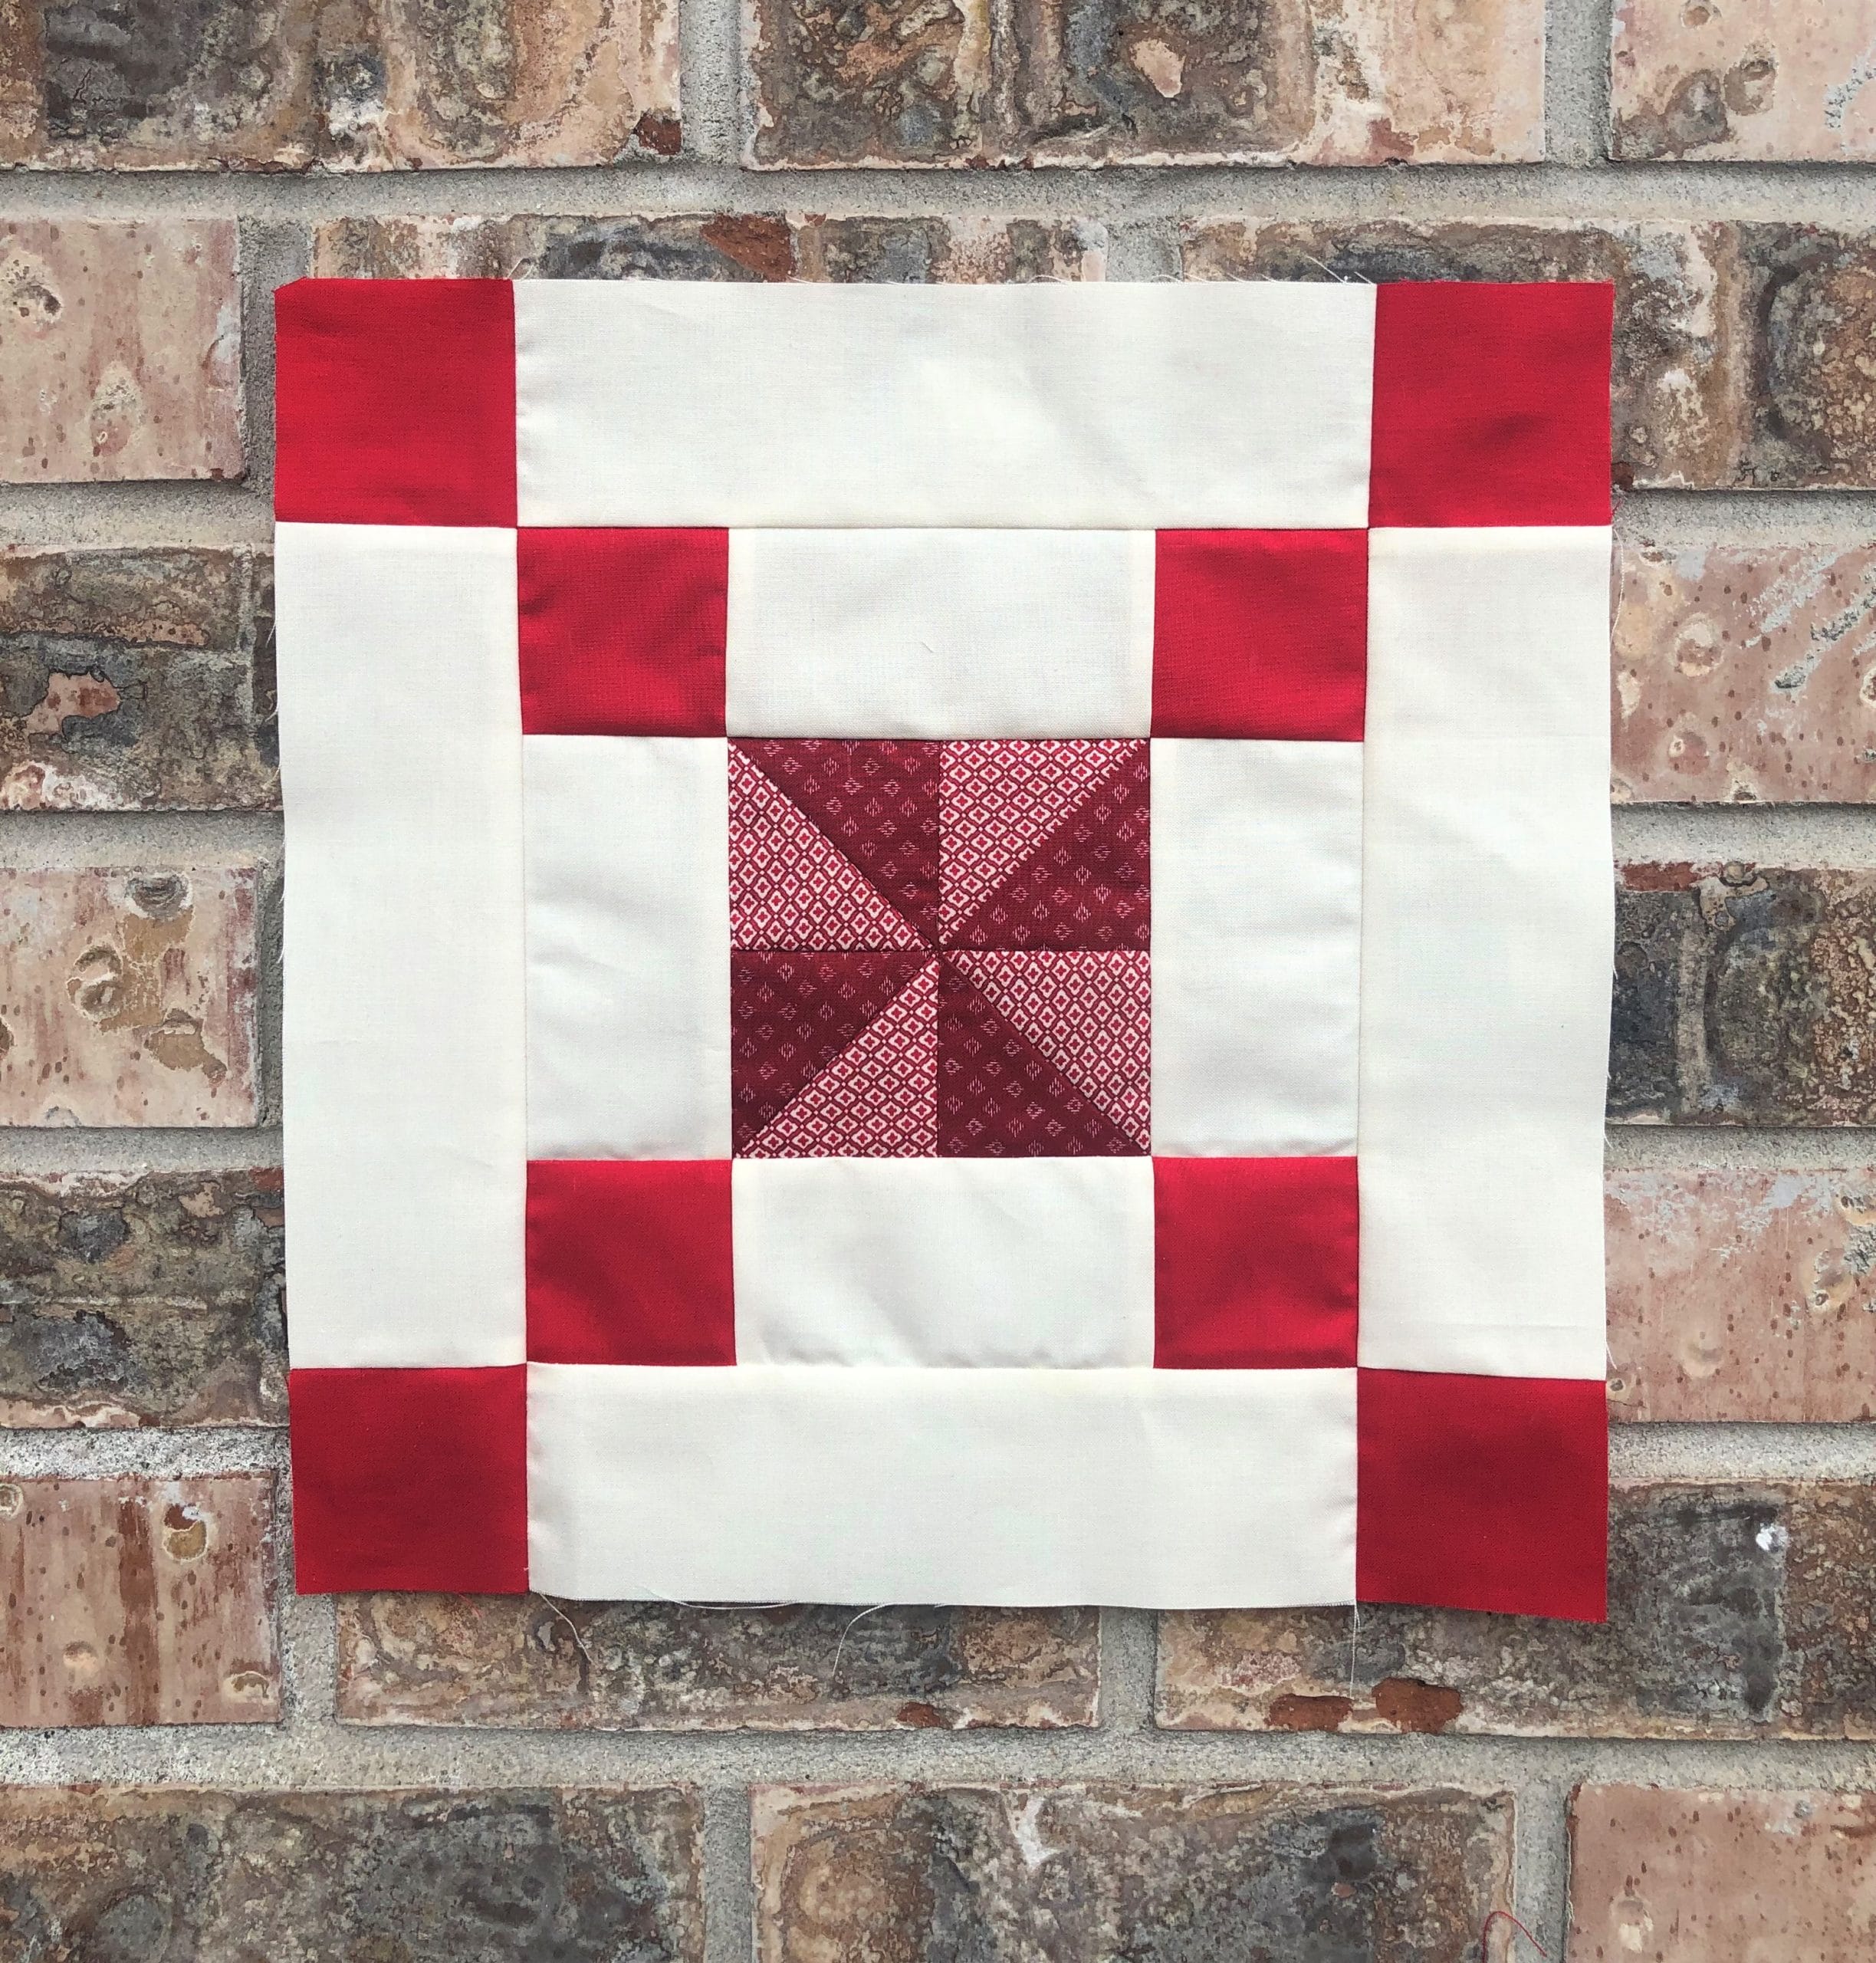
Once the last strips and squares are sewn, the finished block should now measure 12-1/2” square.

And here is the finished block!
Some of you have asked for thread suggestions. For this block I used the Scarlet thread, because that’s what I already had in my machine. I really should have used the Cream or Ivory thread, since there is so much of the Ivory background in this block. So do as I say, not as I do! If you really want to get fancy, you could use a red thread for the pinwheels, and then switch to the Ivory thread for sewing the strips.
I hope you have fun making these Irish Pinwheel Chain blocks, because you’ll be making a LOT more of them as we go along! But I’m guessing you all knew that. 🙂
Have a great month, and Happy Quilting!
Kristin

