


 Tutorials
 4.7.2021
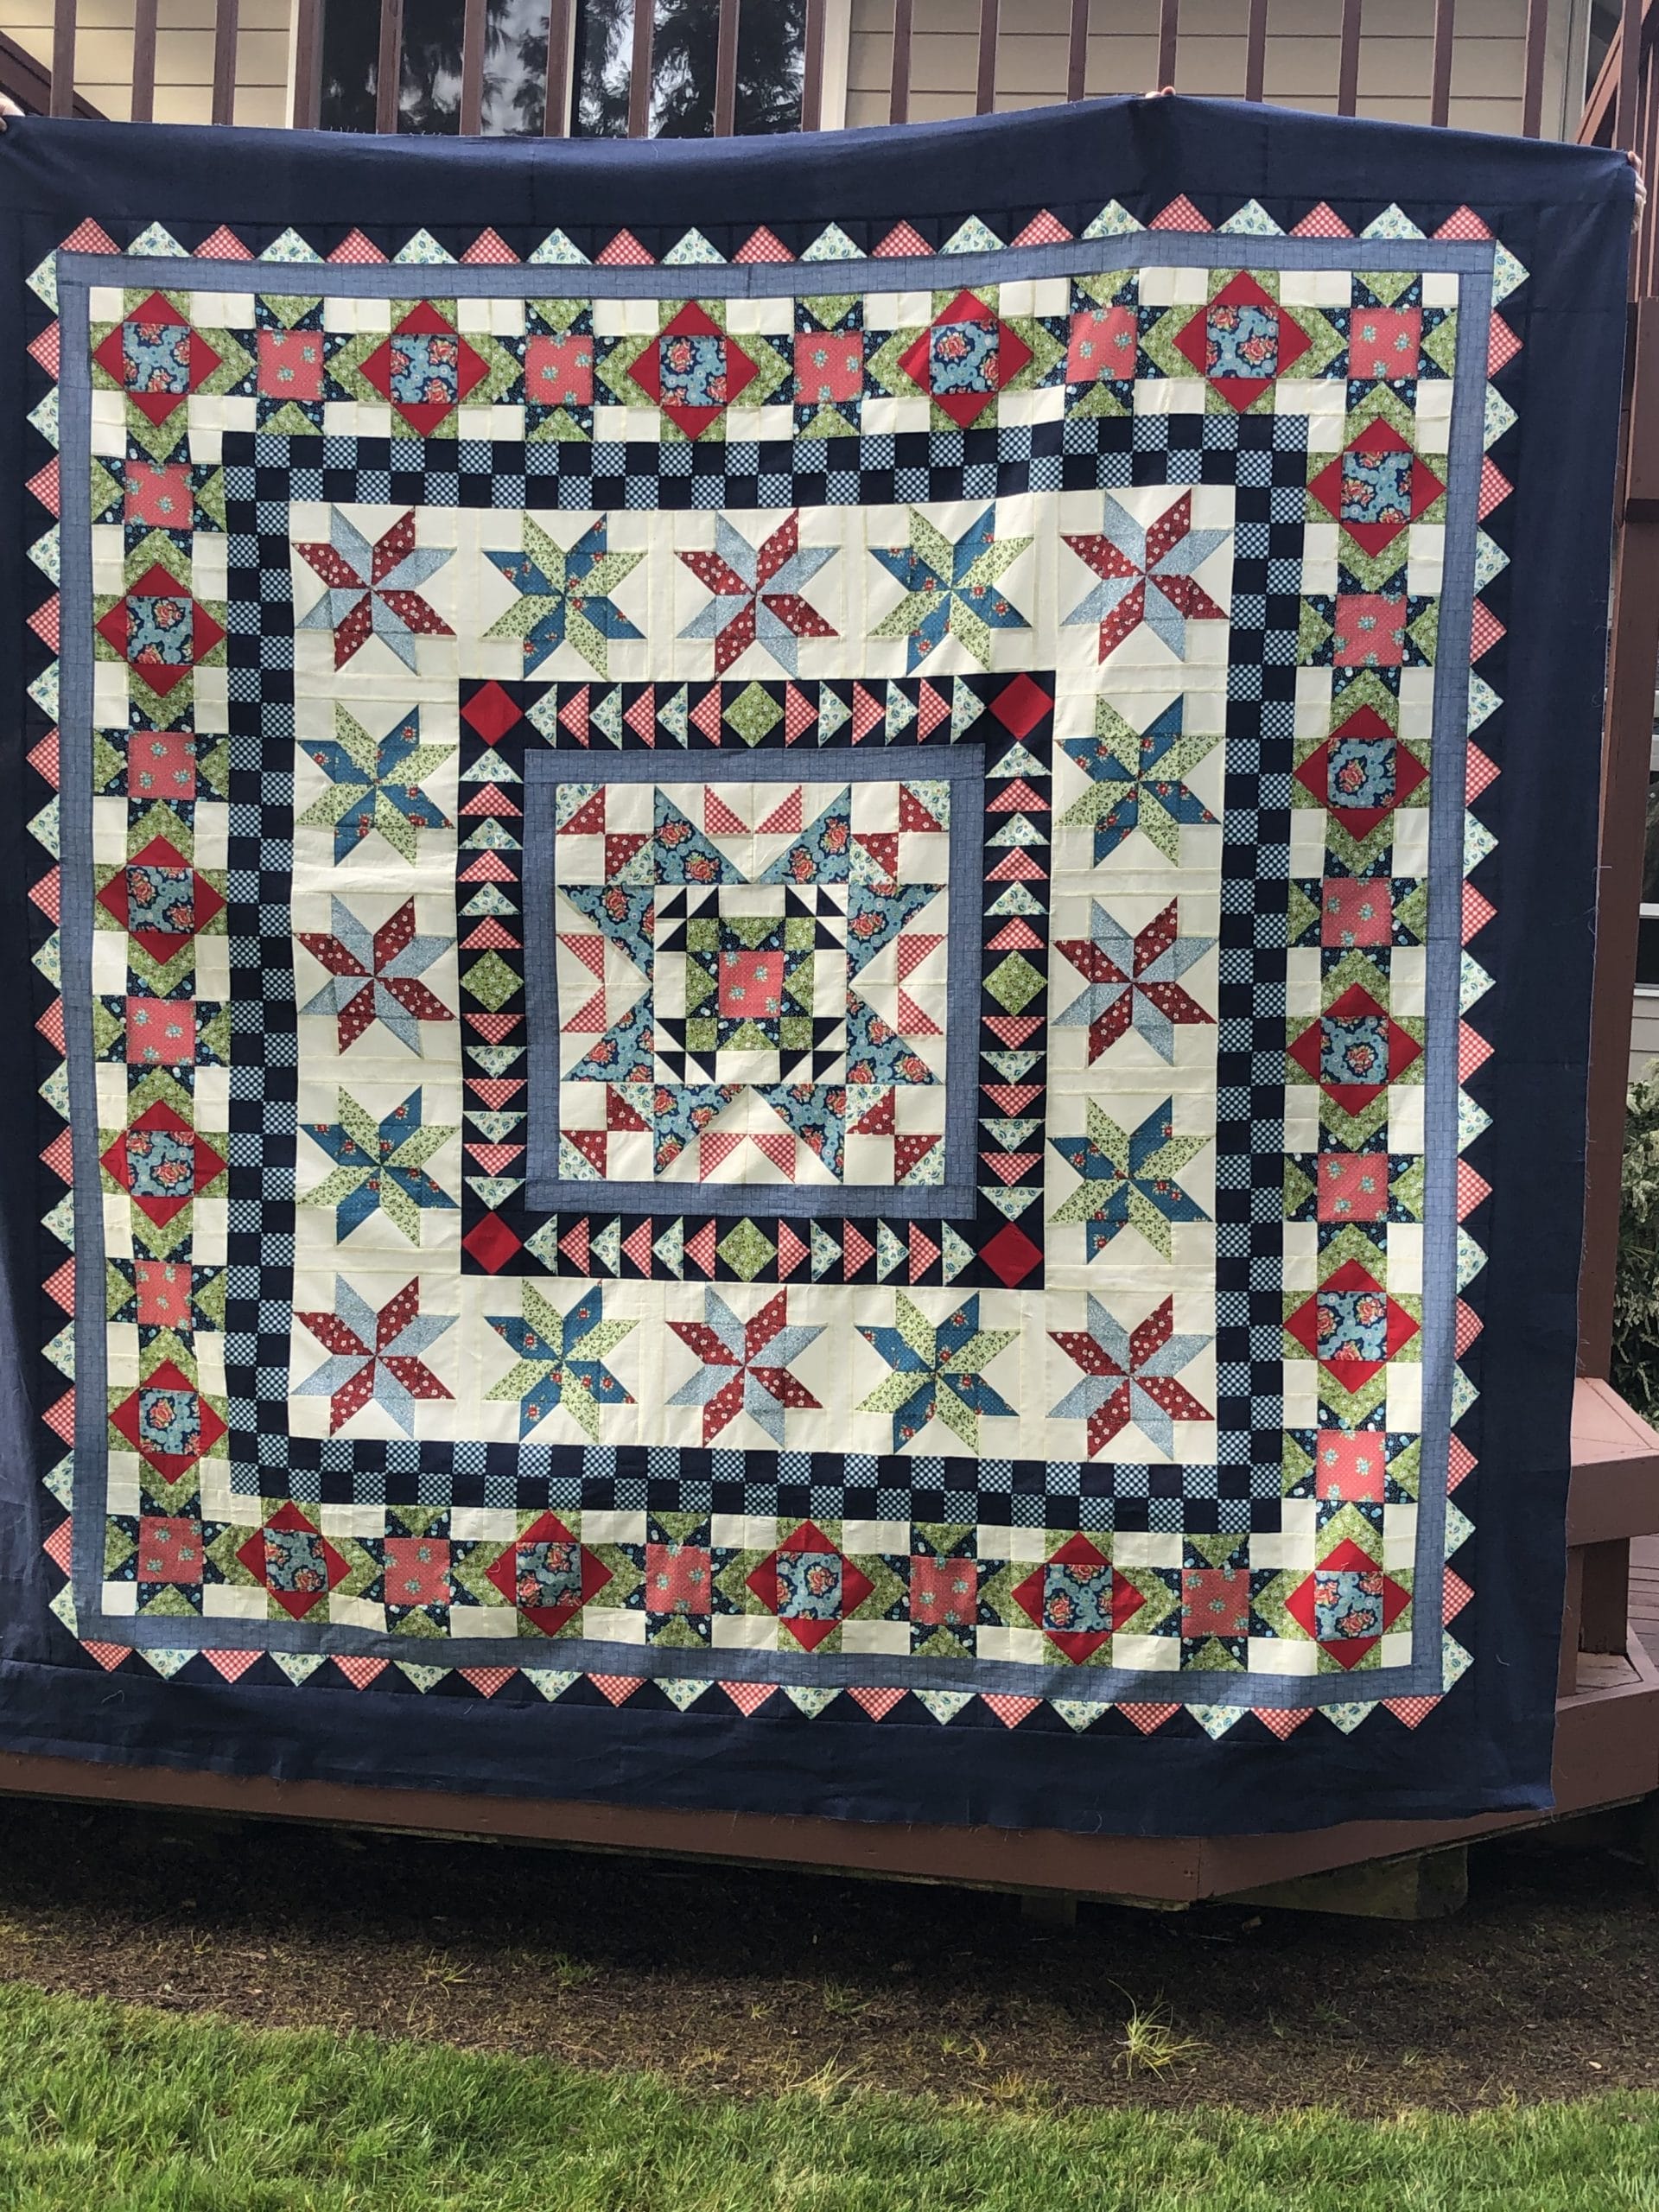
We did it! We’ve finally made it to the finish line! Four our very last month we will be making a few more flying geese, then sewing our flying geese rows together and on to the quilt. After that, all we have left to do is attach those final navy borders and we are done!
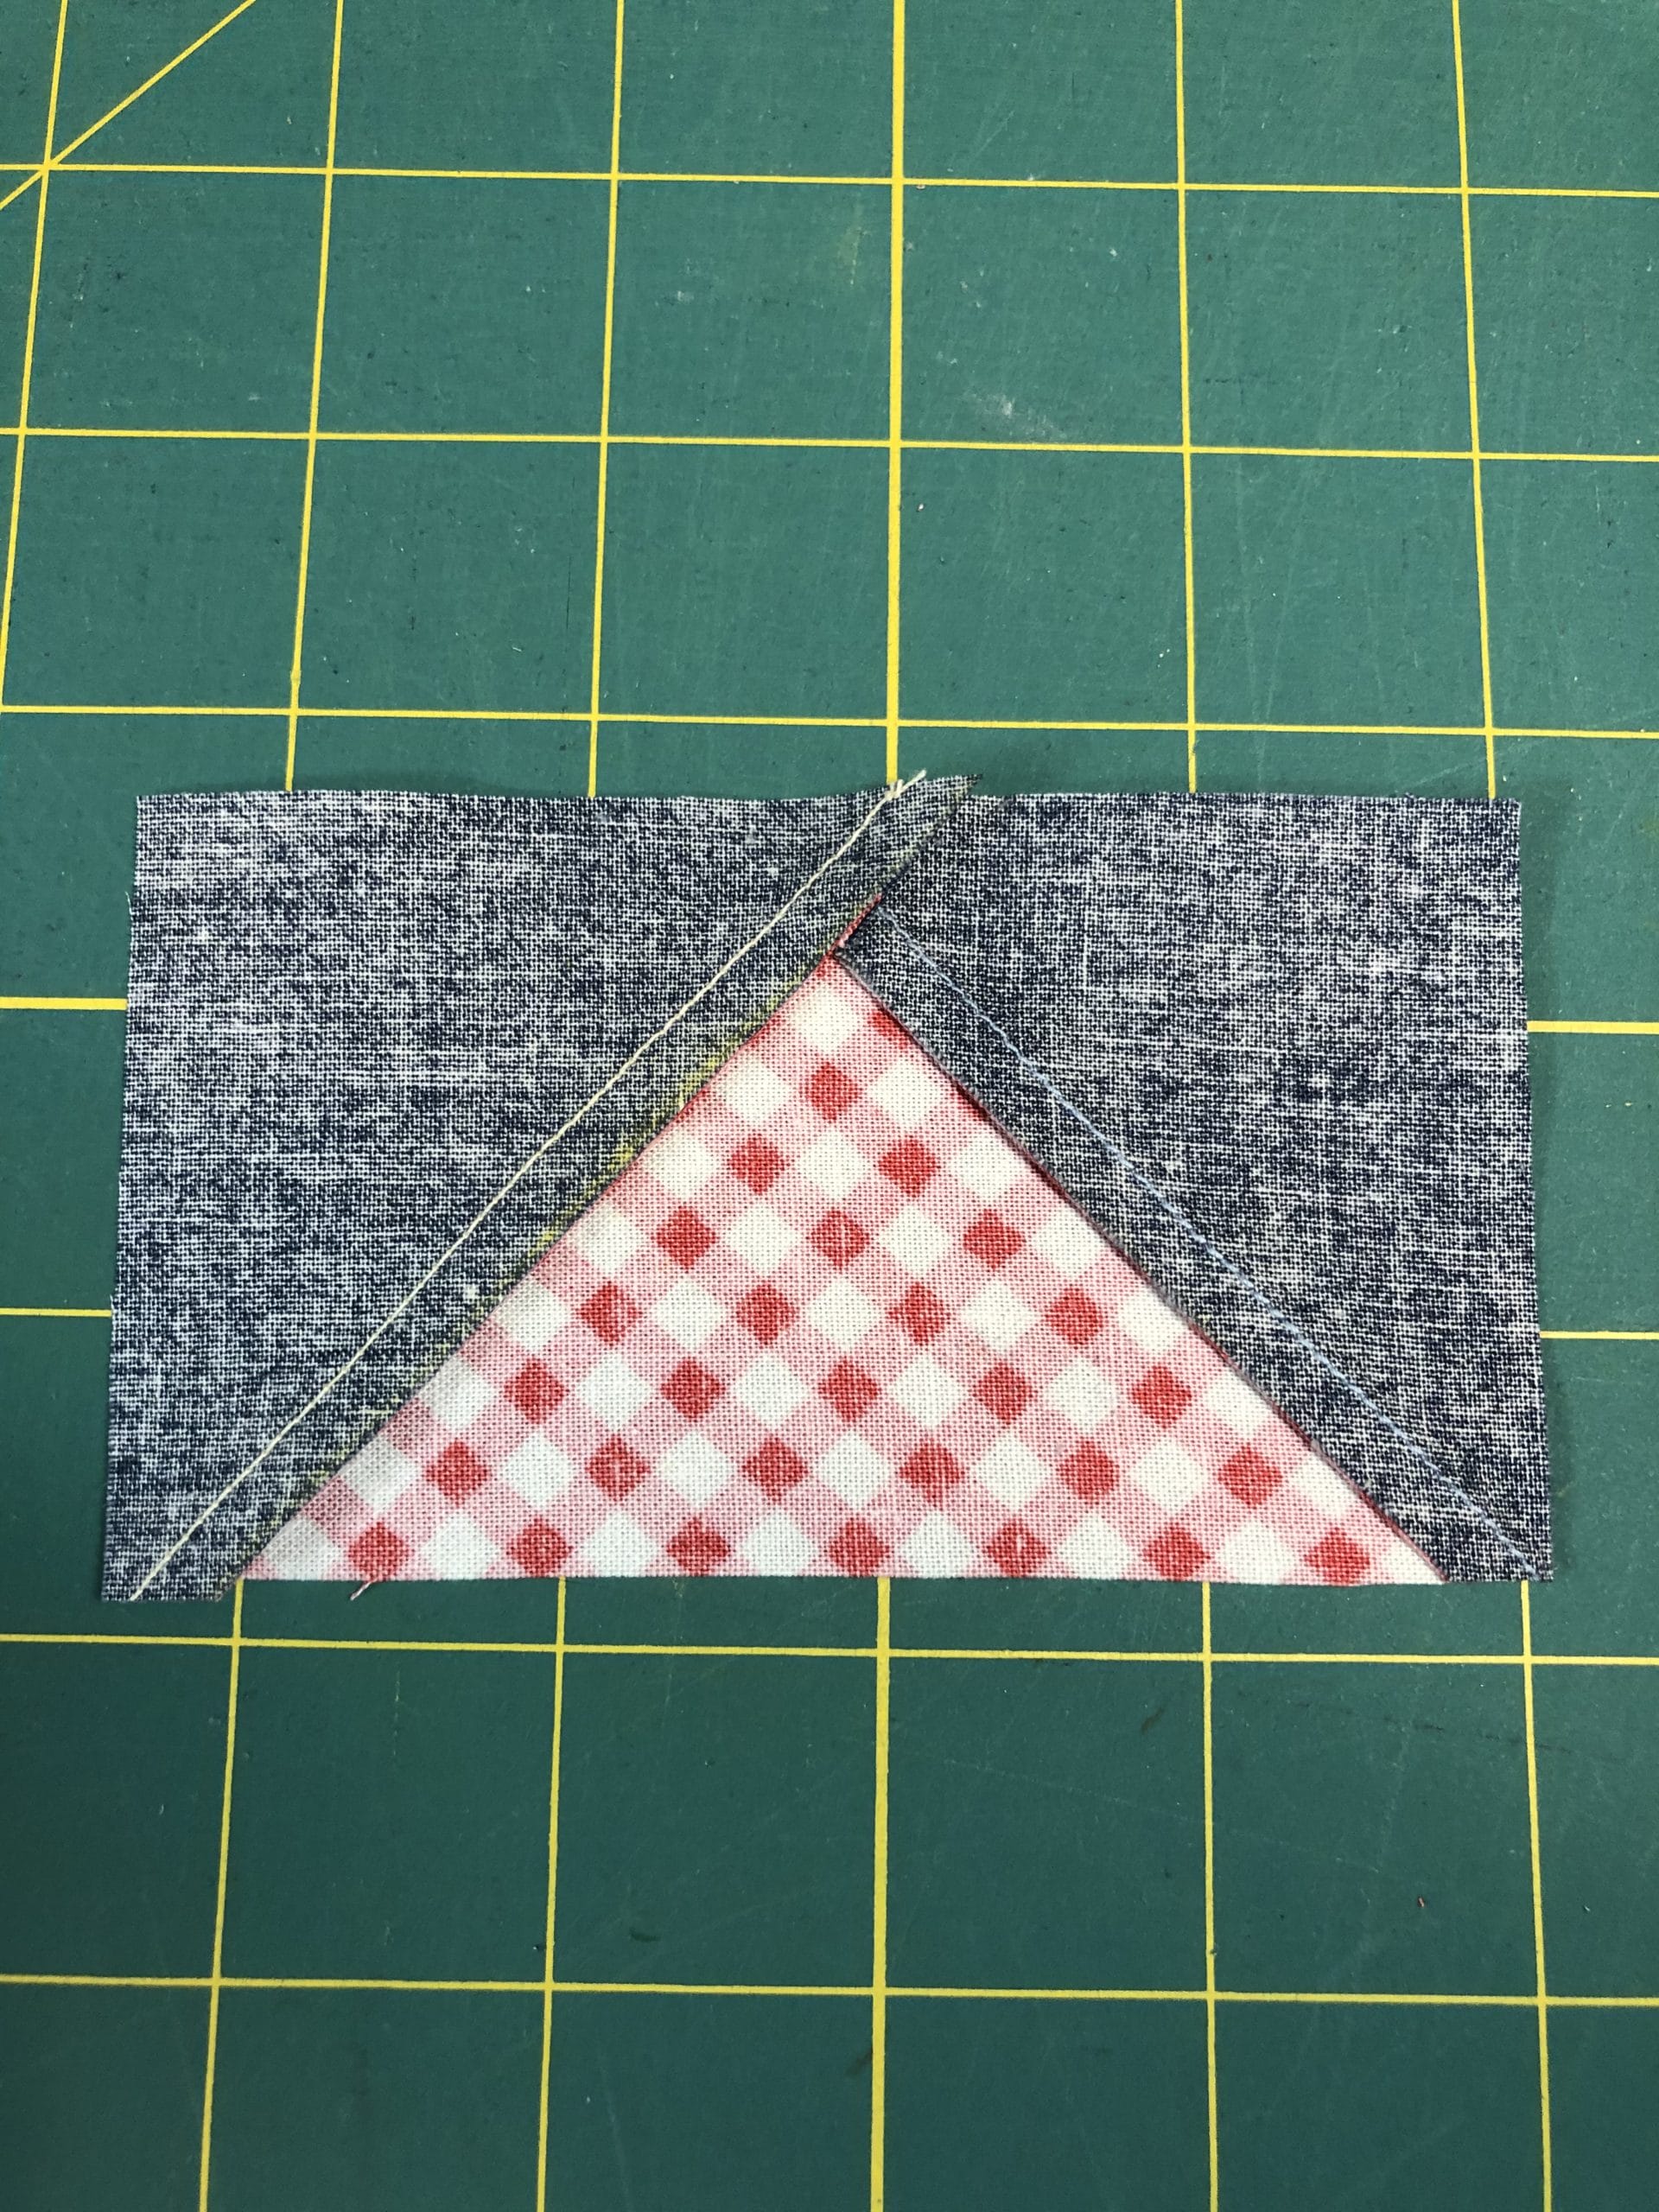
Our last flying geese adventure for this quilt involves the same procedure as all the previous flying geese, with one notable exception. This time, we will iron our seams INWARD, rather than outward. I know that is counter-intuitive, but this will enable us to get all the seams to nest together when we make the border.
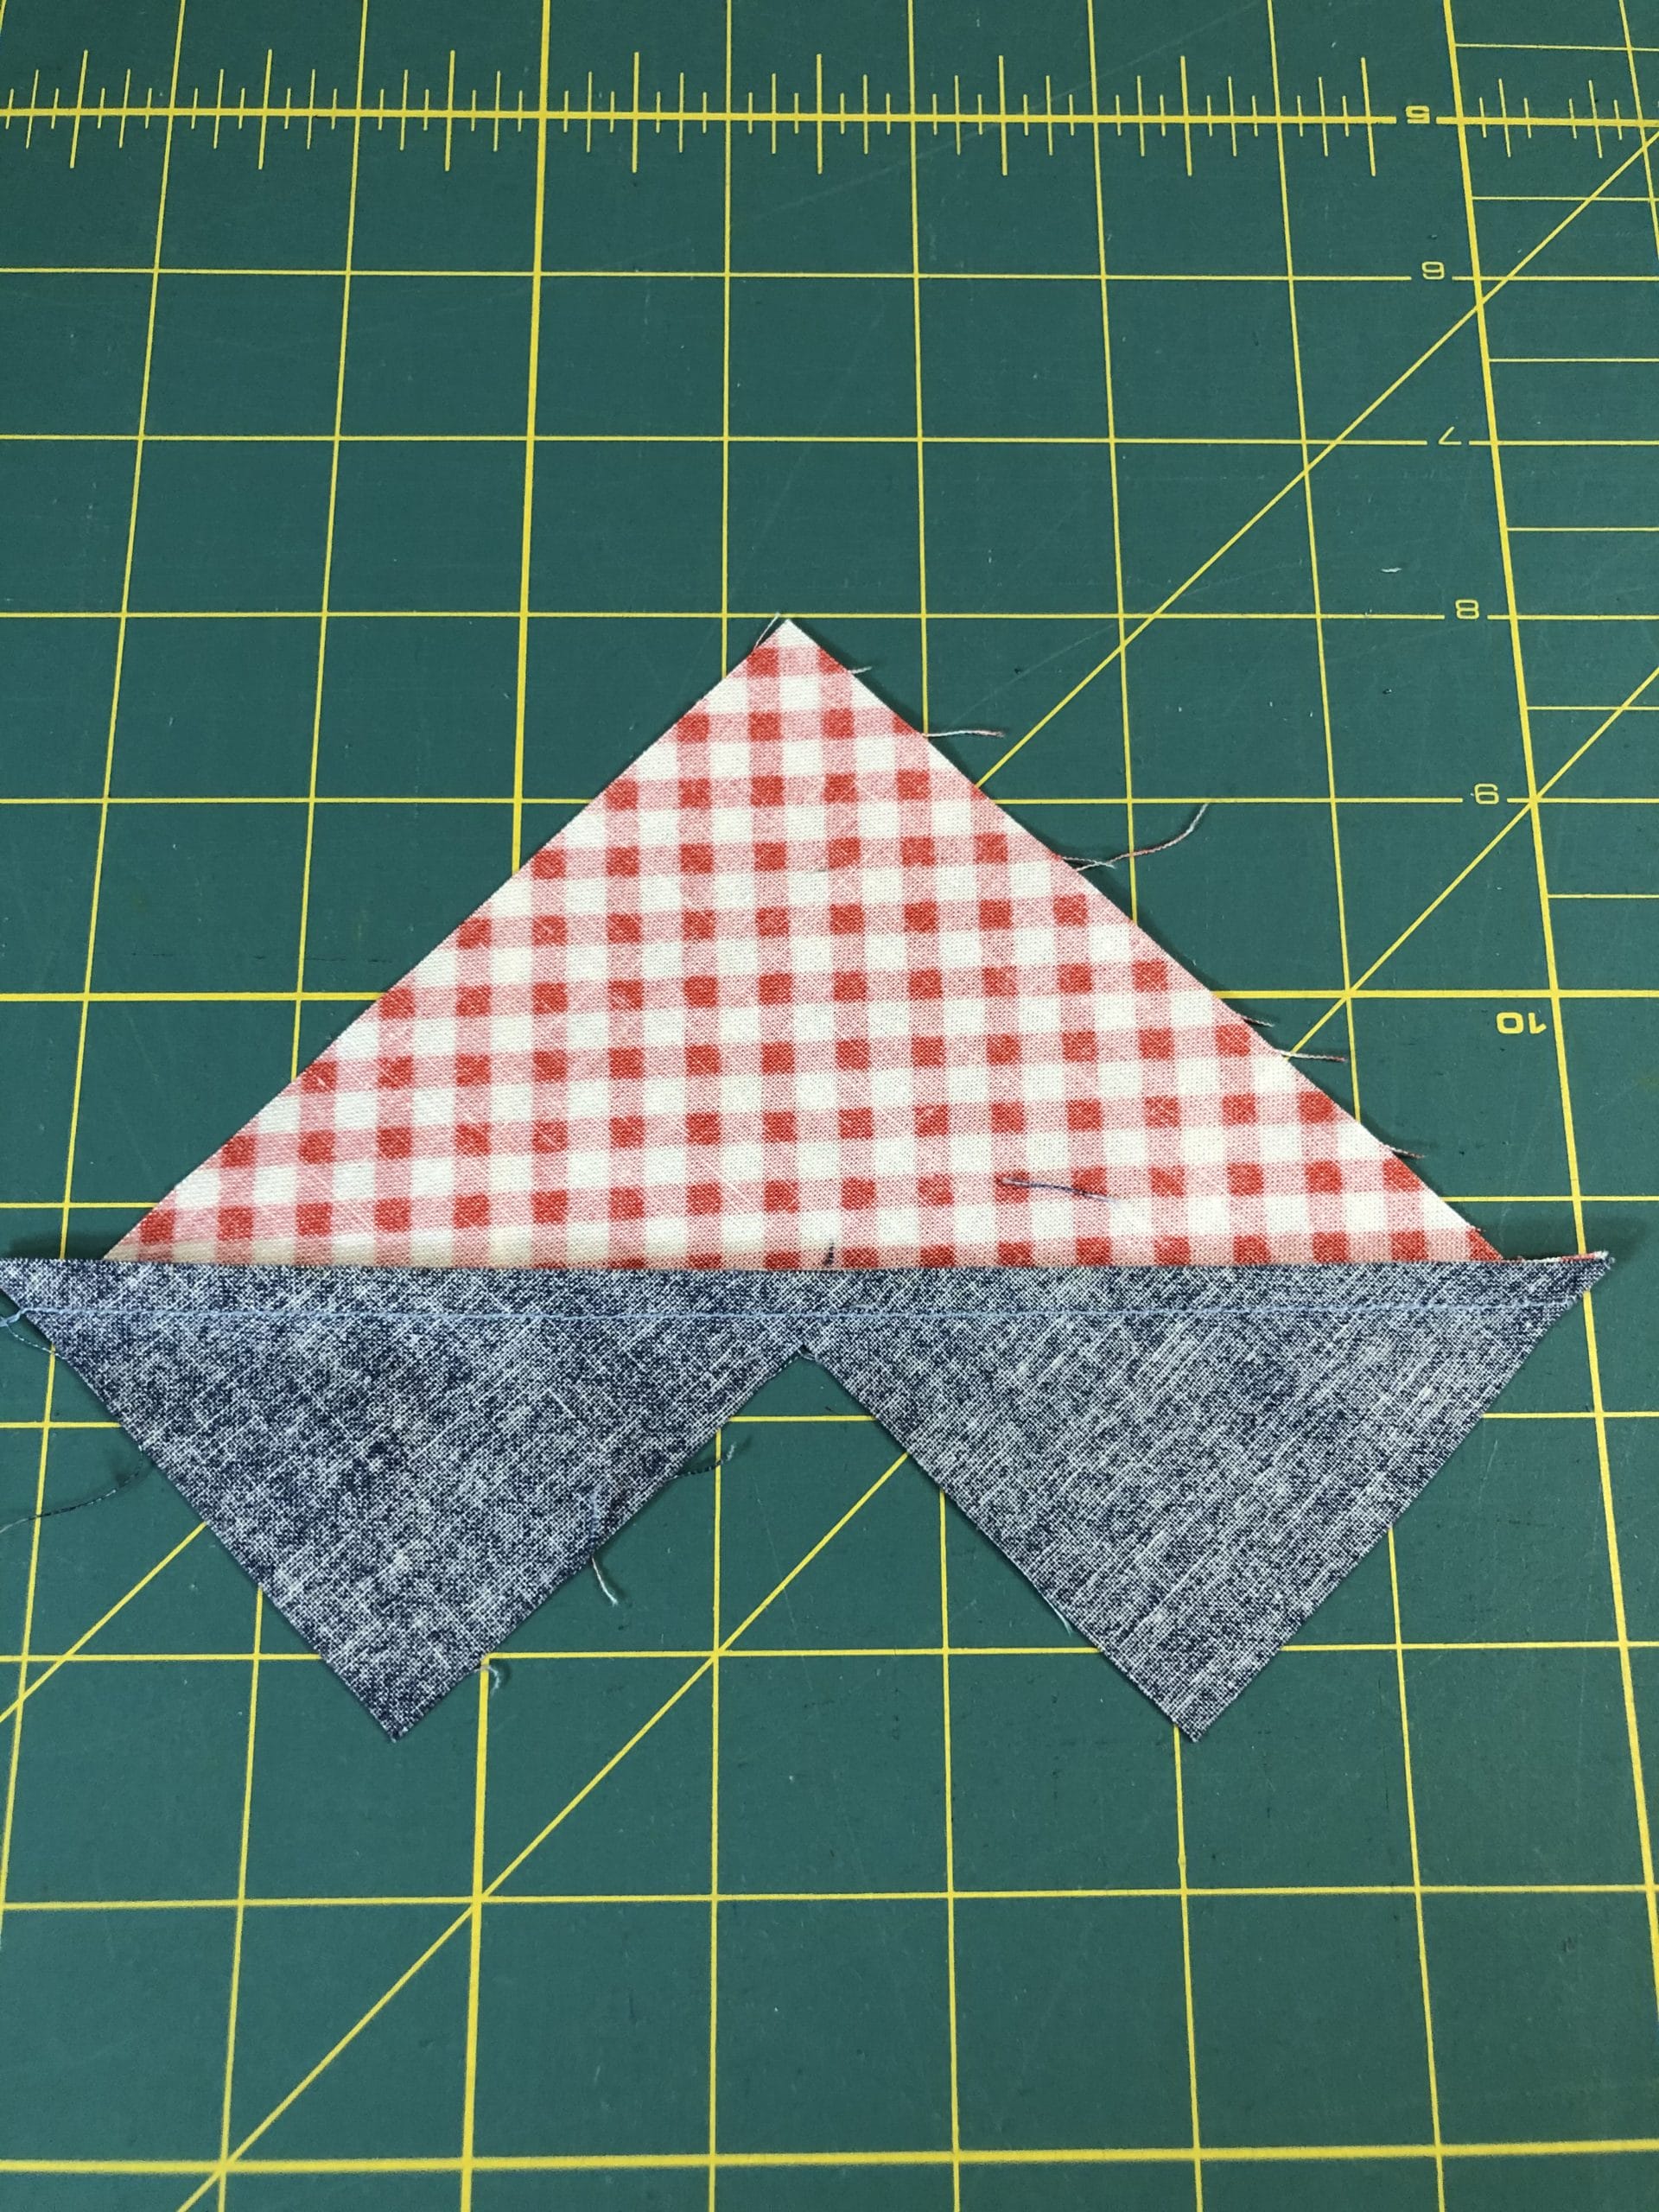
Here is a photo of what the back of the flying geese will look like when ironed.
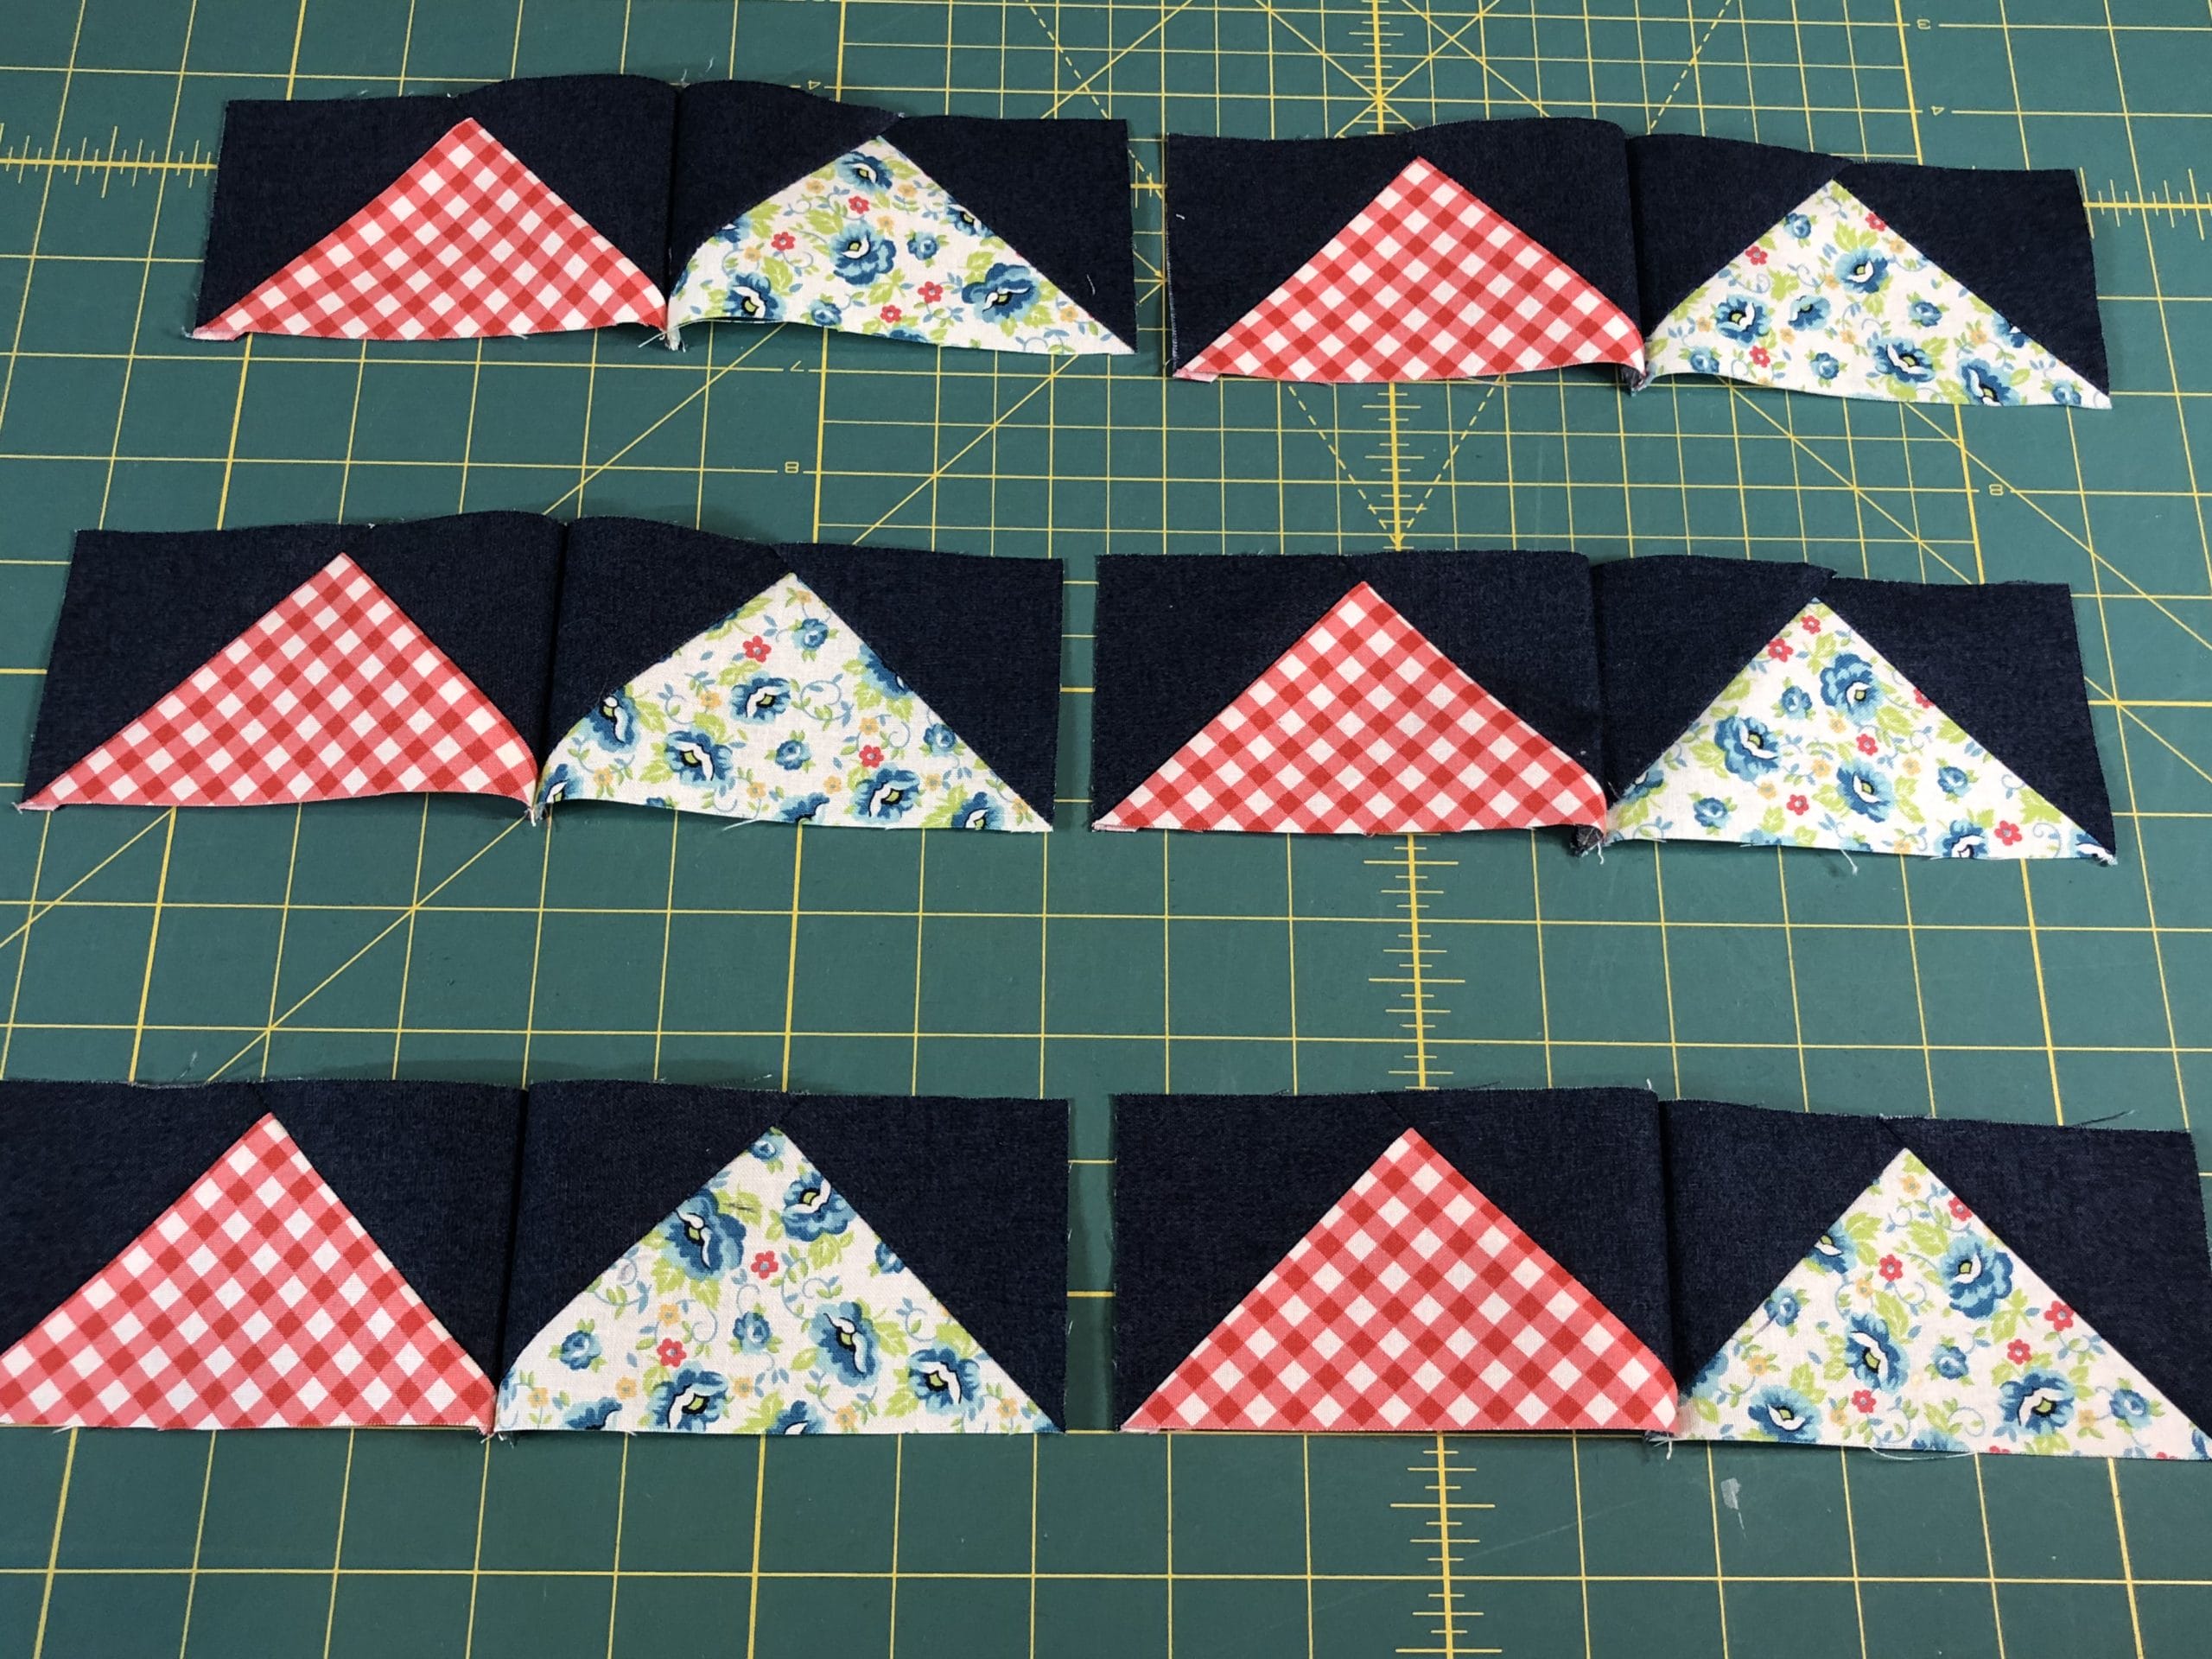
Now that we’ve finished all those geese, it’s time to make our border! We will alternate between the red gingham units we just made and the pale blue floral units we made last month. I began by sewing these as pairs, and then sewed the pairs together as needed to make the borders.

When I sewed these borders on I actually lucked out that they fit almost perfectly. Sometimes I’m not so lucky though. Back in my Month 5 Blogpost I discussed ways to fix pieced borders that don’t fit quite right, so feel free to refer back to that if you need some tips for easing things in.
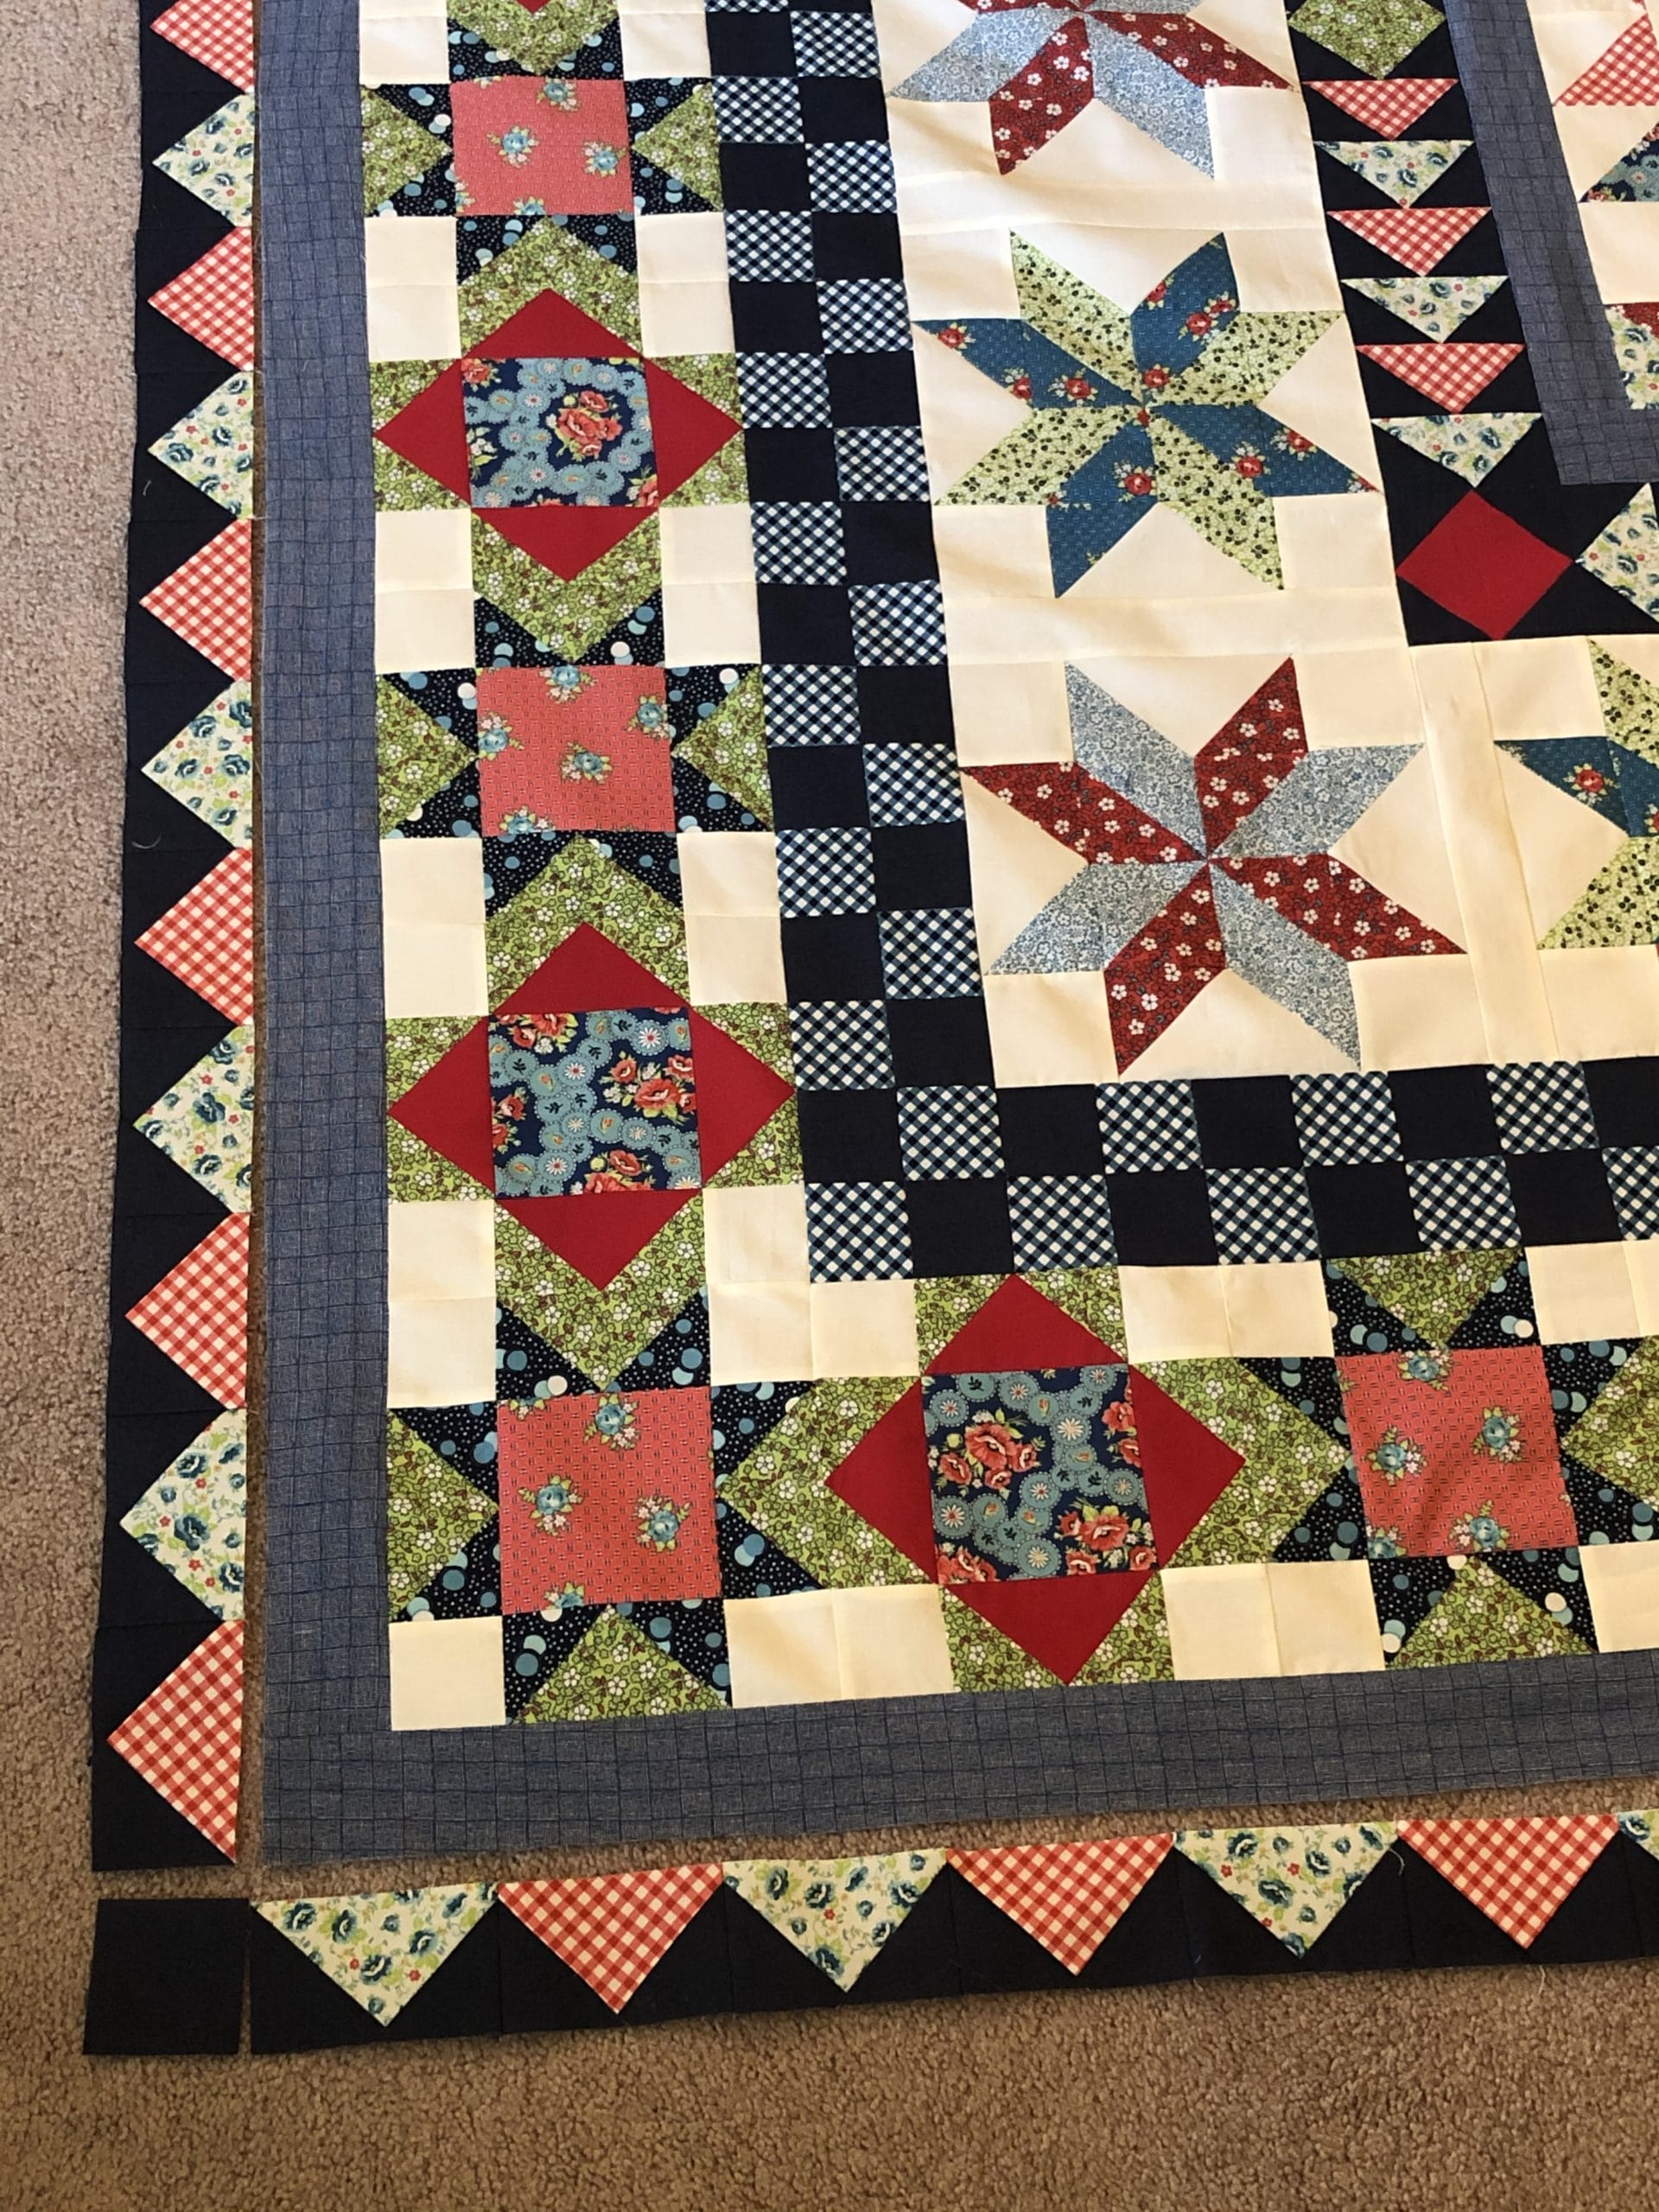
On to our final borders – Hooray! I confess I got so excited to finish that I just went to work sewing and didn’t take any pictures of the final navy borders being sewn. But here is a photo of how I pressed all the borders when done. I pressed away from the flying geese borders on both sides.

I will also mention that whenever I’m sewing a pieced border to a strip of fabric, I always sew with the pieced side up. Does that make sense? I just like to see where all the seams are. This also allows me to make sure I’m not cutting off any points as I sew.
I realized that I had quite a bit of leftover navy fabric after I was done with my flying geese. This may be due to the fact that Connecting Threads sent me all the yardage in one unit total, rather than cutting each fabric in to the monthly installments that you all received. So I decided to take advantage of the extra by making my borders all just a bit wider that I recommend in the pattern. Don’t hate me, but I just couldn’t resist! I was able to cut my borders 6 in. wide, rather than the 2-1/2” in the pattern. Naturally I did this without considering whether or not I will have enough of the navy gingham for the binding, because clearly I wasn’t thinking ahead. Ugh. Fortunately for me, I chose the same navy gingham for my backing and ordered plenty extra, so I should be able to save myself from my lack of foresight.
Here is my finished quilt top (in the picture below). Please ignore the mysterious hands of my husband and son holding it from behind haha! Thanks in part to the wide borders, it was way too big for my backdrop stand, so my family had to assist me while standing on the benches on our deck to keep this quilt from dragging on the ground. And the wind would NOT stop, so getting a semi-decent picture was a bit of a challenge.
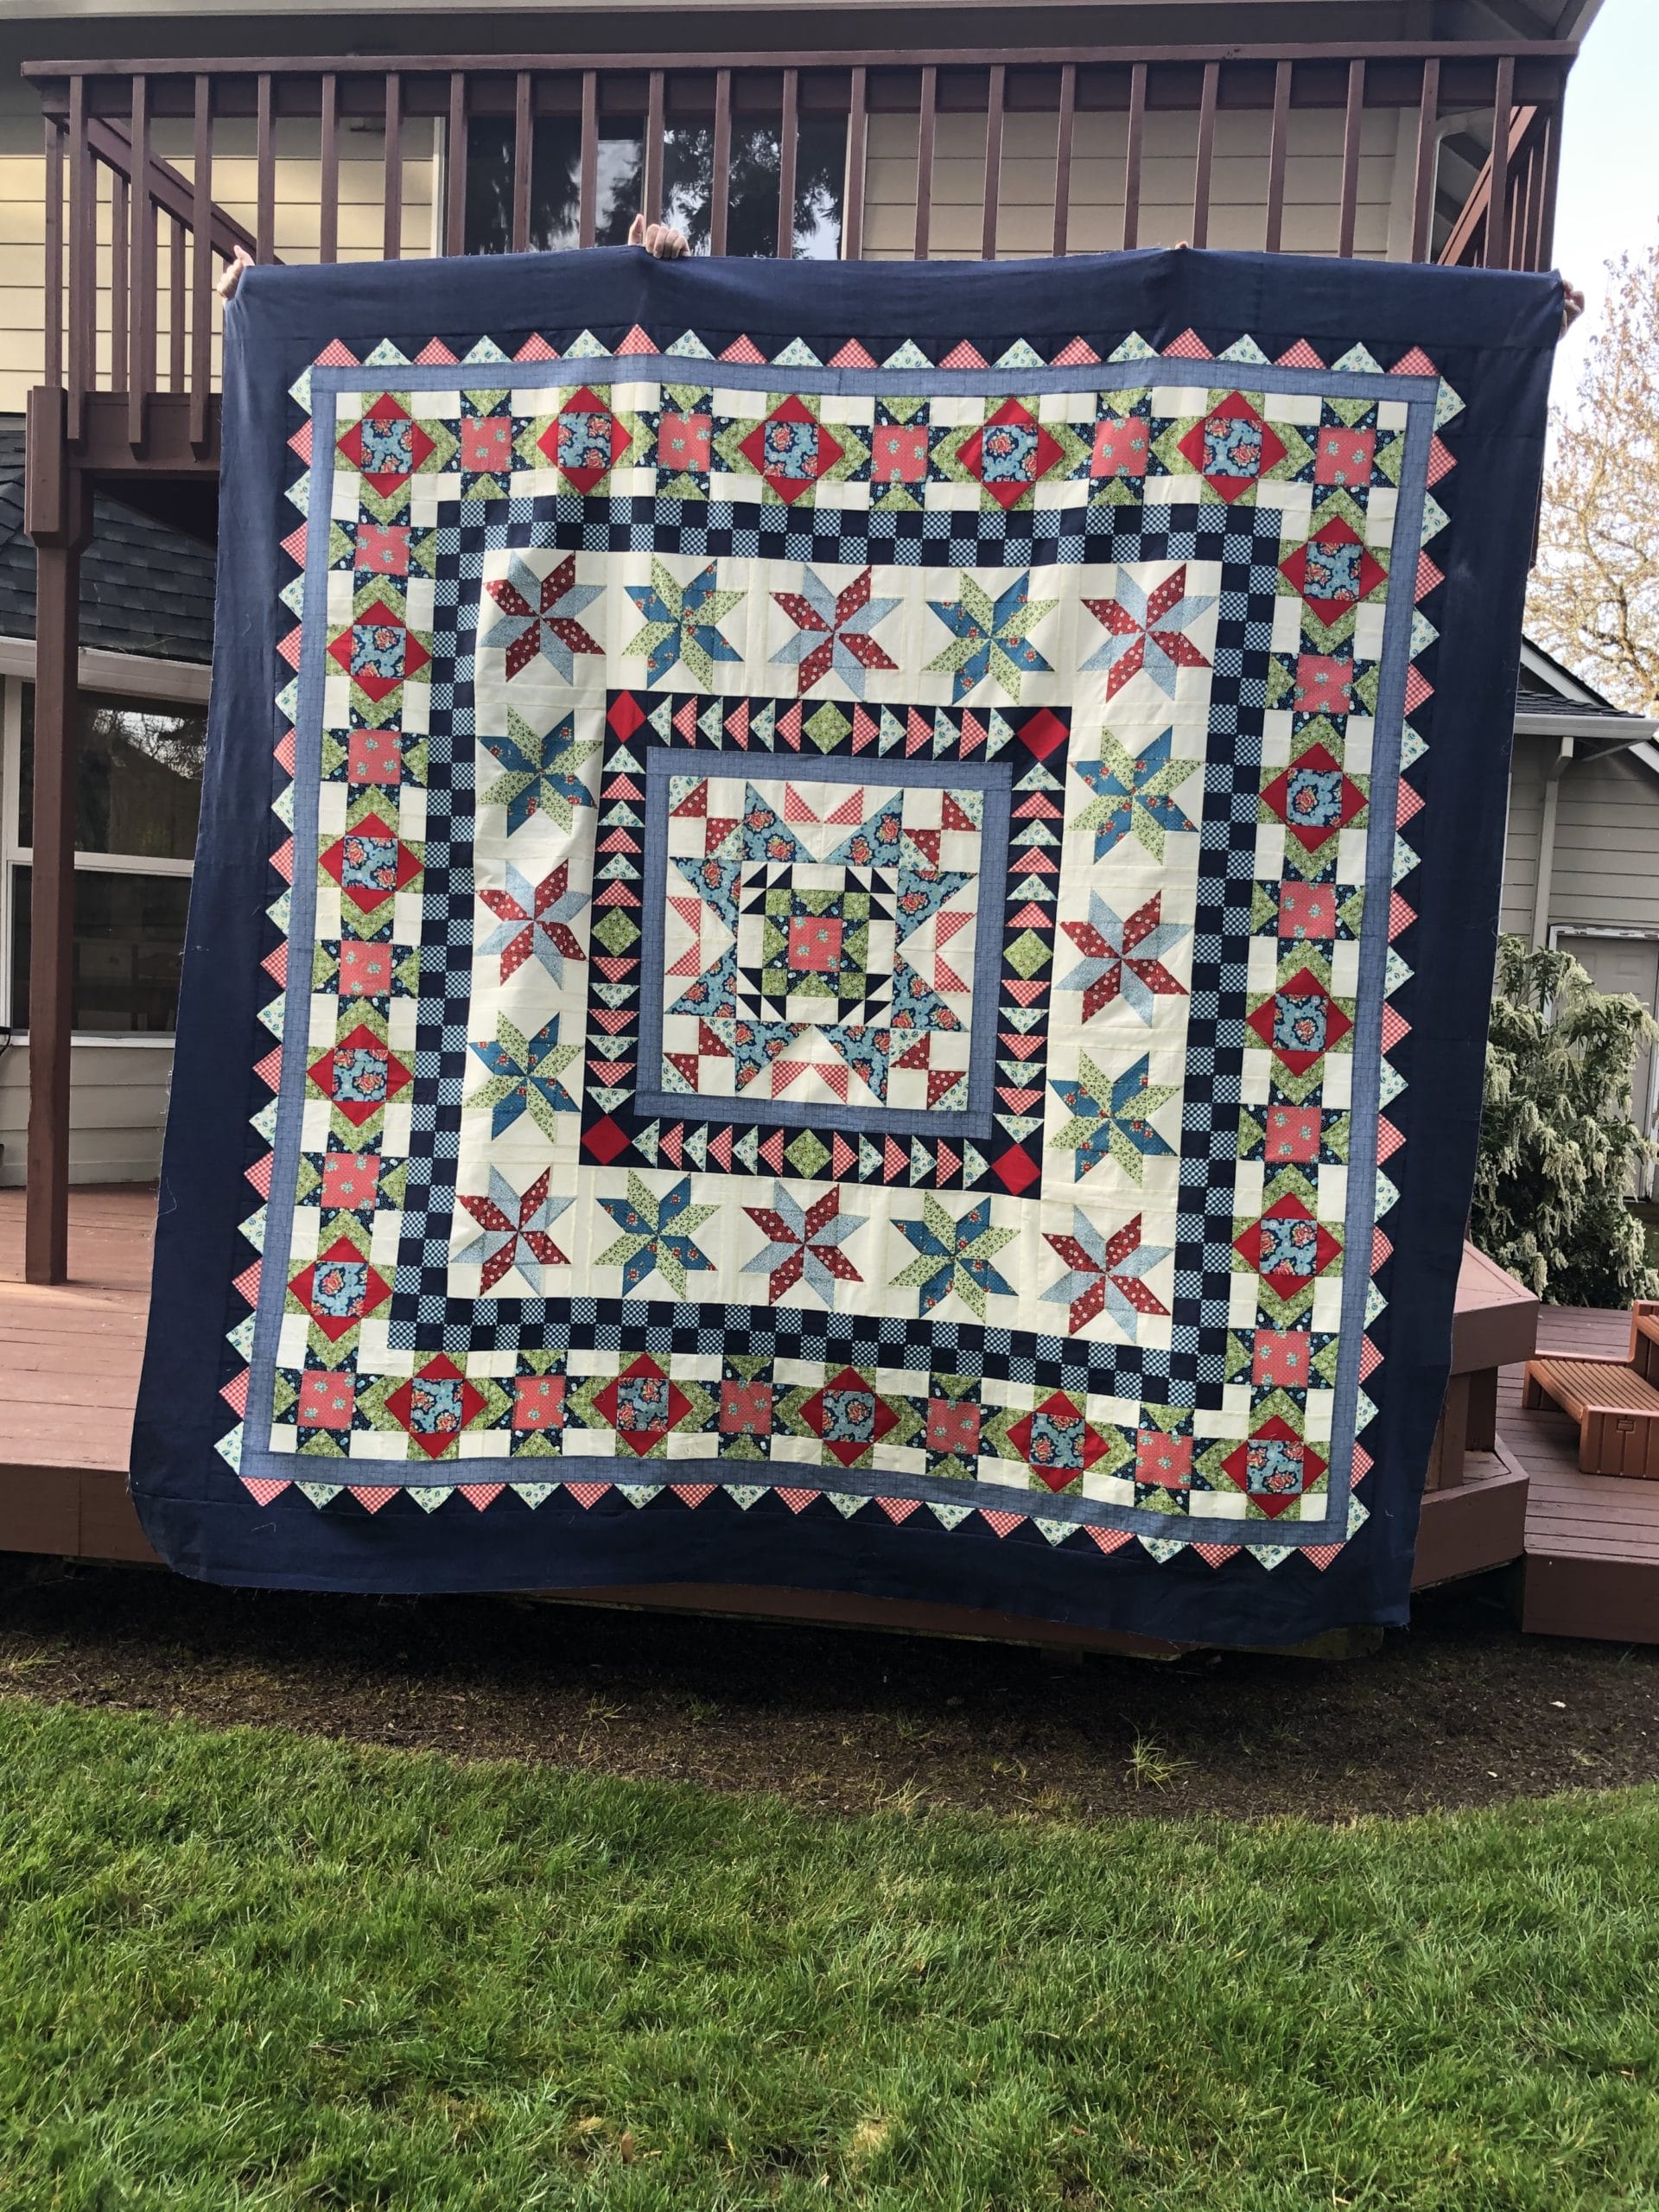
Now I just have to send this off for quilting and then I can put it on my bed. I can’t wait!
Thank you all for joining me these past months. I have thoroughly enjoyed taking this quilting journey with all of you! I hope you all are happy with your finished project, and that you will think about joining me again for another Block of the Month sometime in the future.
Take care, and Happy Quilting! – Kristin

