


 Tutorials
 10.12.2021
Happy Fall everyone! I’m so happy to join you all again, and provide a little tutorial for this month’s blocks (#6, #7, #15, and #17). Let’s dive right in!
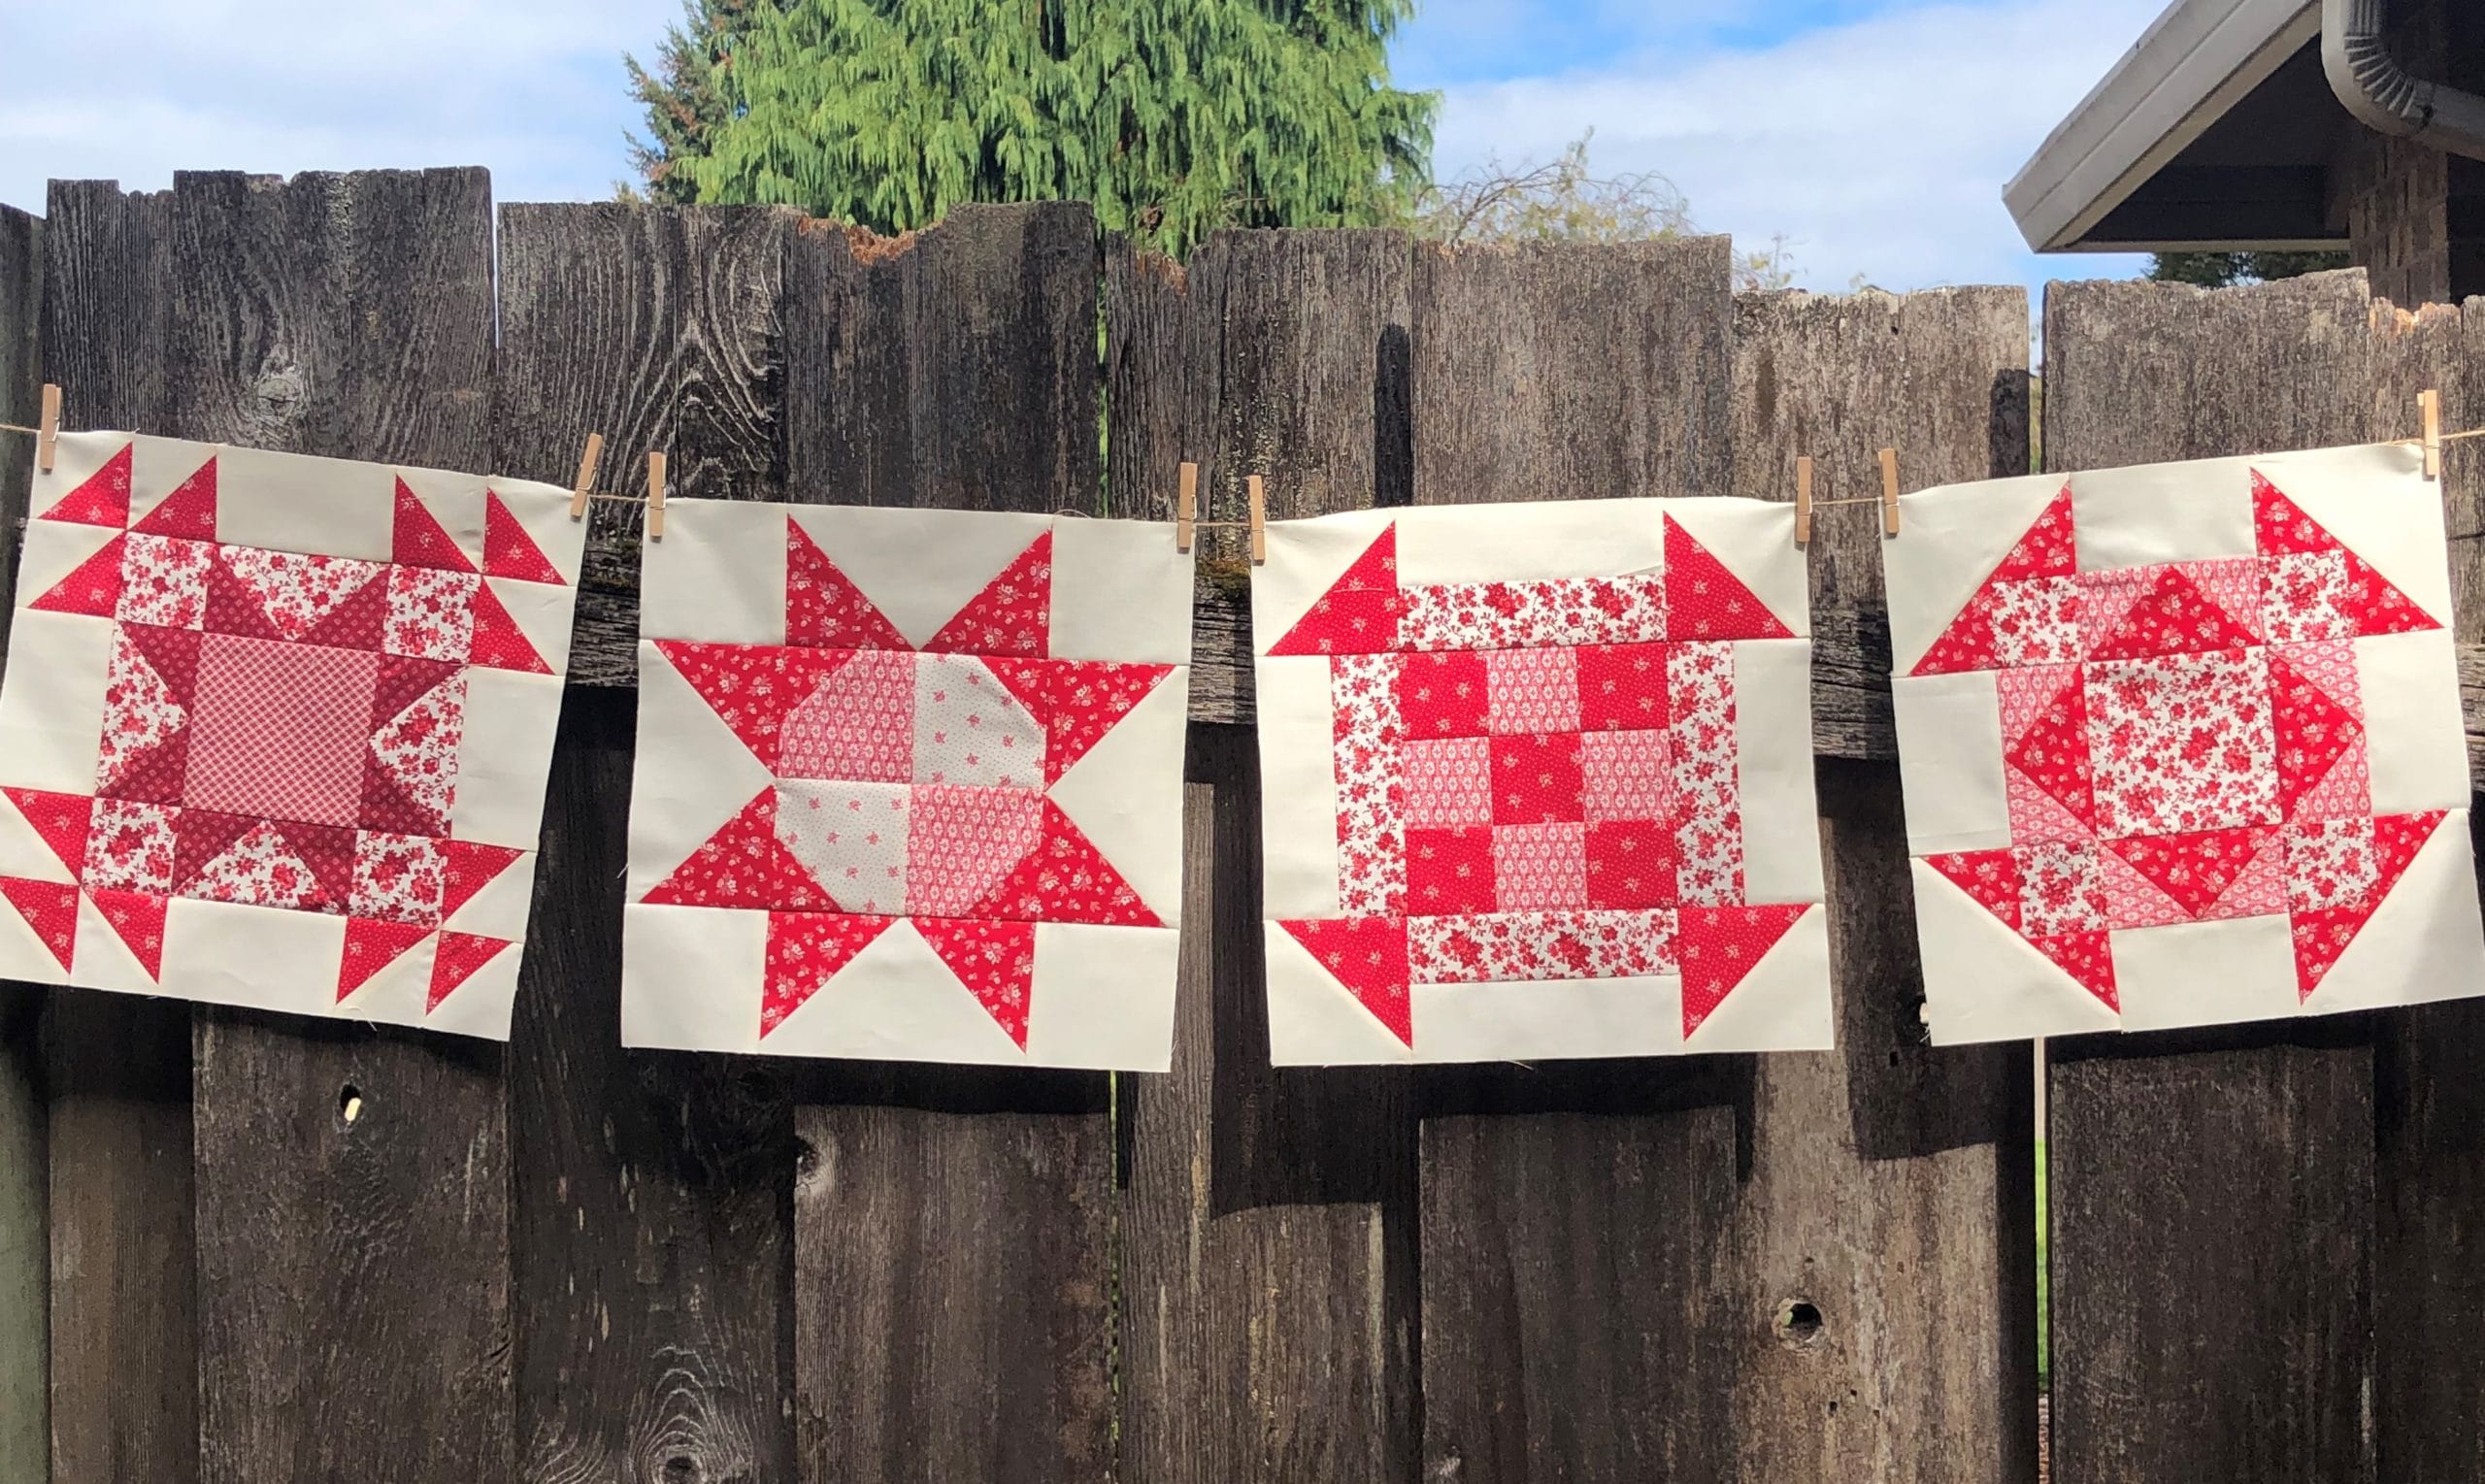
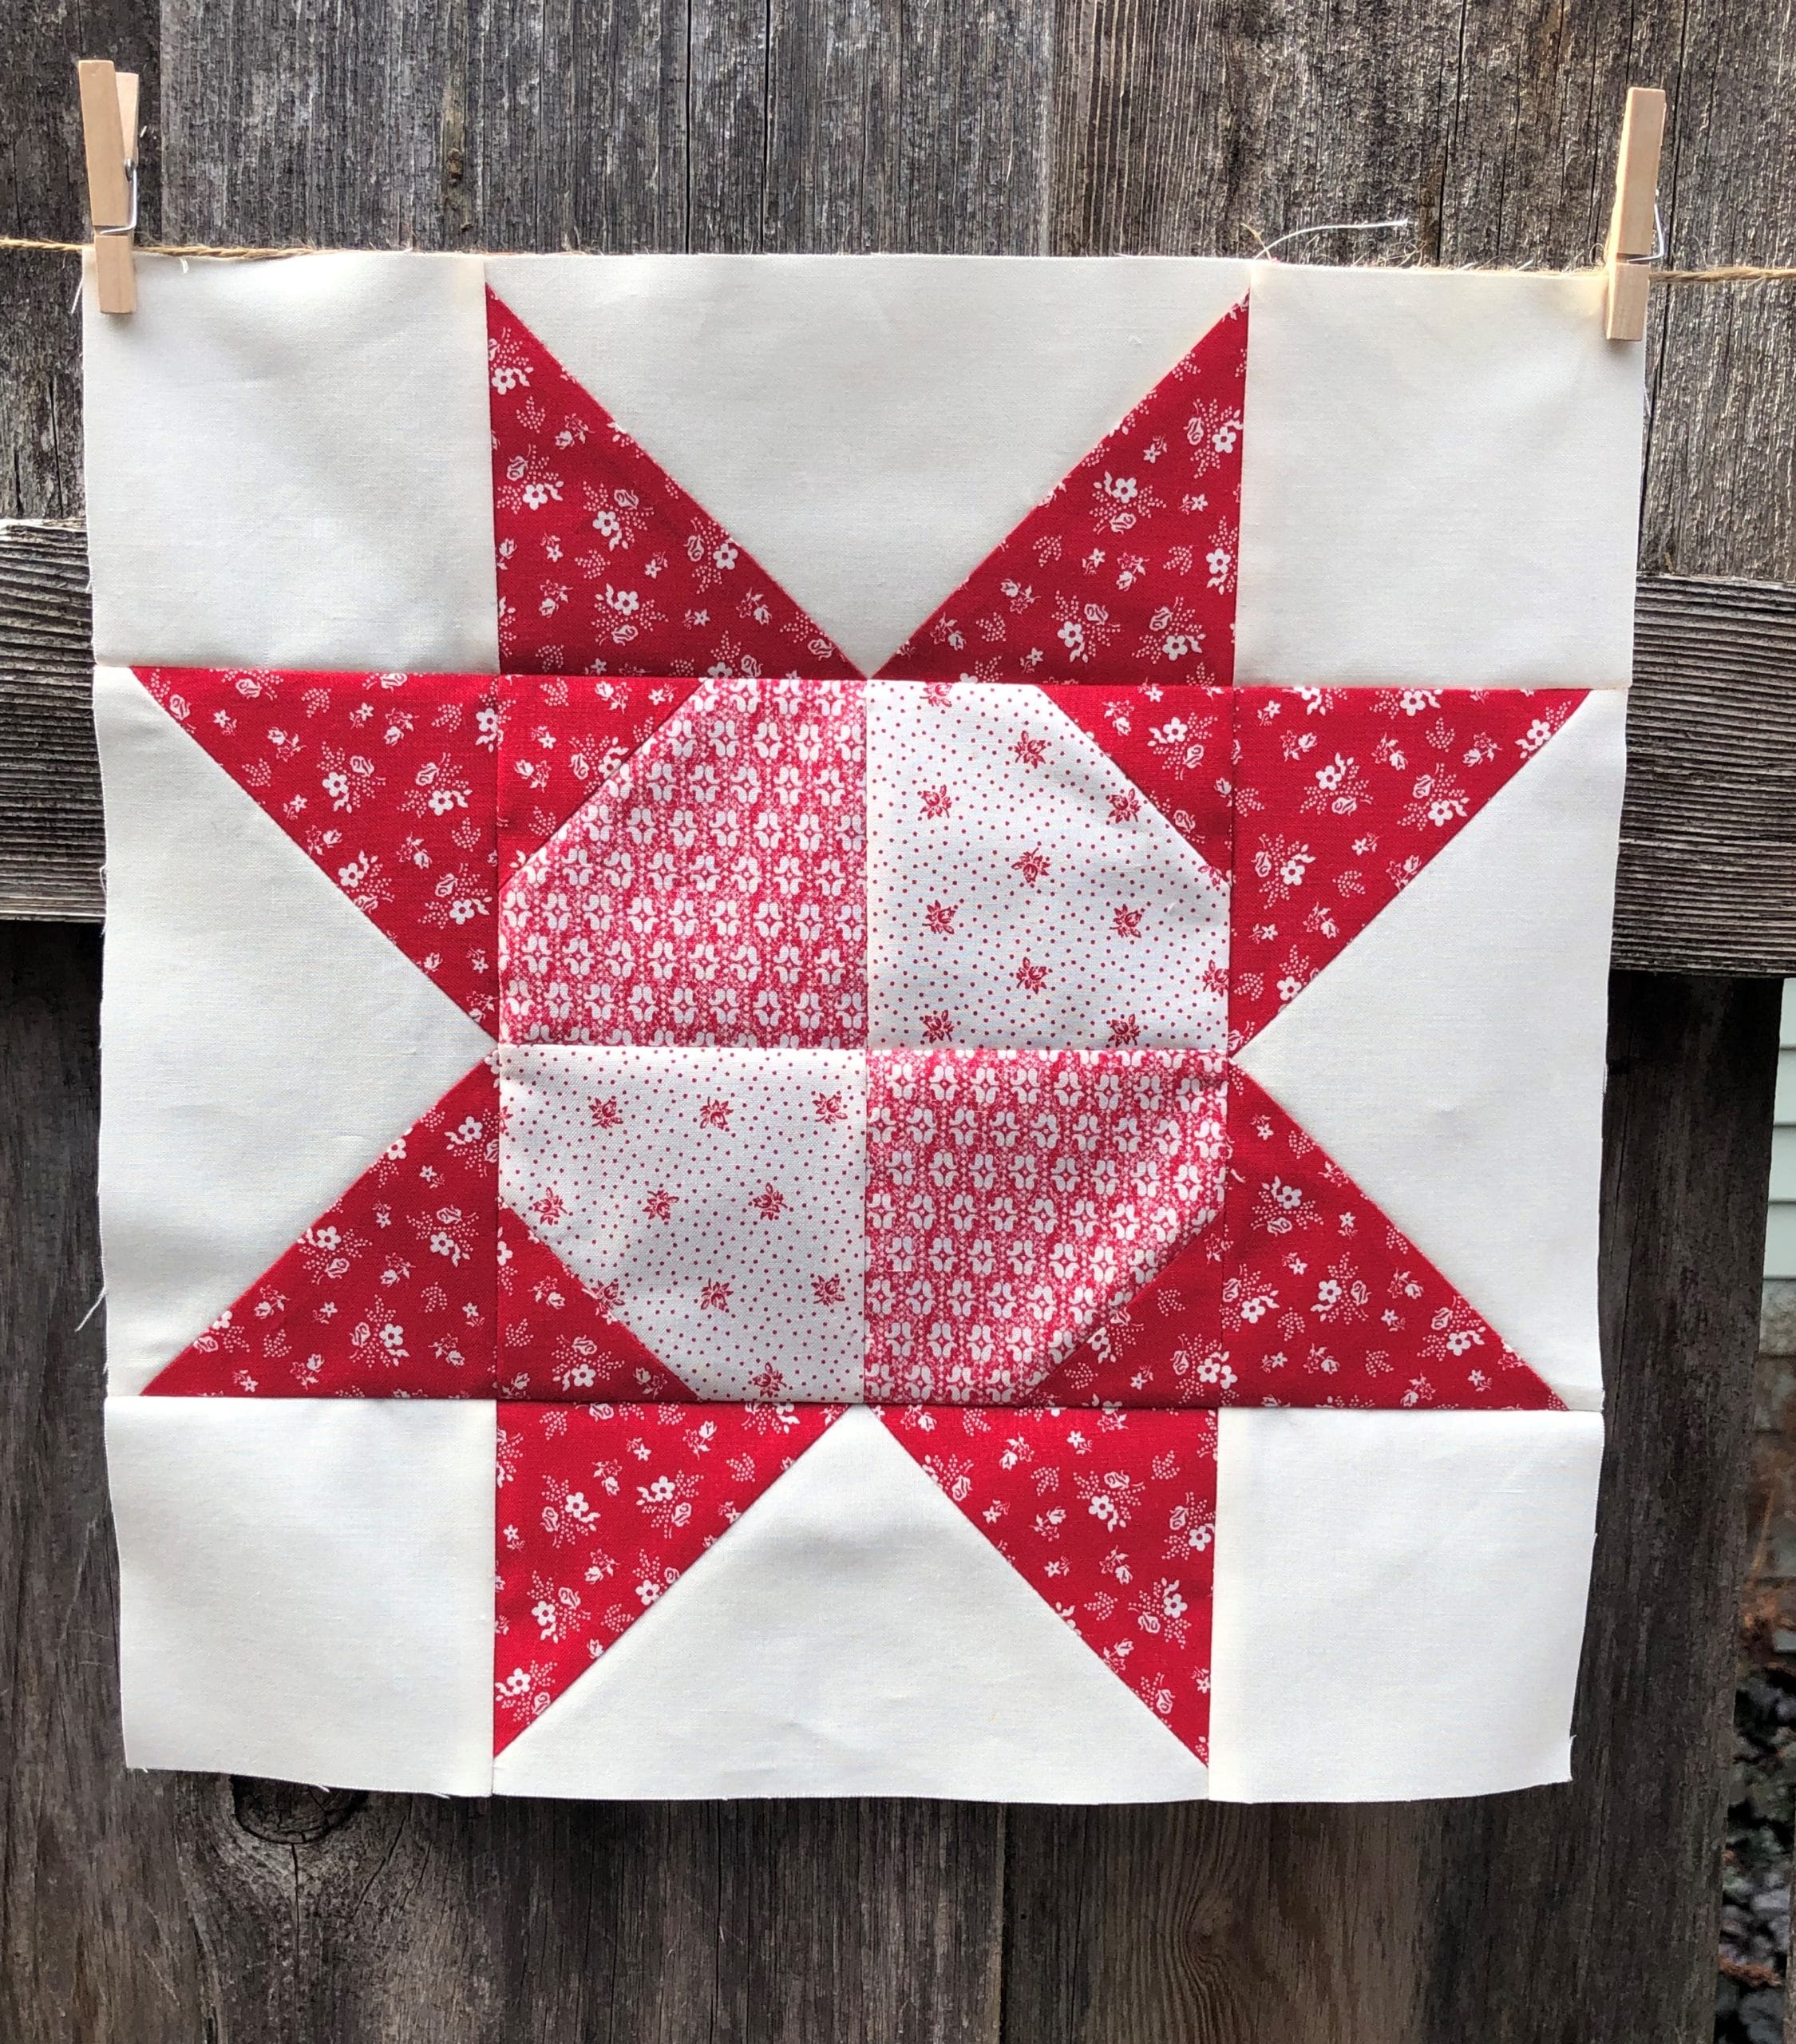
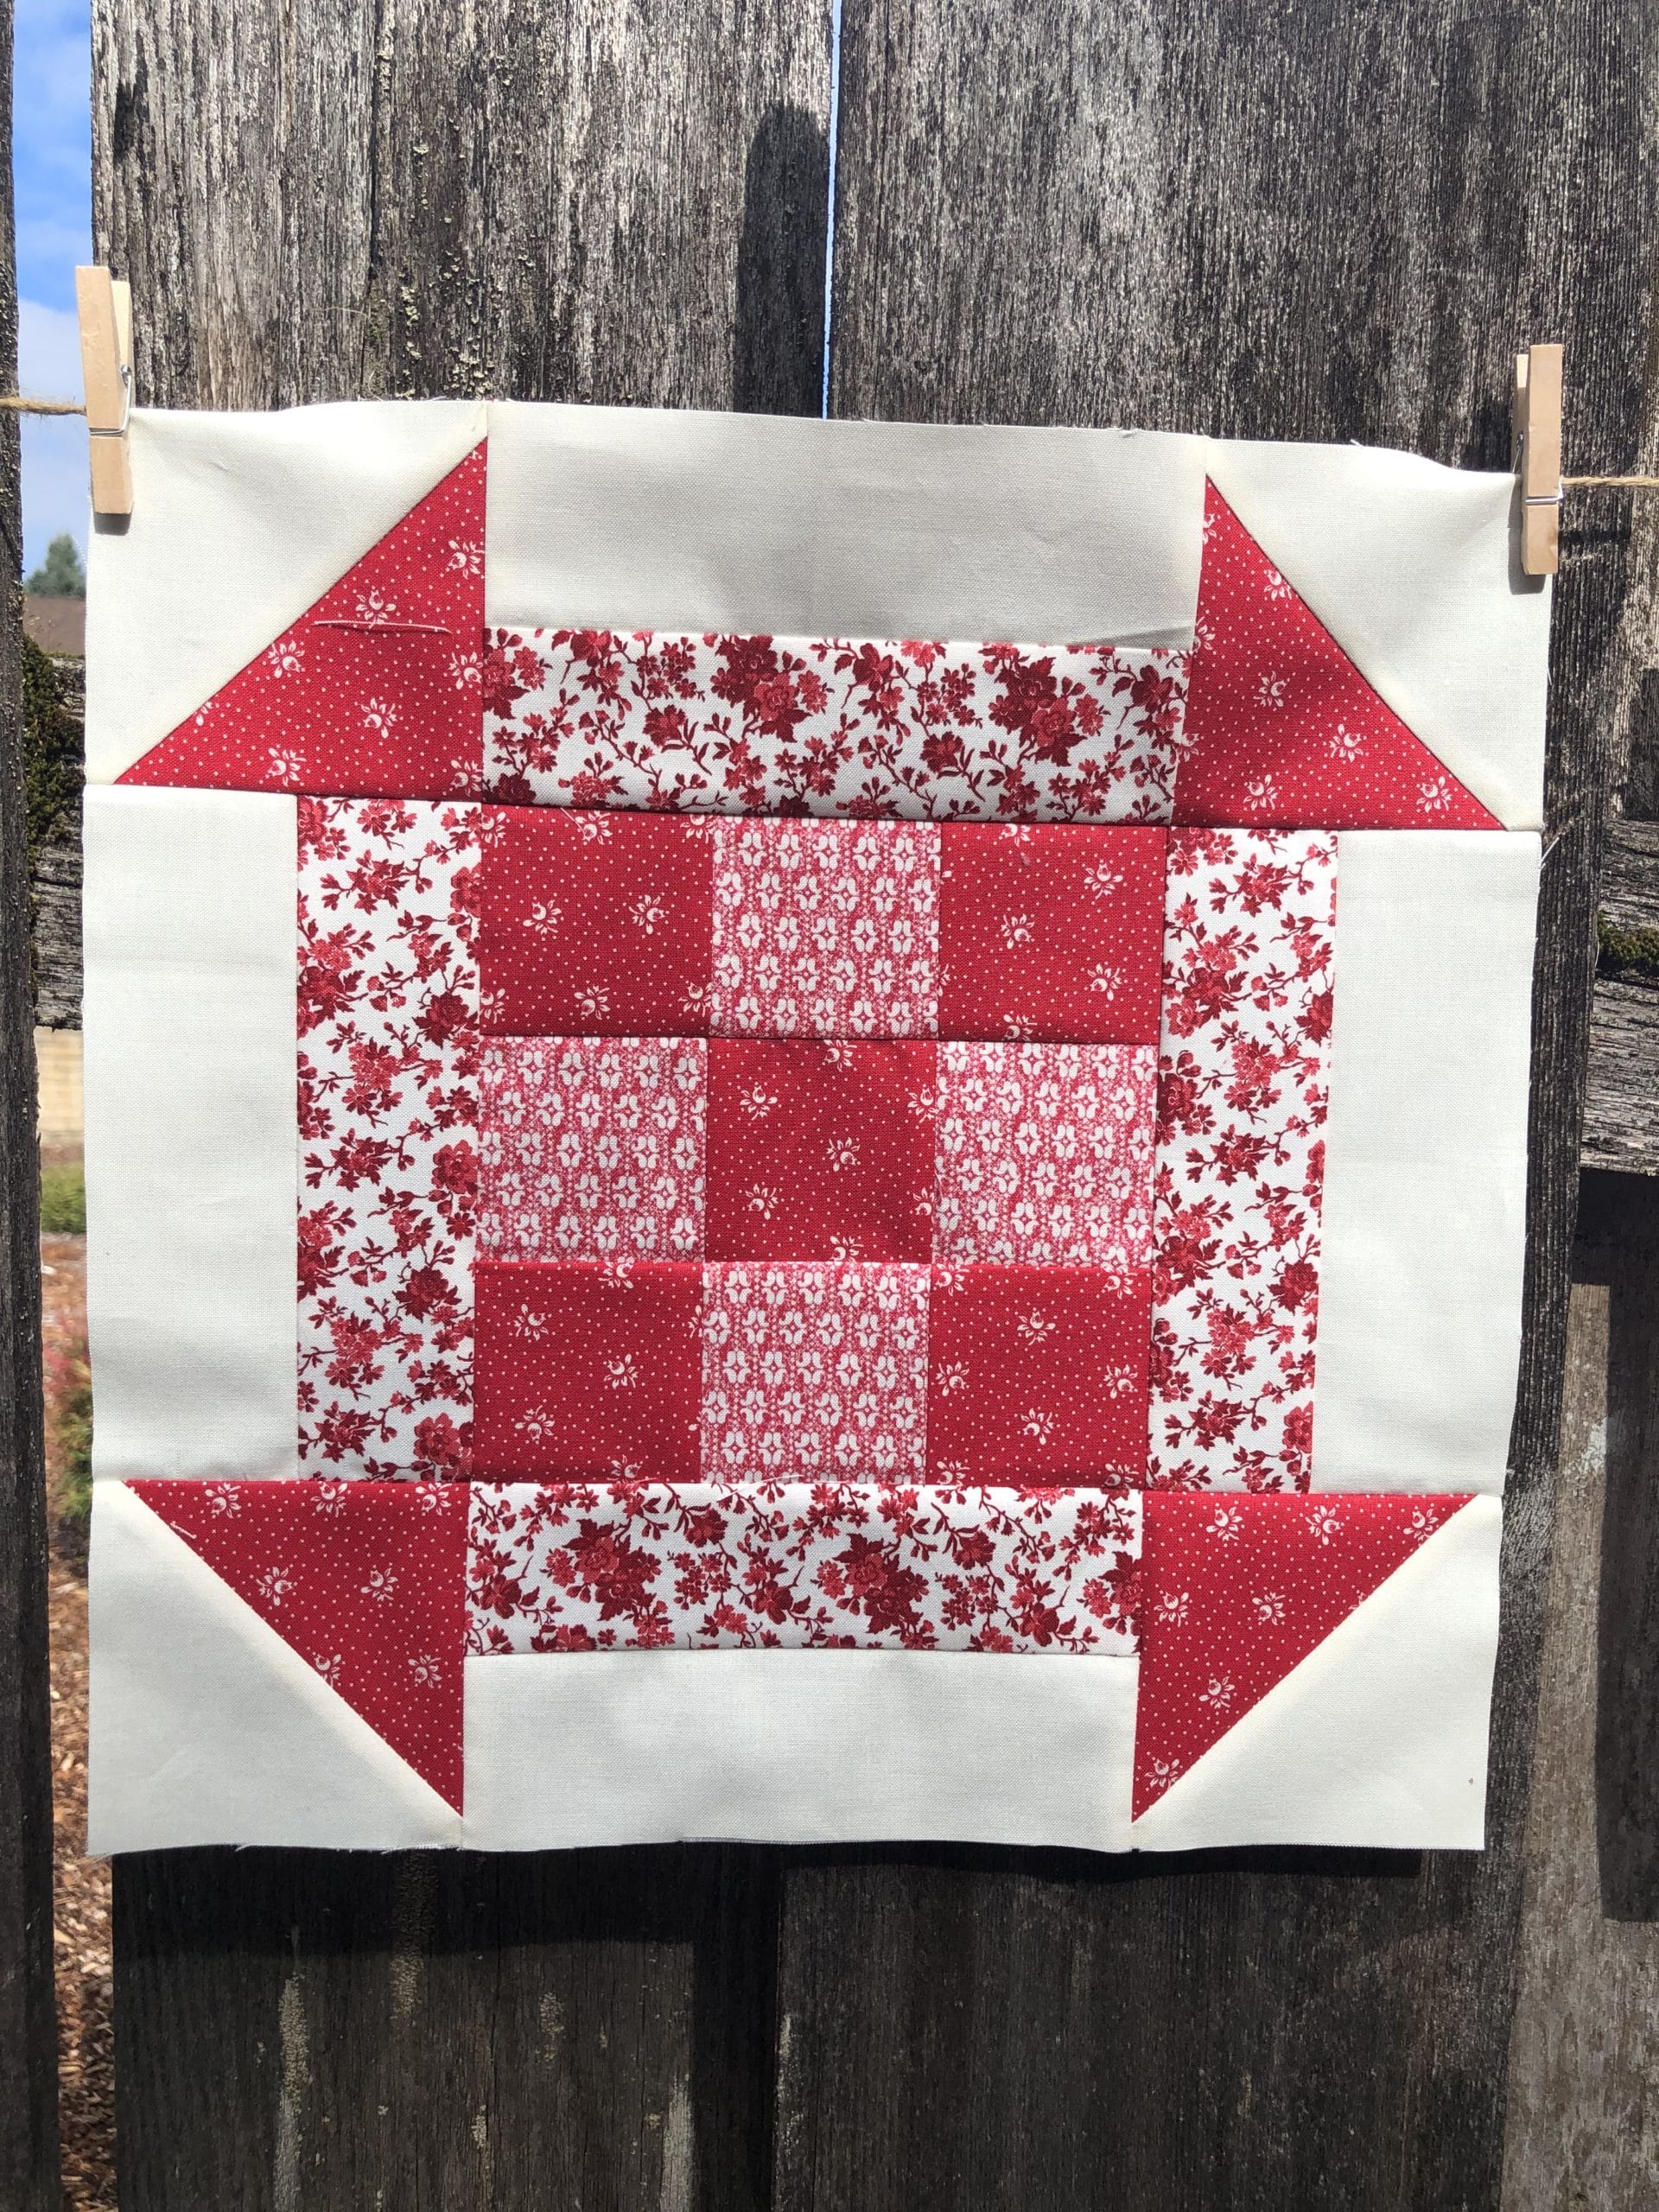
Block #6

This block may look fancy, but it is really just a Sawtooth Star with some extra half square triangles around the border.
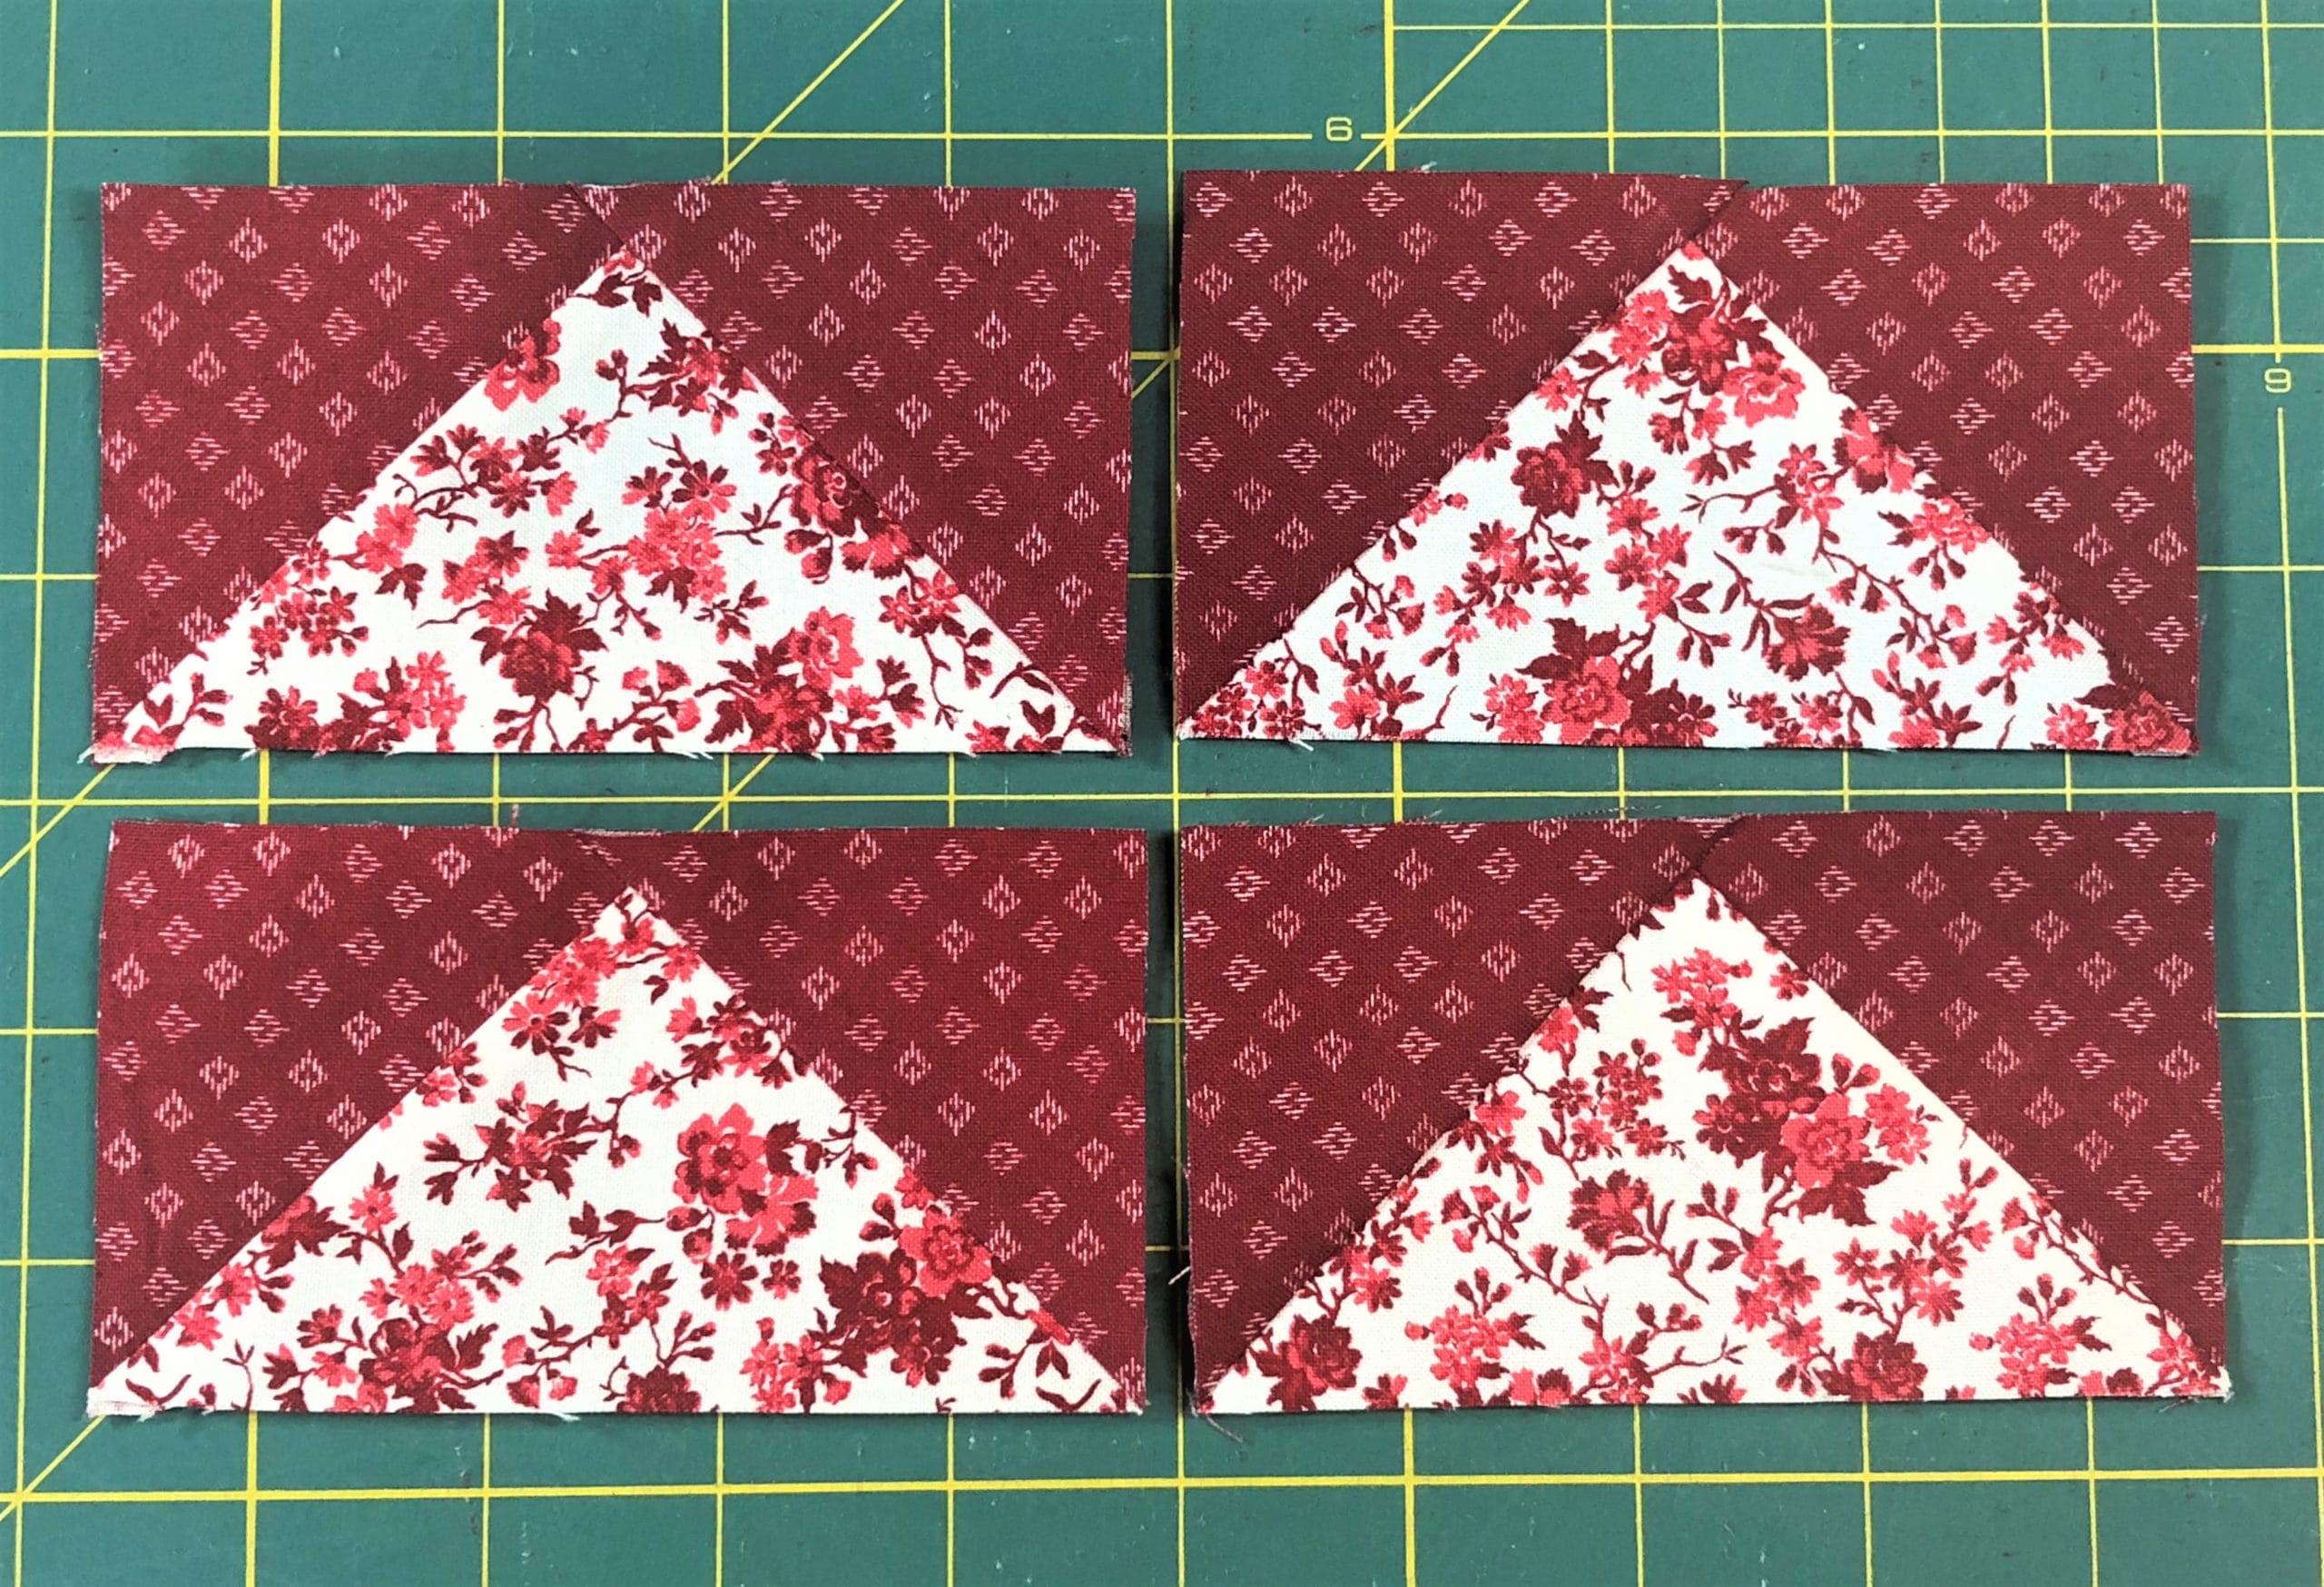
To make the Sawtooth Star center, we’ll begin in steps 1 and 2 by making some no-waste flying geese.
Step 1:
Step 2:
Place two B squares on the C square, with the marked lines matching up like you see above. After stitching a ¼” away from each side of the marked line, cut on the marked line and press the B – now triangles- downward.
Place an additional B square on each unit as you see here (down the center of C) and repeat the same process of stitching a ¼” away from each side of the marked line, then cutting on the line afterward. Press, trim, and you end up with 4 flying geese.
Step 3:
Now all you have to do is sew two of these to the center block, add the D squares to two more flying geese, then sew everything together. Check to make sure this measures 8-1/2” square, and trim if necessary.
Step 4:
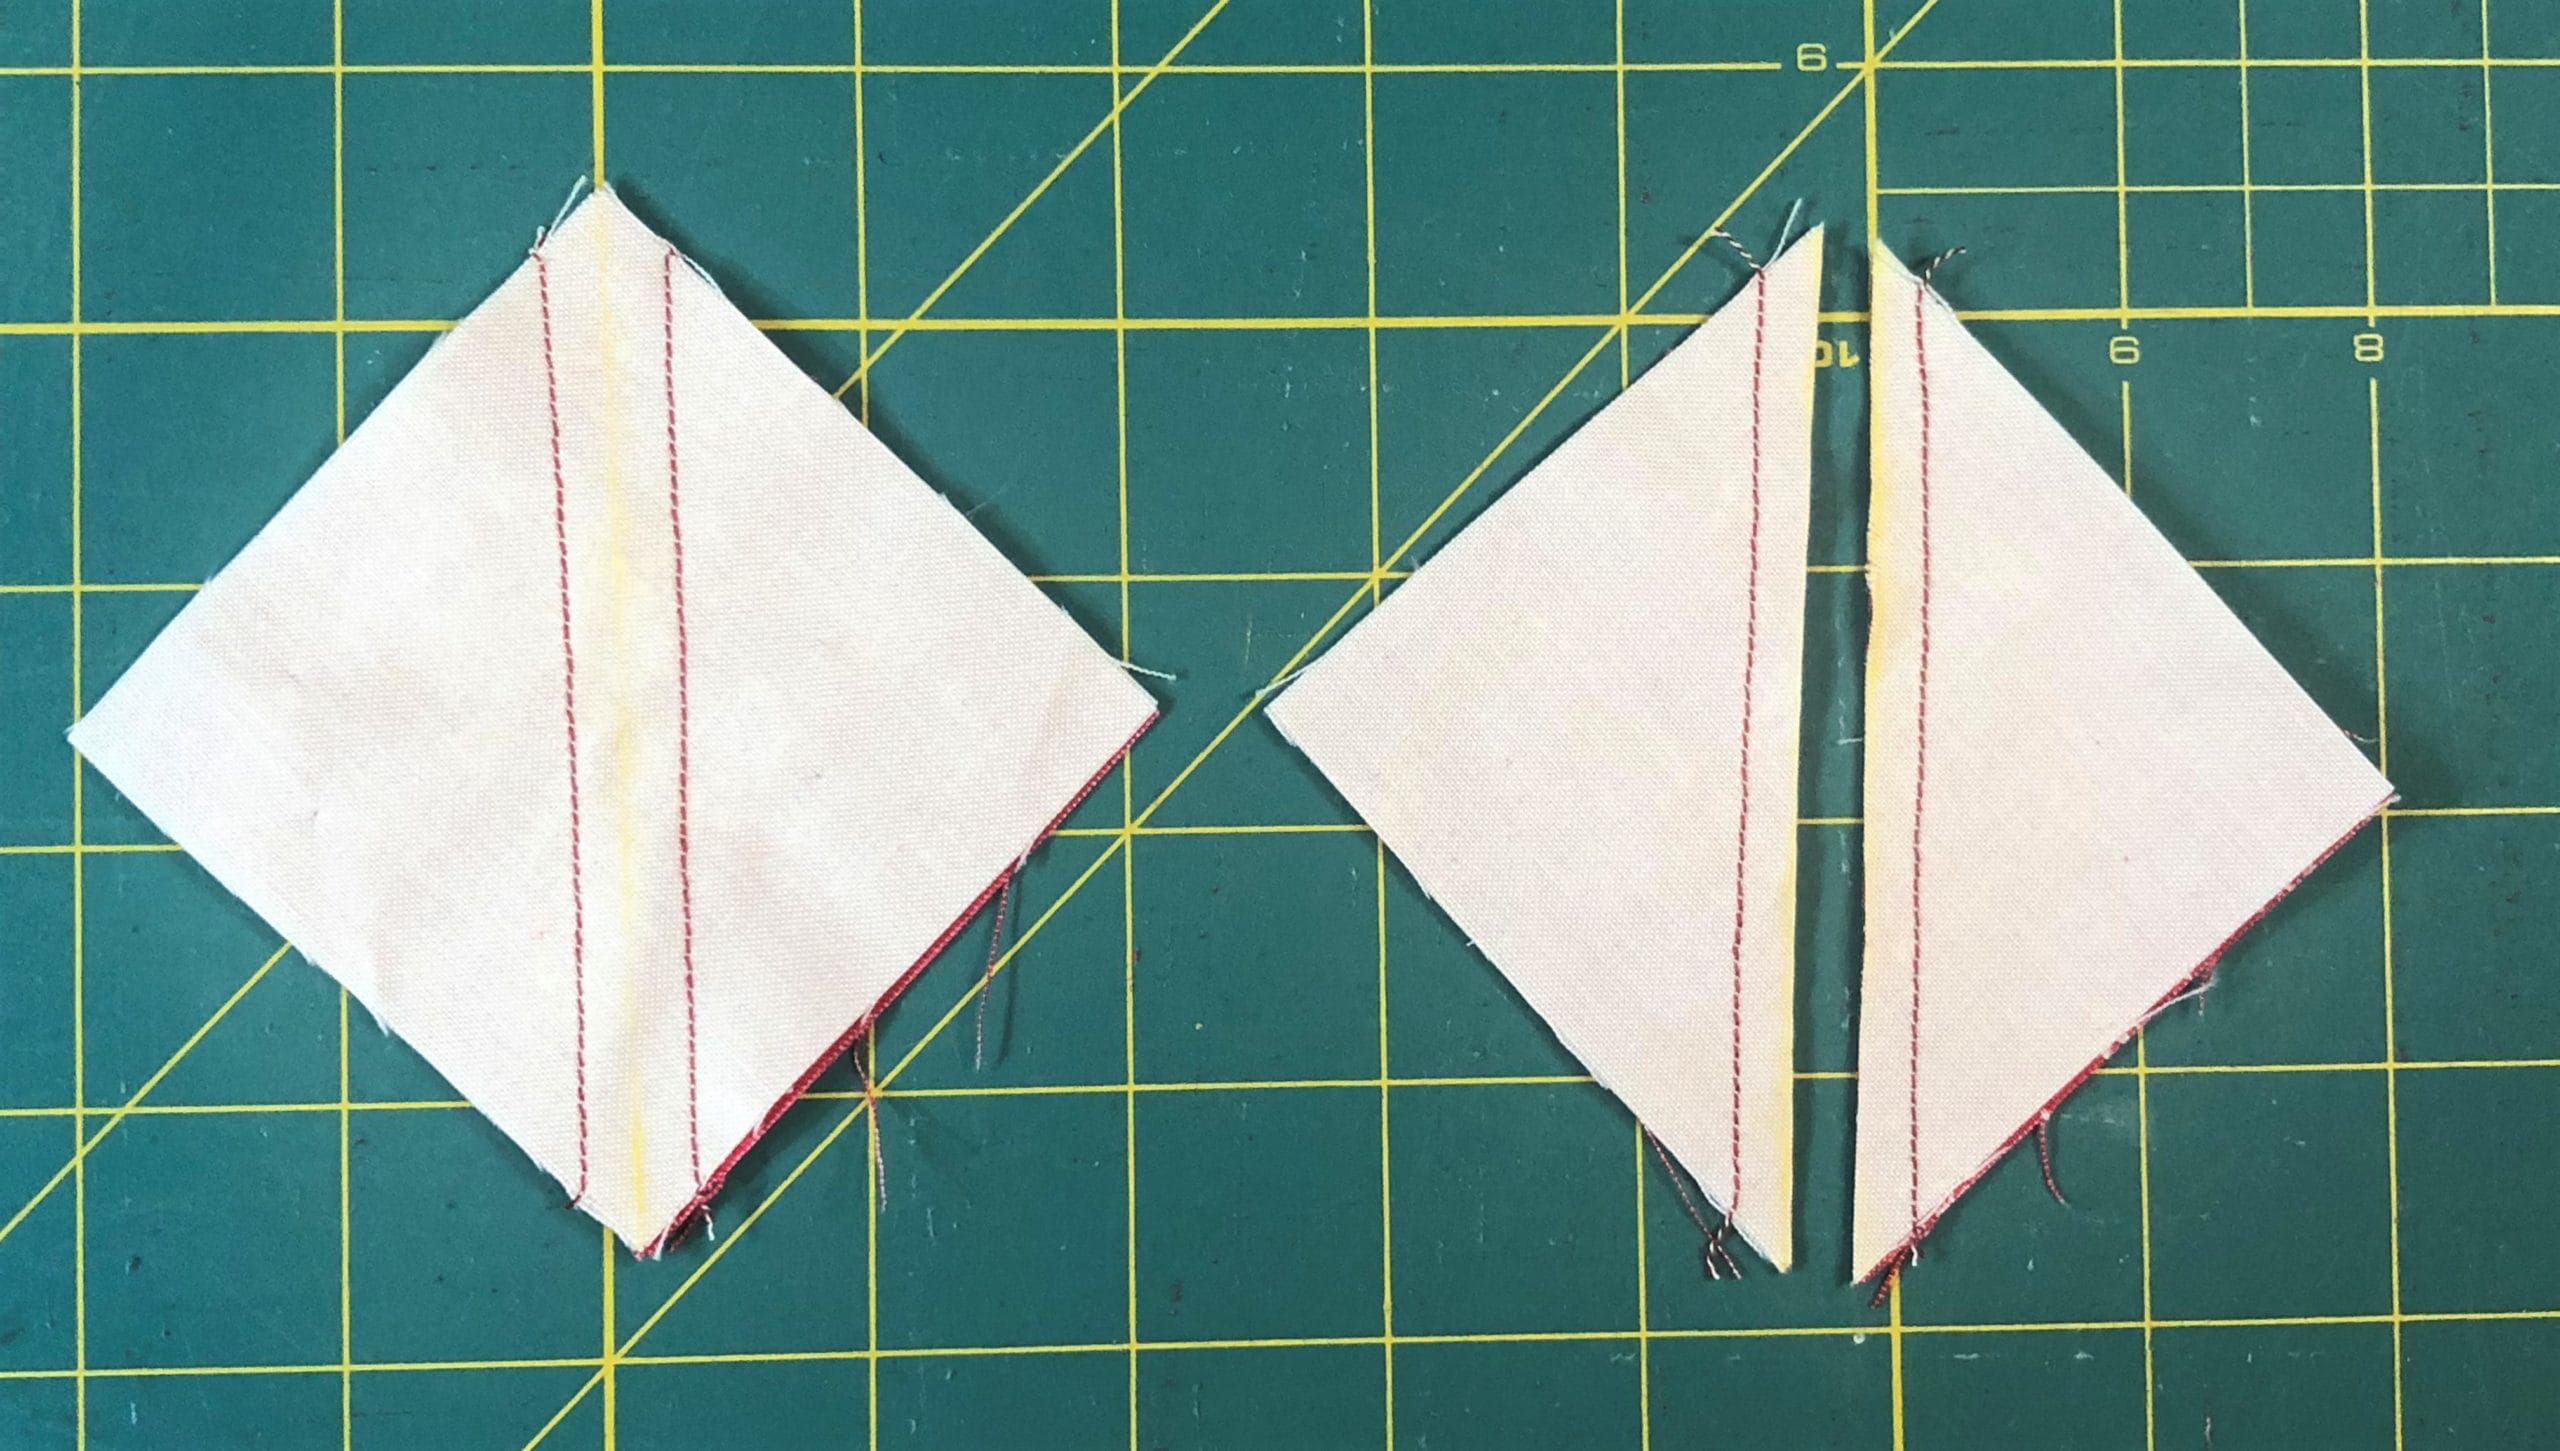
Next we’ll make 12 half square triangles by pairing up those E and F squares, and again stitching ¼” away from each side of the marked lines, then cutting on the line for each unit. Press toward the Solid Ivory (F). I know it’s customary to press toward the dark side, but trust me, doing the opposite this time will enable you to nest your seams together later.
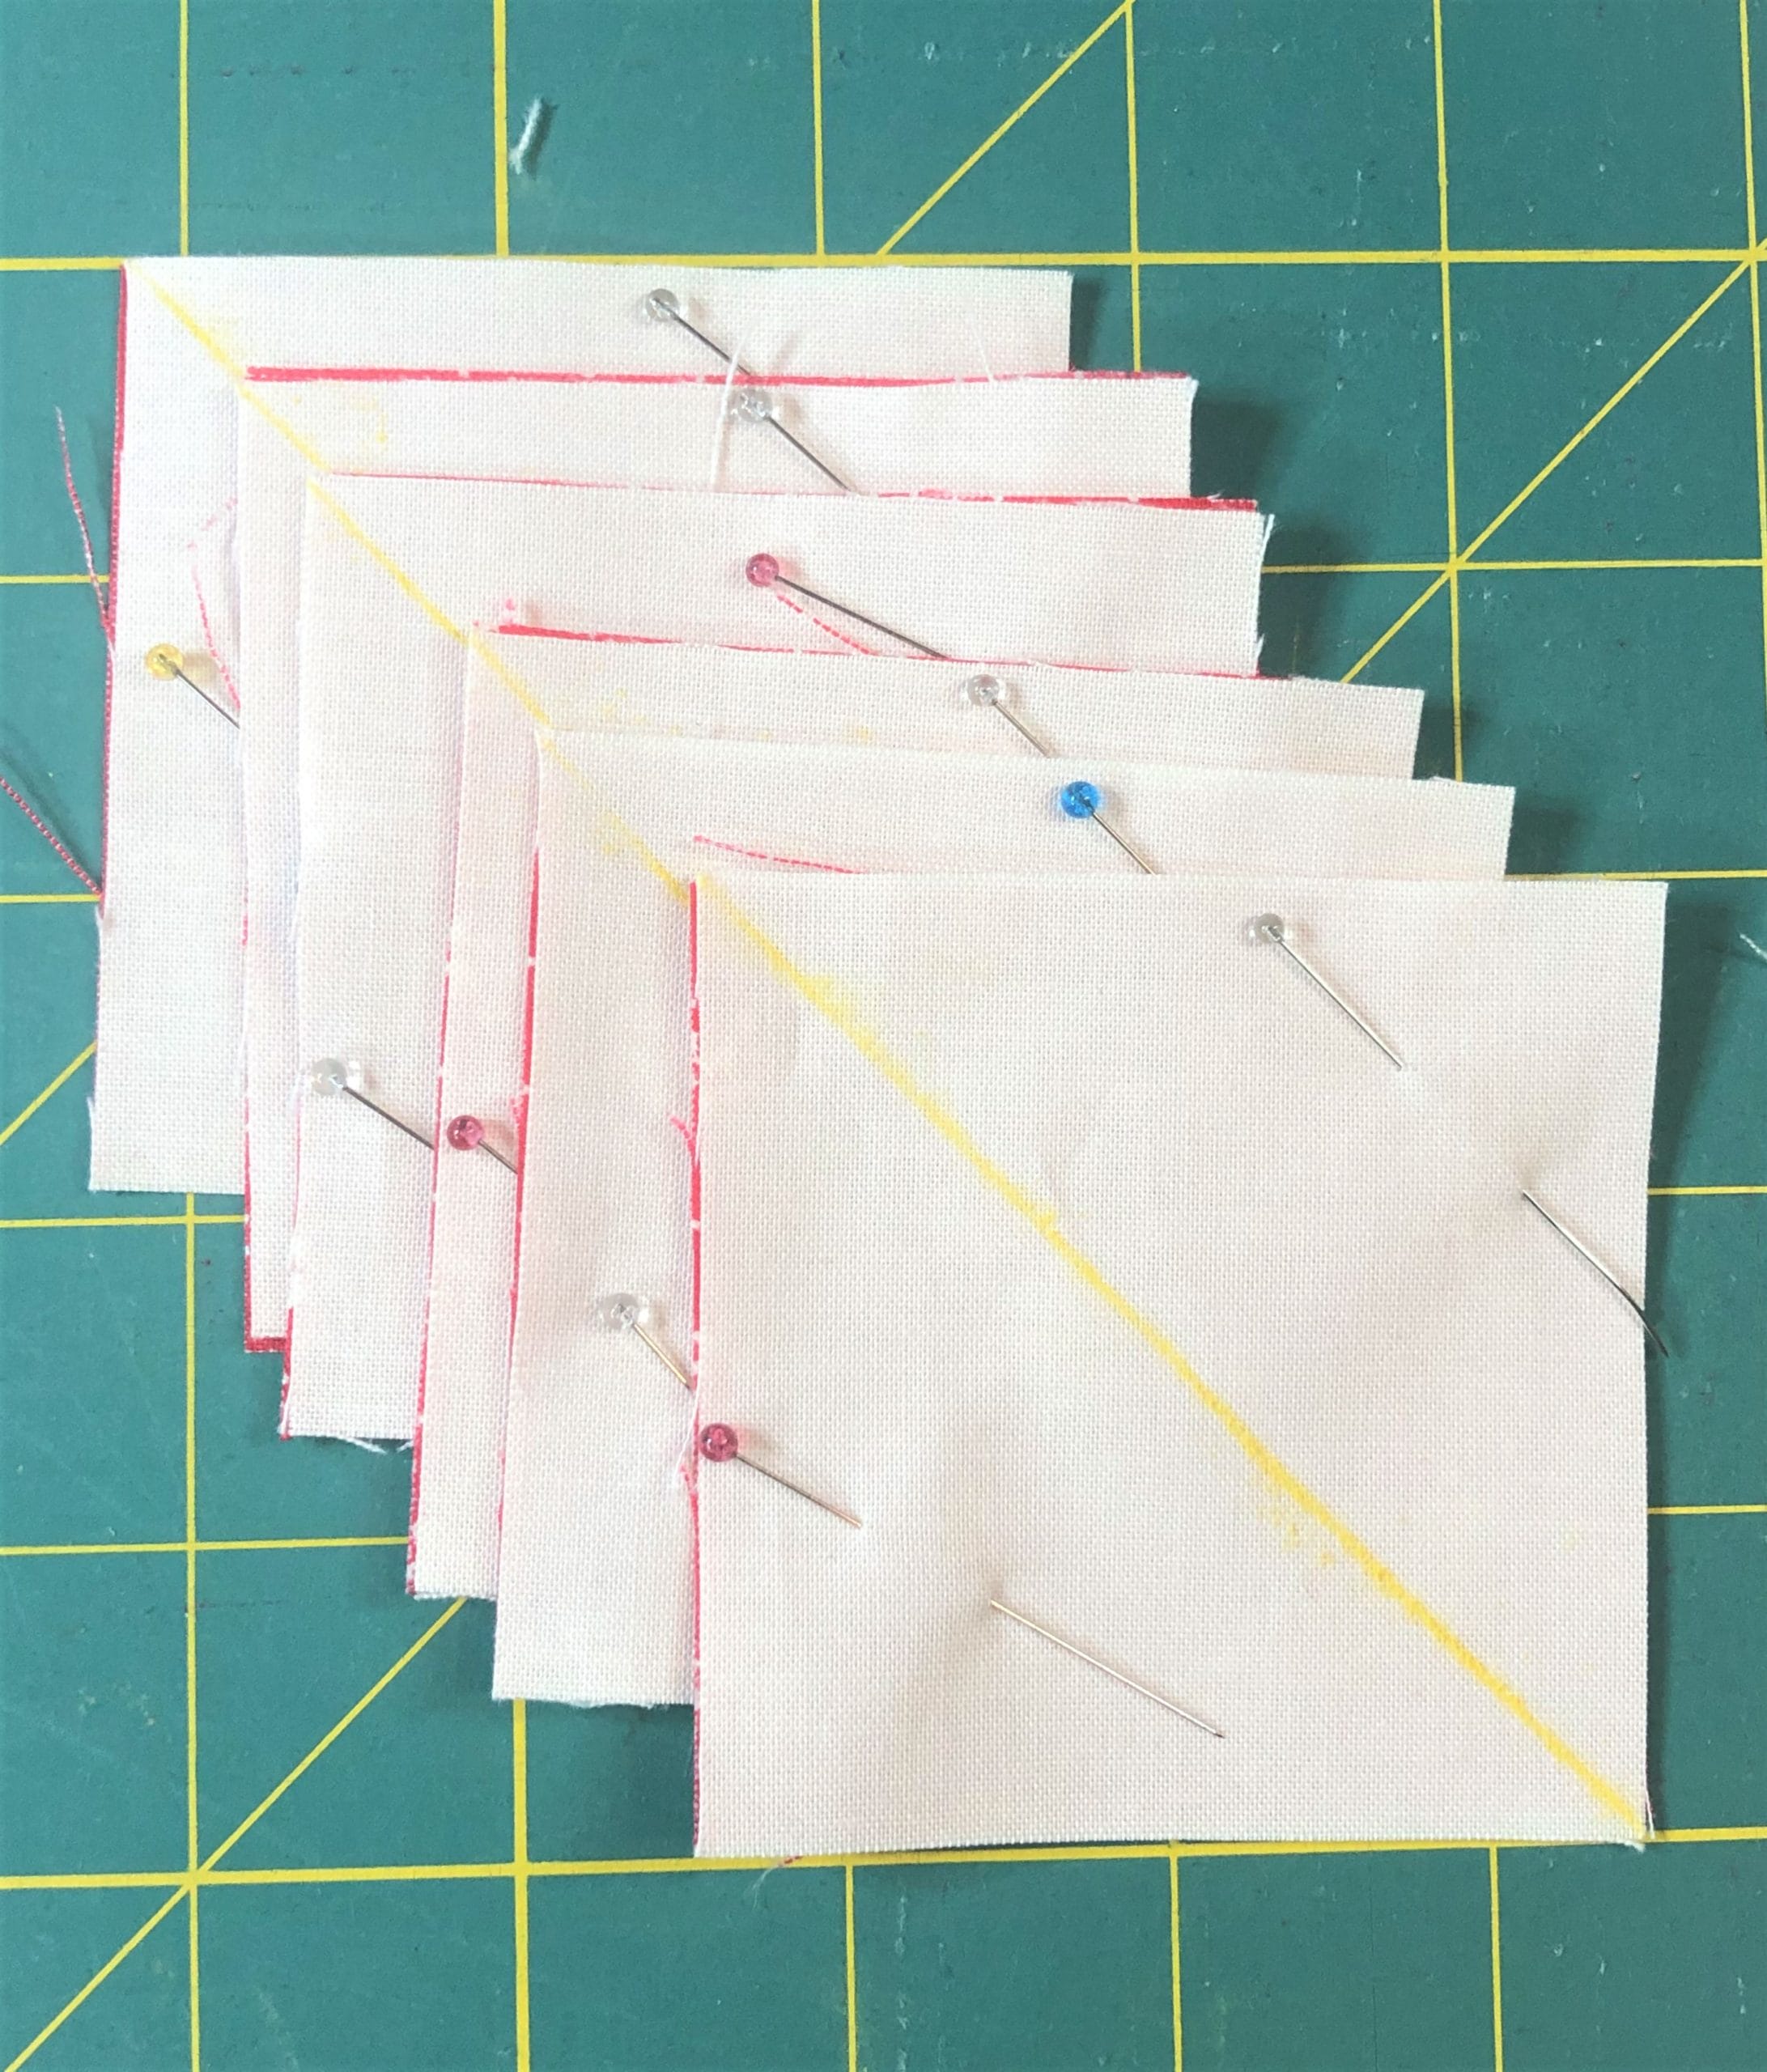
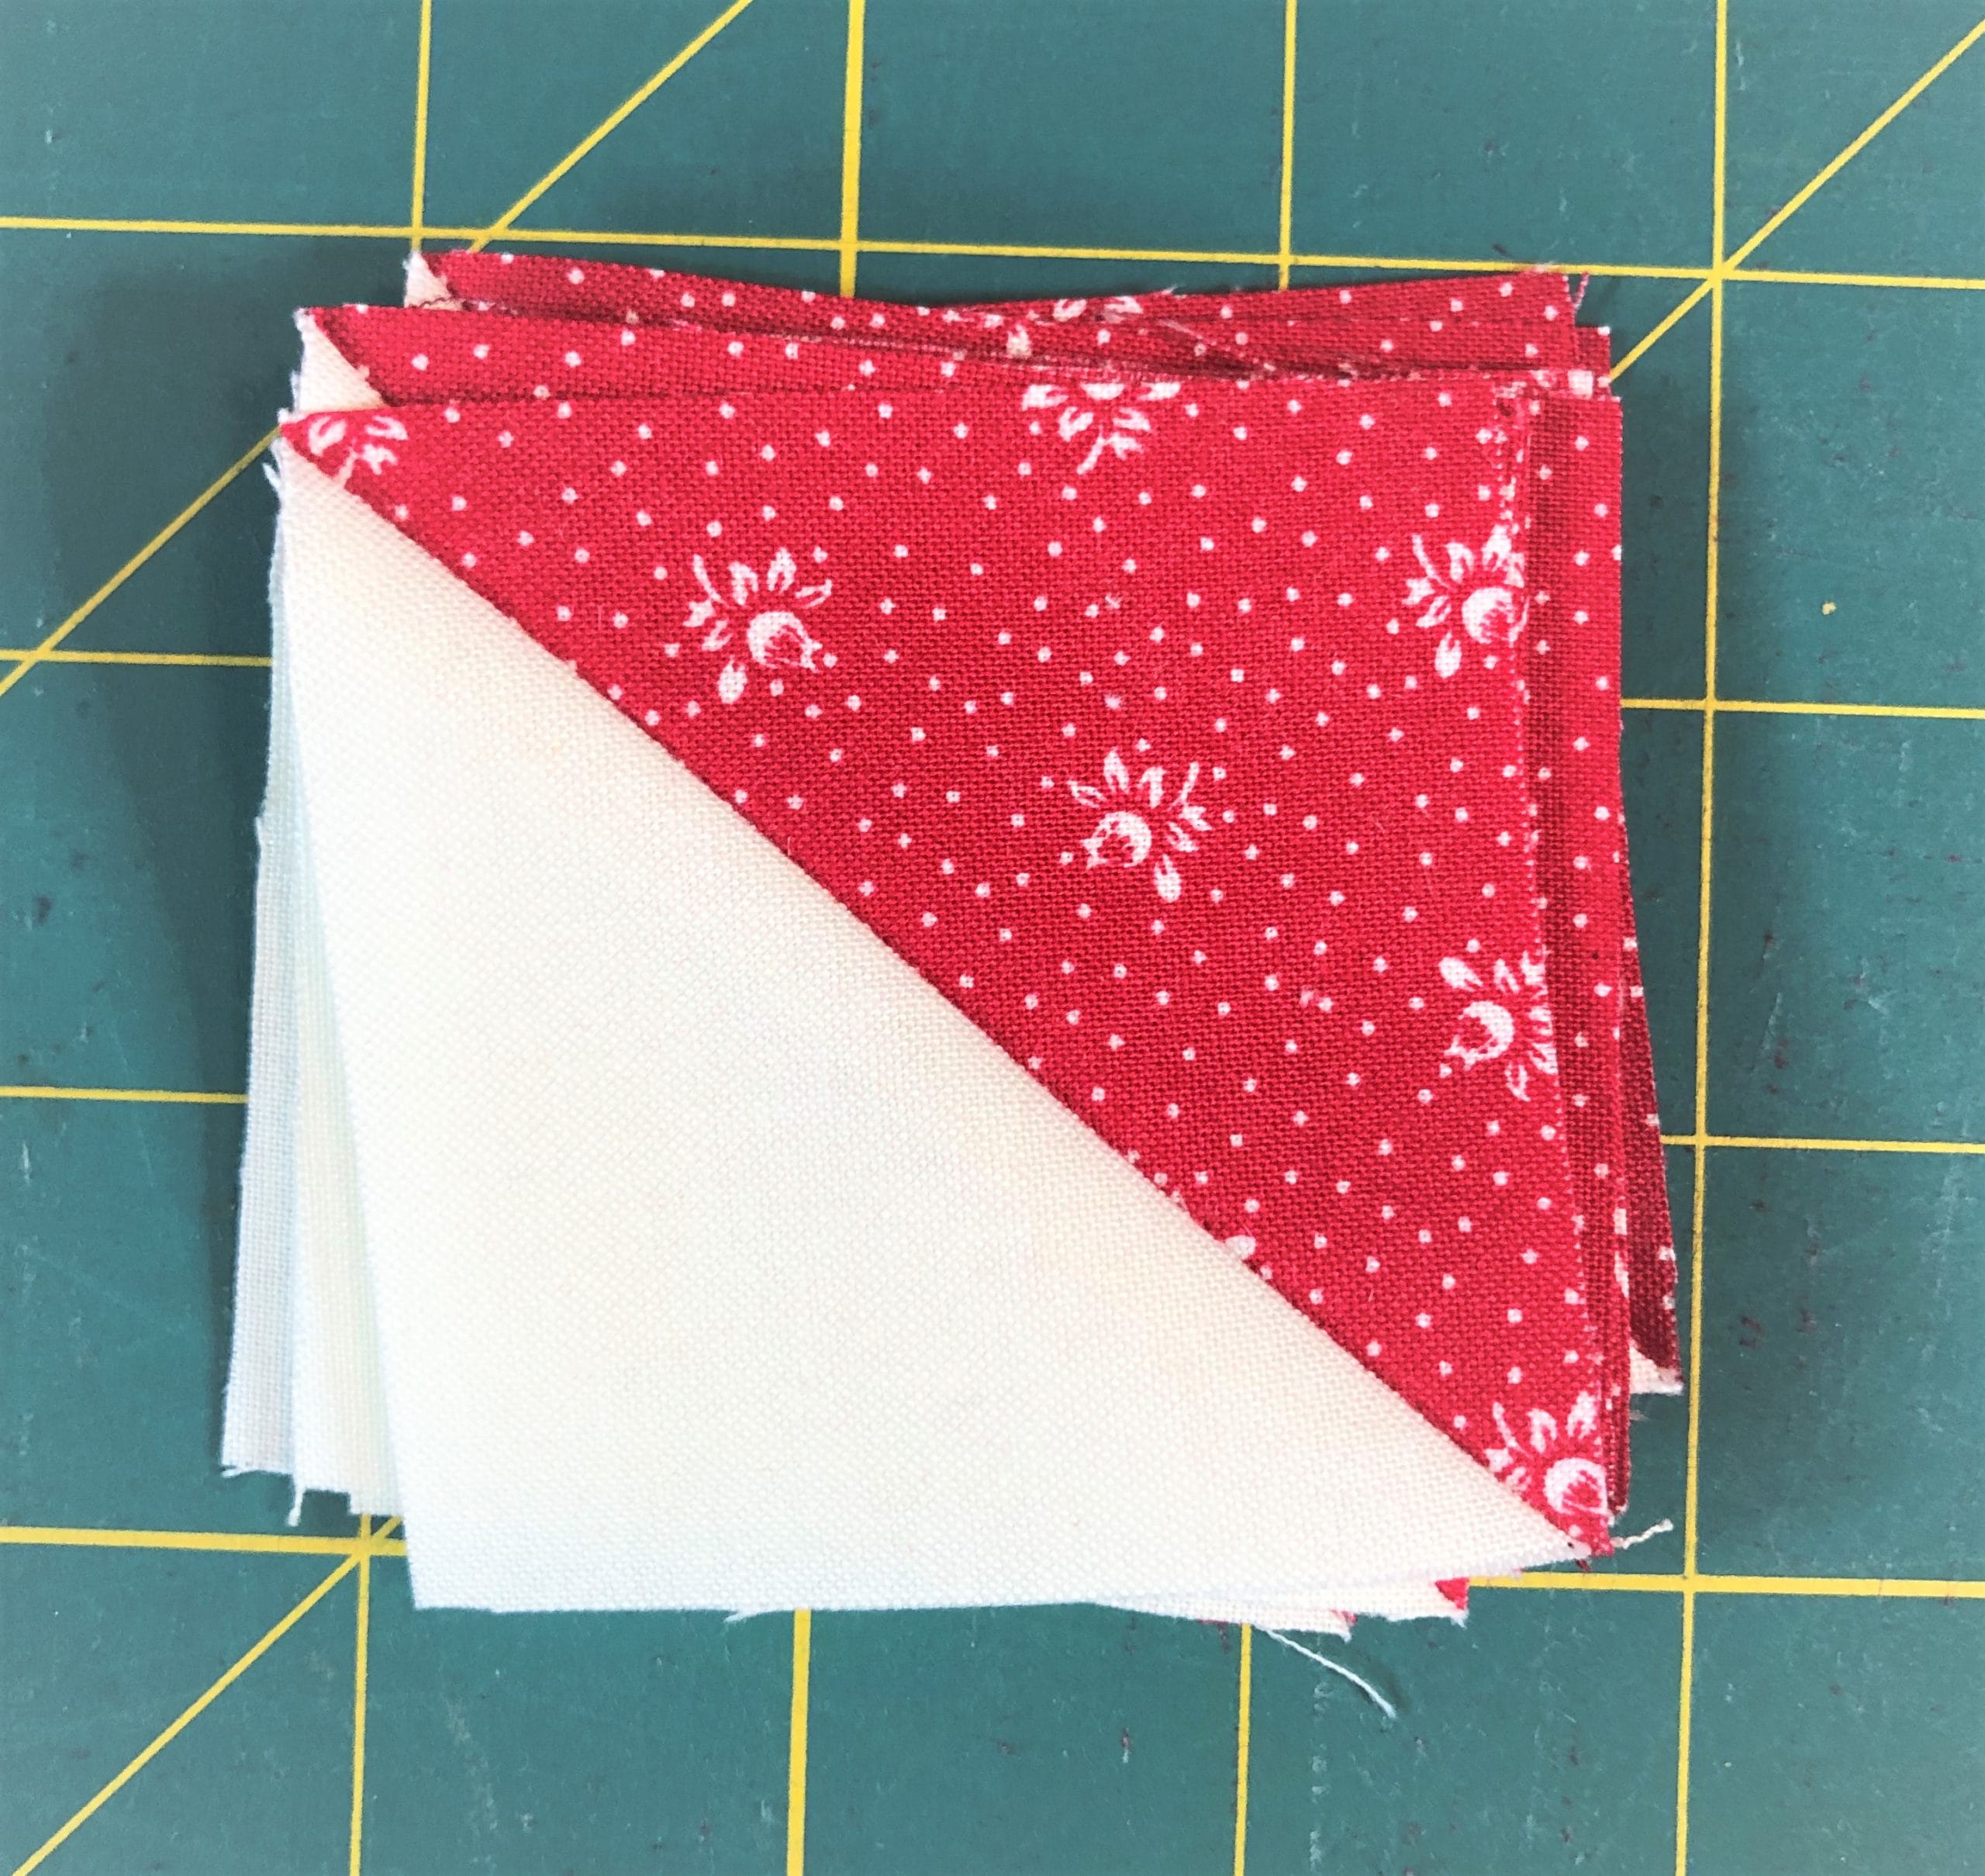
A note about no-waste half square triangles: I give my half-square triangle cutting measurements to be mathematically correct, but please feel free to cut the squares slightly bigger if you want so you can trim them as needed. There’s nothing wrong with cutting your E and F squares at 3” square, and then after you are finished and they are pressed, you can trim them to be 2-1/2” square. My point is, you do what works for you. You won’t run out of fabric. Based on feedback from previous BOMs I’ve done, I was quite generous with the yardage you’ll be getting for this quilt.
Step 5:
In step 5 you’ll sew an E/F square to each side of a G strip like so: Make sure the red E triangles are facing inward.
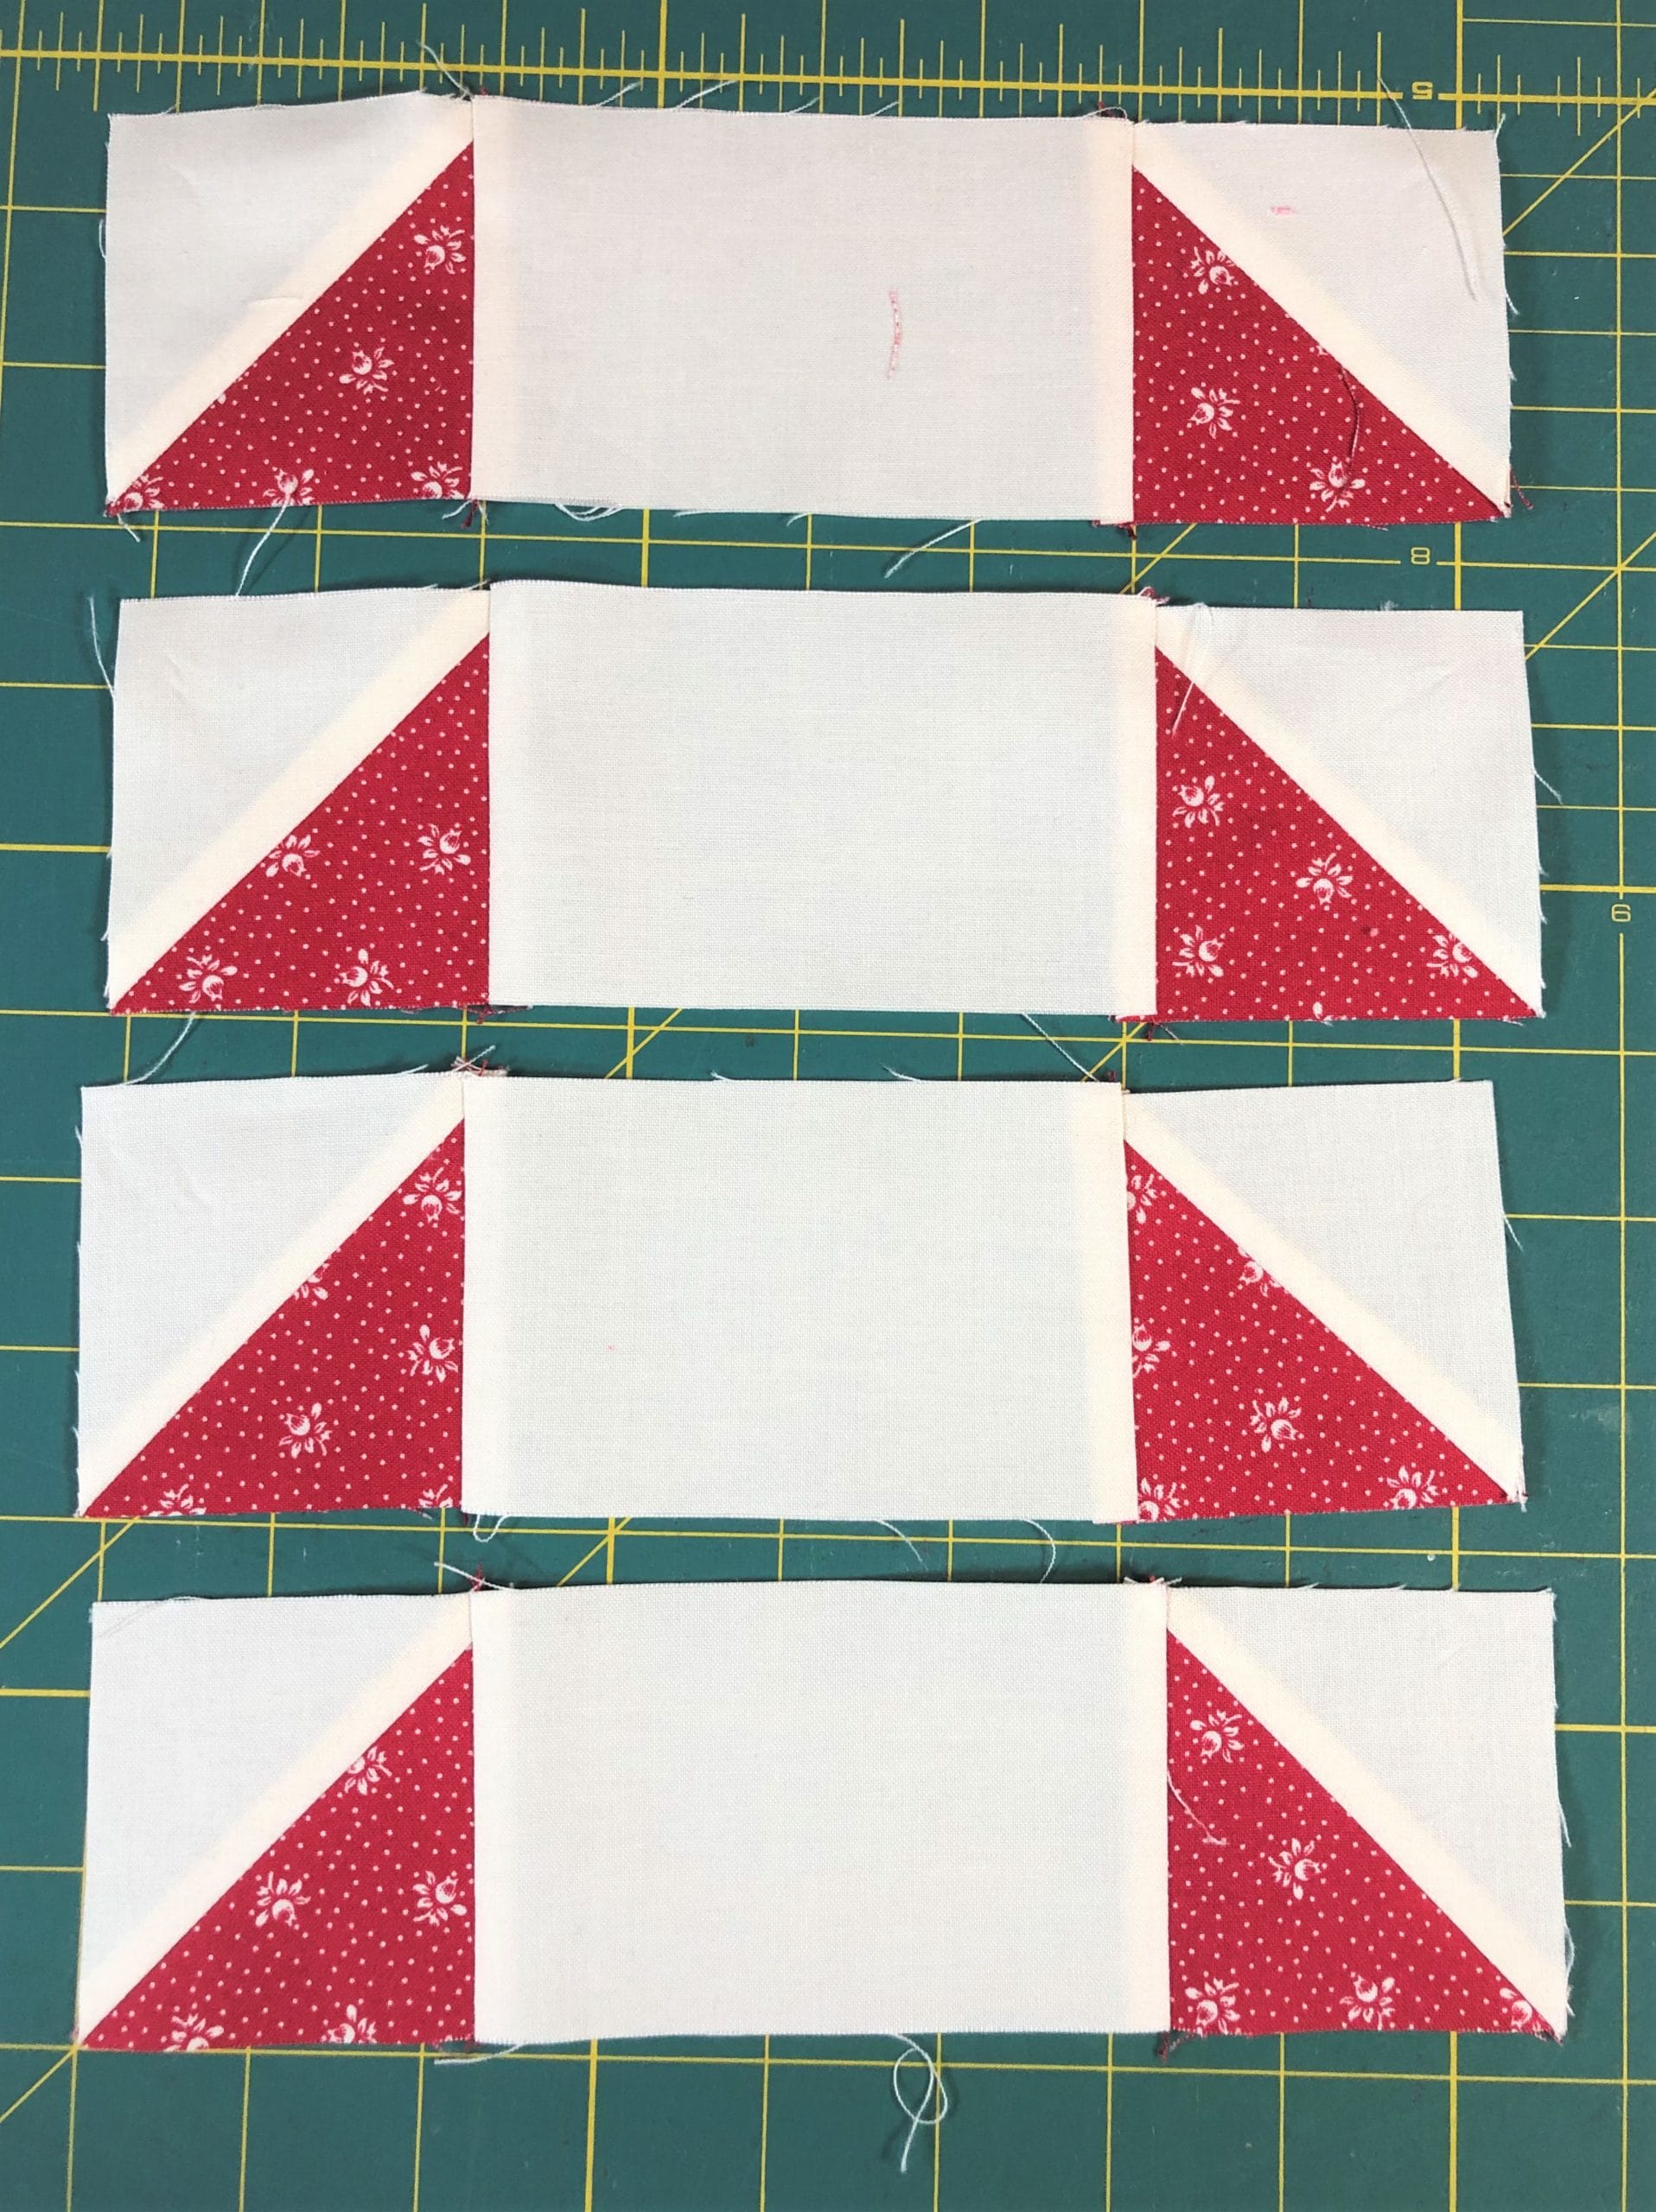
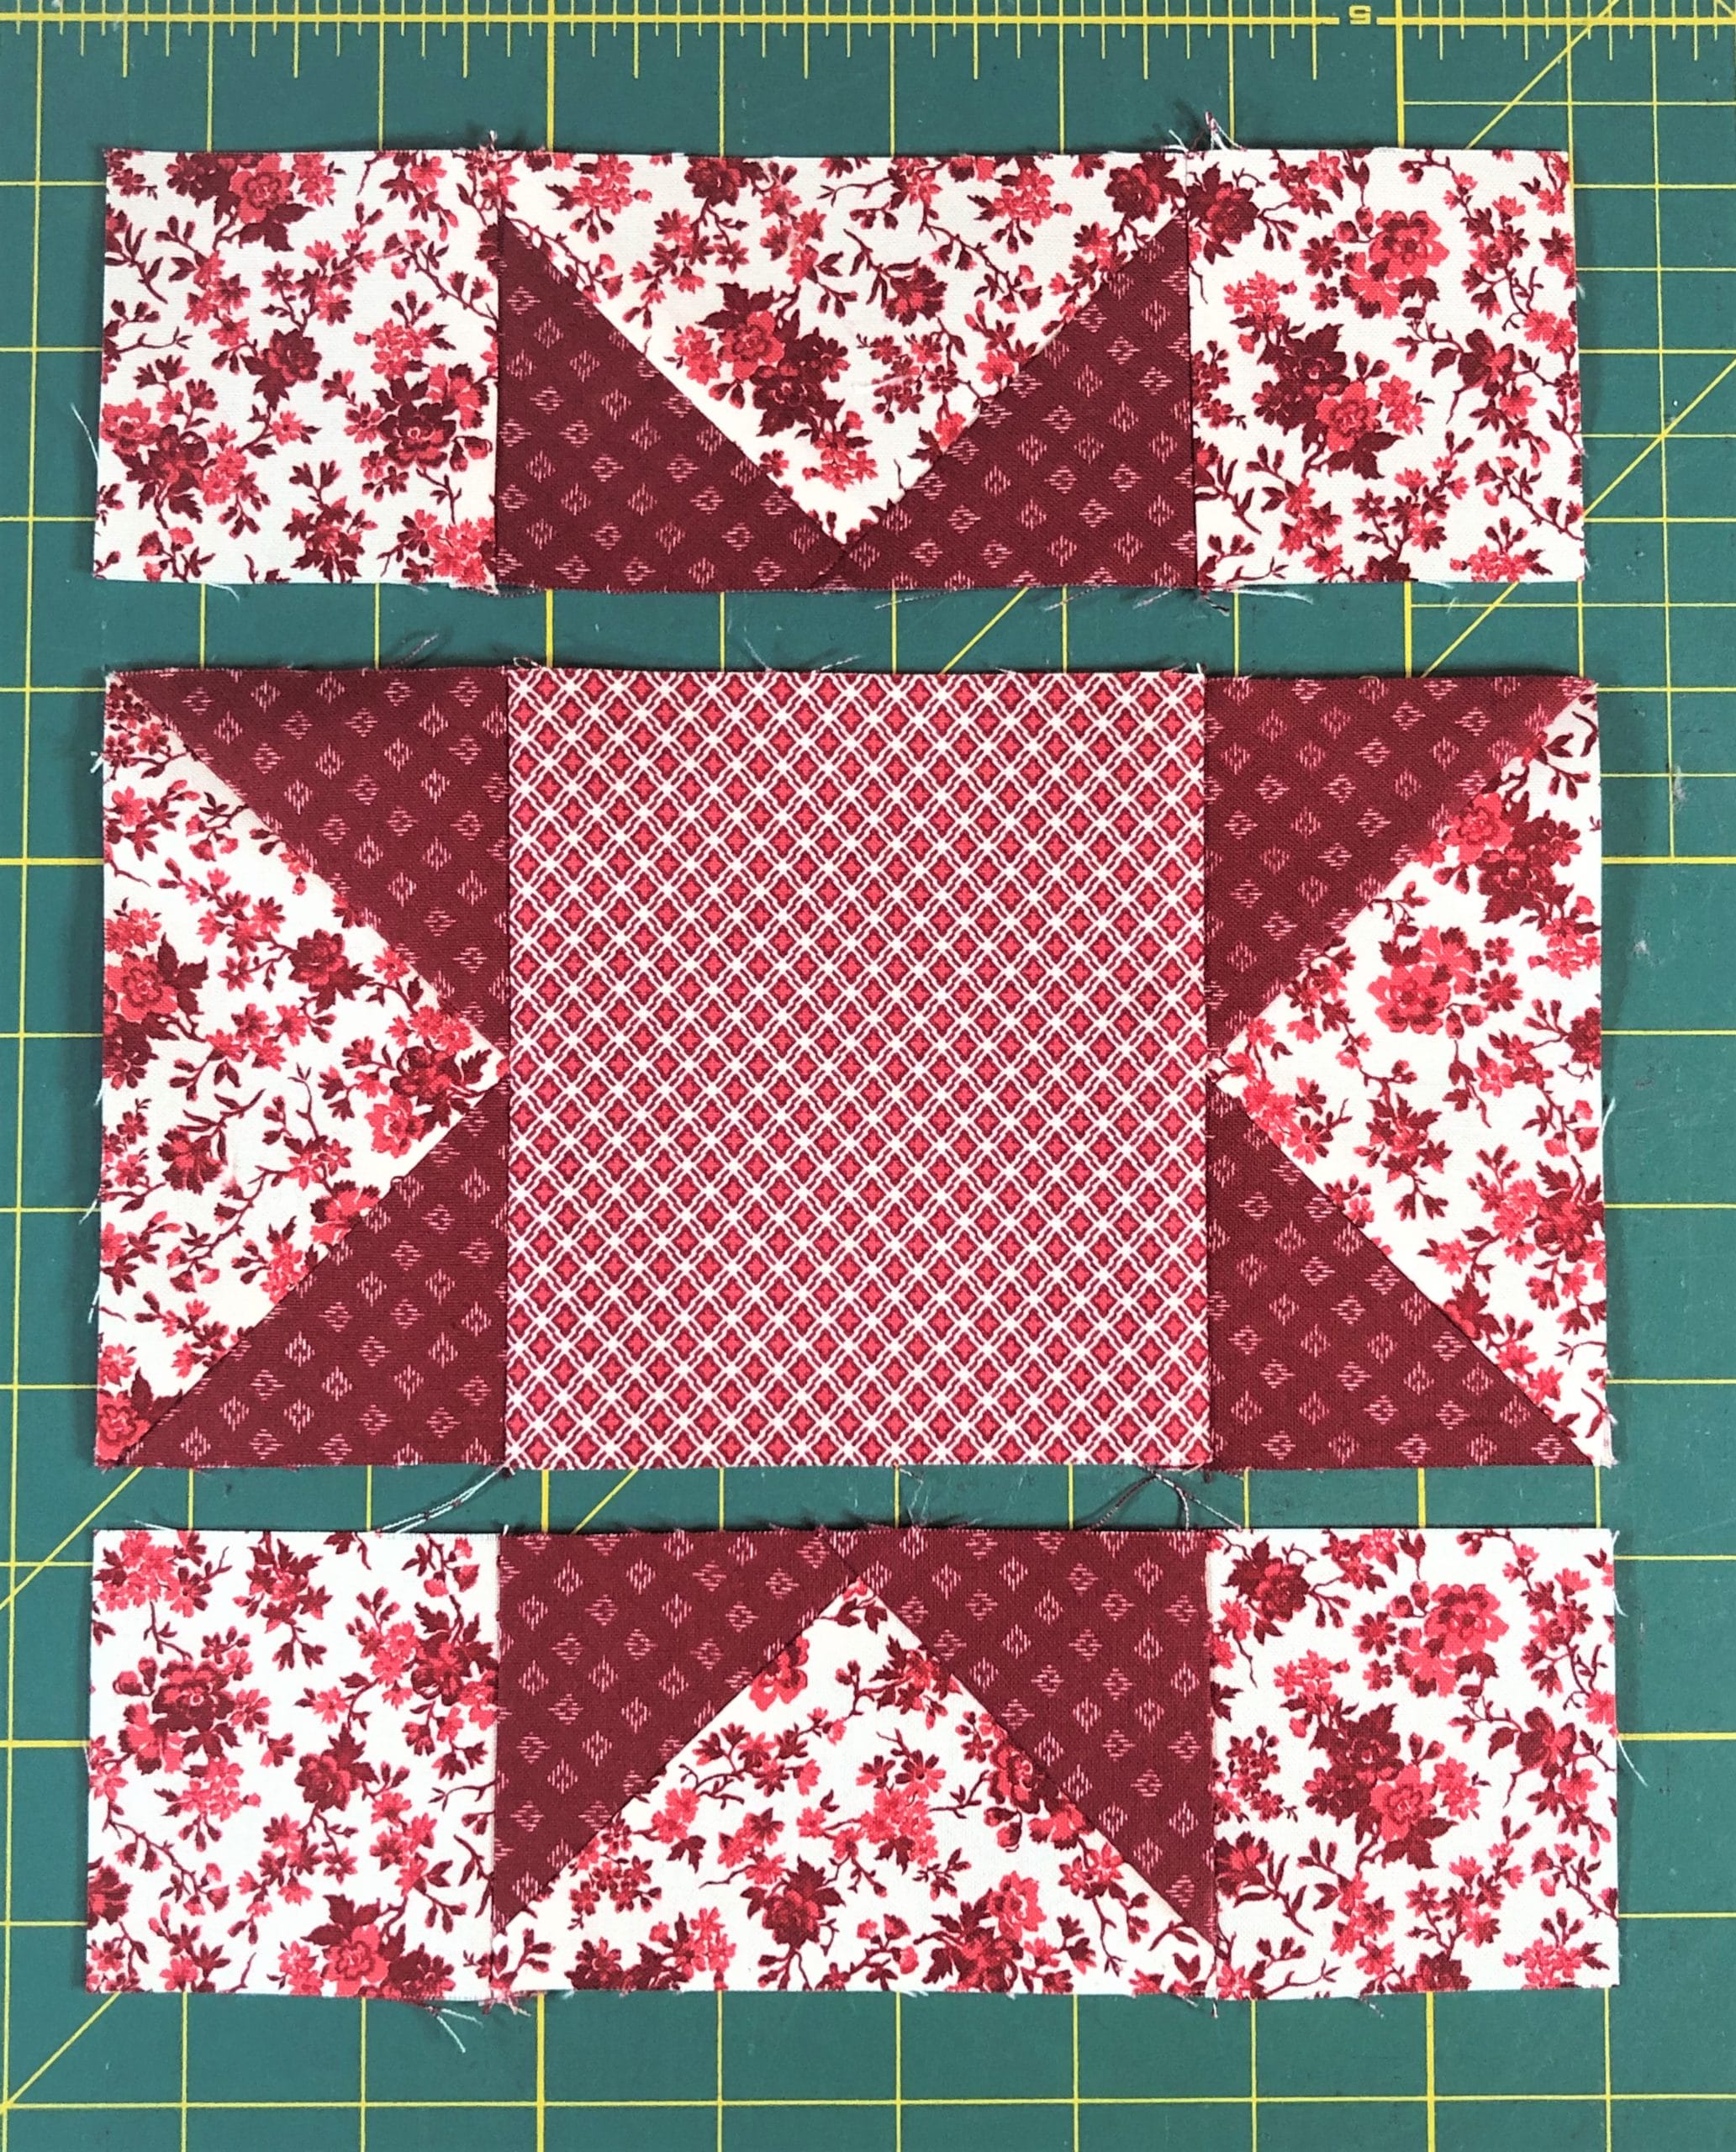
Now it’s time to put all the components together. Before I sew my block together, I like to lay everything out just to make sure I have everything going the right direction. I want to make sure I have all those half square triangles oriented correctly.
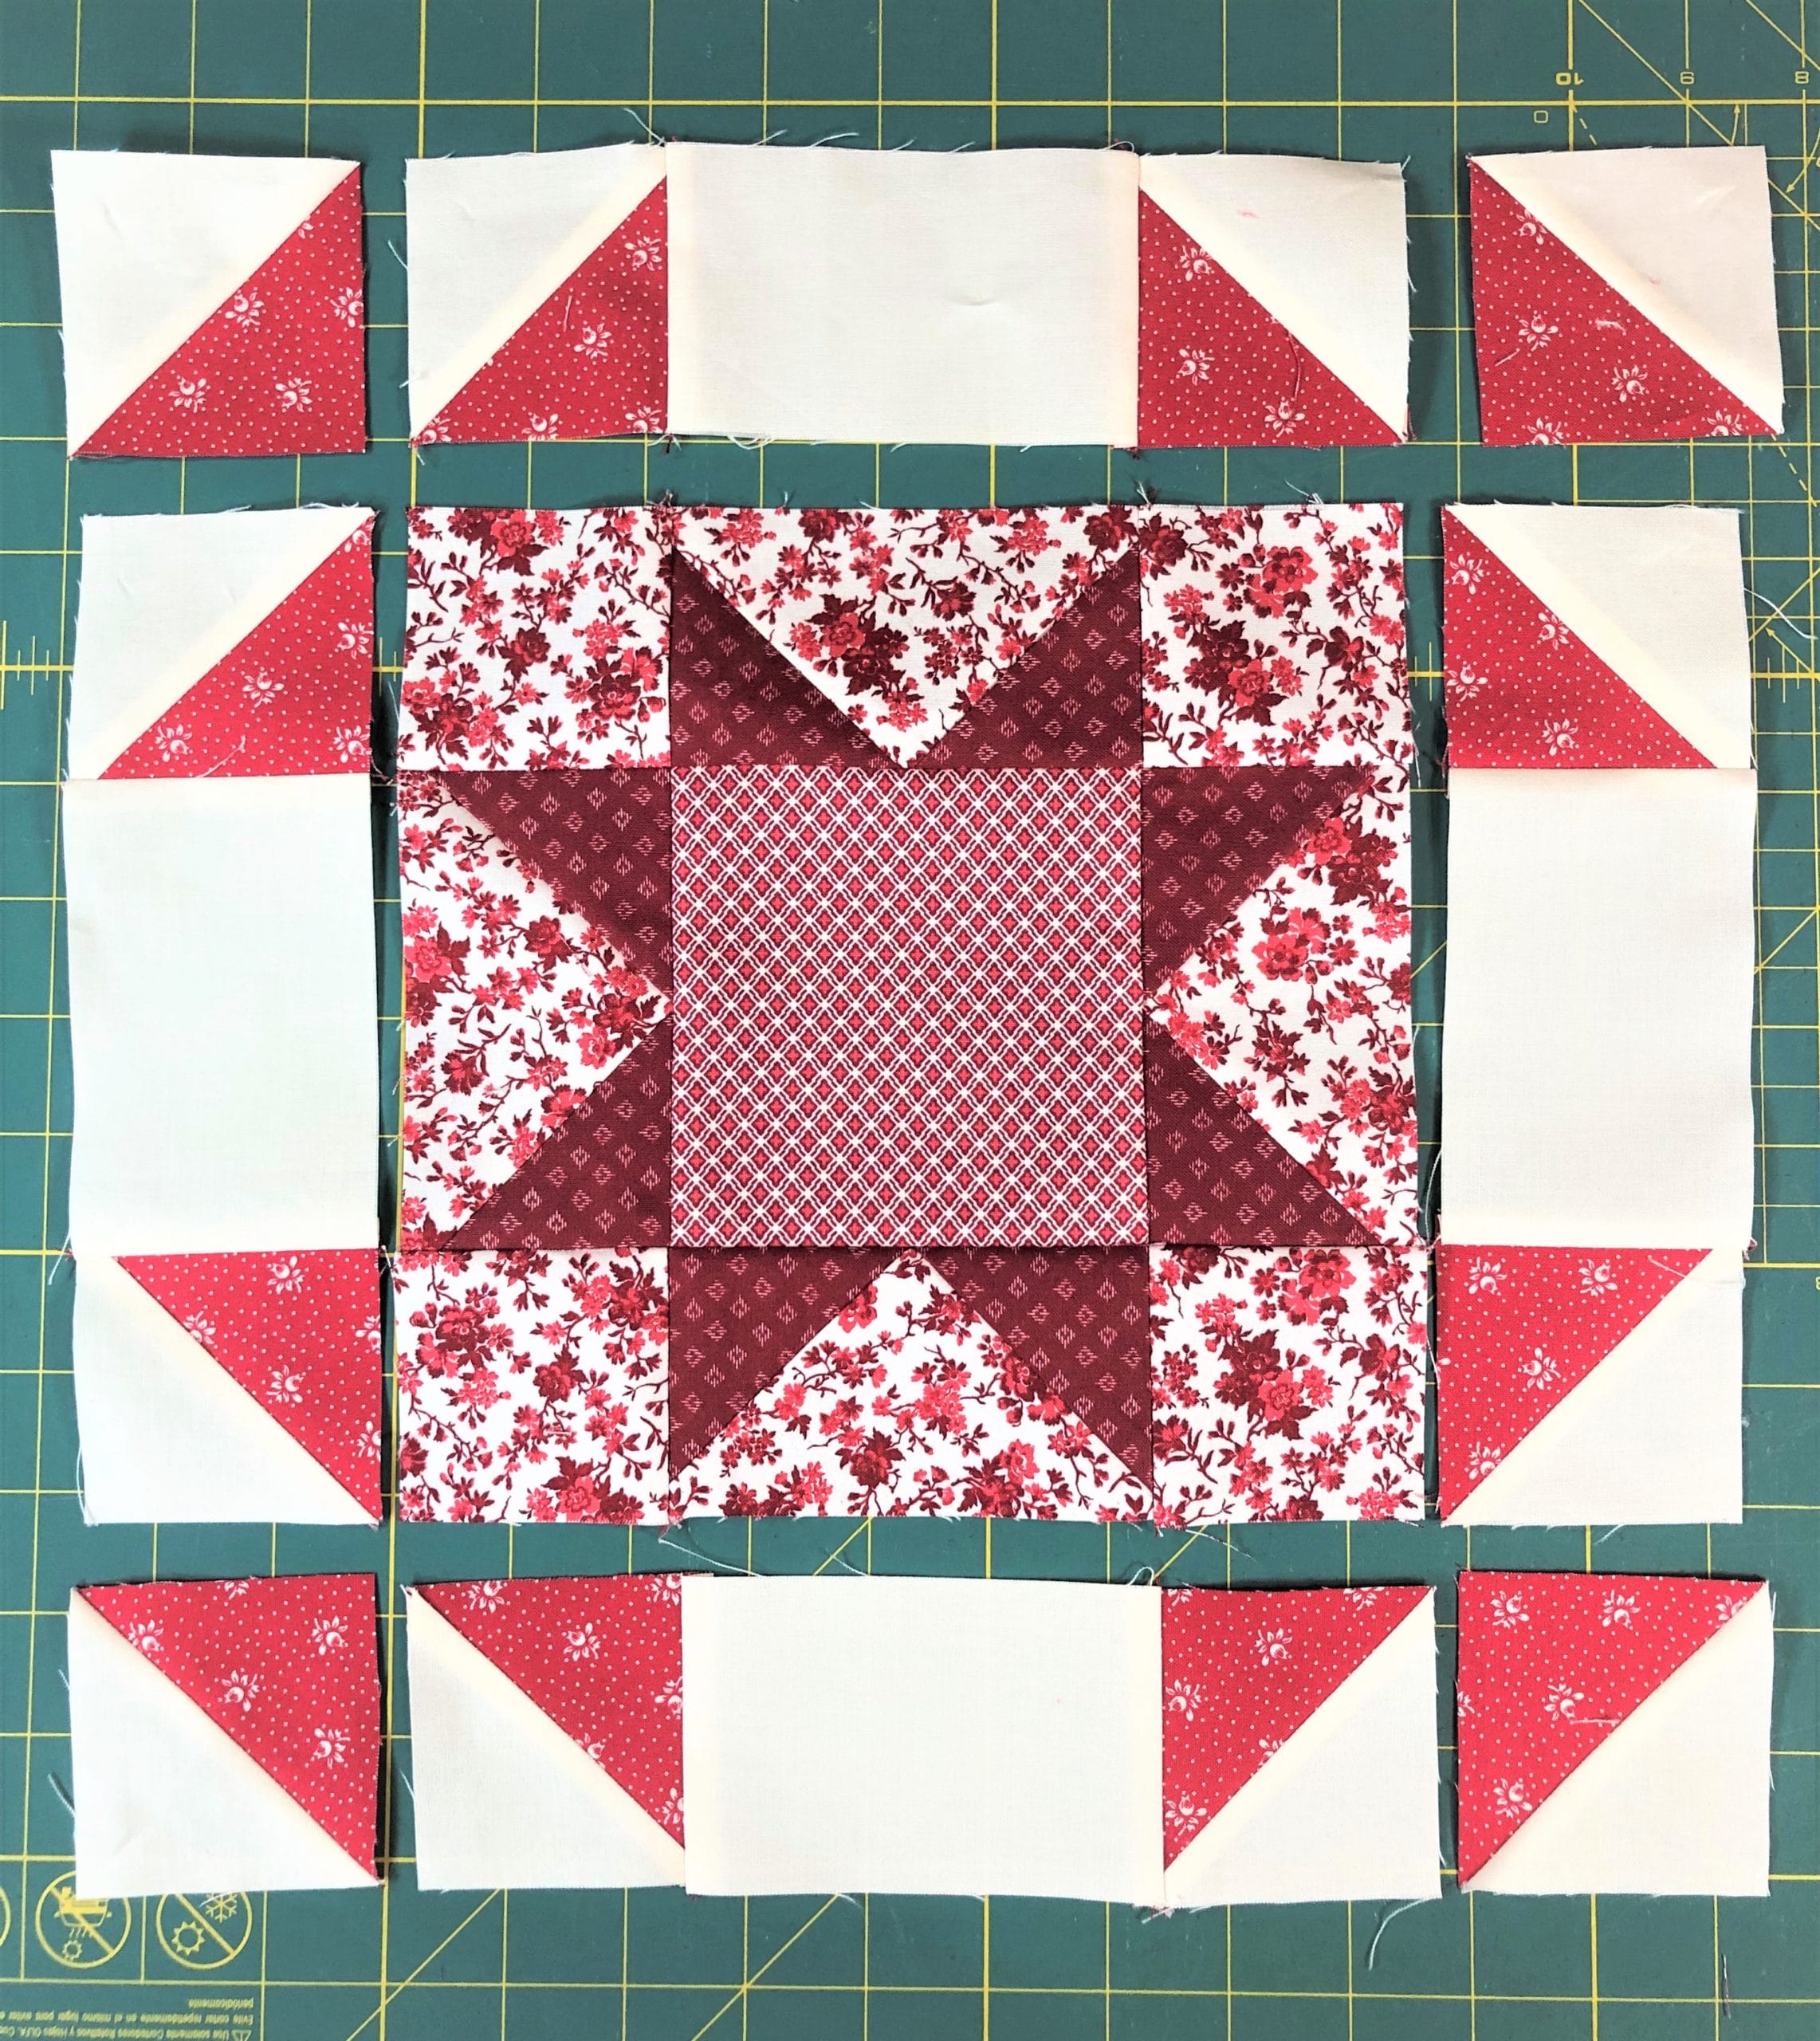
Follow the directions in step 6, and pay attention to the pressing arrows so that all your seams will fit together nicely.
Step 6:
Sew the center portion by taking two of those units you just made in step 5 and sewing them to each side of the Sawtooth star block, pressing the seams away from the center block.
Take the remaining units from step 5 and sew another E/F half-square triangle to each end, then sew those to the top and bottom to finish the block.

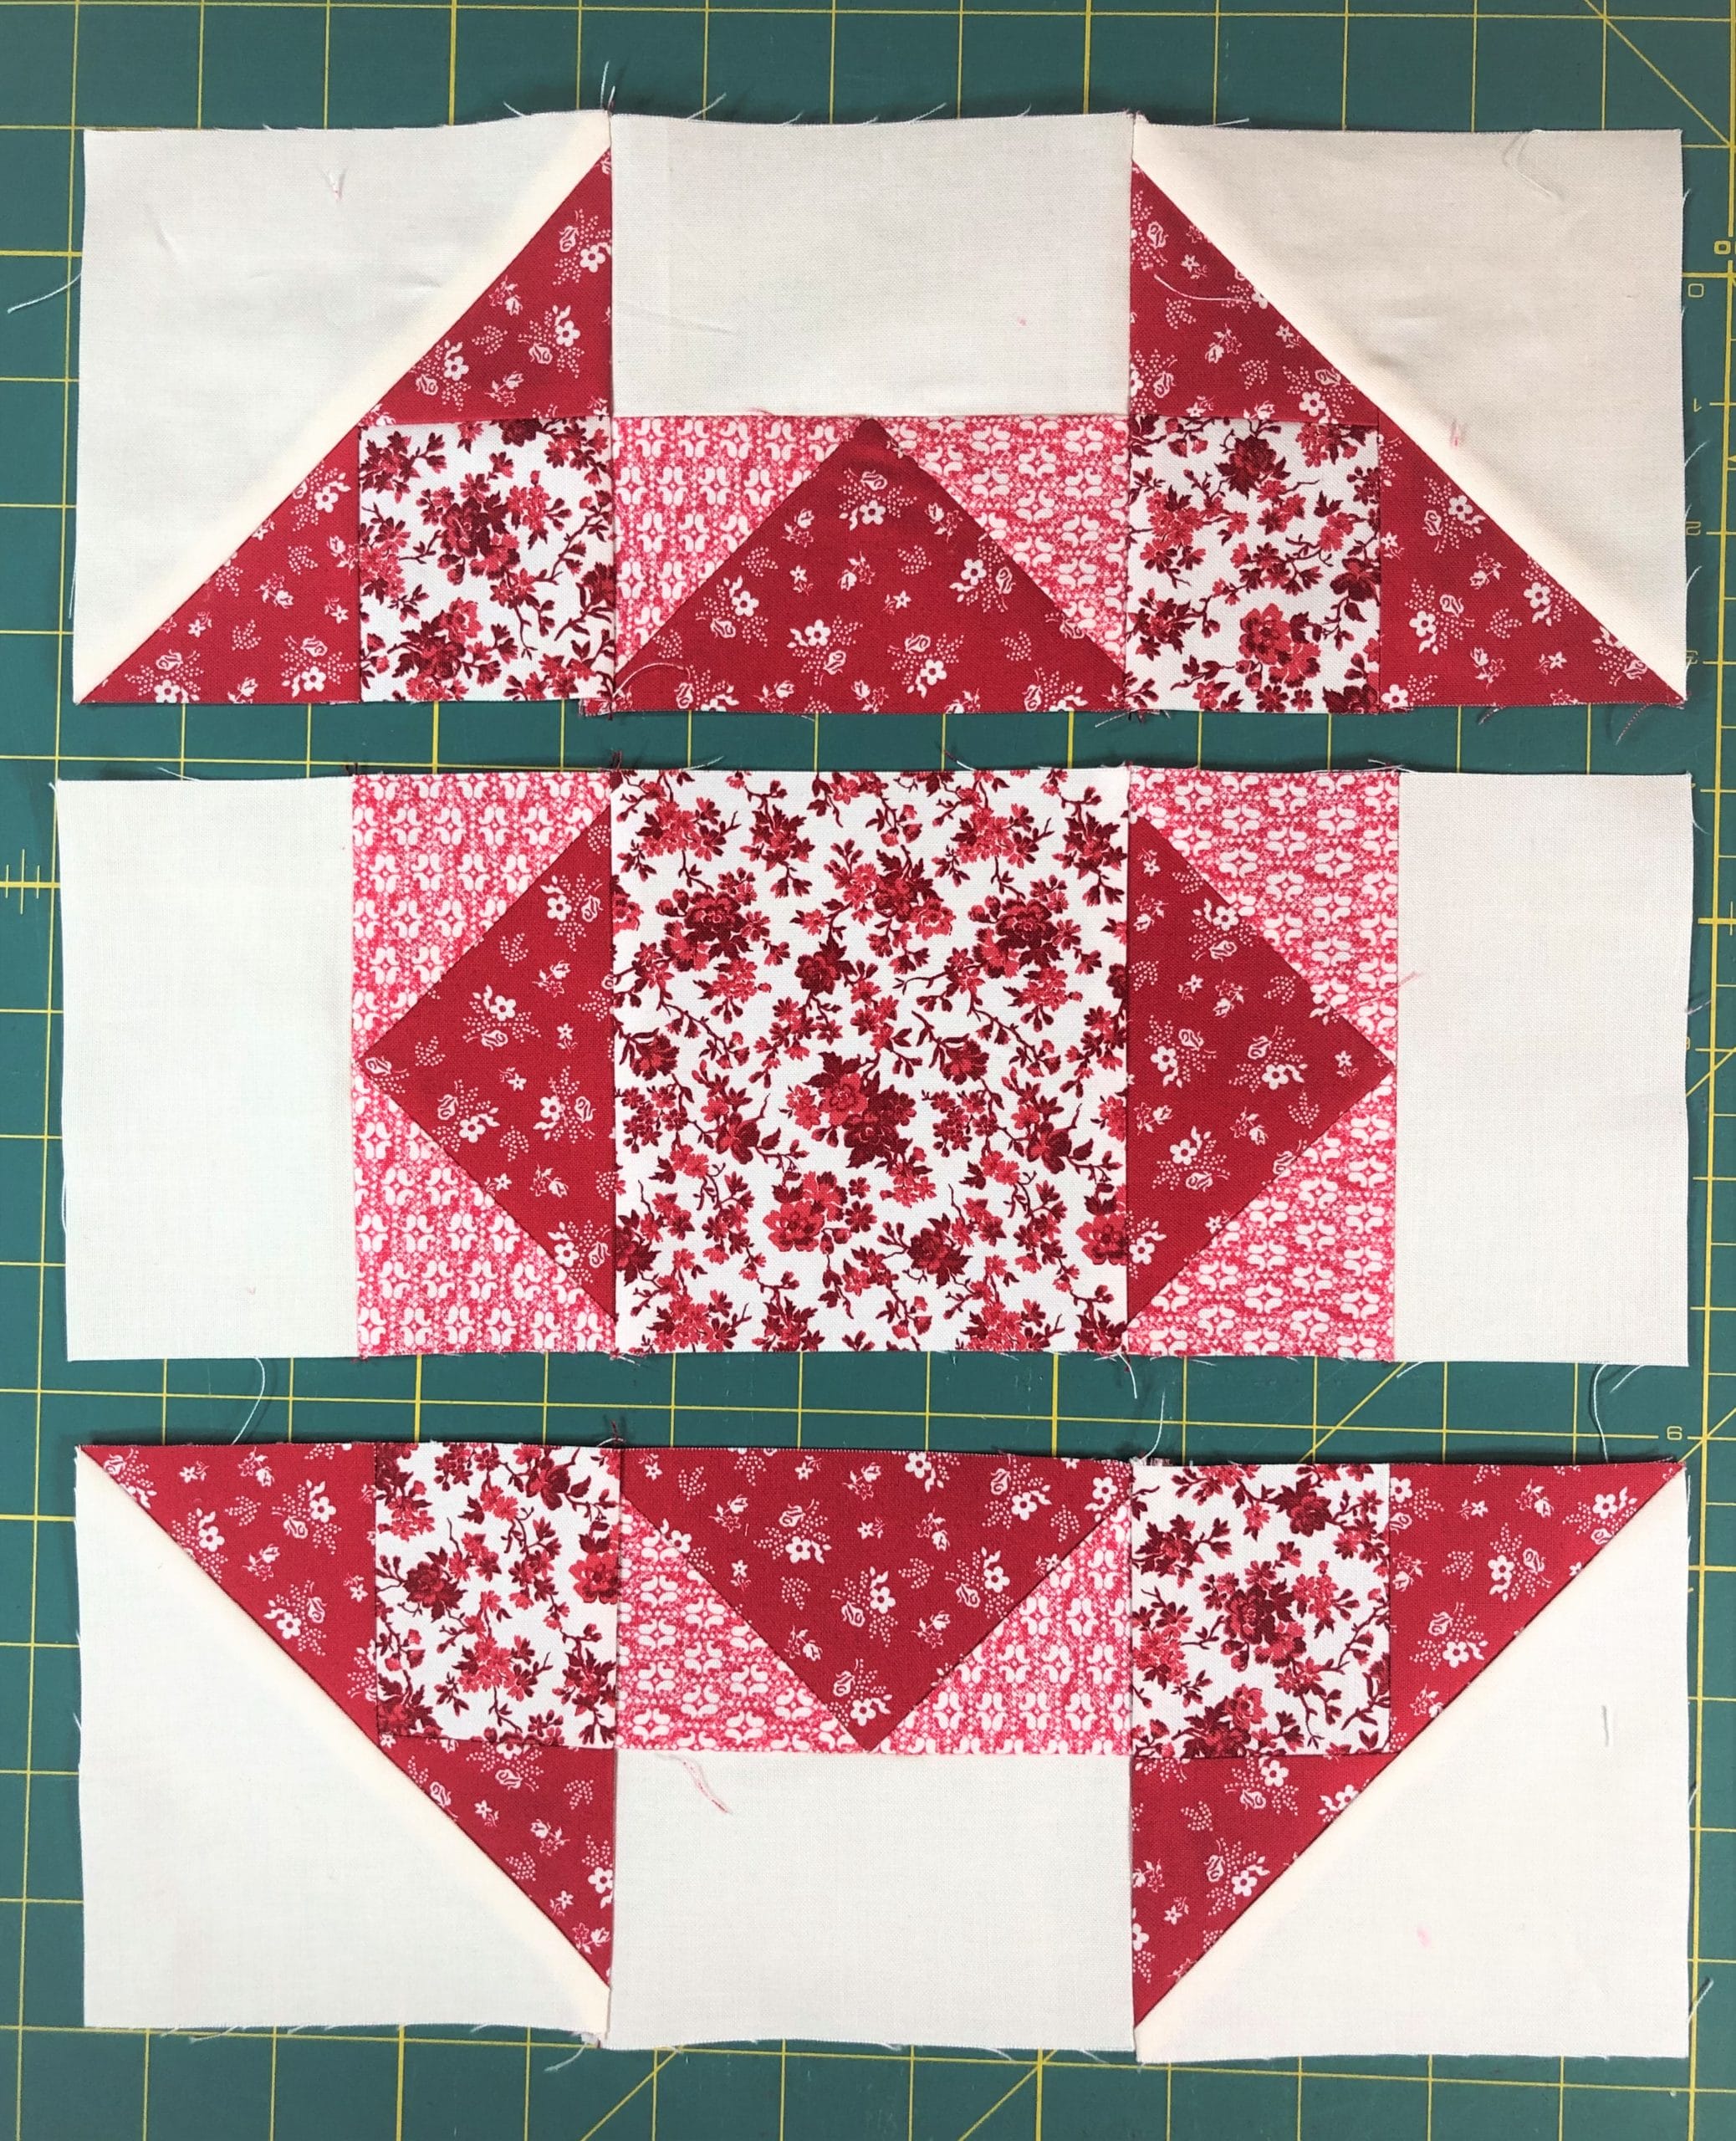
Now the block is finished!

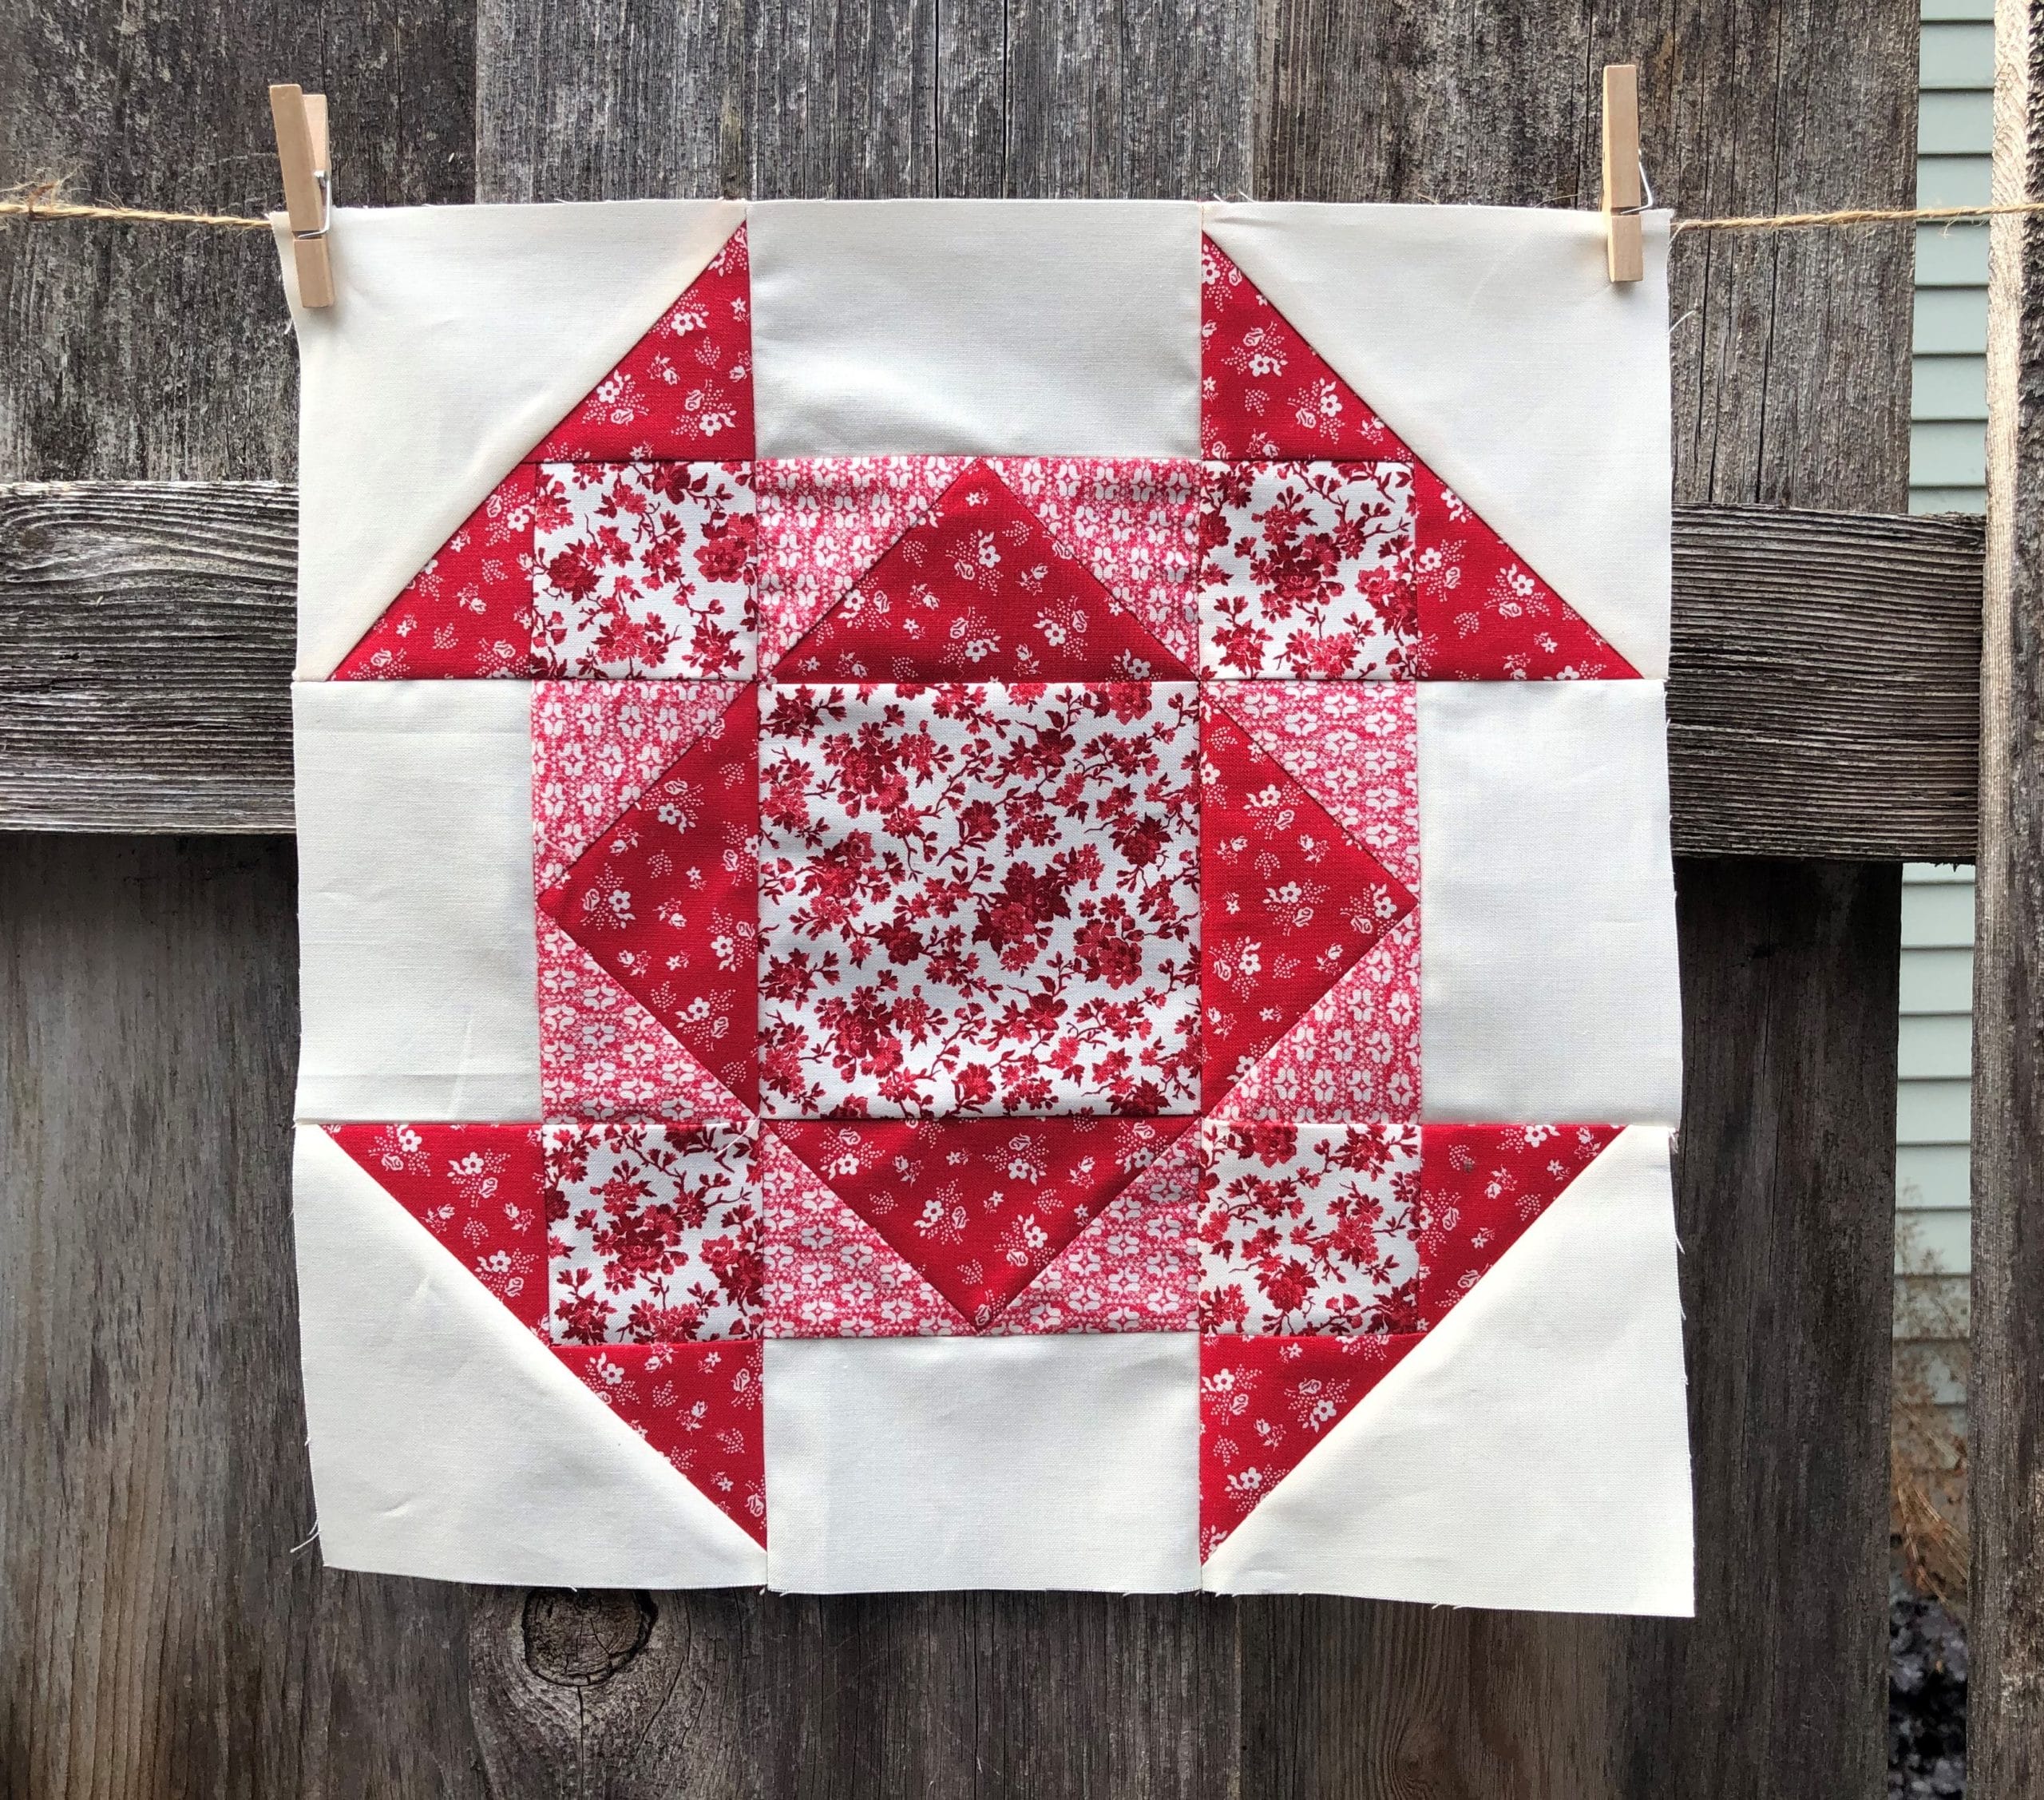
Block #7

This is another Sawtooth star, but with a twist. I actually love this block, and while making it I kept thinking of all the fabrics in my stash I could use to make a scrappy quilt with just this block. But that will have to wait for another day!
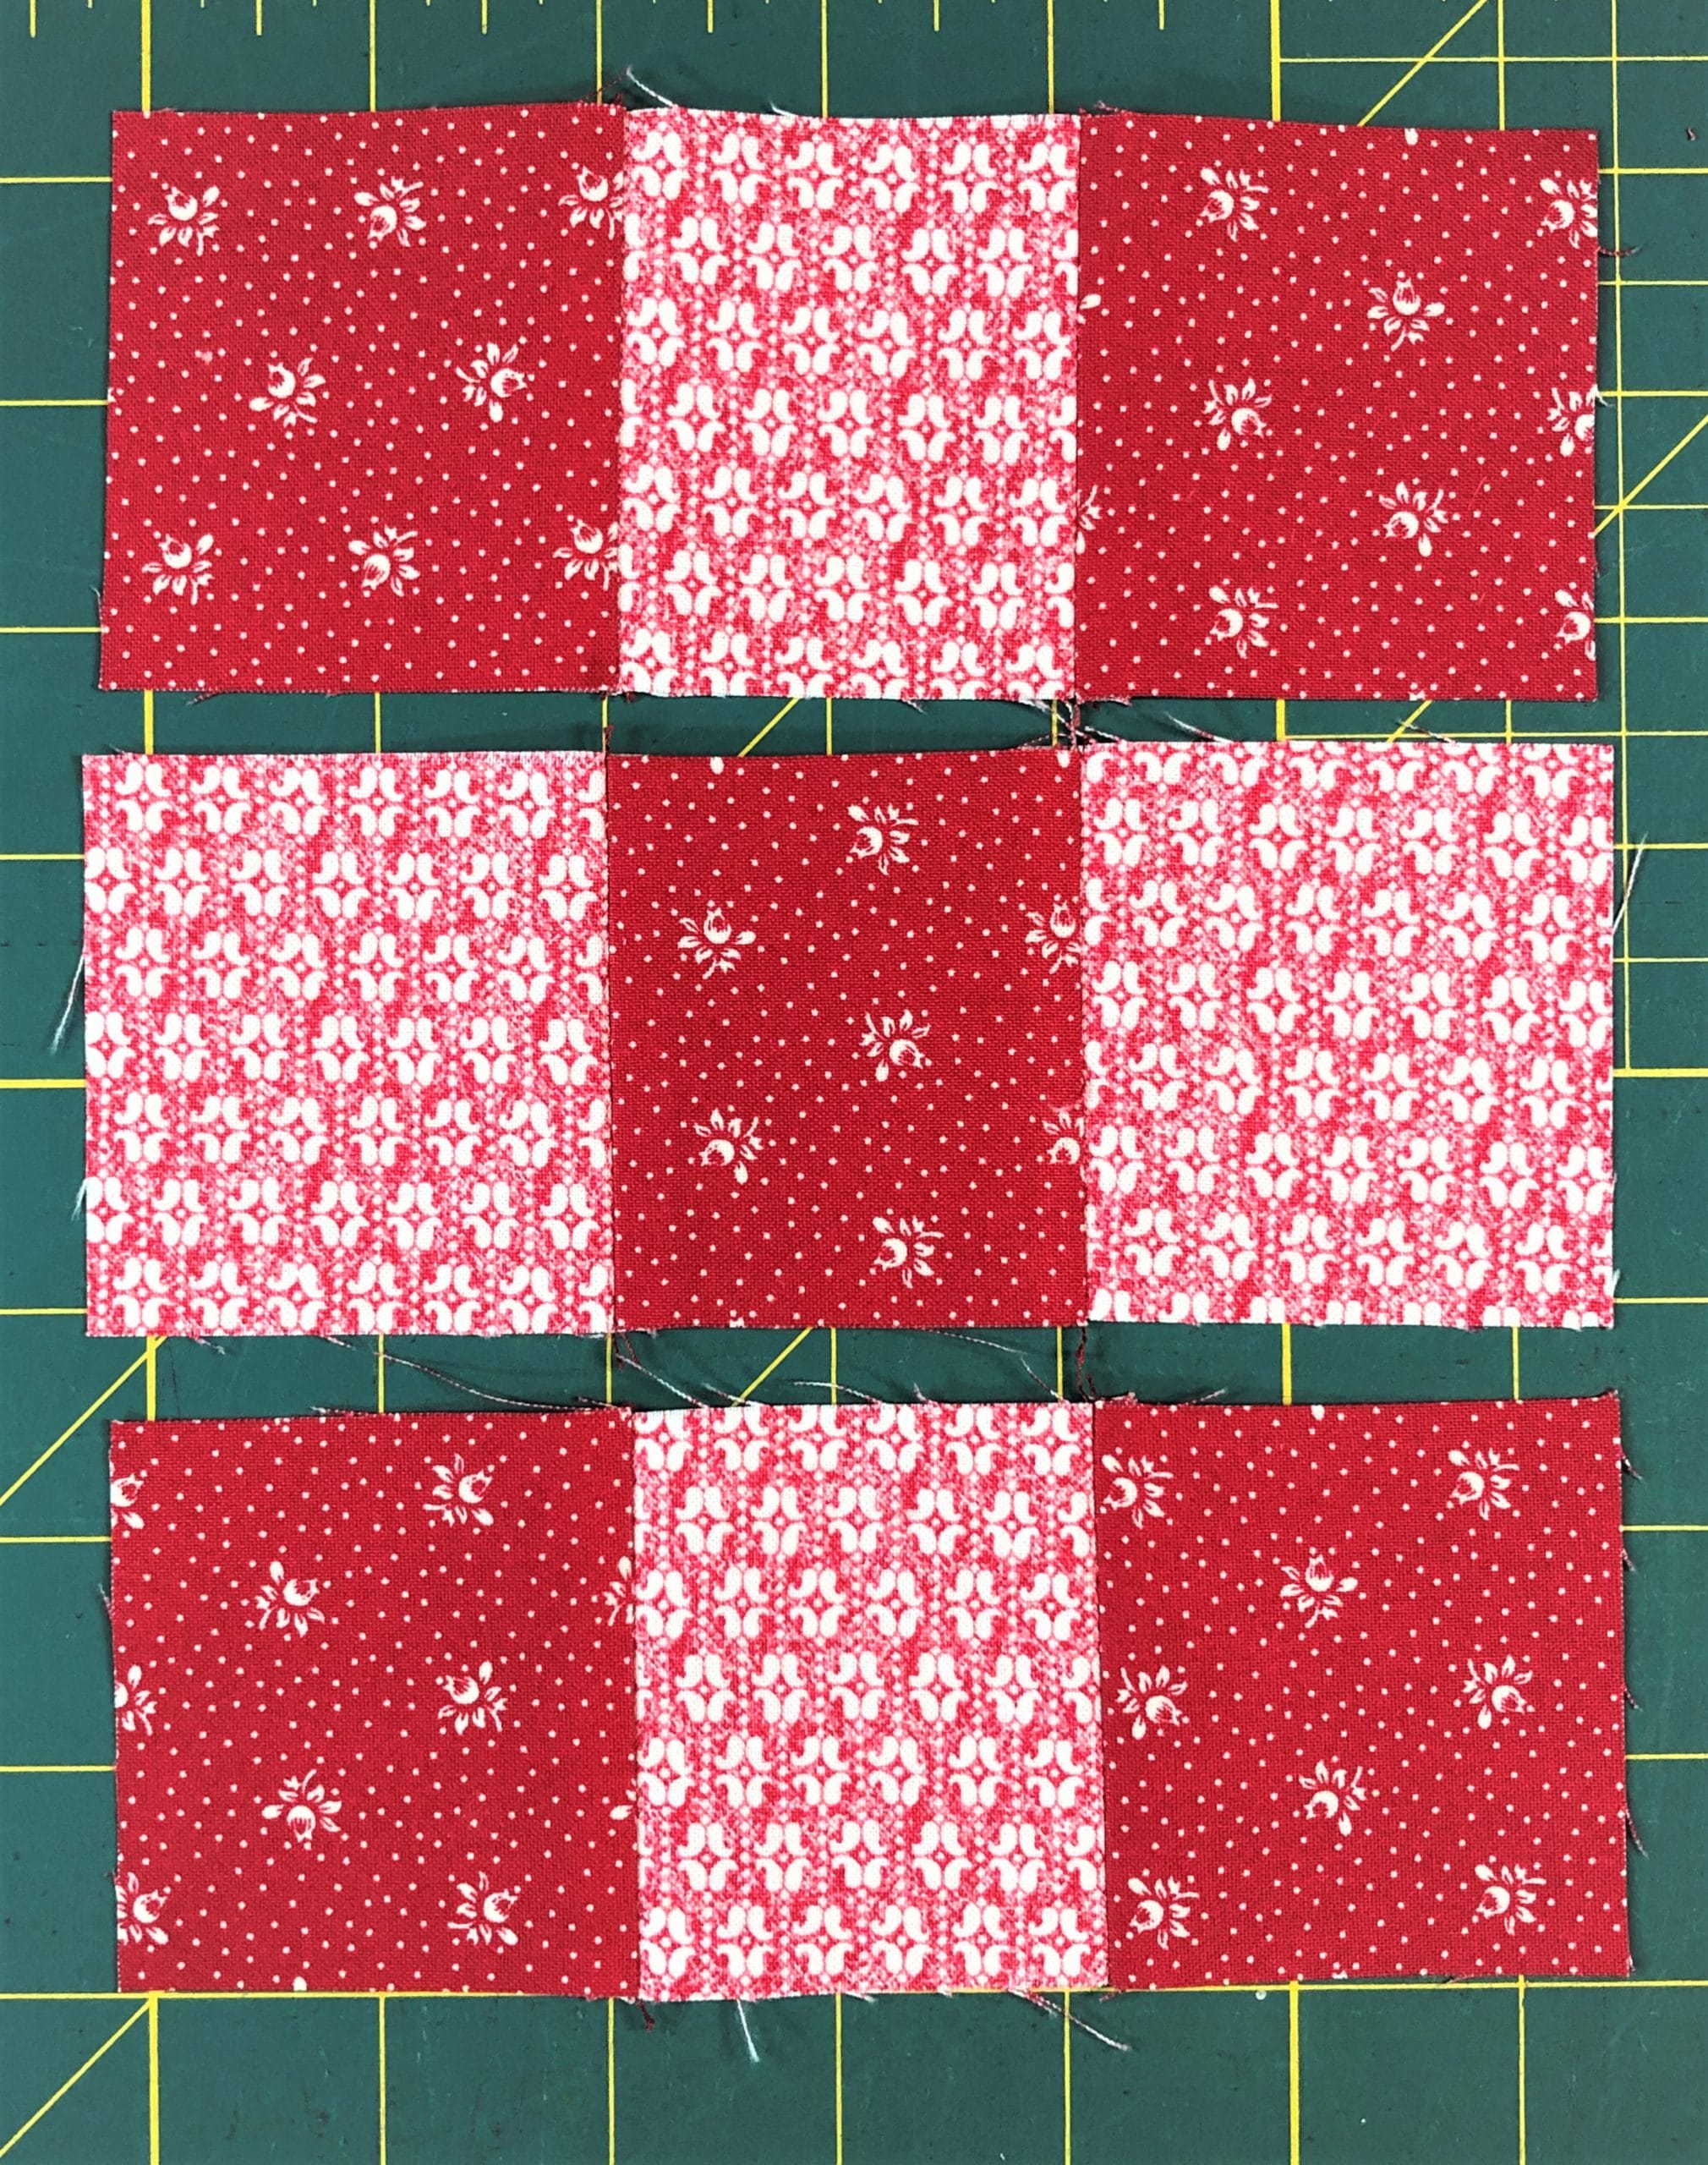
Step 1:
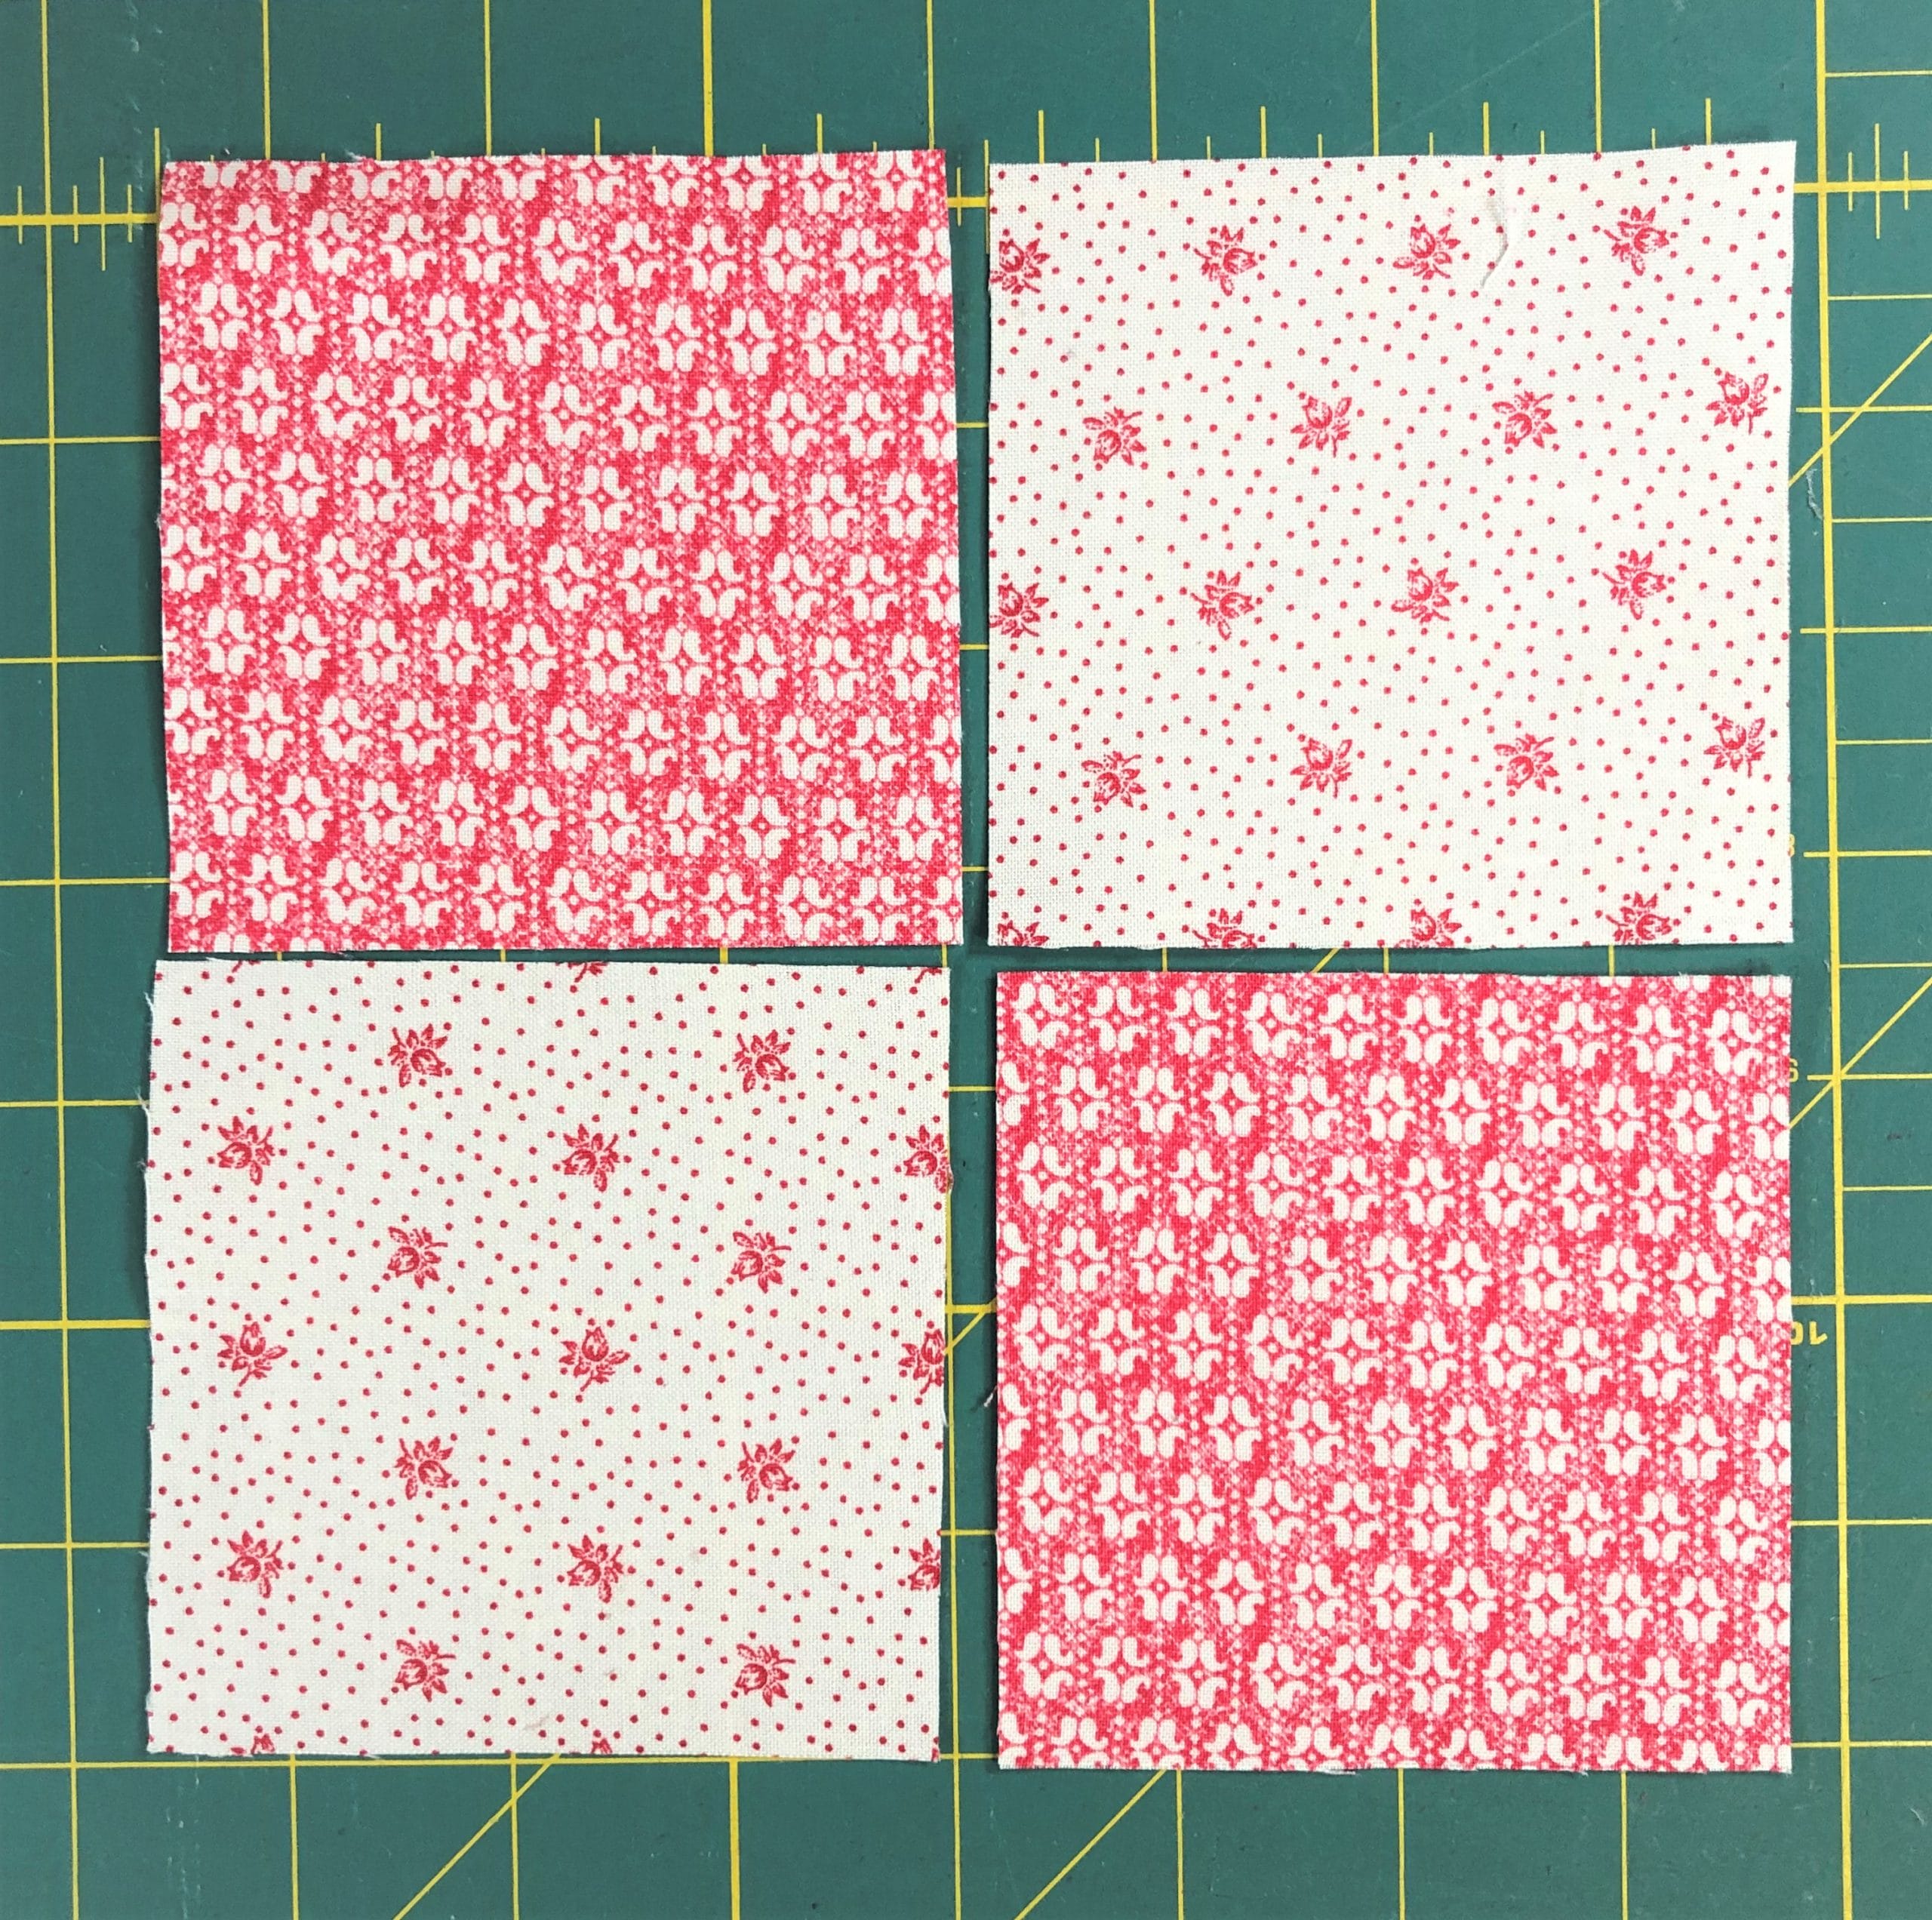
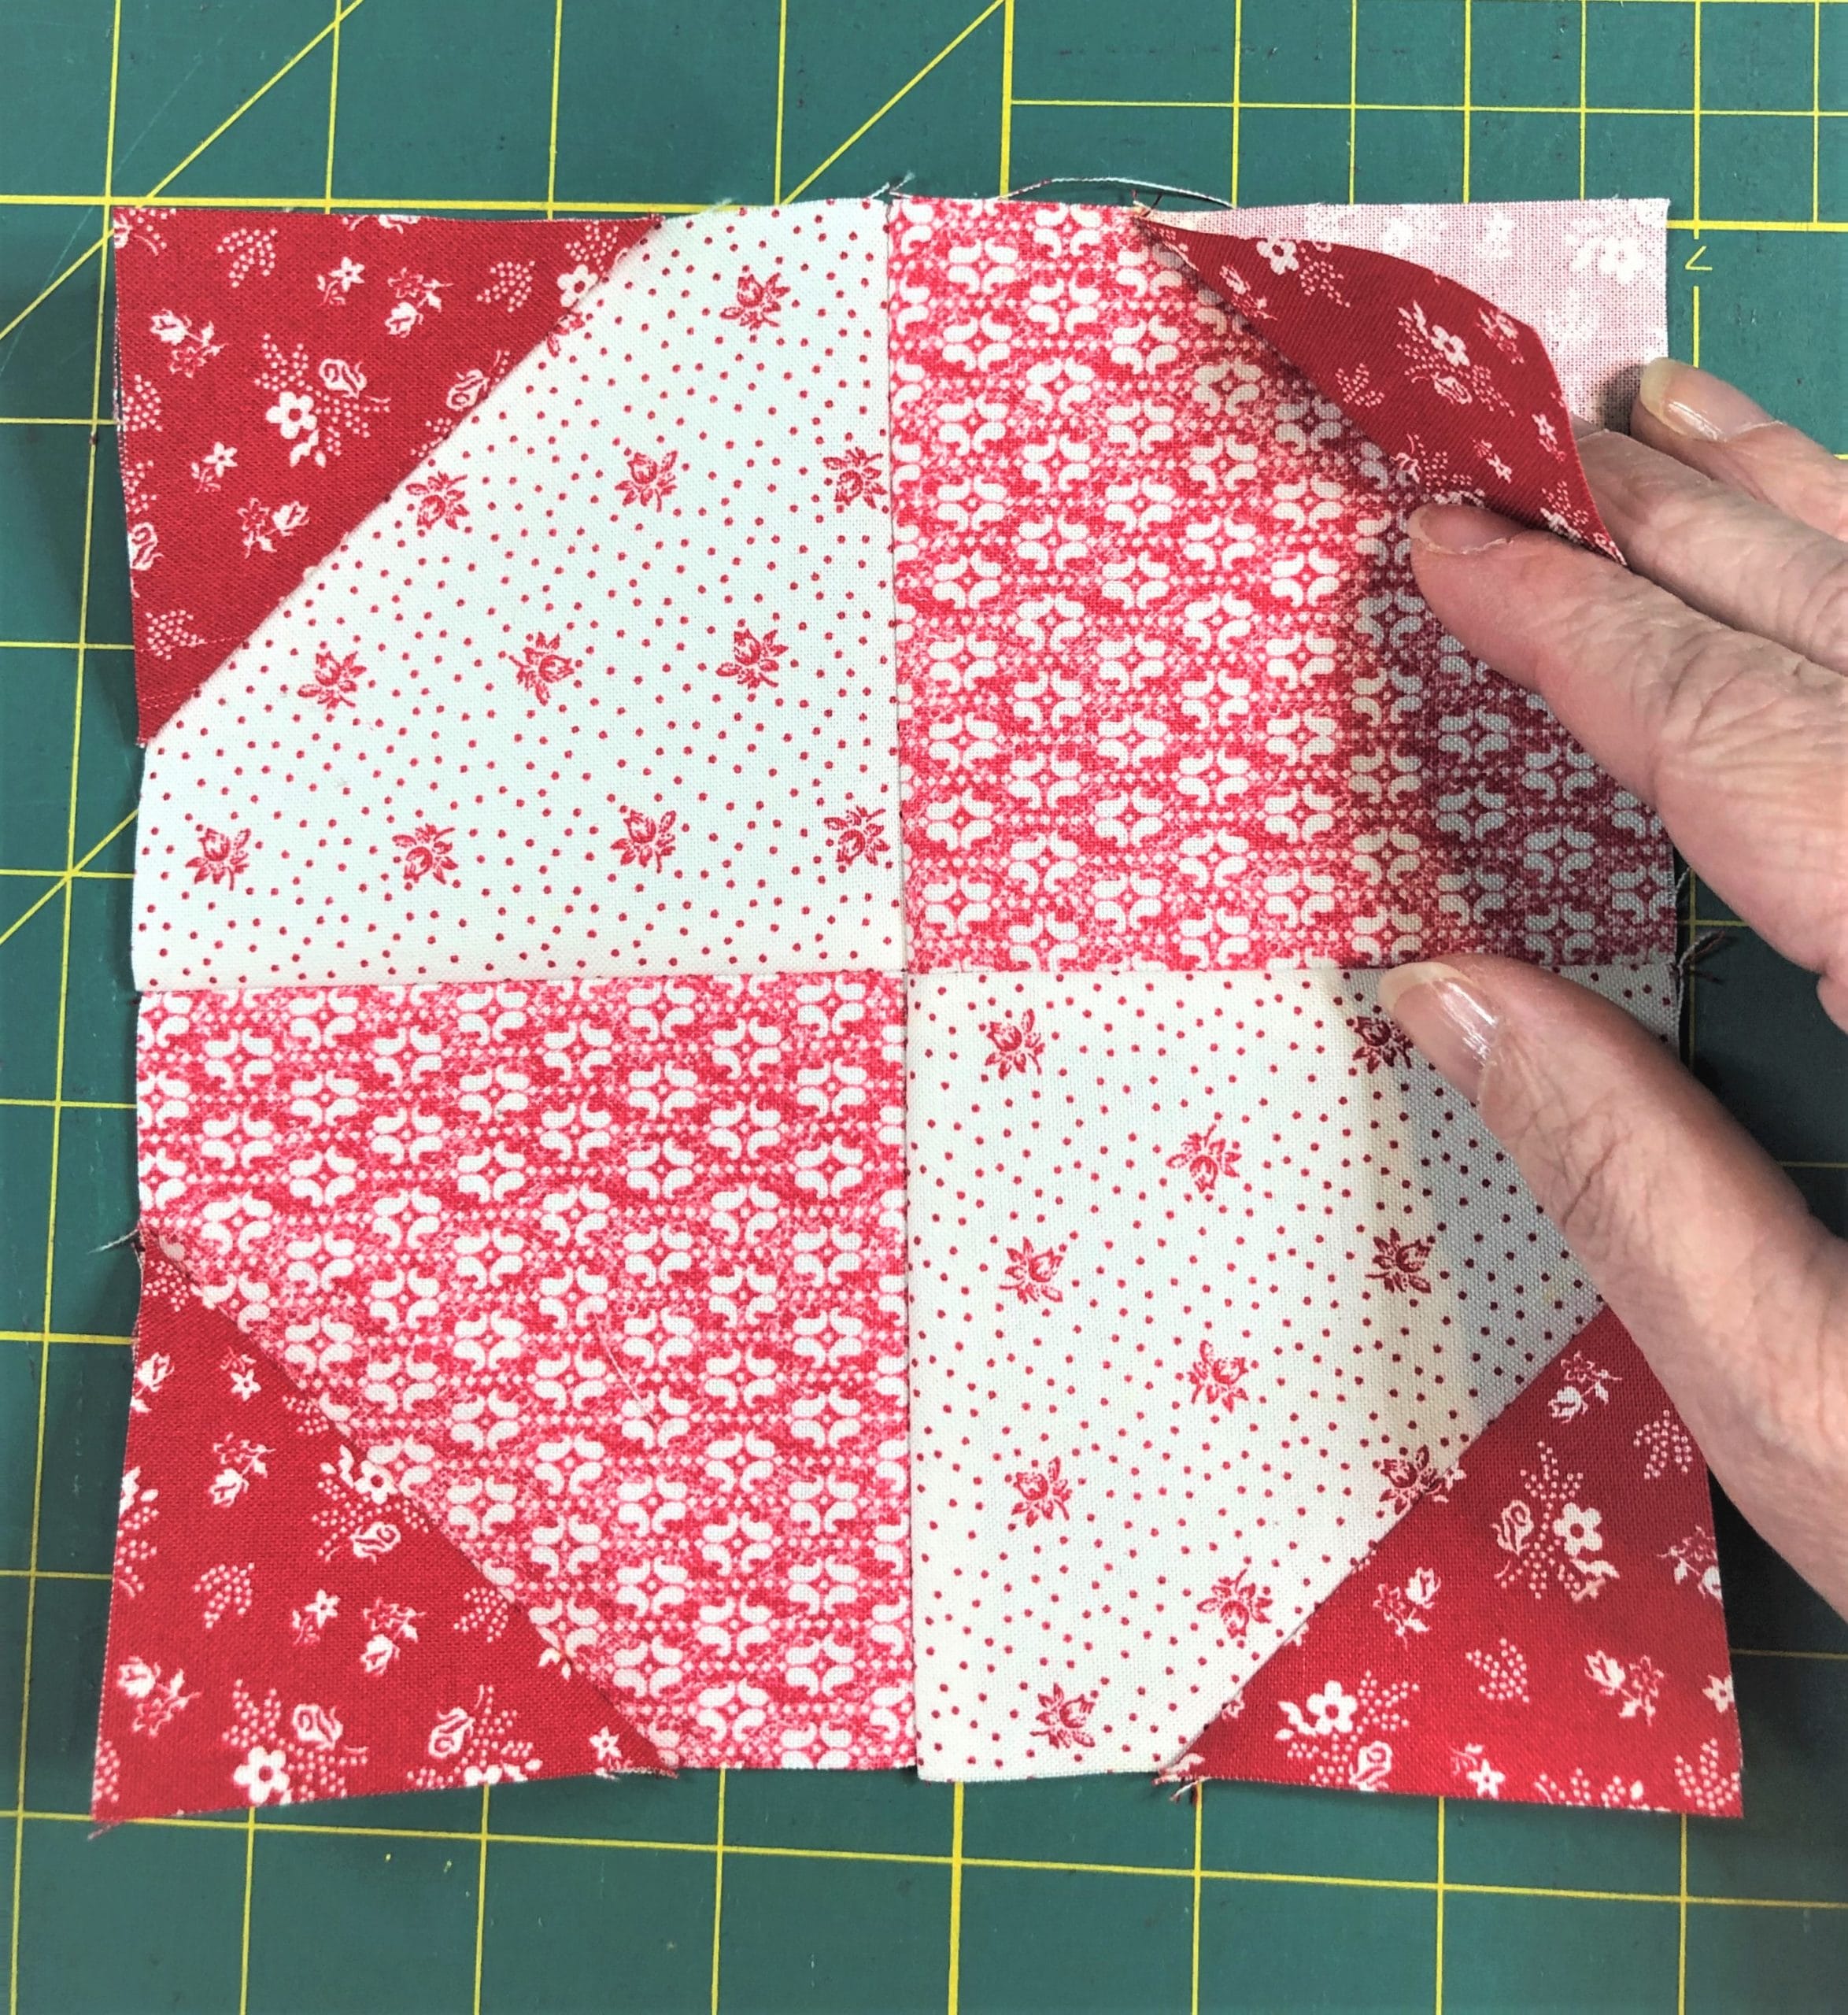
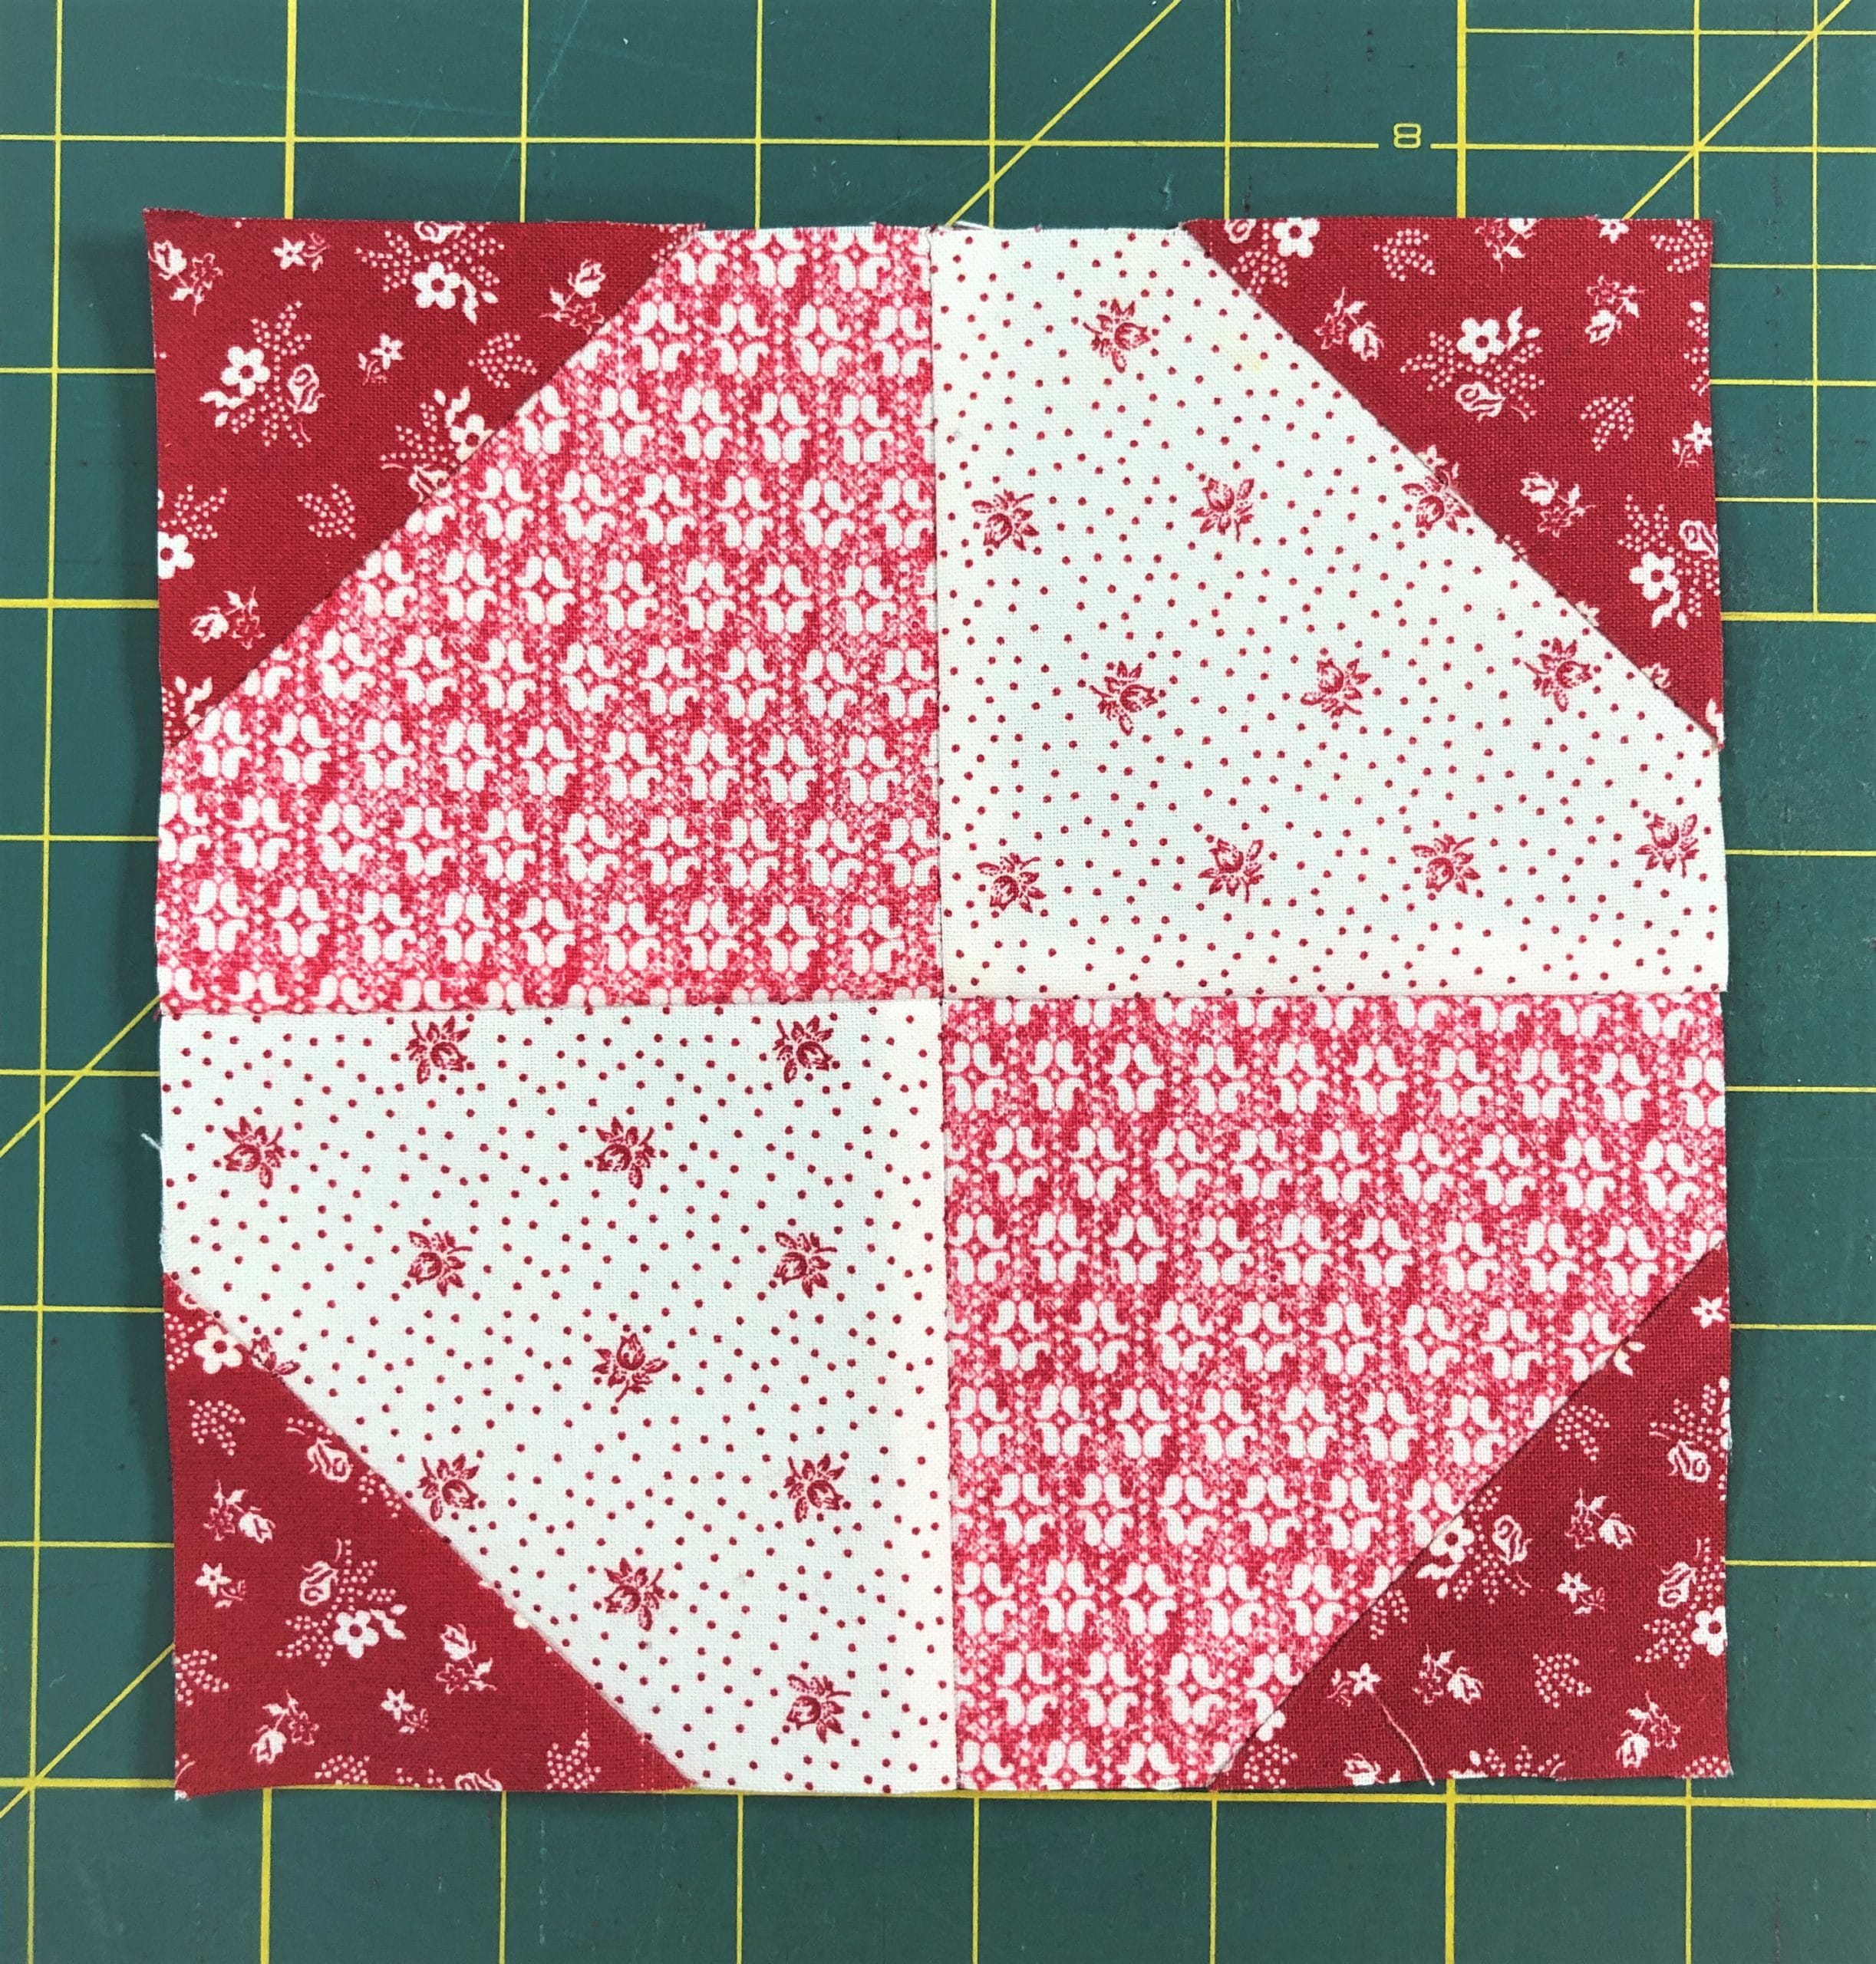
This block starts with a simple 4-patch unit. Please note that the Germanium Red fabric is DIRECTIONAL. While it really doesn’t matter if you have your fabrics oriented the same or not, I chose to have both of my B squares with the pattern in the fabric going up and down.
Step 2:
Next, I sewed on those D squares by placing them in the corners and sewing on the marked lines. Whenever I am doing this technique, I always flip up my squares and check them before trimming off the excess. They should match up with the existing corners of the 4-patch block. If the corners come up short, then I know I need to rip things out and re-stitch. To avoid this, I usually sew just a scooch outside the marked line, next to the side that is closest to the corner. Does that make sense?

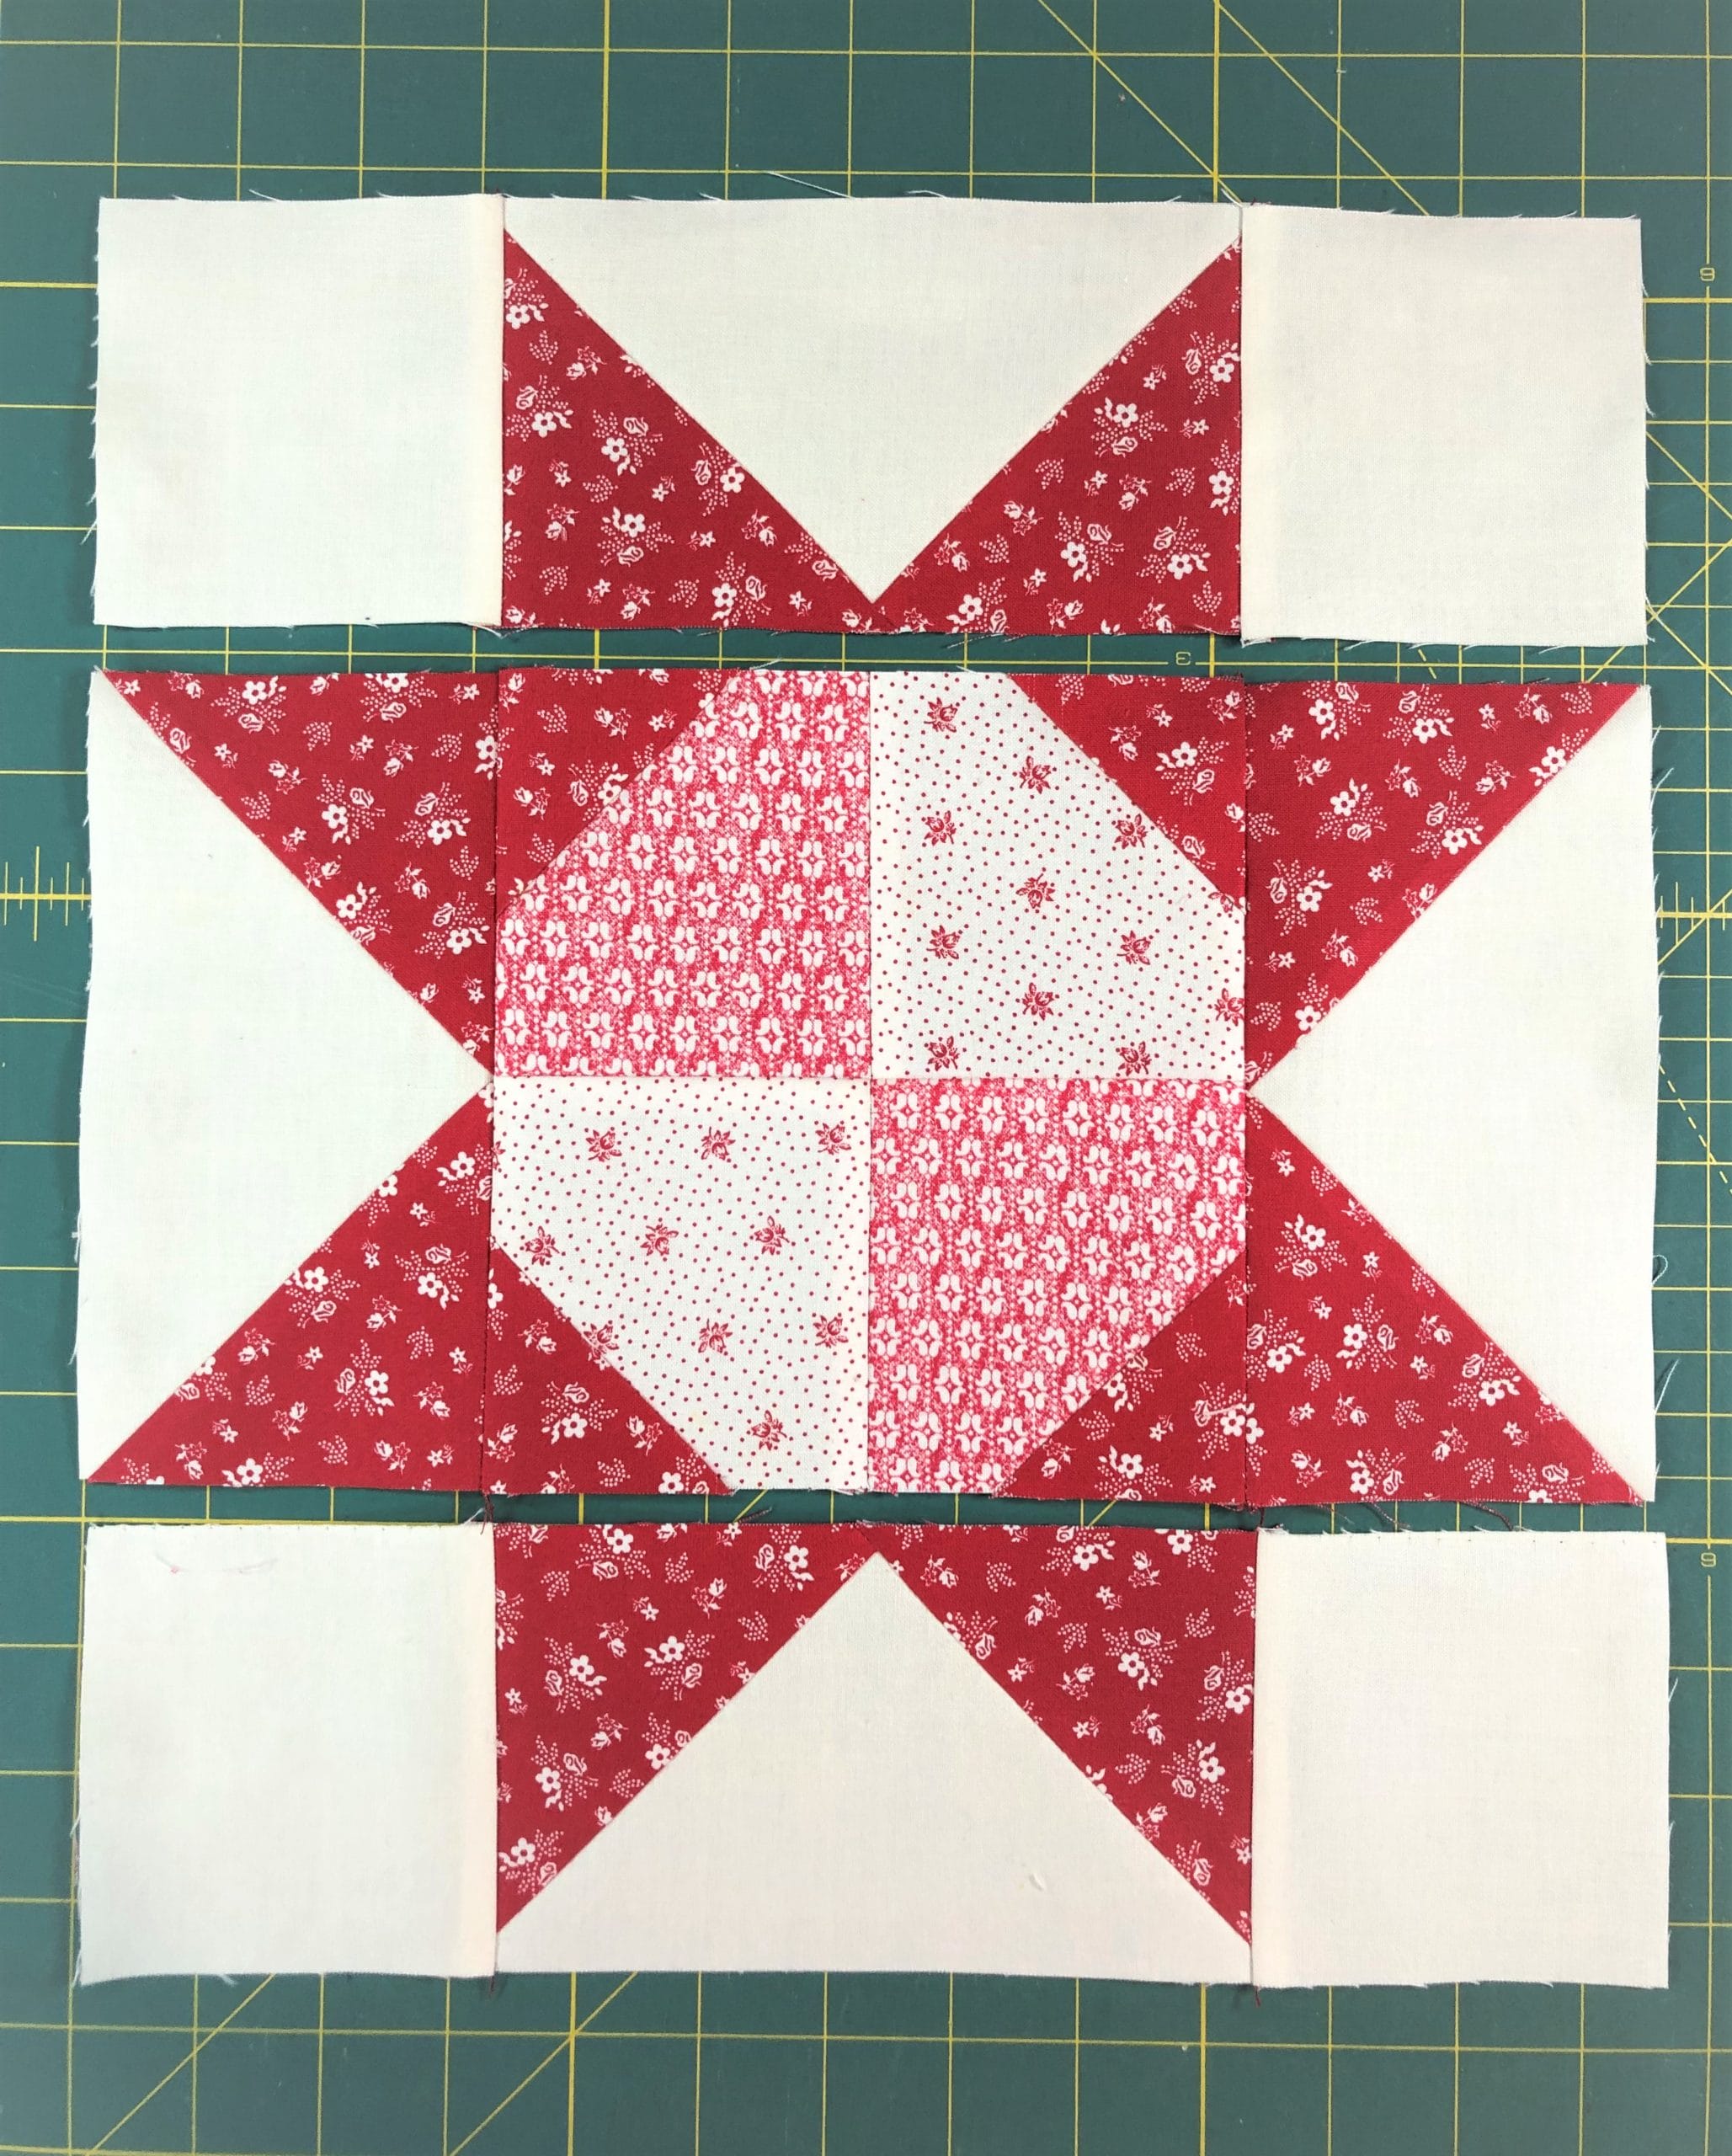
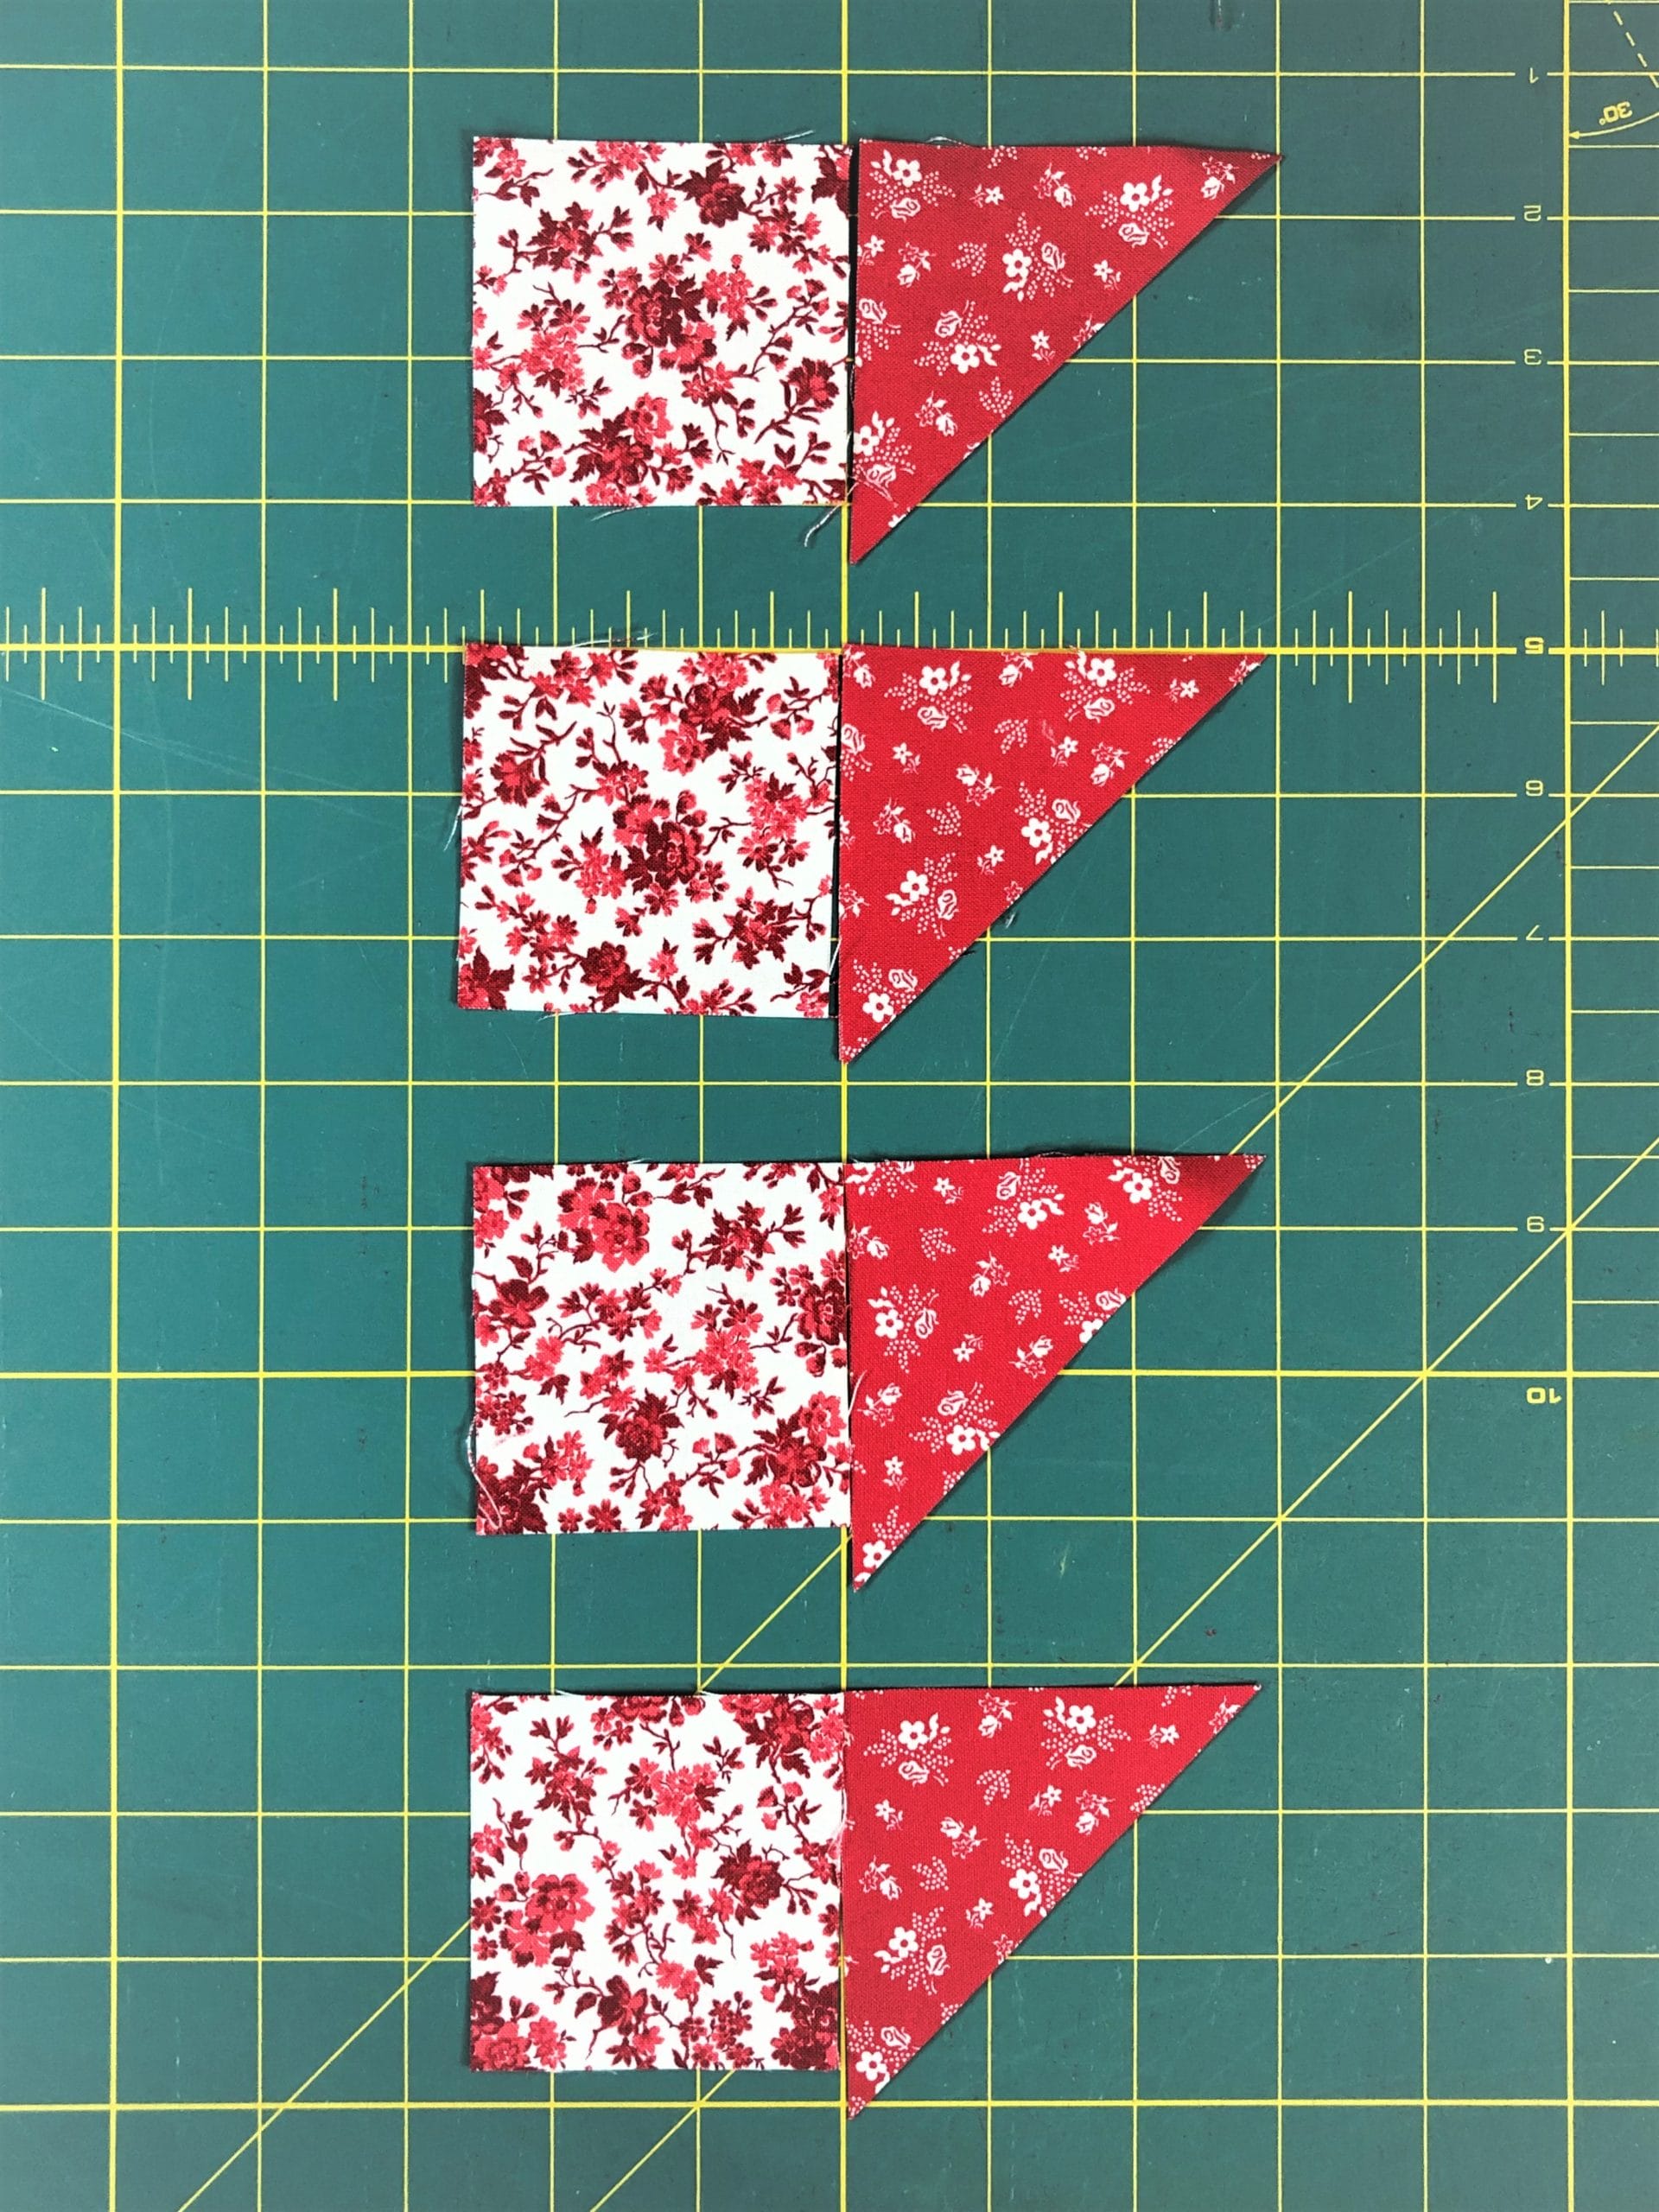
In steps 3 and 4 we’ll make some more of those fabulous no-waste flying geese, only bigger than the ones we made in block 6. I won’t bore you with more detailed instructions.
This block is assembled the same way as the center portion of block 6. The only tricky part is making sure that those 4-patch seams line up with the points on the flying geese units. I usually start pinning from there, and then work my way out. Have I mentioned that I’m a prolific pinner? I admire those that can just sew without pinning. I think I’m just to particular to leave things un-pinned. Or maybe I just don’t sew well enough yet??? Haha! Maybe in another 30 years of sewing I’ll master the no-pinning thing.
Again, I lay everything out first before I begin pinning and sewing, because nothing is worse than thinking you’ve finished a block only to realize that you messed up and have to rip and re-sew.
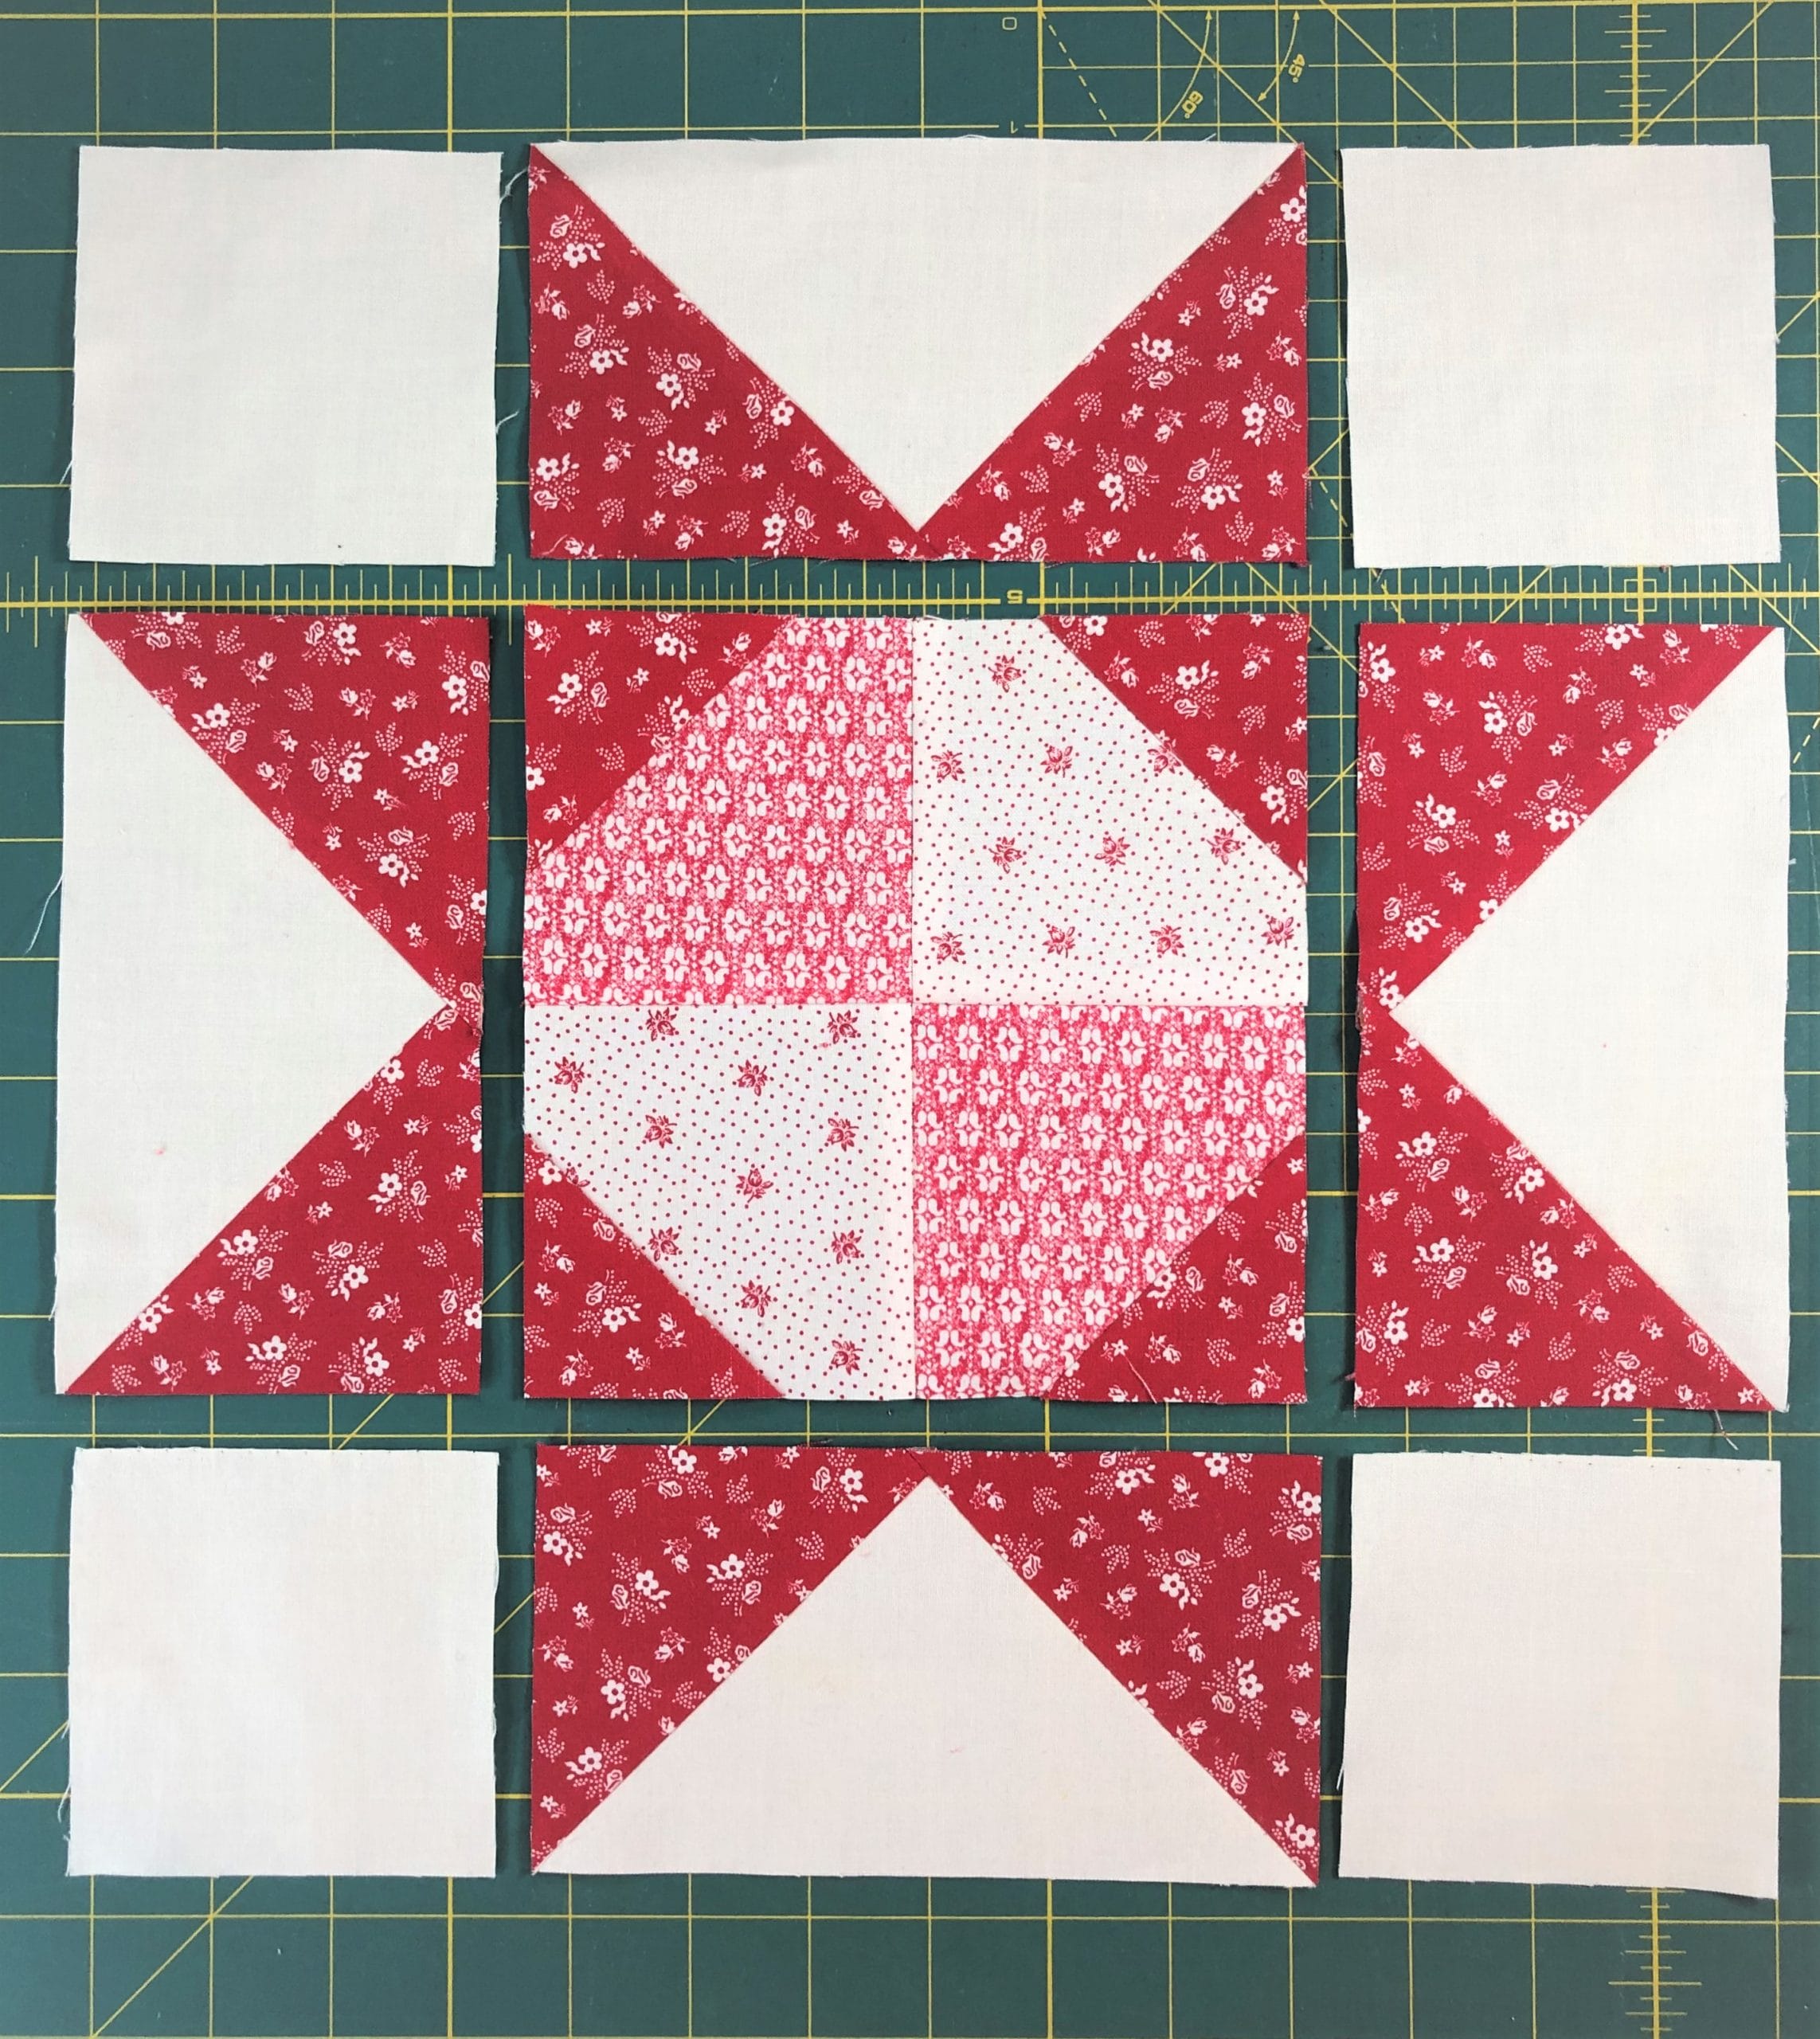
Next I’ll just sew the block into the three sections, and then sew everything together.
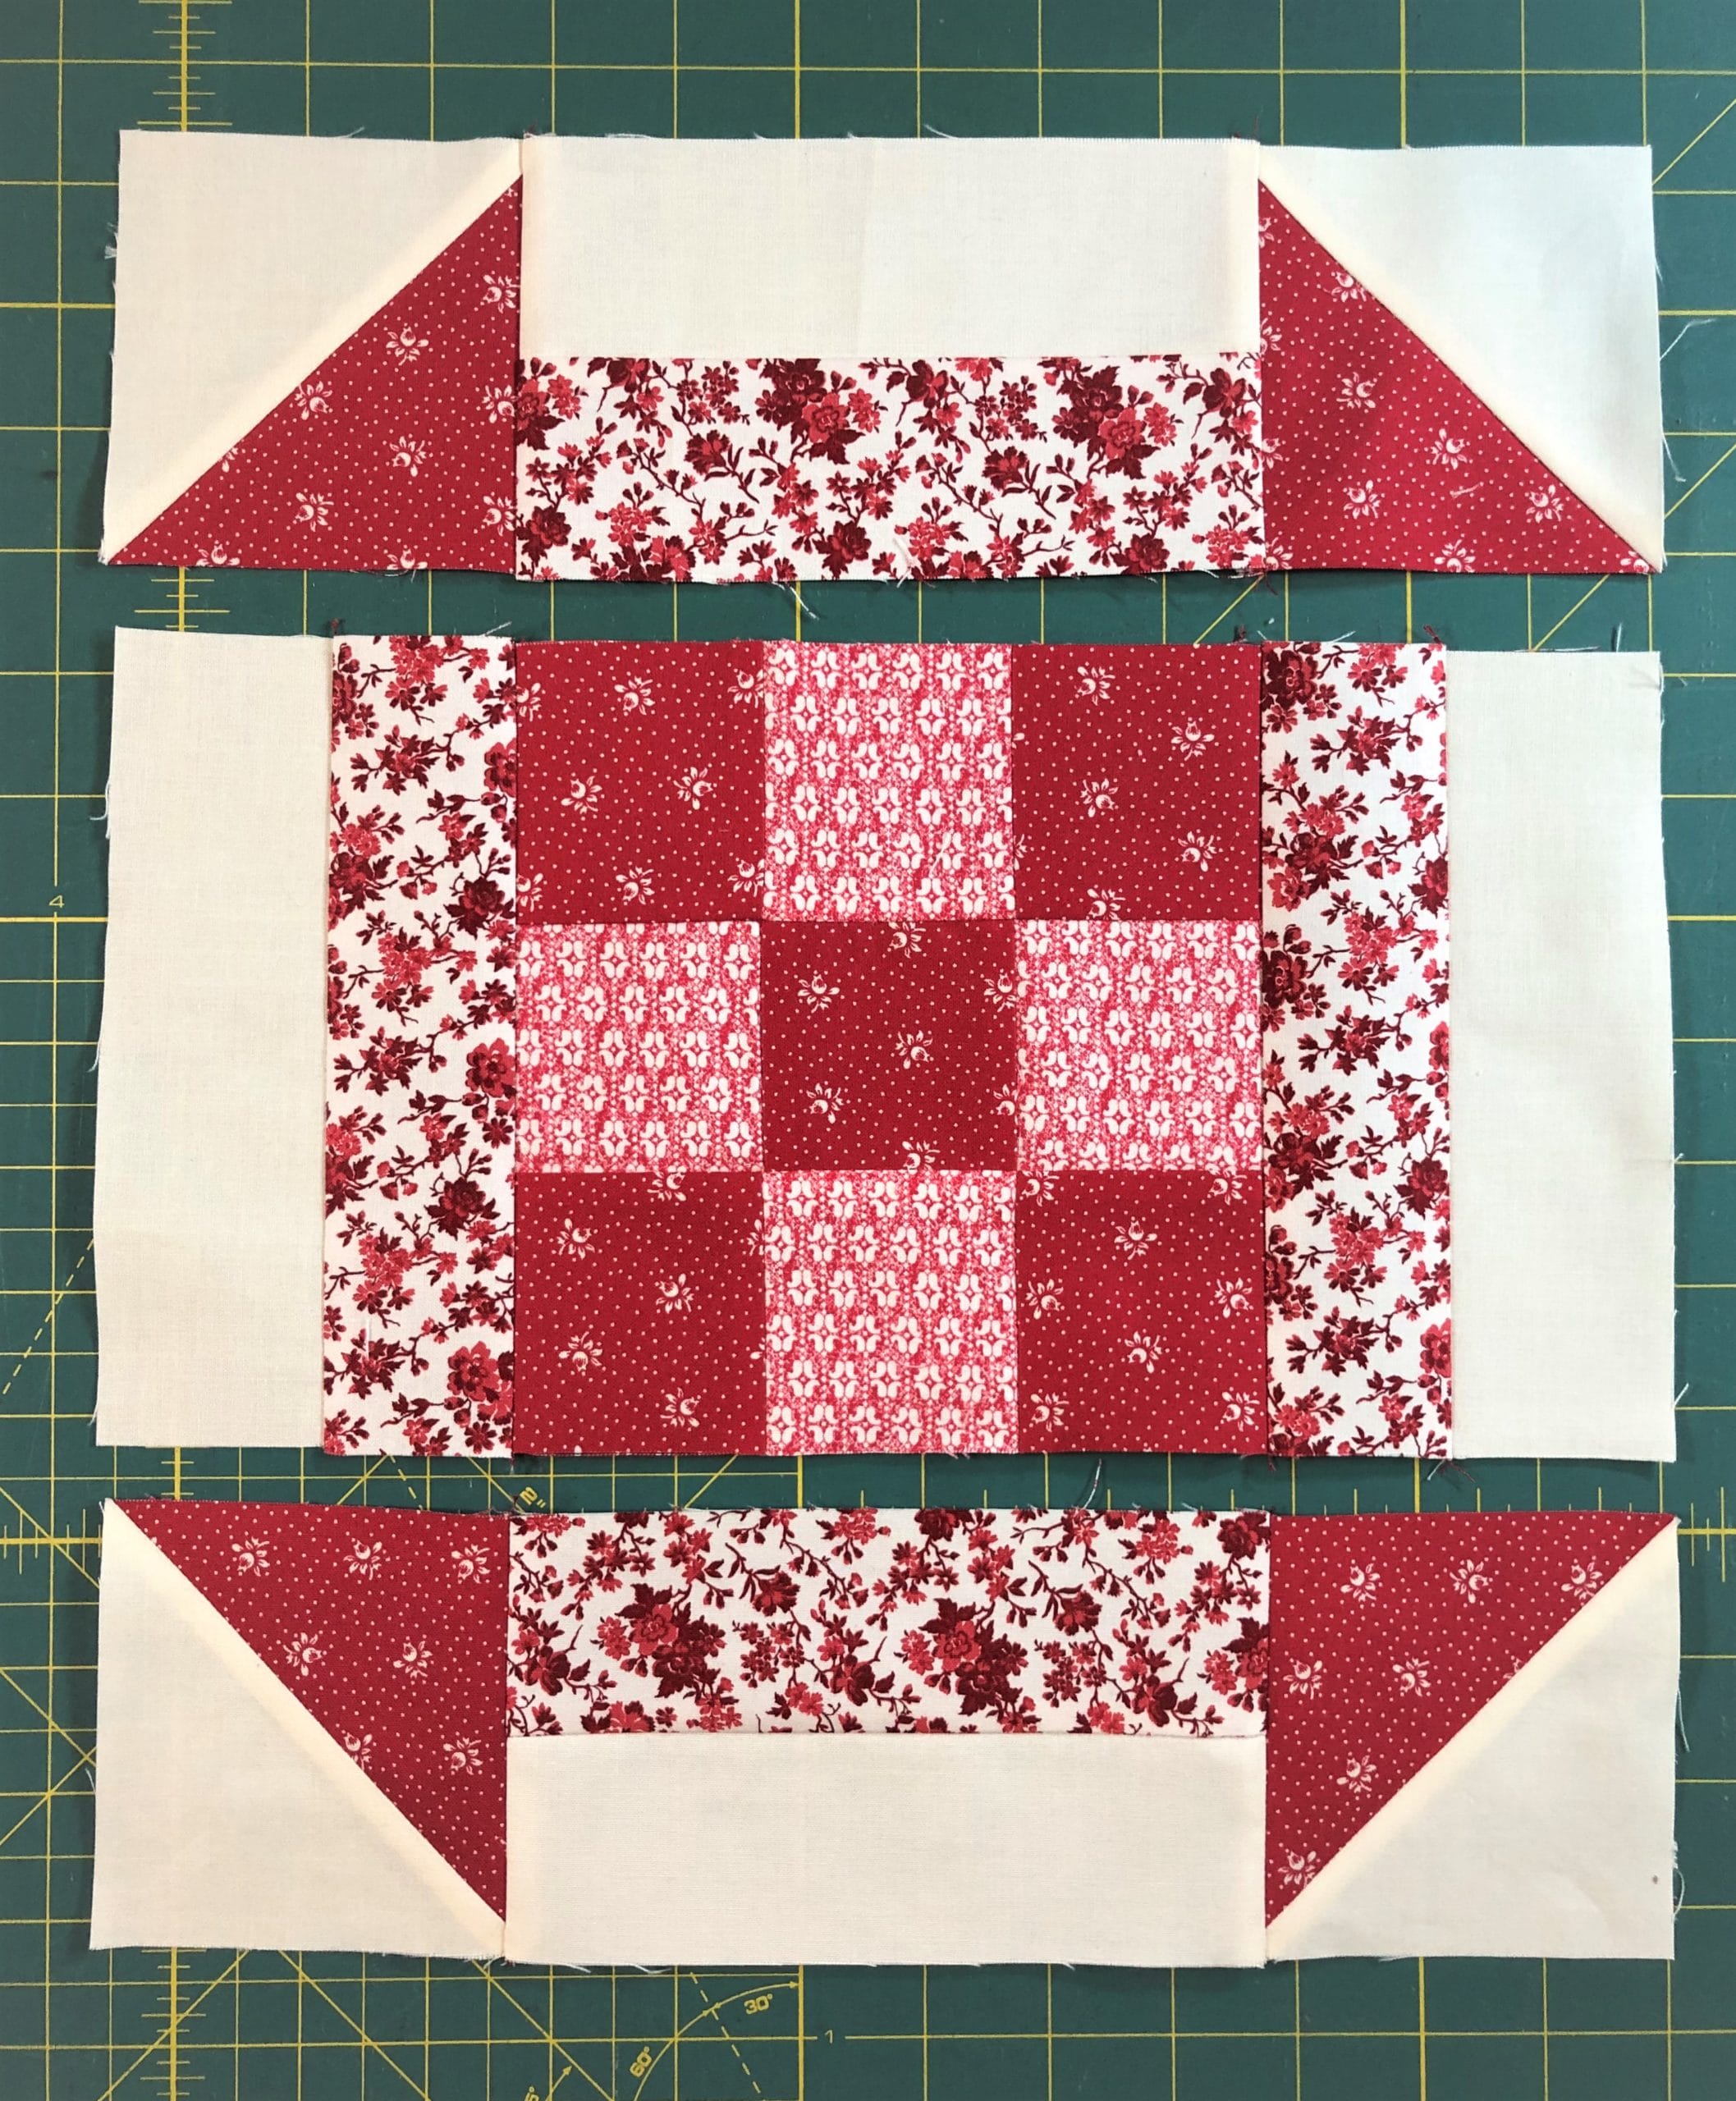
Block #15

This little 9-patch Churn Dash block is a cinch to make, and goes pretty fast. Begin by sewing up a 9-patch unit for the center, and make sure it measures 6-1/2” square when done. Also make sure that you’ve ironed all your seams toward the darker A fabrics while sewing, so that everything nests together.
Next you’ll make 4 half-square triangles, and trim them to be 3-1/2” square. Again, you can cut these B and F squares a smidge bigger if you like, in order to end up with the proper size when done. Somehow I got busy sewing and forgot to take pictures of the finished half-square triangles, so all I have is what you see below. I have a bad habit of doing that. Sorry!
Now you just need to sew each D strip to an E strip like I’ve shown here. The directions have you pressing your seam towards the E strip, but in this case, it doesn’t matter either way, since there isn’t anything to line it up with.

The block is ready to be sewn together now. Below you can see that I’ve sewn the three rows together and am almost done. I love that this block doesn’t have any tricky piecing or points to match up. So fun and easy!
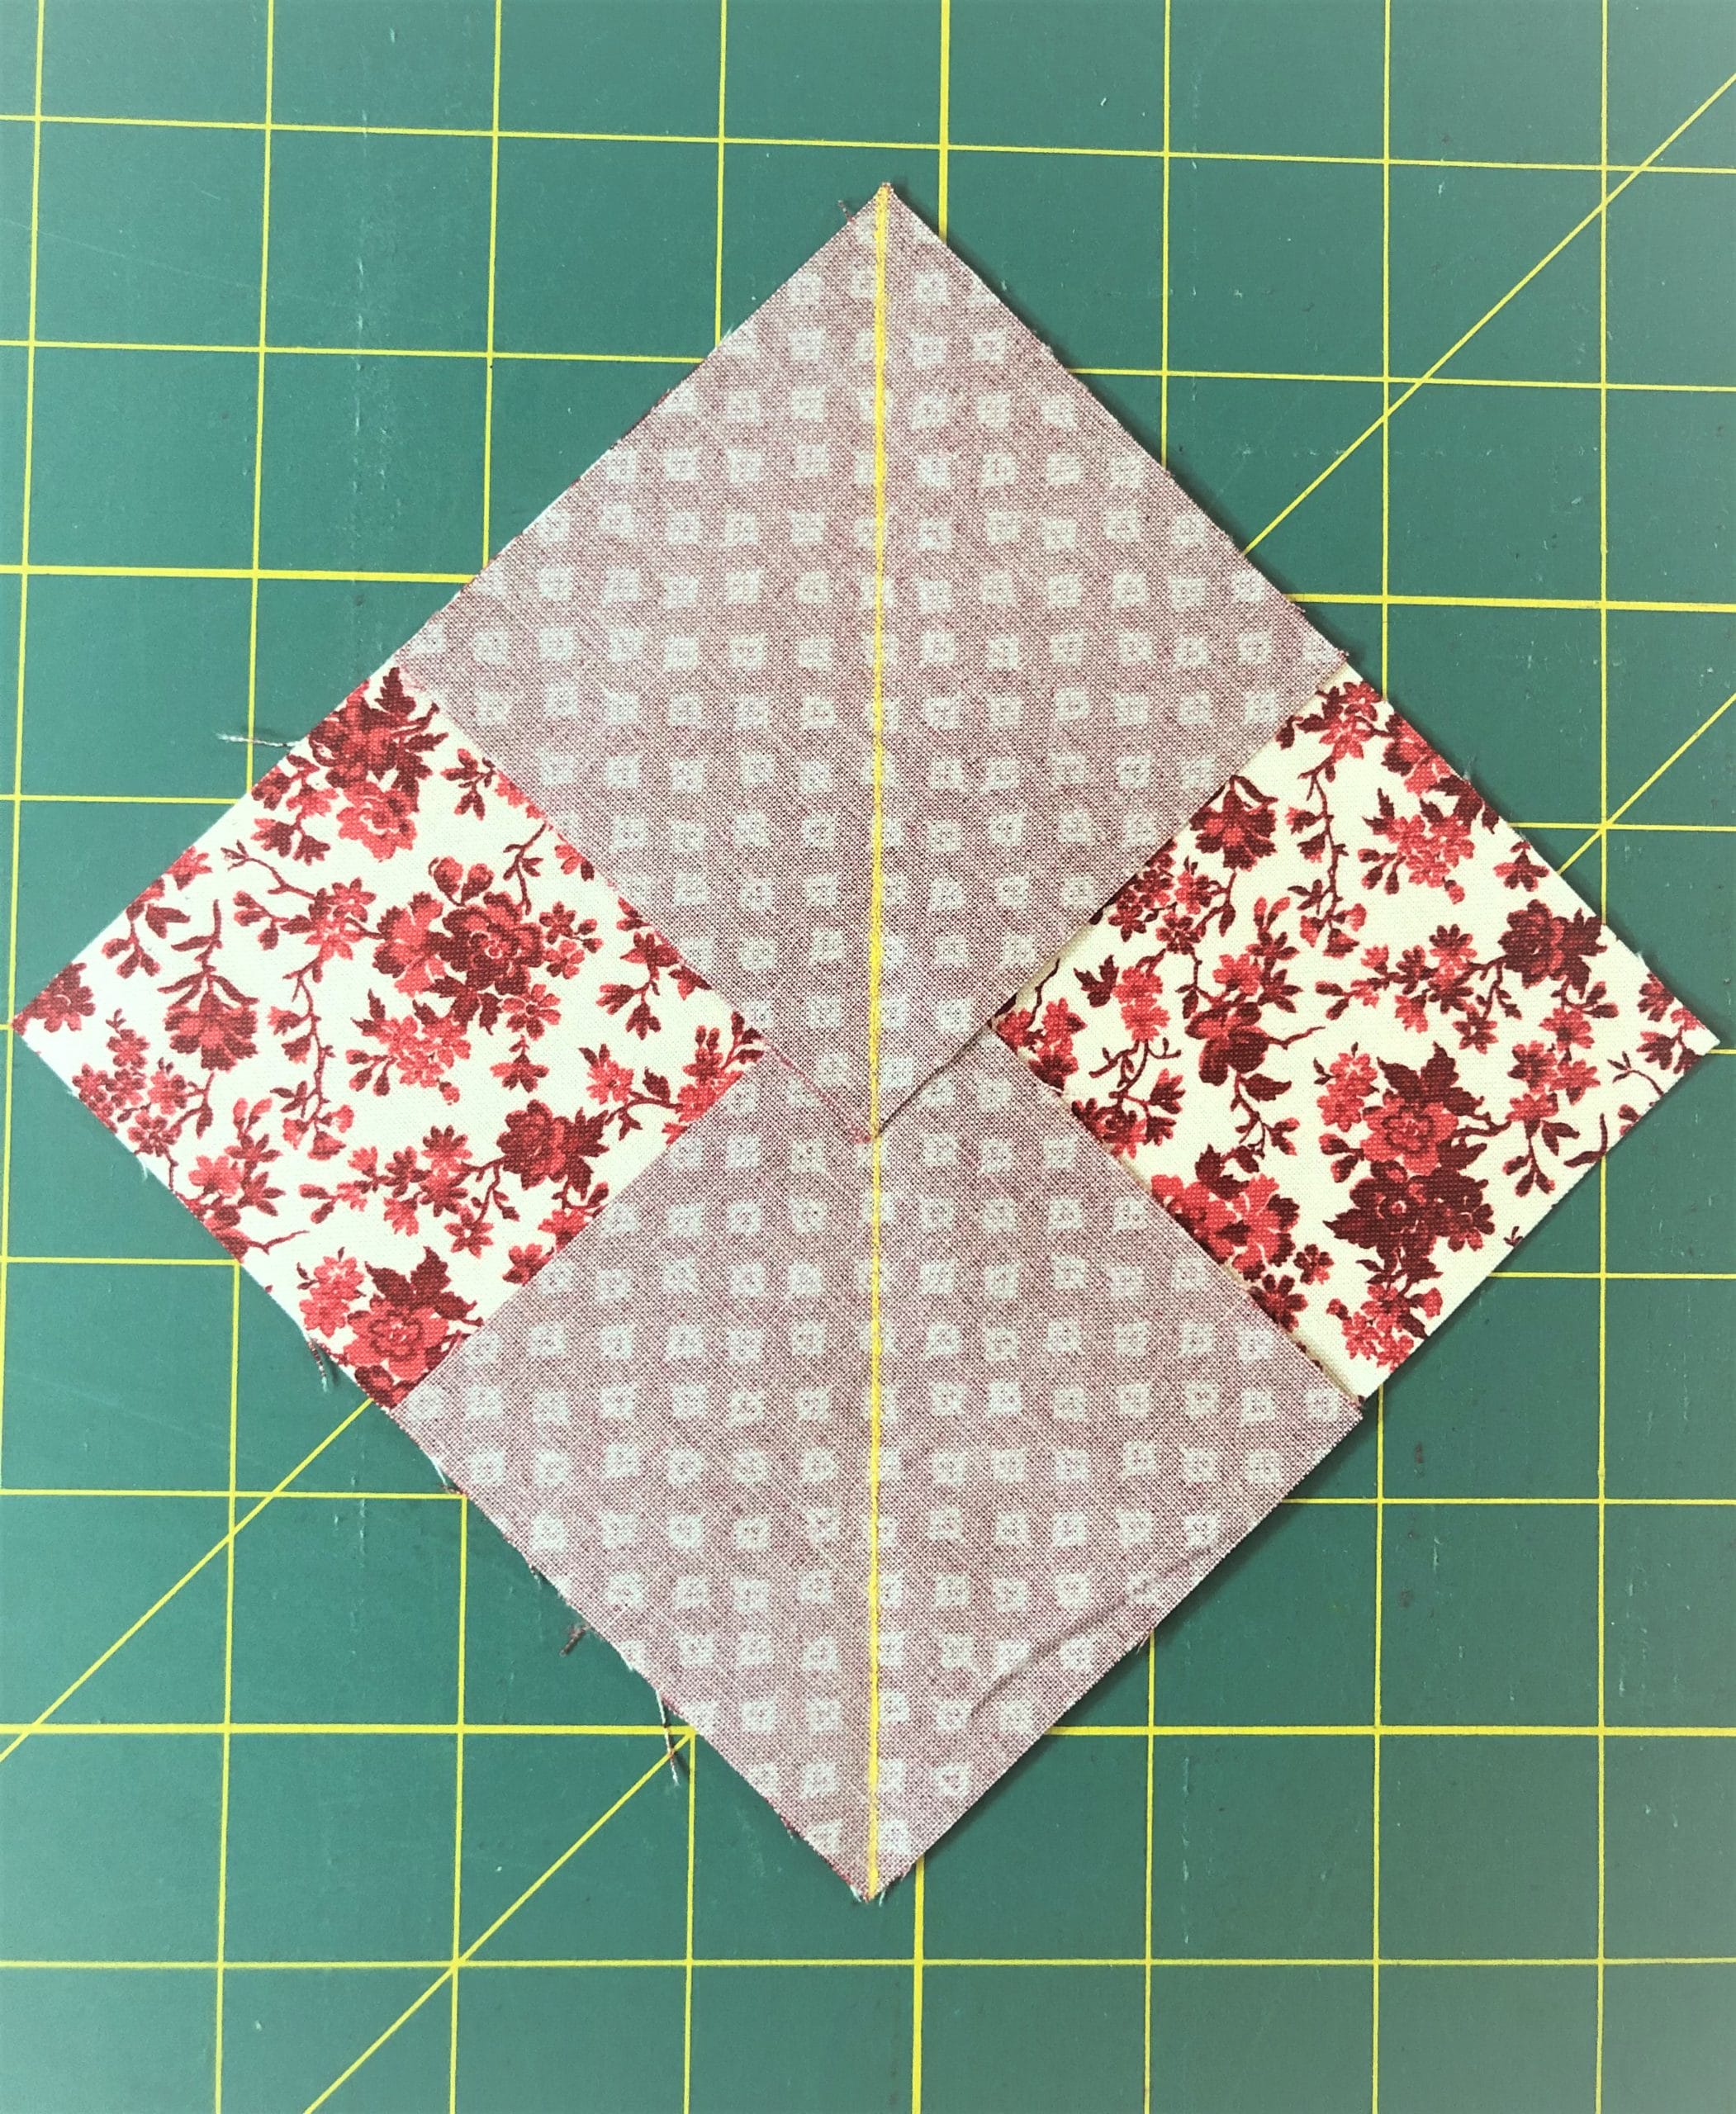
Block #17
This block is perhaps the most challenging one of the month, not because any of the individual techniques are hard, but because it can be tricky to get everything to match up in the end. But have no fear, you CAN do it, and I will walk you through it!
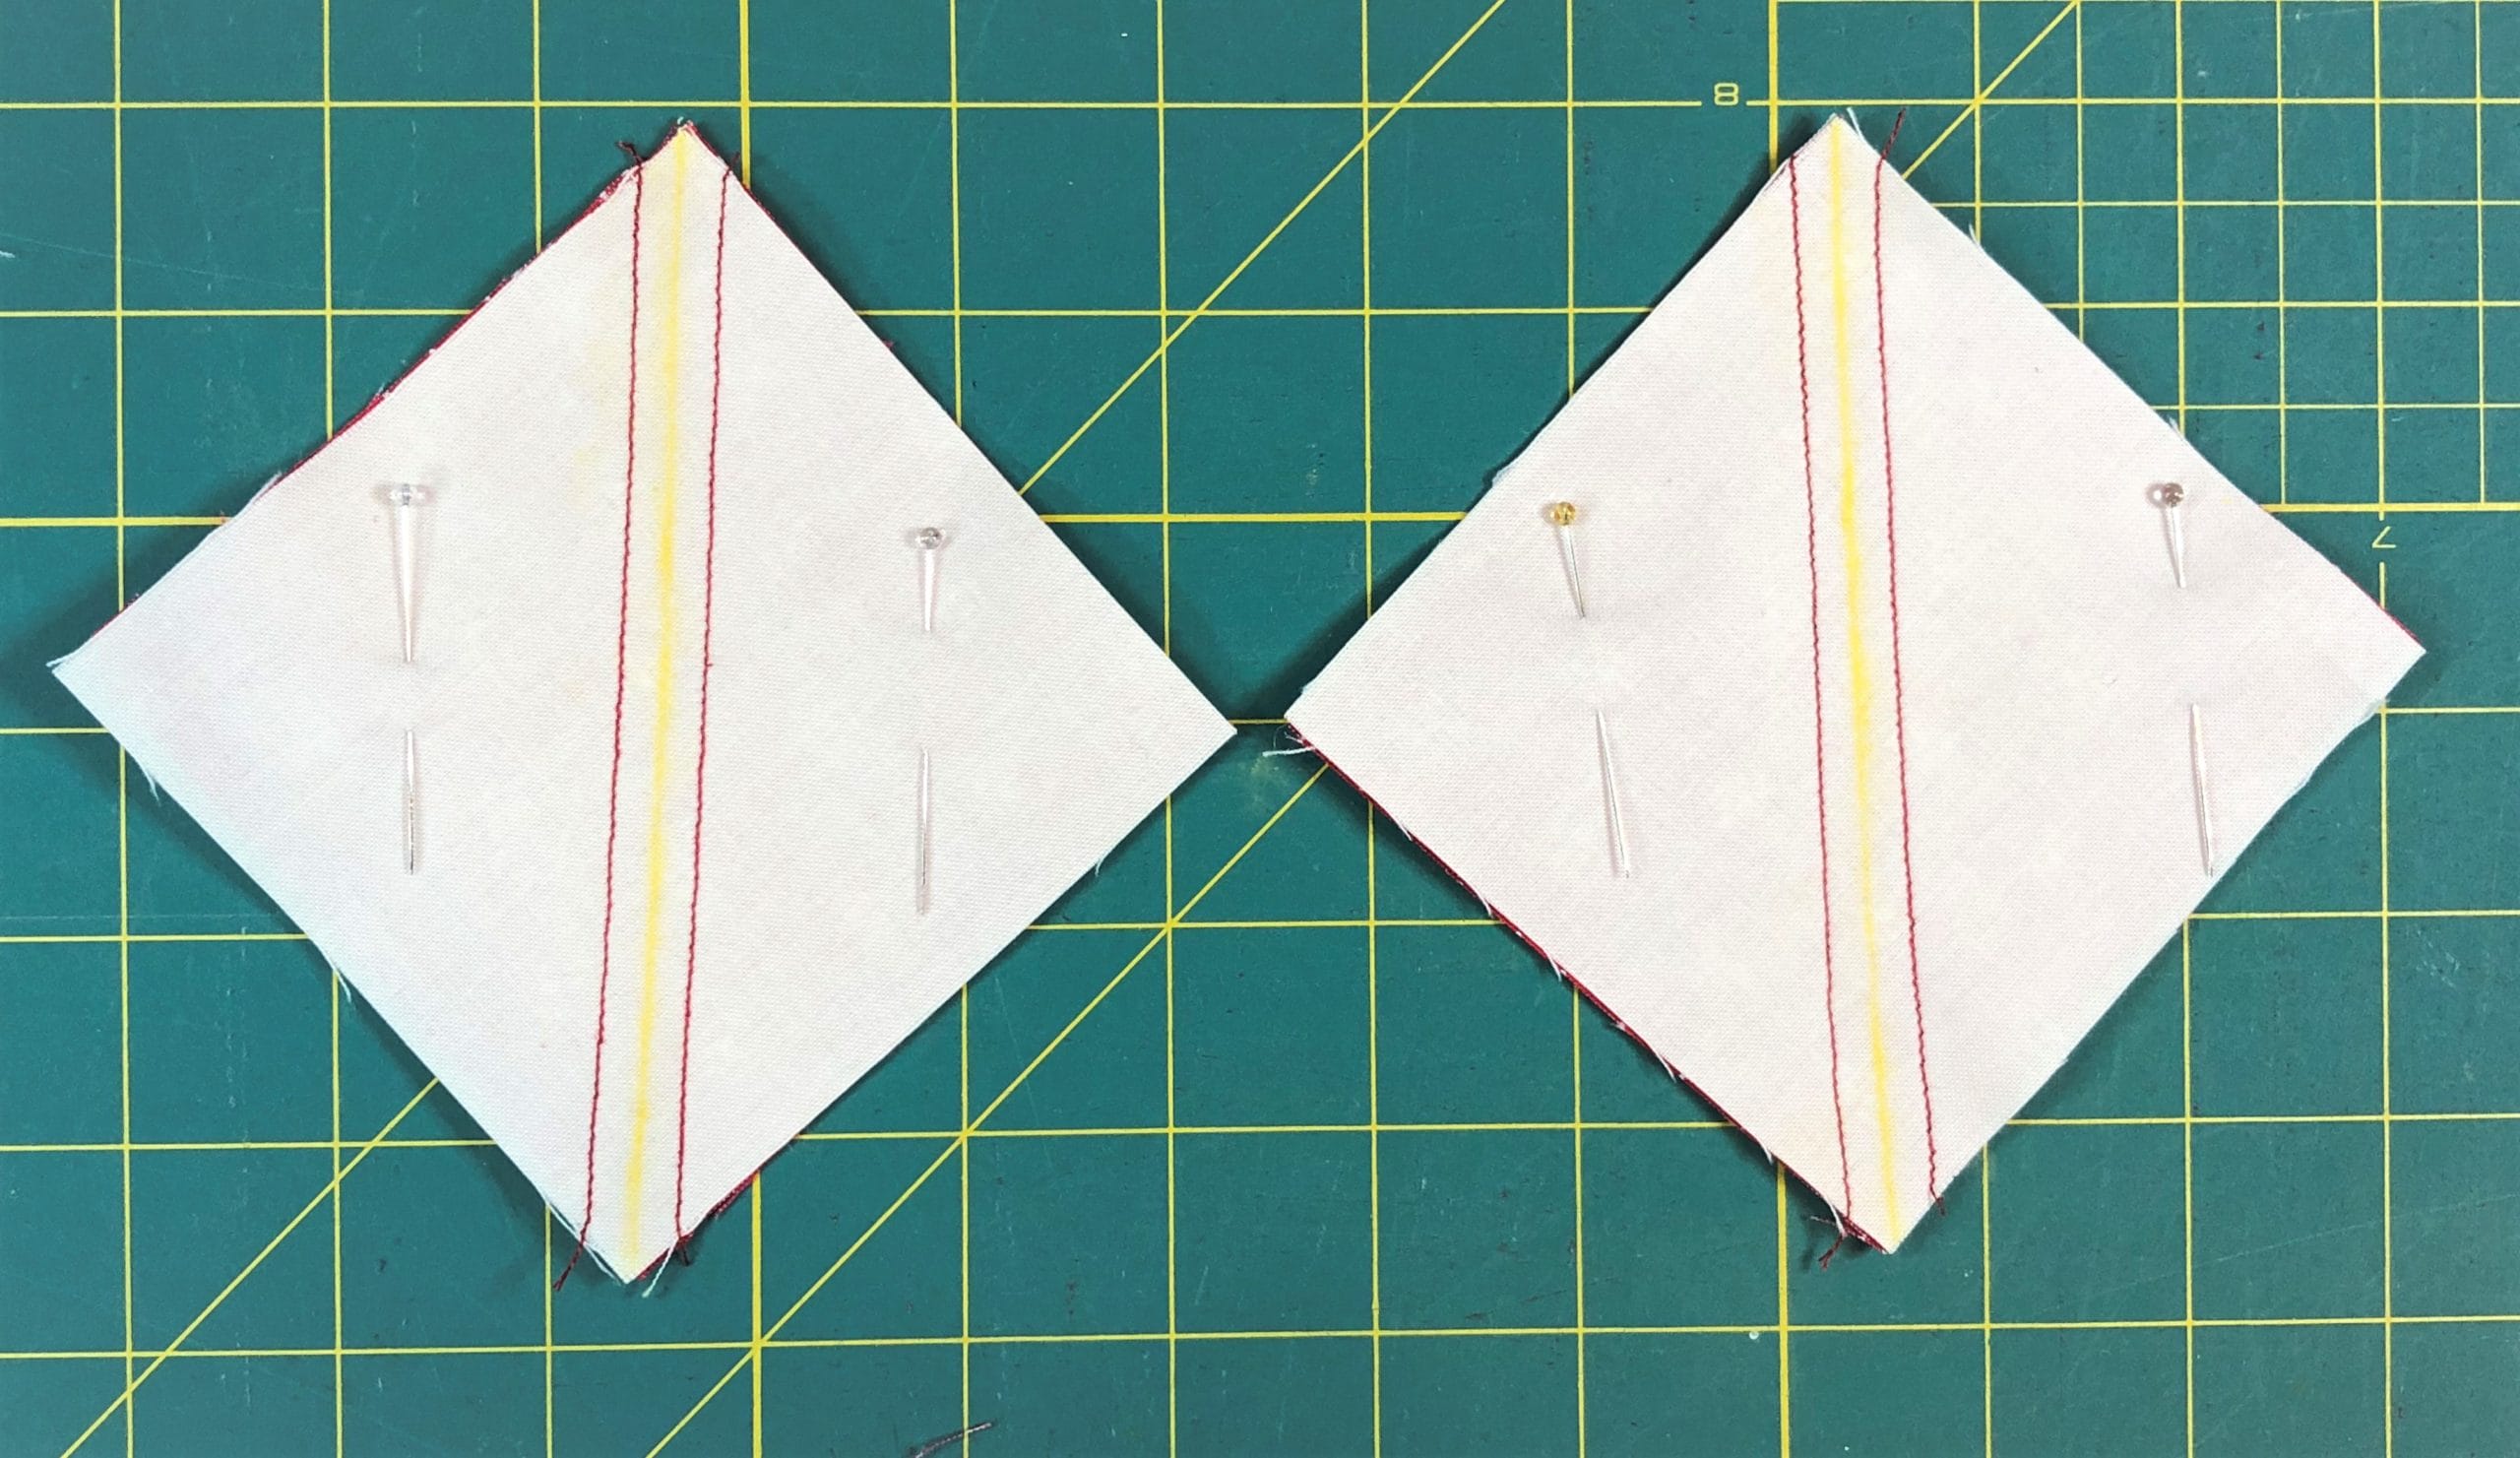
Before cutting out all my pieces with this block, I used a liberal amount of starch on my fabric. This is especially helpful to use on the D and G pieces BEFORE you cut them diagonally into triangles. It will help them to keep their shape and not get distorted while sewing, which happens easily when sewing on a bias.
Another tip with this block is to REALLY make sure you’re measurements are exact as we go along, and that you’re pressing everything according to the instructions.
Step 1:
We begin with the same old steps of making our no-waste flying geese. Again, I won’t bore you with the details.
Step2:
After you’re finished with these, sew an F strip to the top of each one. And YES, even though it is counter-intuitive, press DOWN toward the flying geese unit. Trust me, it’s going to work out in the end. Make sure this unit is 4-1/2” square when done.


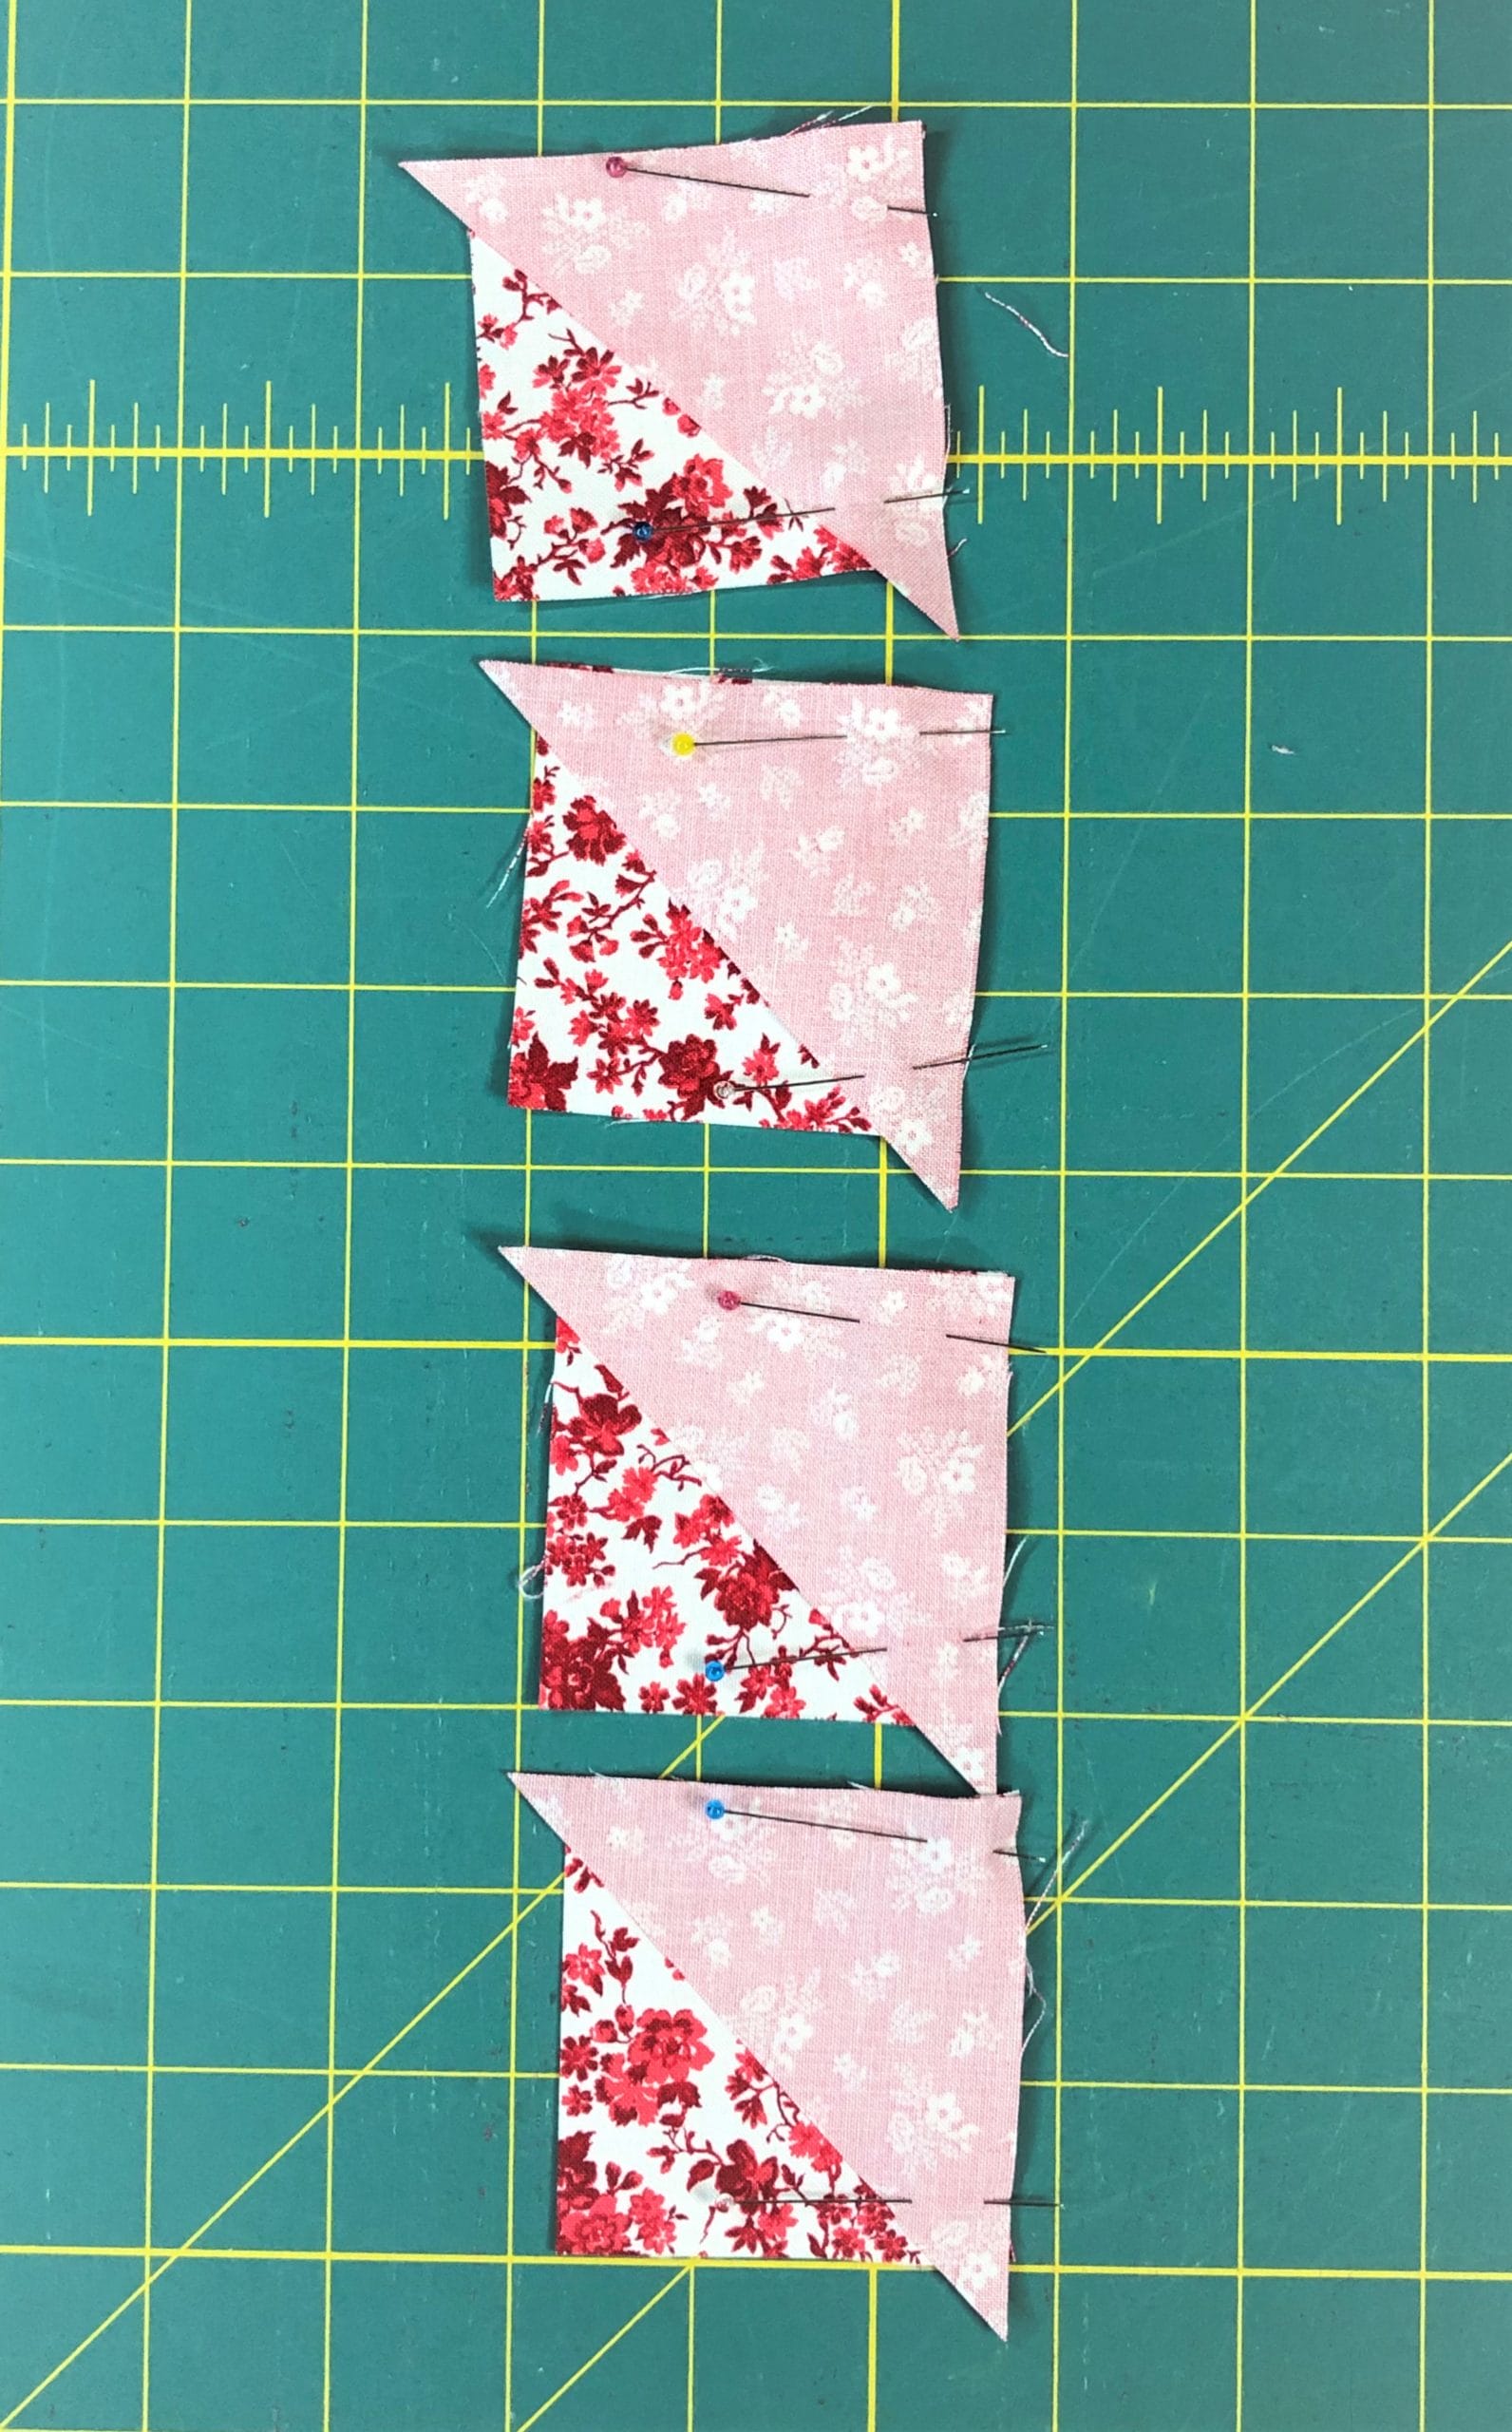
In step 3 we’ll make some fancy pieced triangle units. This is where that spray starch comes in handy.
Step 3:
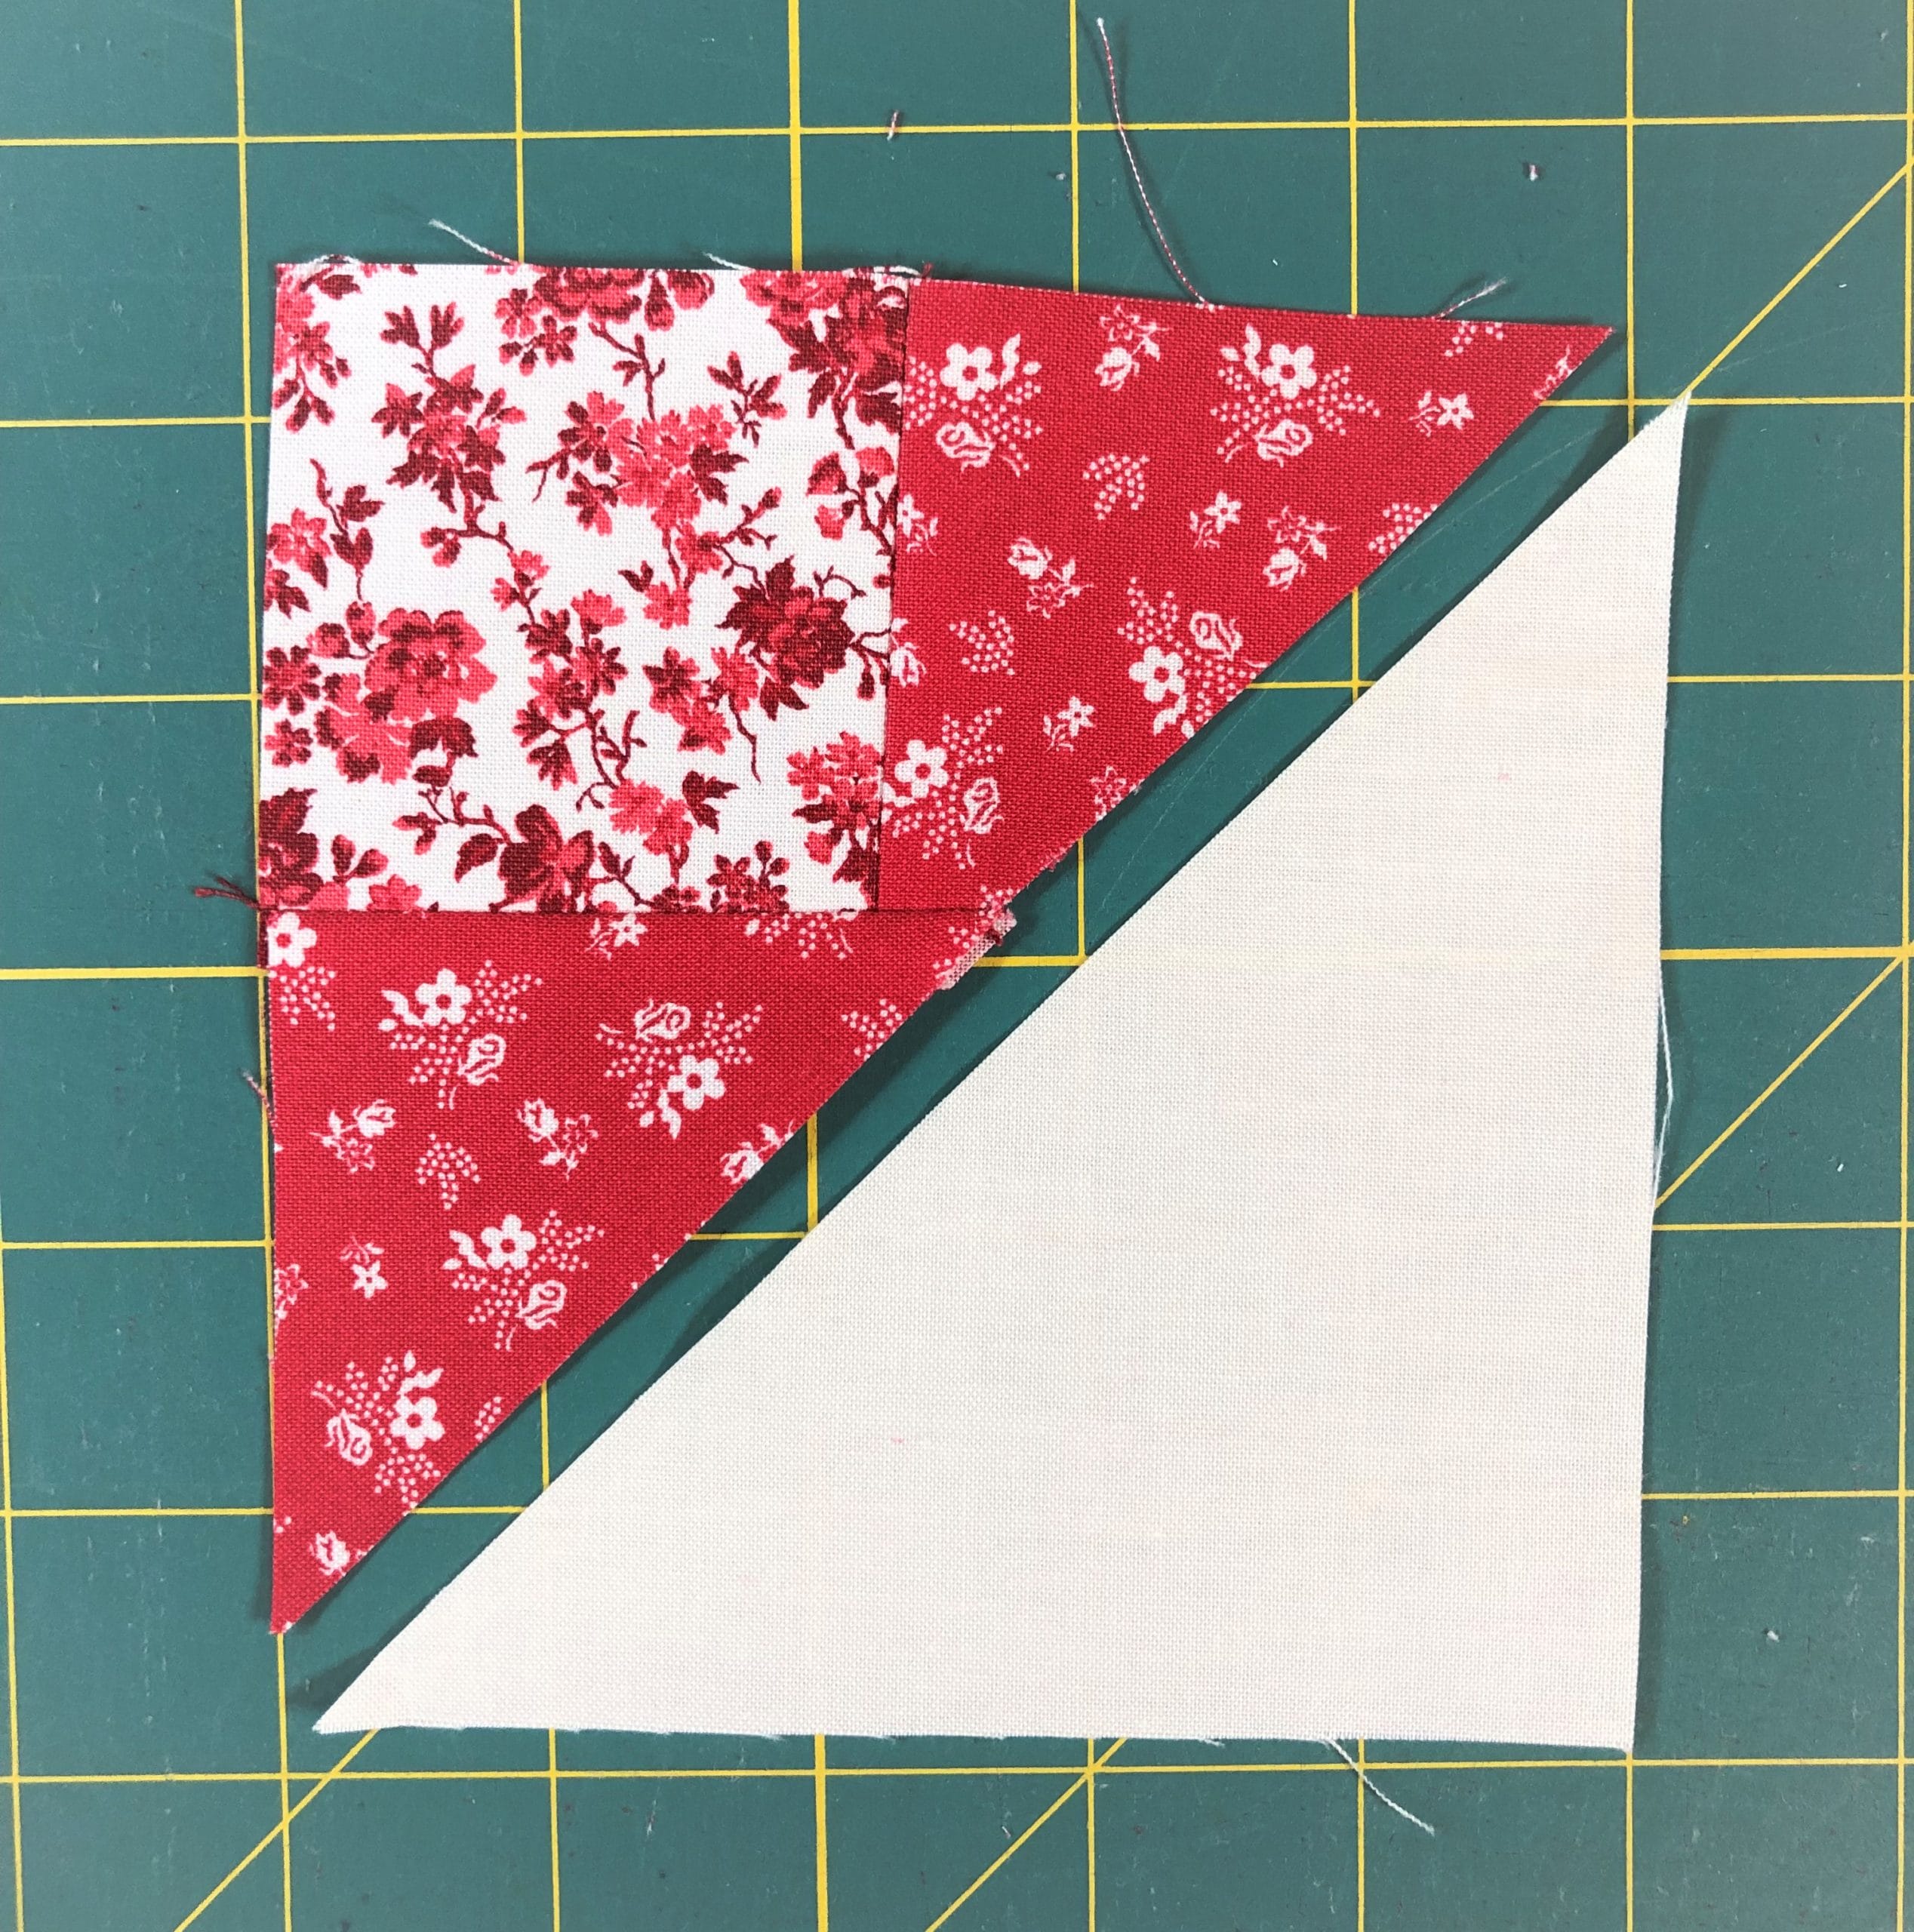
I began by sewing the first D triangle to the right side of the B square. Make sure both units line up at the top, which will leave you a little triangle tail hanging down at the bottom.
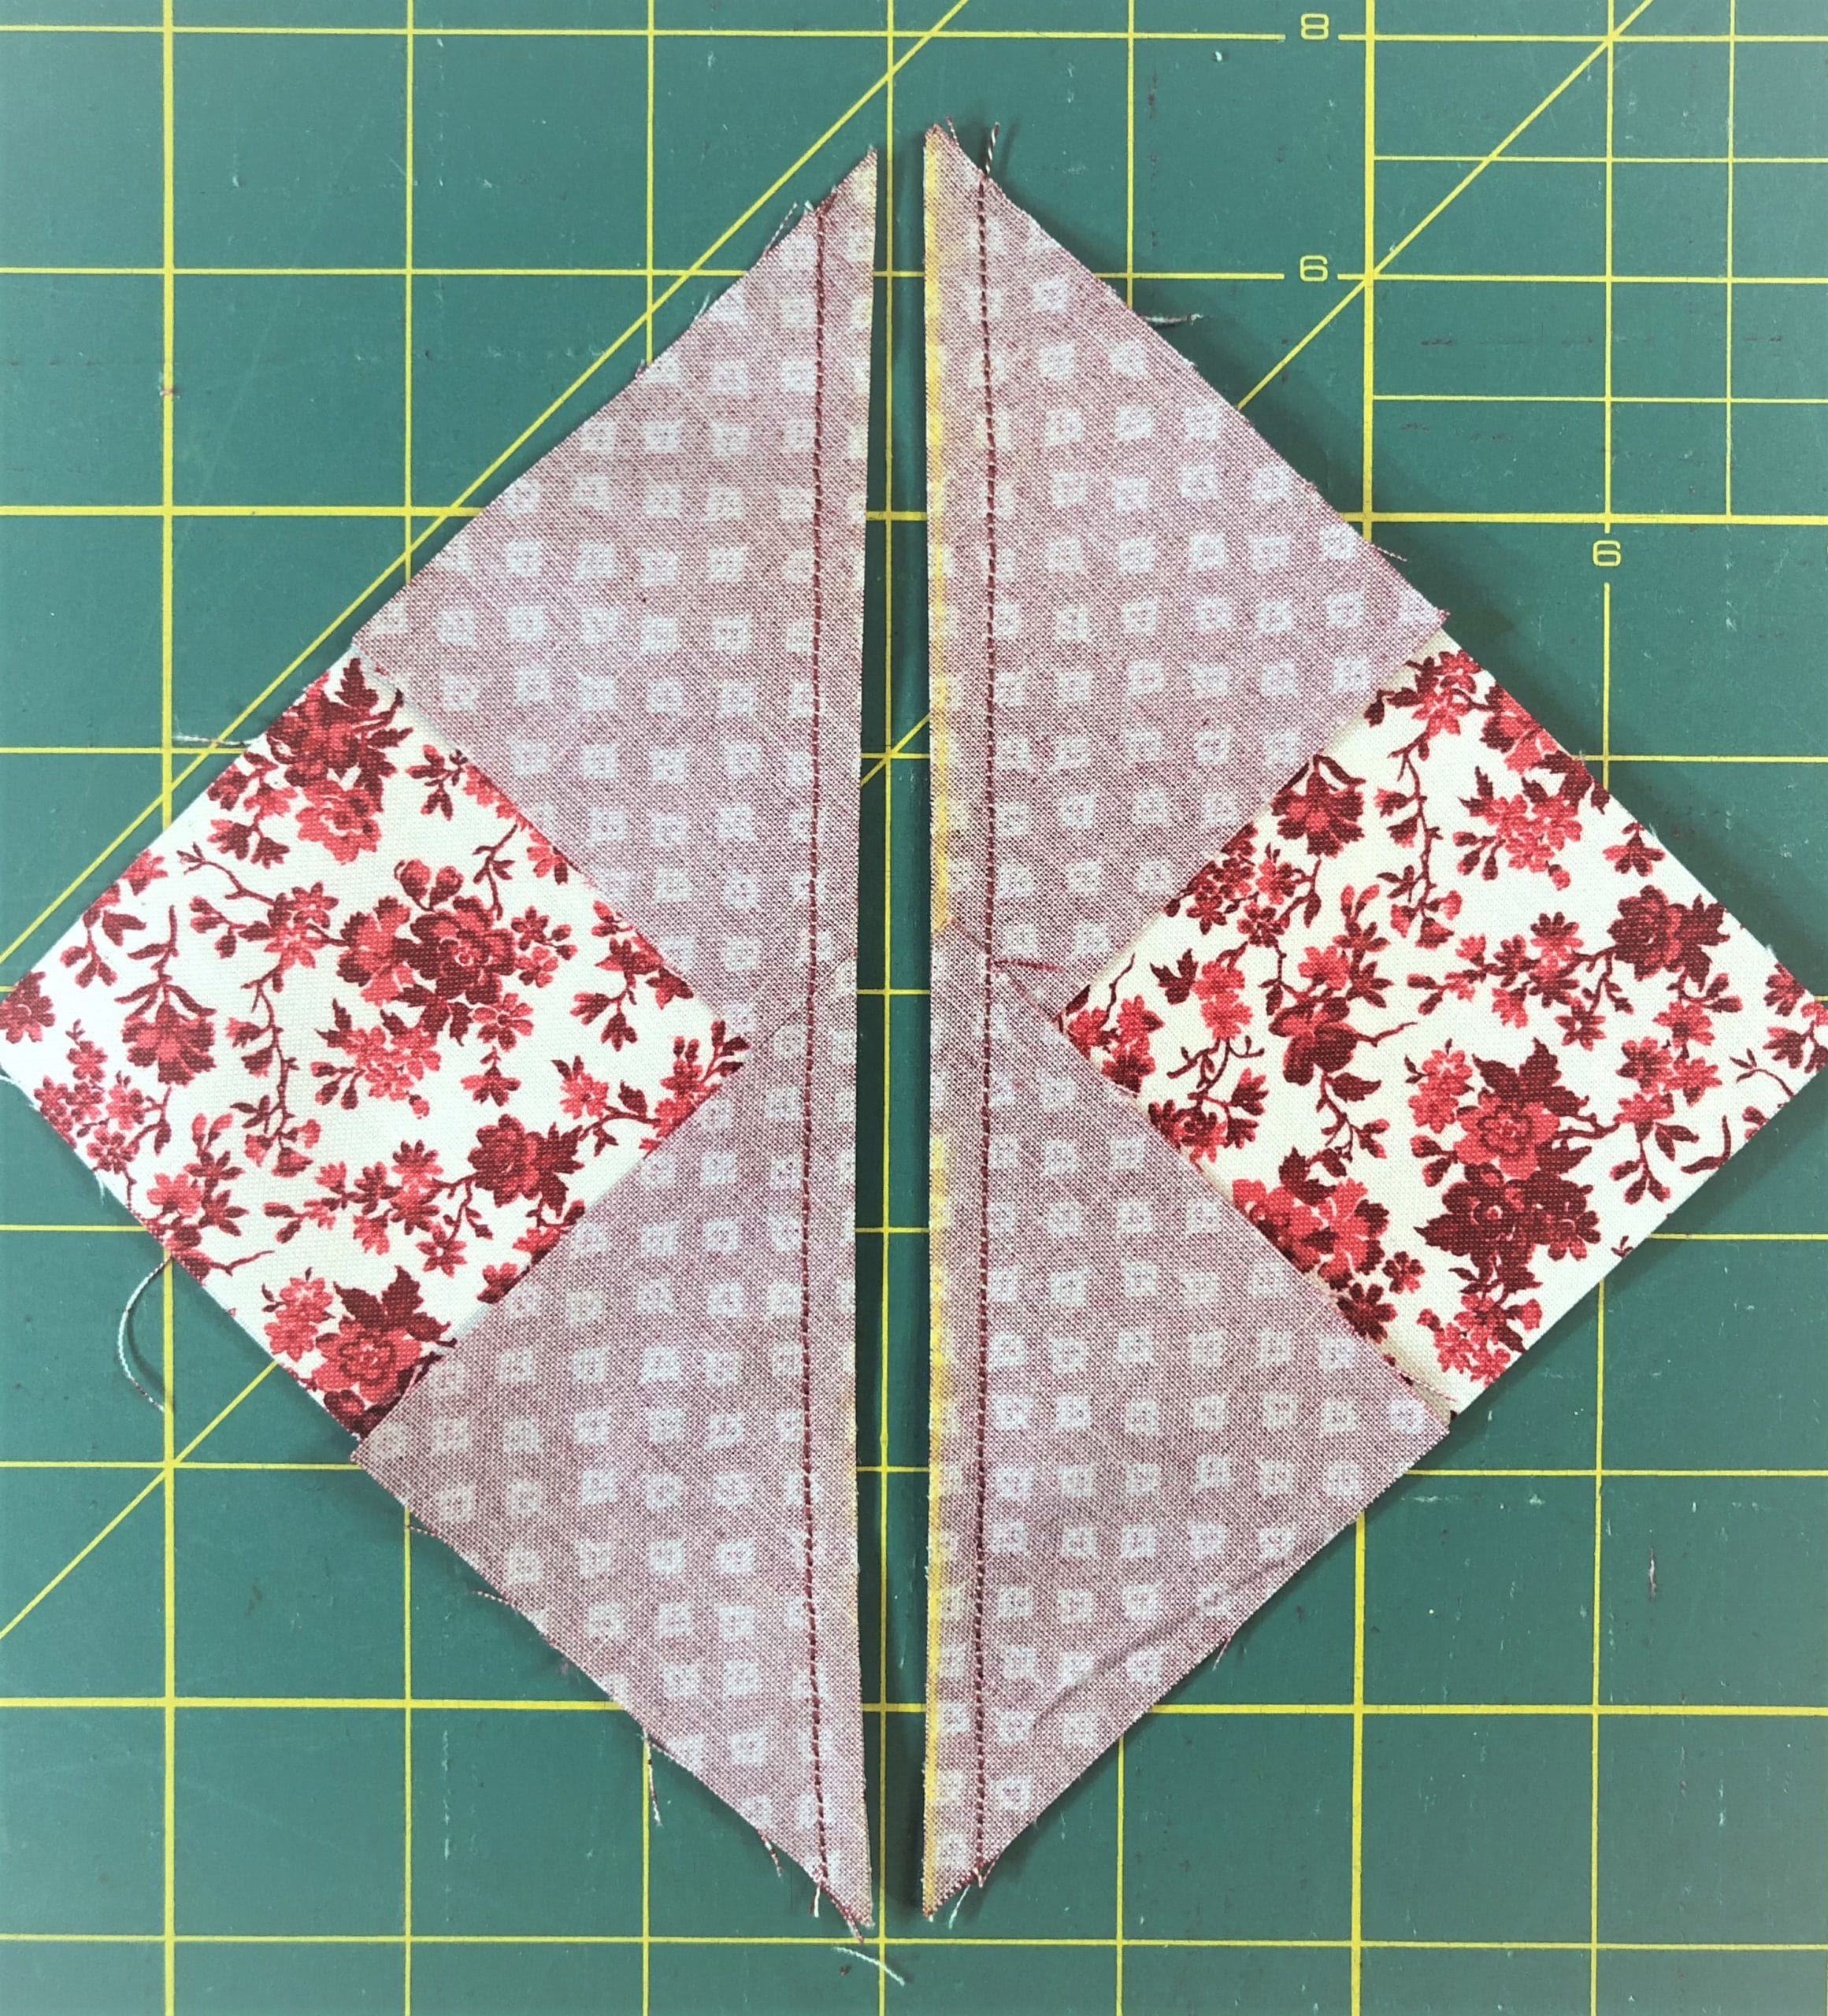
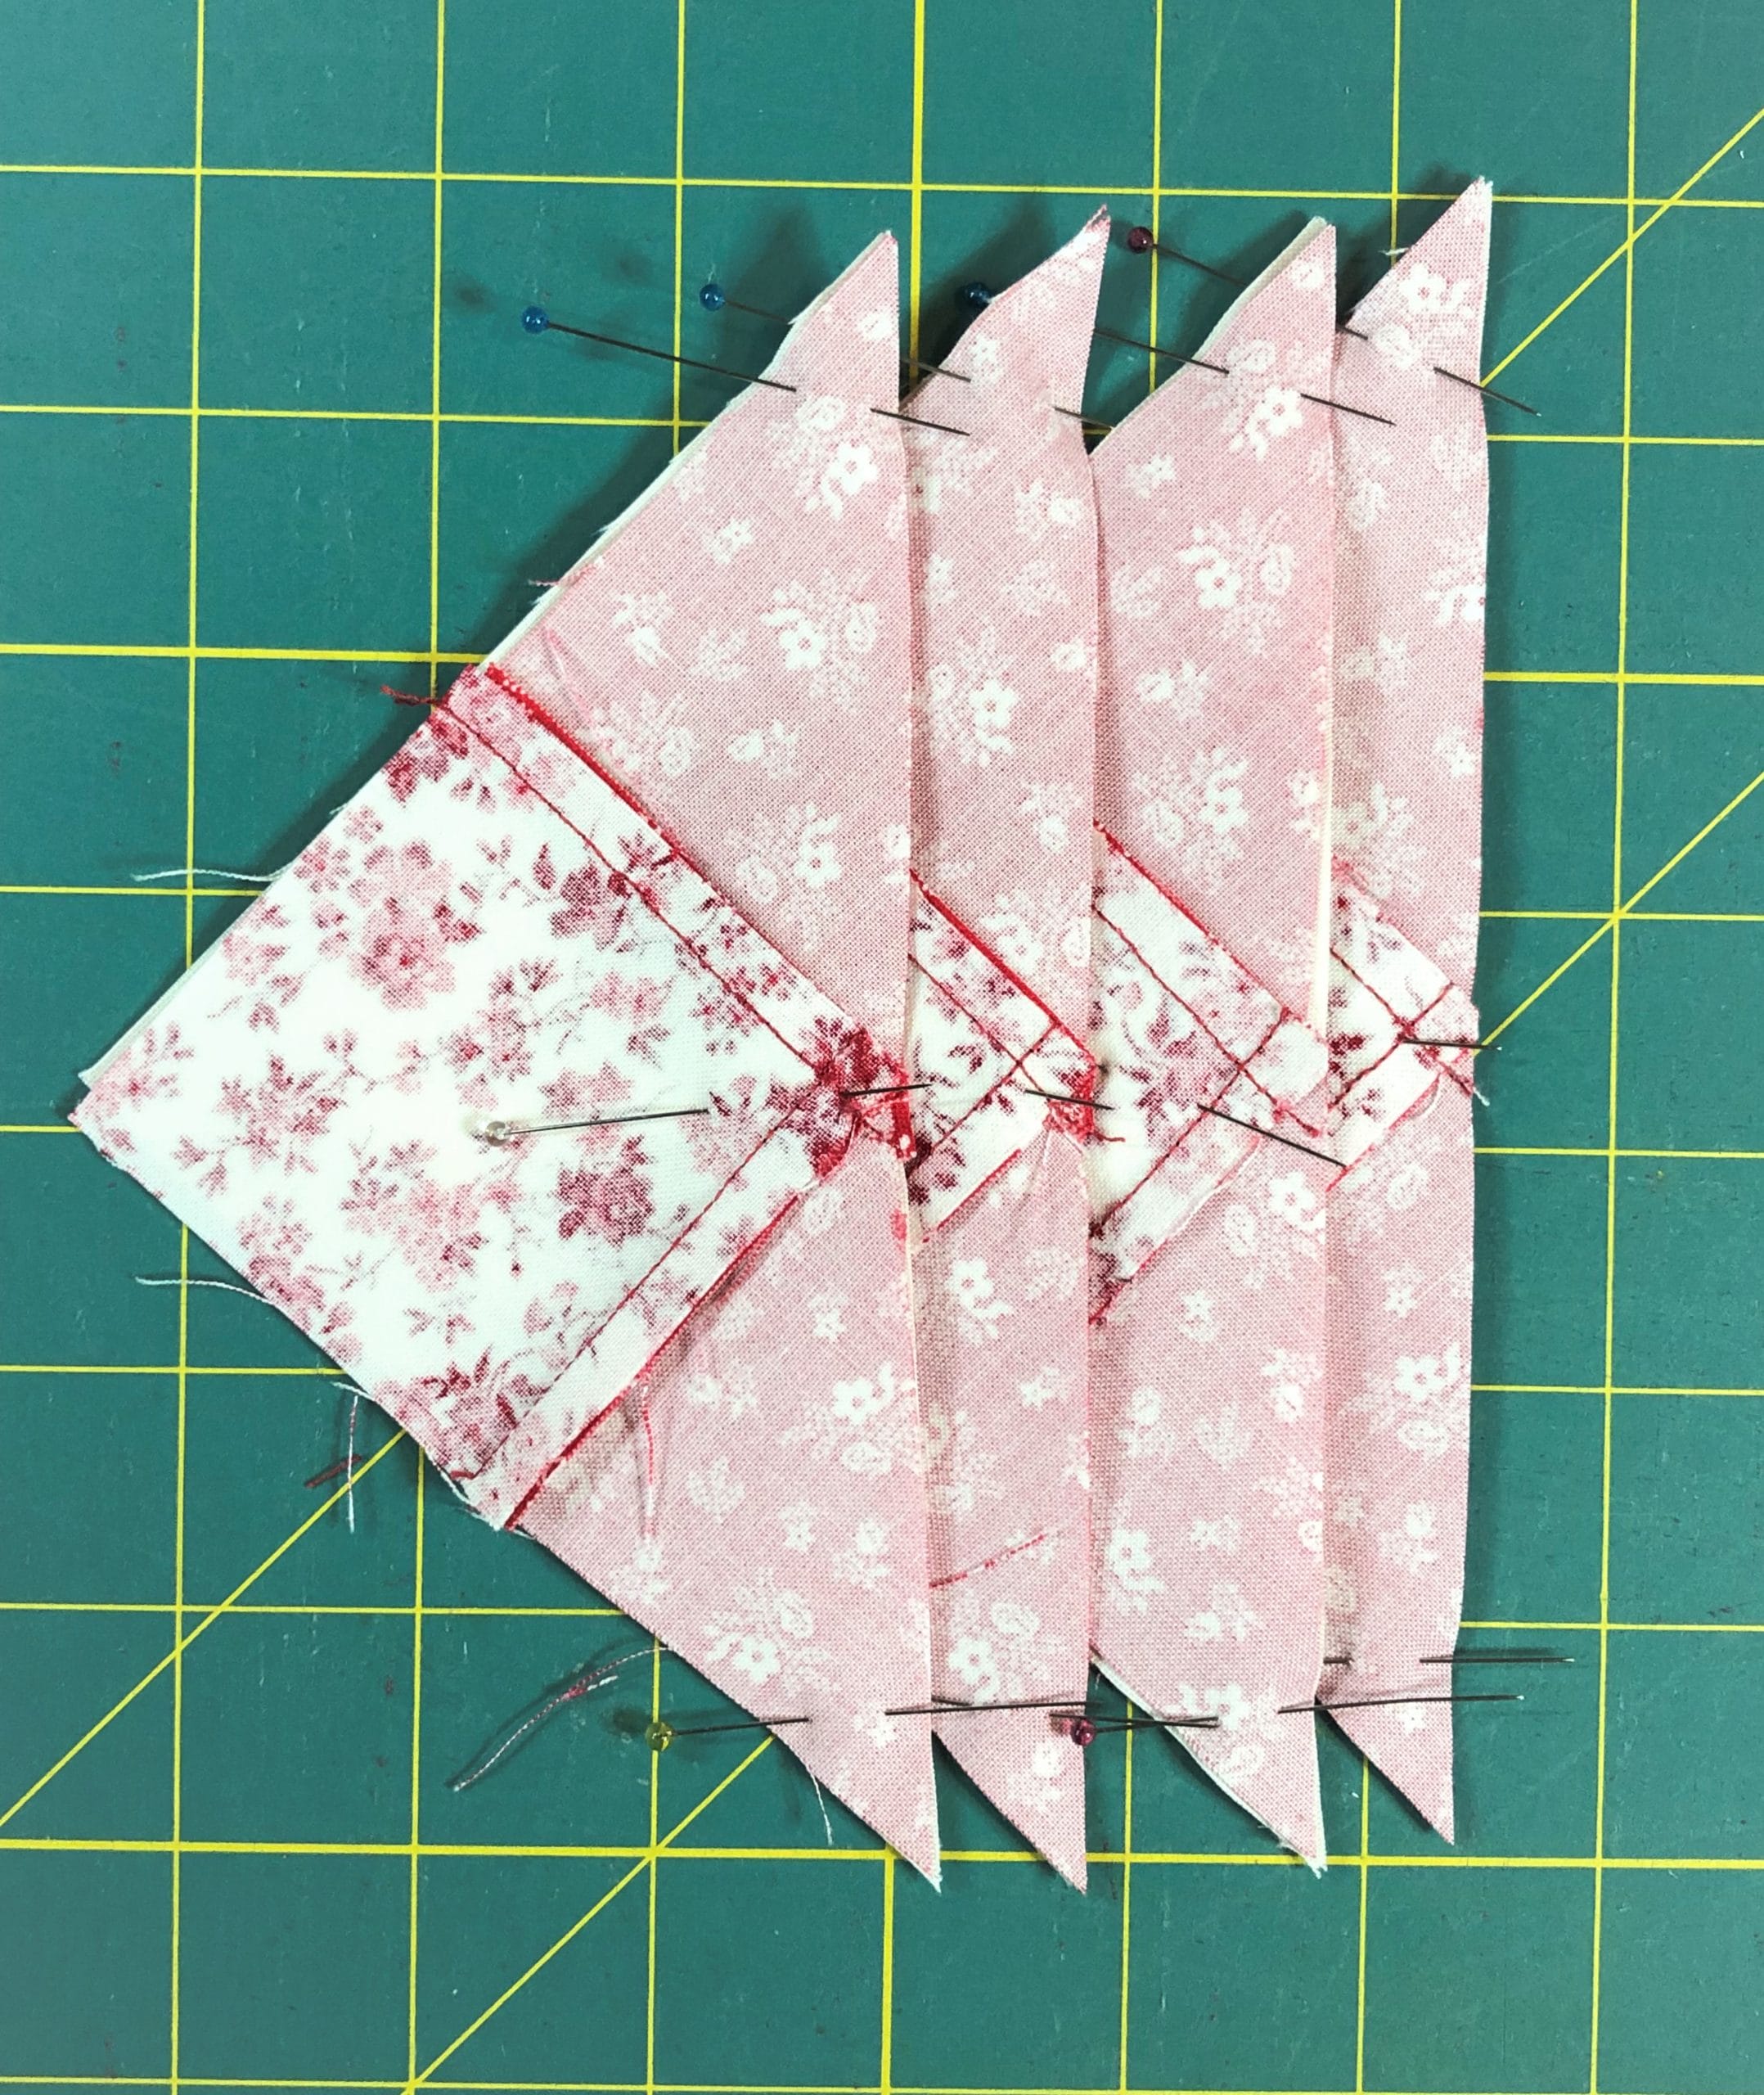
The picture below shows the first set of triangles pinned and ready for sewing.
After sewing the first set of triangles to the right side, trim those tails off before sewing on the next D square to the bottom. Again, you want to make sure that the B and D pieces line up, this time along the left side, which will leave a triangle tail on the right.


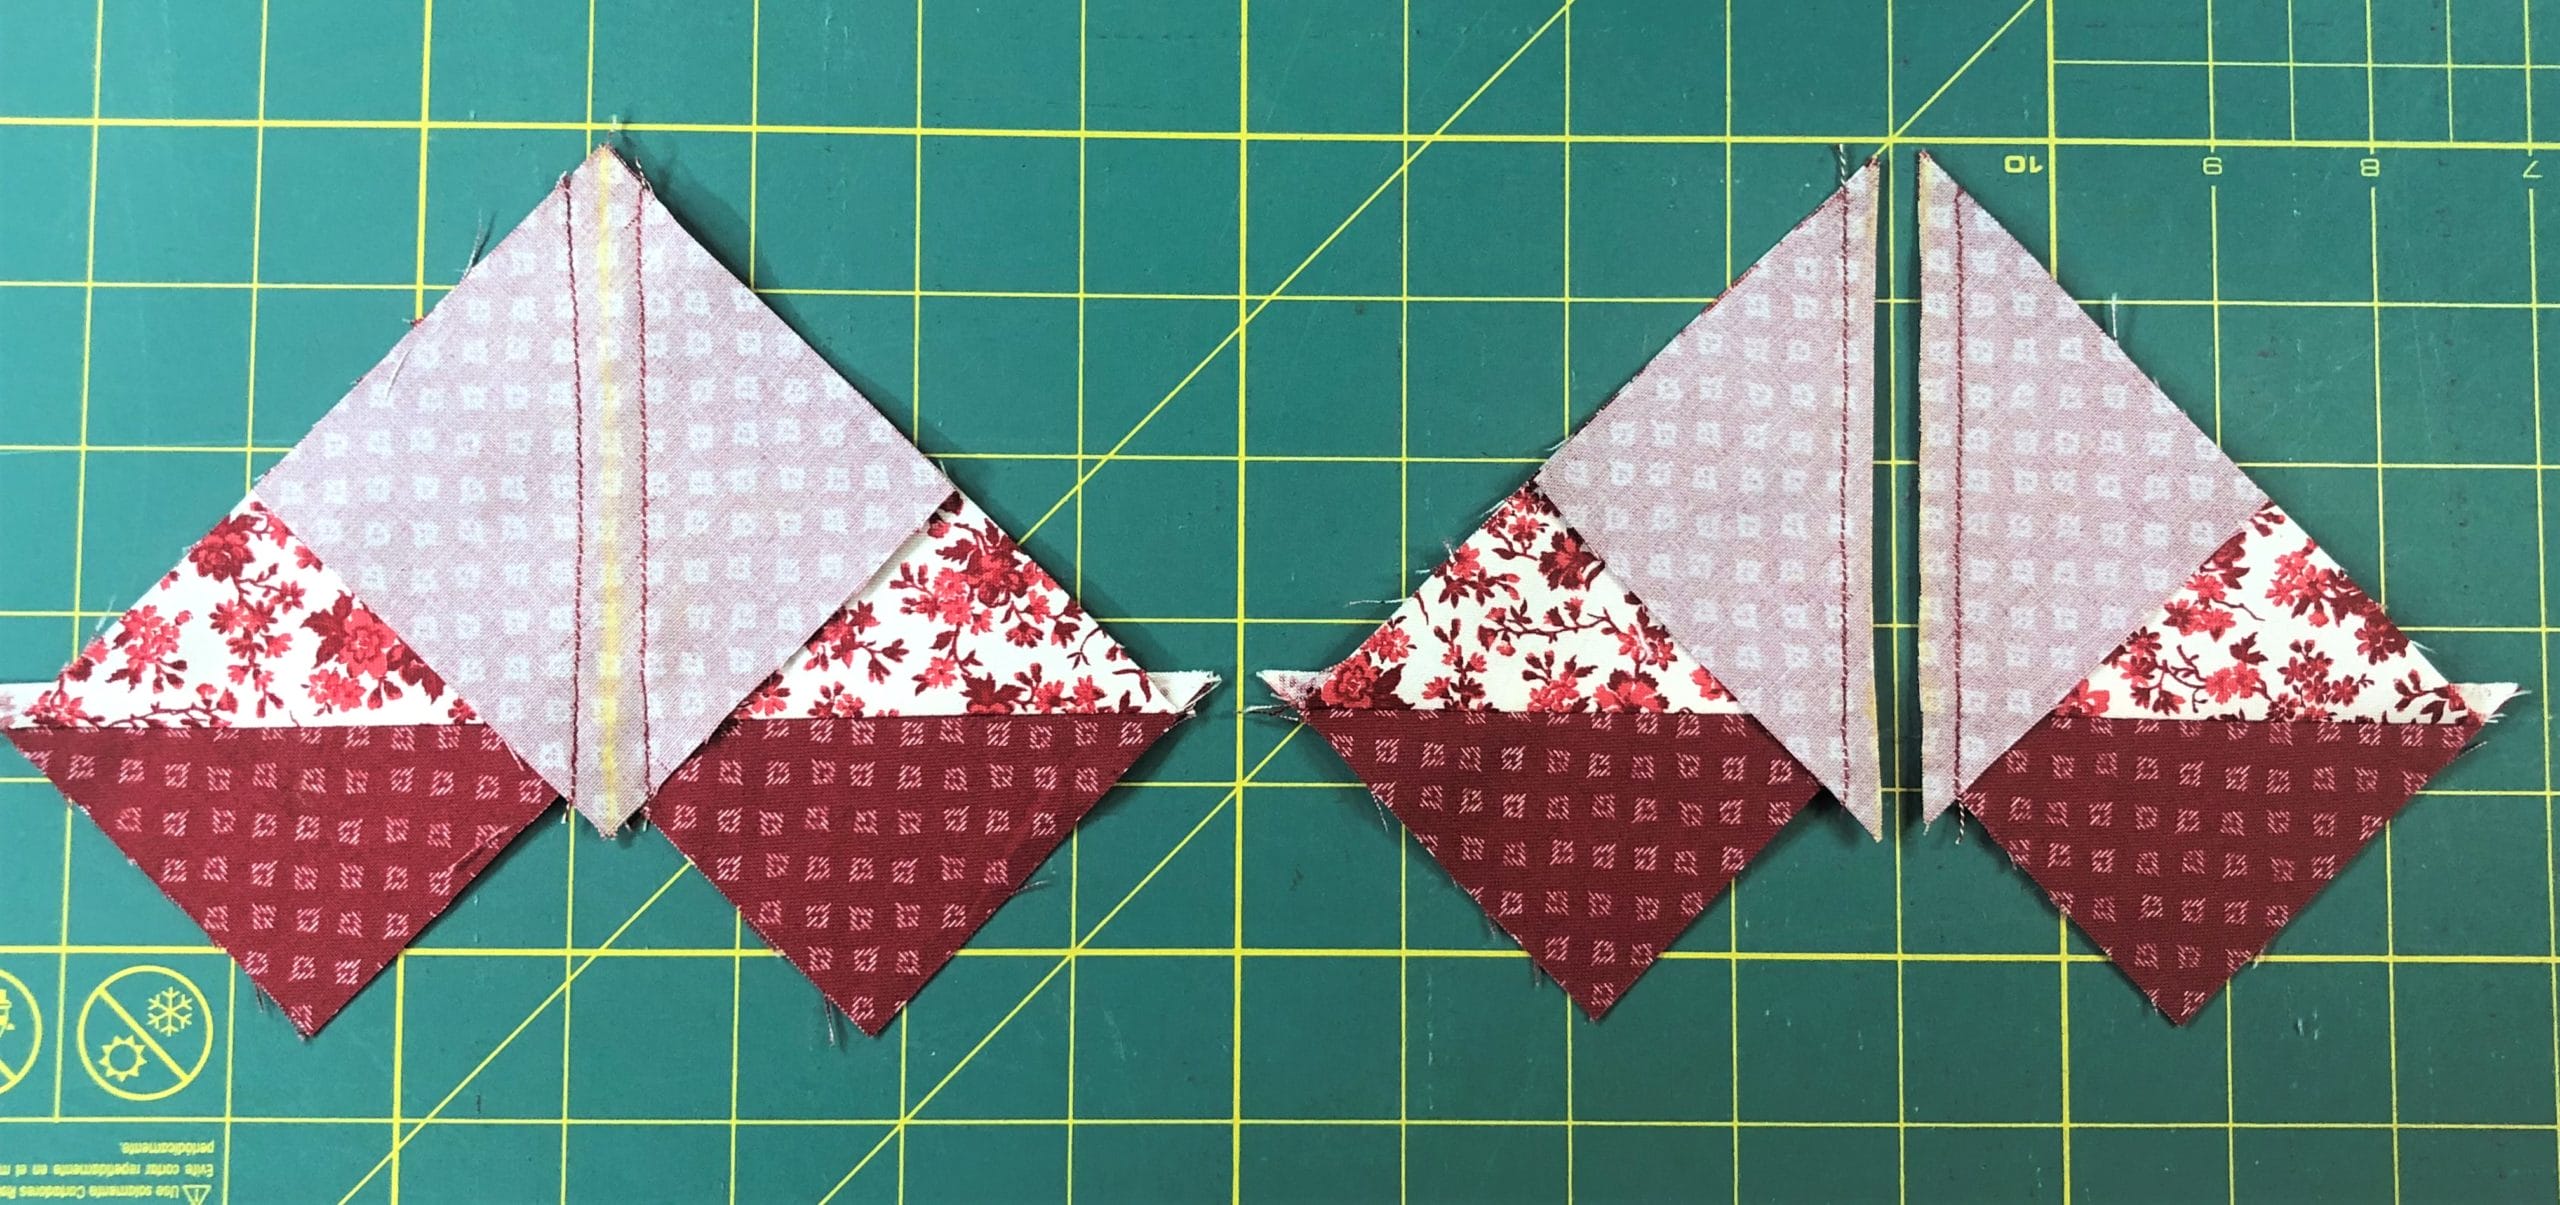
Step 4:
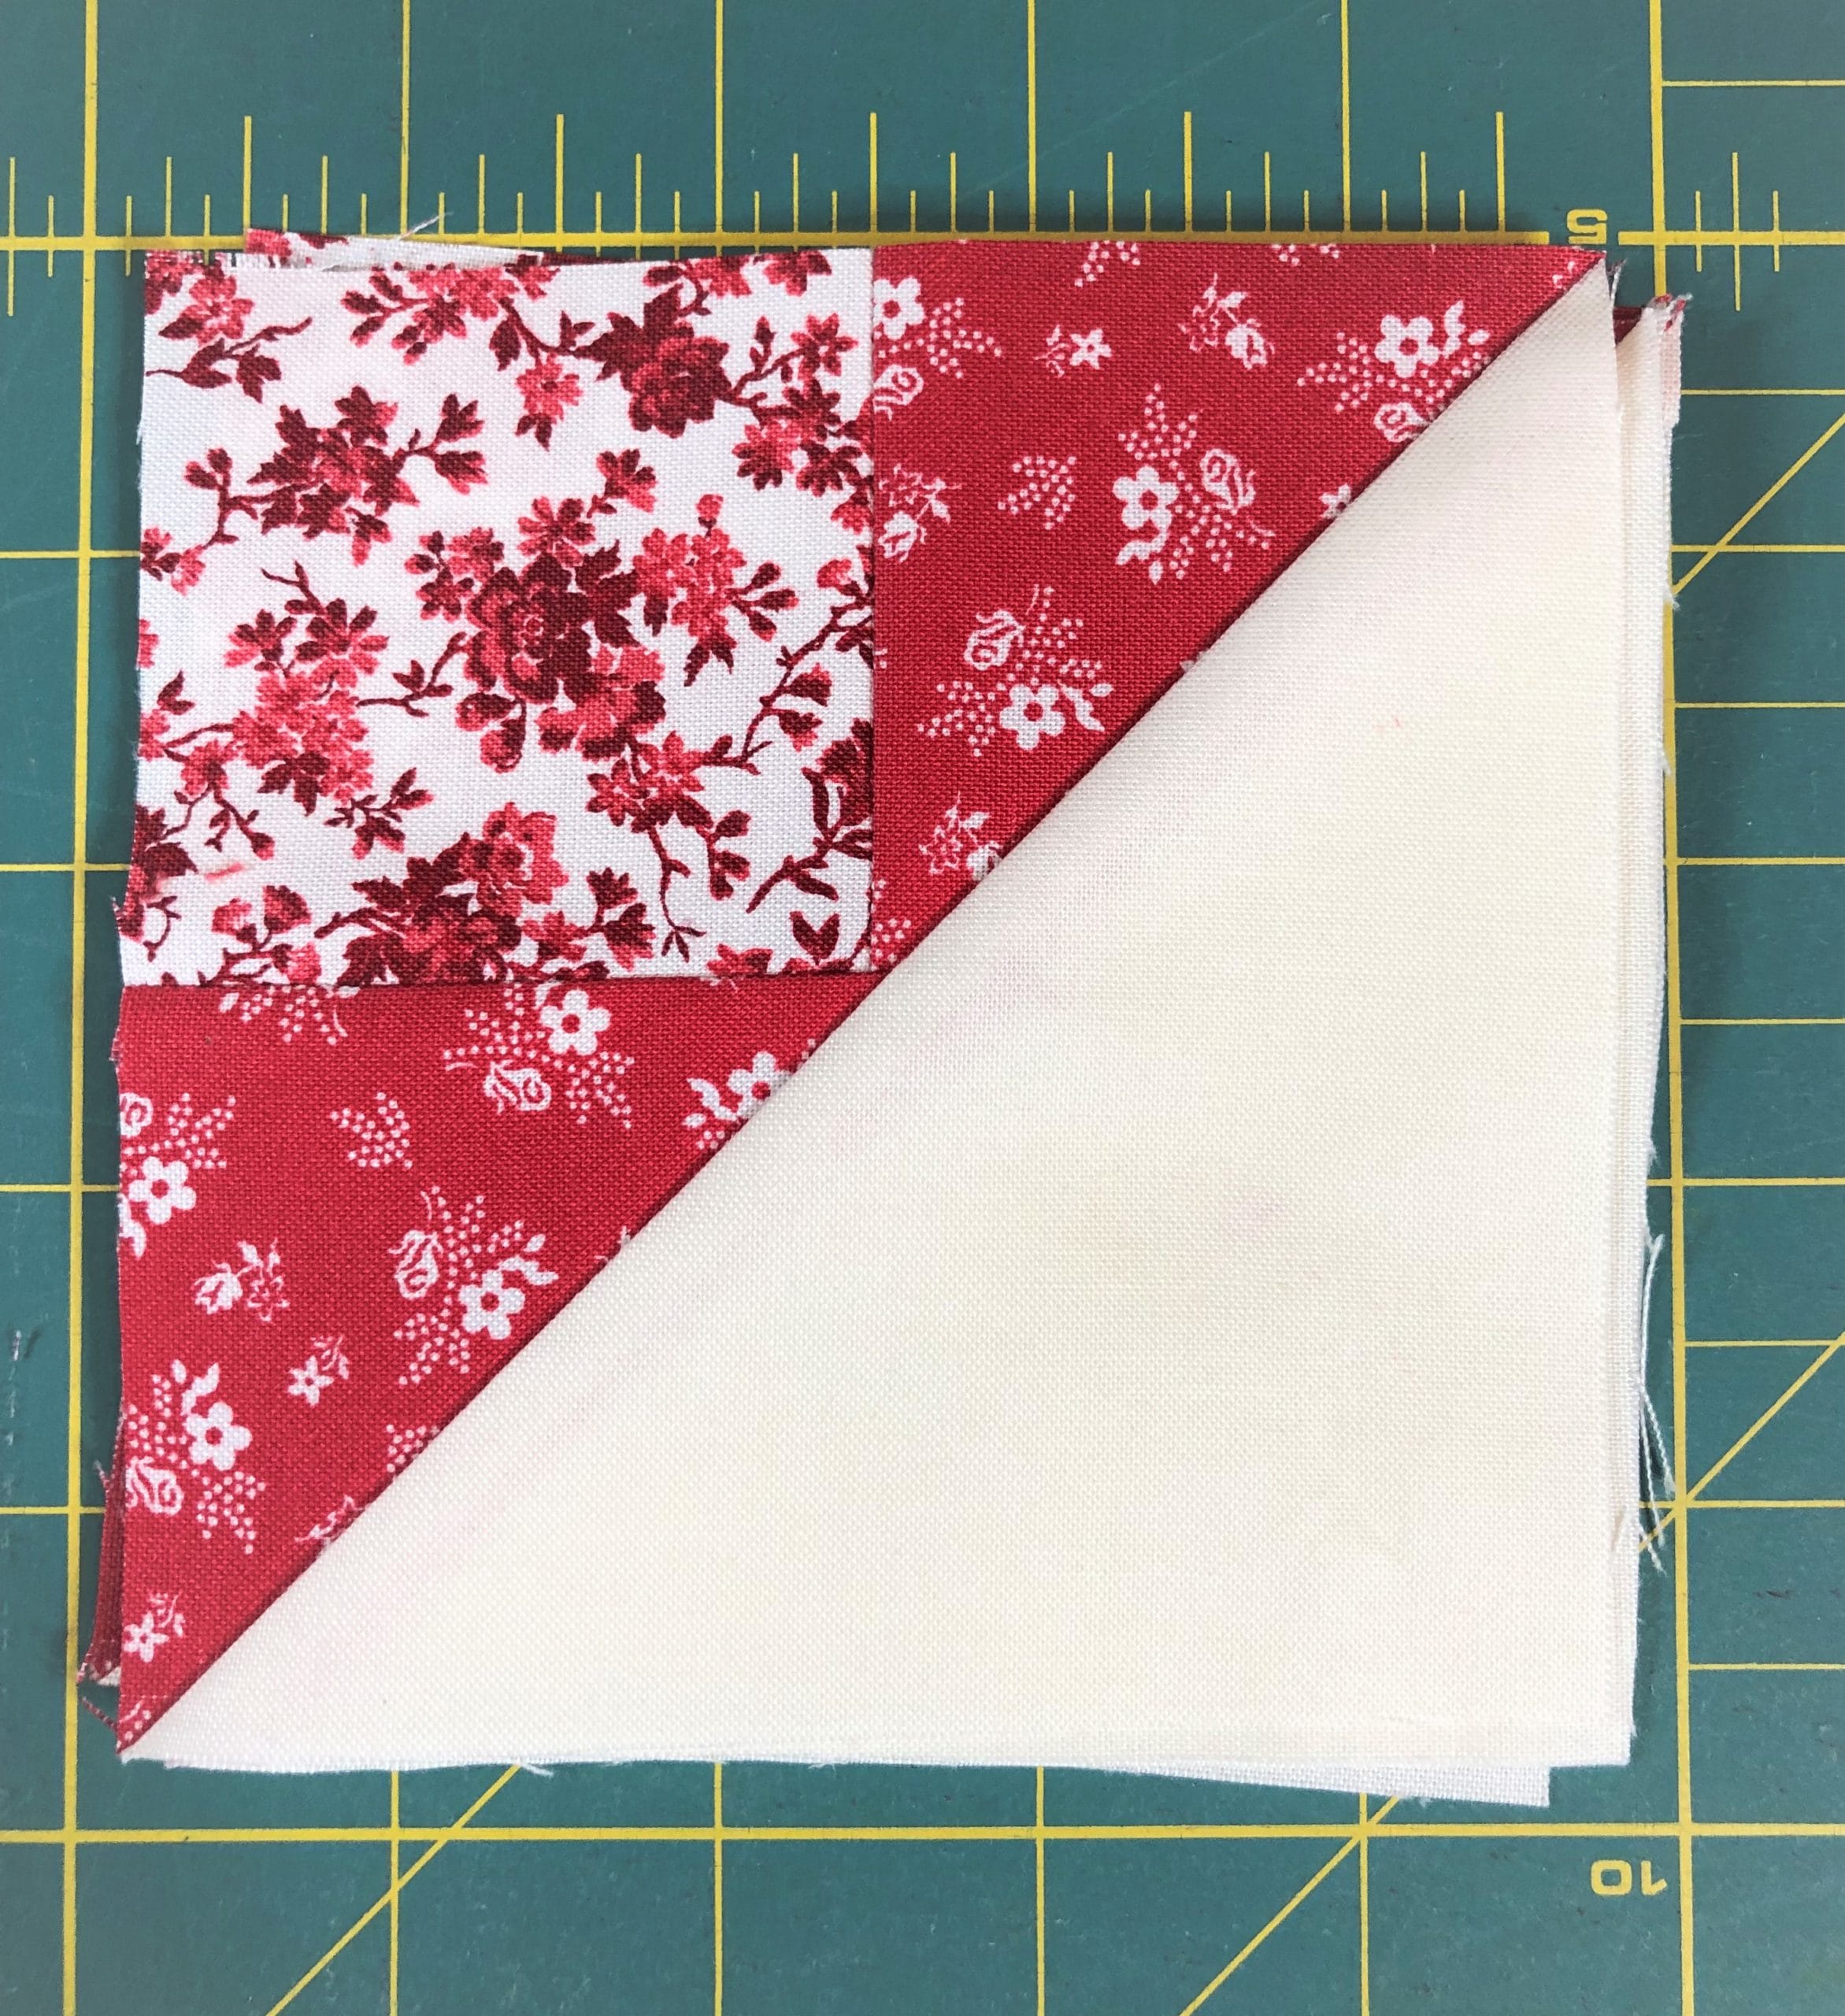
Once you’ve pressed these open you will want to trim off the last tail.
If you find that your triangle units aren’t straight along the D triangles, it’s okay to even them up just a tiny, tiny bit. Don’t trim too much though, or you’ll end up with a block that is too small, which will make worse.
Now you will sew these units to the G triangles, and if all has gone well, you should end up with four 4-1/2” squares. I like to starch these again at this point, just to keep them from stretching or warping.
Step 5:
Here comes the fun/tricky part. First, you will take two of the units you made in step 3, and sew them to each side of the center A square, with the Ivory, Solid pieces on the outsides.
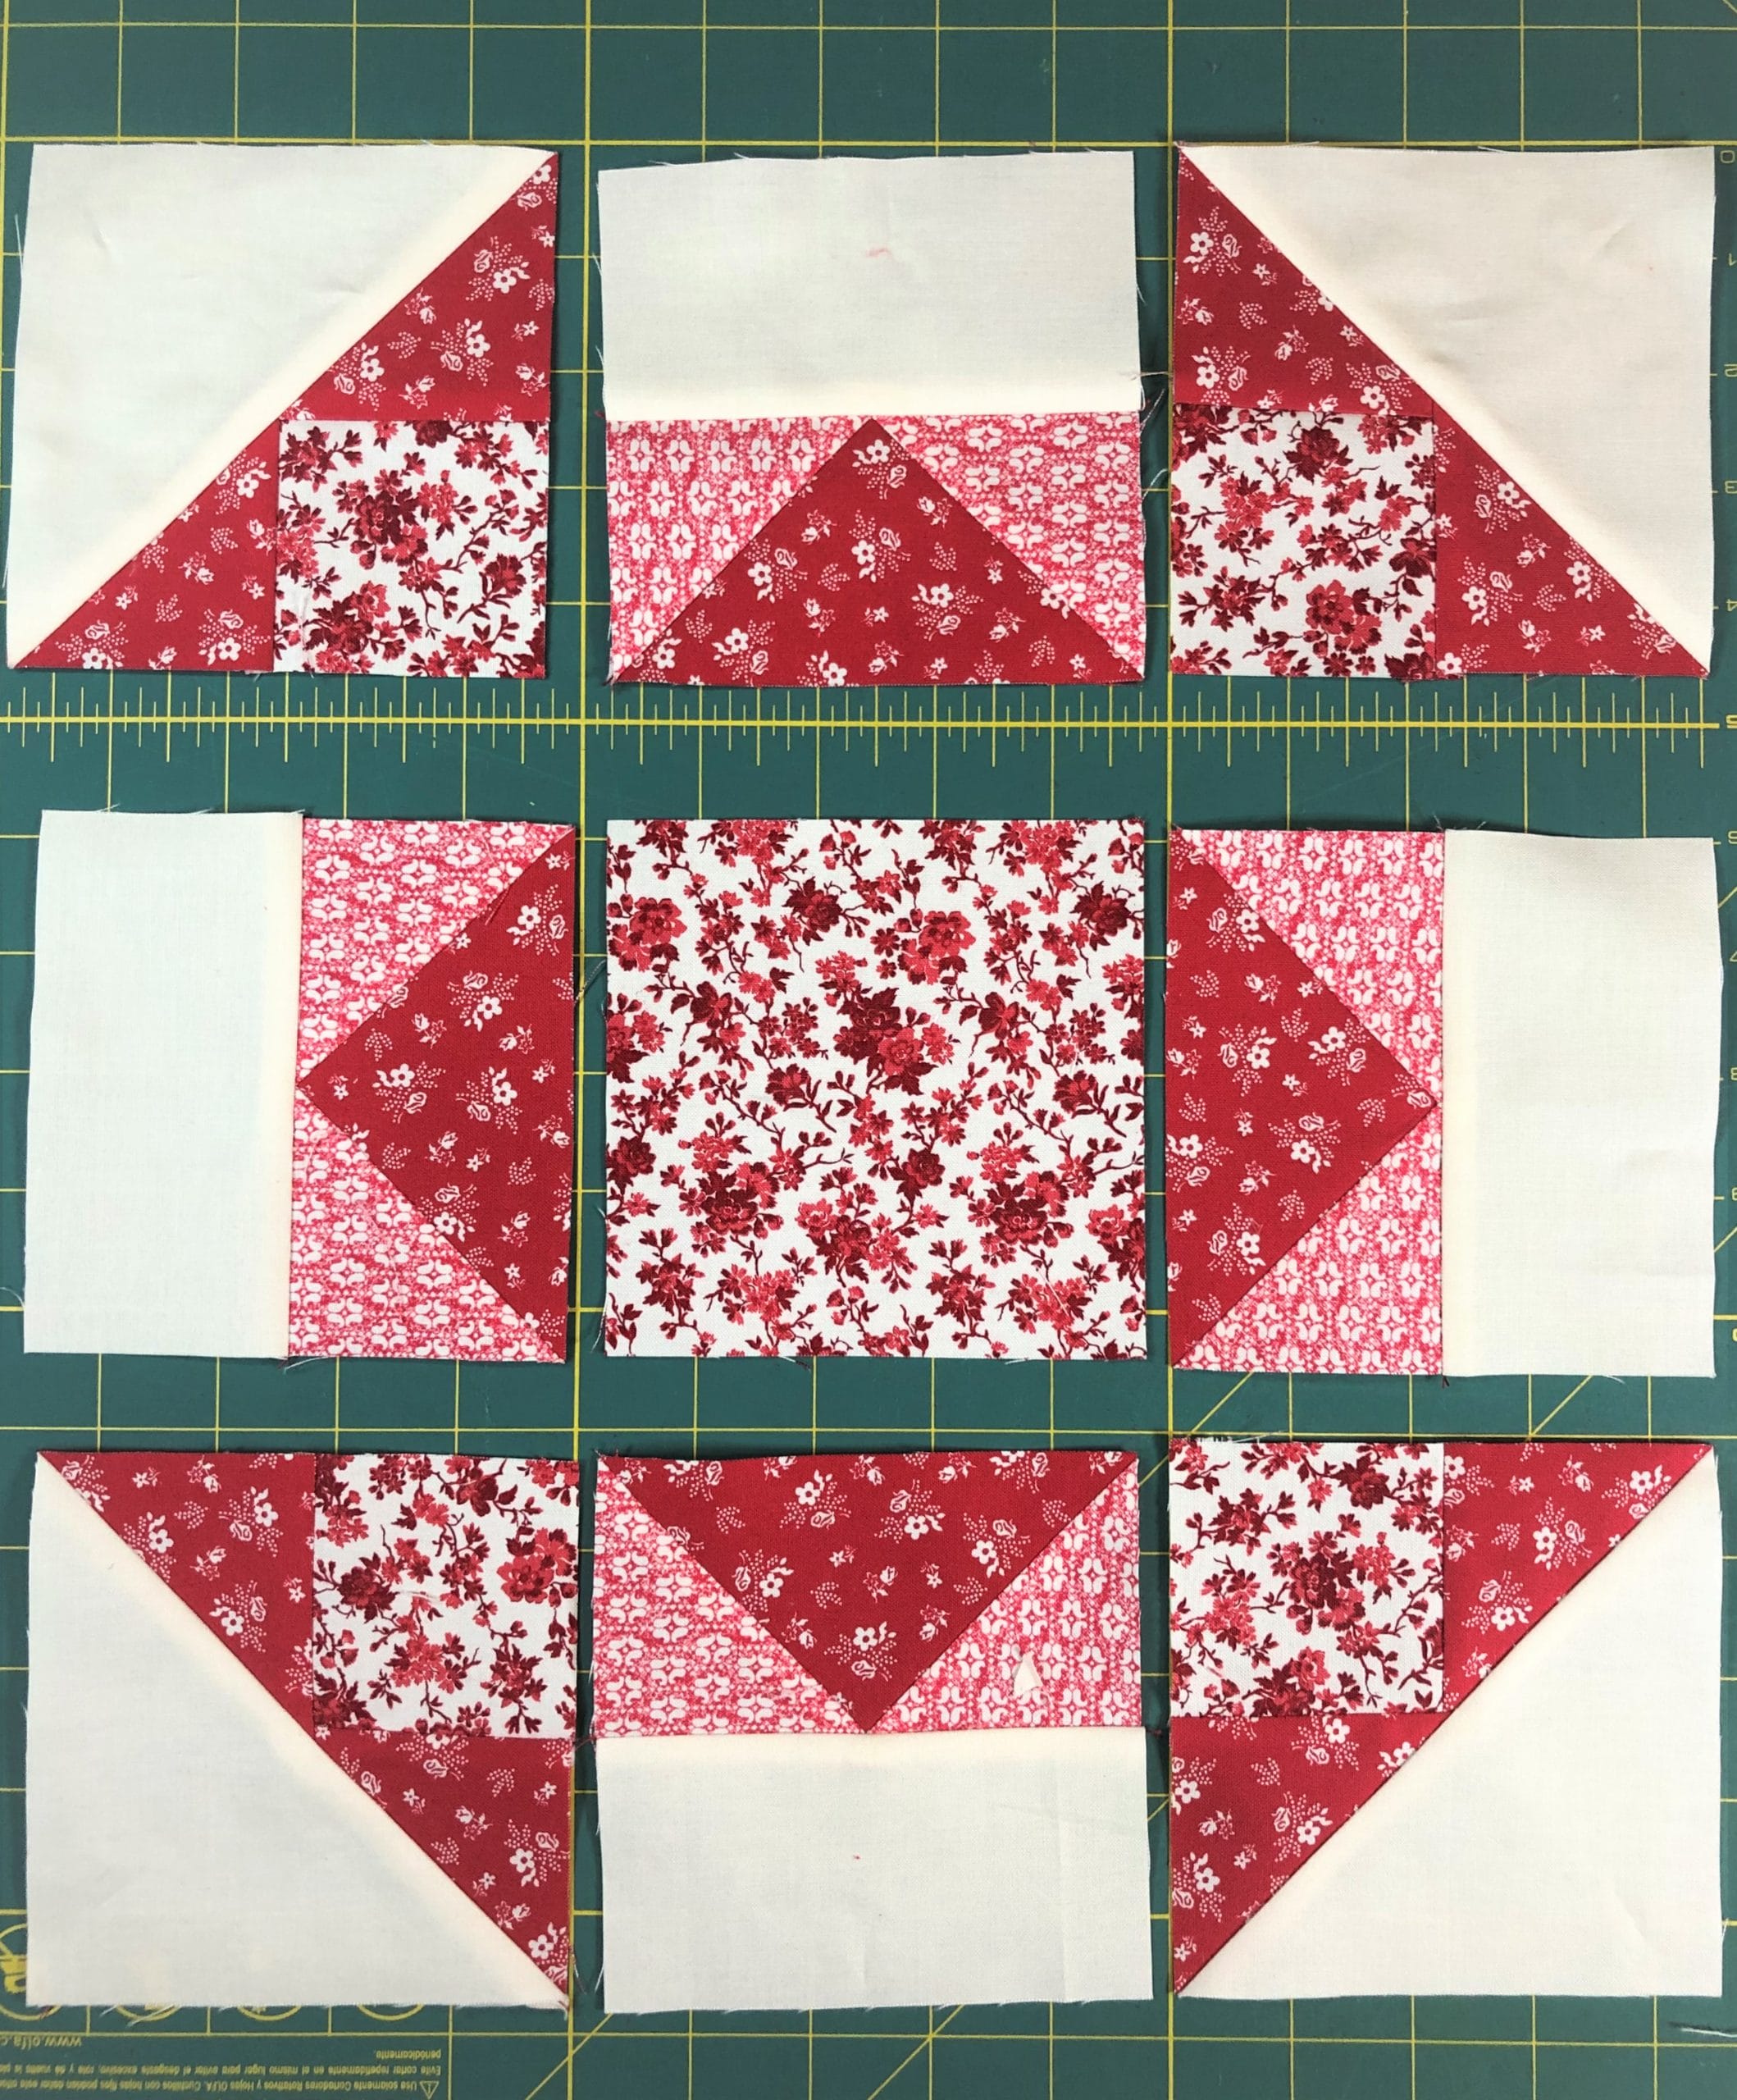
Step 6:
Take the blocks you made in step 4 and sew them to each side the remaining two units from step 3. If you’ve followed the pressing directions, the Potpourri Ivory B square and the Germanium Red E triangles should nest together perfectly. Pin that seam intersection first, and then work your way out to the ends of squares, easing things in as needed to make sure the tops and bottoms of the squares also match up.
Once you have the three units of the block sewn, you can pin and sew them together to finish the block. You want to continue to pin the seams together first, to make sure they will nest together and line up, and then pin the rest before sewing. The key here is to make sure the flying geese units match up where they meet up in the corners around the center square. I usually pin there first and peek to make sure it all lines up.
If you look carefully at the picture below, you’ll notice that my units on the top row don’t line up perfectly on the bottom. The difference is less than 1/8″, but it looks worse in the photo. Since the difference was very minimal (if it wasn’t I WOULD rip out and start again to protect the integrity of the piecing), rather than rip out and start over (ugh!), here’s what I did: When sewing the top row together, I made sure that the seams lined up where they should with the center unit, and that the tops also where aligned. I still wanted make sure I’d have the 1/4″ seam allowance at the triangle point on top. Then I stitched it to the middle unit as usual. When the block is completed, nobody knows but me….and everyone who reads this lol! Since the difference was minimal, it doesn’t affect the integrity of the block. Even “professionals” don’t sew perfectly. And I’m happy to show my mistakes and the tips I use to compensate. Because we ALL make them!
Phew! You did it! I hope you’ve enjoyed the challenge and are happy with the results.

Have a Happy October, and I’ll catch you all next month!
-Kristin

