Tutorials
 11.2.2021
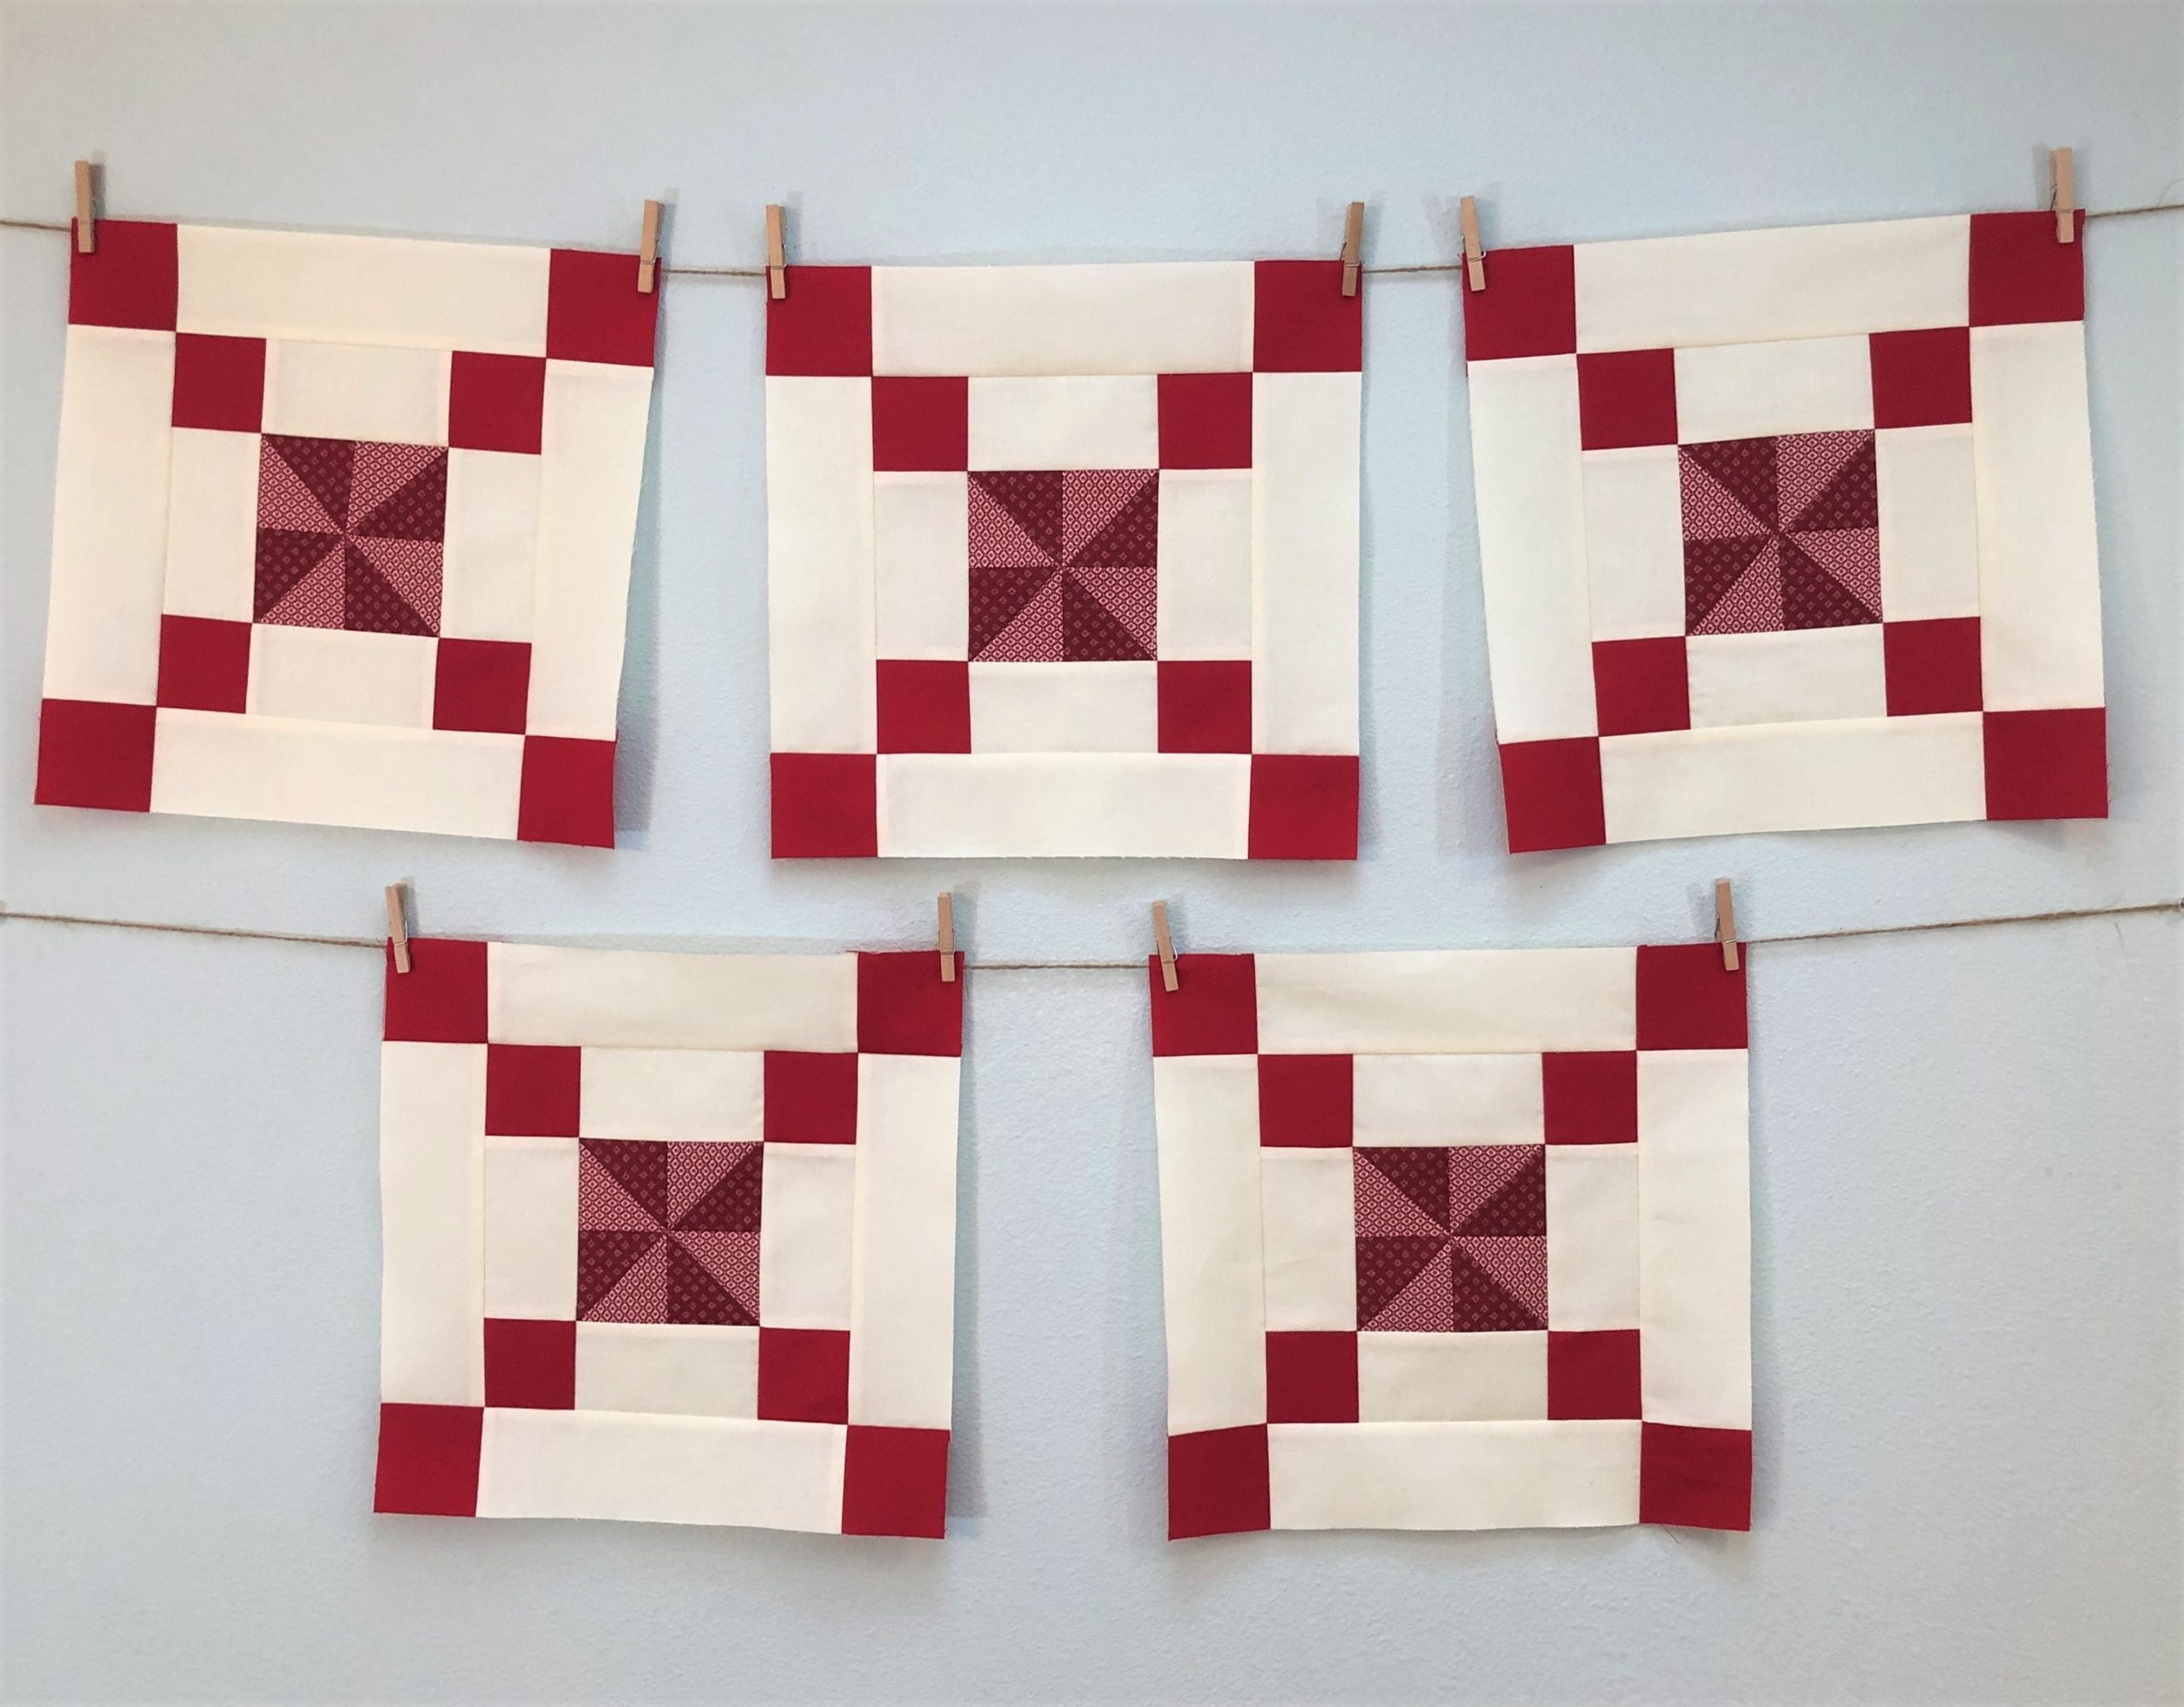
Can you guys believe it is already November?! I don’t know about you all but this year has flown by for me. And here we are, already working on month 4 for the Ruby BOM. Just think, after sewing these blocks, we will be 1/3 of the way done with this quilt!
This month may look a bit familiar to all of you, since it’s exactly the same as month 2. Surprise! For those with sharp memories, you may recall that we are making our 25 Irish Chain blocks in this quilt over the course of many months. This month we will be making another 5.
Since I previously did a blogpost with a tutorial for making the block, I won’t bore you again with the details. Please feel free to refer back to Ruby BOM month 2’s blogpost if you want a refresher.
This month I thought I would show you how I sew when I’m making multiples of the same block. Probably many of you already do this as well. It just makes things go so much faster!
Step One
Cutting and pinning.
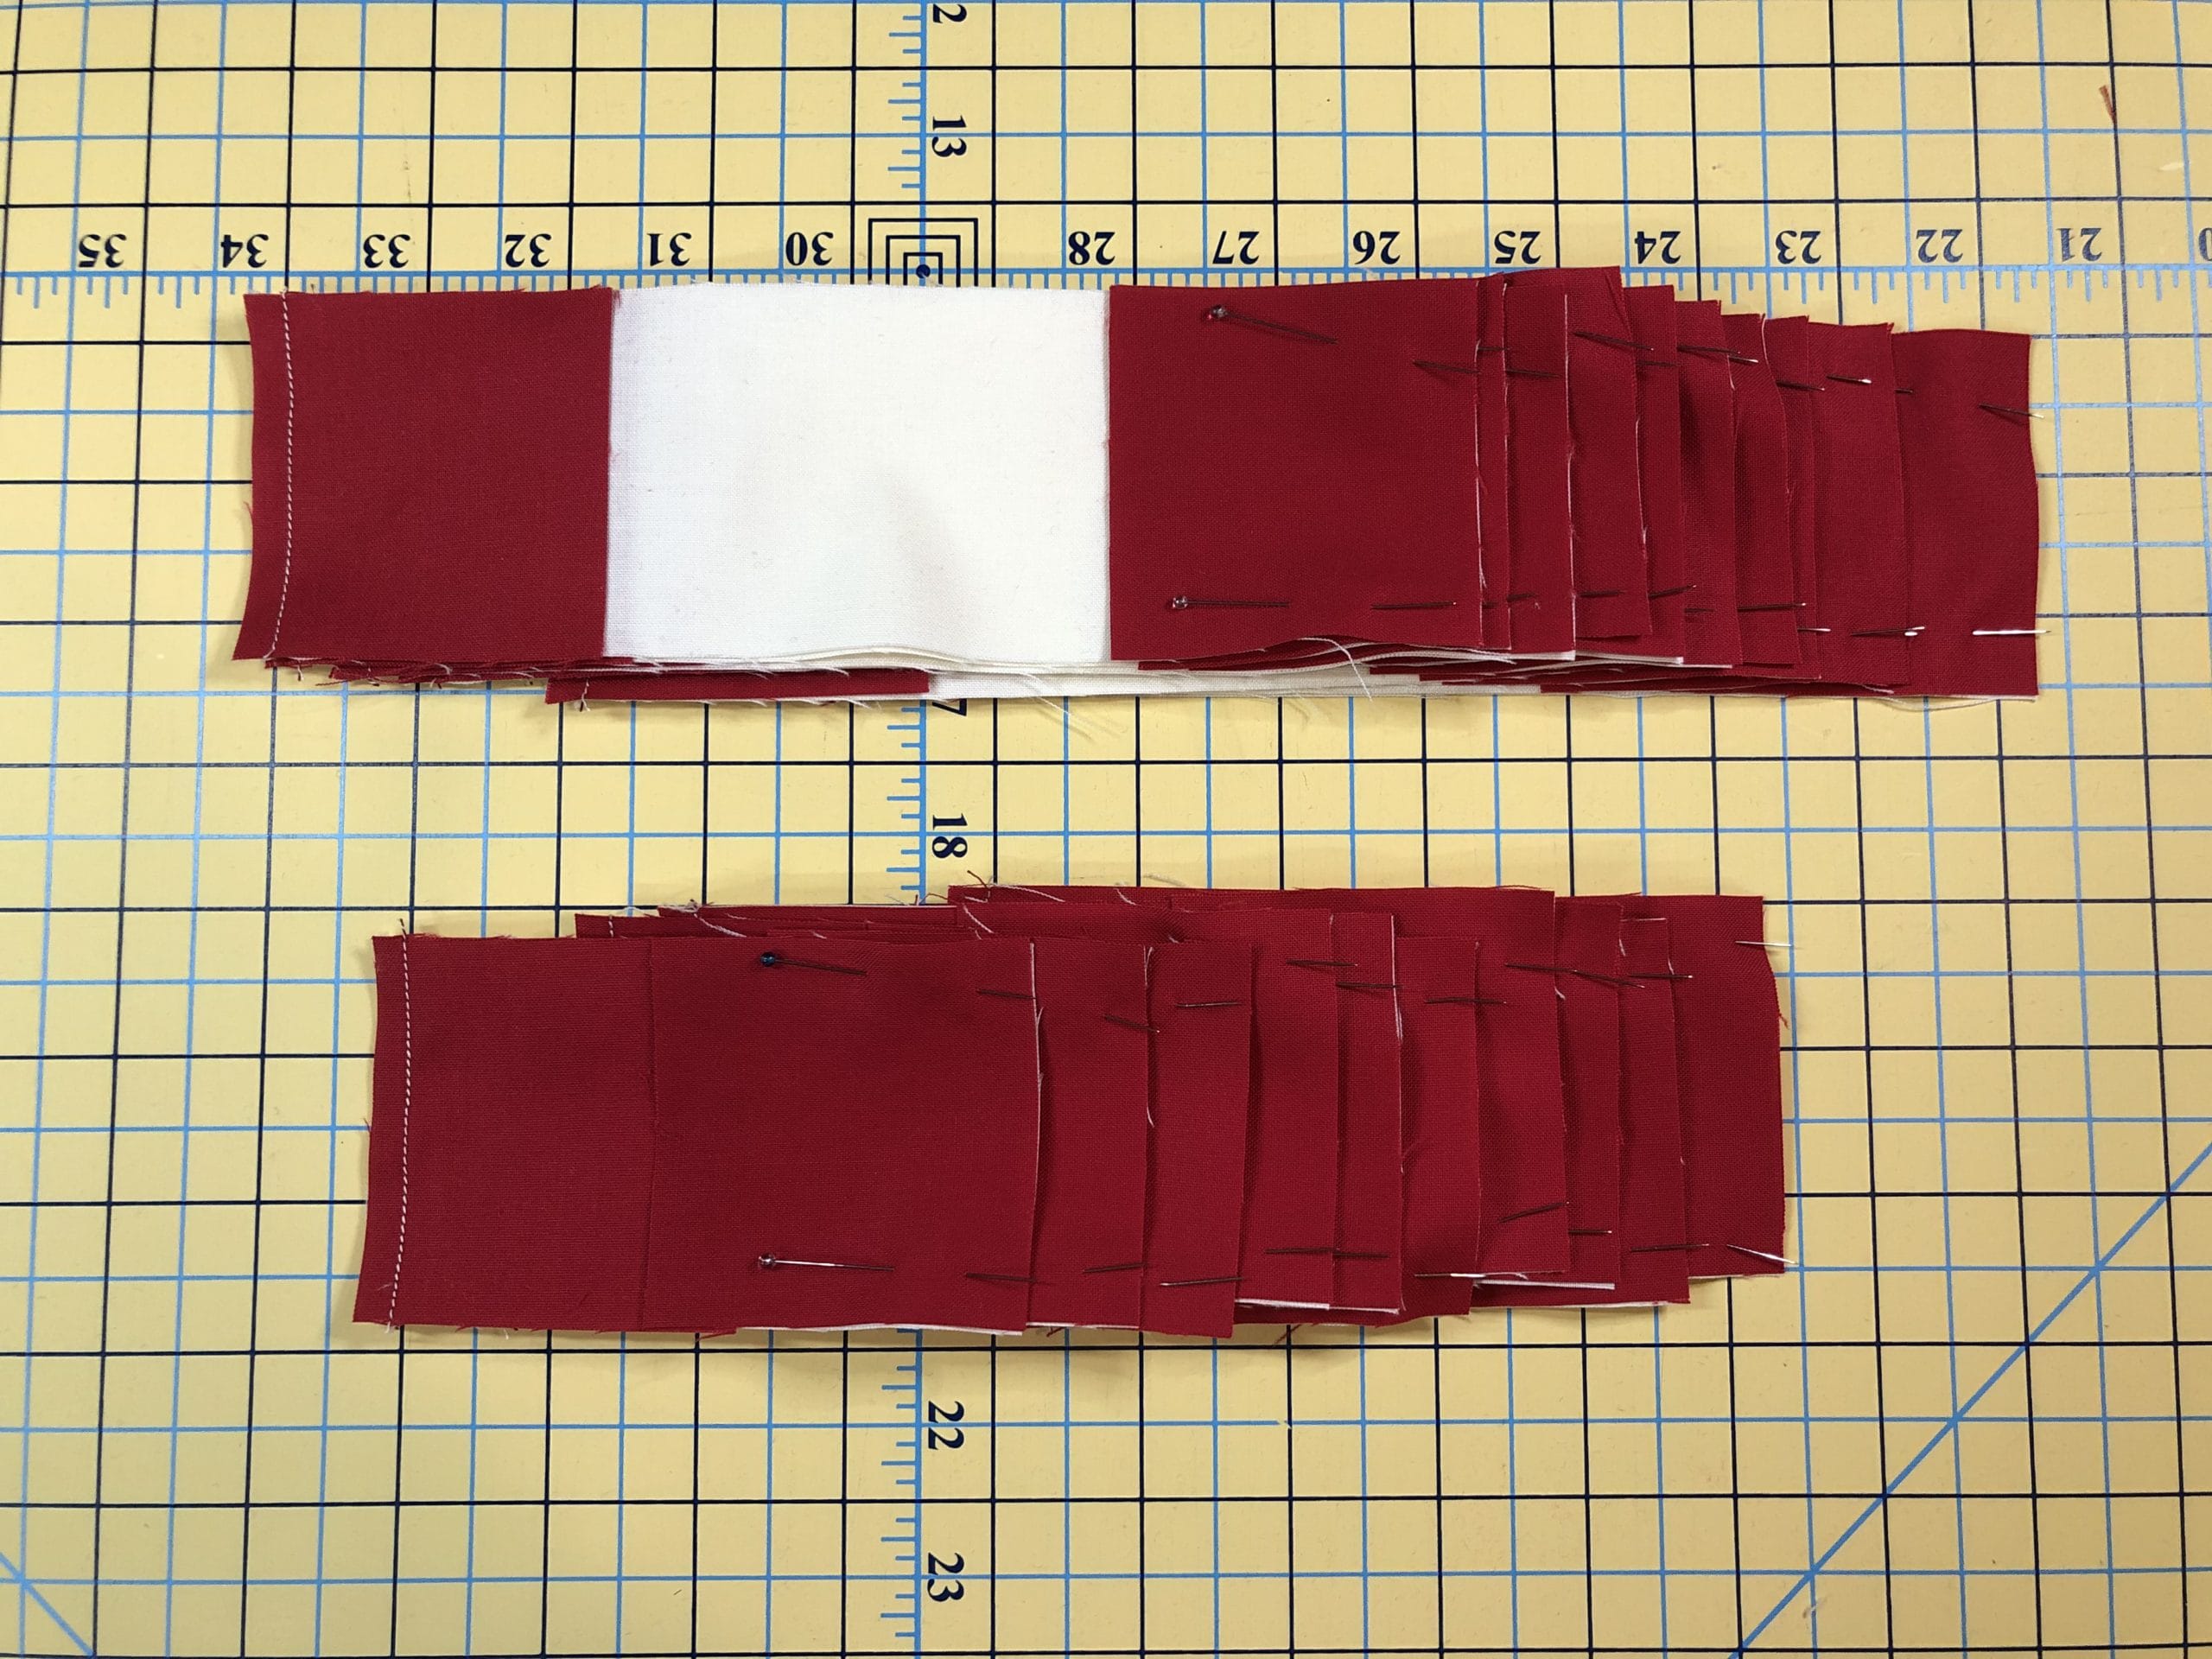
I begin by cutting out everything for all 5 blocks and then get to work.
Whenever I’m piecing a quilt, I look at the entire pattern first. I try to see how much sewing I can do at the same time, even if that means skipping around a bit.
For these blocks, I know that I need to make the half-square triangles right off the bat, so I get those ready.

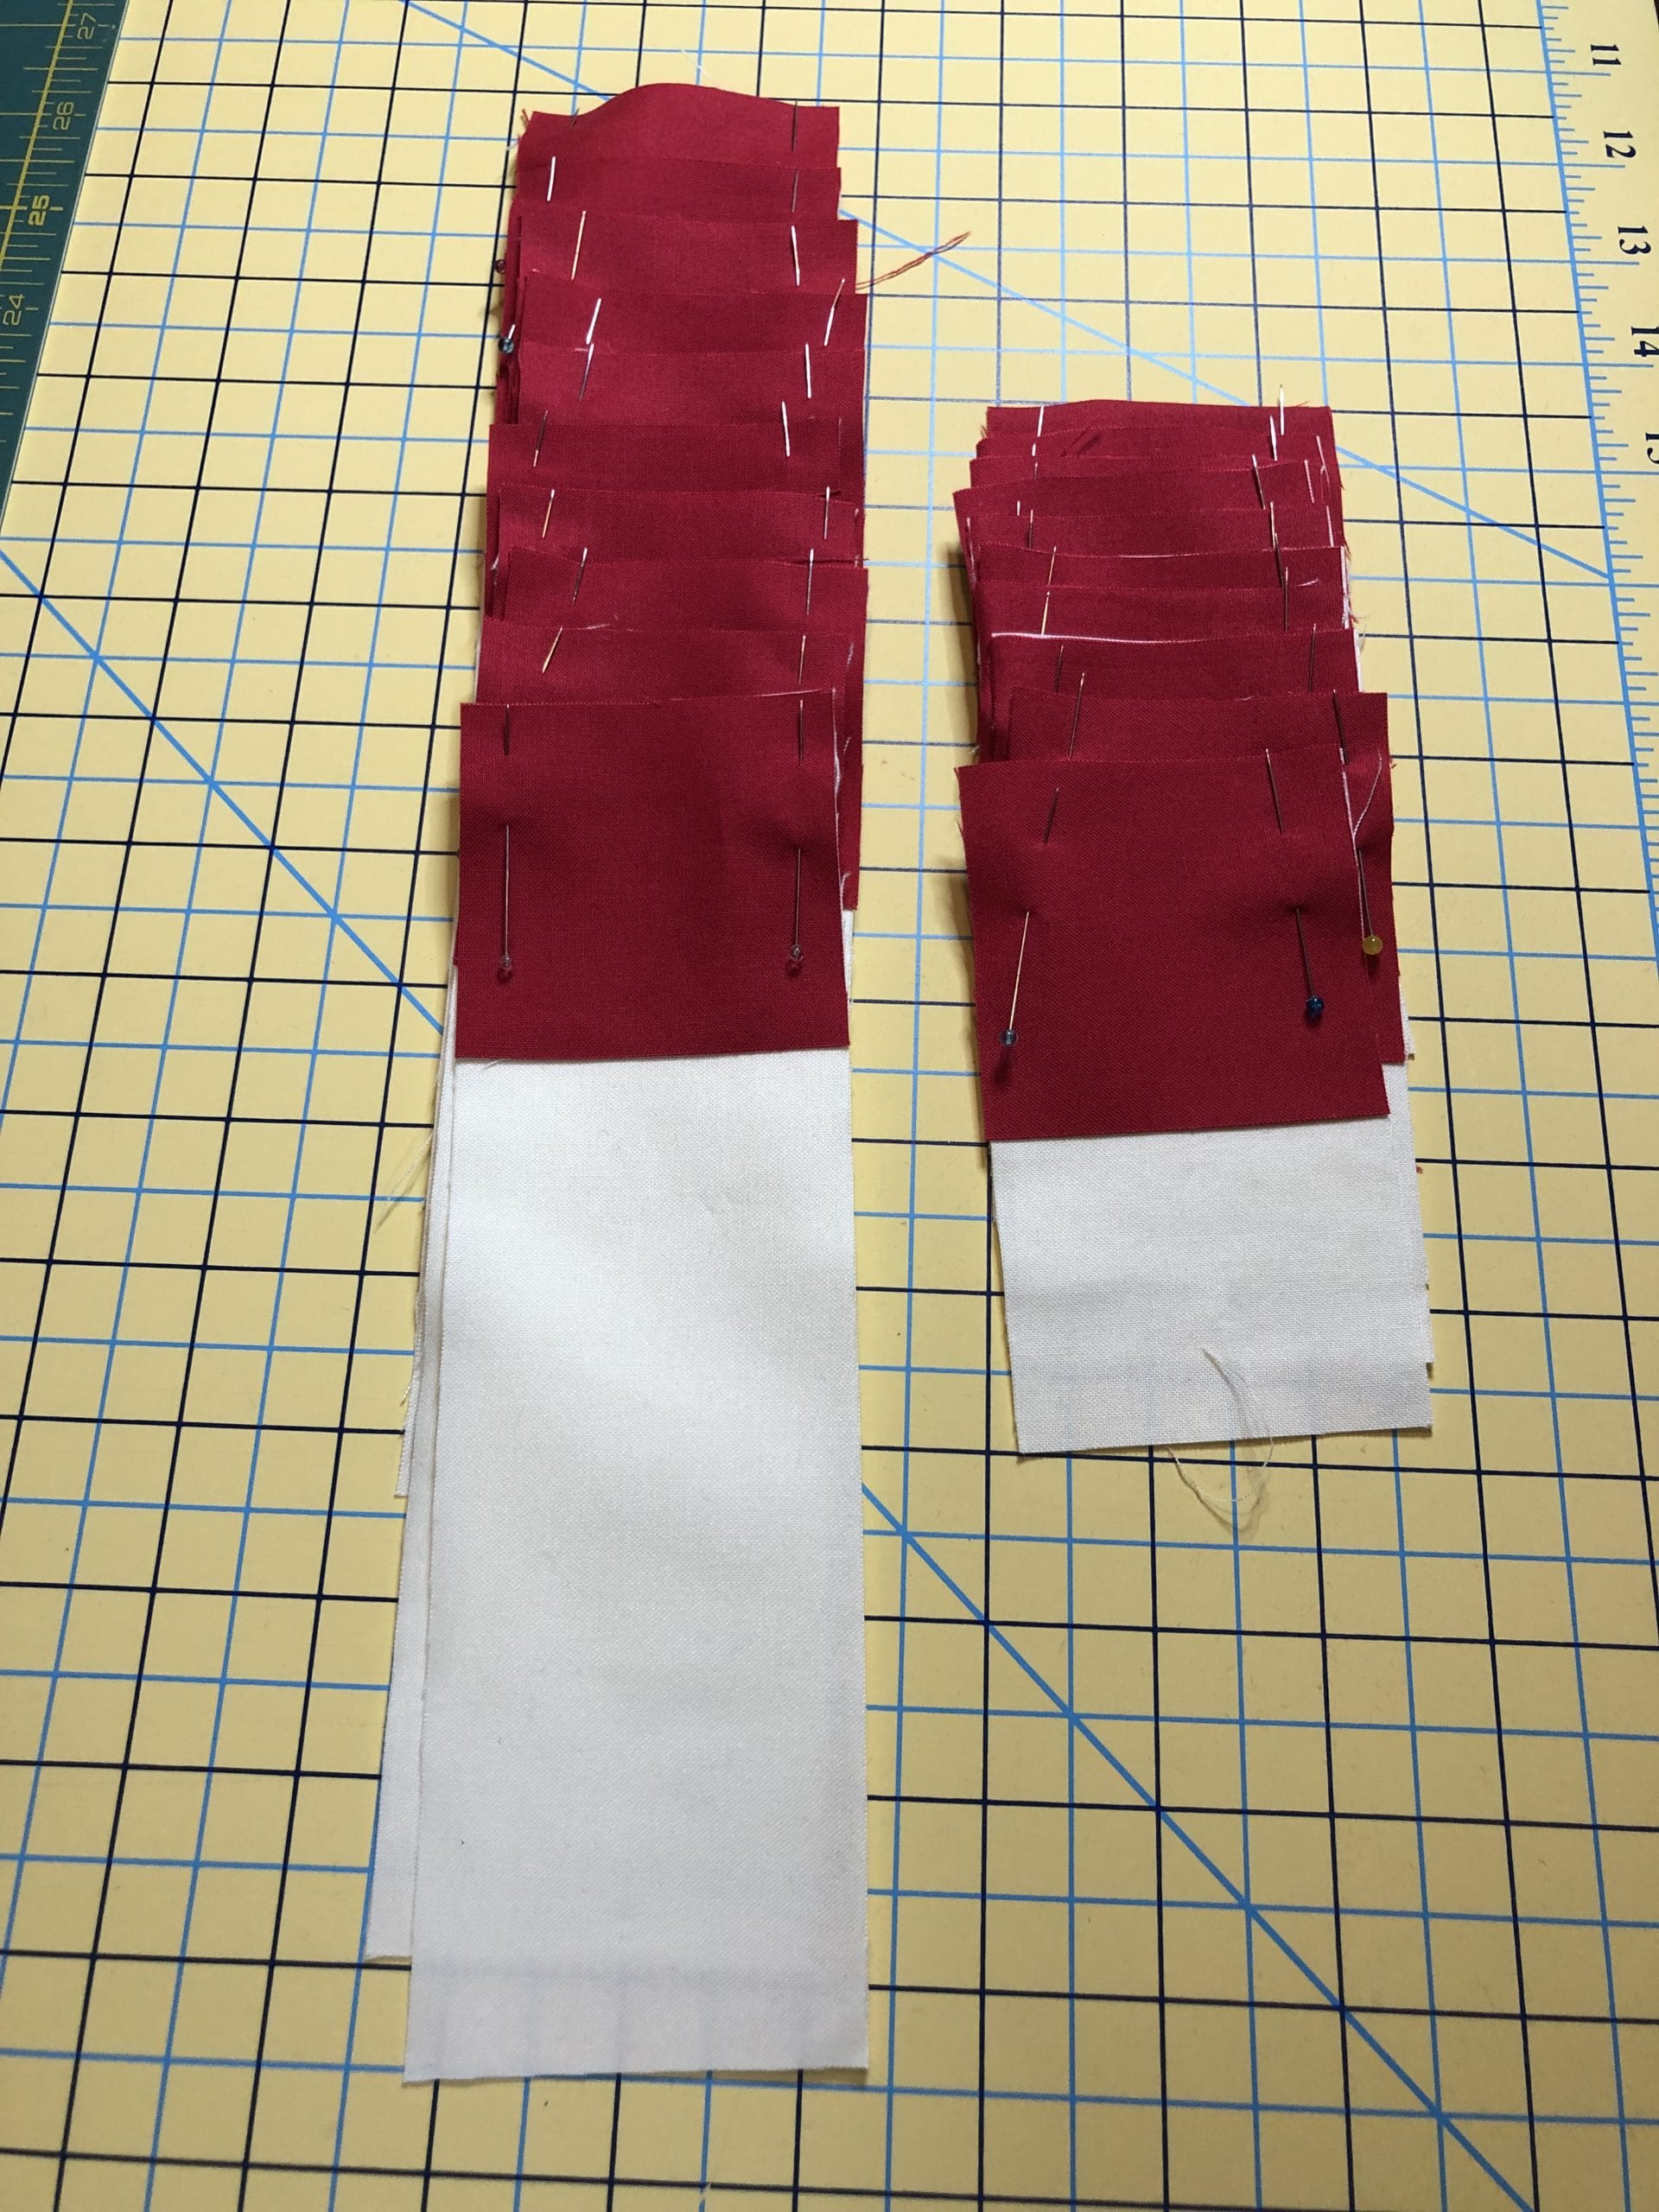
But I also know by looking ahead in step 3 where it says “Take the two remaining D strips and sew a C square to each end”, that I’ll need two of those C/D/C units for each of the 5 blocks. So I get all ten of those prepped and pinned for sewing too.
And then looking even FURTHER ahead in step 4, I see that each block also has two units with a C square being sewn to each end of an E strip, so I get all ten of those pinned as well.
Step Two
Piecing Squares, Strips, and HSTs
Then I sit down at my sewing machine and get to work.
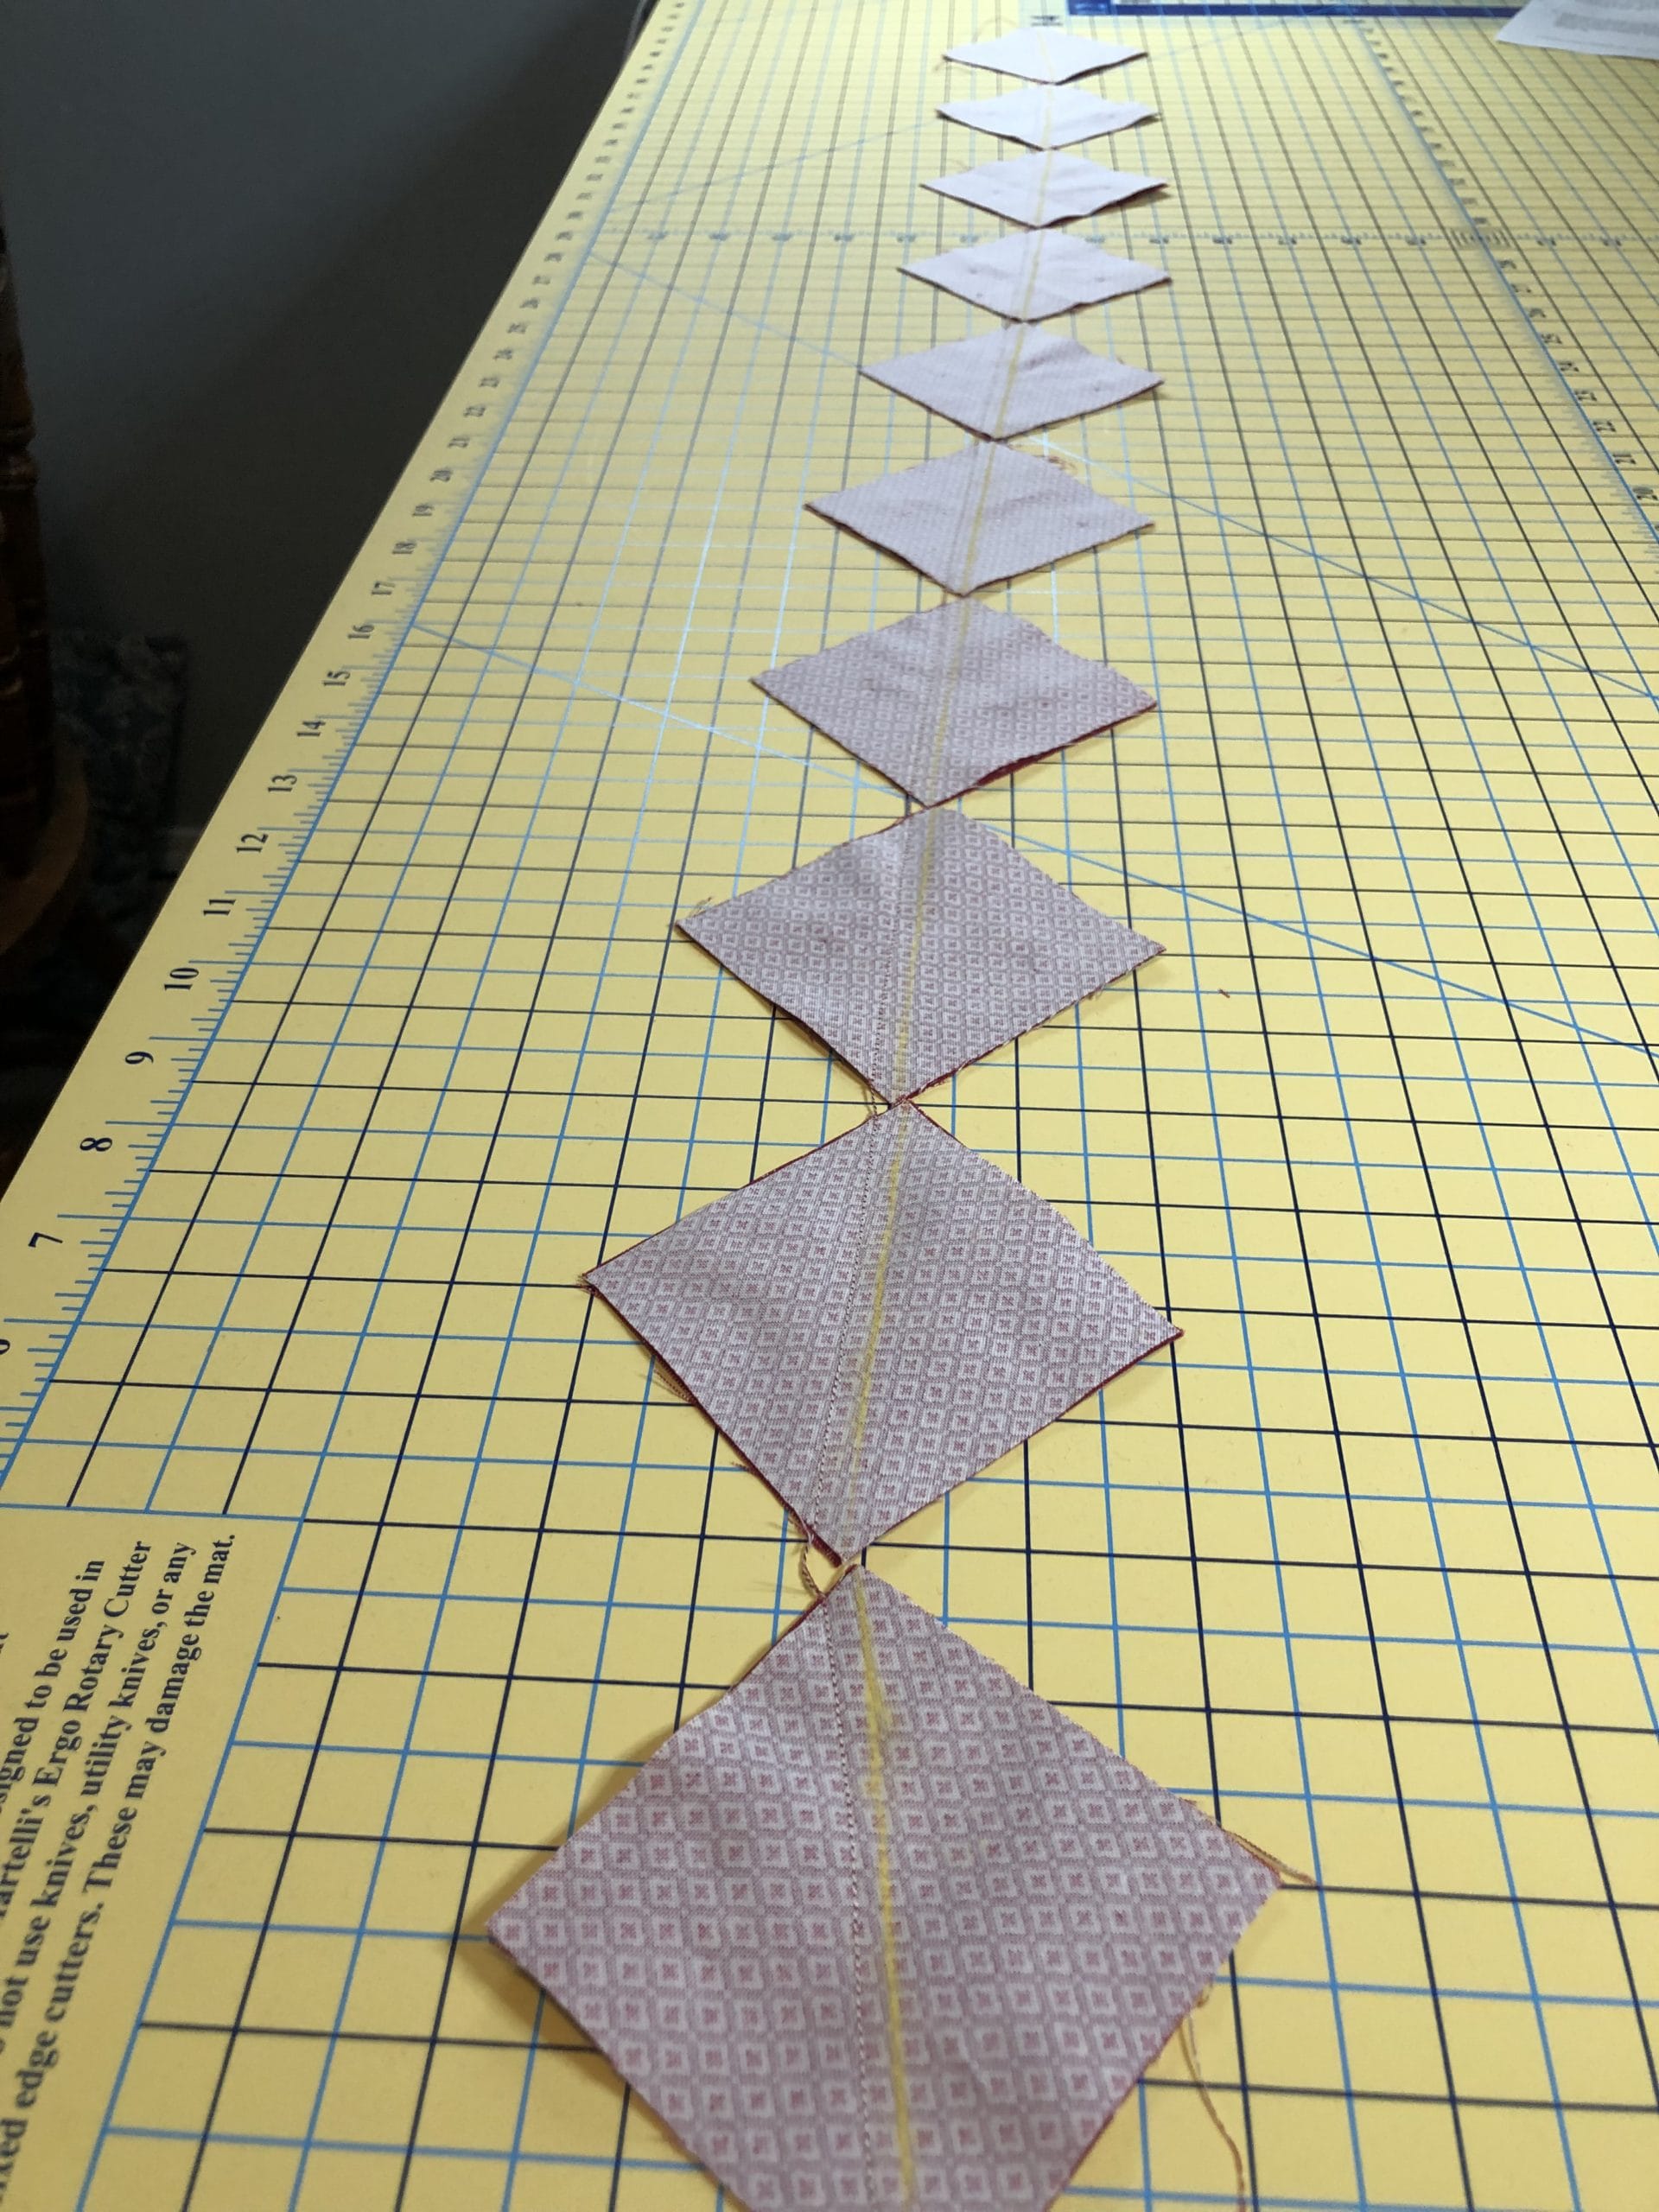
I always do chain piecing whenever possible. Below is a photo of my chain of half-square triangles after my first pass along one side. I don’t clip the strings, but just run the chain back through on the other side. I then clip everything when I’m done.
Once I have all that prep sewing done, I finish up my half-square triangles, square them up, and start making my pinwheel blocks.
Step Three
Piecing Pinwheels
This time I paid attention to the orientation of the pinwheels, and laid everything out from the start (to make sure I didn’t mess those up like last time)! If you want the nitty-gritty of putting these together, you can refer back to Ruby BOM Month 2.
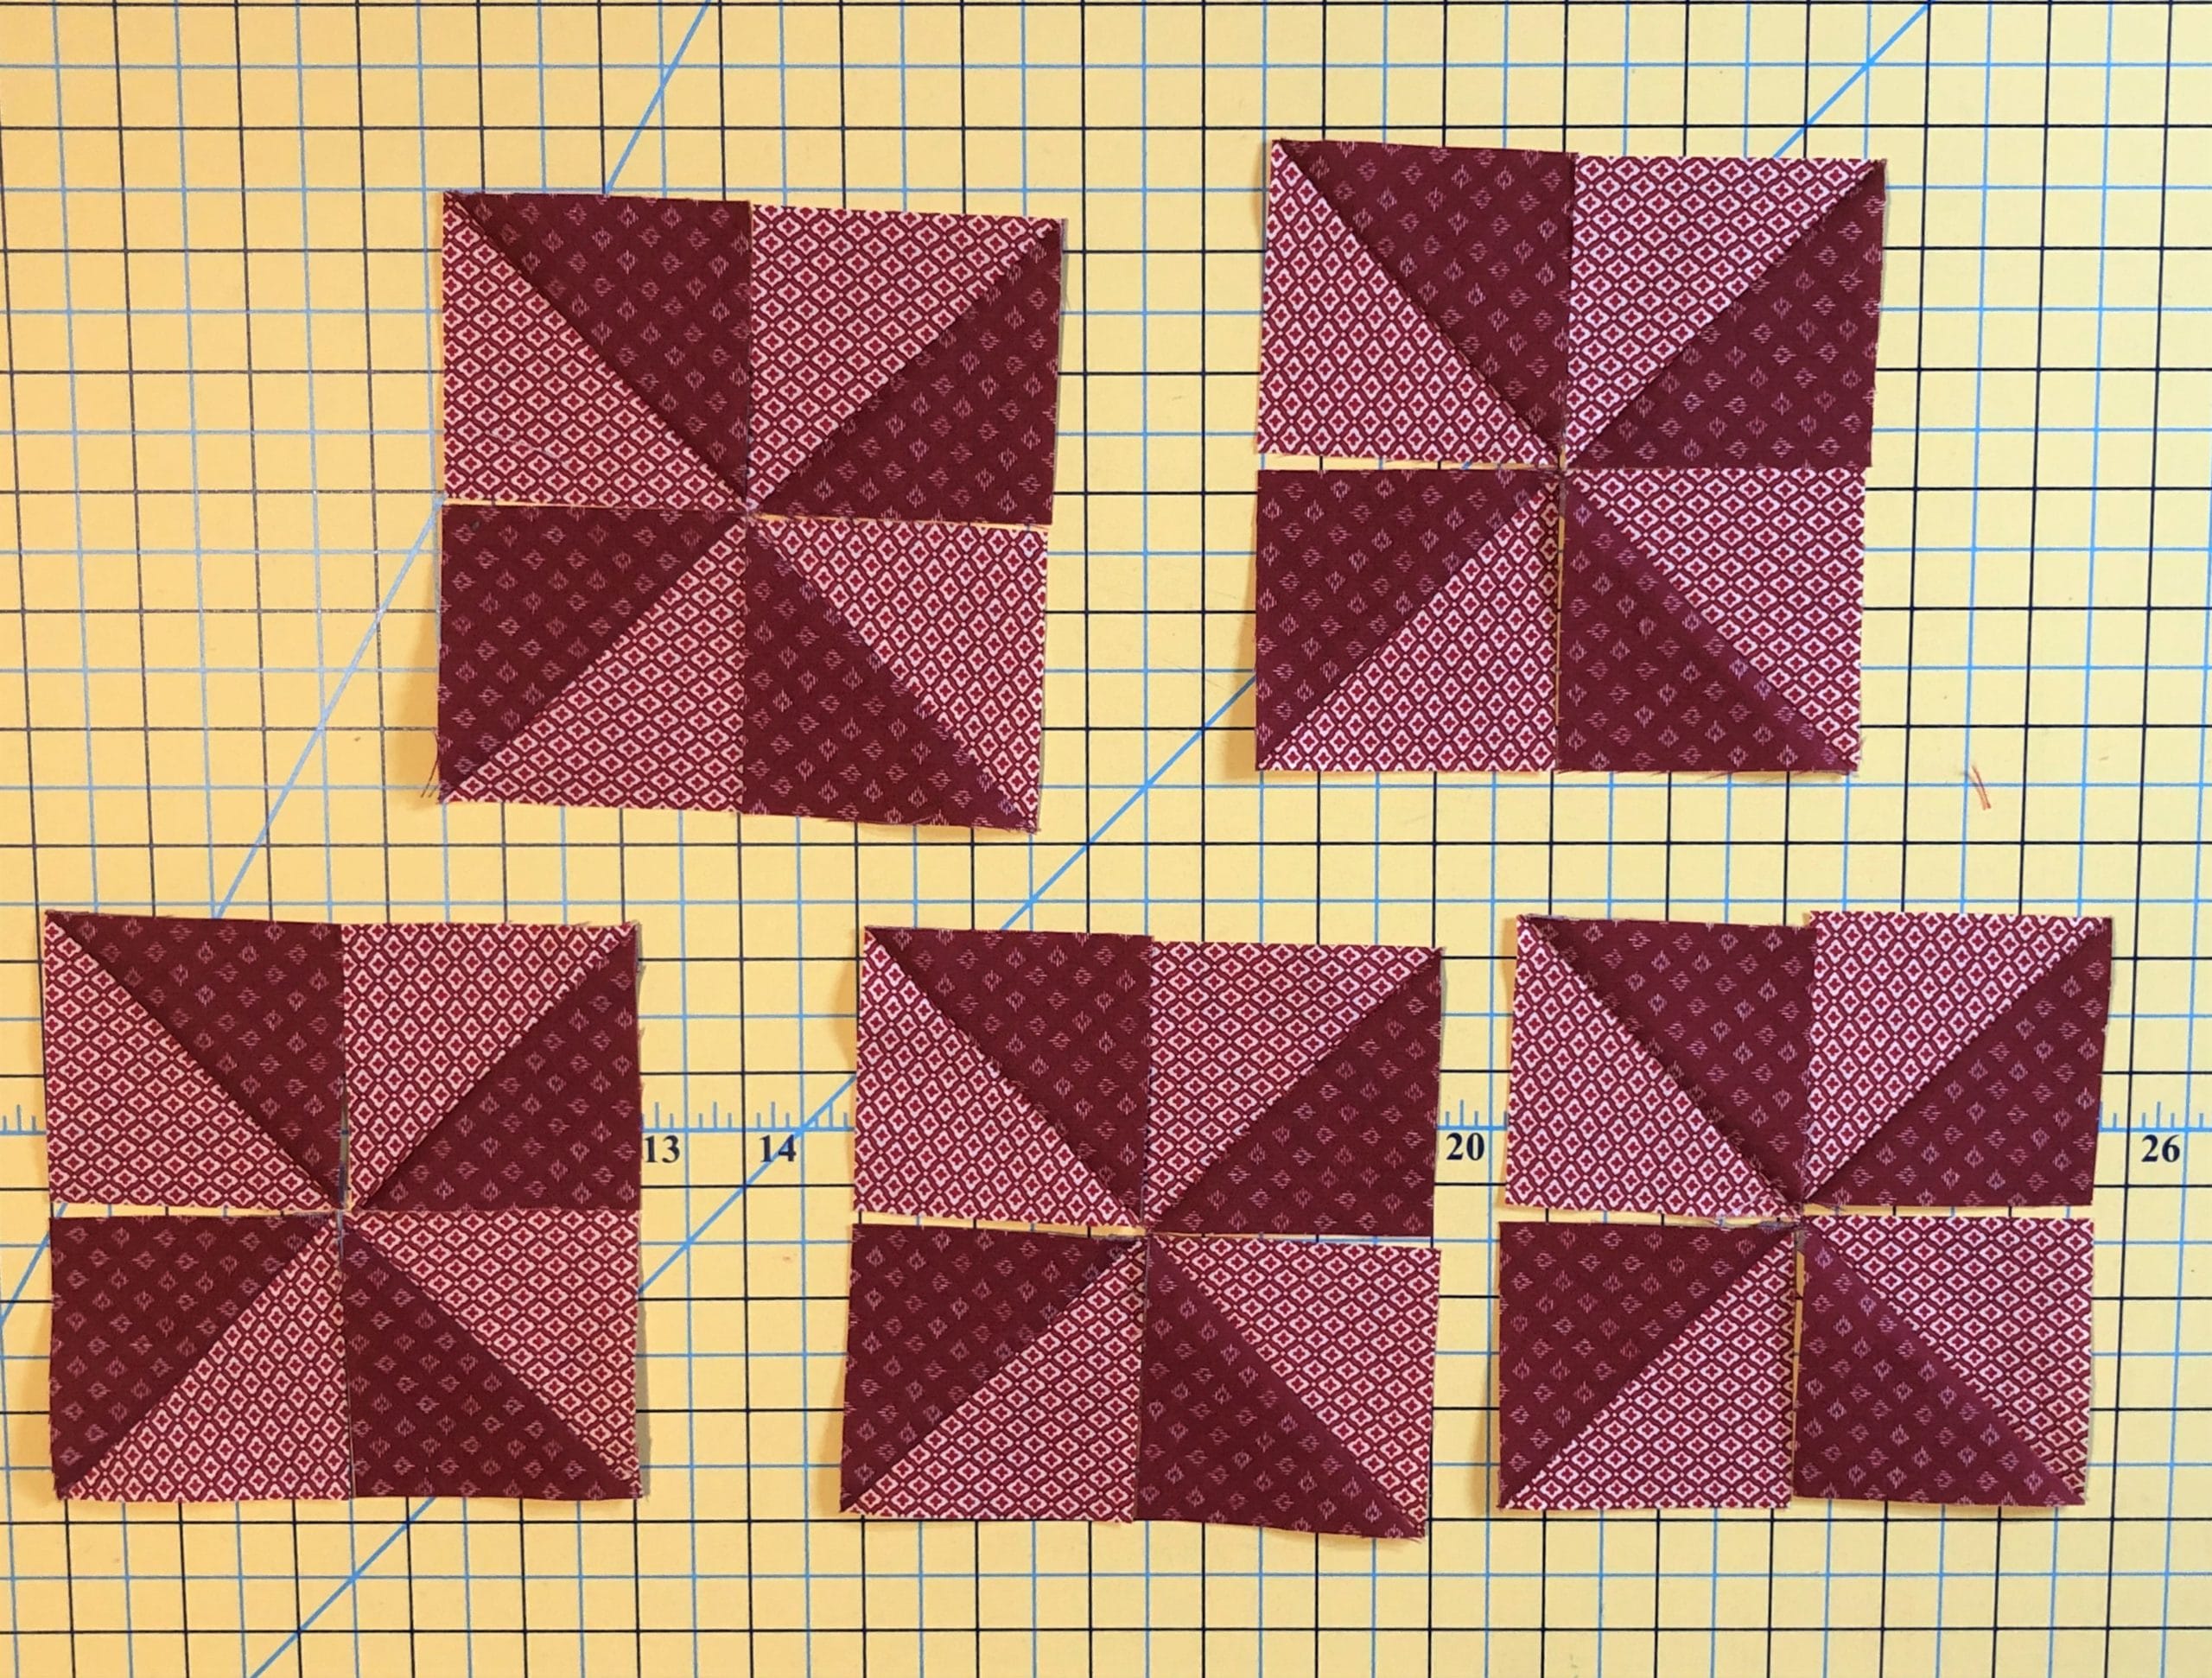
I’ve included a photo of the pinwheels with one showing the back side so you can see how I pressed the center open. This allows the block to lay flat. If you carefully press the center open, it should naturally push one seam up and the other seam down. You should also end up with a tiny pinwheel in the center where you’ve pressed open!

Step Four
Assemble Blocks
After the pinwheels are finished, there is more assembly line pinning and sewing to get all the D strips to the sides of the pinwheel.
Sew strips to pinwheels
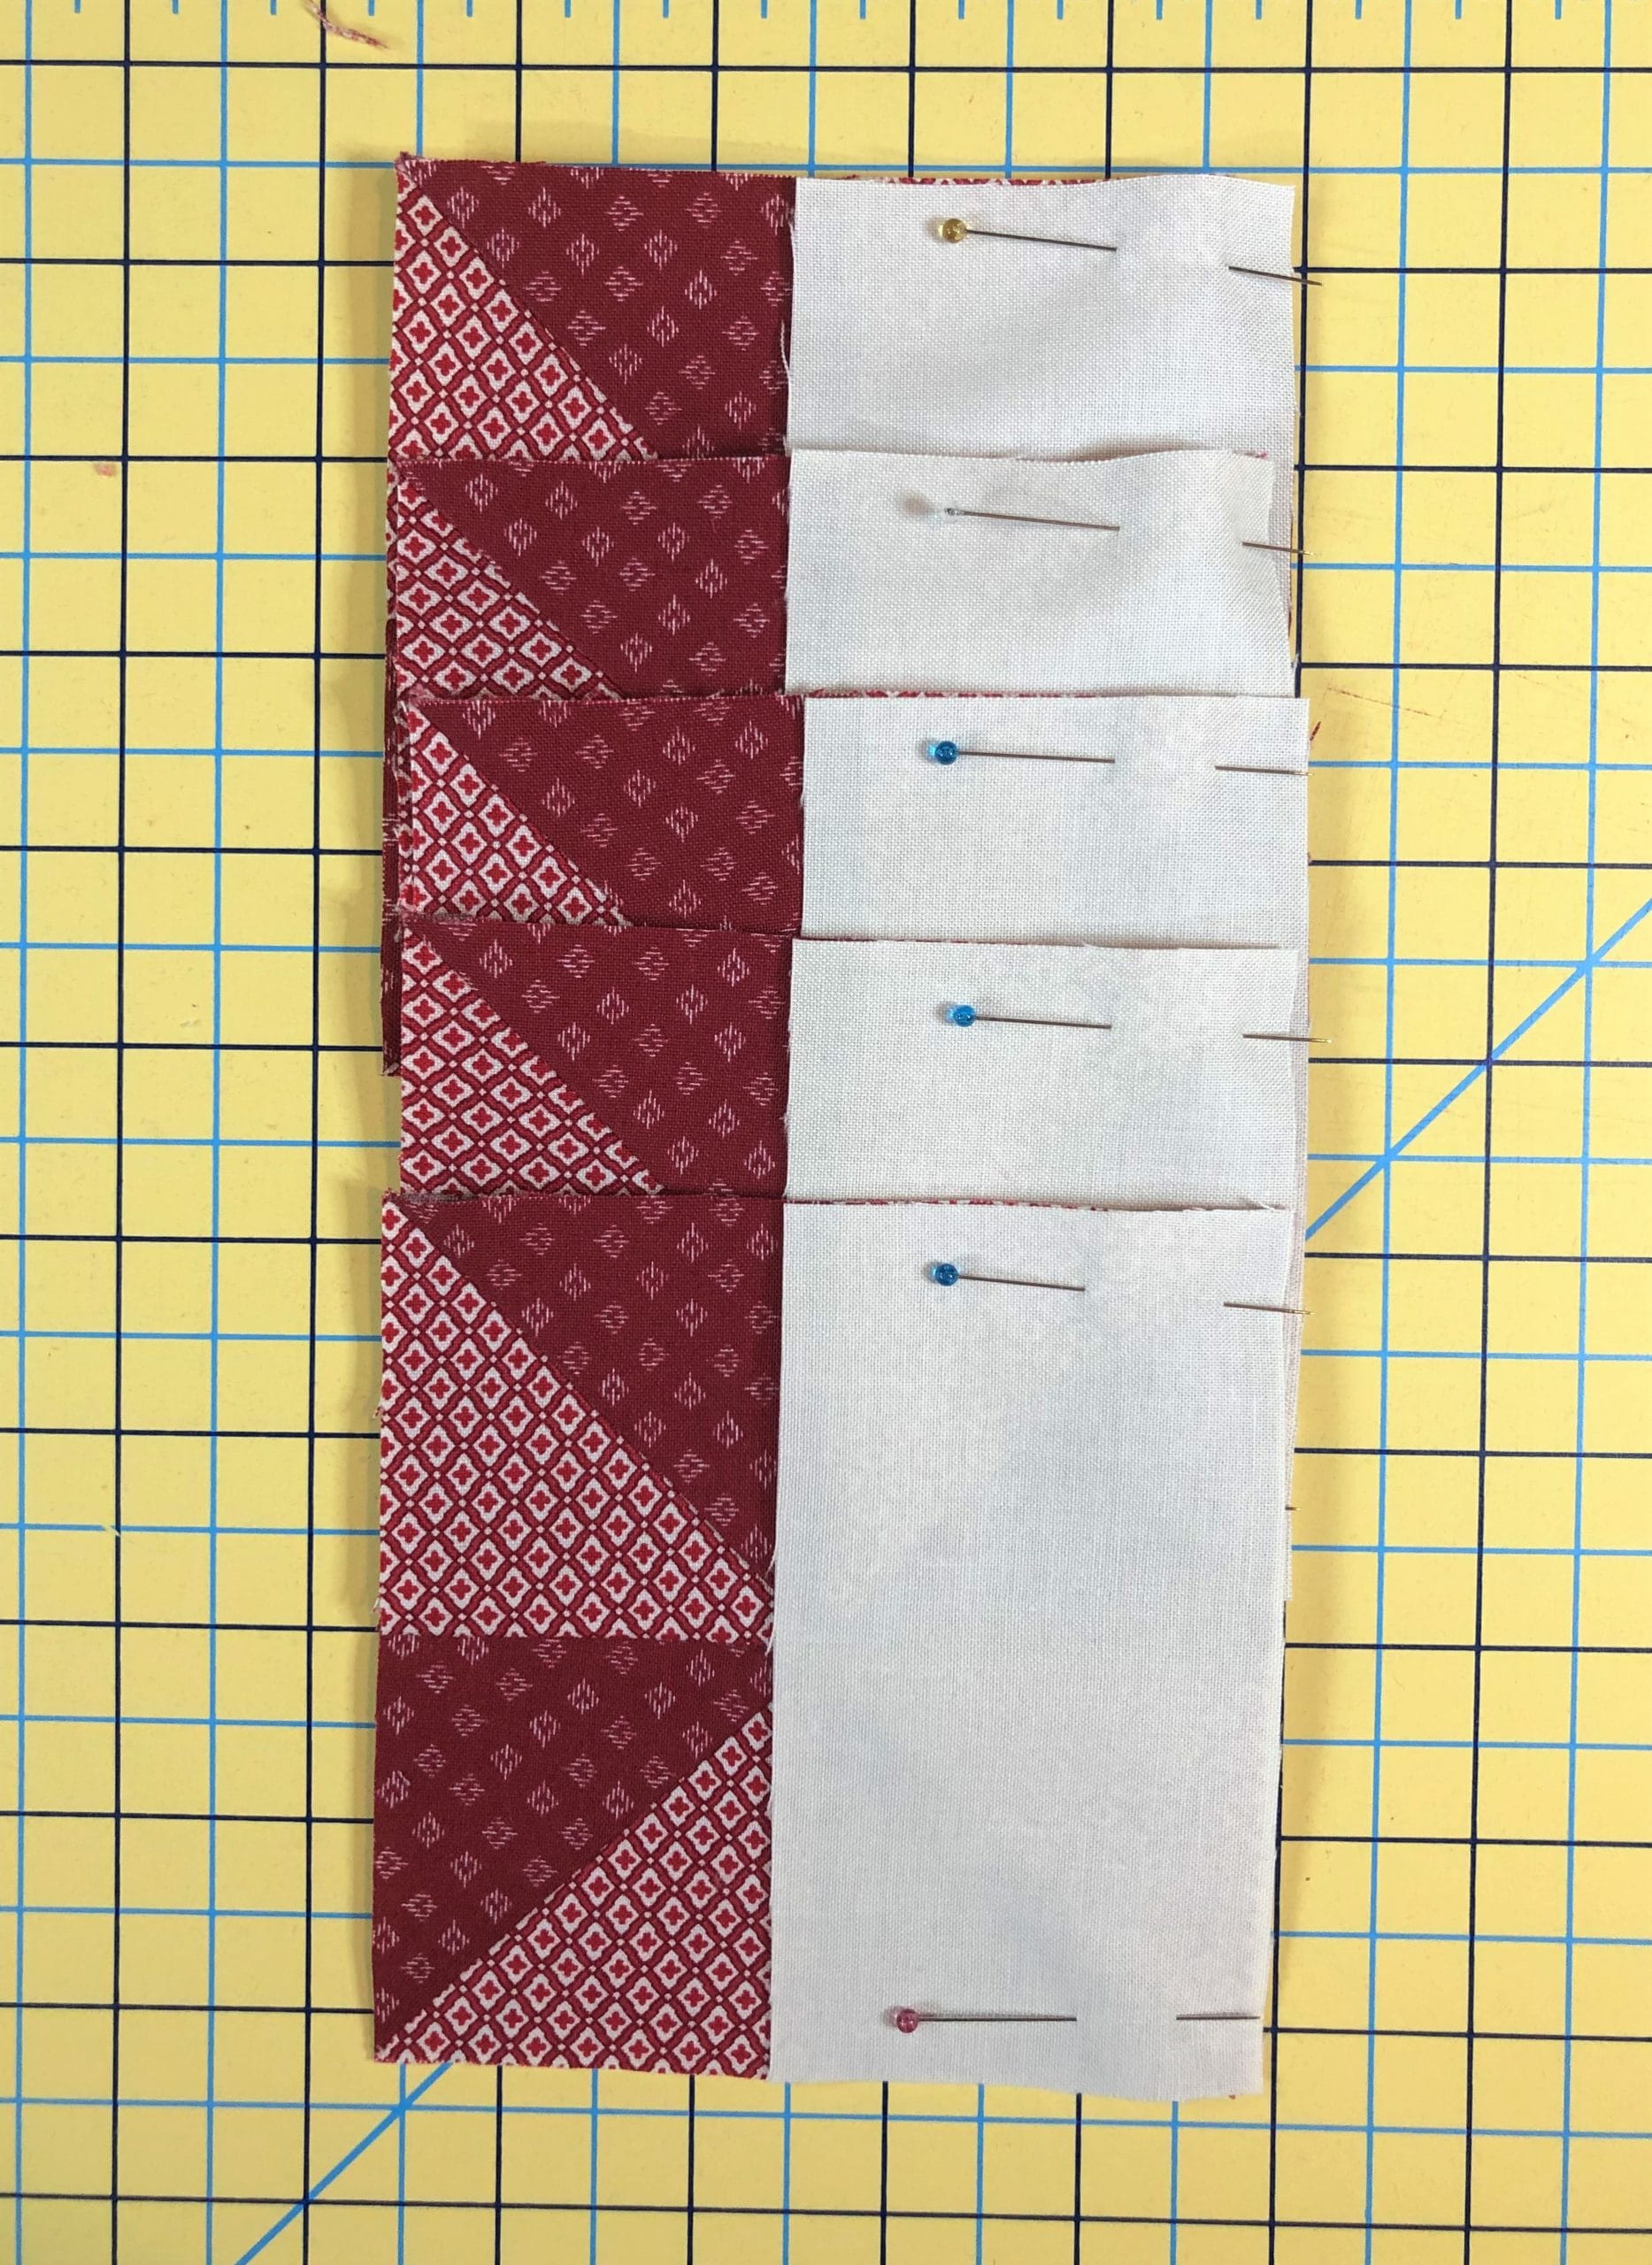
Now that the sides are pressed open, I can put those C/D/C strips I previously made on the top and bottom. I like to pin at each seam, especially when there is a seam I can’t see on the back side. The pins serve as a reminder, so that I can make sure my seams aren’t flipping up as I sew.
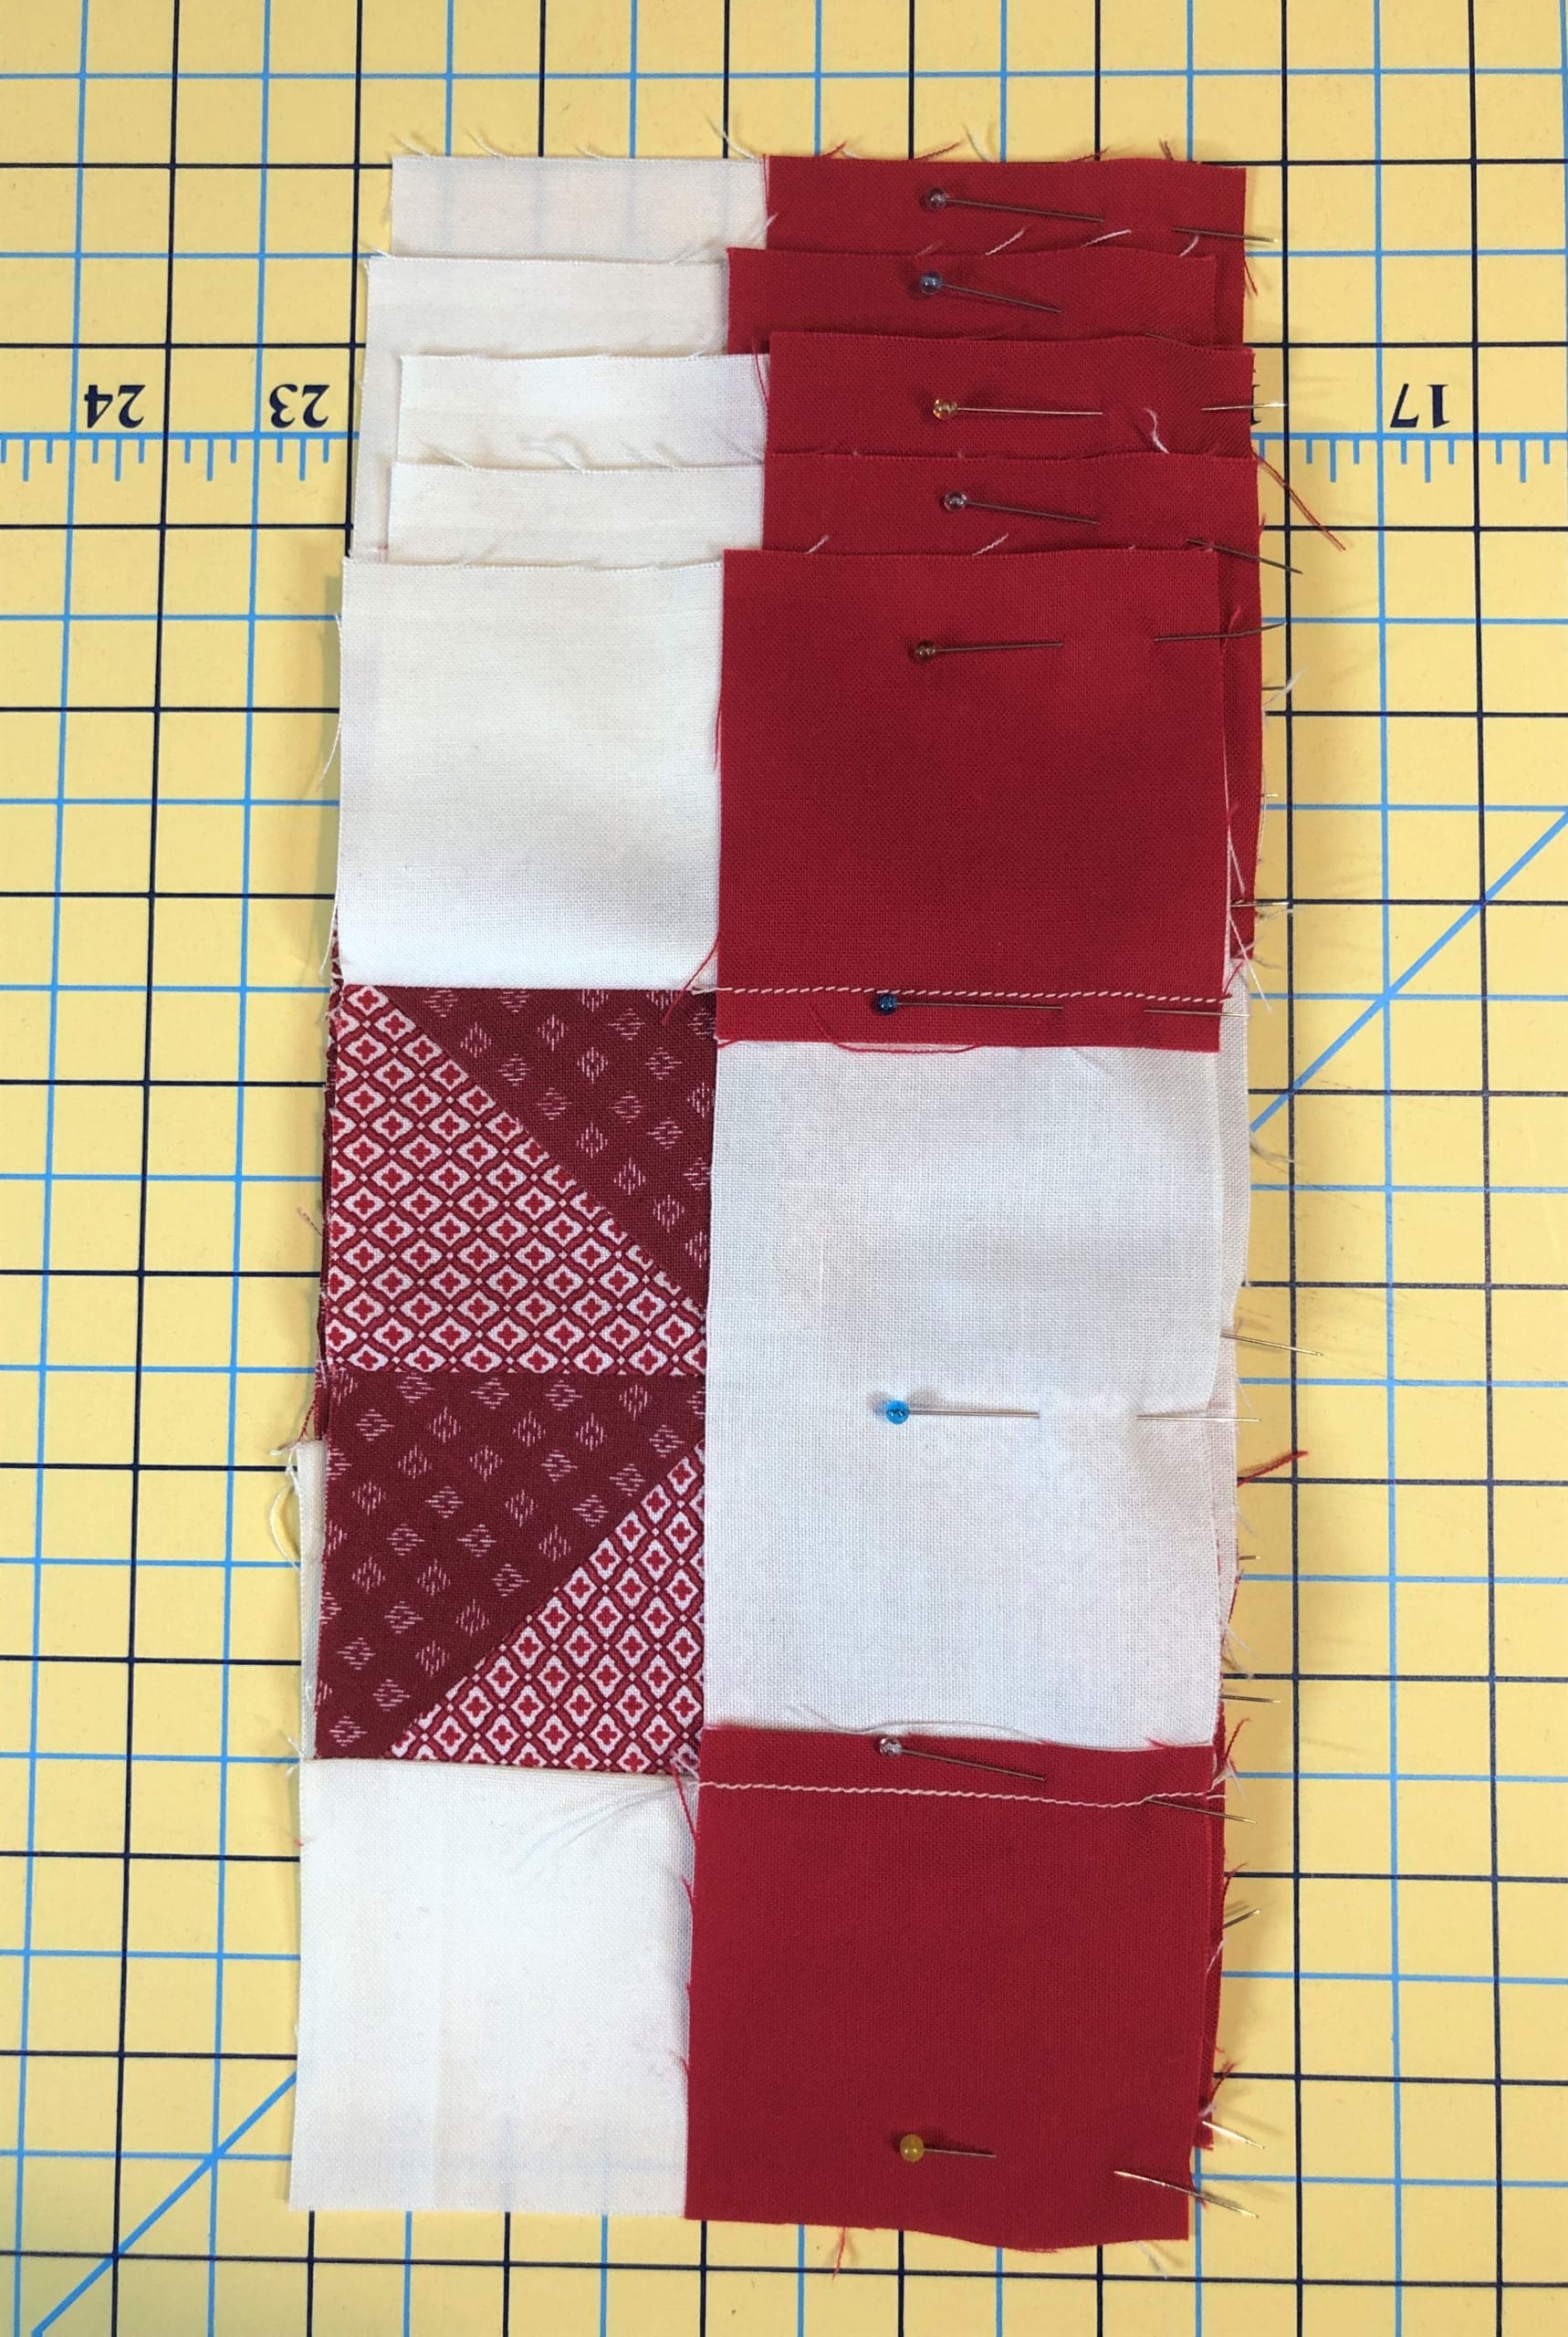
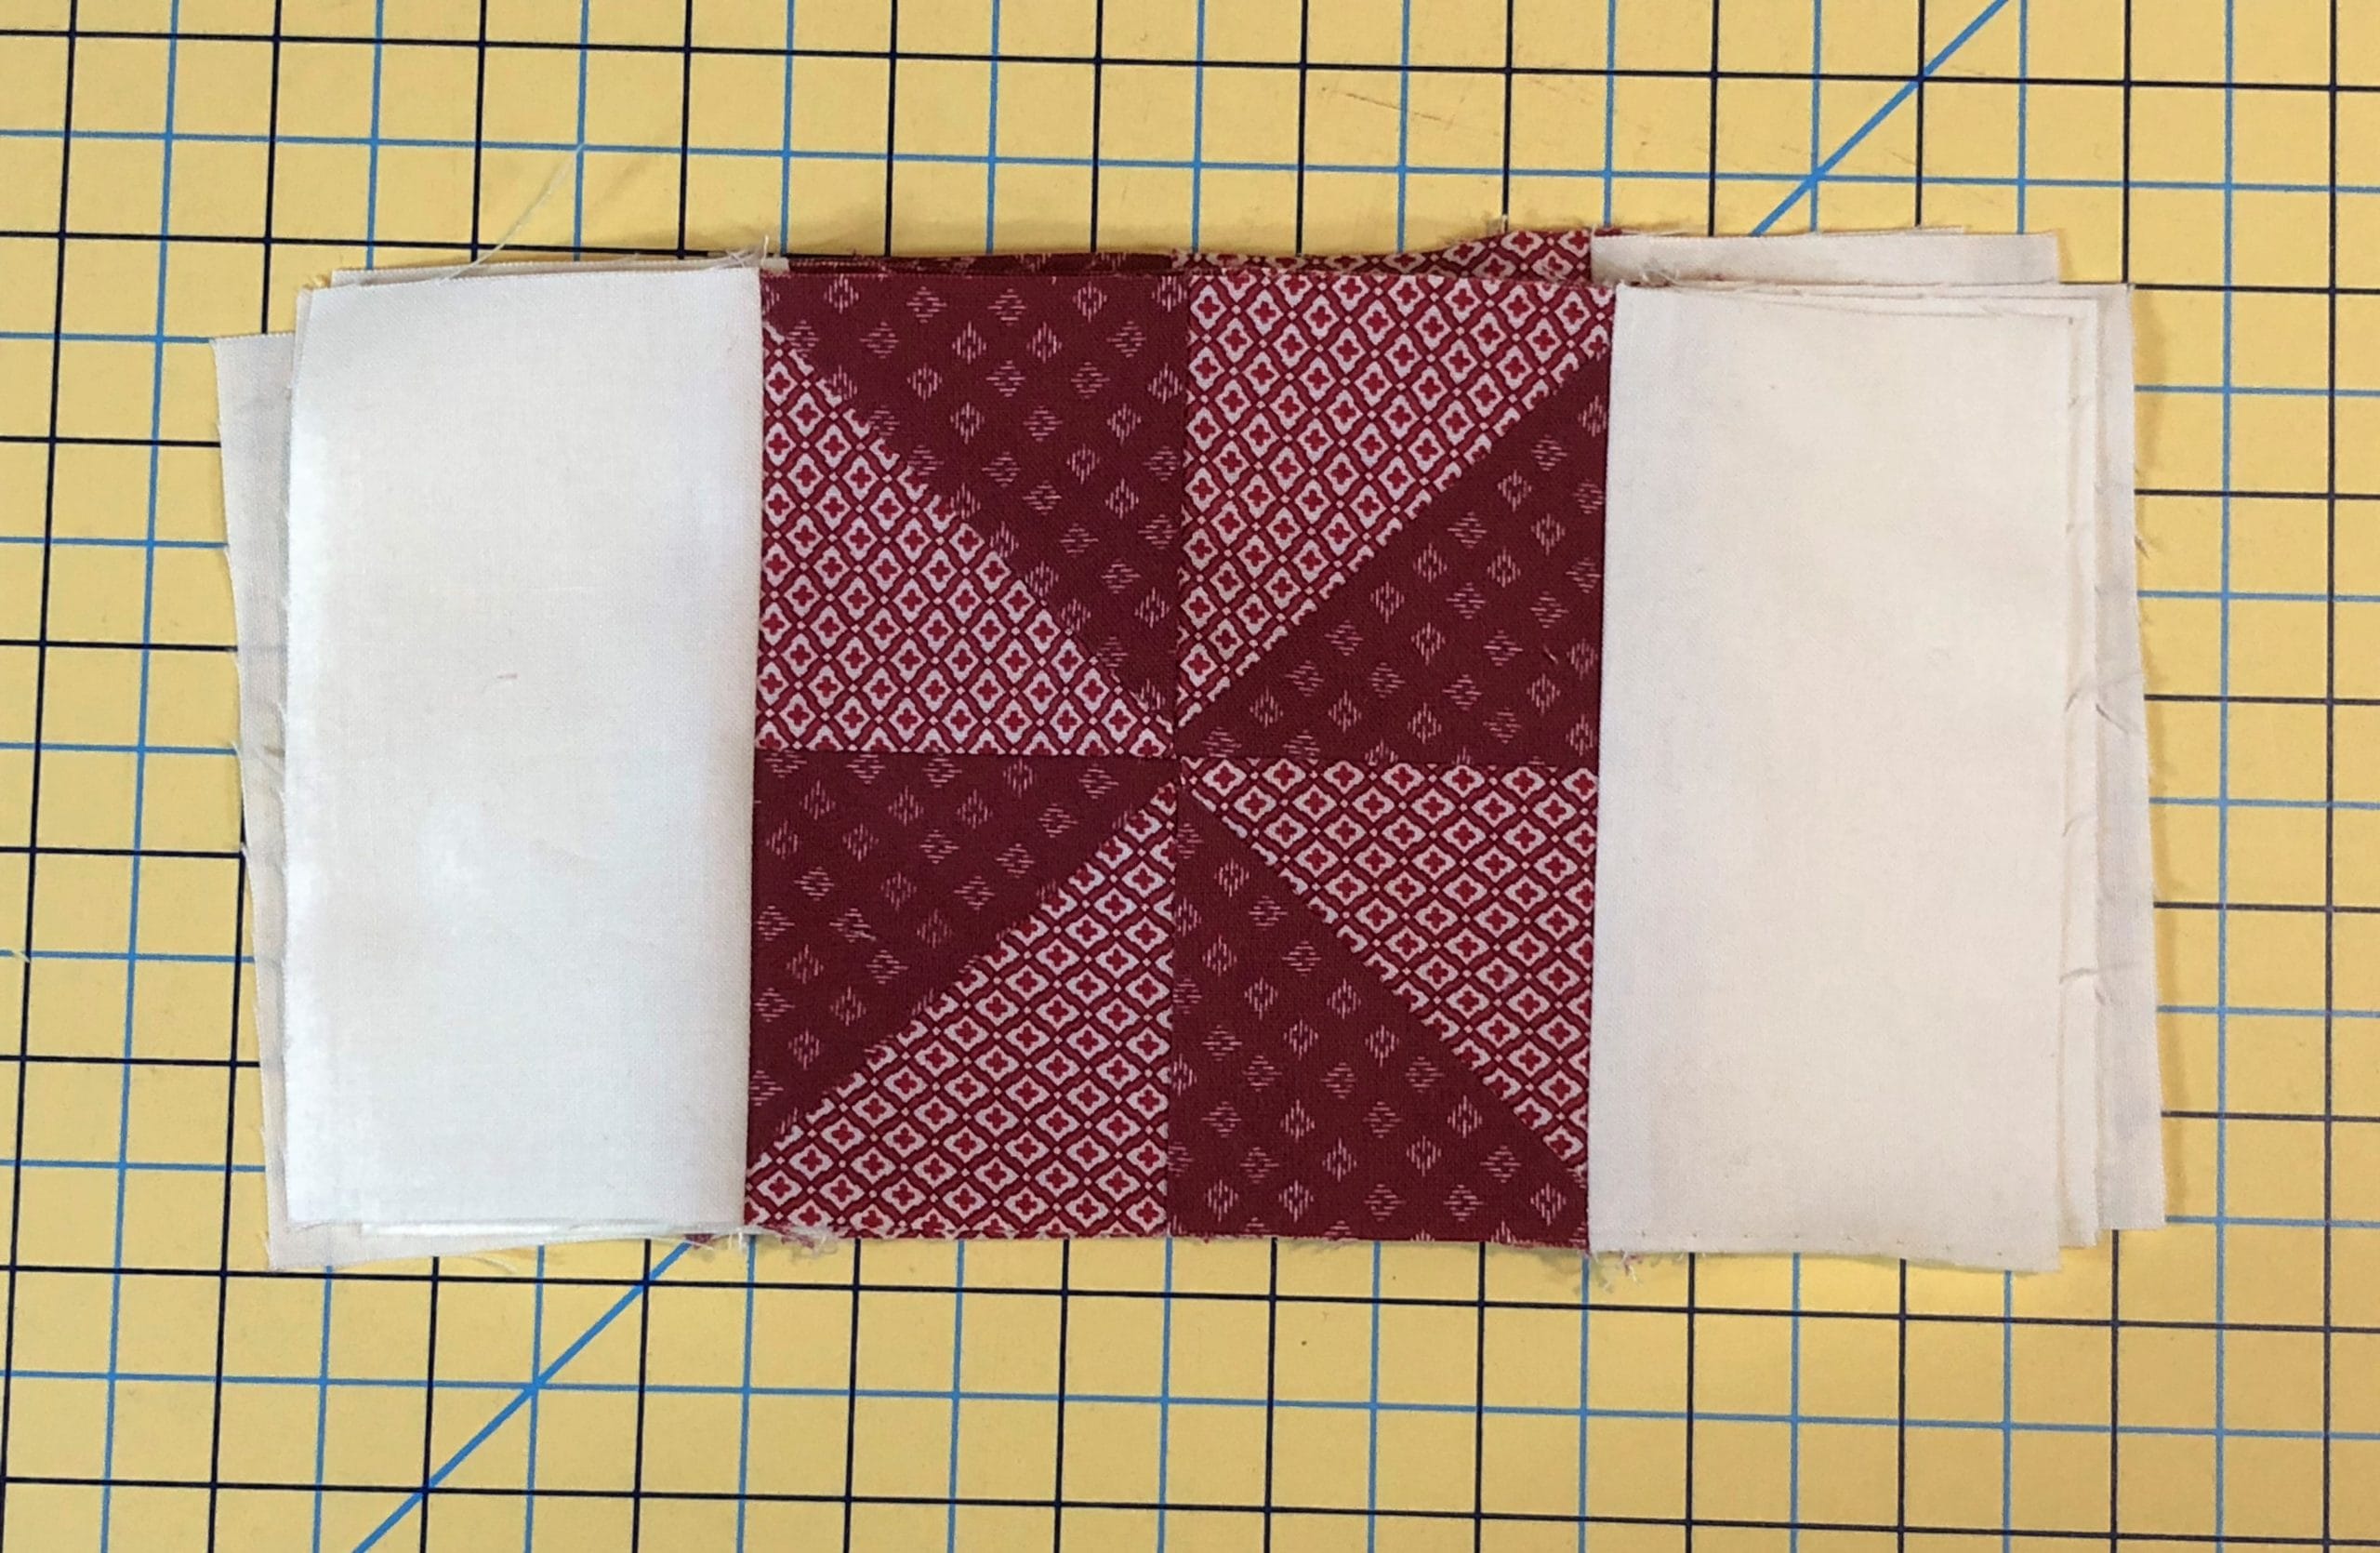
I usually don’t press things until I have both sides sewn on, as you see below.

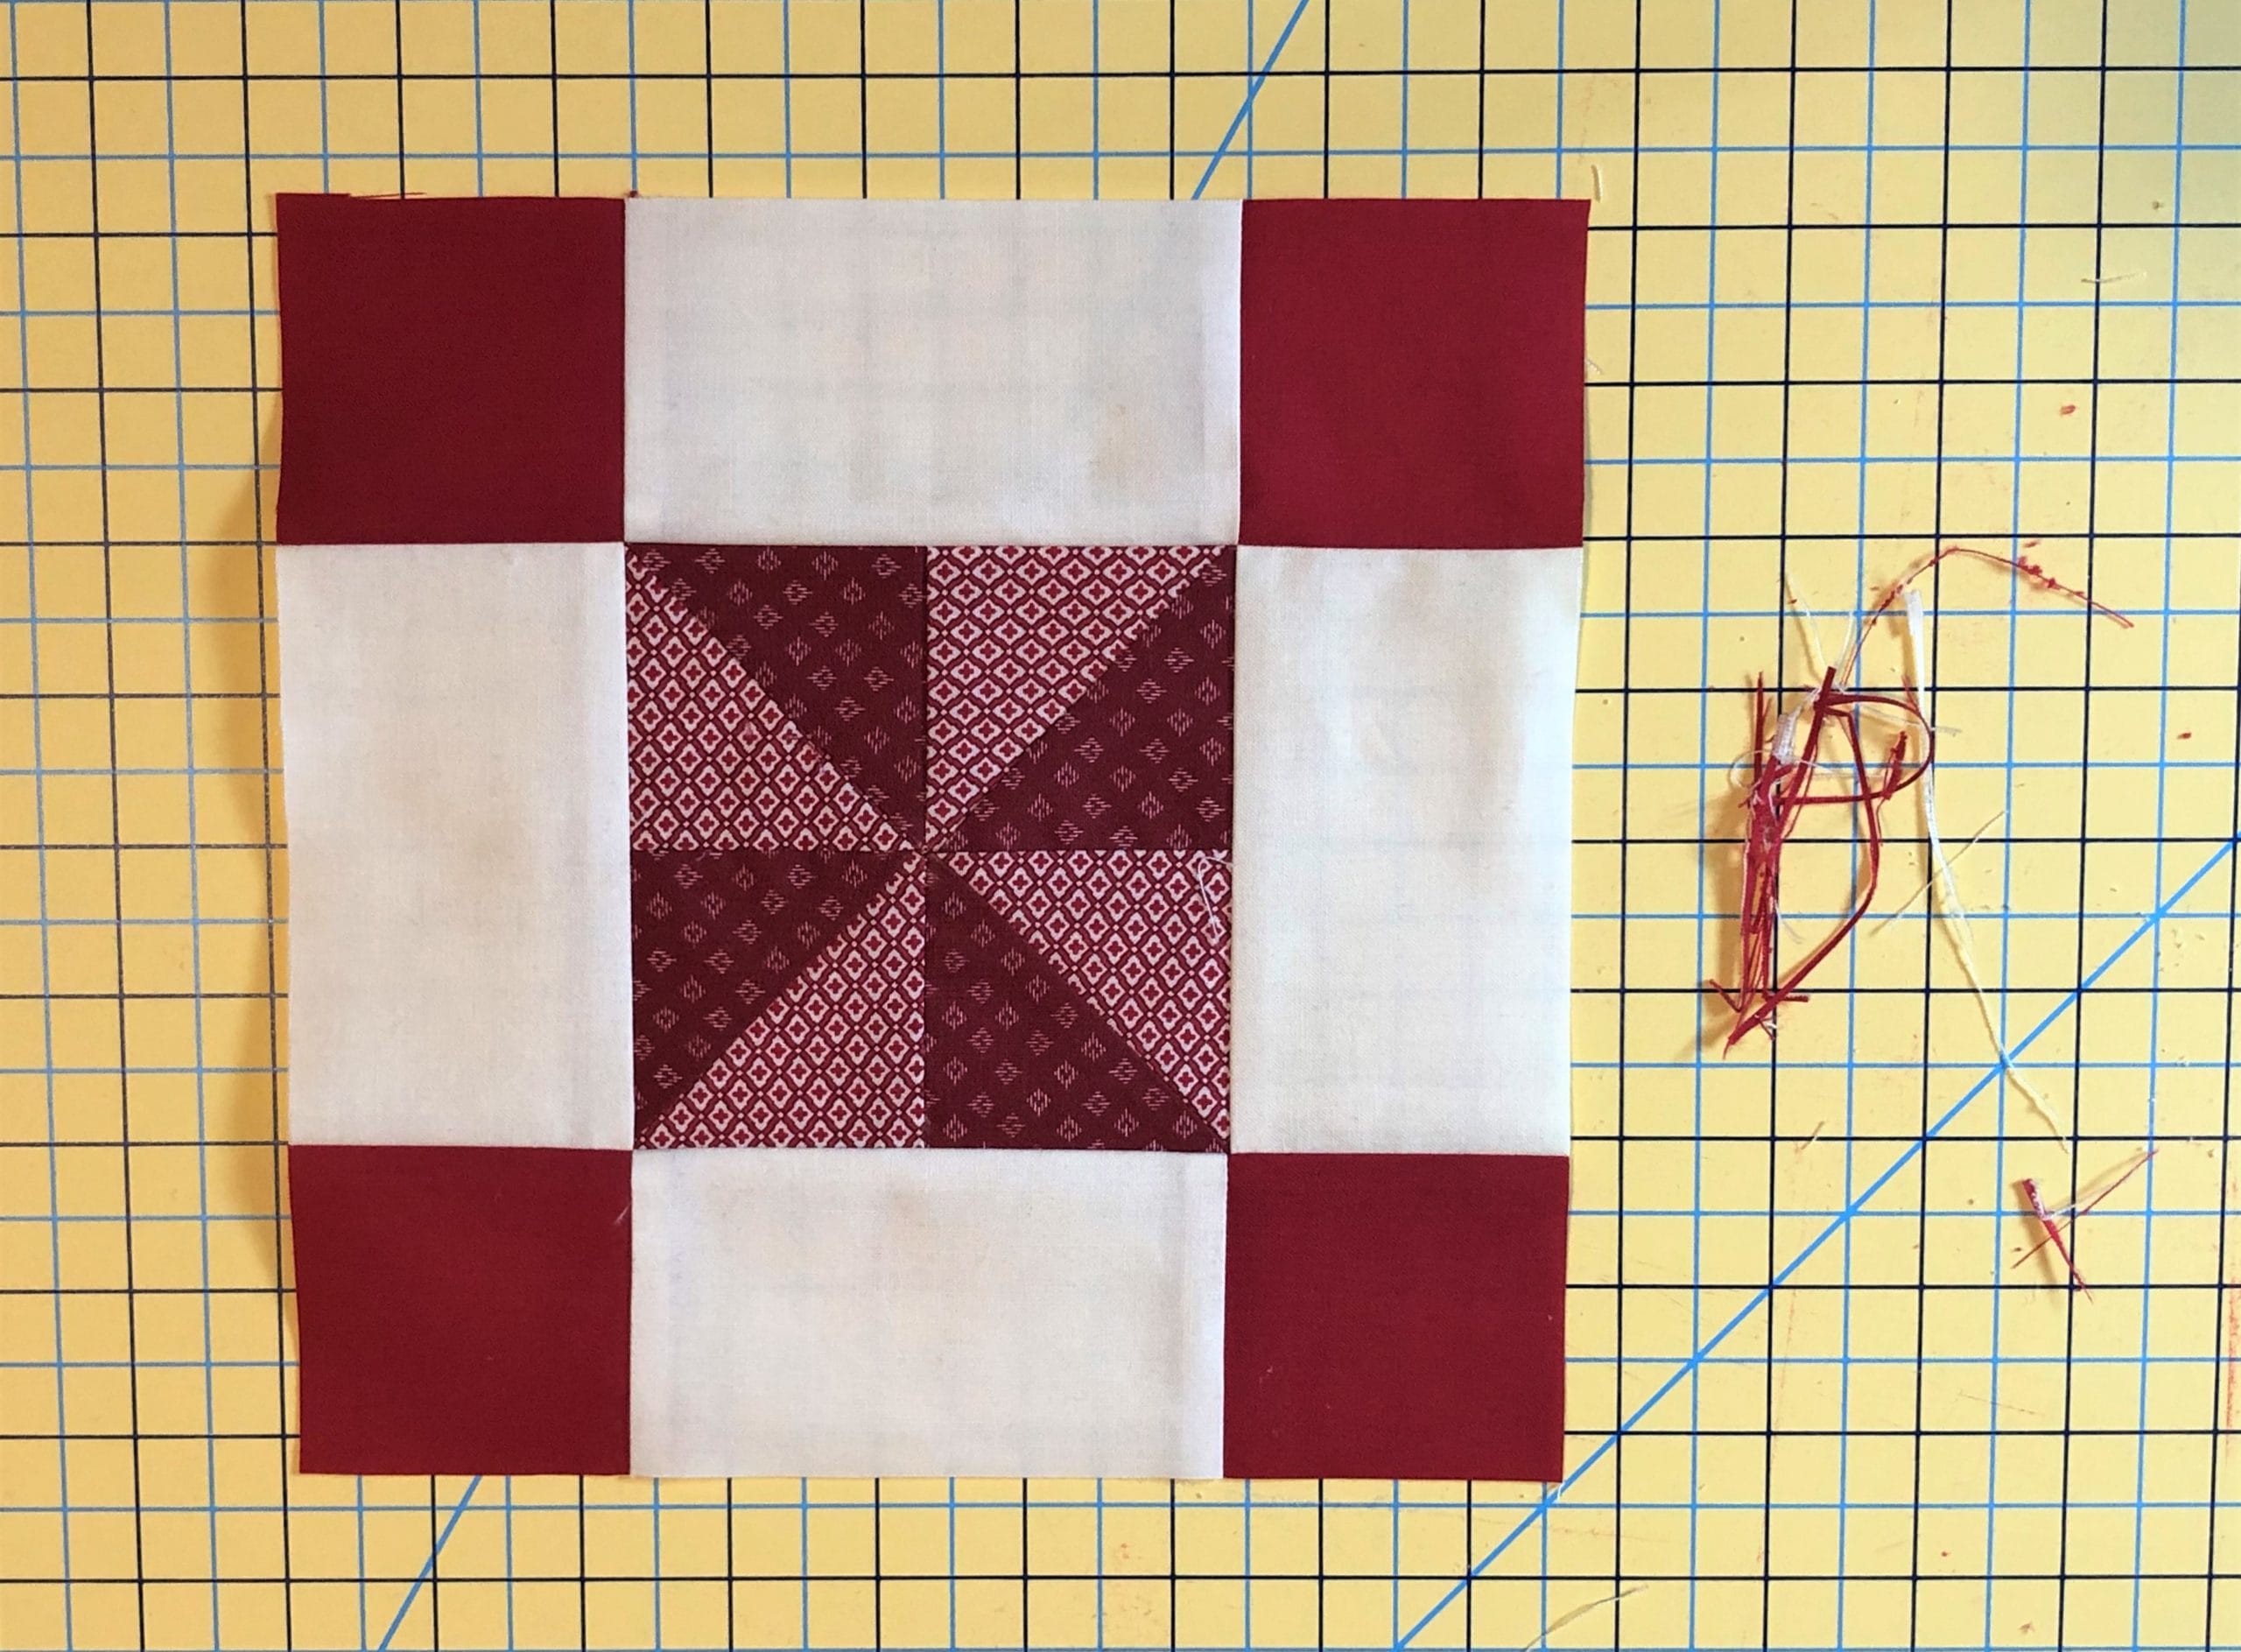
Press and trim
After pressing everything, I like to go ahead and square up the units. Make sure they are all 8-1/2” square. As you can see from the photo, there isn’t much to trim off. I like having the edges all cleaned up for the next step.
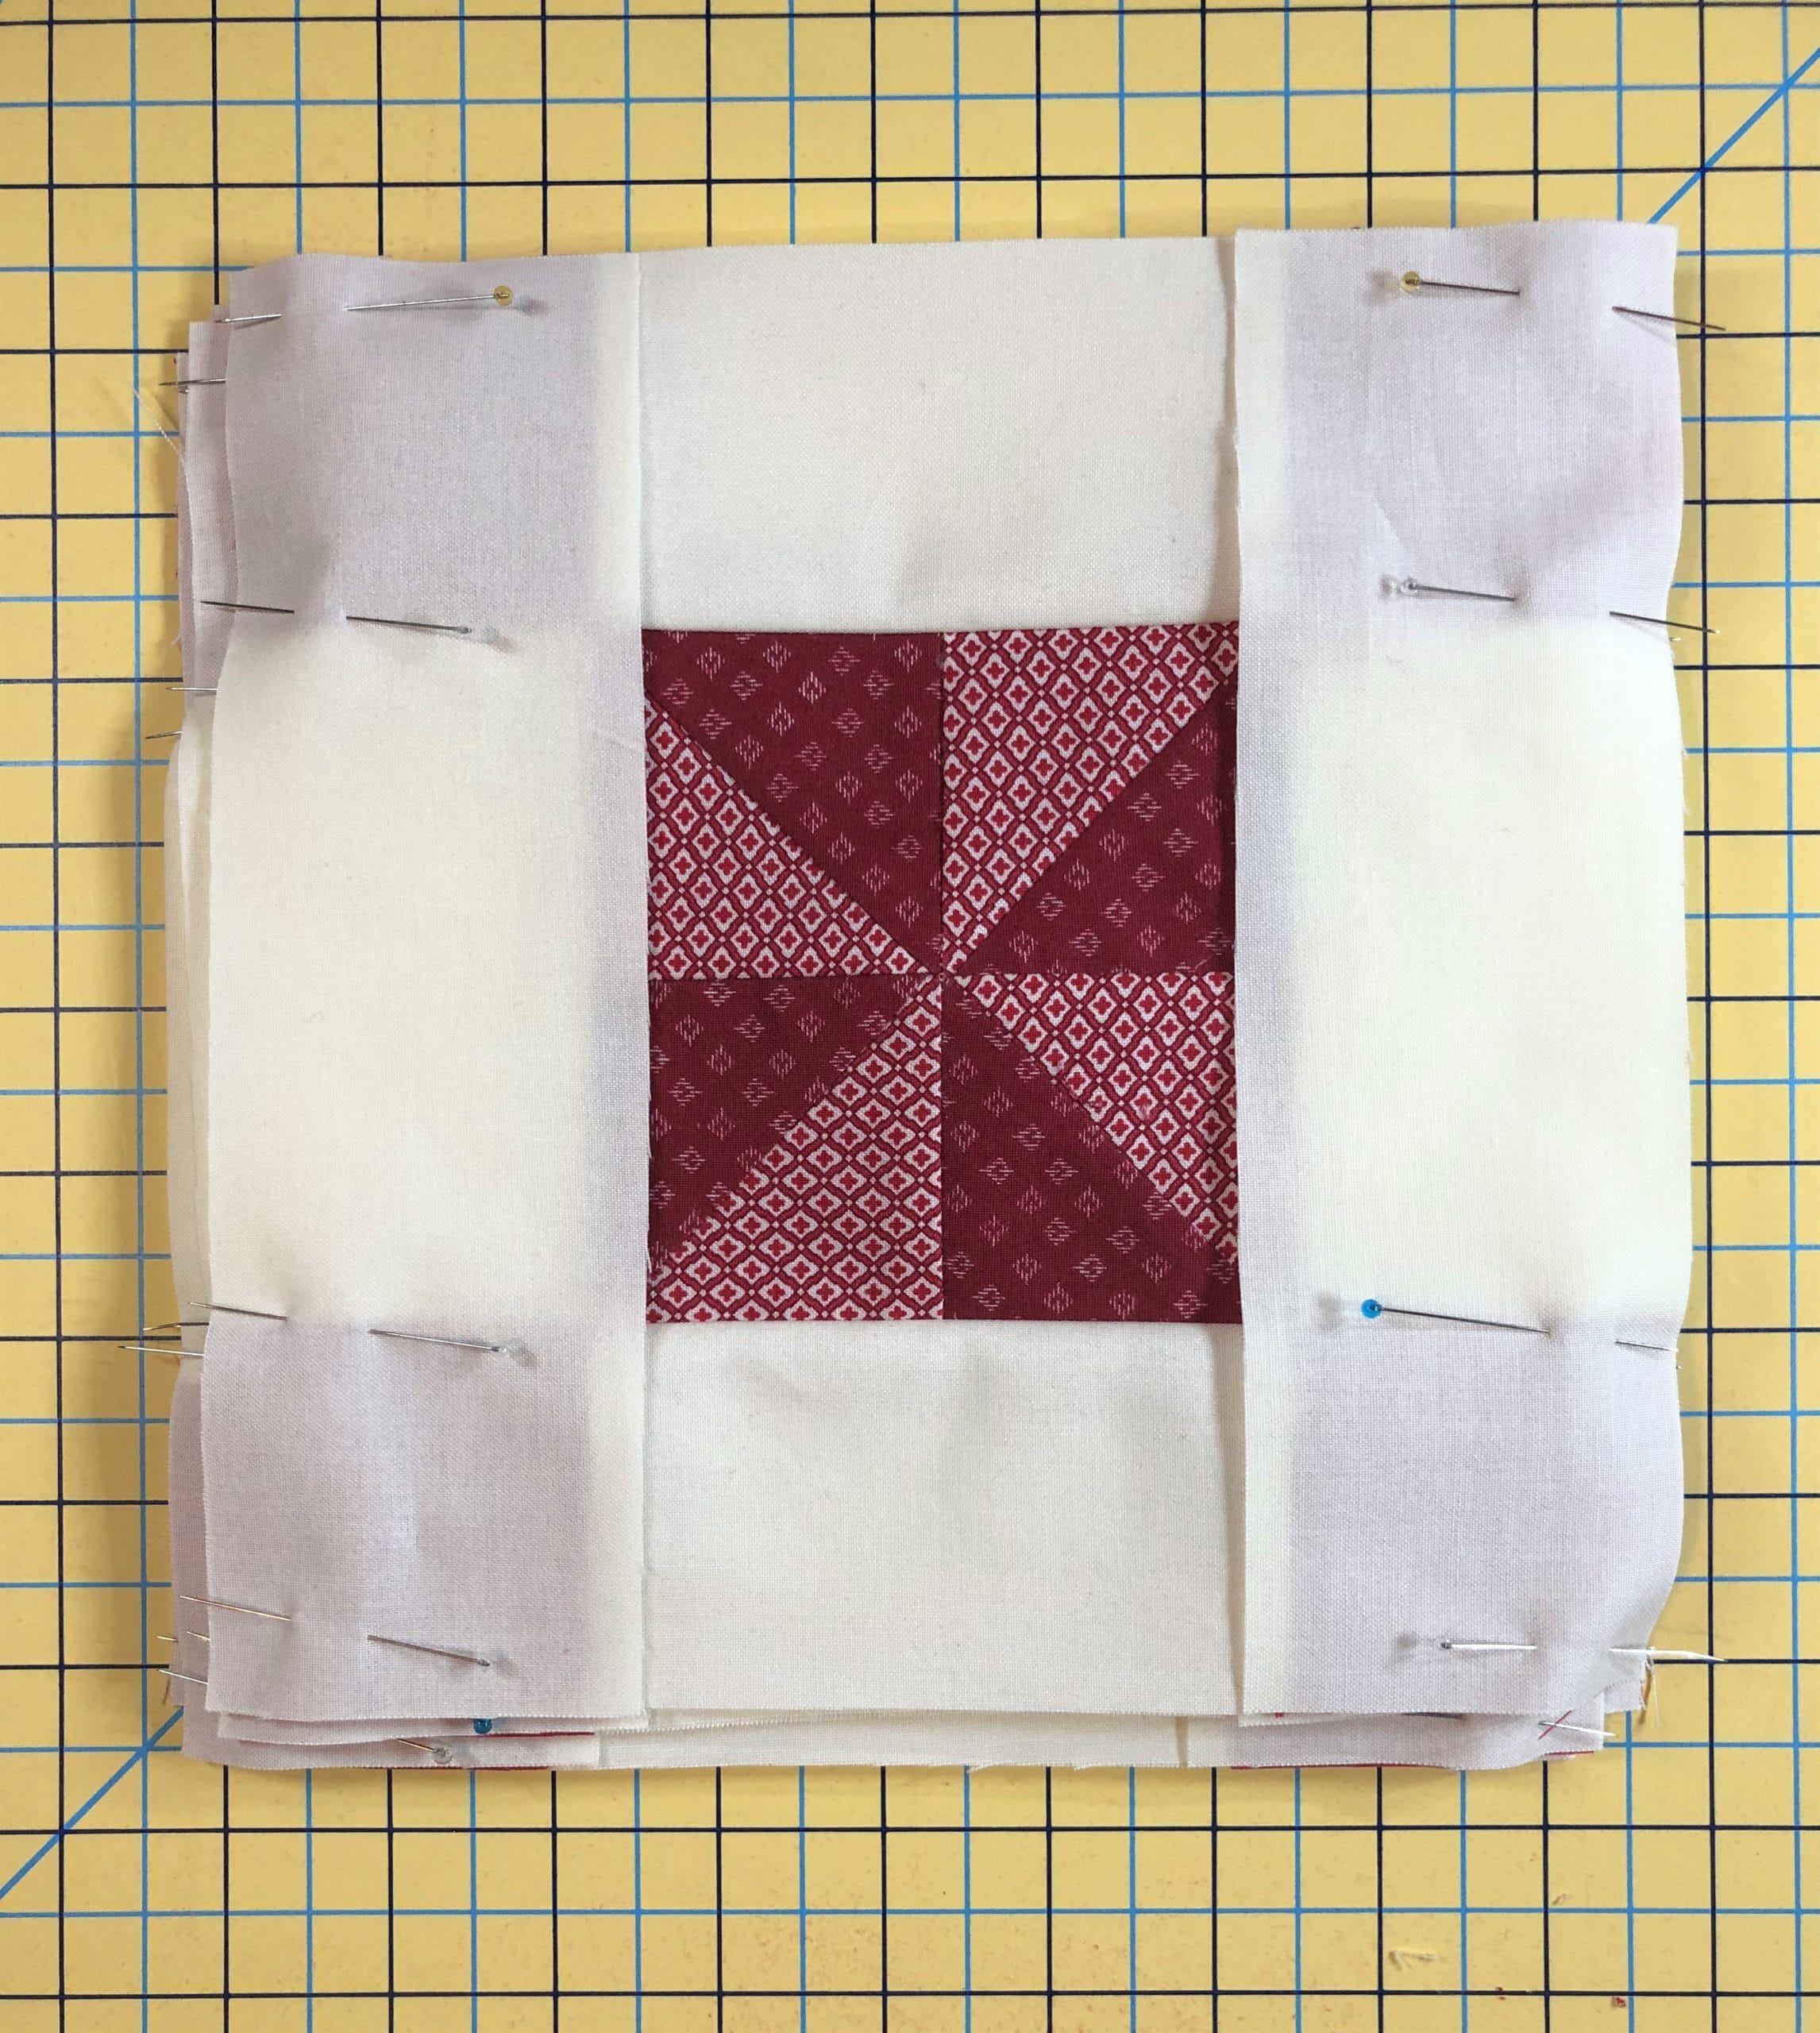
Attach final strips
All that is left is to sew on the final E strips, along with the C/E unit’s I’d previously made. Sometimes I like to pin both sides at once, so I can stay at my machine and sew like crazy!
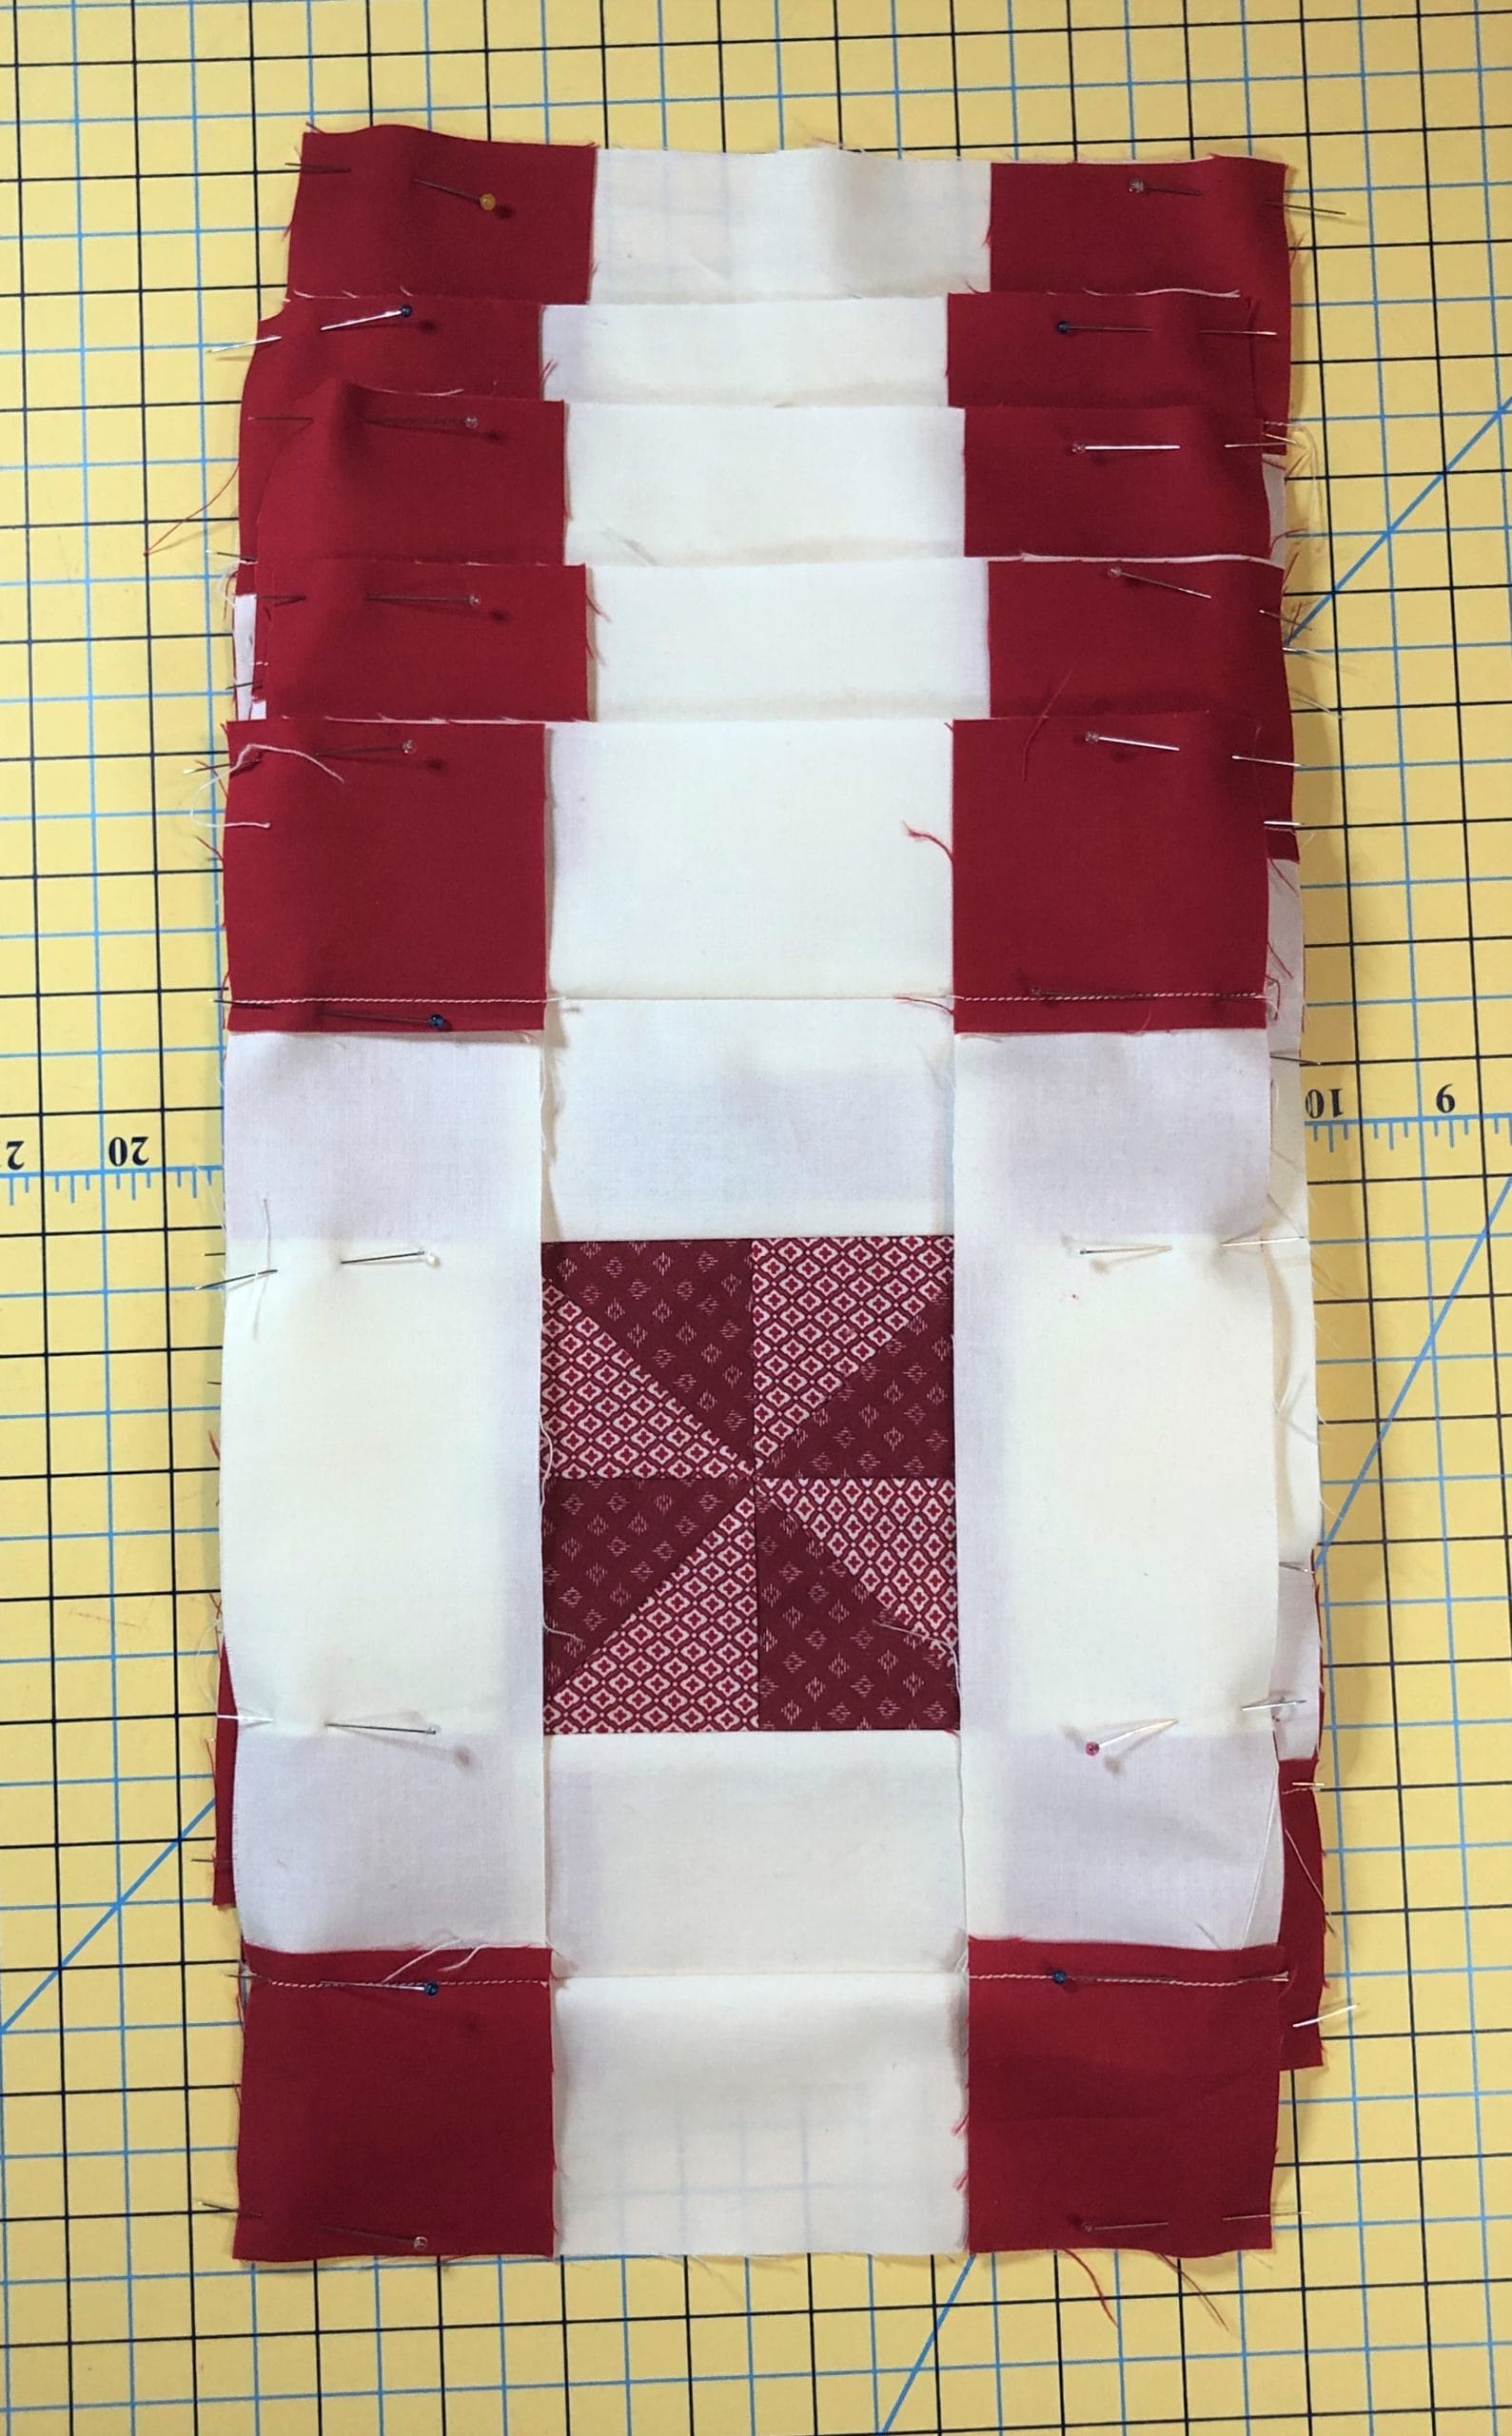
By sewing the blocks this way, I was able to get all 5 done in a matter of hours. I love it when things come together quickly! By the time we are done with this quilt, we will be able to make these blocks in a flash, right?!
I hope you all have a wonderful November, and I’ll catch you all next month for Ruby BOM Month 5! – Kristin