


 Tutorials
 9.8.2023
NOTE: these blog posts for the Liberty Lane quilt top are part of a limited series for our Block of the Month subscription program. Sign-ups for the Liberty Lane BOM are no longer available. You can learn more about our upcoming Block of the Month subscriptions here.
Hello Friends!
I hope you all found success with your Star blocks for our first month. I saw a few comments on facebook about some of you getting frustrated trying to match up your star points, but from what I could tell, everyone’s blocks looked fantastic! Those Star blocks are probably the most challenging in the entire quilt, so you’ve already cleared the biggest hurdle. We’ll make a few more later on, but we can do it!
This month we get a bit of a breather. We are making four cute little Sawtooth star blocks, then sewing some stripes, and adding everything to the center.
Sewing these small star blocks are exactly the same as the center portion of last month’s blocks, so we should all be experts, right?
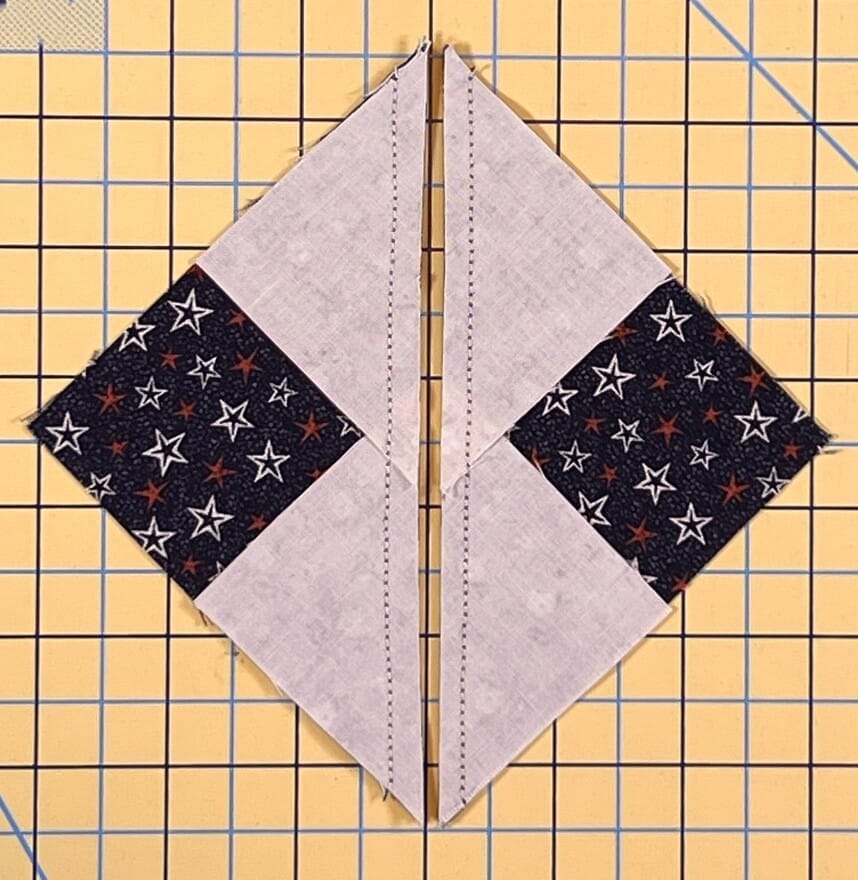
We’ll start things off by making 16 flying geese units using my favorite no-waste method. Remember, you can always cut your pieces a smidge bigger and trim things down once the flying geese are done. Here are some photos of what the steps in the pattern look like:

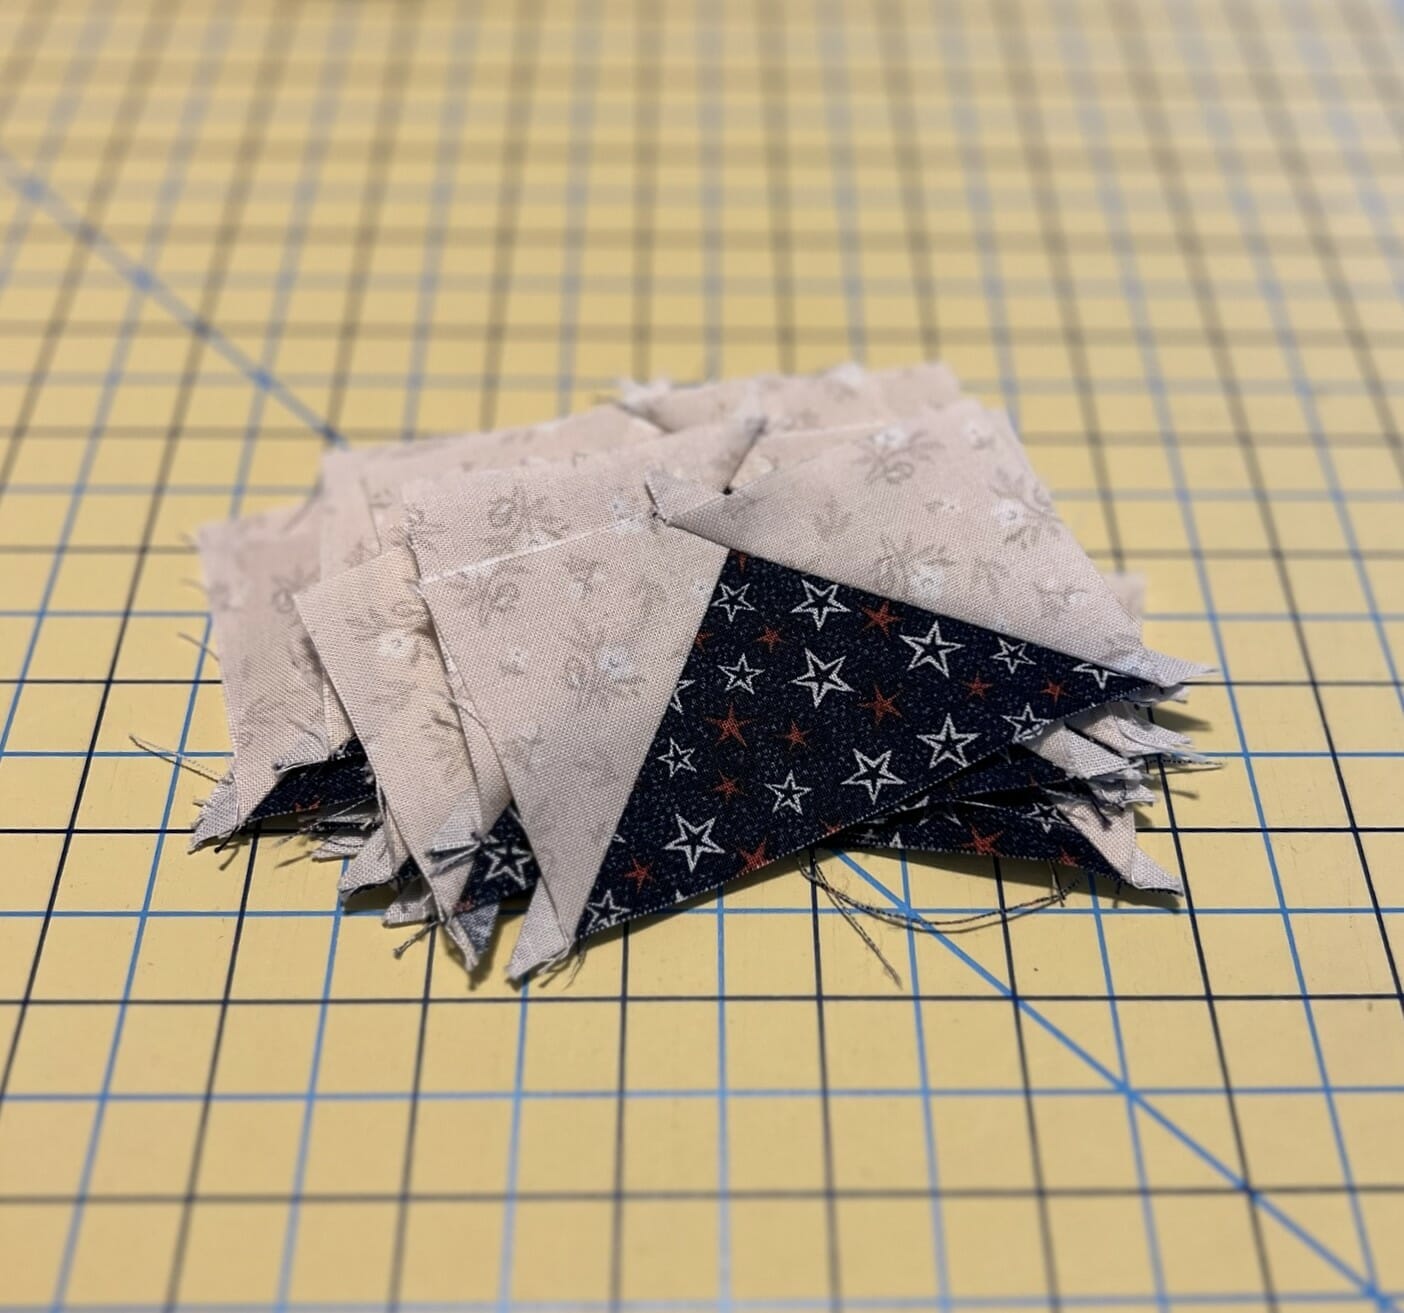
Here’s my big pile of flying geese to trim…
Now we just need to assemble the block like so:

I noticed I didn’t put pressing arrows for how to press the top and bottom units to the center unit, but I pressed them both toward the center (inward).
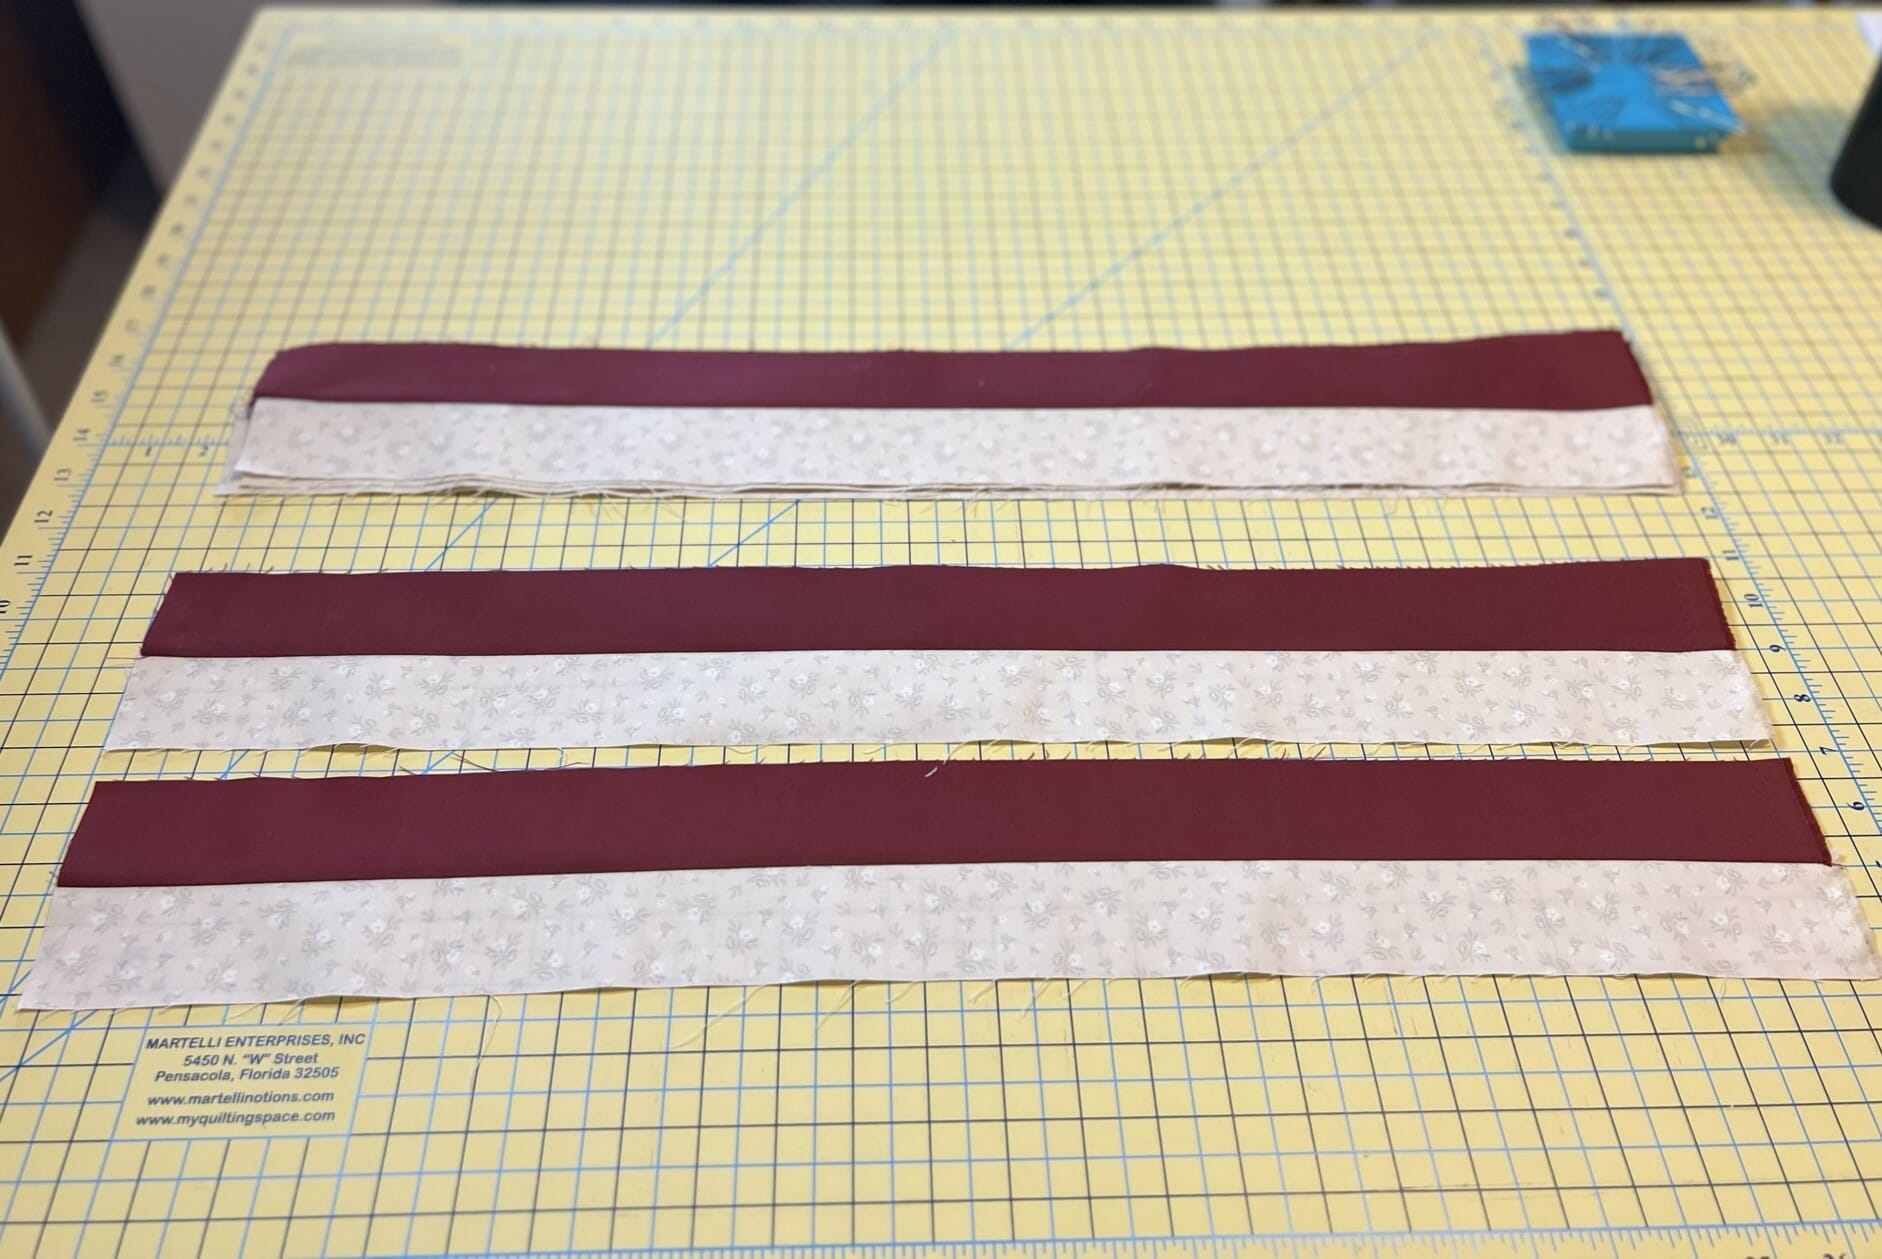
Next it’s time to make the stripes. I cut all mine just a bit longer, like the pattern says, so that I could trim them to 24-1/2” when done. But truth be told, as you’ll see from the photos below, I actually waited to trim these until later.

I sewed each A strip to a B strip, and then sewed the pairs together to make the 4 units I need for the borders.
After sewing these, I first attached the side borders to the center of the quilt top, and THEN I trimmed them to be even with the quilt top. Below you can see that I’ve got quite a bit that peeks out on each end. I think I actually cut mine around 25-1/2″ or so, but I also left the selvage edges on too, so I left a bit extra to account for that as well.
I always pin and sew from the back side so that I can ensure I am sewing accurately at the star points. This is something I do in all my quilts when attaching borders to anything that has points.
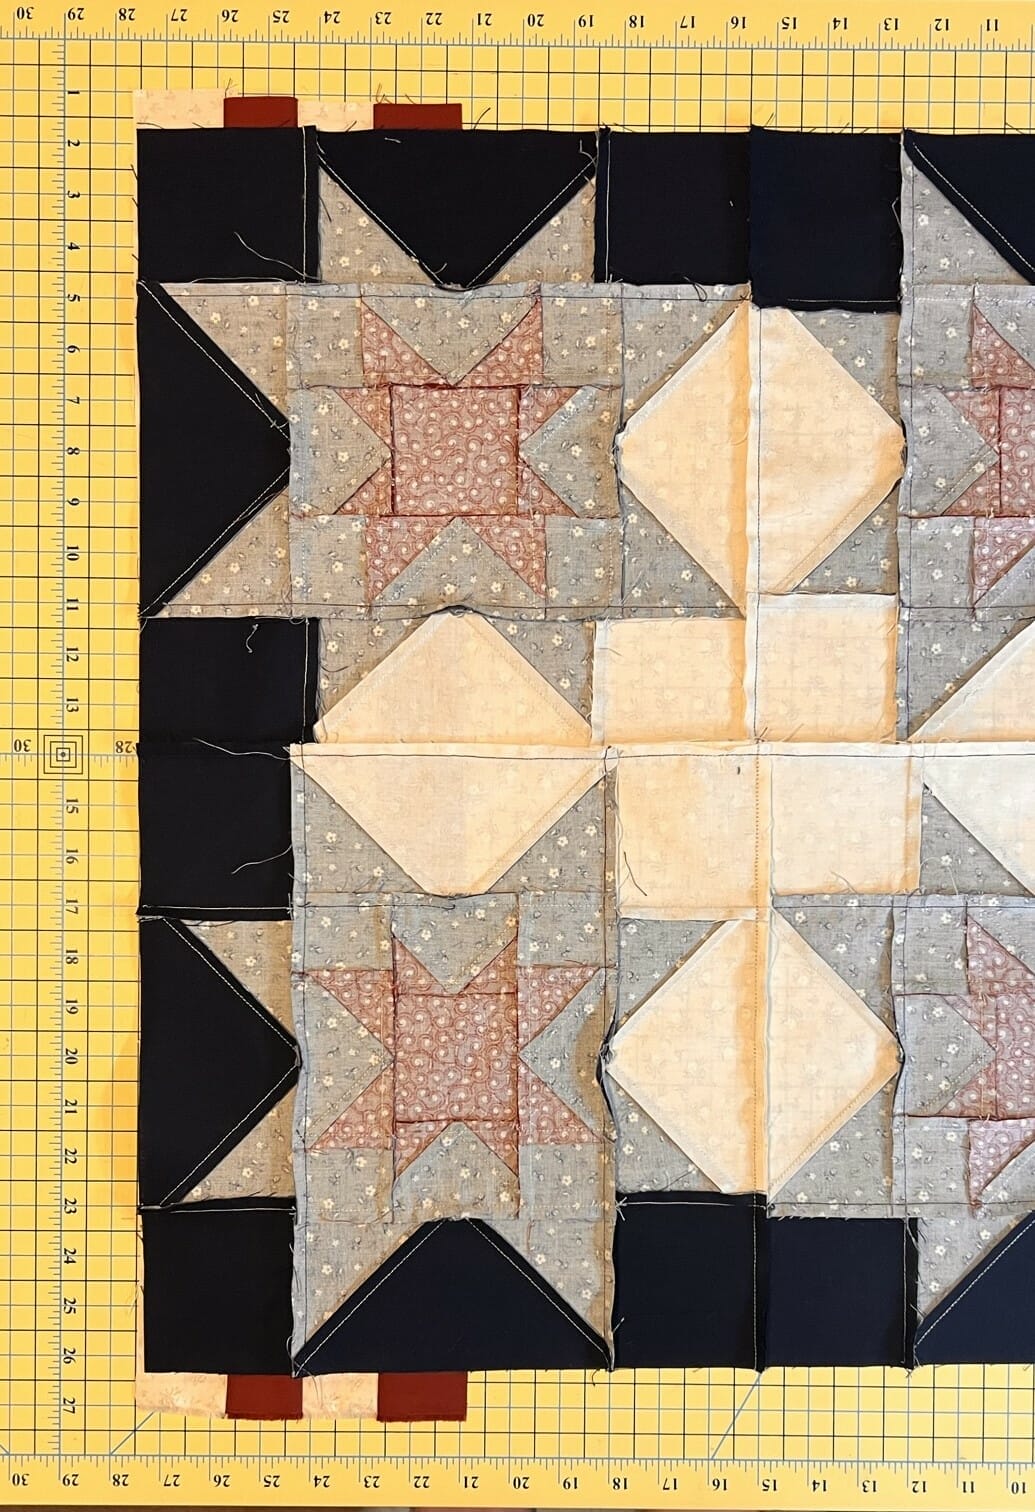
Once the side borders are attached, I got my big 20″ square ruler out and trimmed the striped borders to line up with the Star block center.
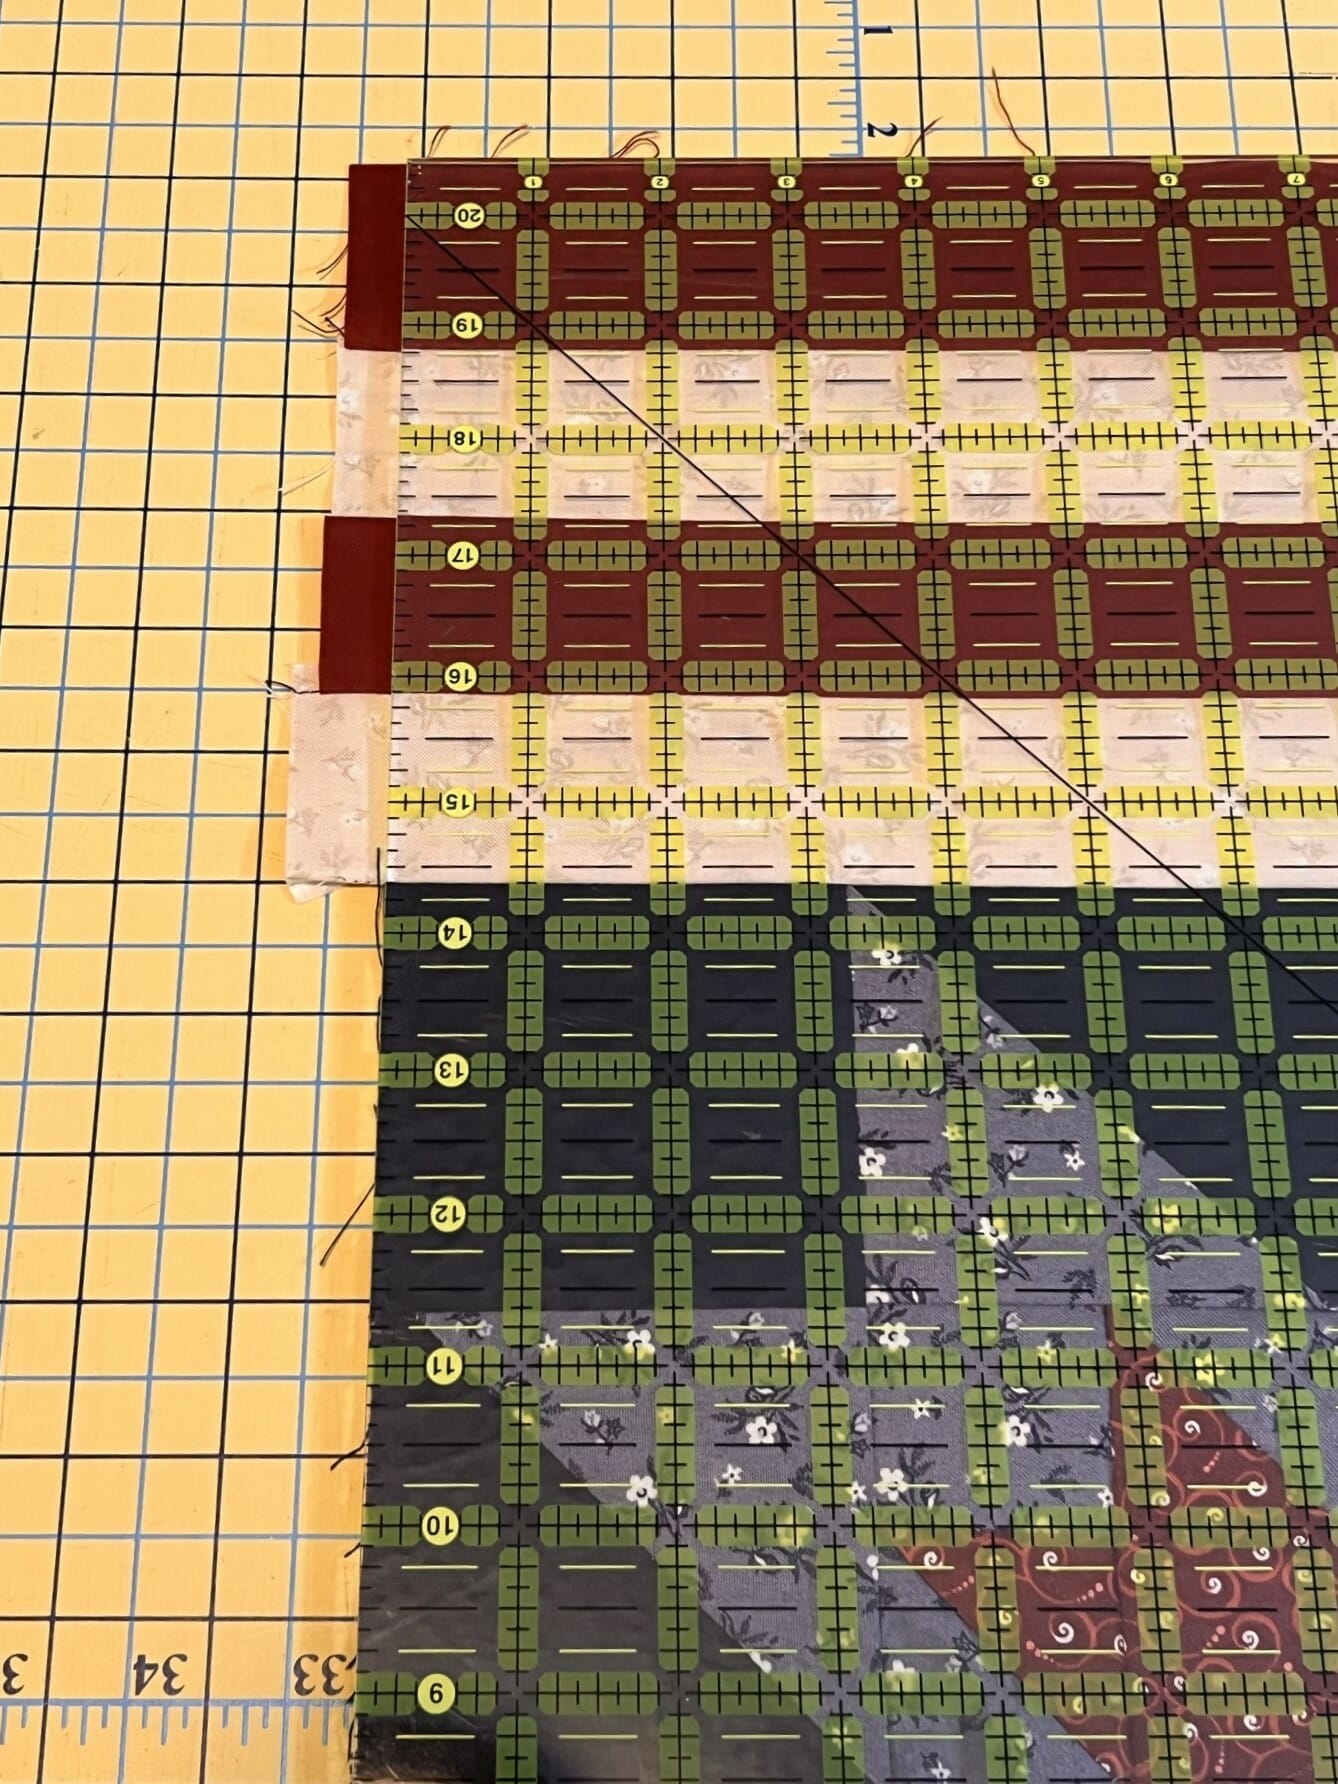
Then I re-measured the center to make sure it was the correct 24-1/2”, which it was, and then I trimmed the remaining two units before adding on the star blocks to the ends. I re-pressed any seams in the stripes the opposite direction so that those seams would nest with the Star points.
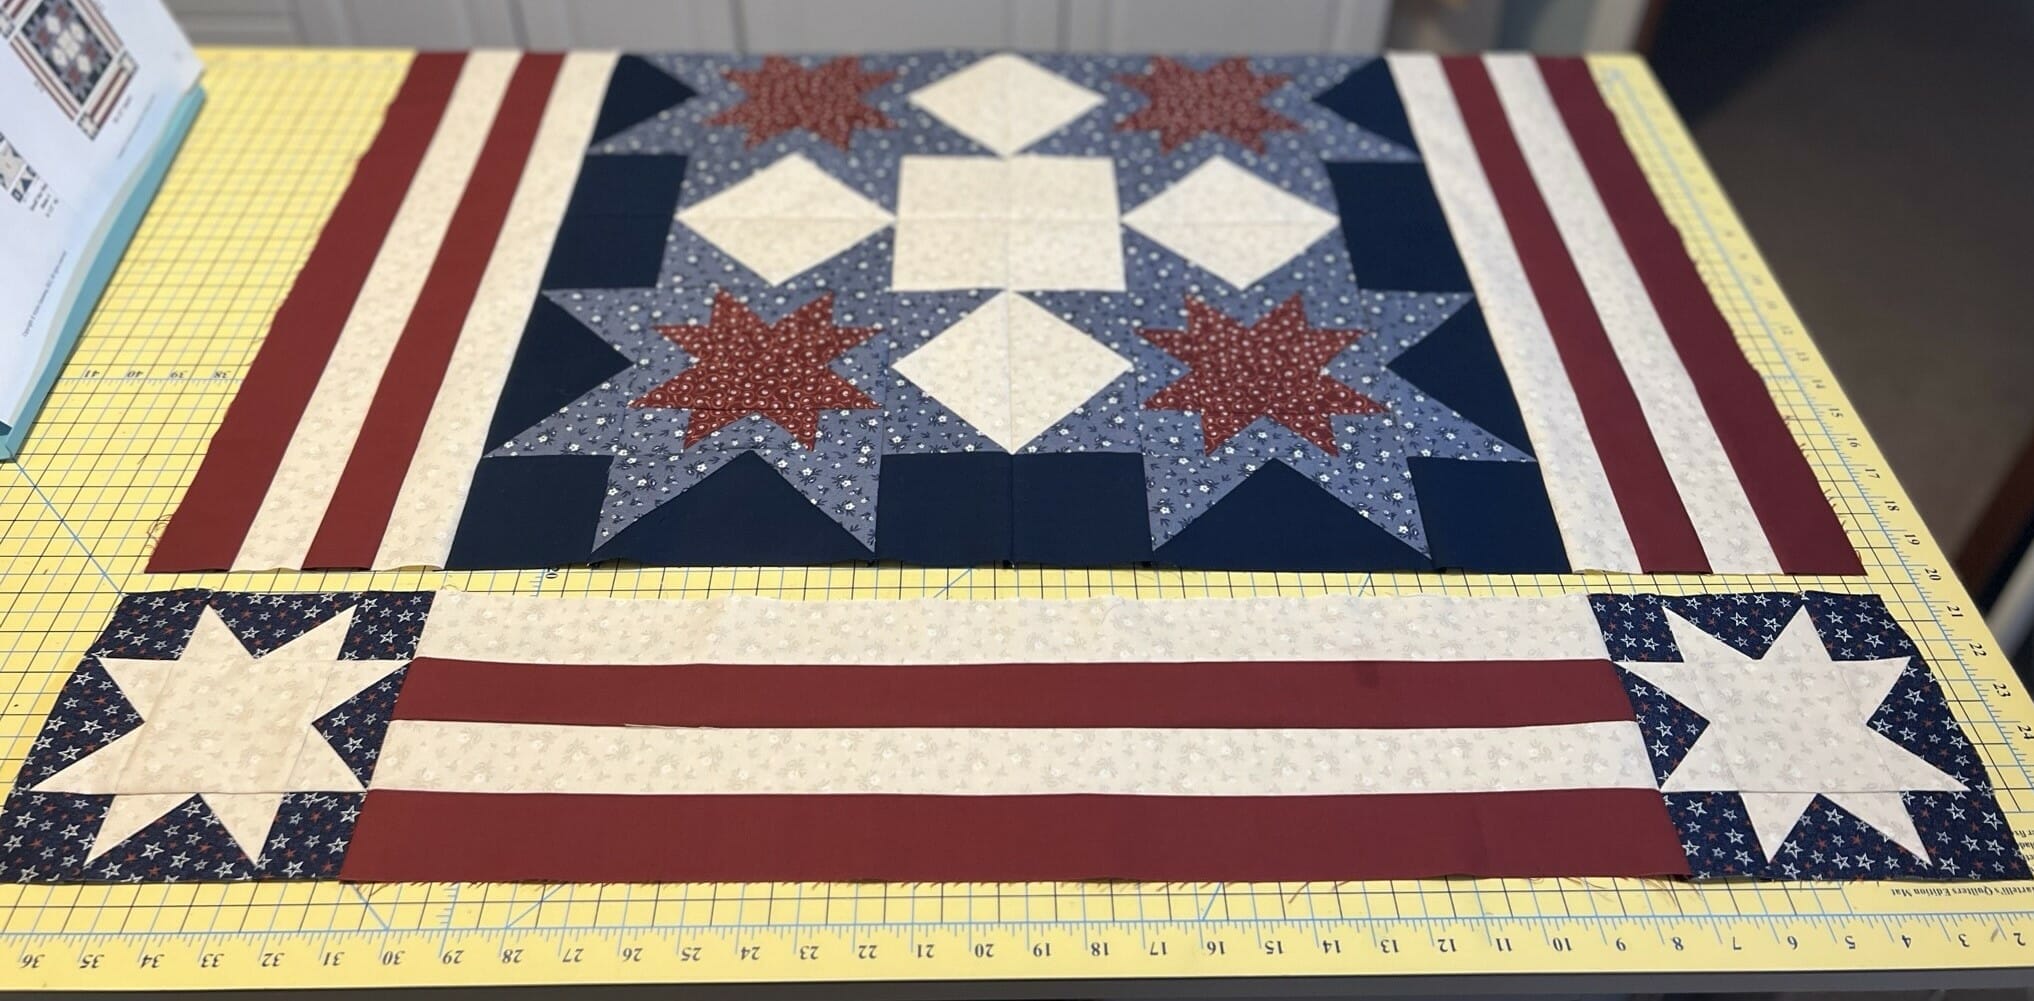
Once that was done, I placed the top and bottom borders against quilt and checked the seams for the side border stripes, by feeling the direction of the stripes compared to the star seams. I then re-pressed that needed it in the opposite direction, so that all the seams in the stripes would nest with the corner star blocks. Like I say in the pattern, it’s not necessary, I just try to nest my seams together whenever I can.
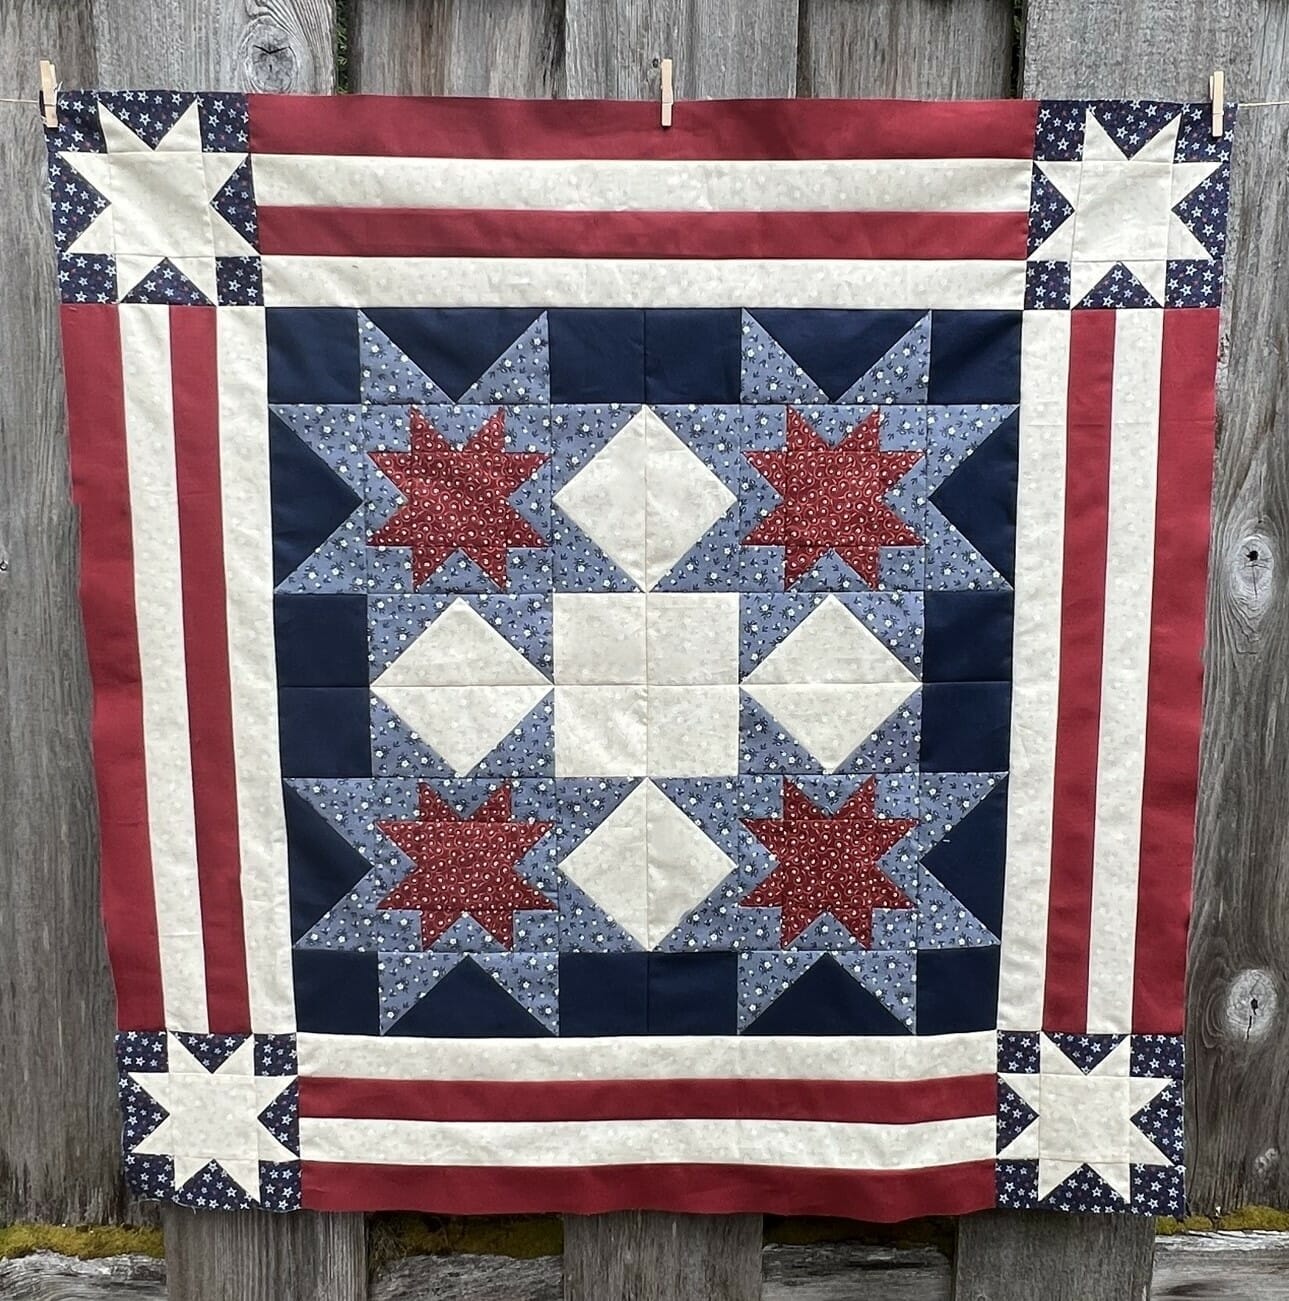
If all has gone according to plan, the quilt should now measure 36-1/2” square. If something is amiss with the measurement, now is the time to adjust. Since this is a medallion quilt, if things are off in the center, it will make it very challenging as we add new blocks and rows. If your center is off by about a ¼” or less, you can leave it alone and ease things in to match, but any more than that might get frustrating down the road. This is why I always measure EVERYTHING as I go, with each and every block.
Well, that’s all for this month! I though this month’s sewing went pretty quick. Next month we’ll get started on making some cute little houses to add to our quilt. They will be fun!
Until then, Happy Quilting! – Kristin

