


 Tutorials
 5.3.2023
Hello Friends!

NOTE: these blog posts for the Bountiful quilt top are part of a limited series for our Block of the Month subscription program. Sign-ups for the Bountiful BOM are no longer available. You can learn more about our upcoming Block of the Month subscriptions here.
I’m so excited for this month, because we finally take the blocks we’ve been making over these past few months and put them all to use! It’s a bit more sewing than we’ve done lately, but I promise it will be worth it!
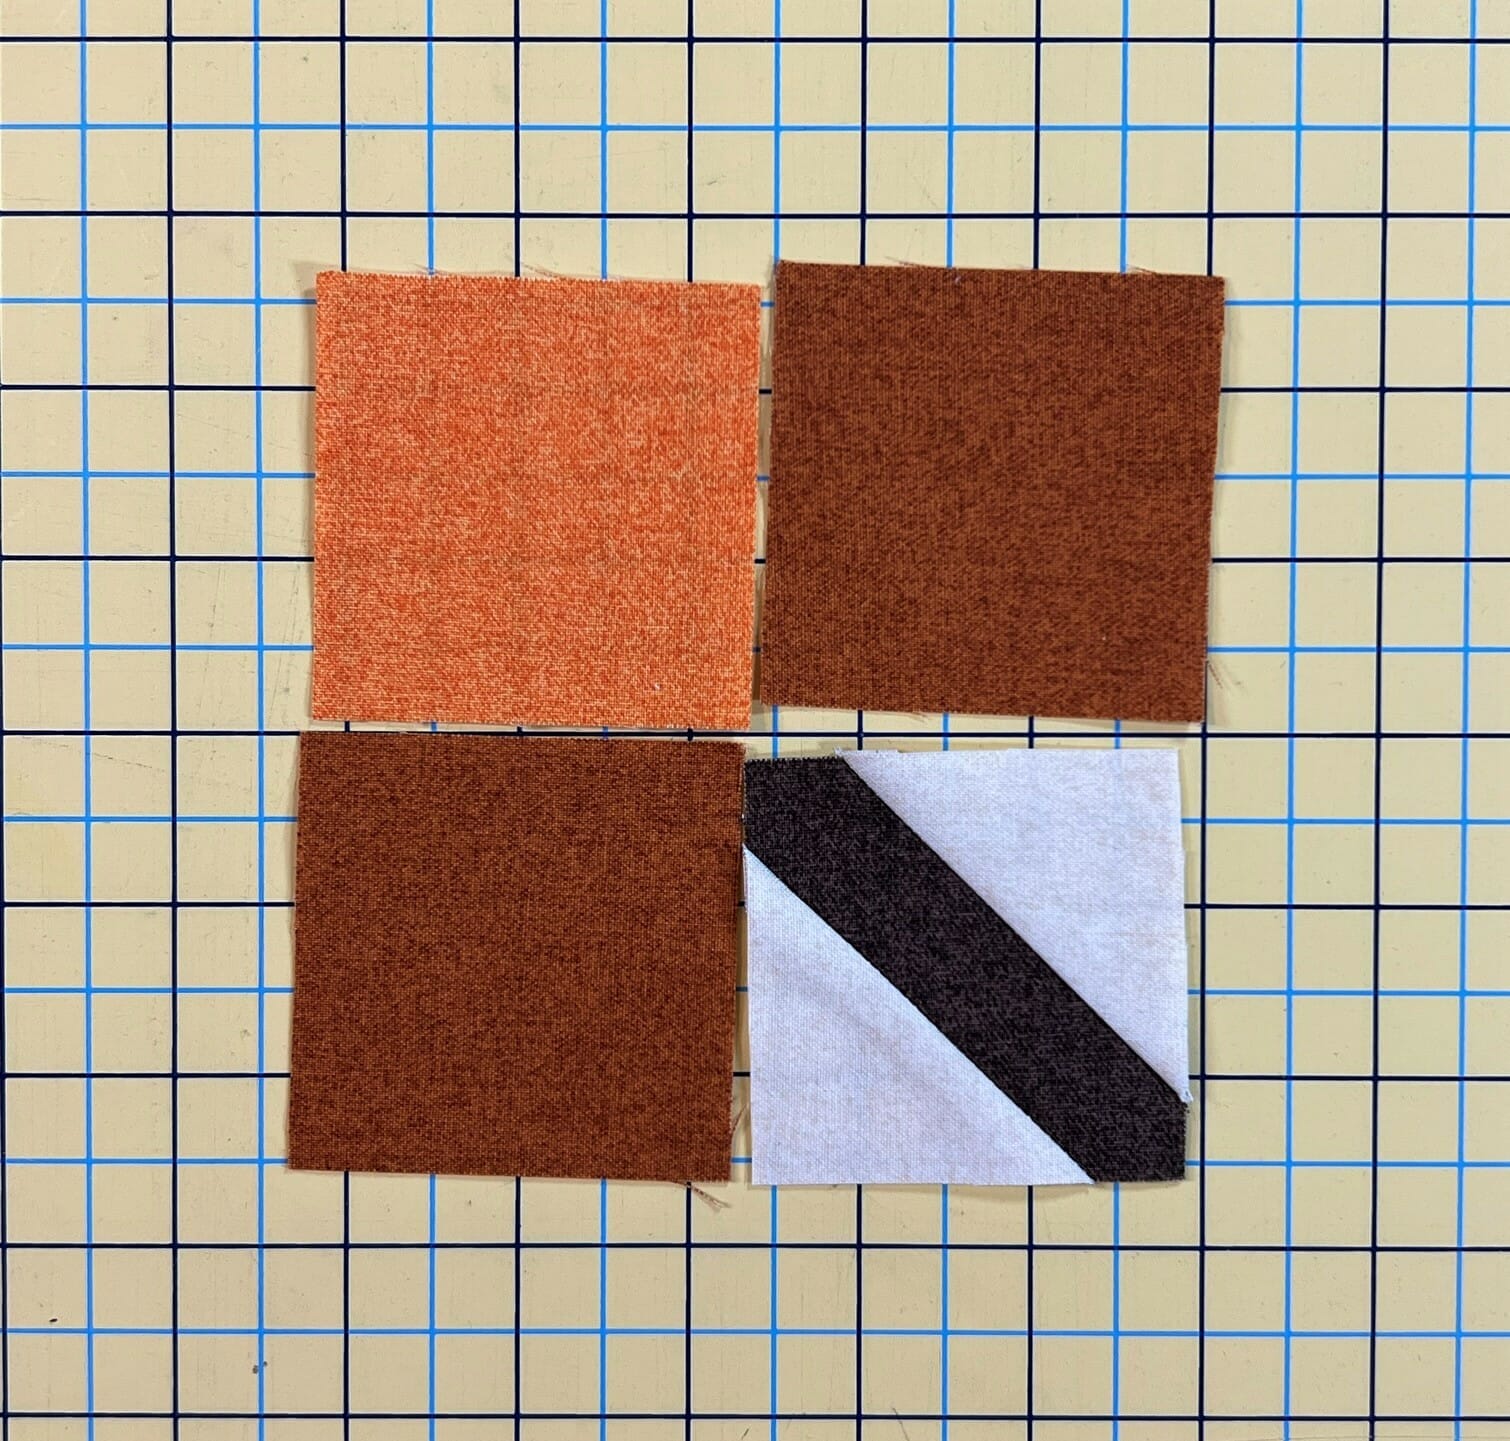
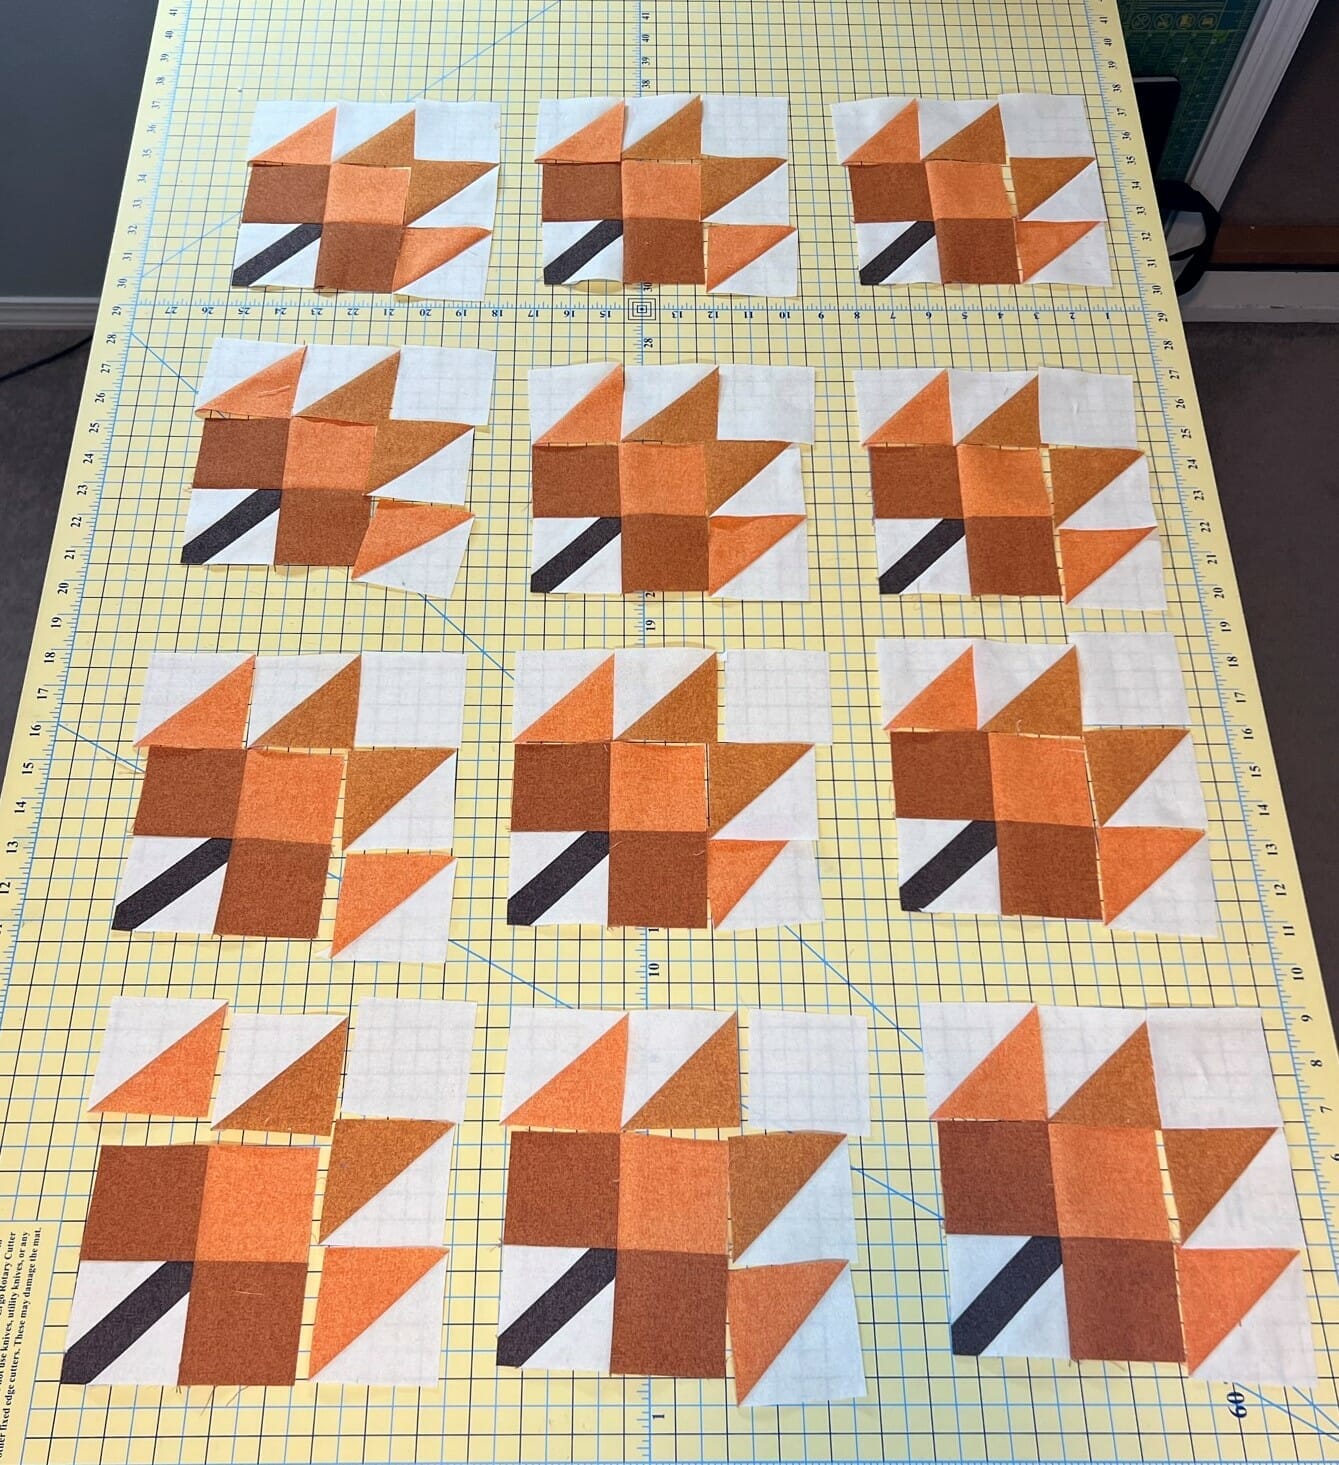
We’ll start things off by sewing our last leaf blocks – Orange this time. You are probably all pros at making these by now, so I won’t go into much detail with them. Here’s a couple of photos of mine as they were coming together, just for reference. You want to make sure you get all your colors in their proper place.
Now we FINALLY get to make some progress putting our quilt together! Yay!

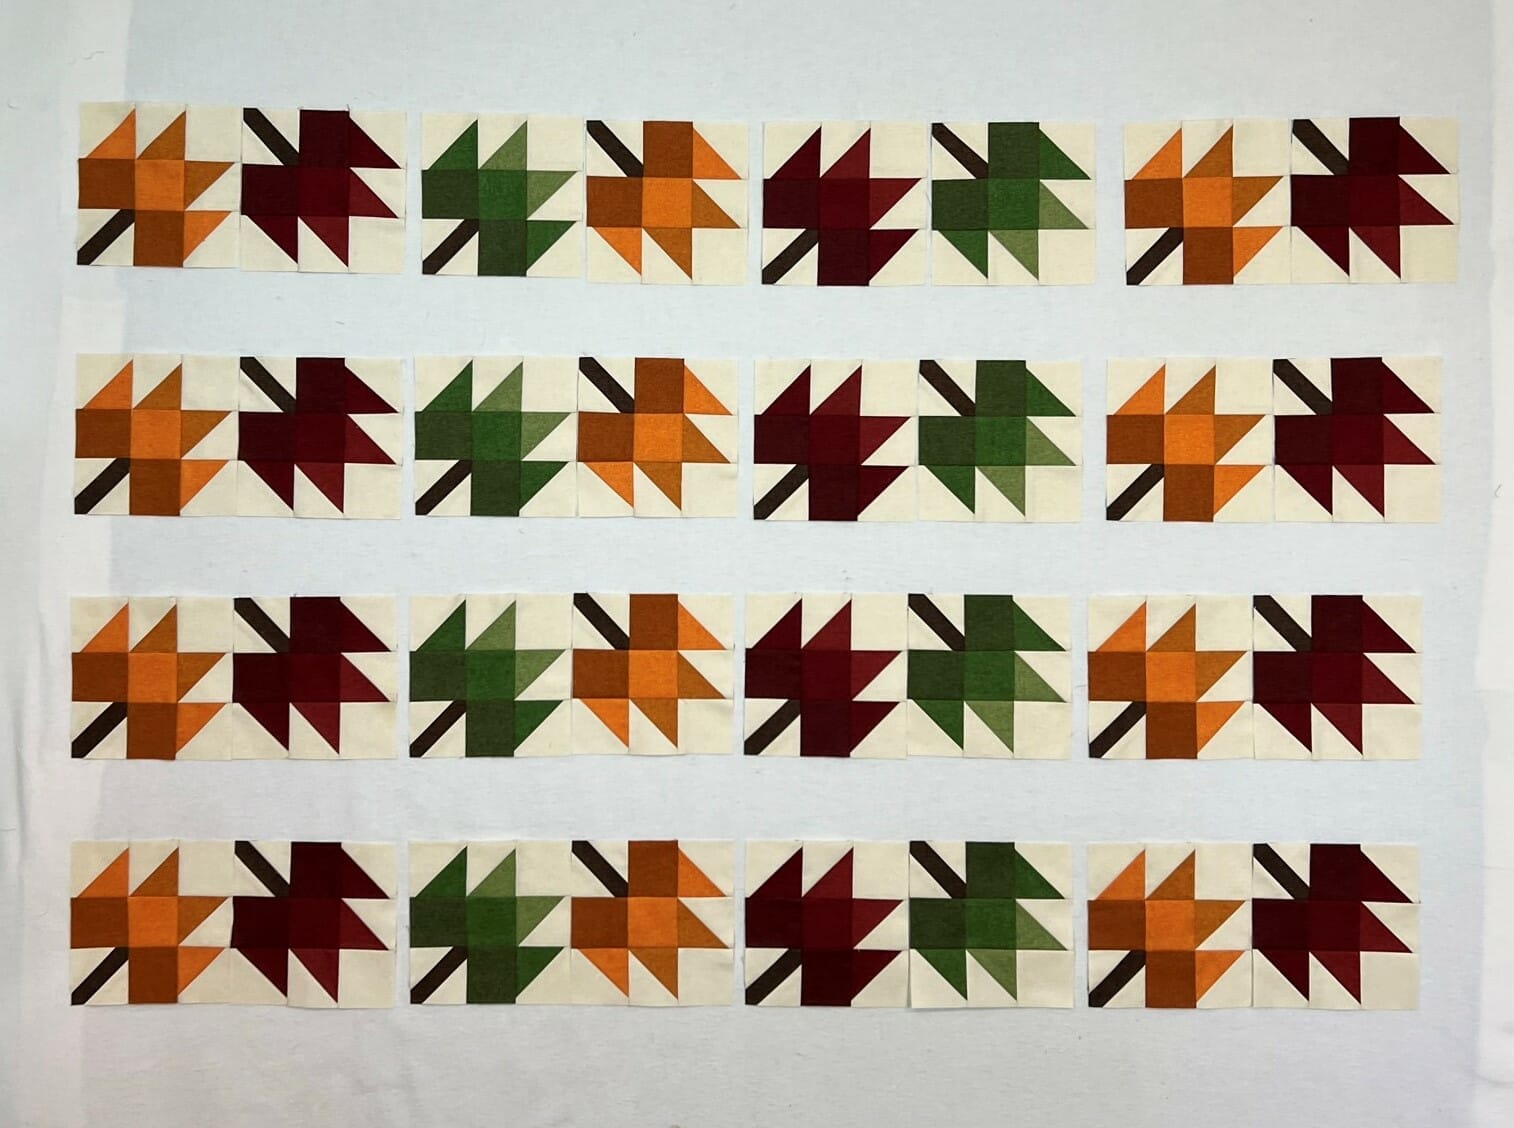
First we need to sew all these leaf blocks into our border rows. I laid all mine out on my design wall and triple checked with the diagram to make sure I had everything in its proper place. If there is one thing you need to pay attention to, it’s the placement and orientation of your leaf blocks from here on out.
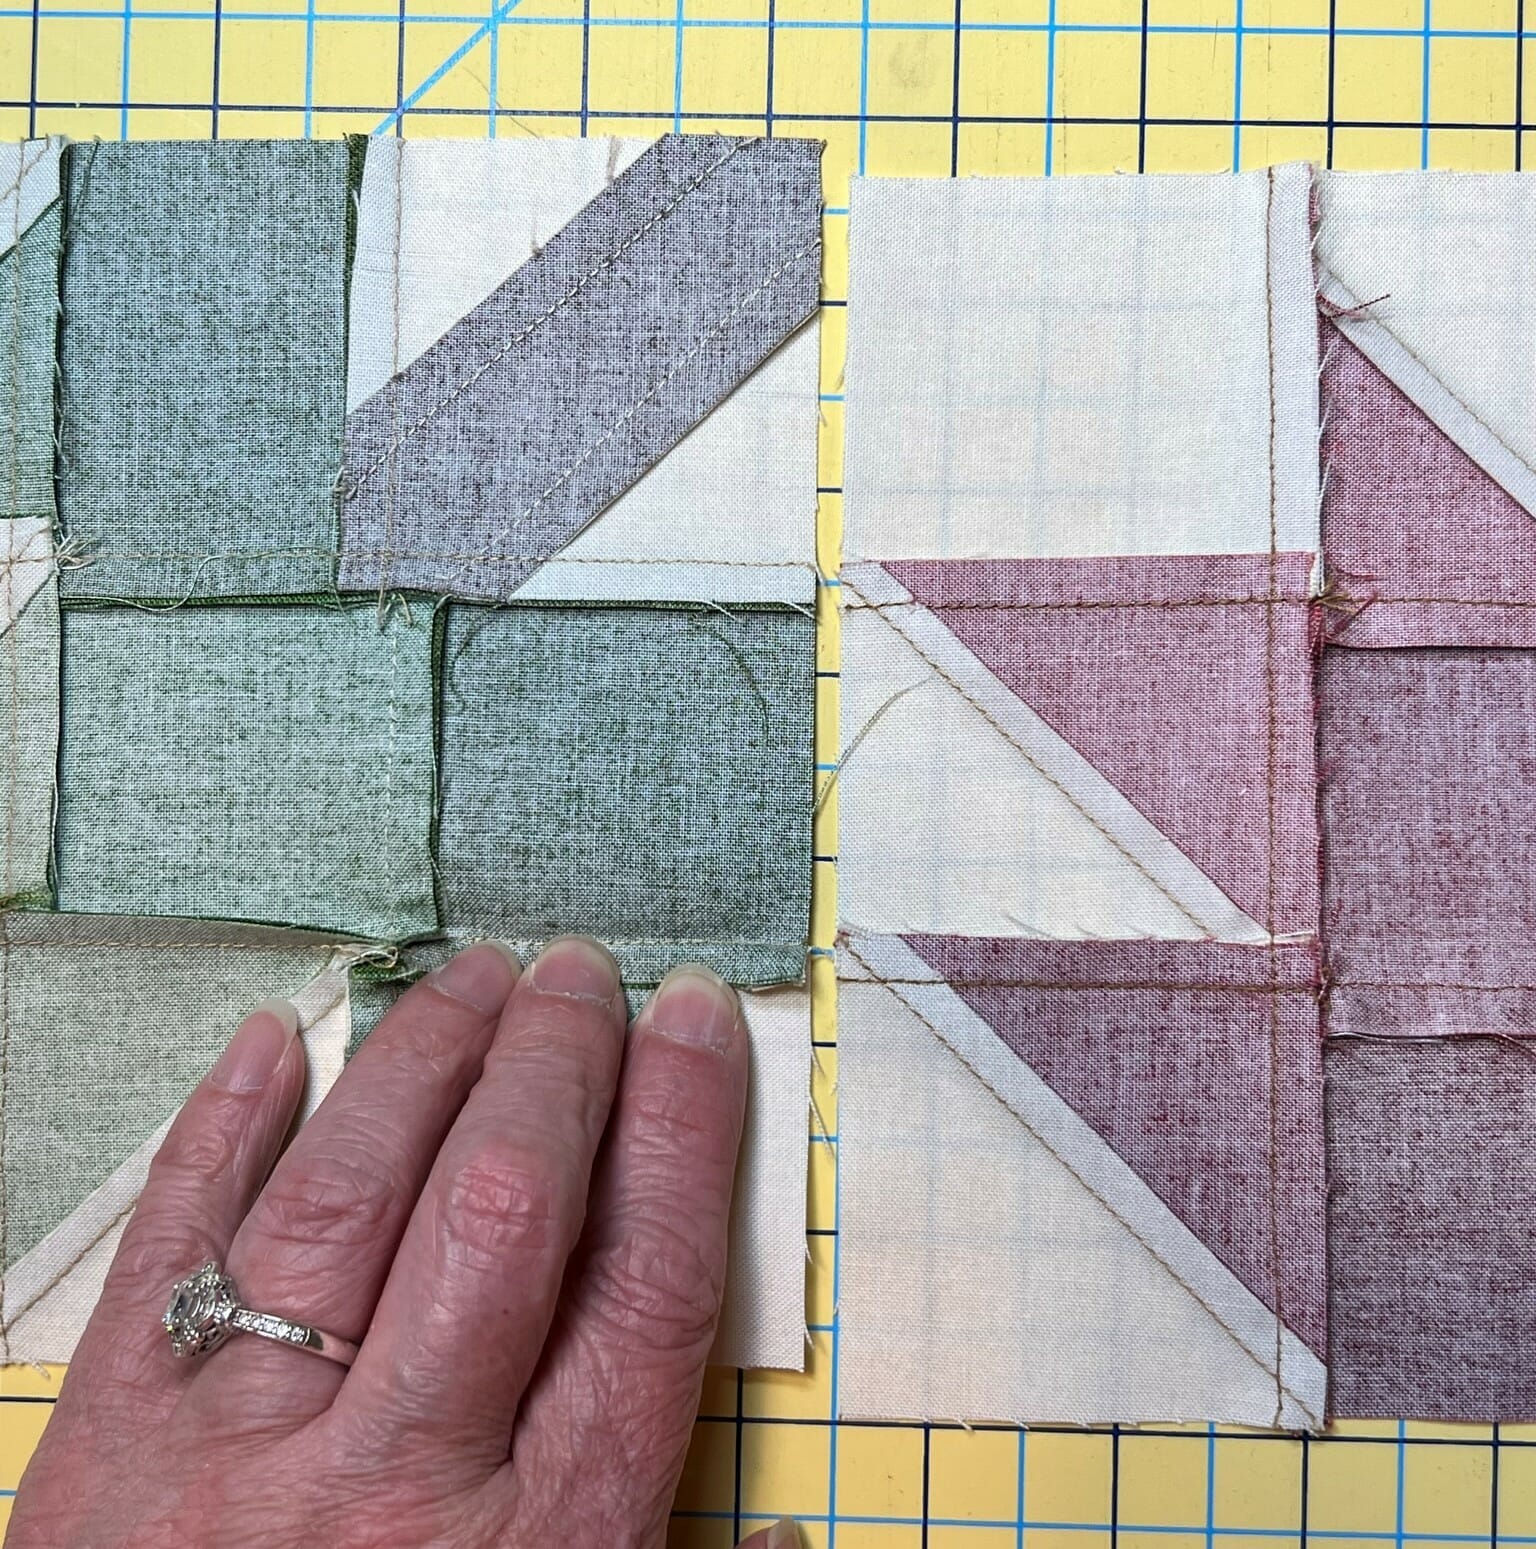
TIP: You may notice as you sew these, that some of the seams don’t nest together, so here’s what I did to remedy that: After placing everything on my design wall, I started sewing from left to right, one block at a time. This allowed me to check each set of intersecting seams between blocks, and re-press those seams going the opposite direction whenever necessary, as I moved along the row.
Here’s a photo of two blocks whose seams don’t line up.
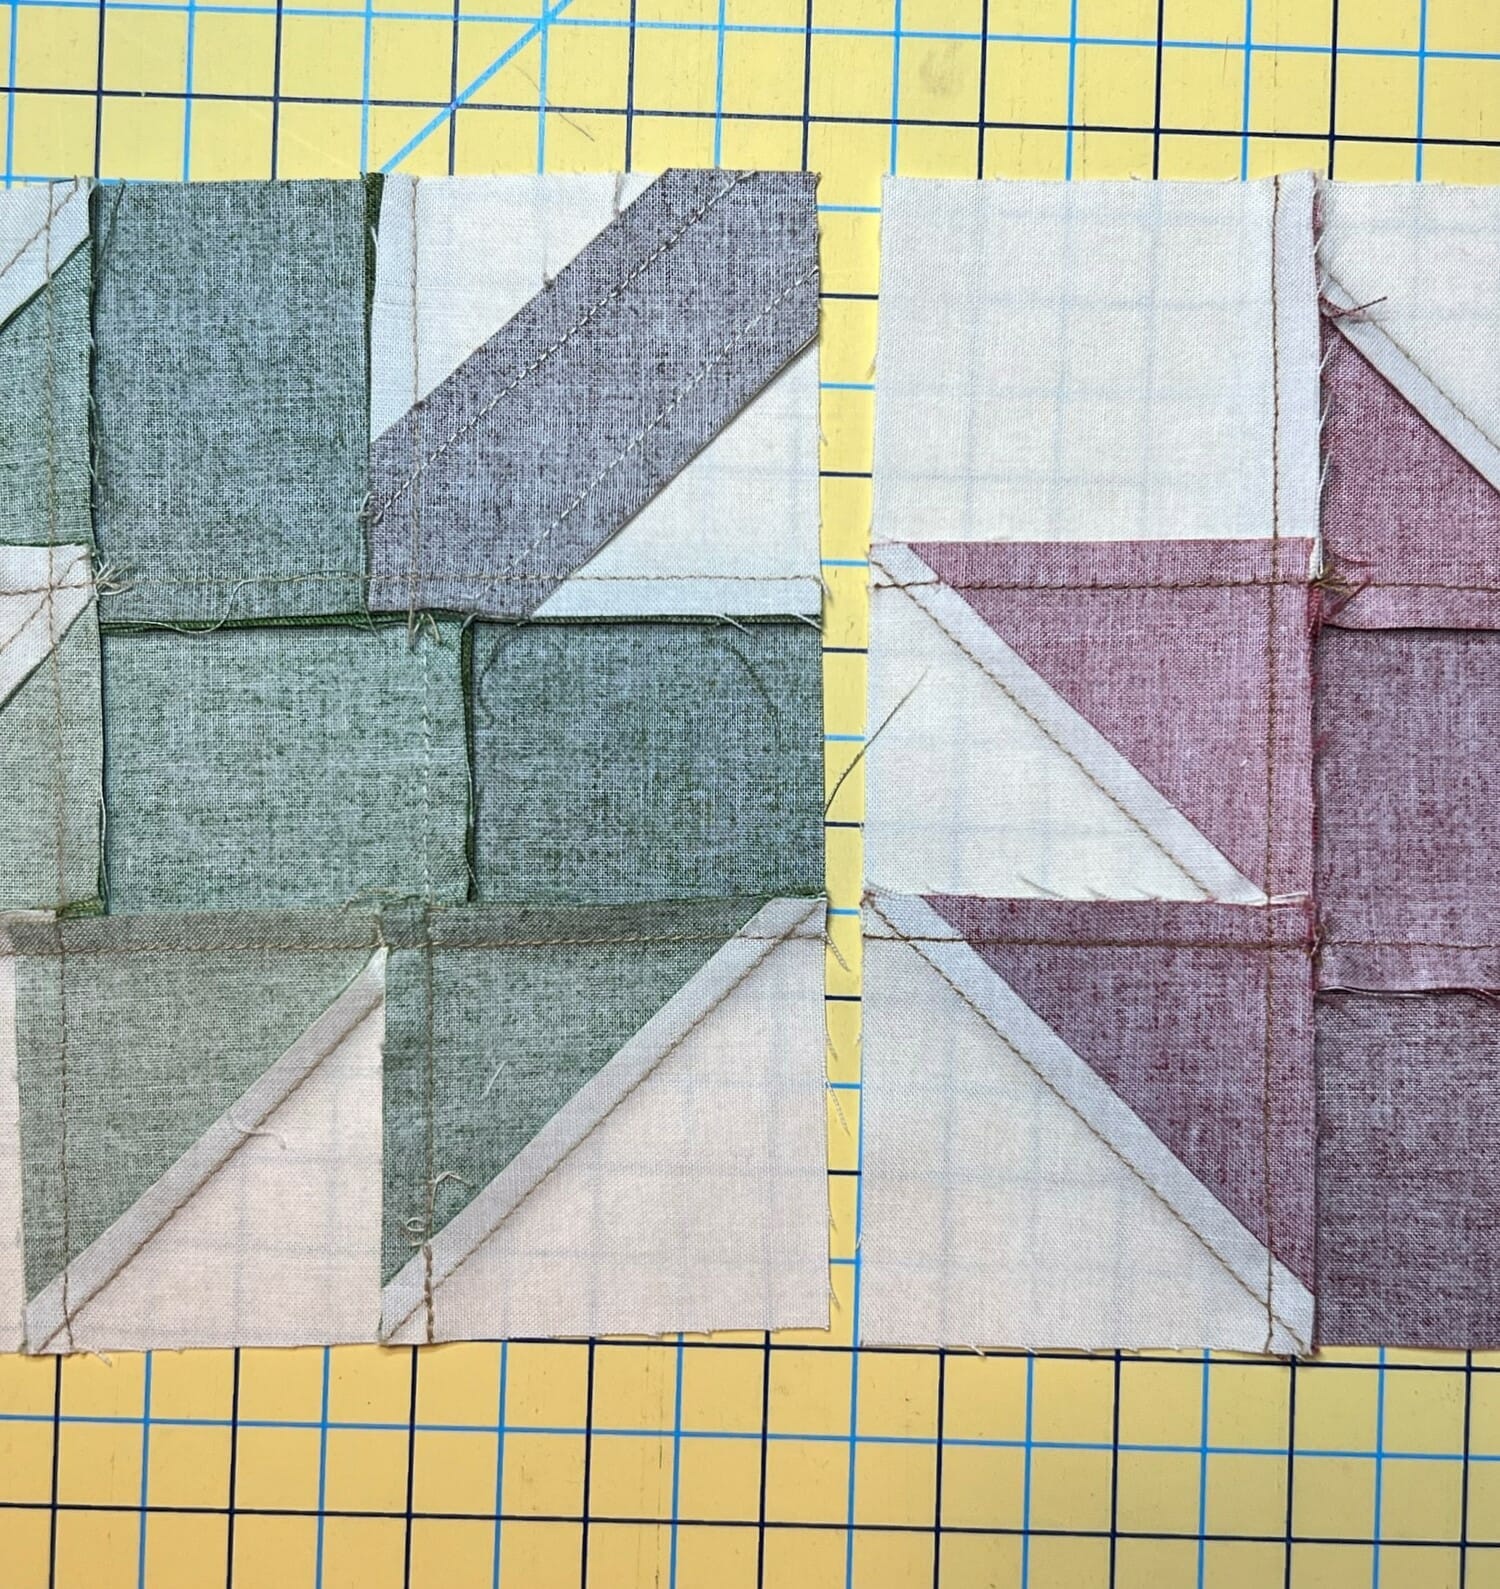
You can see that I just needed to adjust one set of seams so they could nest together. I didn’t run into any hiccups that prevented me from nesting my seams as needed, so hopefully yours turn out the same.
If all of this seems too complicated, remember you can always press your seams open. Once you quilt is finished, no one will know what you did with your seams anyway!
Our next step is to sew on some cream strips to the top and bottom of the leaf rows. I ALWAYS cut these much bigger than necessary, and trim afterward. I do this especially when I’m dealing with strips that are pieced, like these ones are. This allows me to place the seam in a good spot, like you see below.

I placed the seam directly in between two of the leaf block seams.

Because I left the I strips so long, I could do this, and then trim the excess later.
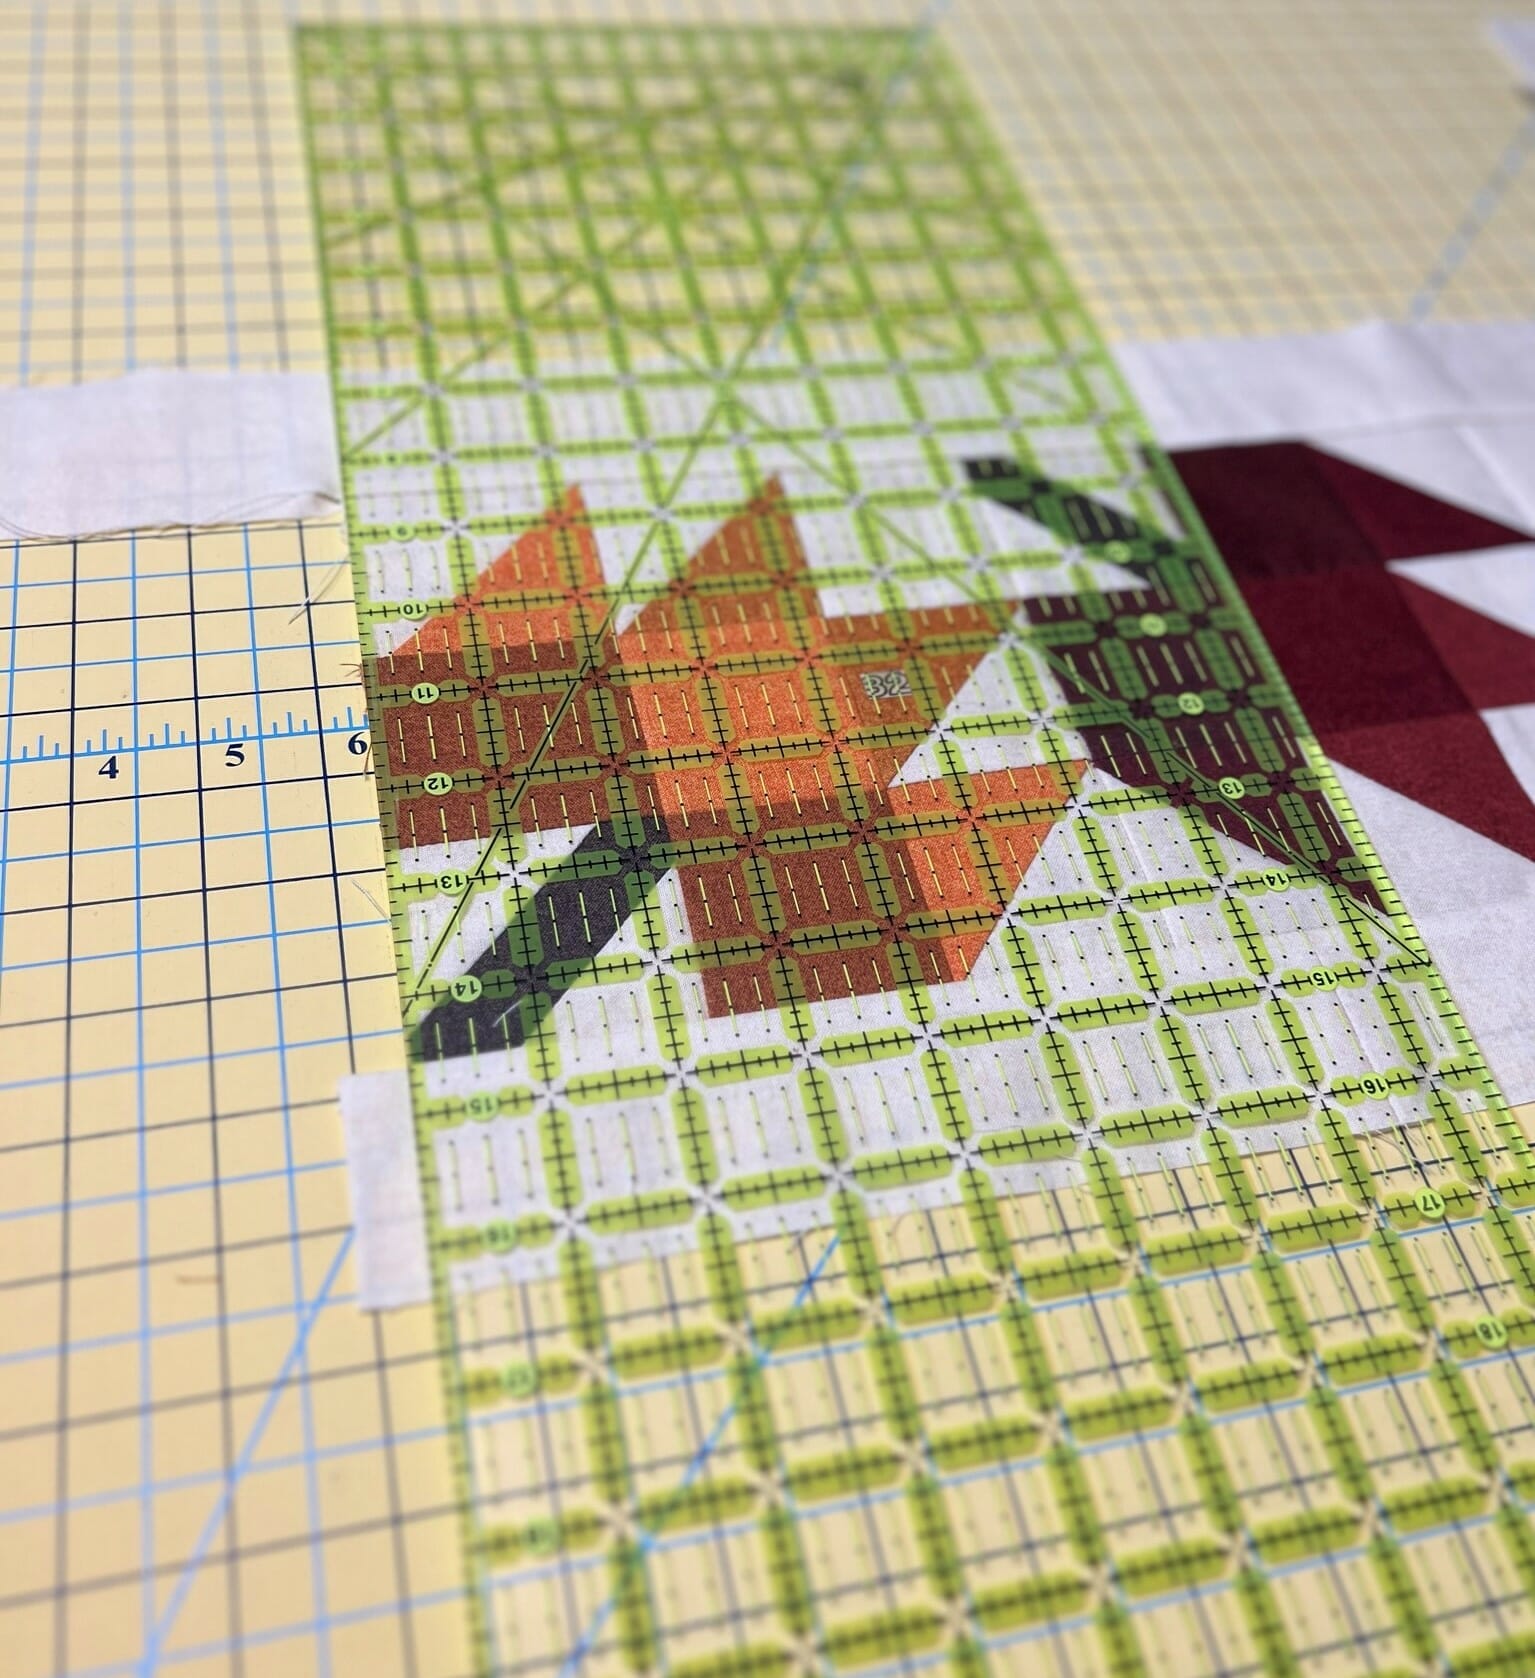
It’s important to measure these units once they are finished. And guess what? Three out of my four border sets measured just over a ½ inch bigger than they were supposed to be. Ack! It happens to everyone, even the designer! Just look at the bottom of this photo to see how bad it was. Sheesh!

So what did I do to fix this? I very generously sprayed each one with starch. (I use MaryEllen’s best press, but I’m sure any starch will do.) And when I say generous, I mean that my fabric was wet, and I had to hang my borders out to dry on a rack. Once they were dry, I checked to see how they matched up with my center, and they were all just about perfect. It’s like magic! If you try this trick and you find your borders shrink too much, you can steam press to stretch them back out a little. It’s a bit of a dance, but hopefully you’ll find ways to make things work in your favor.
Ok, once the borders are all the correct size, you can sew them on. Pay close attention to your diagrams to make sure you’ve got everything where it should be. I began by sewing the two side borders on first. You’ll want the red and orange leaf blocks in opposite corners from one another.
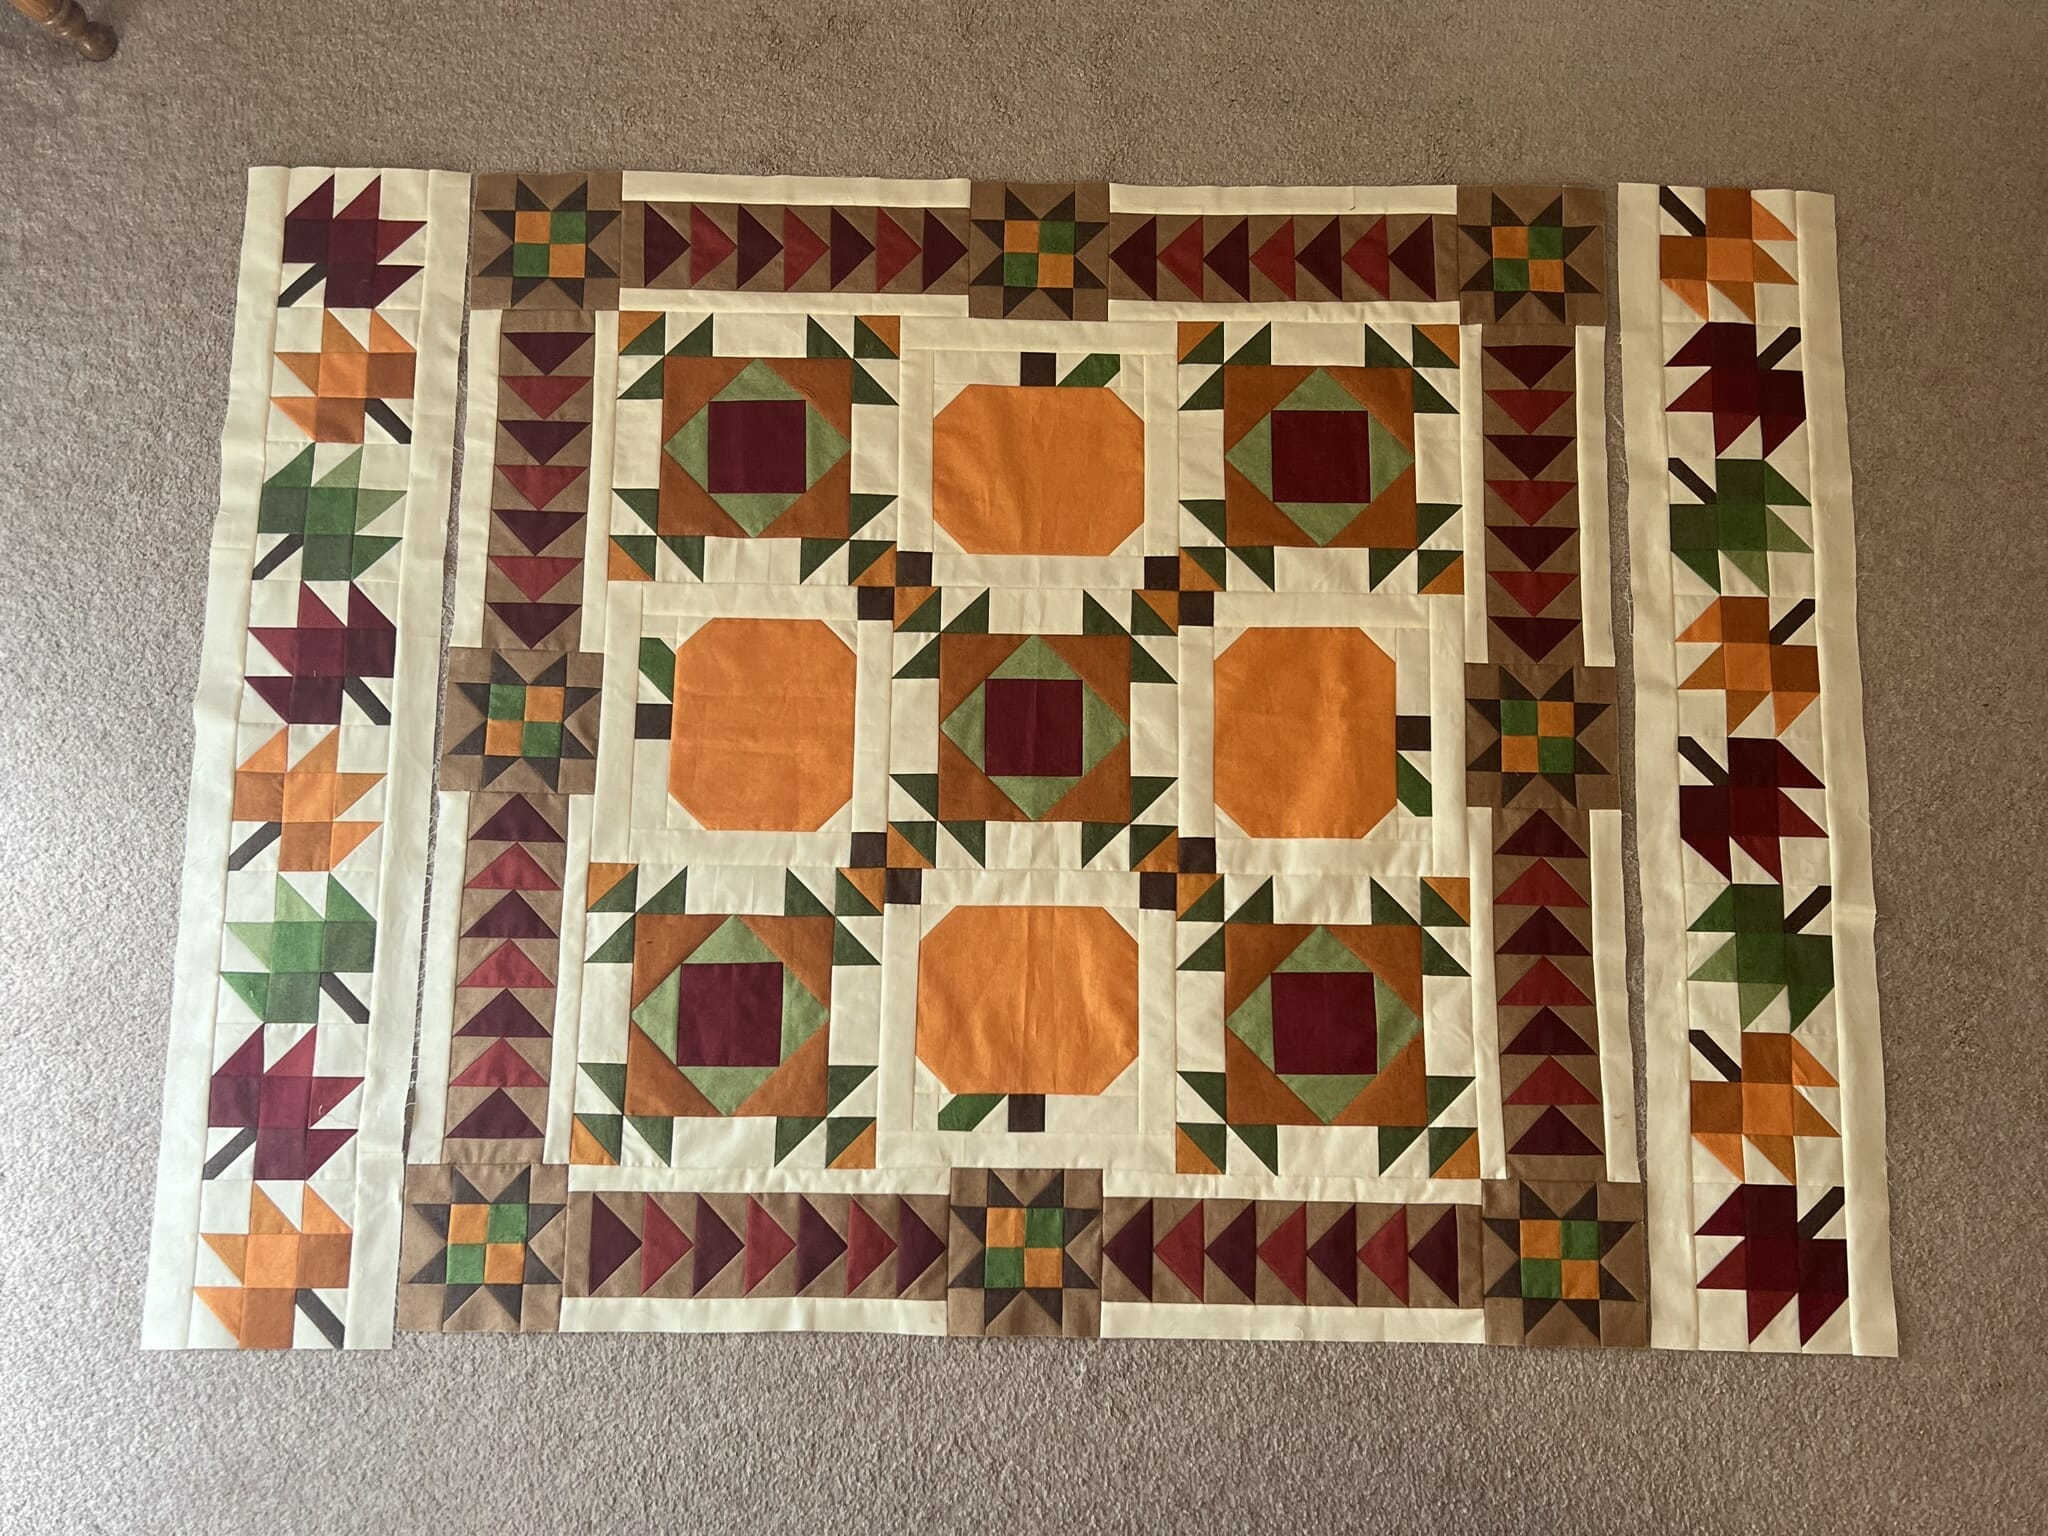
Then laid everything back out, this time on my living room floor, and made sure everything still looked good. Then I sewed on the large green leaf blocks to the ends of the top and bottom borders, and finally attached those to the quilt.
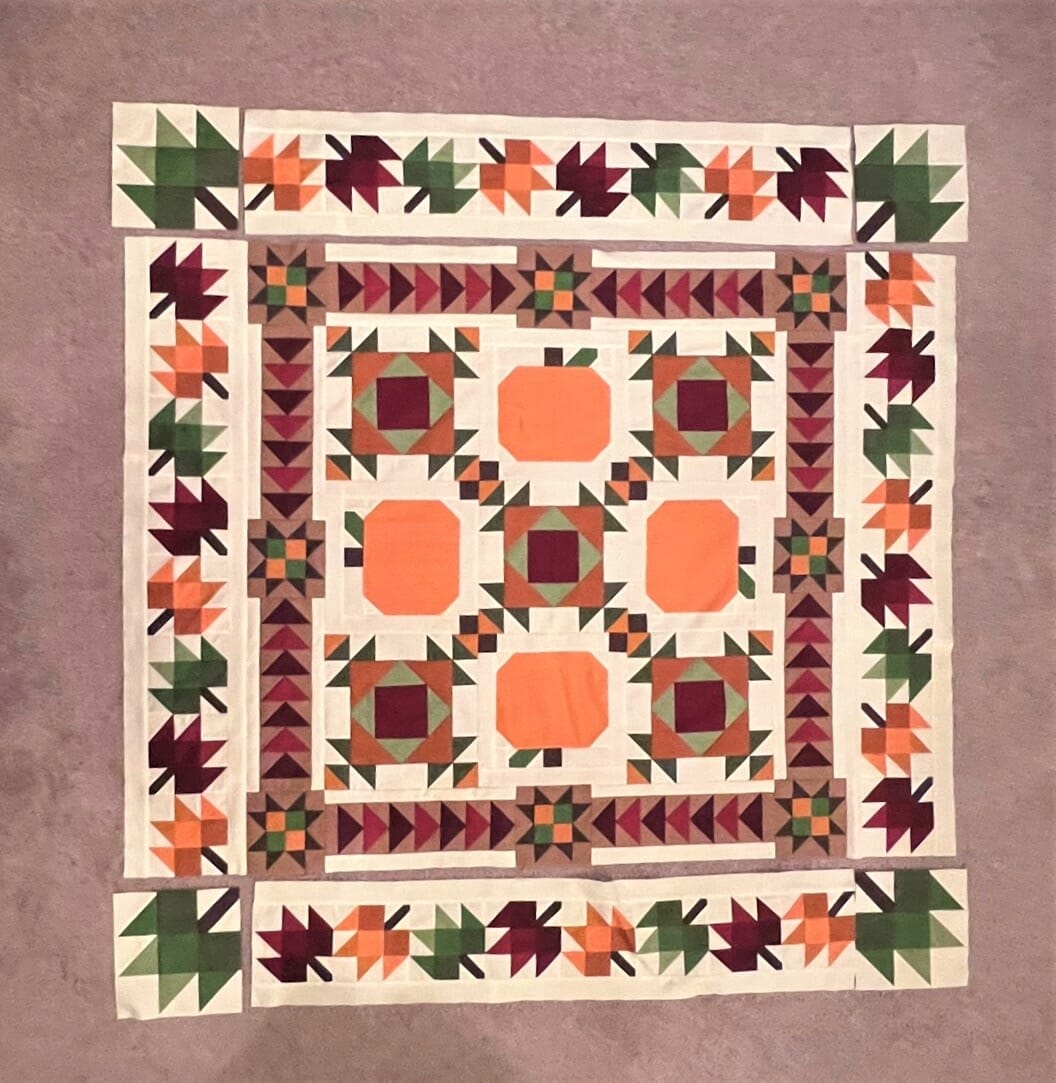
And now this quilt is almost done! We just have a few more small star and acorn blocks to make, and then we can get this all finished and ready to enjoy this fall. Hooray!
Until next month, Happy Quilting!
Kristin

