


 Tutorials
 4.3.2023
NOTE: these blog posts for the Bountiful quilt top are part of a limited series for our Block of the Month subscription program. Sign-ups for the Bountiful BOM are no longer available. You can learn more about our upcoming Block of the Month subscriptions here.
Hello Friends!
Hello again friends!
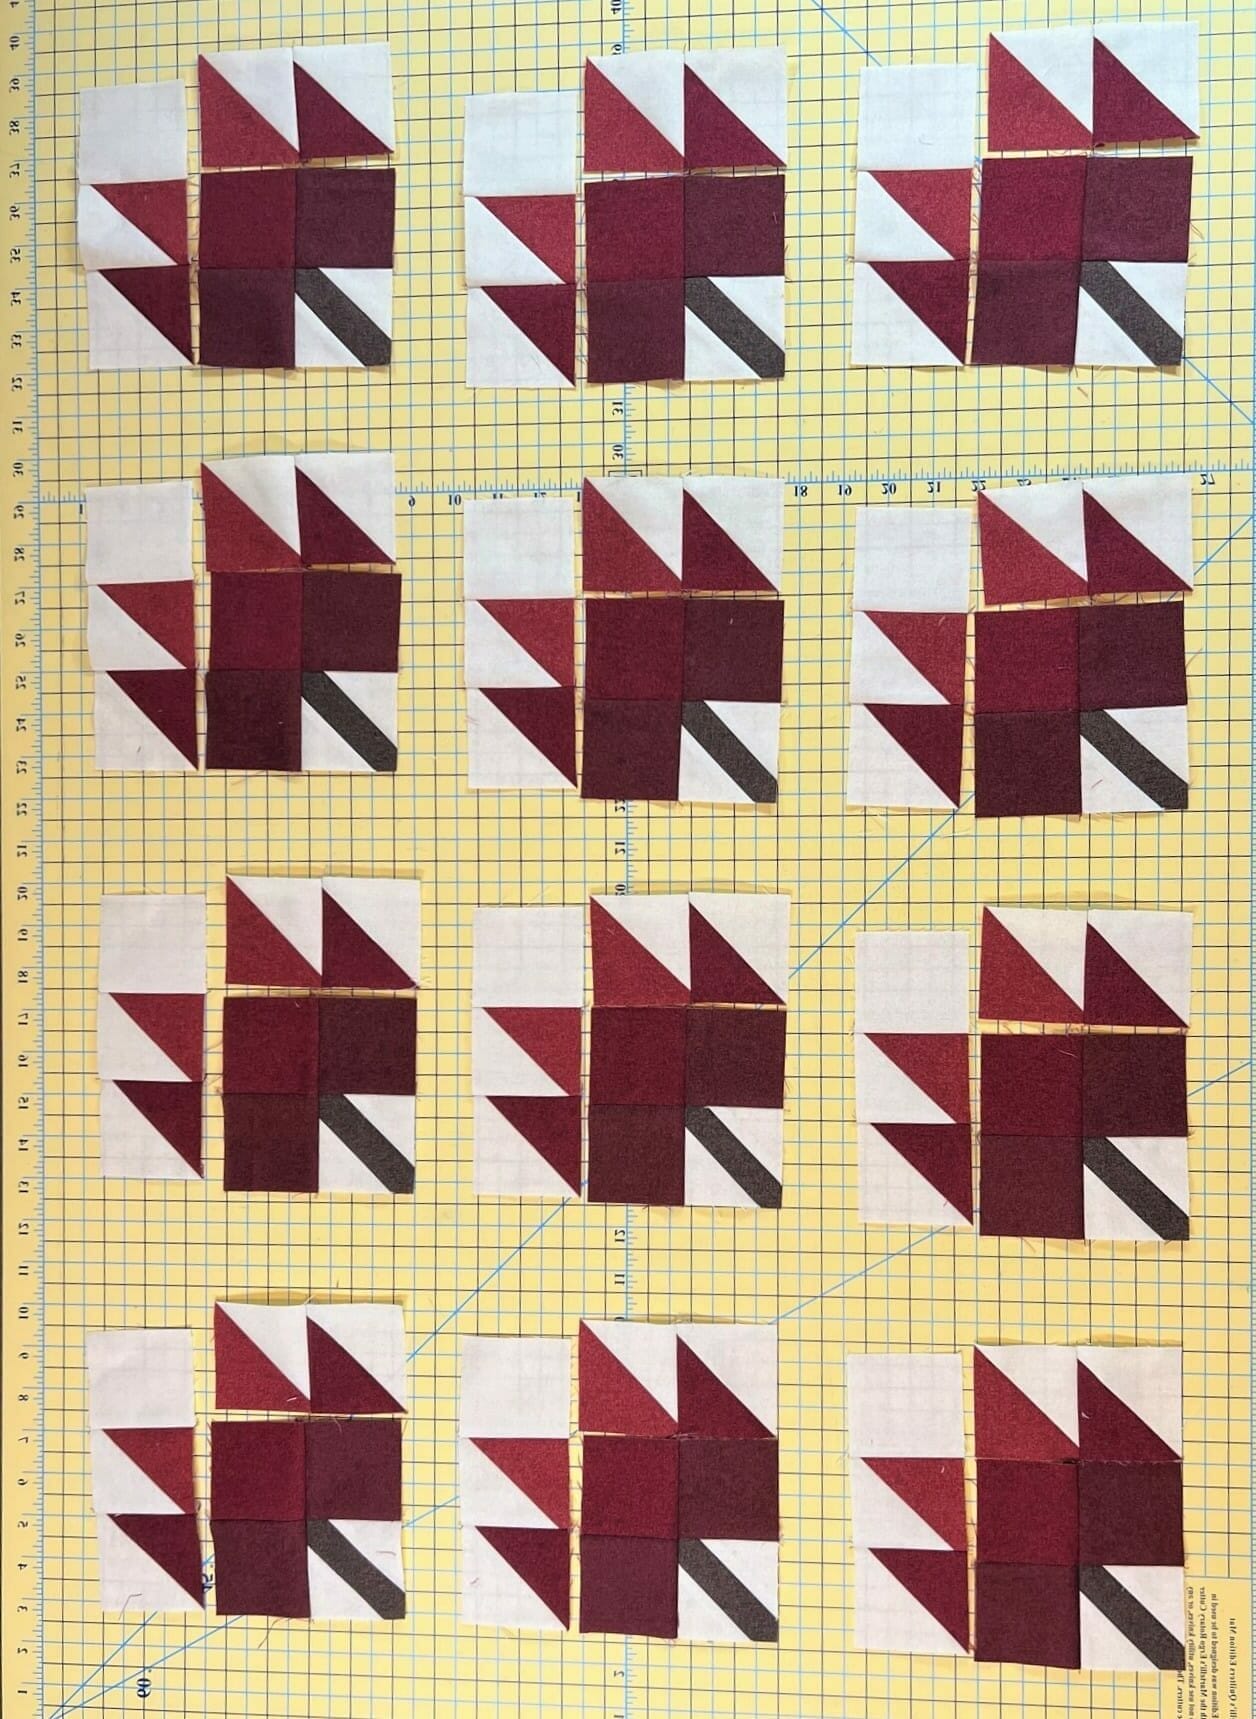
I hope you all enjoyed making our green leaf blocks last month. This month will be almost the same. Our challenge this time is to tackle the Red Leaf blocks, but unlike last month, these twelve are all the same size. That just means it will be easier to get them all done, right?!
Since the steps for these blocks are identical to last month, I don’t really have anything new to add that wasn’t covered in last month’s blogpost. But I’ll still show you some photos, because it’s always helpful to see everything in ‘real life’, right?
Before we begin, here’s a little tip: You may find it helpful to label or mark your pieces for these blocks after cutting. This is something I don’t normally do, but the reds in these blocks are very similar, and it can be easy to get confused. I usually leave mine in stacks with a sticky note label pinned to the top. If you are extra concerned about sewing things in the wrong place, you could label every single piece you cut, but I don’t want to do that much work. I guess I’m just too lazy!
You’ll start these blocks just like before, by making the stems again. In fact, if you have some extra fabric, you can go ahead and make additional stem units for next month too. You’ll just be one step ahead. You will need 12 more for the Orange leaves, in case that helps. Don’t forget to square these up! You’ll thank yourself later.
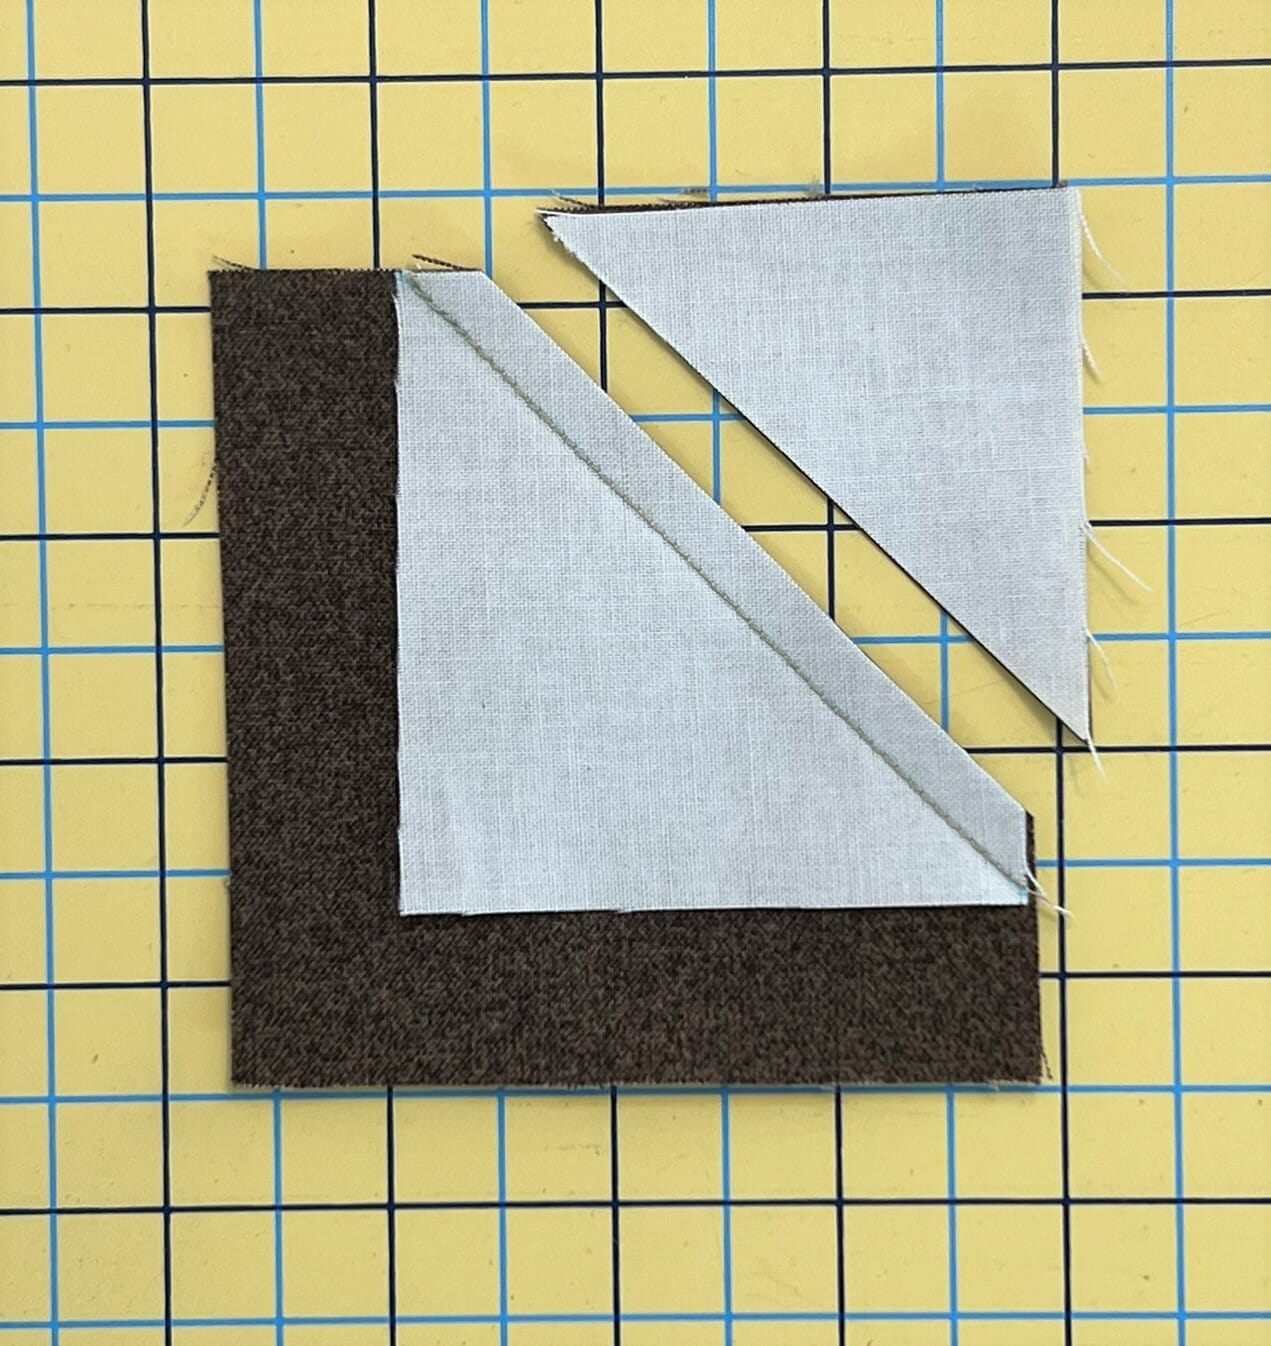
More half square triangles are next. You know the drill… I made mine assembly line style, as you can see below:

I didn’t do the best job remembering to take pictures of my HSTs – AGAIN. I just get in the groove of sewing and don’t think. I should probably set up some sort of payment jar – like one of those swear word jars people have, only I have to pay a dollar for every time I forget to snap a photo for my blog. Ugh, you guys, I’m so sorry!
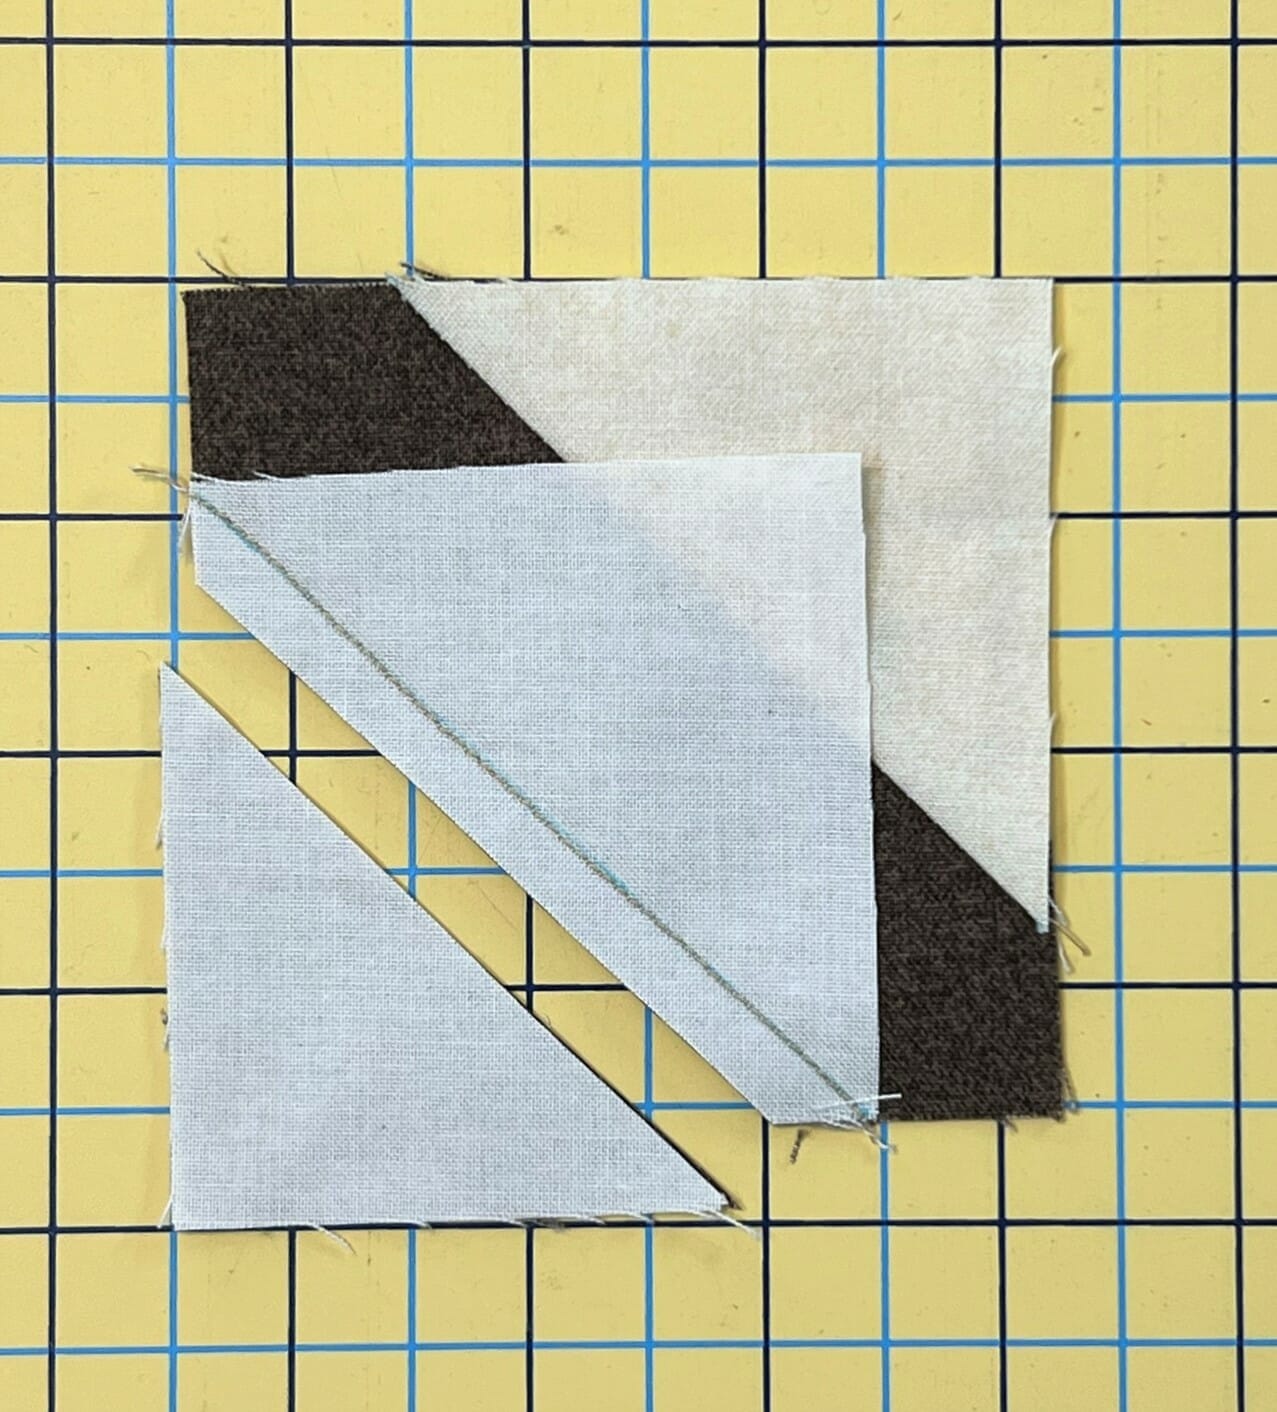
Okay, photos aside, now it’s time to assemble the blocks and we’ll begin in step 4 by making a 4-patch units using our stems. Don’t forget to lay these out and take a good look at them before you pin and sew. Like I said before, these reds can look pretty similar in color, so it can be easy to mix things up. Another tip: Sometimes I’ll take a photo after I lay out my pieces, and then look at the photo. It’s amazing how many times I don’t notice when something’s in the wrong place by looking at it with my naked eyes, but then when I look at the photo, the mistake pops out.

Now you can go ahead and sew your HSTs into pairs, but as before, I laid my blocks out before I sewed those pairs just to make sure everything was all good.

Once you get those HST units sewn on, along with the F square, you’re all set!
Next month we are sewing the Orange blocks, AND, sewing the leaf borders to the quilt. It’ll be exciting to see our quilt finally start growing again!
Until next time, Happy Quilting! – Kristin

