Tutorials
 1.11.2021
Hello again friends and Happy New Year!

I couldn’t be more excited for 2021. It goes without saying that we’ve all been through a lot this past year, so here’s hoping for a year of healing and happiness ahead!
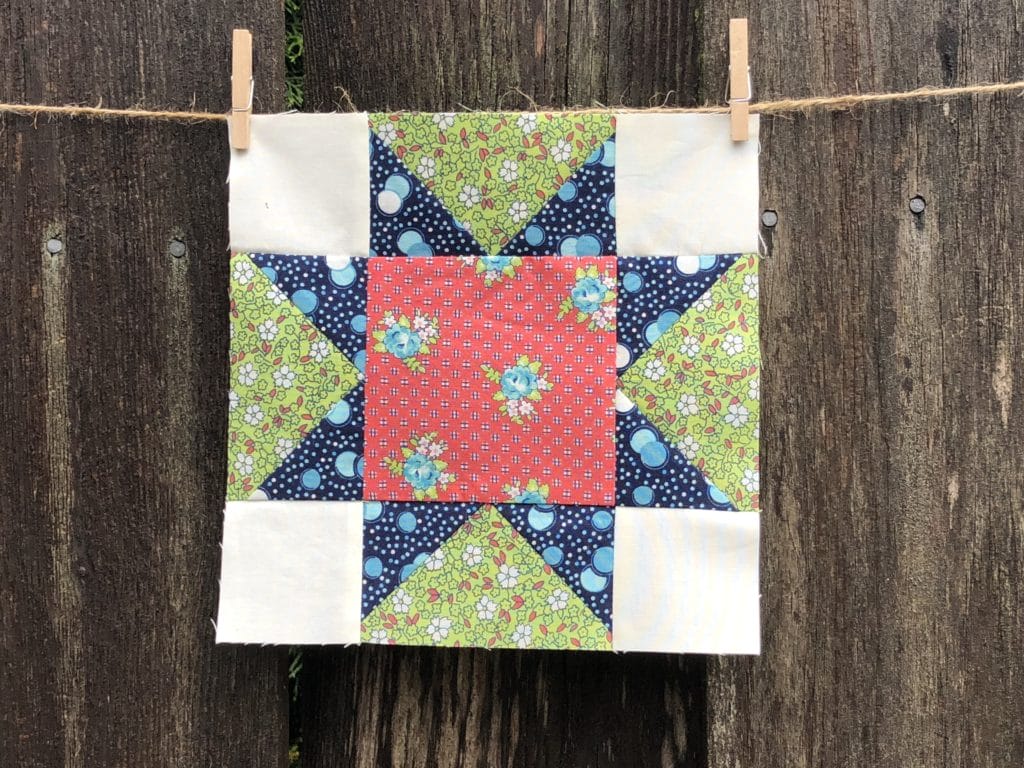
And what better way to start the new year, than with quilting! This month we will be sewing up some sawtooth star blocks – 18 of them to be exact. These are pretty simple blocks, so even making so many will still go pretty fast.
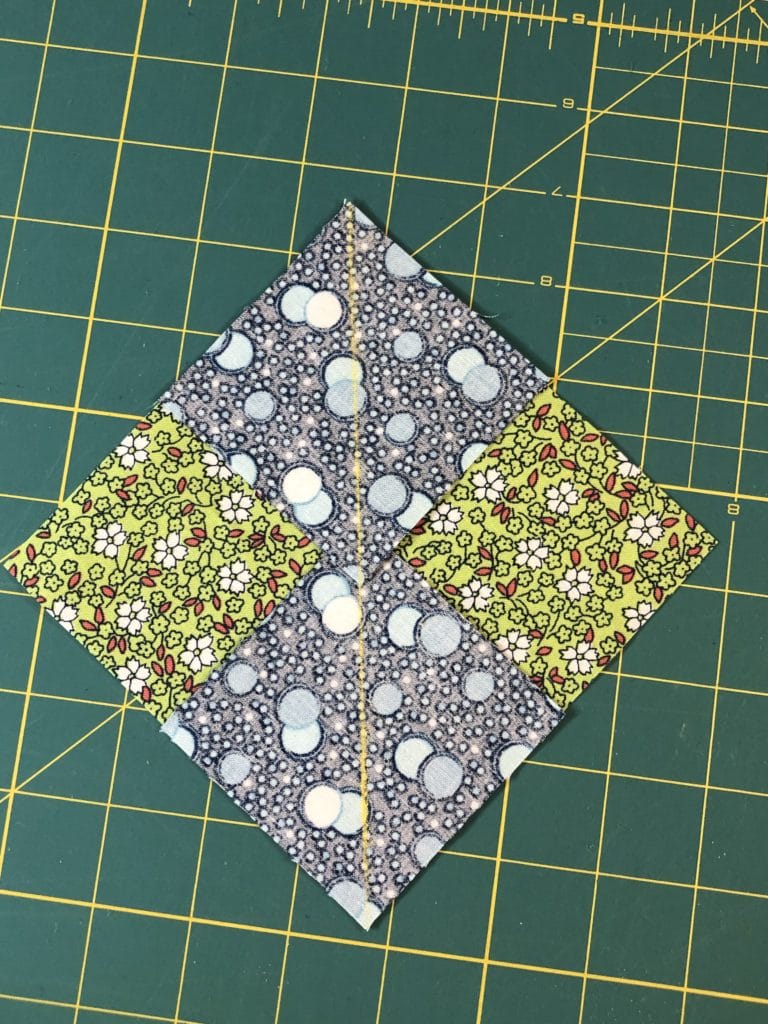
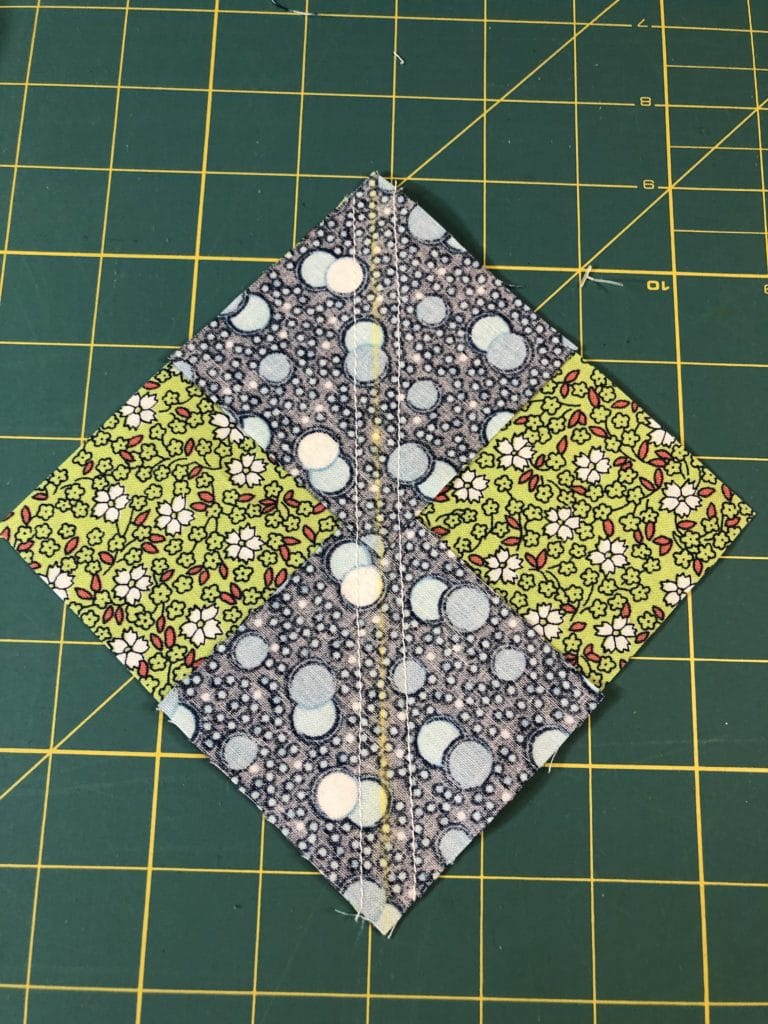
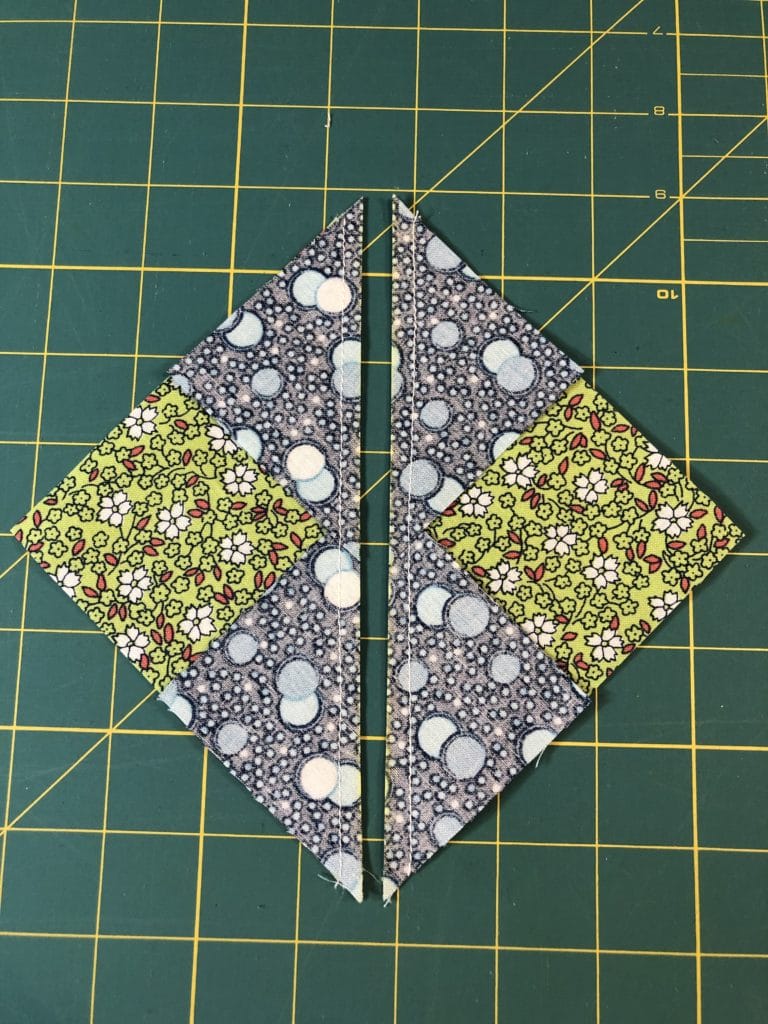
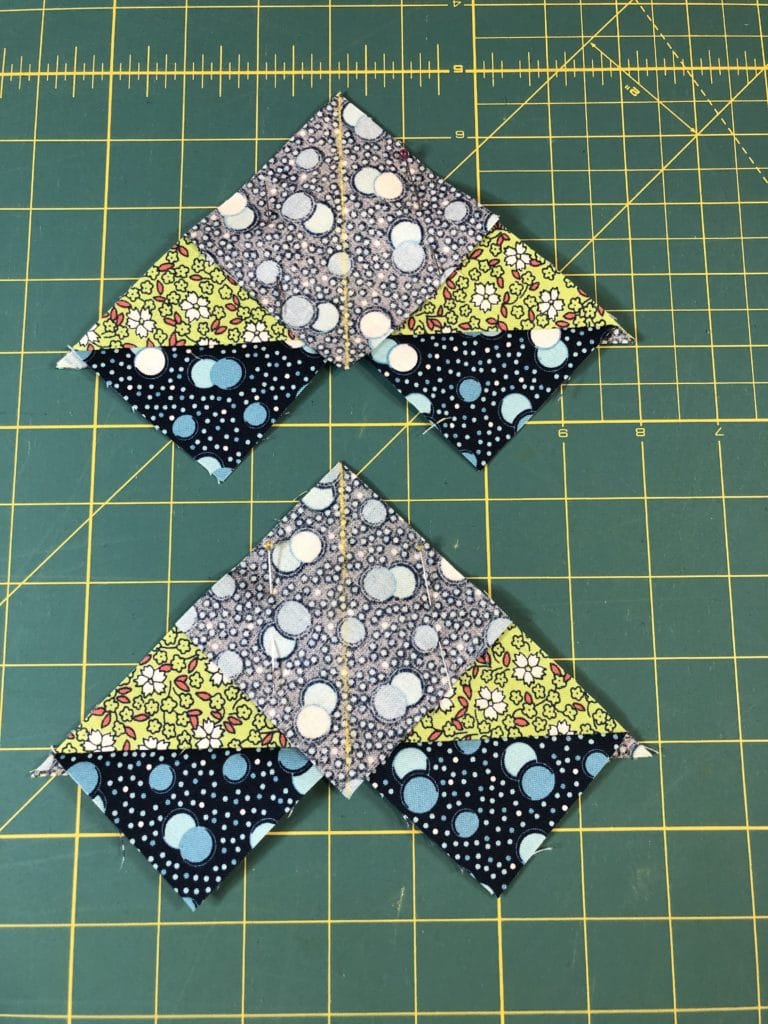
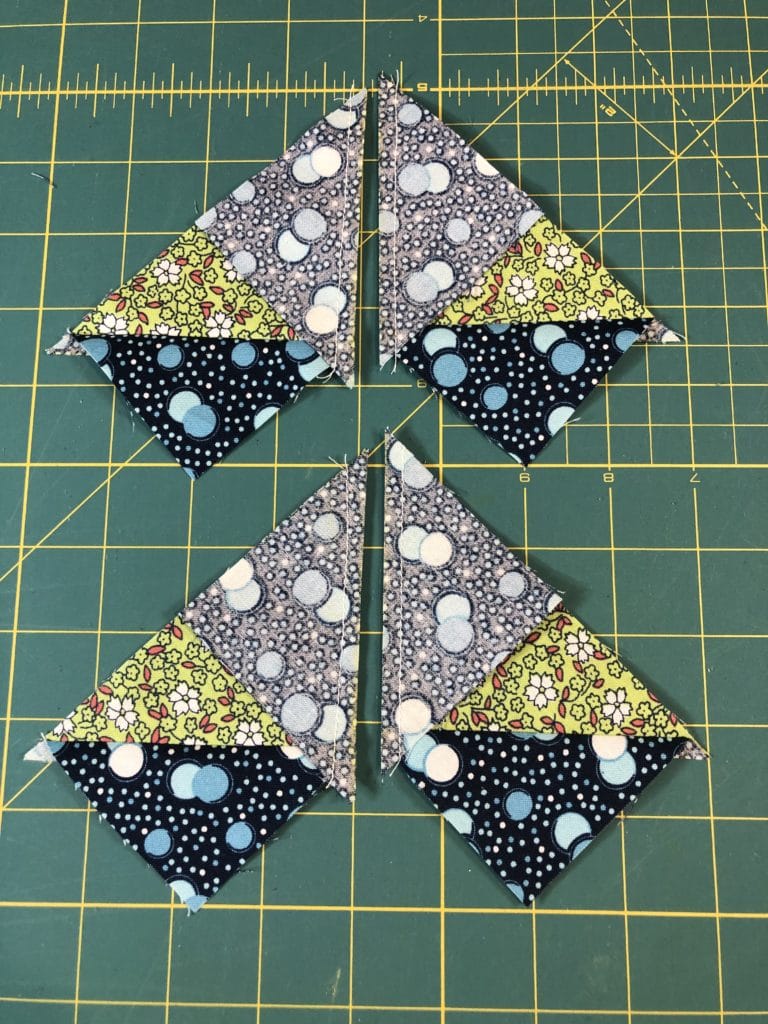
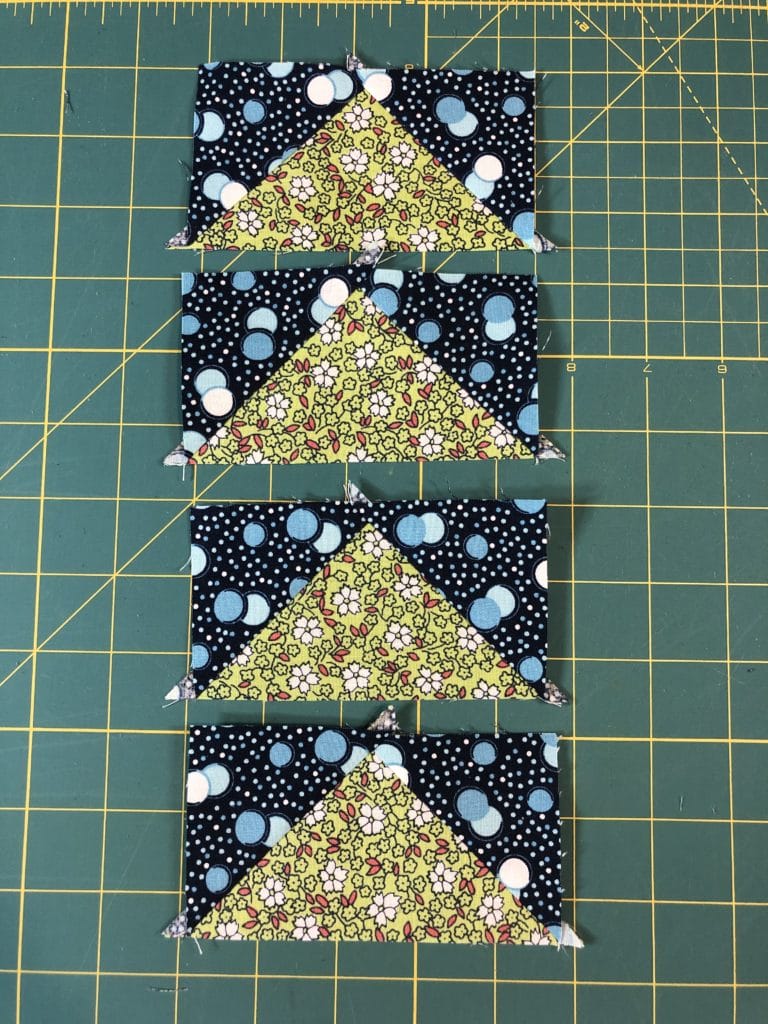
First we will make the flying geese units.
For years I used the stitch-and-flip method, which is still a perfectly good way to make flying geese, but I was always bothered by the wasted fabric, so a couple of years ago I switched to doing the no-waste method in my patterns and have never looked back. Plus, I generally feel that I have less issues with my flying geese being wonky doing it this way.
As a reminder, way back in month 1, I mentioned that I will cut my pieces just a scant larger (like 1/16” or less), so that I have room to square things up. You may want to do the same. I also have a more detailed tutorial for making the flying geese in the month 1 blogpost, so feel free to refer to that as well. Here is a quick photo run-down as a reminder:
Once I have my flying geese made, I lay out all the pieces for the block and begin to sew things together.

While making these a 2nd time for this blog post, I realized I wanted to change the direction of some of the pressed seams. Next month we will be sewing some additional blocks, and then attaching them to the checkerboard border. We will have A LOT of seams to match up, and things can get tricky. I’ll discuss that more for next month. But for now, you may want to press your you last set of seams inward, rather than outward. Here is a new diagram to follow, as well as a photo of the back of a block.

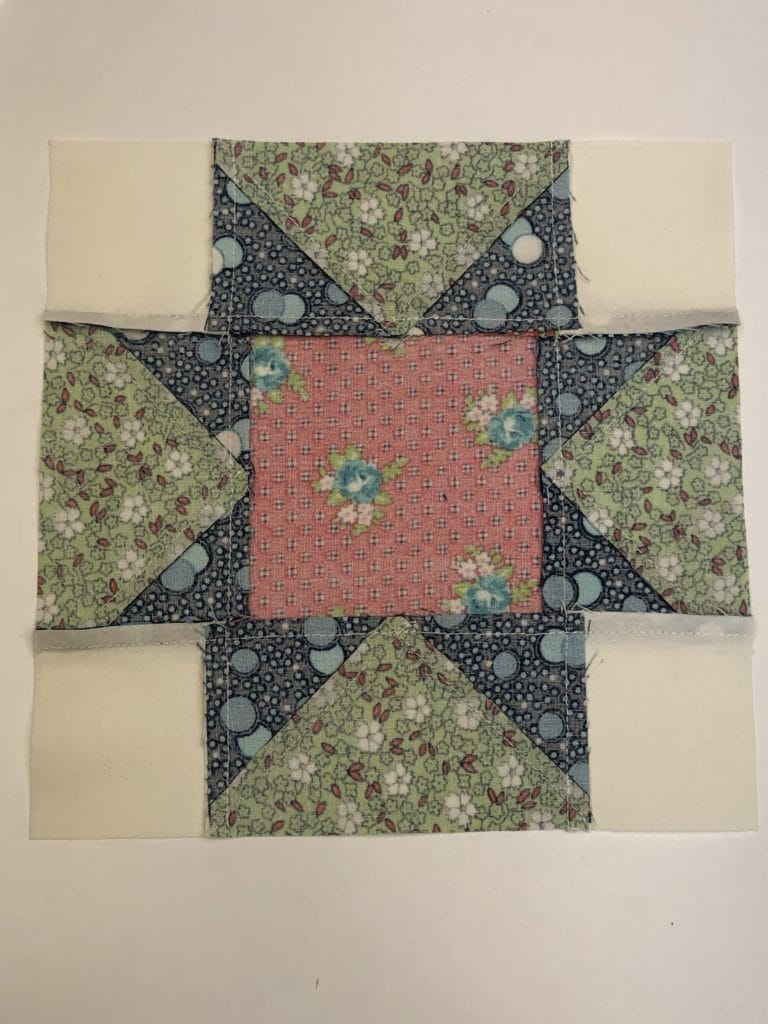
The original pressing directions still work, but I like to nest things together as much as possible, and this will make that easier down the road.
And now the block is finished.
See you all next month!
-Kristin