Tutorials
 8.8.2023
NOTE: these blog posts for the Amherst quilt top are part of a limited series for our Block of the Month subscription program. Sign-ups for the Amherst BOM are no longer available. You can learn more about our upcoming Block of the Month subscriptions here.

Hello friends, and welcome back!
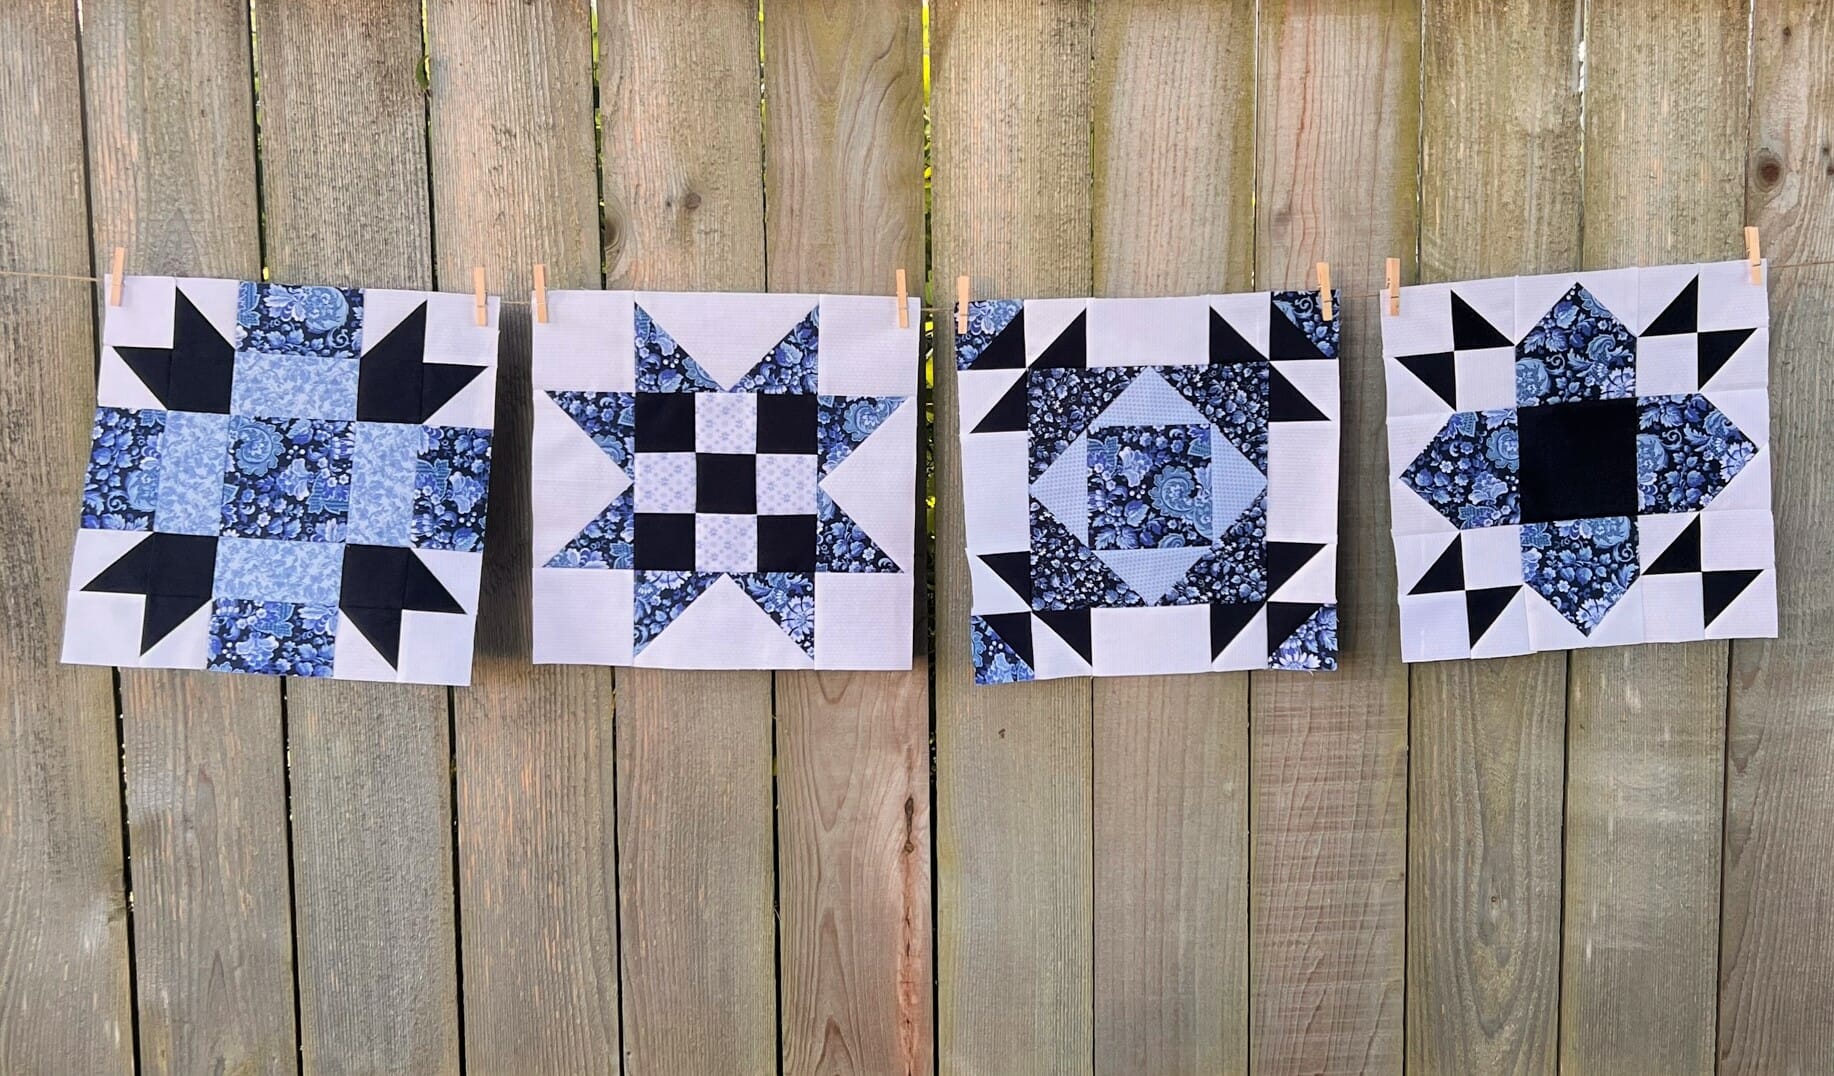
This month we are back to making 4 blocks again, and these are some of my favorites in the quilt.
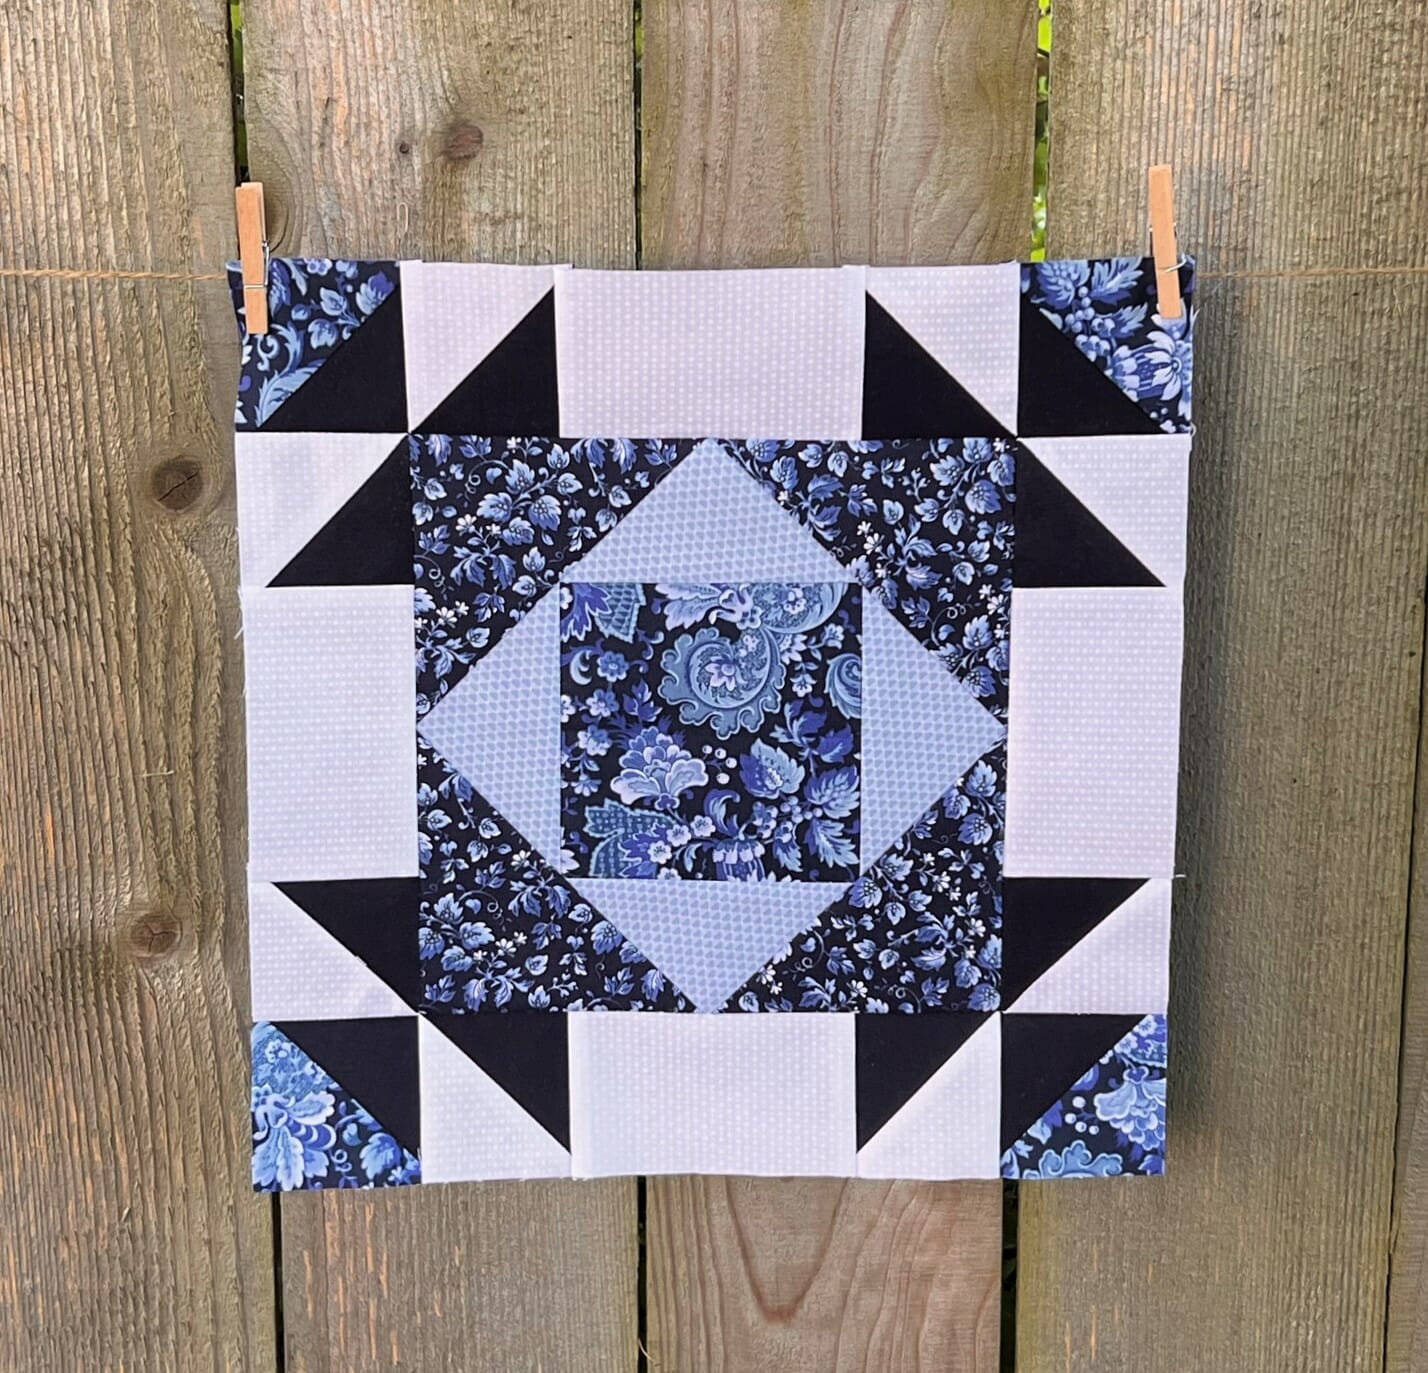
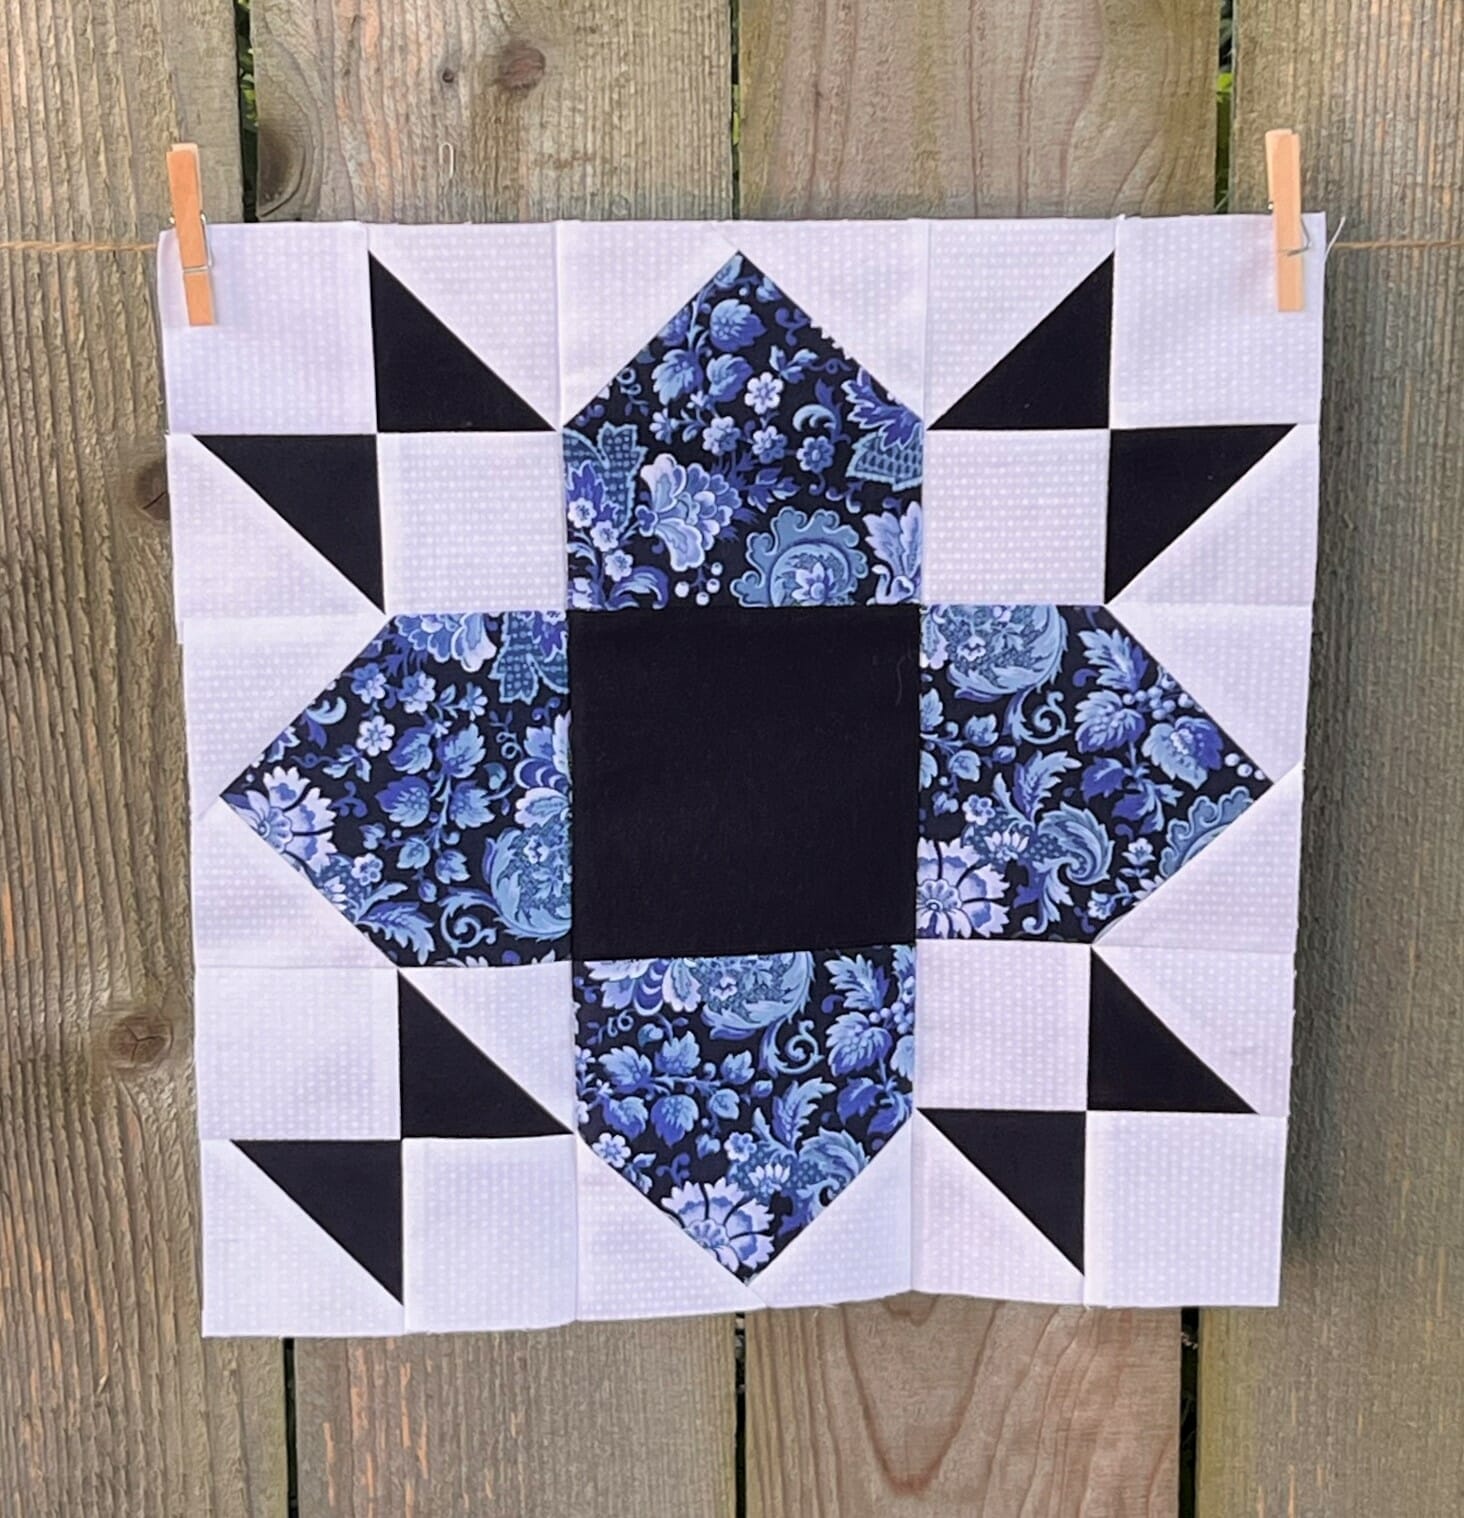
Block #6

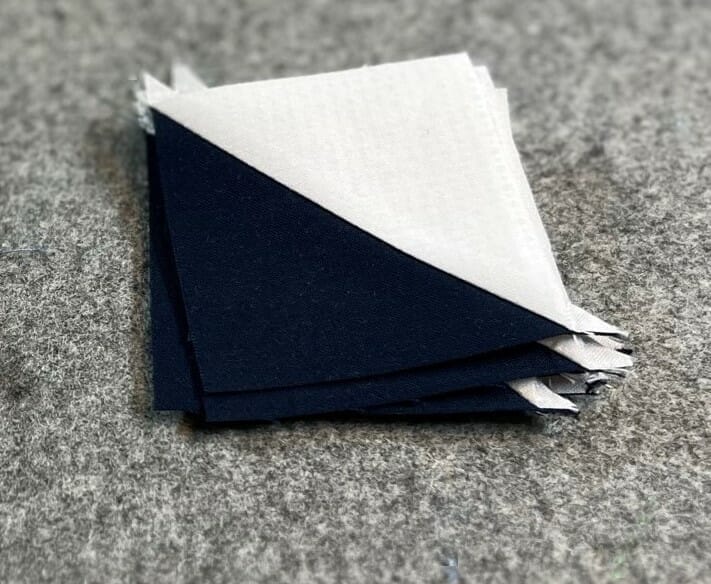
I love this block because it looks fancy, but it’s not terribly difficult to put together. The hardest thing you have to do is make some half square triangles, which we’ll do right at the start.
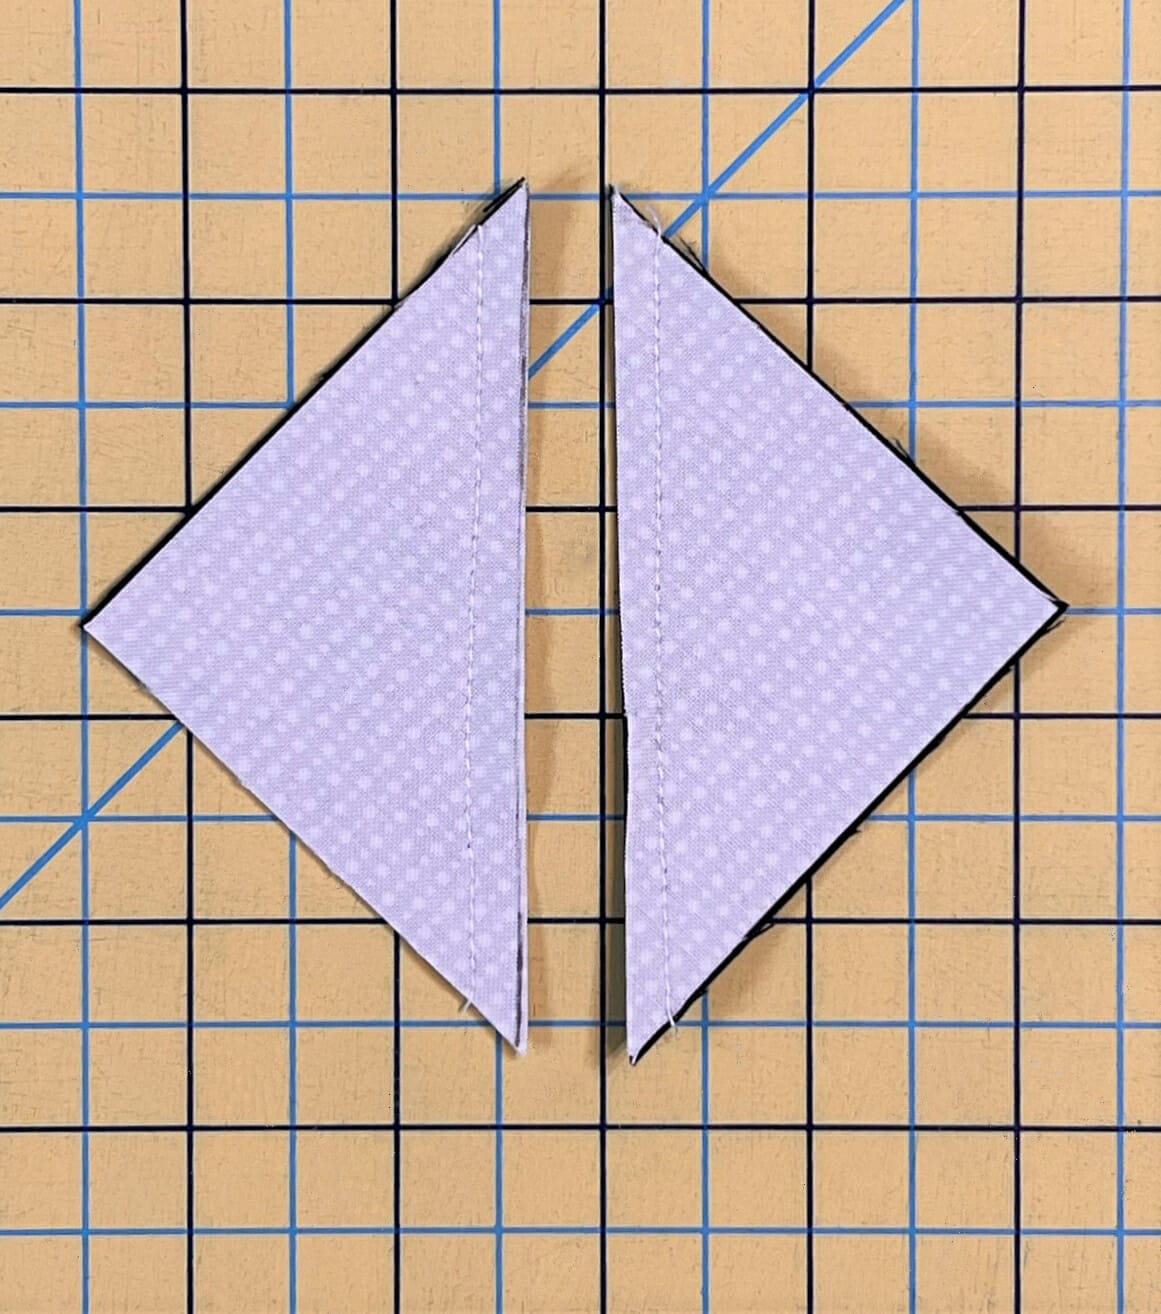
Remember to press these toward the White fabric so that the seams will nest together later. That being said, I must confess that when making my block, I went on auto-pilot and totally forgot my own instructions, which lead to some necessary pressing adjustments at the end, when I realized my mistake. I had to laugh at myself for not following my own instructions.
But the good news with this quilt is that ultimately, however you choose to press the seams within your block, it doesn’t matter too much. Since there will be sashing in between all the blocks, you won’t run into trouble later if something gets pressed the wrong way. This is true for all the blocks in this quilt. The most important thing to remember when pressing, is to reduce the bulk in the seams as much as possible.
Ok, enough about all that. Let’s finish the rest of the block.
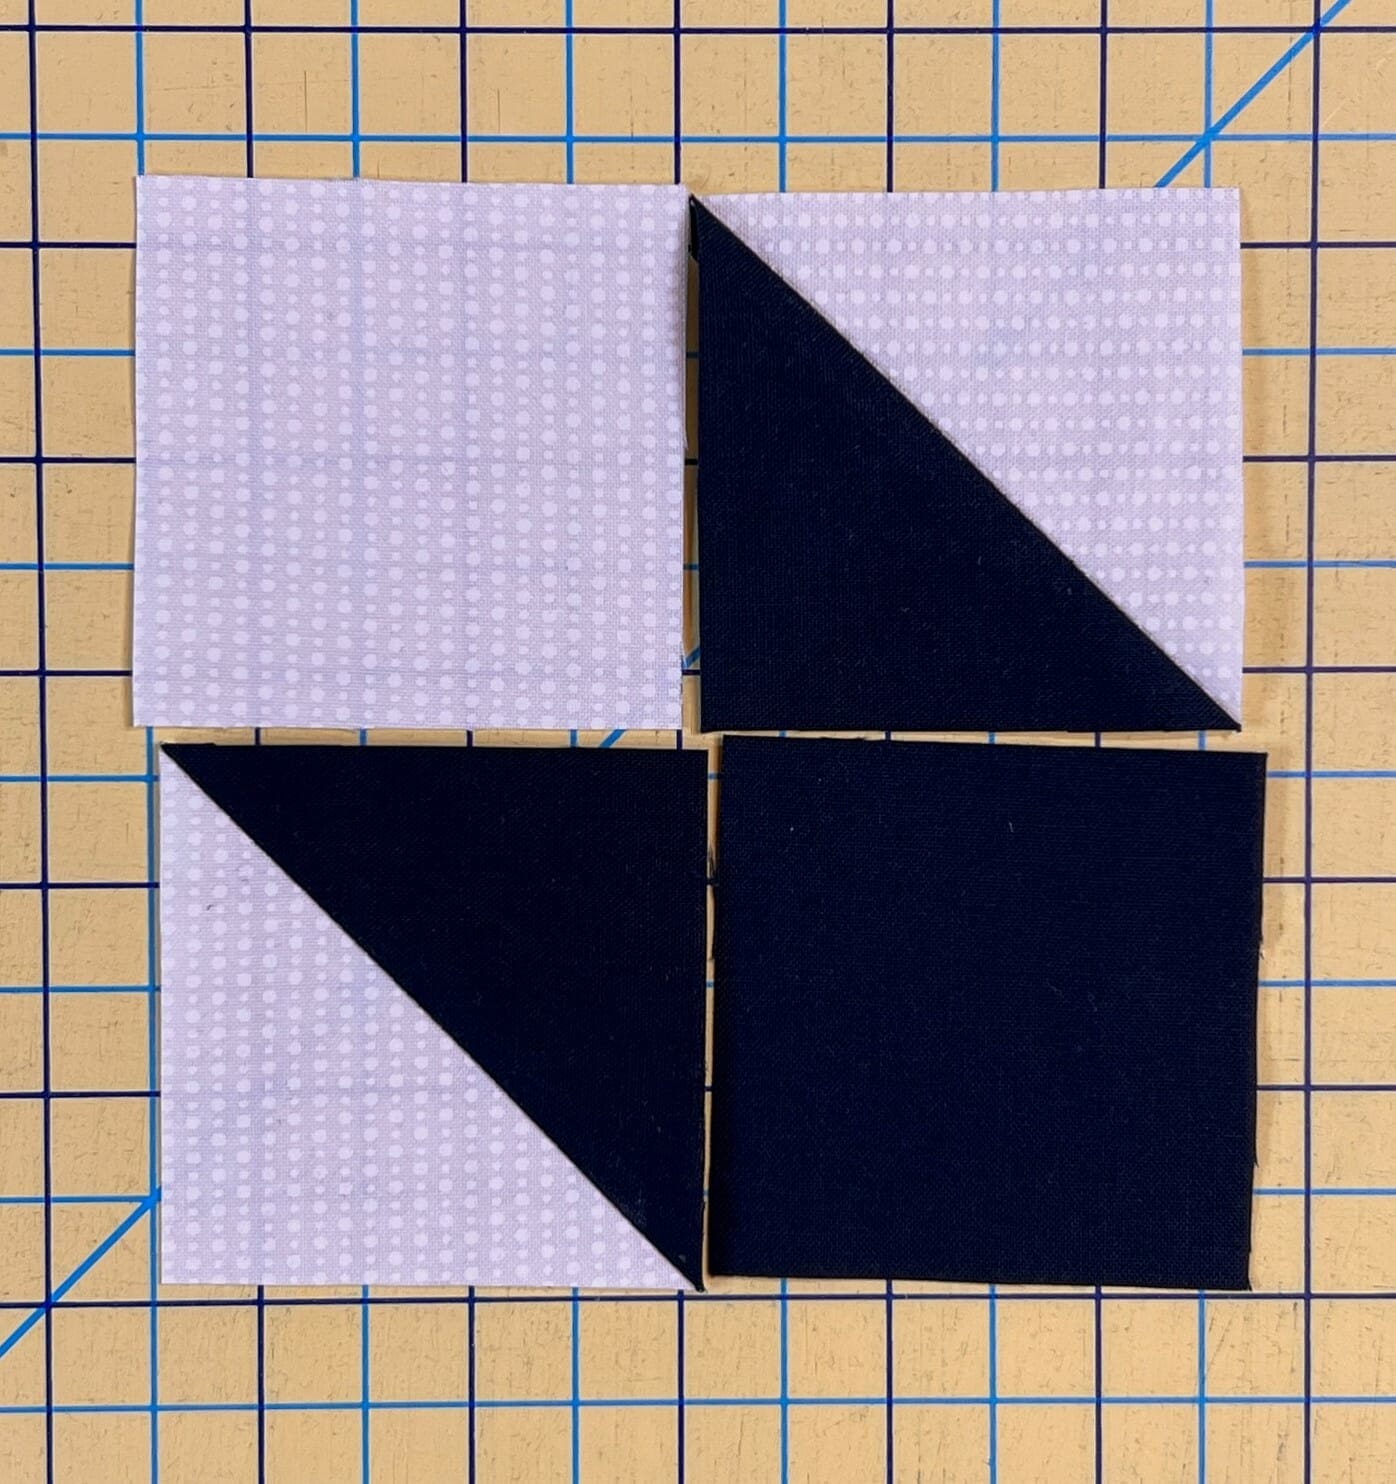
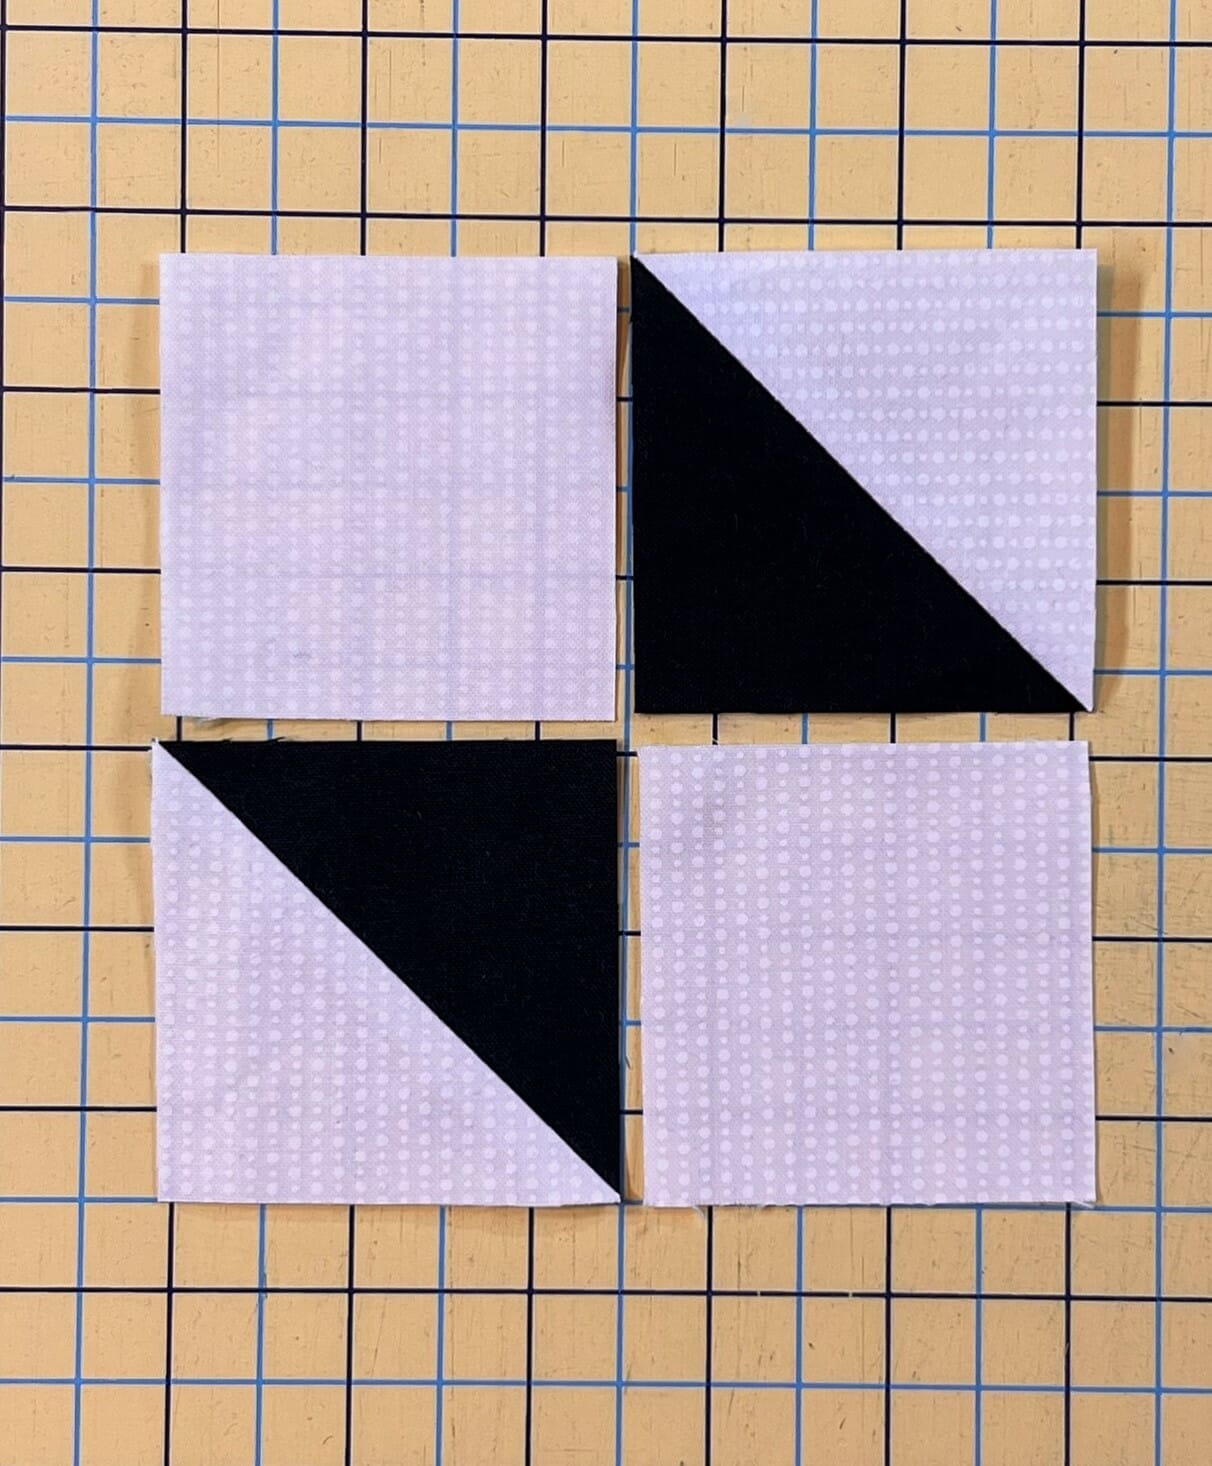
Once those HSTs are sewn and trimmed to size, we’ll use them to make a 4-patch unit like so:
After that, we just need to sew the B and C rectangles together.
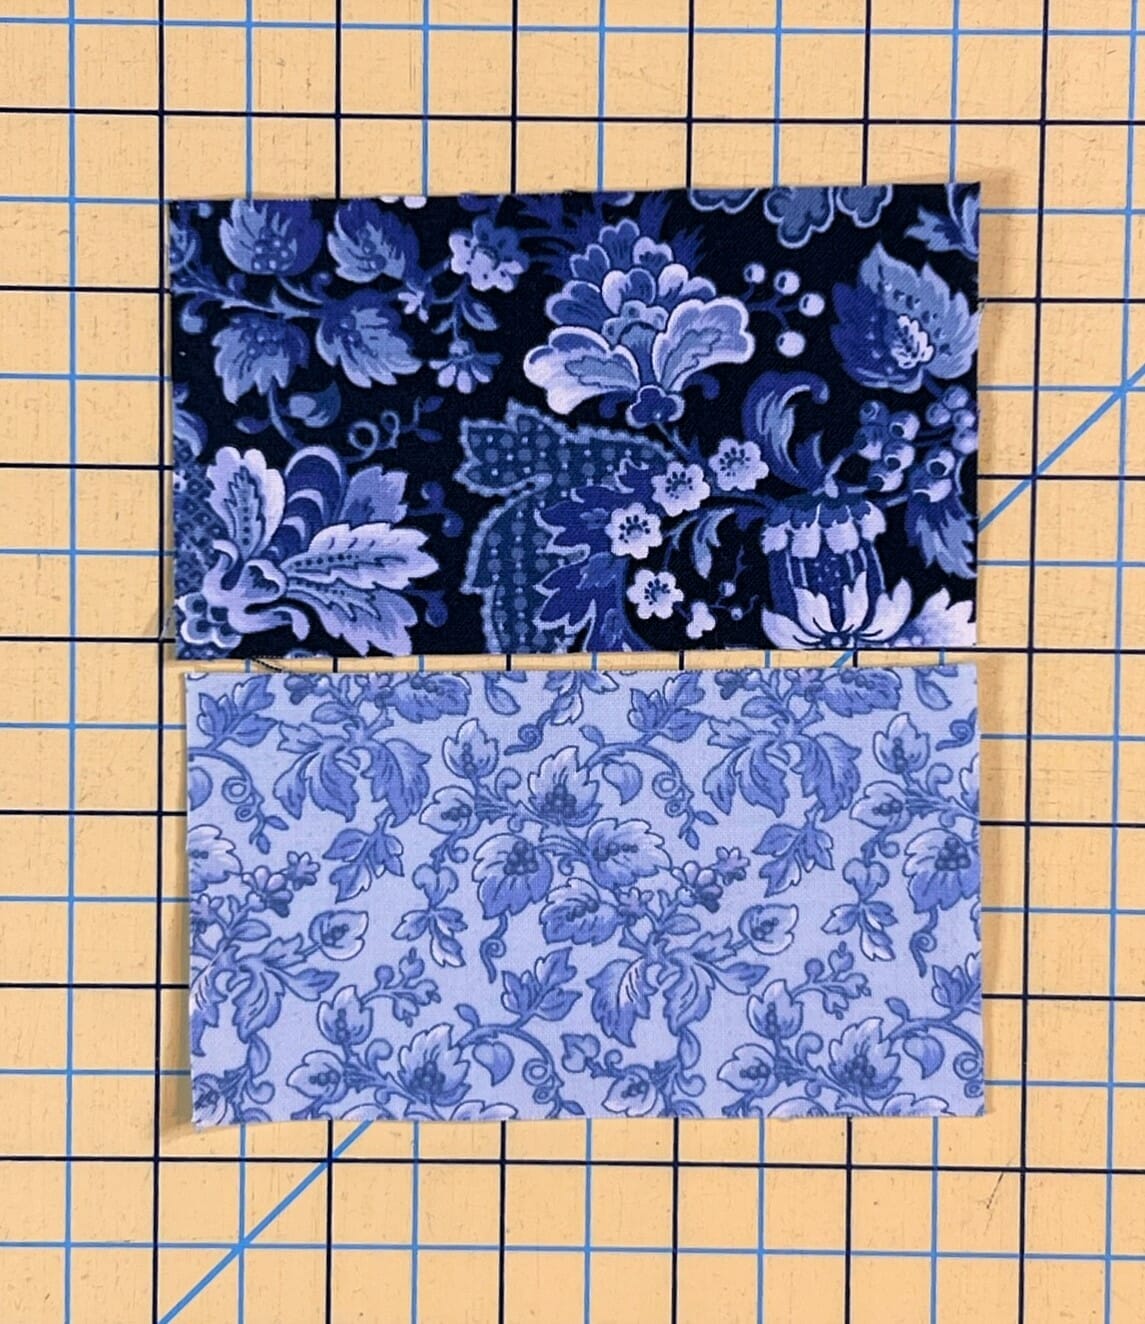
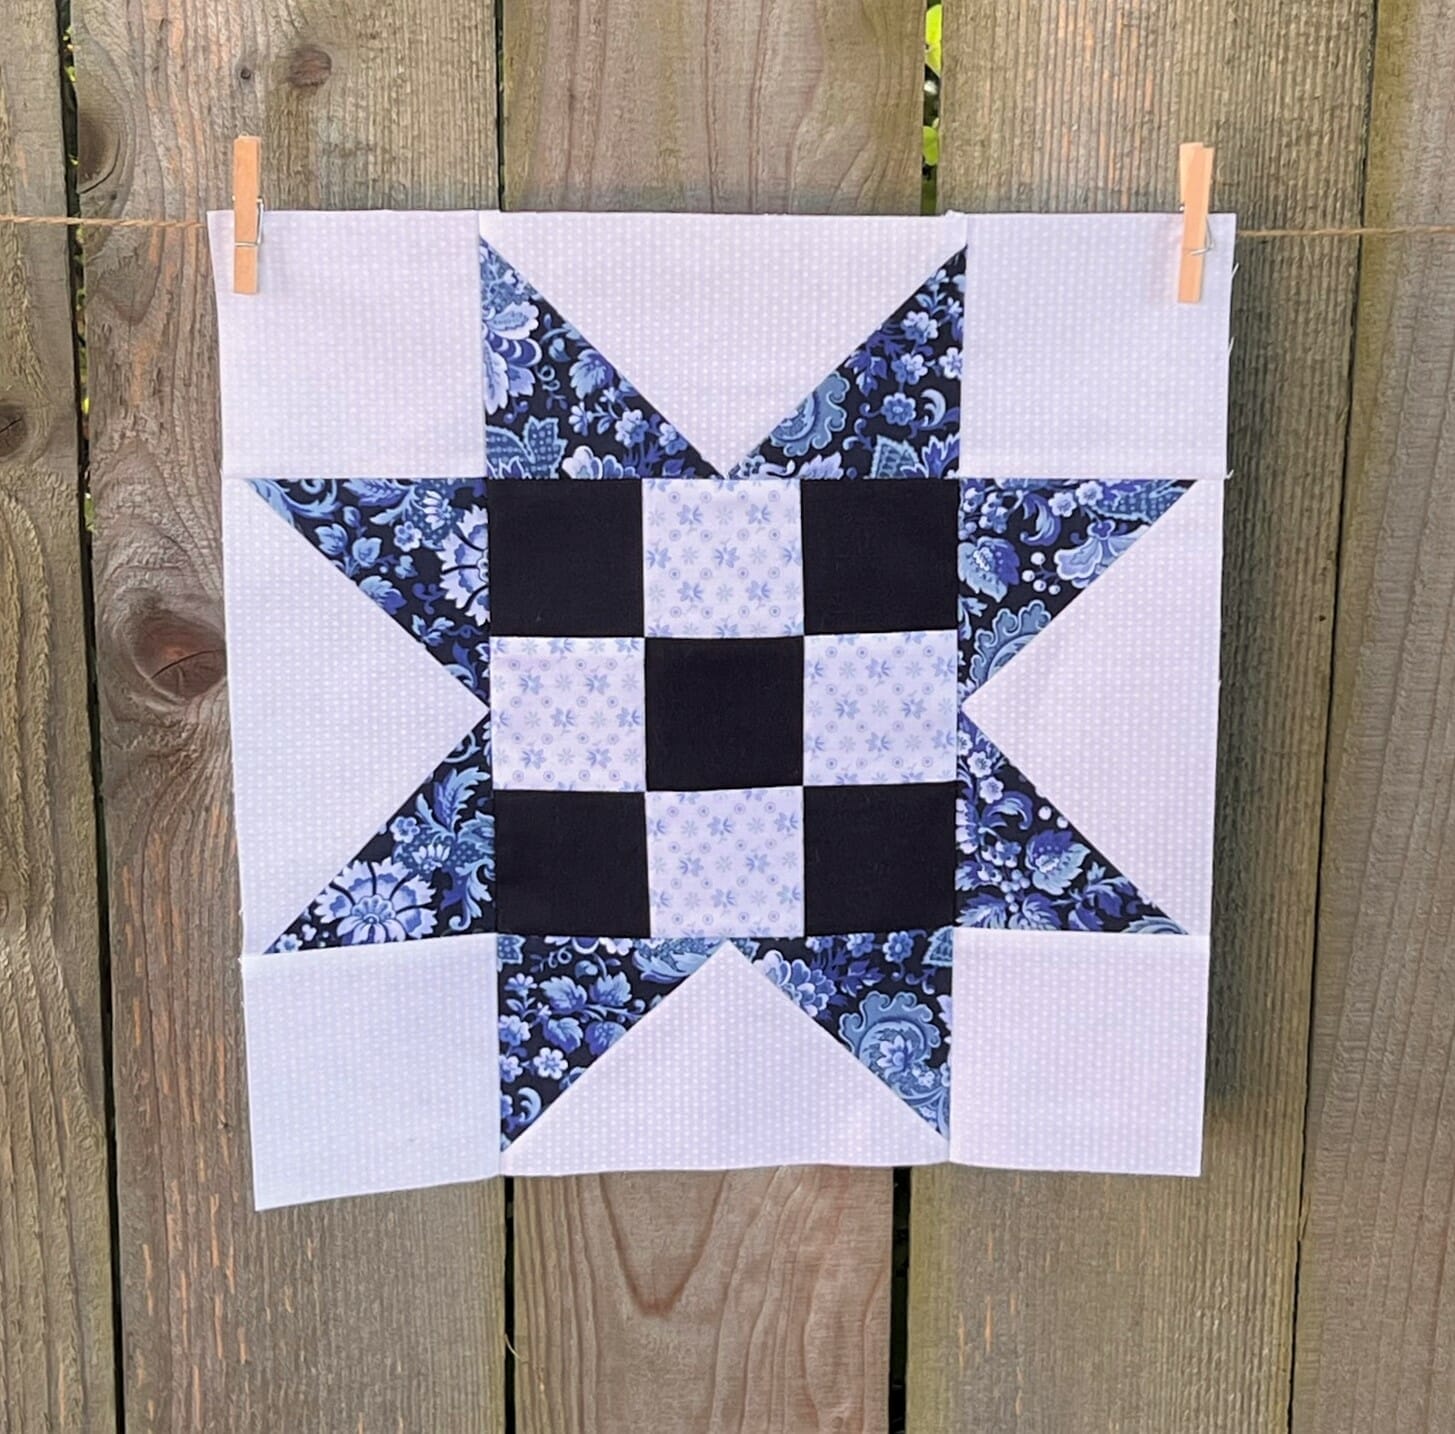
Now we can assemble and get this block finished! Make sure you’re following the diagram and the photo below. You want those lighter blue C rectangles to frame the center A square.

Block #14
This block is a simple 9-patch sewn into a Sawtooth Star block, and it comes together quickly. I love this block, because I love star blocks, and I love checks in my quilts, and this has both!
The first thing we’ll do is to sew the A and B squares into the 9-patch unit, ironing all the squares toward the Navy fabric.

Next we will make our no-waste flying geese units. We’ve already made these in previous months, so I won’t bore you with a lot of the same information. Feel free to refer to earlier blogposts if you want some extra reminders. Here’s a couple photos of that process this go around.

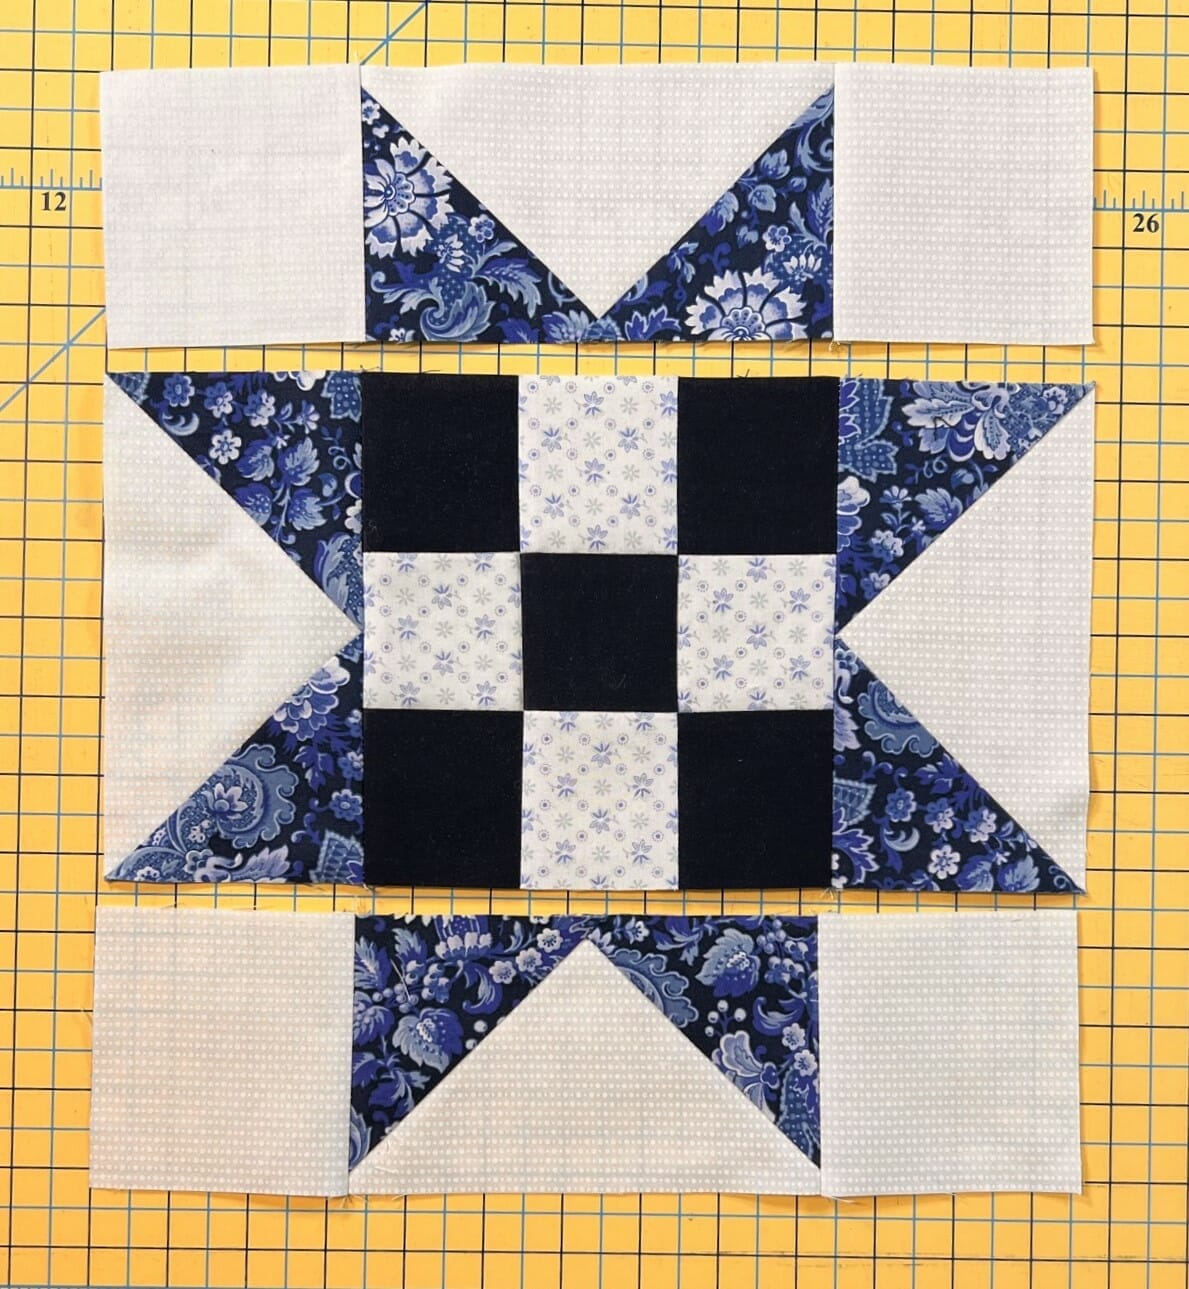
After those are sewn and trimmed, it’s time to lay everything out and sew the units together. You can see below that I’ve sewn the three rows together, so all I have left to do is attach them to one another to finish the block.
See how easy that was? I could make a whole quilt of these!
Block #16
Our next block has what my dear friend calls the “dreaded’ square-in-a-square unit for the center. She is not a fan! But I promise they aren’t anything to fear, especially if you follow these tips:
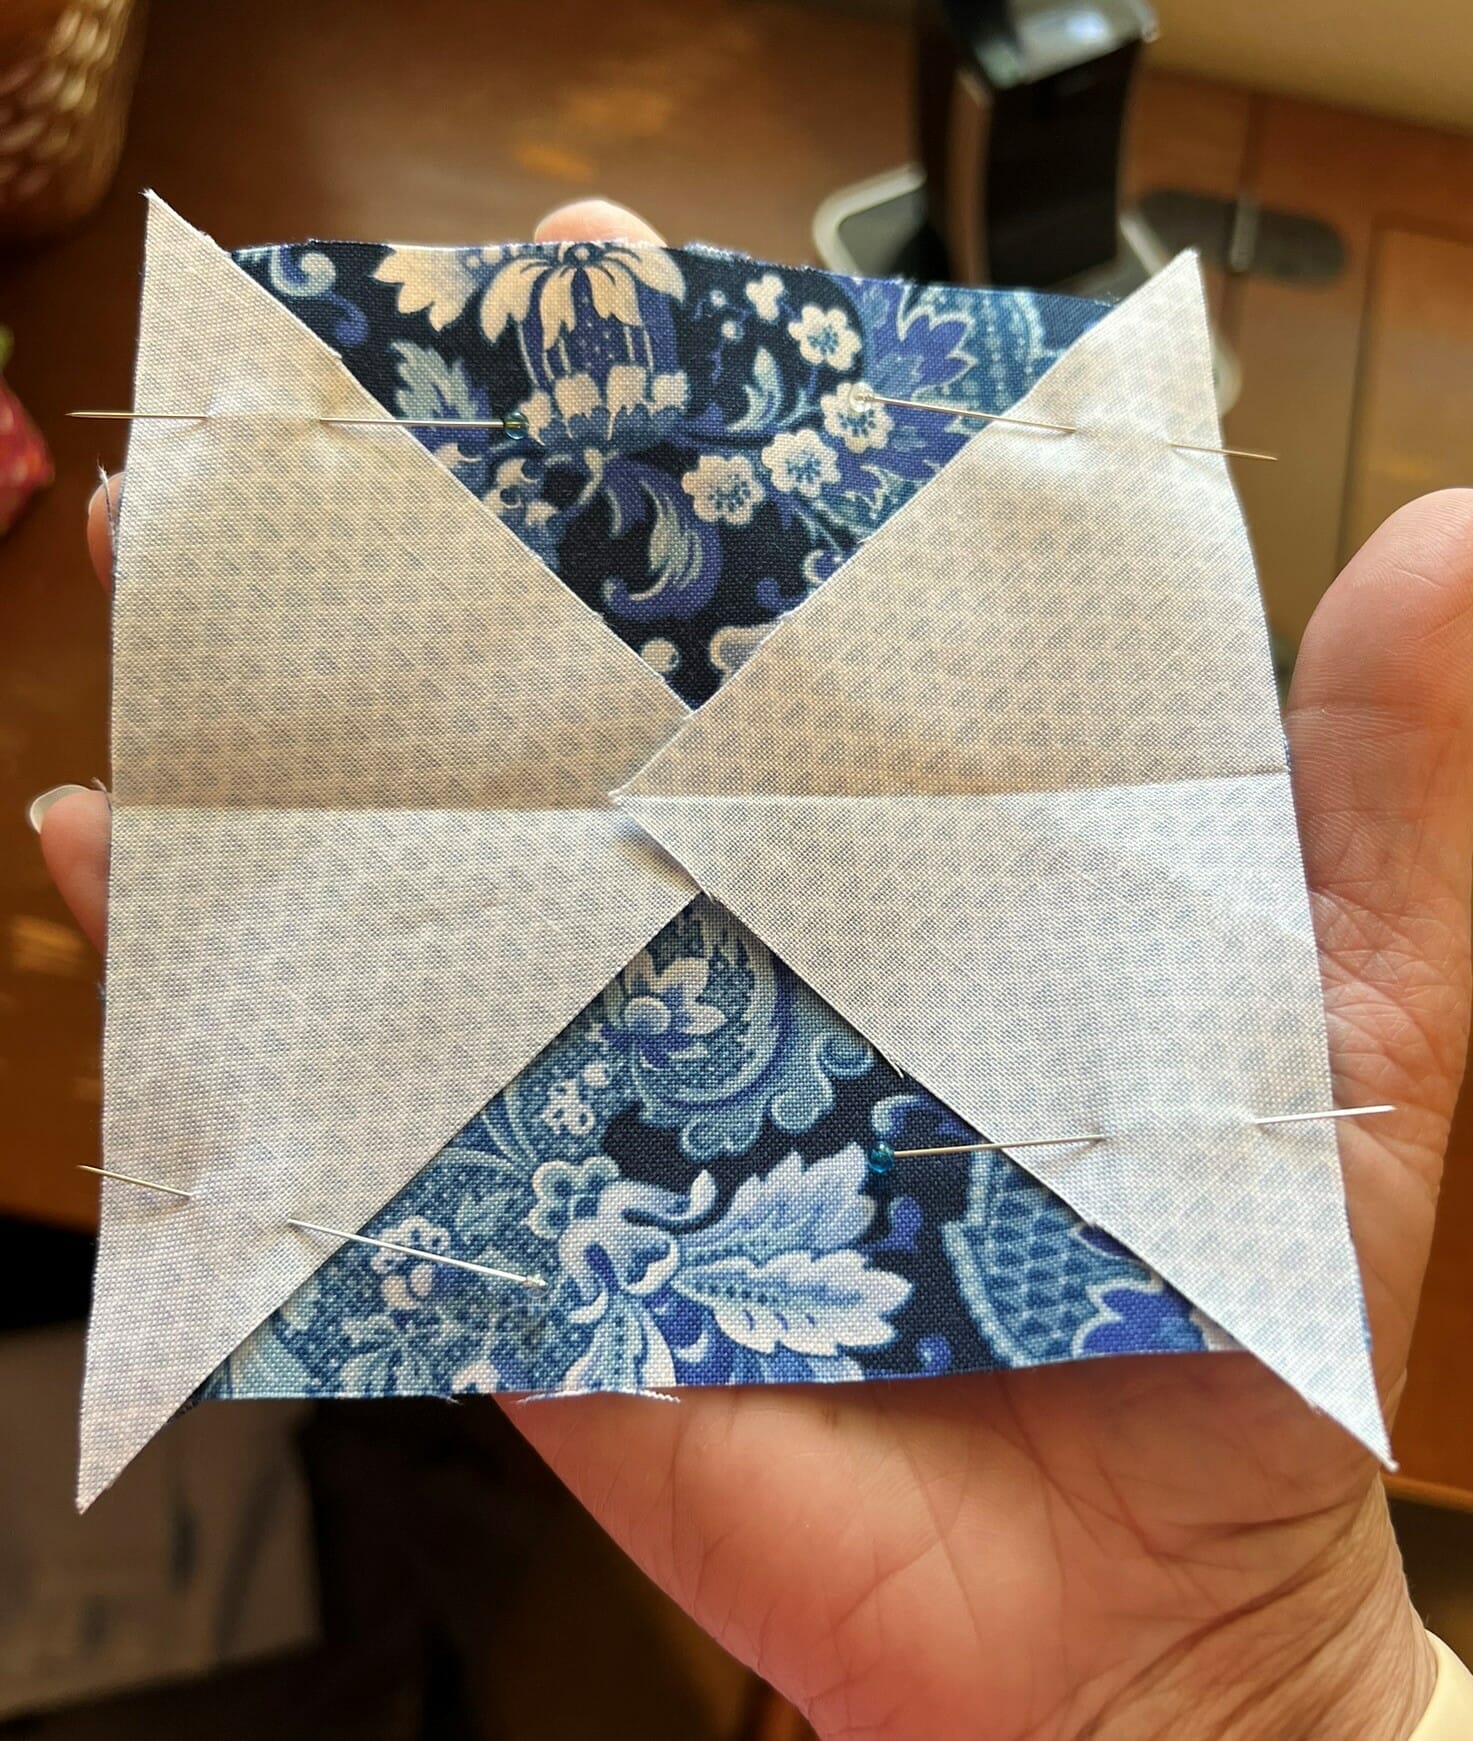
Probably the most important aspect of getting these right, besides accurate cutting, is to make sure that you’ve properly centered your triangles to the square before sewing. To do this, I fold BOTH my square (A) and my triangles (C) in half and finger press, which creates a seam down the center. Then I match up the fold lines, which naturally centers the triangles to the square.
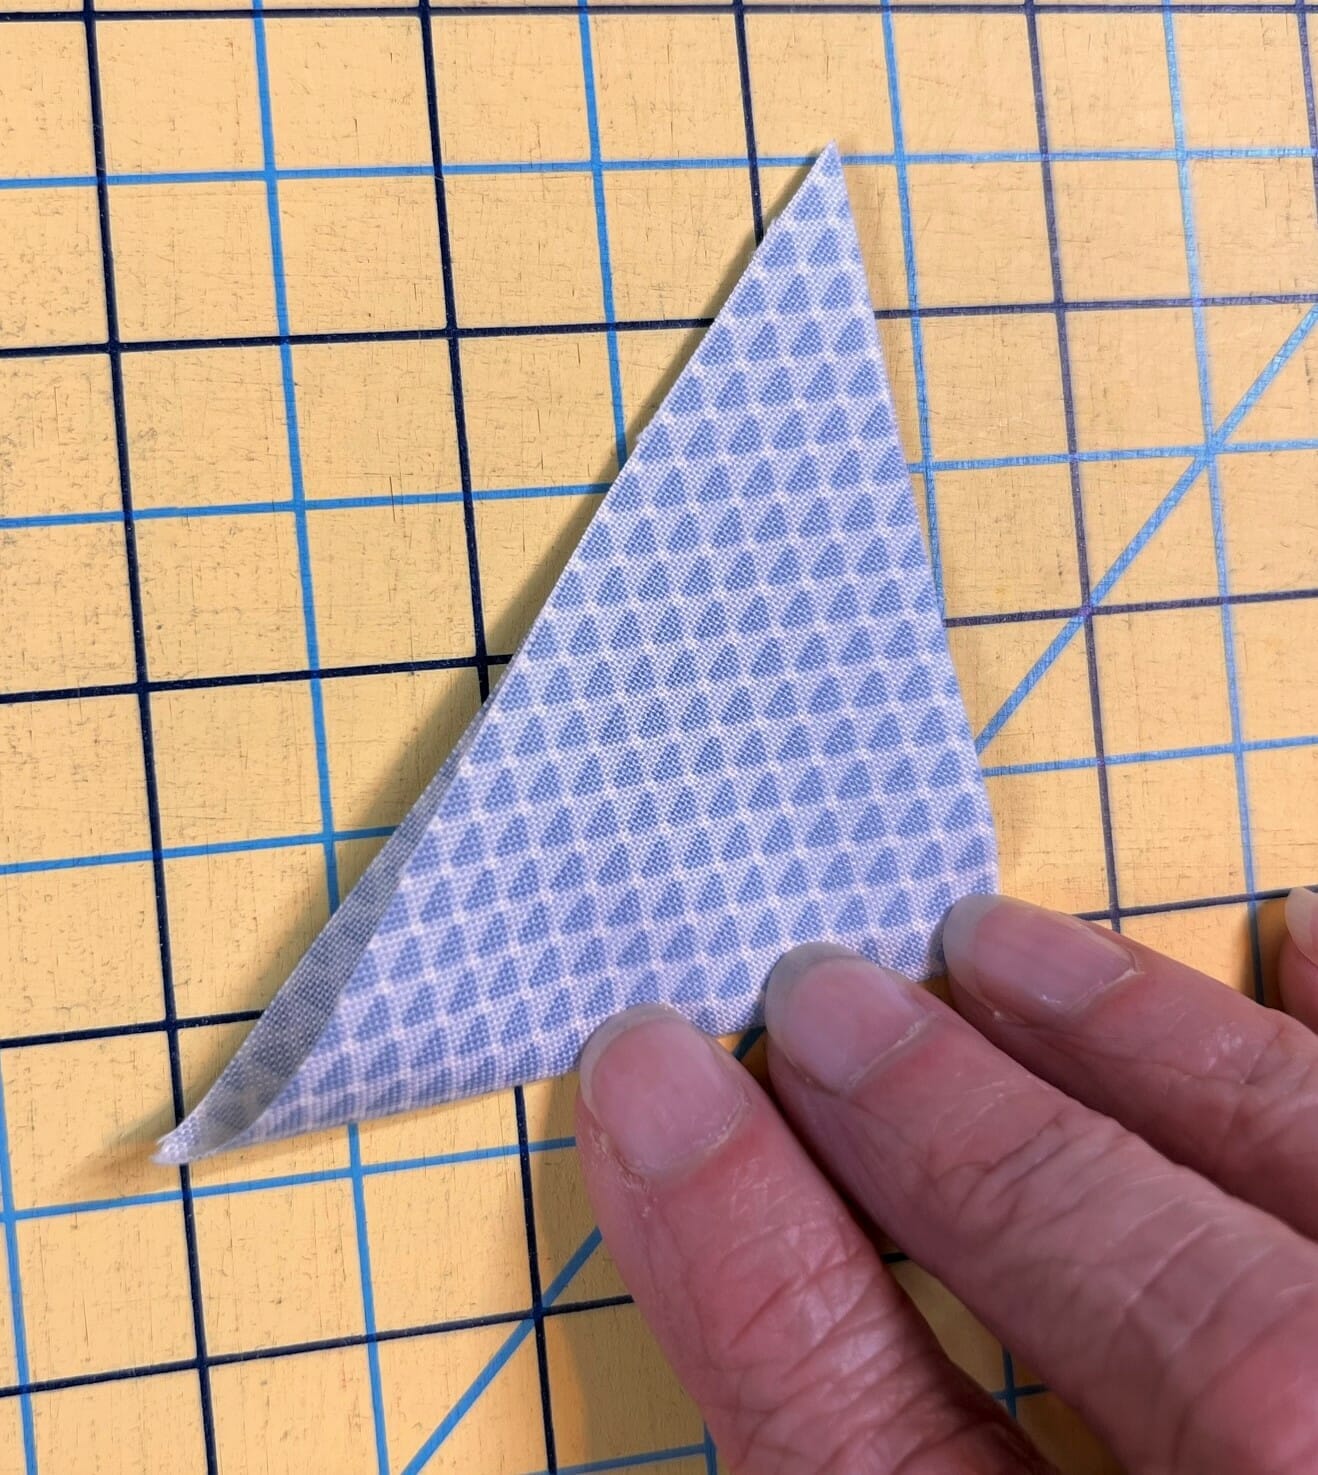
It’s hard to tell from this photo, but there is a crease line on the A square, which lines up perfectly with the crease line on the C triangle. Now all I have to do is pin this in place.
I also like to sew these two at a time, on opposing sides, and have all the fold lines line up, like you see here:
After the first two are sewn and pressed outward, I’ll re-finger press going the other way and repeat the same process. This next picture shows the creases much better, so you can see how they match up.

I do the same thing for step 2 – re-folding the now square-in-a-square unit, along with the bigger triangles. I tried to show with my fingers where the creases are, but they don’t really show up here. I promise they are there!
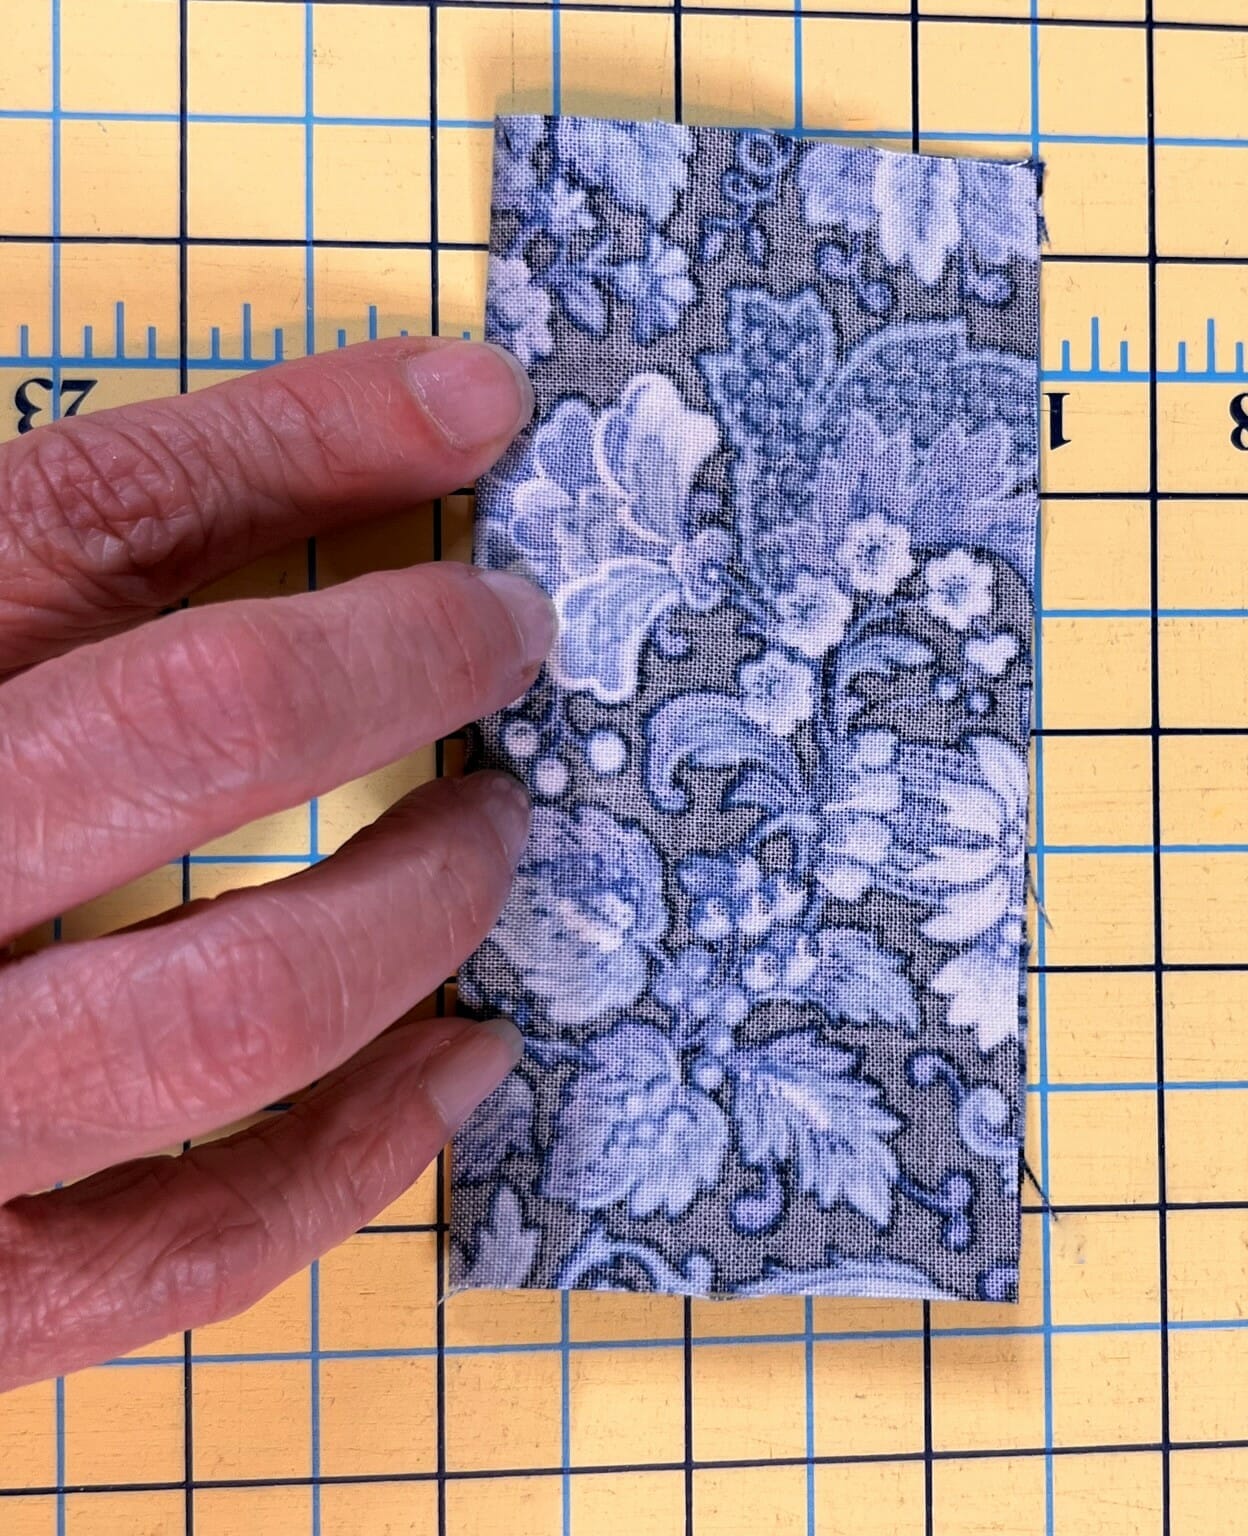
Make sure the square measures at 8-1/2” square when done.
Now it’s time to make some HSTs, just like we did in the last block. I prepped and sewed all of the ones I needed for steps 3 and 4 at the same time. Remember to press all of these away from the Navy solid triangles, to allow the seams to better nest together later.

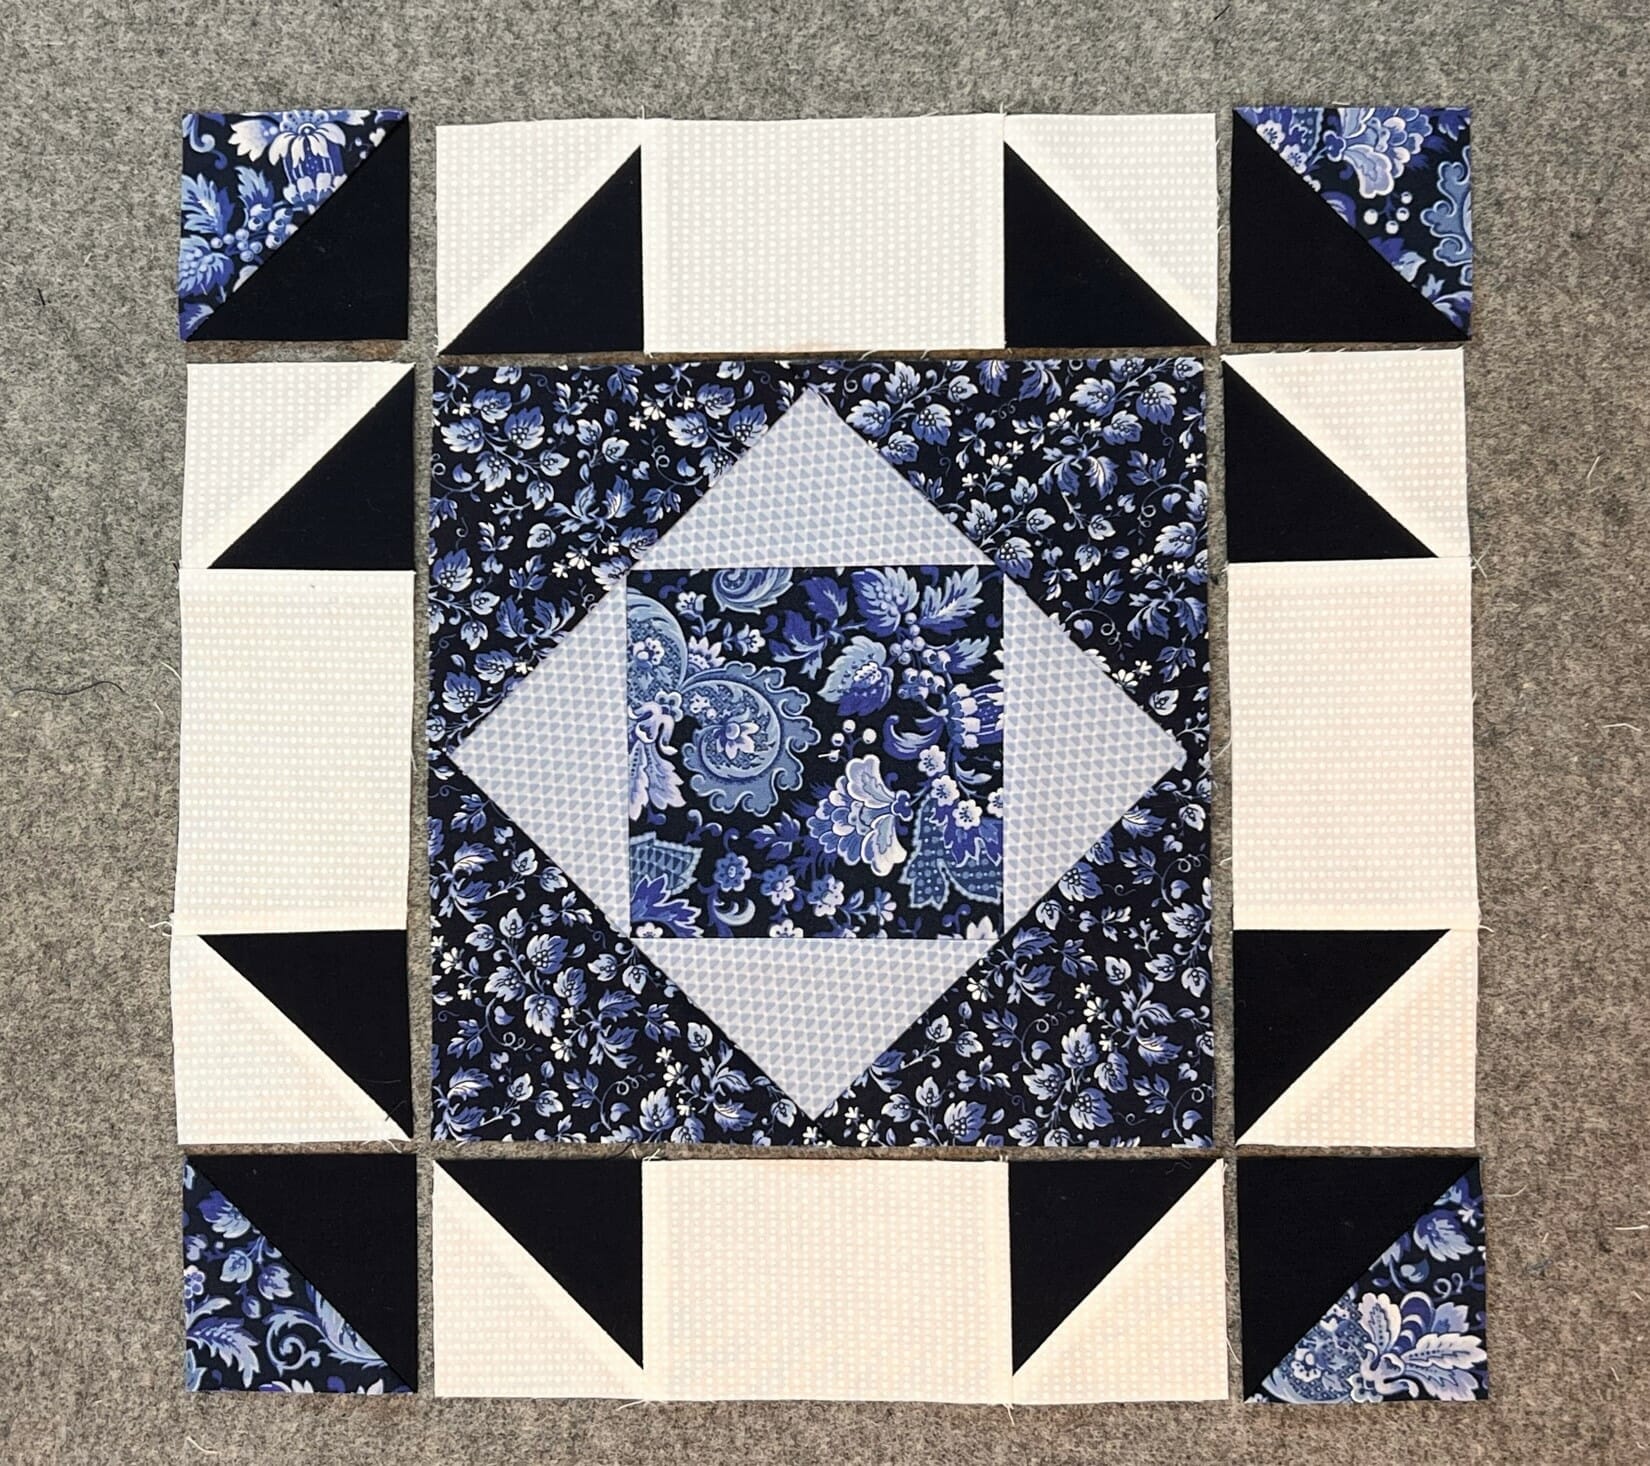
Once those are finished, we will make the four side units for the block, by sewing an E/F square to each side if the G rectangles.

When sewing all the units for this block together, make sure that all of the Navy E triangles are facing inward.
Block #27
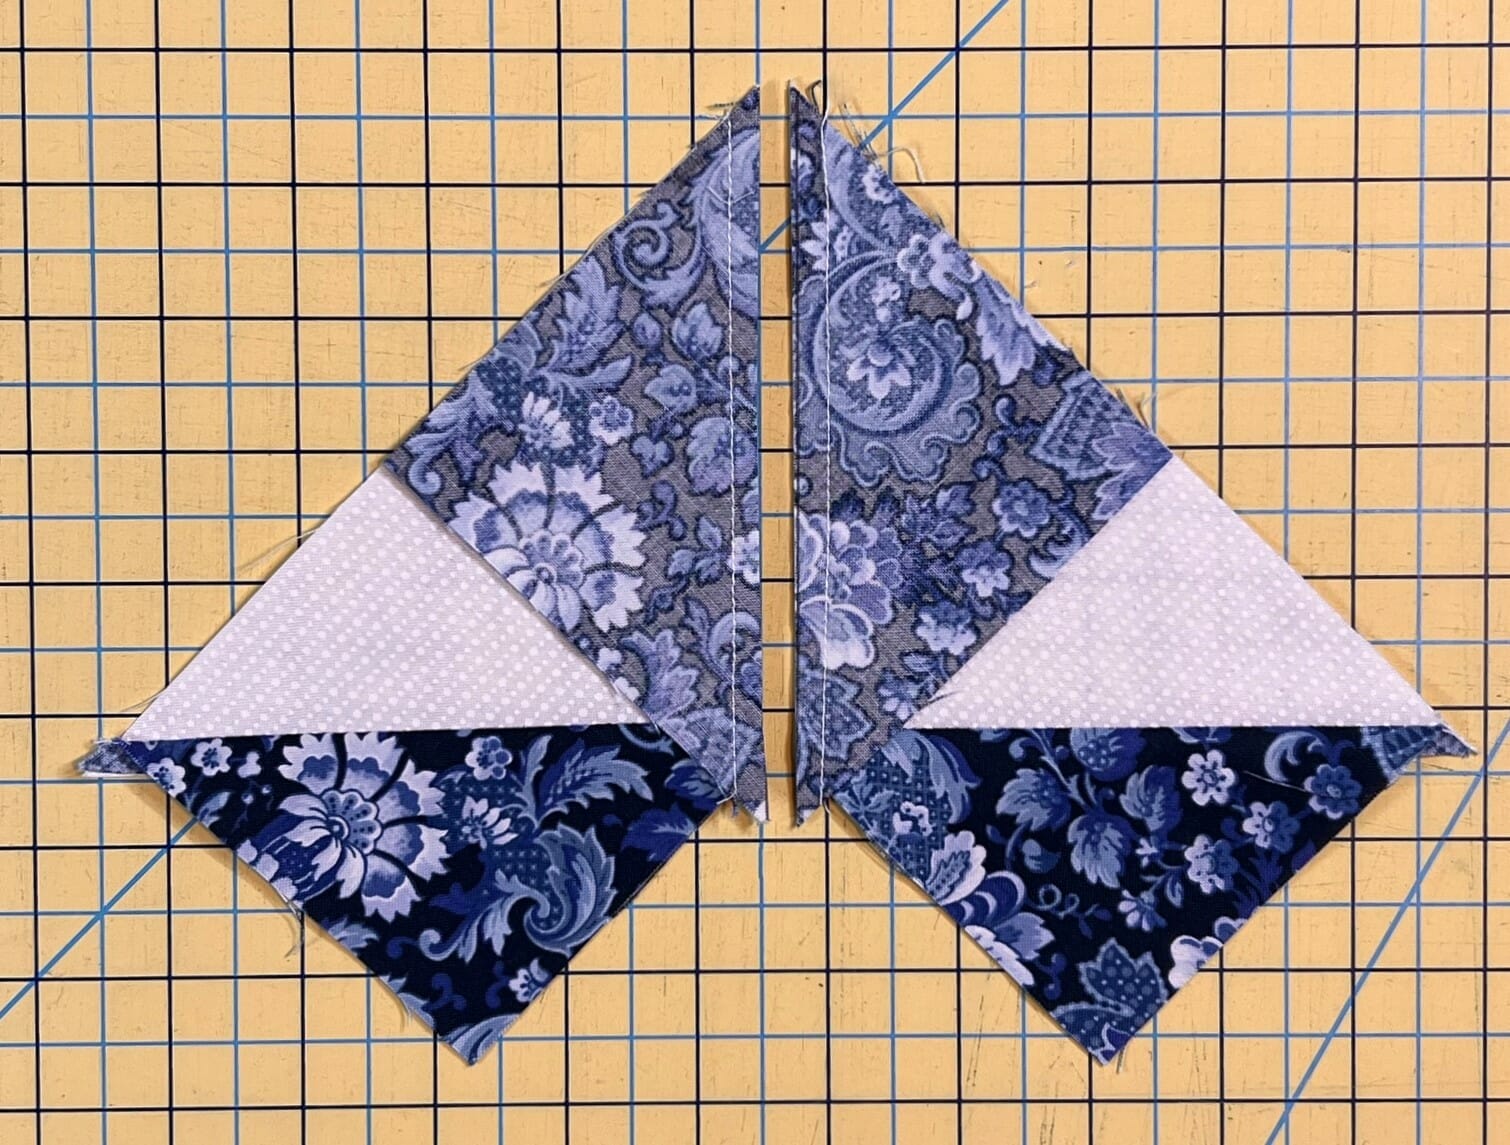
Our last block for the month begins with even more Half Square Triangles, also pressed towards the white fabric. I didn’t realize it until writing this month’s blog, but we did a lot of pressing towards the lighter fabrics this time around, which is unusual. But it’s all on purpose.

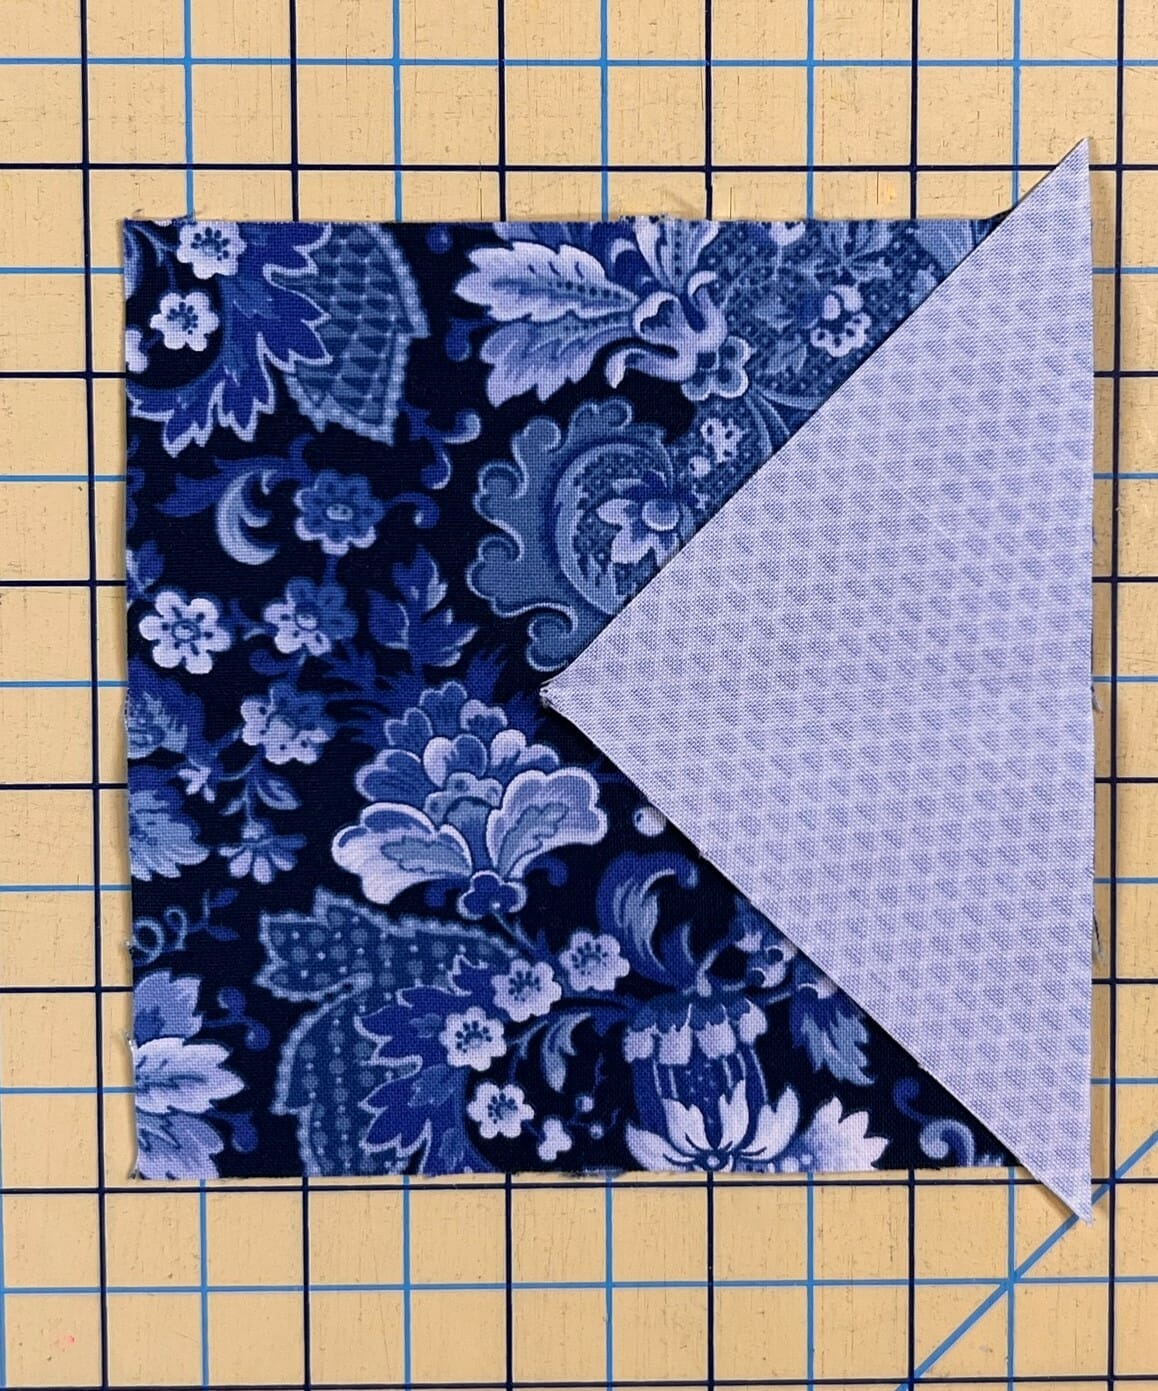
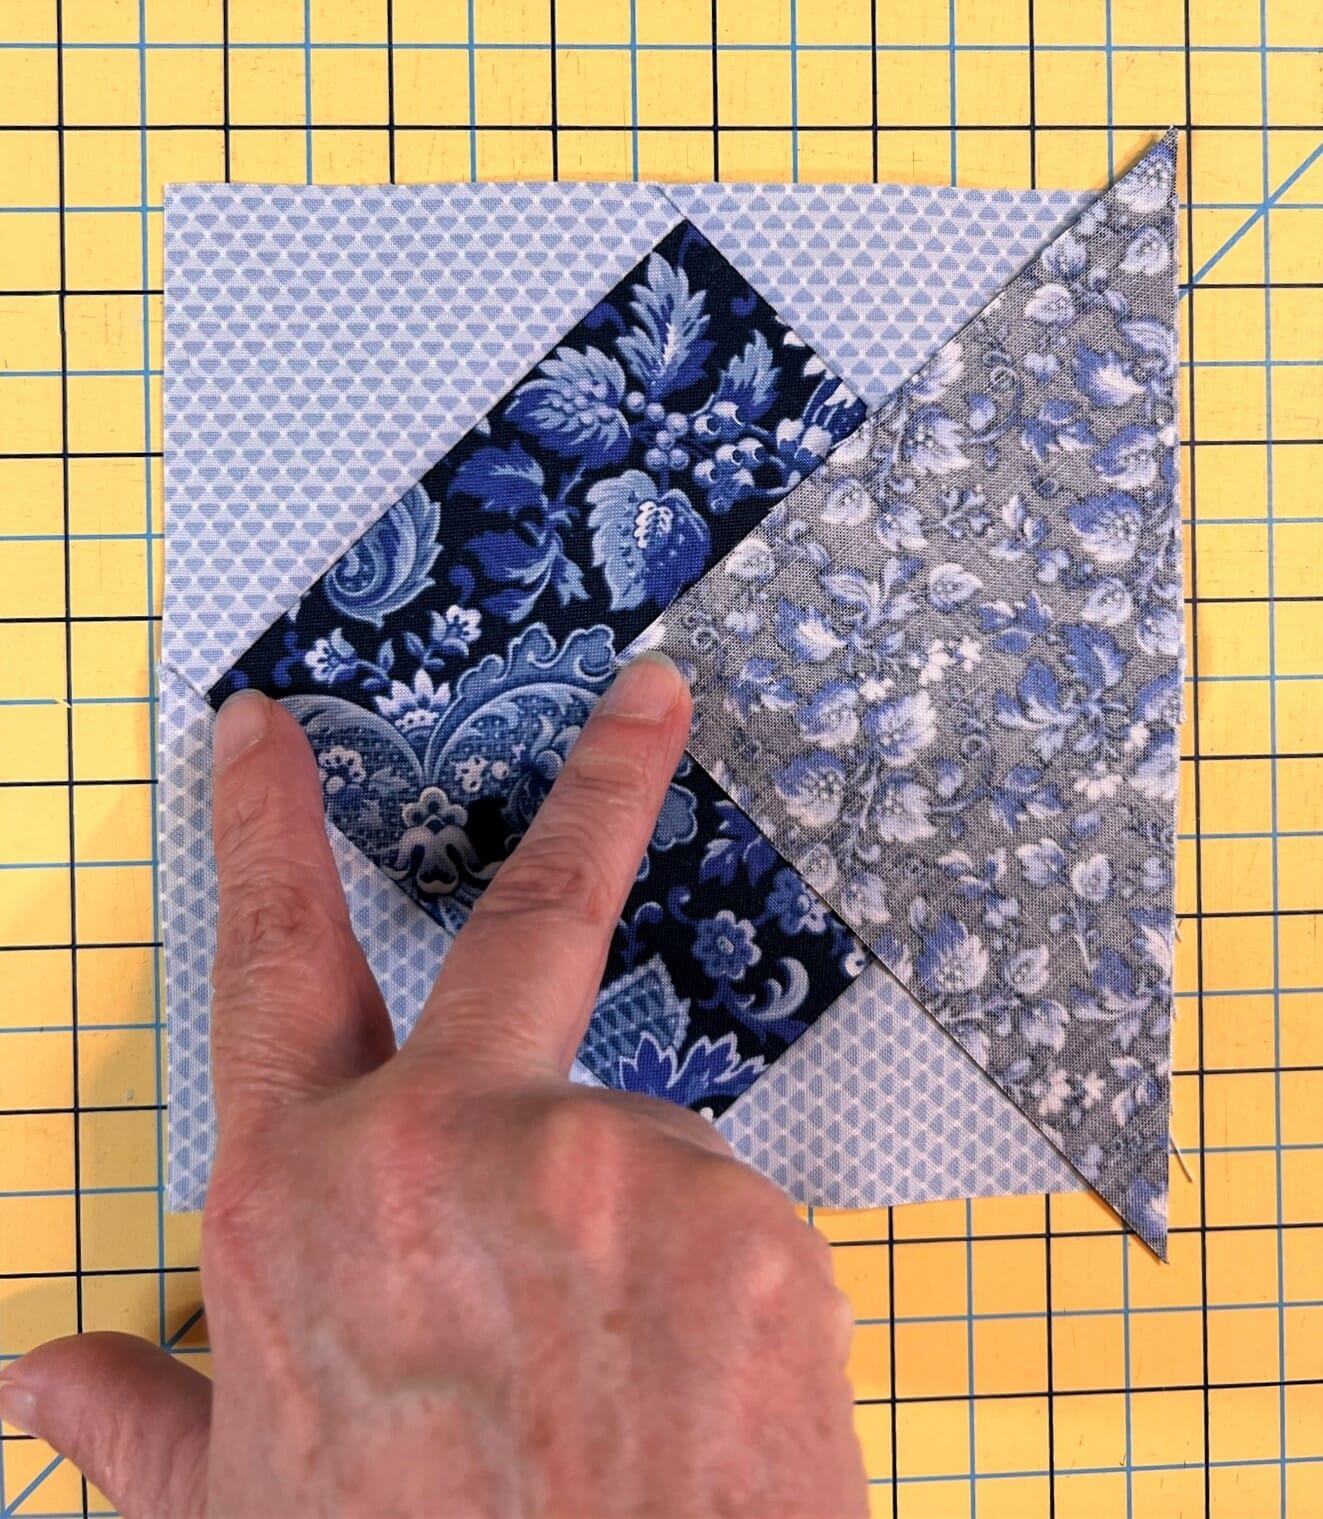
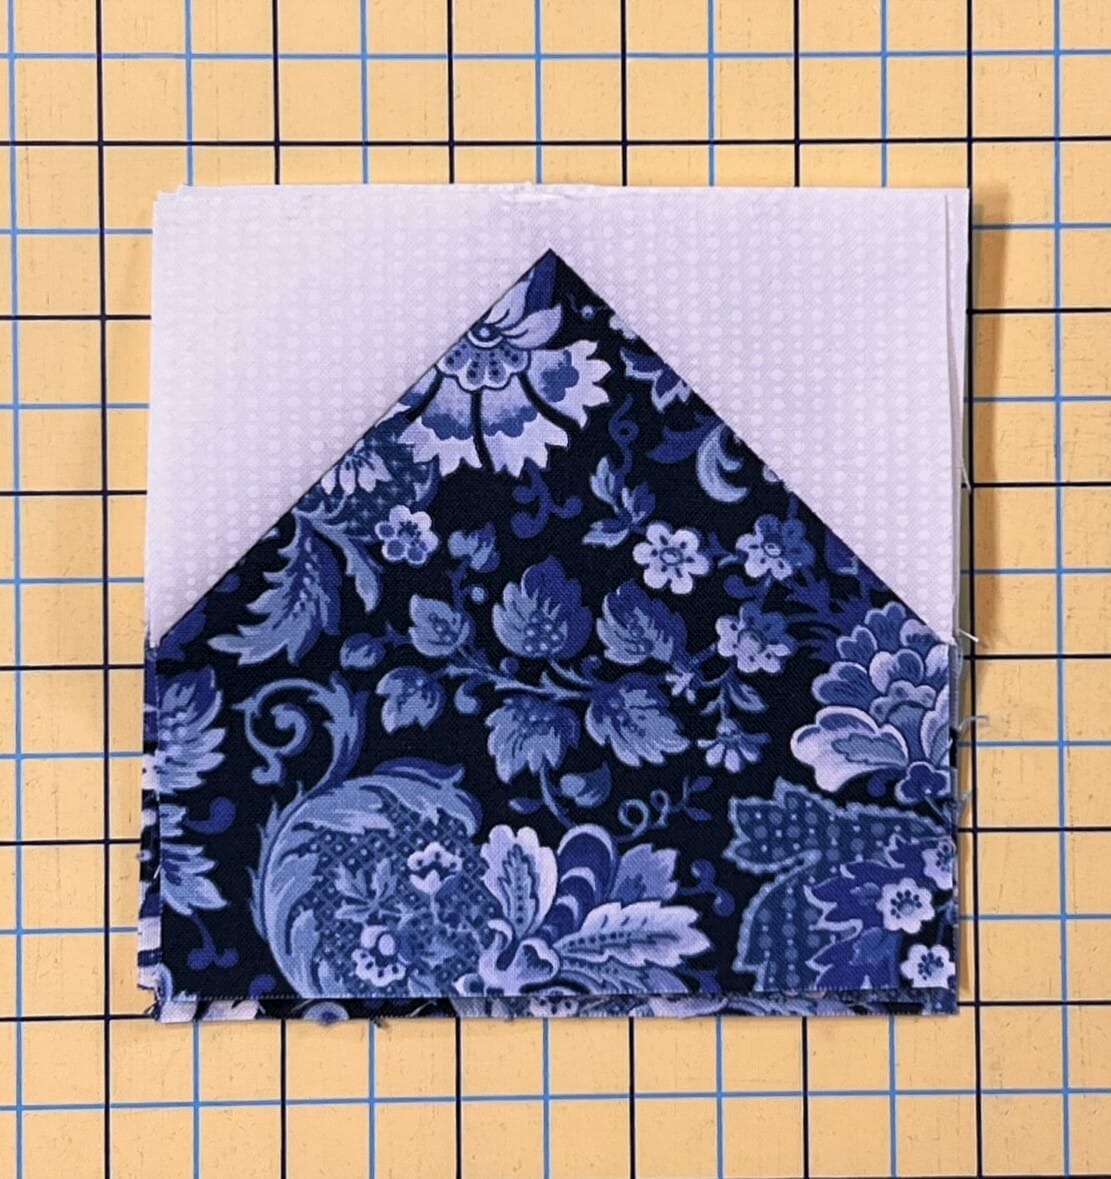
Step 2 will create the large points for the block by using the stitch and flip method to attach two F squares to each C square. I’ve said this in previous posts, but when making units like this, I like to sew just barely outside of my marked lines so that my corners will line up nicely after I trim and press. I also like to check these blocks and trim off anything that has gone a bit wonky. It usually doesn’t happen, but I always place these under a ruler and check.


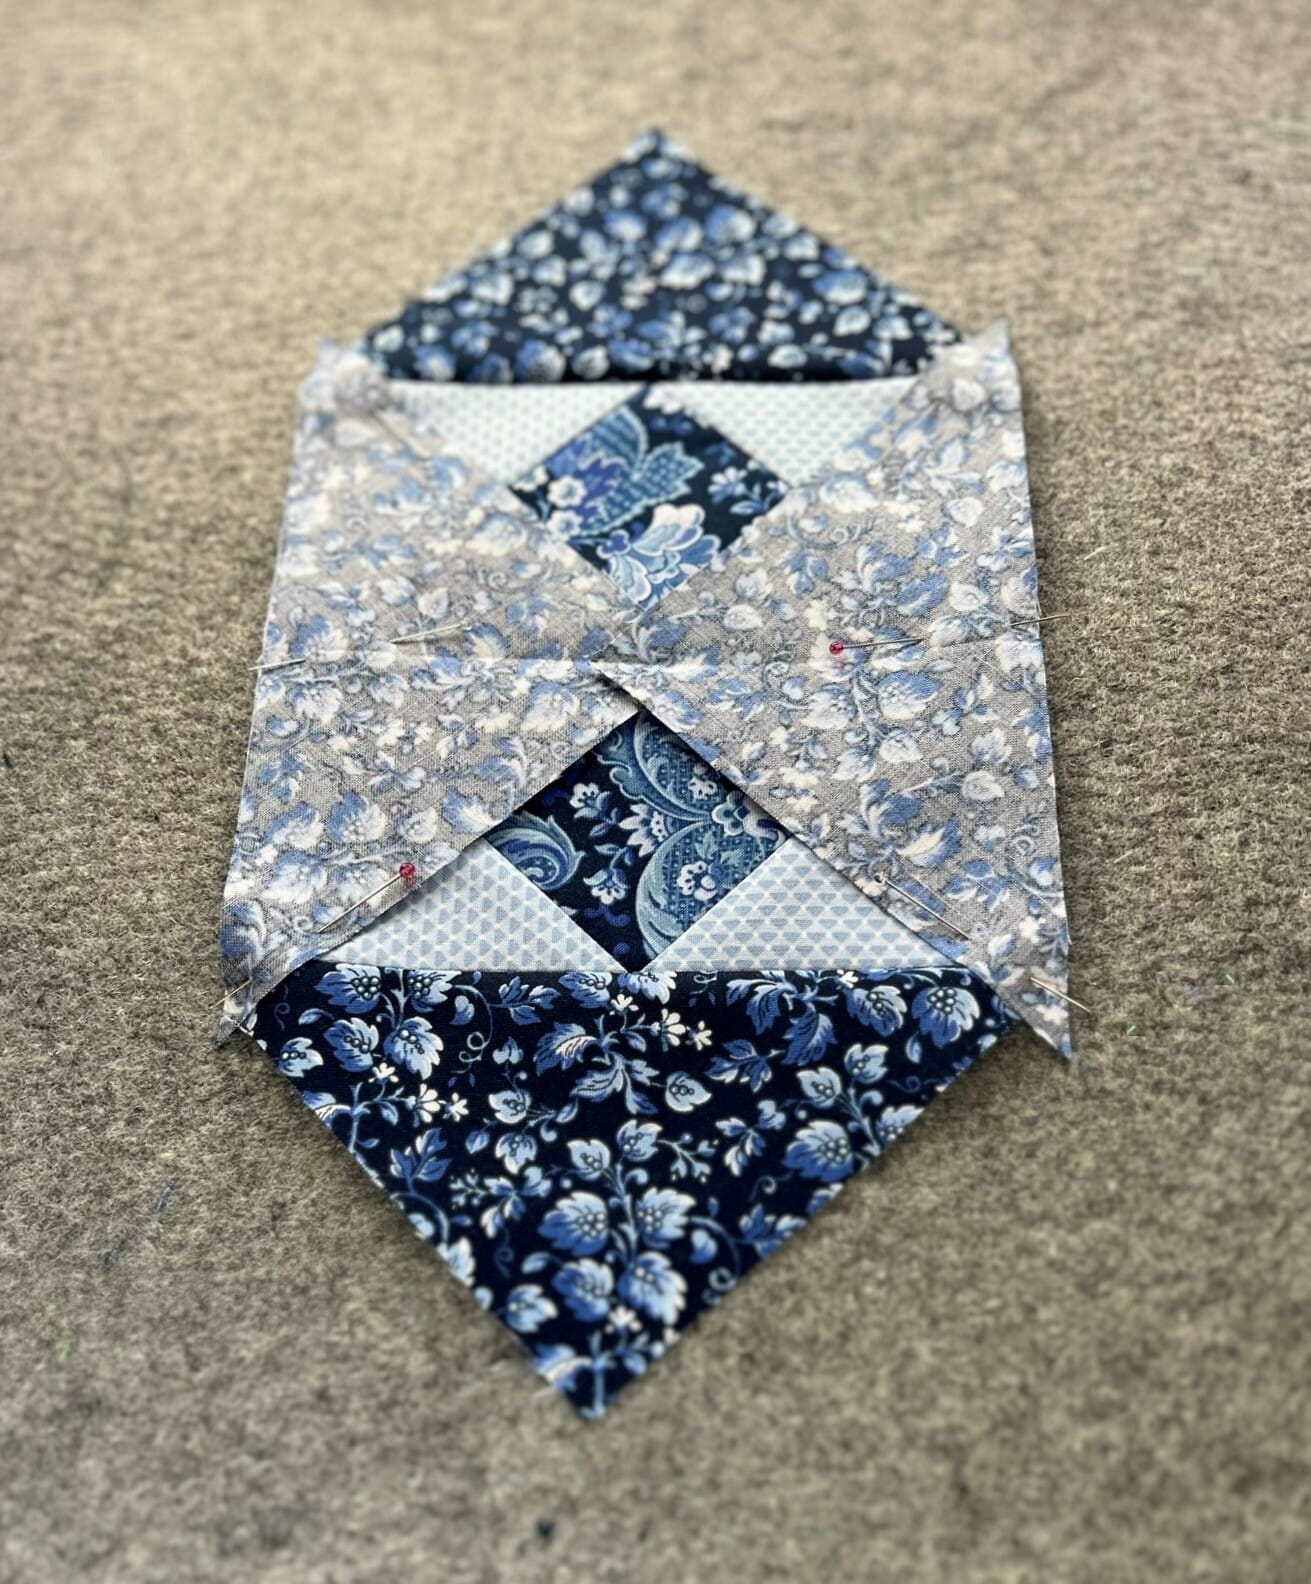
The next step is to use those HSTs and make four 4-patch units. Make sure the B triangles are pointing inward, just like the pattern diagram shows.
Now it’s time to put it all together. Refer to the photo and the diagram in the pattern to make sure you have everything in its proper place before you begin sewing.

And that’s a wrap! As always, please let me know if you have any questions. My email is on the pattern, and the Facebook Group is always helpful too. I’m not on there as often, but there are a lot of great helpers in the group willing to lend a hand.
Until next time, Happy Quilting!
-Kristin