


 Tutorials
 7.1.2020
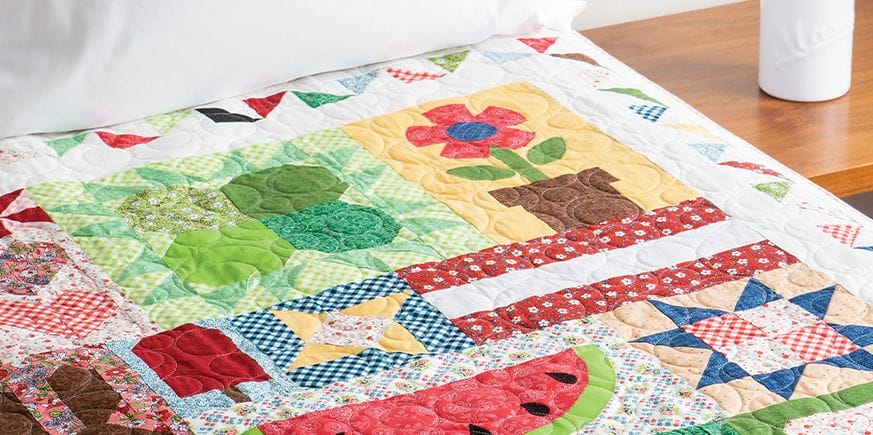
Hello and welcome to the Seasons Block of the Month! I’m so excited to have you with on this 6 month journey as we make this happy little quilt together.
Before we get started I have some important information. I inadvertently left off a few of the pressing arrows in the instructions for this first month (YIKES!). Needless to say, I was mortified, and unfortunately those patterns were already being packed and shipped from the warehouse, which meant it was too late to fix. So if you’d like to shoot me a quick email at thrilledtopieces@gmail.com, I’ll be happy to send you a pdf with the updated diagrams. And please accept my profuse apologies. There is nothing worse than getting a pattern that isn’t all there! And rest assured that I’ve triple checked the remaining months, and all will be well for future installments. So, hopefully we are one and done with any pattern errors!
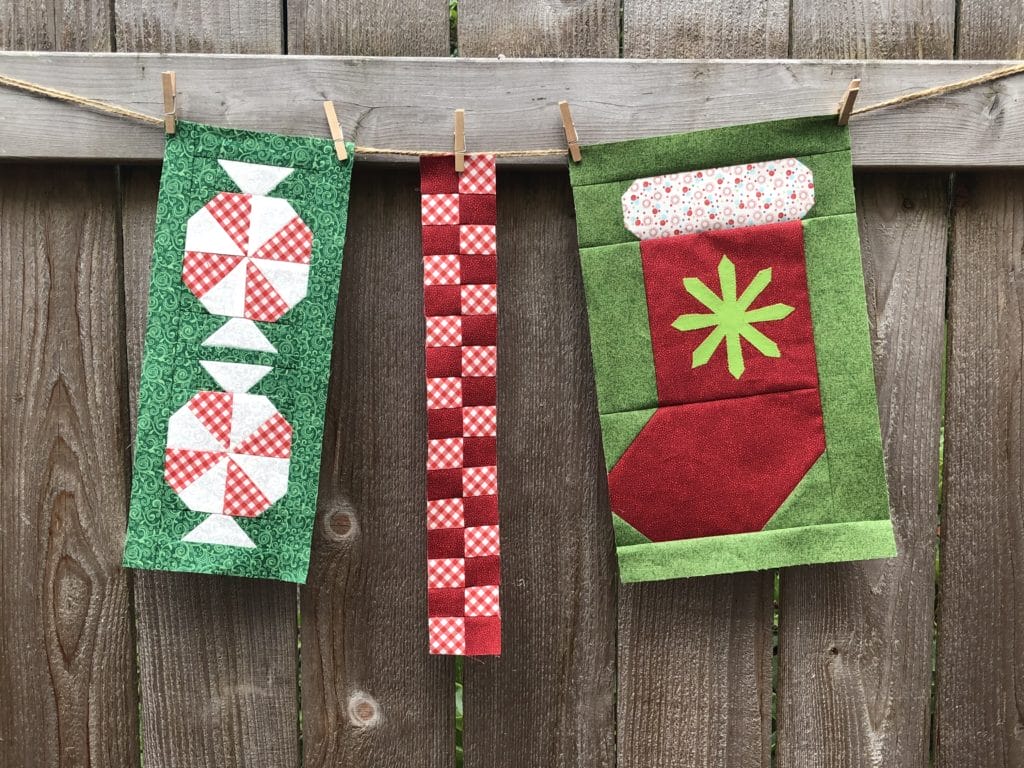
Now on to the fun part! For the first month’s installment, we will be making the Stocking and Peppermint blocks, as well as the checkerboard strip. It’s Christmas in July!
For this stocking block we have a little bit of applique. I know applique can be intimidating to a lot of people, but it doesn’t need to be! For all the applique in this quilt I use Wonder Under to fuse my pieces on to the fabric, and then stitch around with a zigzag stitch on my machine. I thought I would briefly share with all of you how I go about this.
First, I begin by tracing my design on to the back side (paper side) of the Wonder Under. Then I cut around the shape, giving myself some extra room around the design to make sure all the edged get nice and ironed on.
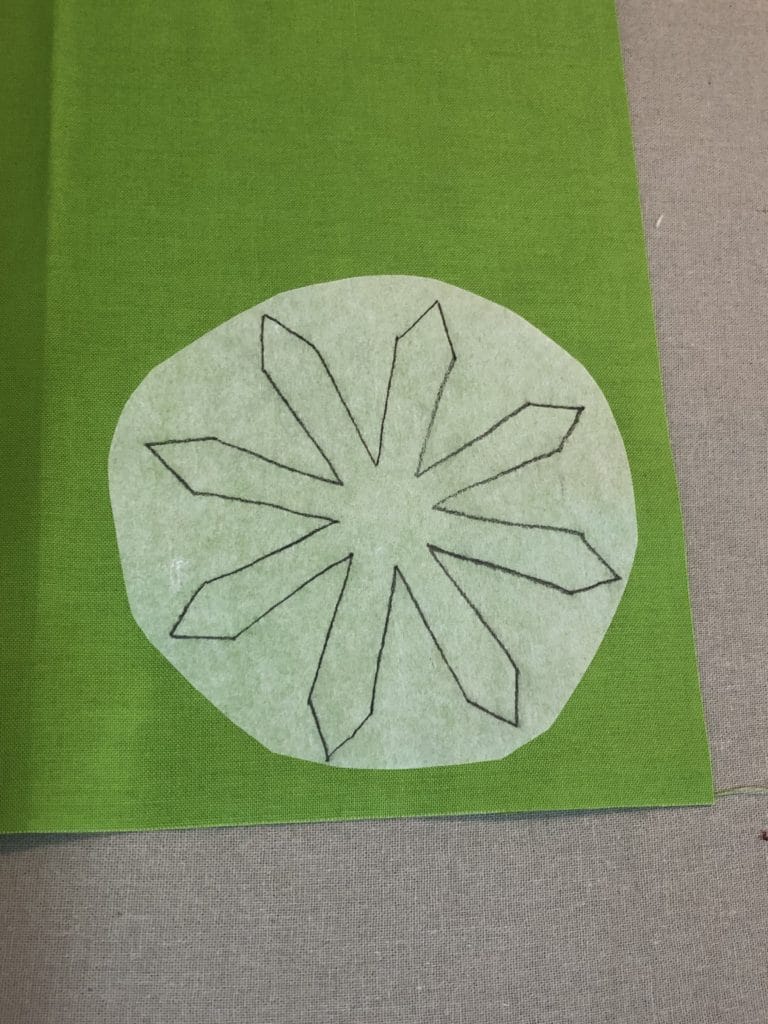
Then I carefully cut out the shape on the marked lines I drew. Somehow I forgot to take a picture of this. I guess I was just too excited to get sewing!
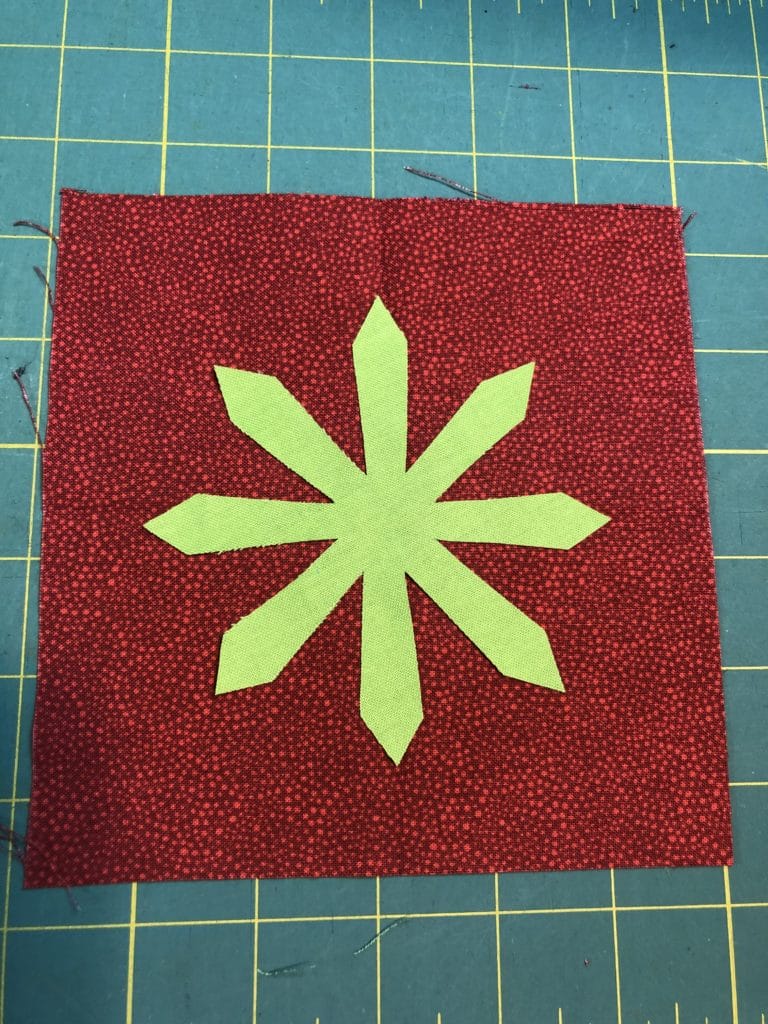
Next, took the K block and folded it in half both directions, finger-pressing a horizontal and vertical seam to find the center of the K piece. This helped me to make sure the snowflake was centered properly.
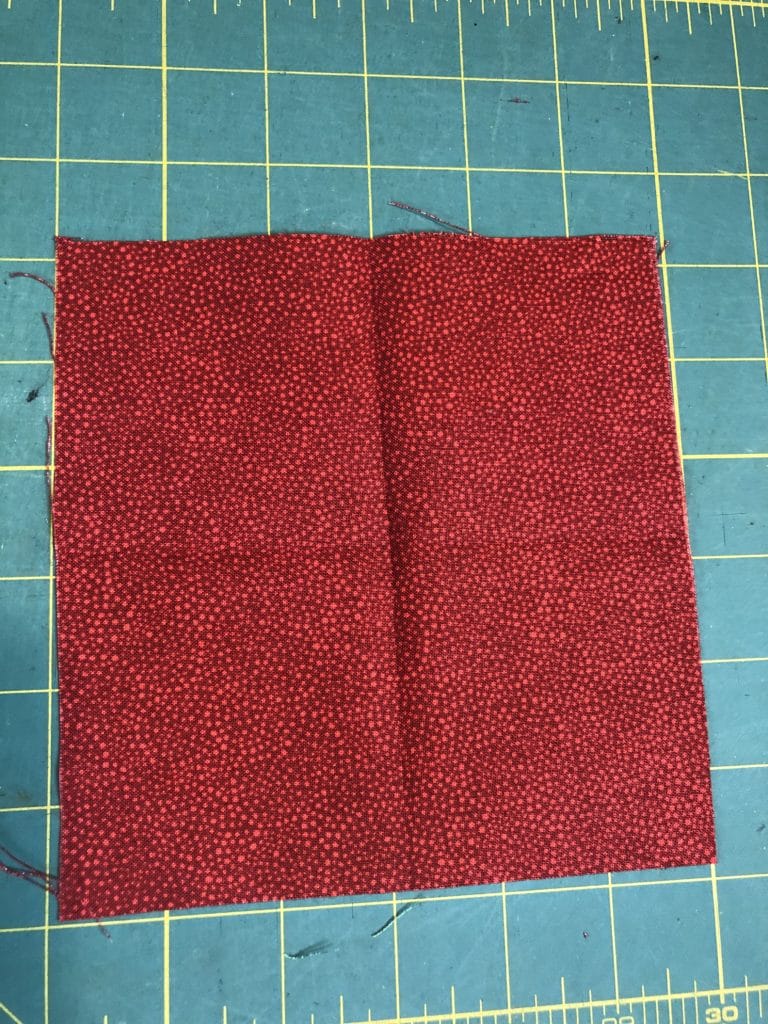
Now I can place my snowflake on the center and iron it in place.
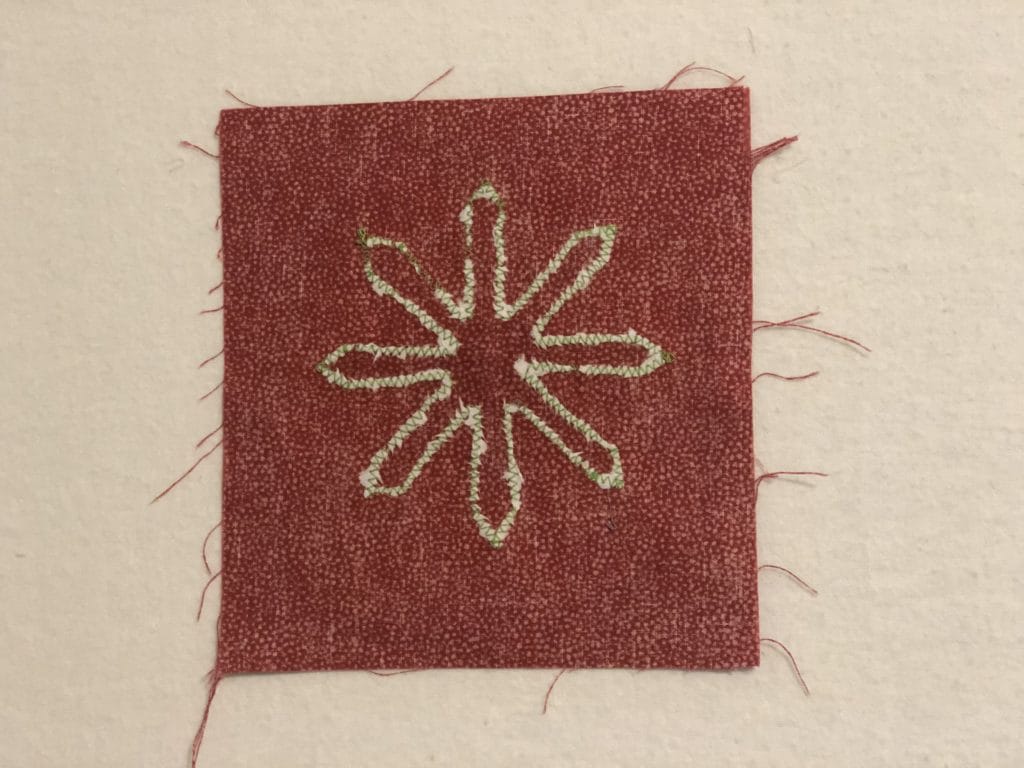
Also, I use a bit of freezer paper for stabilizer on the back before I begin sewing. I simply iron the shiny side of the freezer paper to the back side of the fabric before I begin stitching.

I usually go VERY slow on my machine, sometimes even turning my machine wheel by hand to make sure my stitches go right where I want them to be, especially when I get to the sharp turns.
Then when I’m all done, I GENTLY remove the paper. If I’m having trouble getting it off, I spritz the paper with a mist of water and then it picks off pretty easily. As you can see, there is still some residual paper on the back, but it’s just fine to leave it like this. No one will ever see this ugliness when it’s all done!
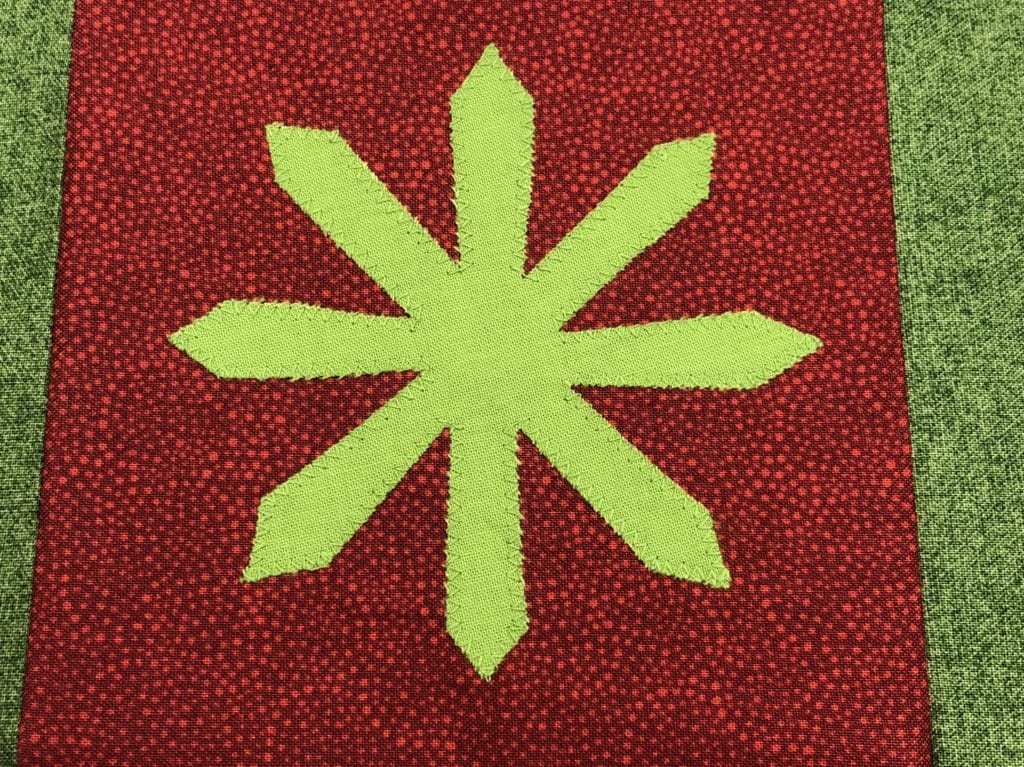
And now your applique is finished! Yay!
I also thought this little snowflake would look darling if it was hand stitched with a blanket stitch using white embroidery floss. But I figured I’d better stick with what I did in the actual pattern for all of you. But I was tempted….! Anyway, on to the rest of the stocking…
The rest of the block is pretty straight forward. I know those little corners on the stocking cuff are small, but it was a necessary evil to get the proportions I wanted.

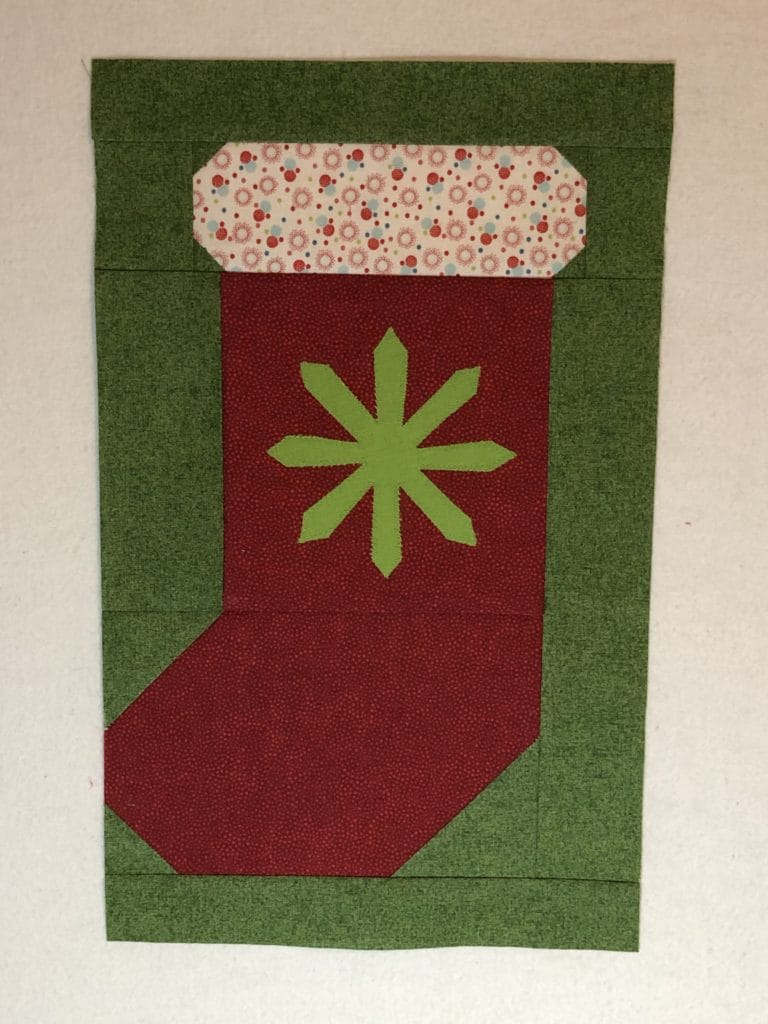
Hooray! You just finished the Stocking Block!
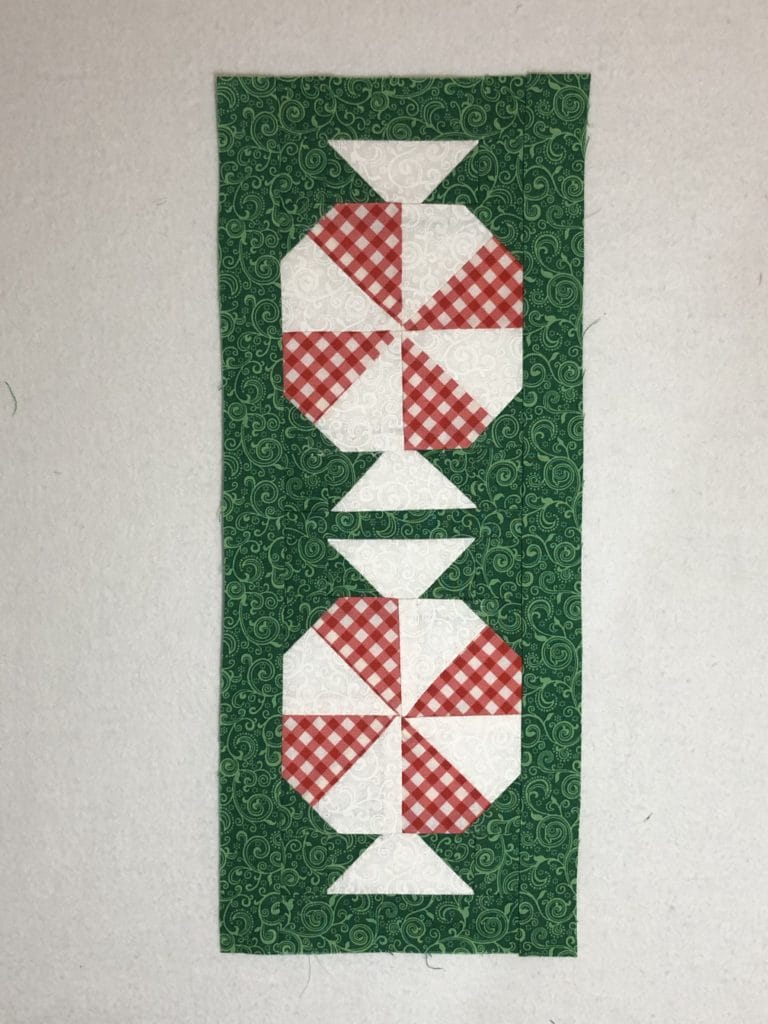
I love these cute little peppermints! (I guess that’s why I designed them, lol!) They would be so fun to make on their own as a cute little Christmas pillow too.
Here is a photo of the steps for sewing the peppermint wrapper ends (step 4 for this block). Don’t they look like they are just poorly sewn flying geese? Don’t worry! This is exactly how they are supposed to look and the finished product will turn out just fine, I promise! If you don’t believe me, refer to the picture above. 🙂

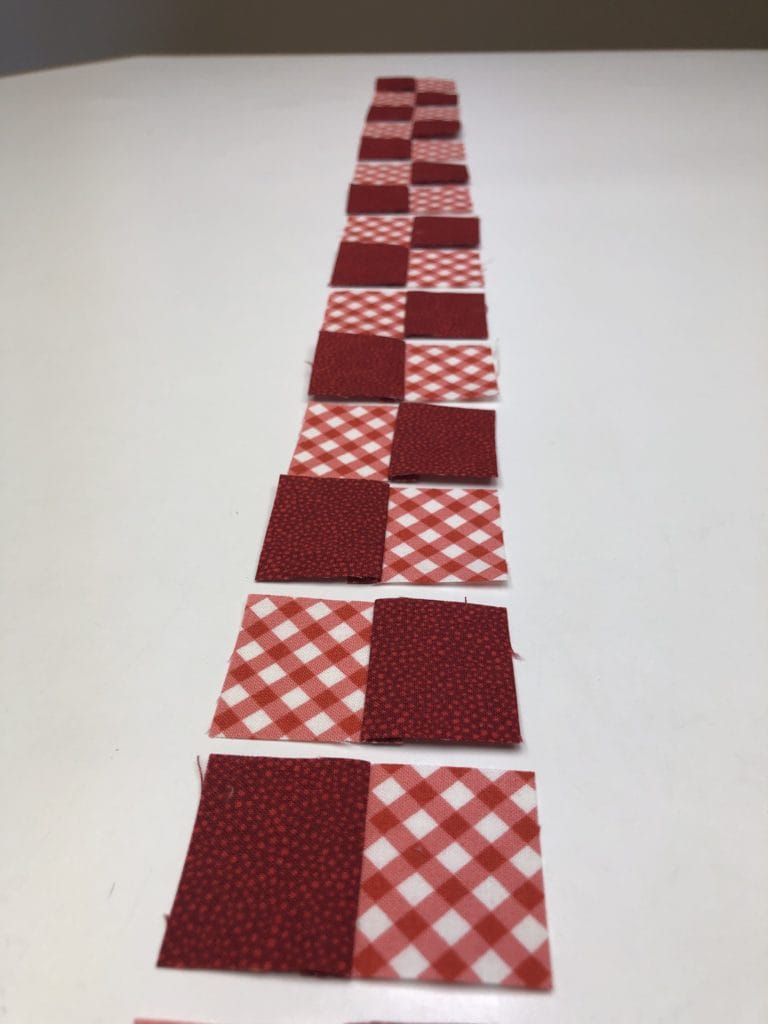
And finally, the checkerboard row. I always love me some checks in a quilt, so I found a way to sneak these in.

I hope you enjoyed making these blocks with me. Thanks so much for popping by, and be on the lookout for Month #2.
Happy Quilting! – Kristin

