


 Tutorials
 8.5.2020
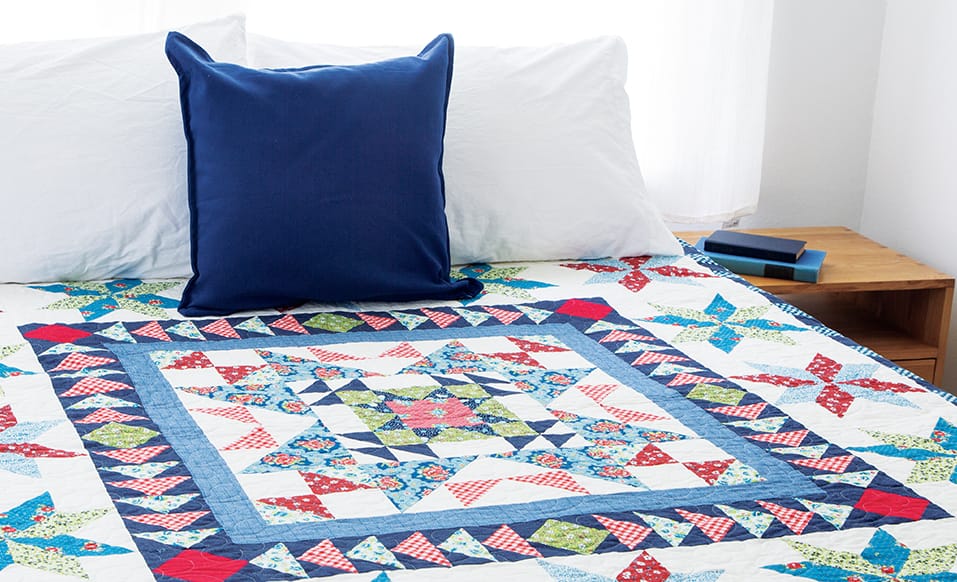
Hello and welcome! My name is Kristin Gassaway, and I’m the designer of the Annabelle quilt sold here at Connecting Threads. I’ll be posting tips and updates as we make this quilt together over the next 9 months.
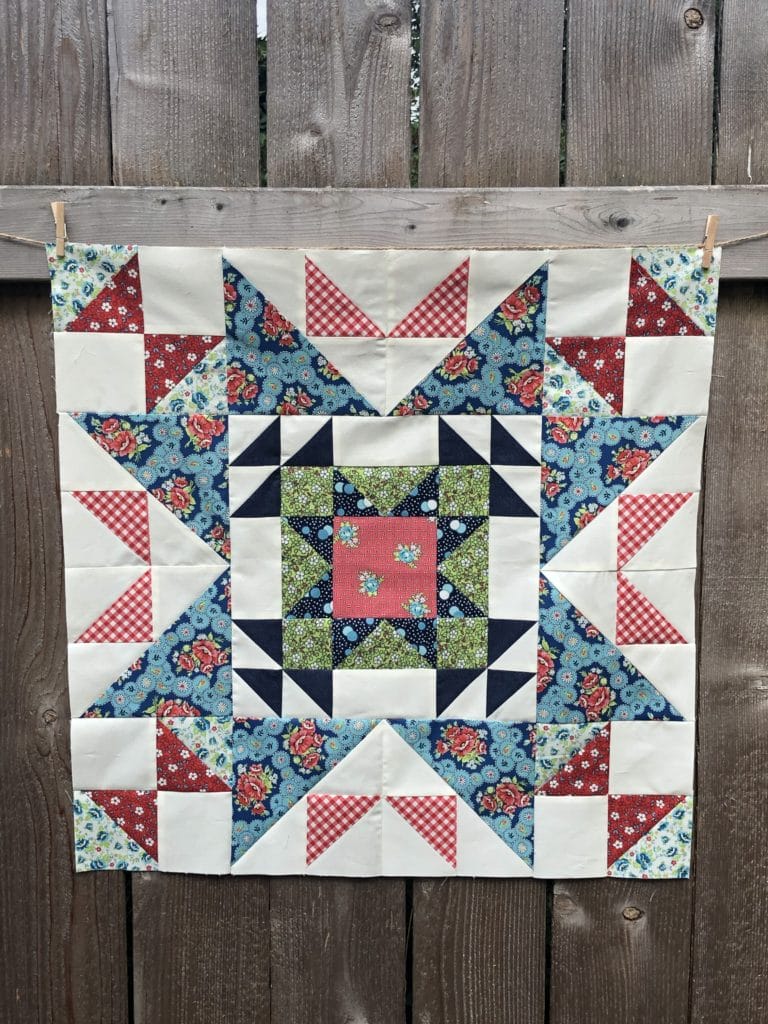
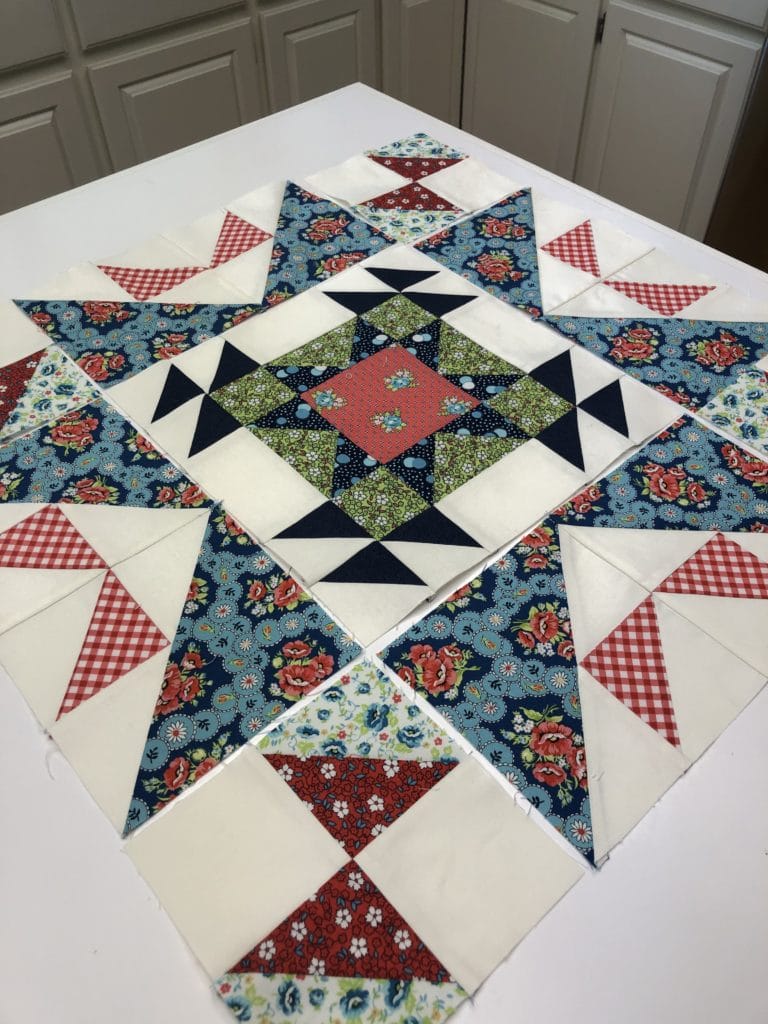
For this first month we will start with a *bang* by making the center medallion portion of the quilt. This will probably be the most technically challenging part of the quilt, so everything should be smooth sailing after this.
I like to make no-waste flying geese whenever possible, and since we will be making A LOT of them over the next 9 months I figured I’d give you a quick photo tutorial of the process.
Before we begin I have a quick tip: After years of frustration in getting my pieces to be the “perfect” size while quilting, I finally got smart! Now whenever I’m making flying geese or half-square triangles, I cut my pieces just a scant larger than what is being asked (as in less than 1/16″ bigger, like a couple of threads larger), and then sew everything just a scant under a 1/4″ seam allowance. This way I always have room to trim and size everything to perfection.
To make flying geese that will measure 2-1/2″ x 4-1/2″ (which becomes 2″ x 4″ when sewn in the finished quilt), start by placing two 2-7/8″ squares corner to corner on a 5-1/4″ square. If you haven’t already done so, mark a line down the center. I LOVE Chaco liners by Clover, but use whatever marker you prefer.
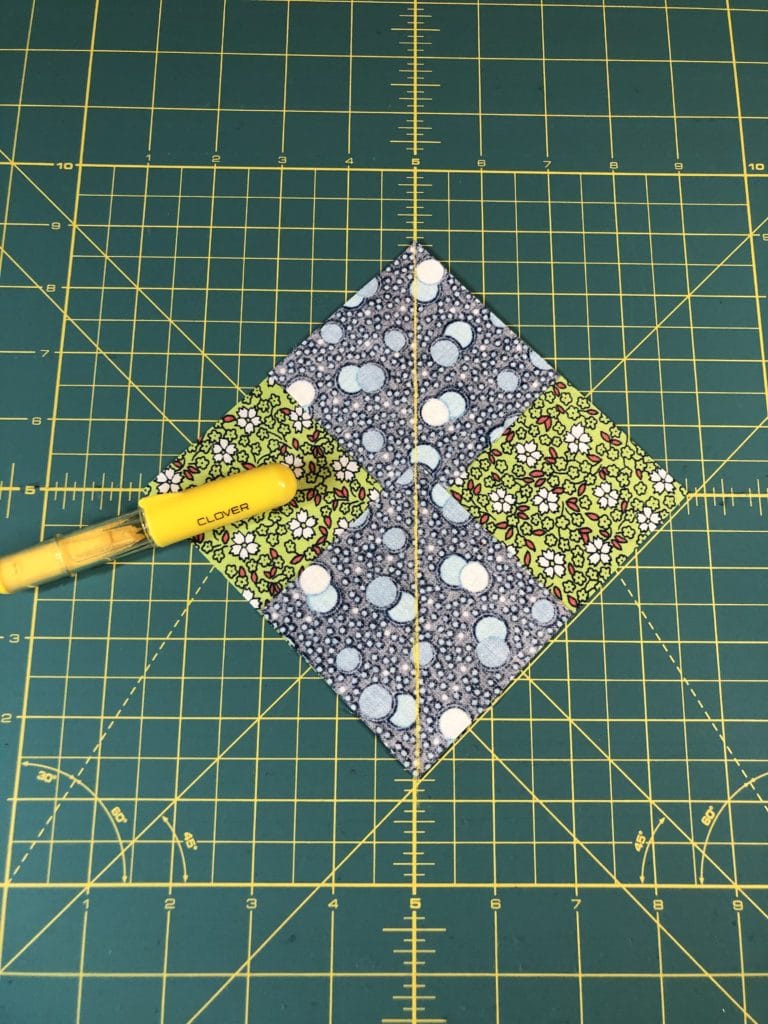
Stitch a 1/4″ away from EACH side of the center marked line. I used red thread so you can see my stitching. Cut ON the marked line and then press the triangles downward.

Next, place another 2-7/8″ square on each unit as shown, draw a line down the center from corner to corner, and stitch a 1/4″ away from the marked lines.

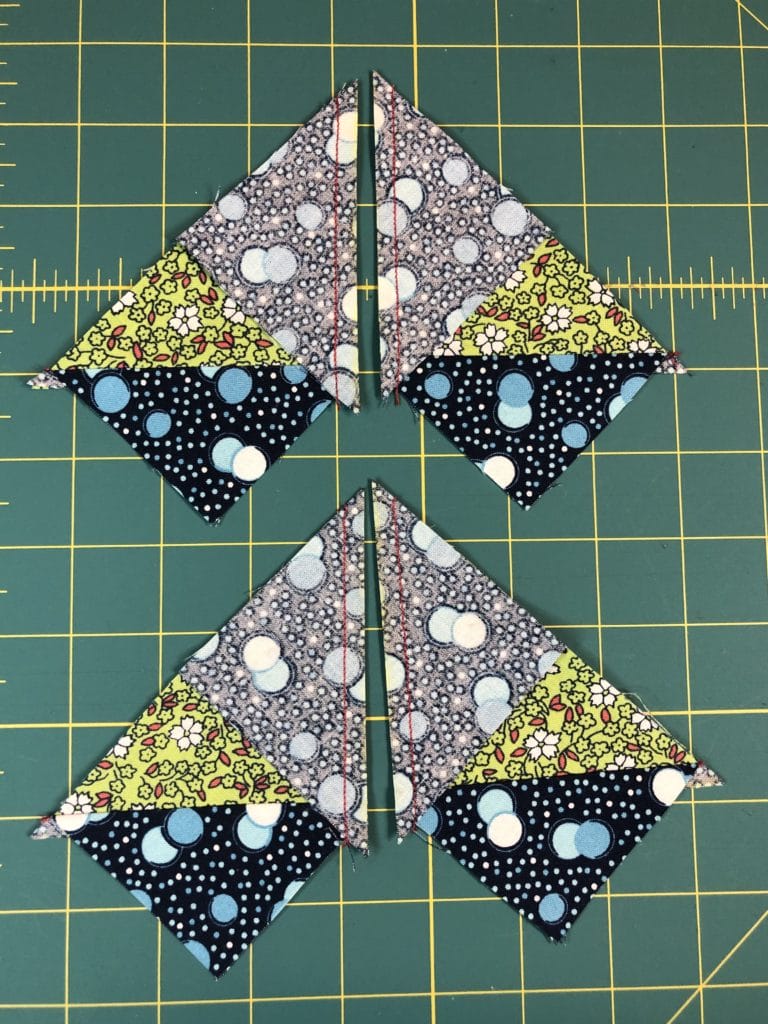
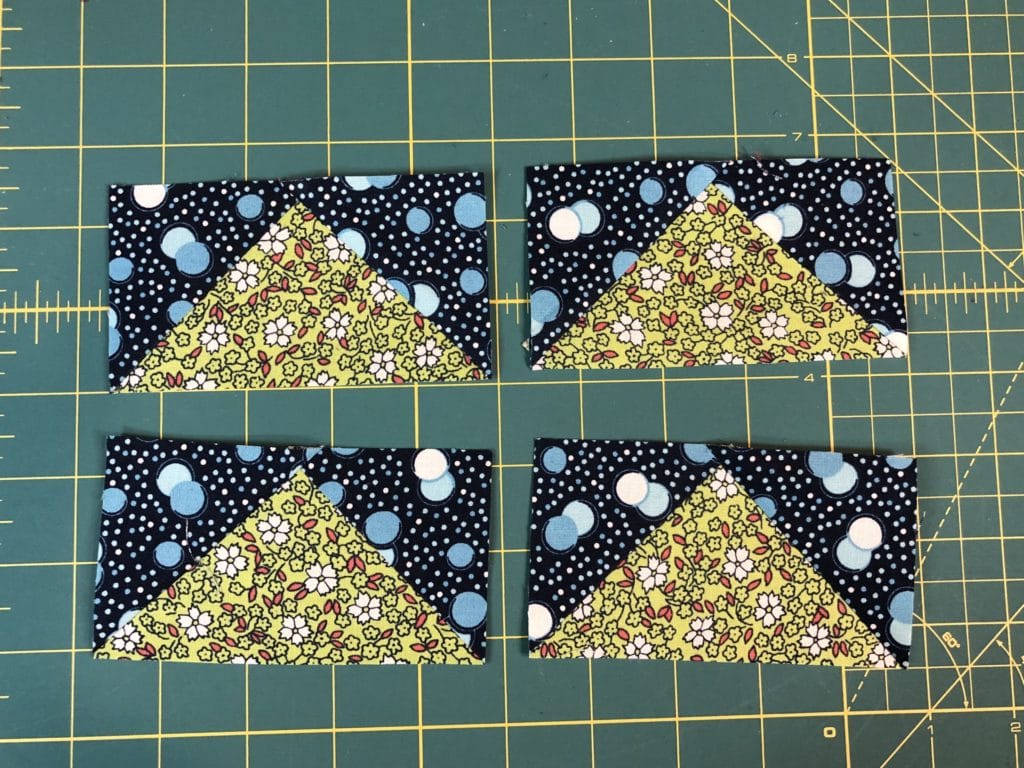
Cut on the marked line again, and press. Voila! You now how 4 flying geese and no wasted fabric!
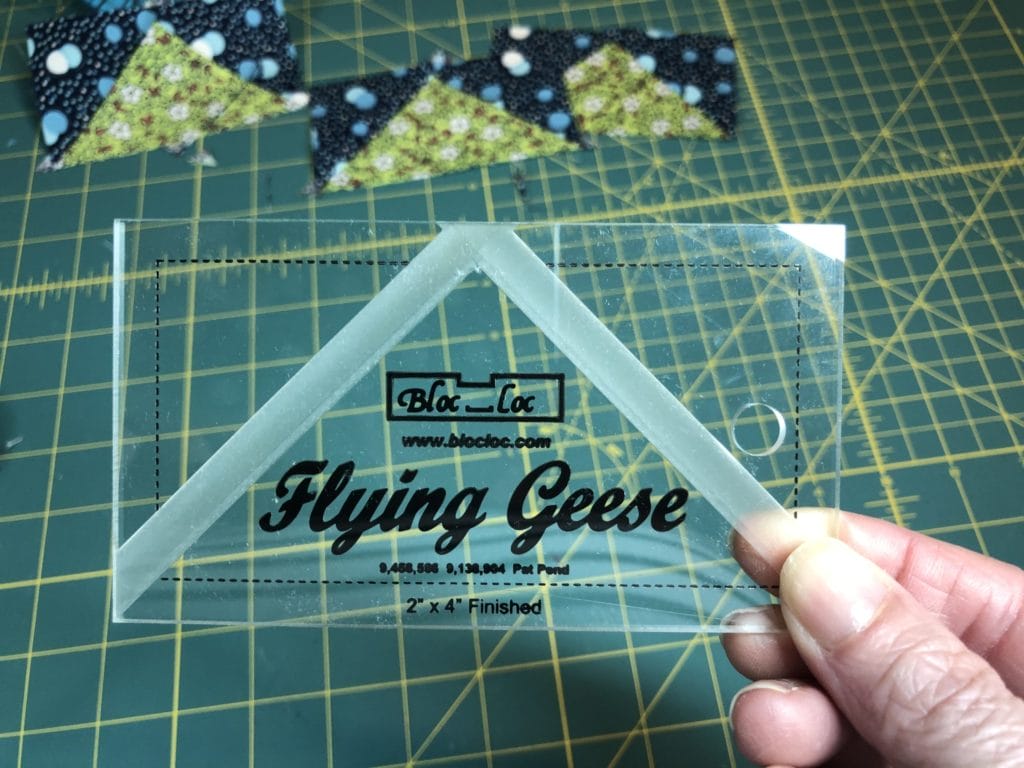
I always trim my flying geese to make sure they are accurate, and my MOST FAVORITE tool for this is the Bloc Log flying geese ruler. I get PERFECT flying geese every time, because this tool makes trimming them to size a breeze! I’m not paid to promote them, I just love them and I feel they are worth the investment because they take the guess work out of true-ing things up. Plus it goes much faster! We will be making a lot of the 2″ x 4″ size in this quilt, so if you were to buy just one, that would be the size I would recommend.
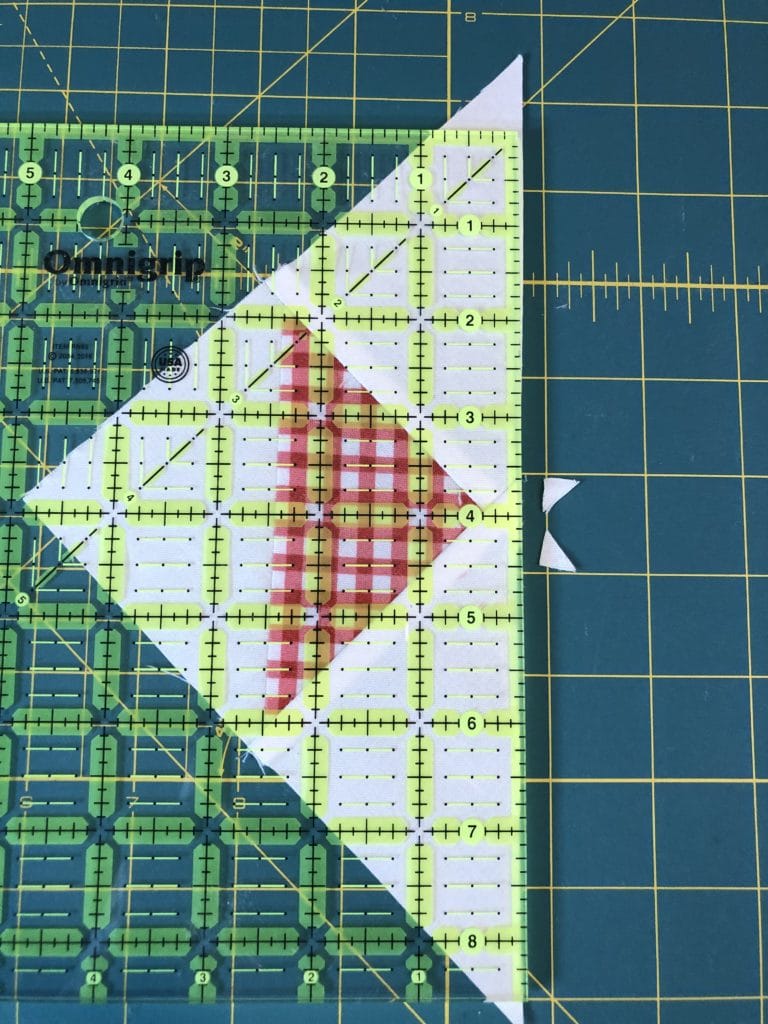
Next, we will be making a few Half Square triangles to add to our center star. FYI, at the end of step 5, your block should measure 12-1/2″ square. somehow I left that off the pattern. Oops!

Now we can make the rest of the components we need to put this all together. For steps 6 and 7 we will make some fun triangle units. I always like to “trim the tails” off when sewing pieces like this, but its optional.
A word about pressing directions: Most of the time when we sew, the quilt “tells” us which way to press the seams to reduce bulk. For example, in step 10, the obvious choice is to press the seams toward the N squares. But sometimes there is NO easy way to press seams when there are so many points coming together, and this center medallion was one of those times. I agonized over which way to tell you to press seams, because regardless of what you do, there is either a lot of unwanted bulk, or you end up sewing seams that don’t nest together well, especially with these outer borders in step 11. I ended up going with less bulk, and having some of the seams pressed open.

That being said, you can choose to press the seams differently to have everything nest together, however you will end up with some slightly bulkier seams. For example, In step 7, you can choose to press the 2nd M triangle towards the L/G square, rather than away from it. You can also press HALF of the A triangles toward the L/G-M unit. This will allow all the seams to nest together when sewing the pairs together in step 8. However, this creates some bulk later on when those units are sewn to the sides of the quilt, so that is the trade-off you live with.
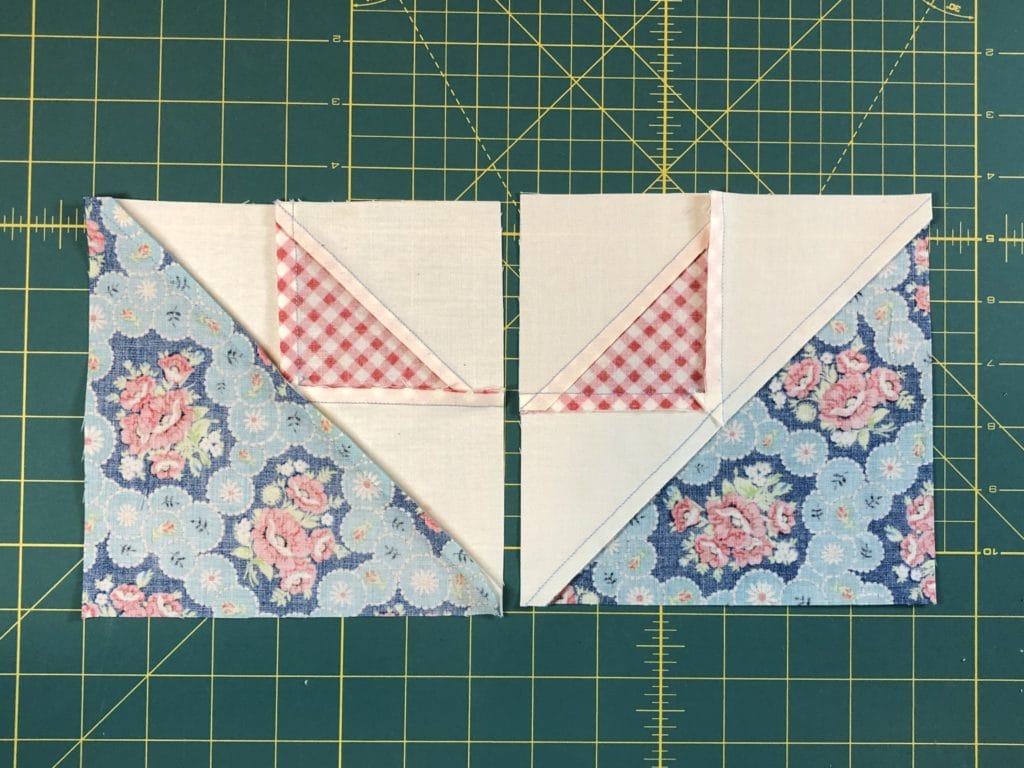
One of the M triangles is pressed up in both units, and the unit on the left has the A triangle pressed up as well.
And for step 11, no matter which way you have sewn or how you press the seams you will have some unavoidable awkward bulkiness, so it is entirely up to you which bulky seams you want to live with. Or you can also press them open if you prefer. Fortunately won’t matter either way moving forward with the quilt, so press those seams which ever way makes you happy.
Next month we will add some fun little flying geese borders, which will be a snap! Thanks for popping by! – Kristin

