Tag Archives: tutorial

Fabric Pumpkins
10.18.2022
fabric pumpkin

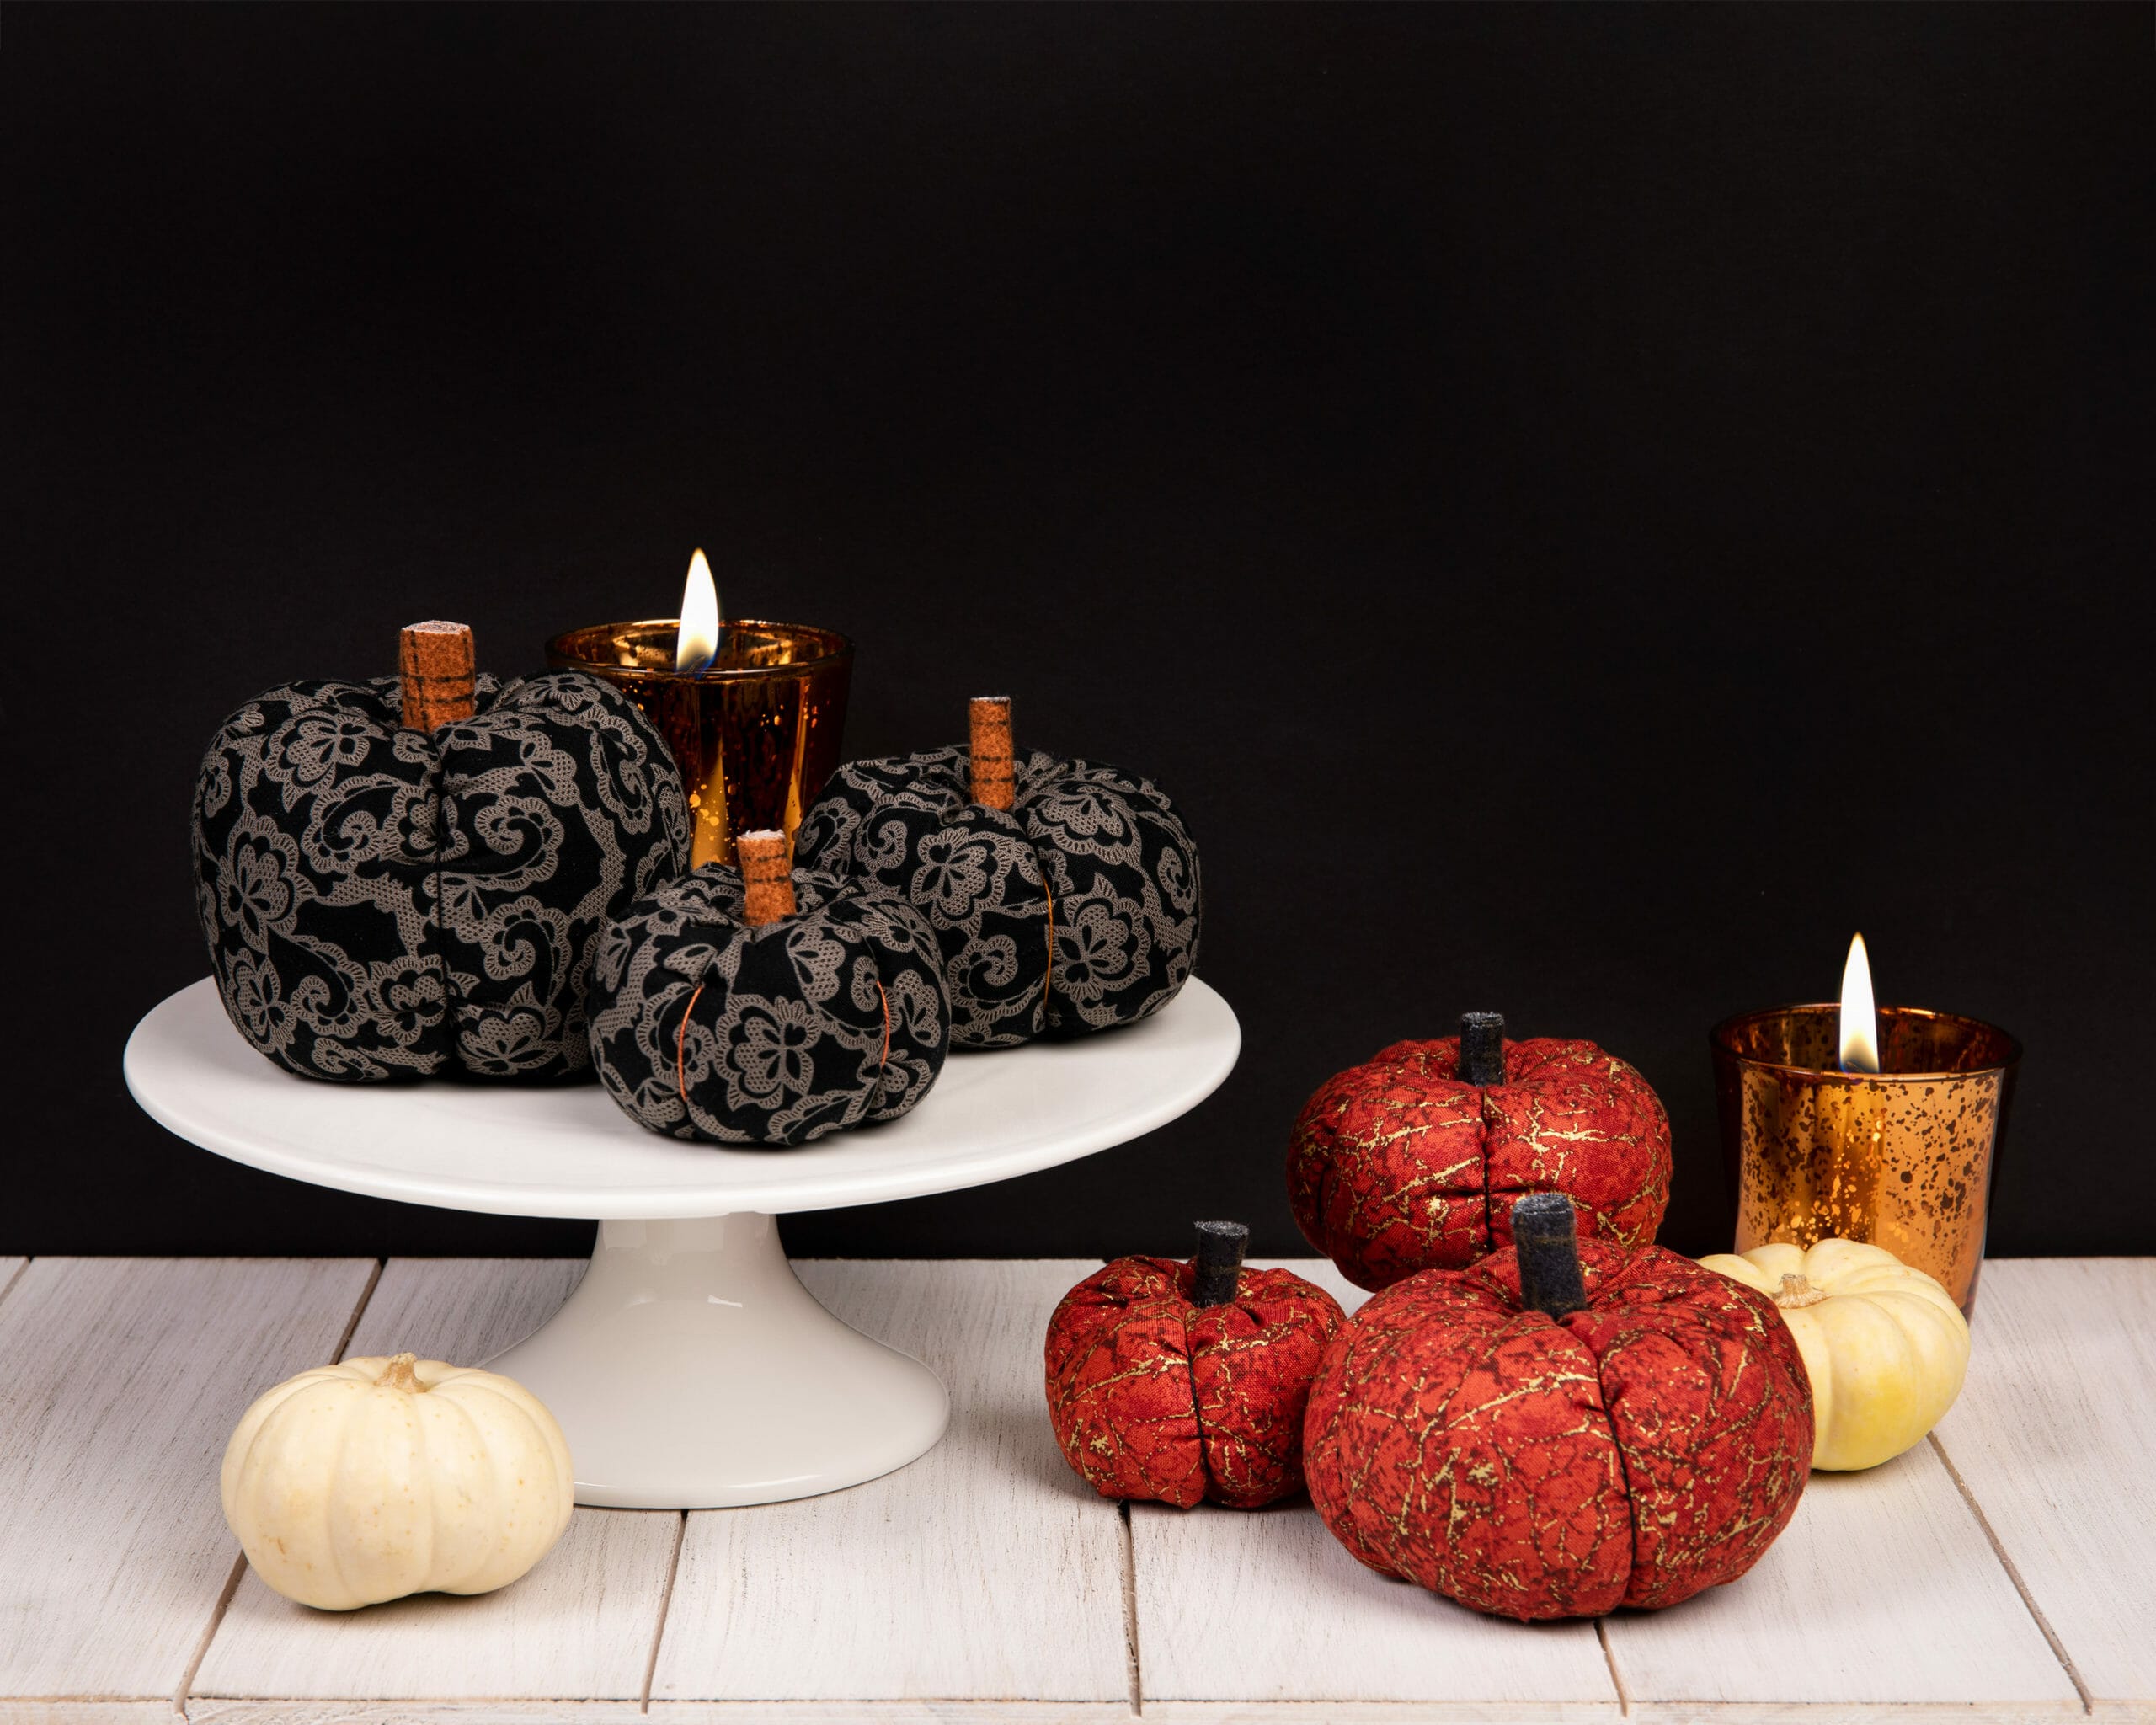
Get into the spirit of spooky season with an easy weekend tutorial! Made with fat quarters (or scraps), stuffing and some strong thread, these fabric pumpkins take less than an hour to sew together and look adorable anywhere in your home. Let’s get started!


Supplies (all items shown are linked here and throughout the post):

Iron your scraps and cut your fabric.

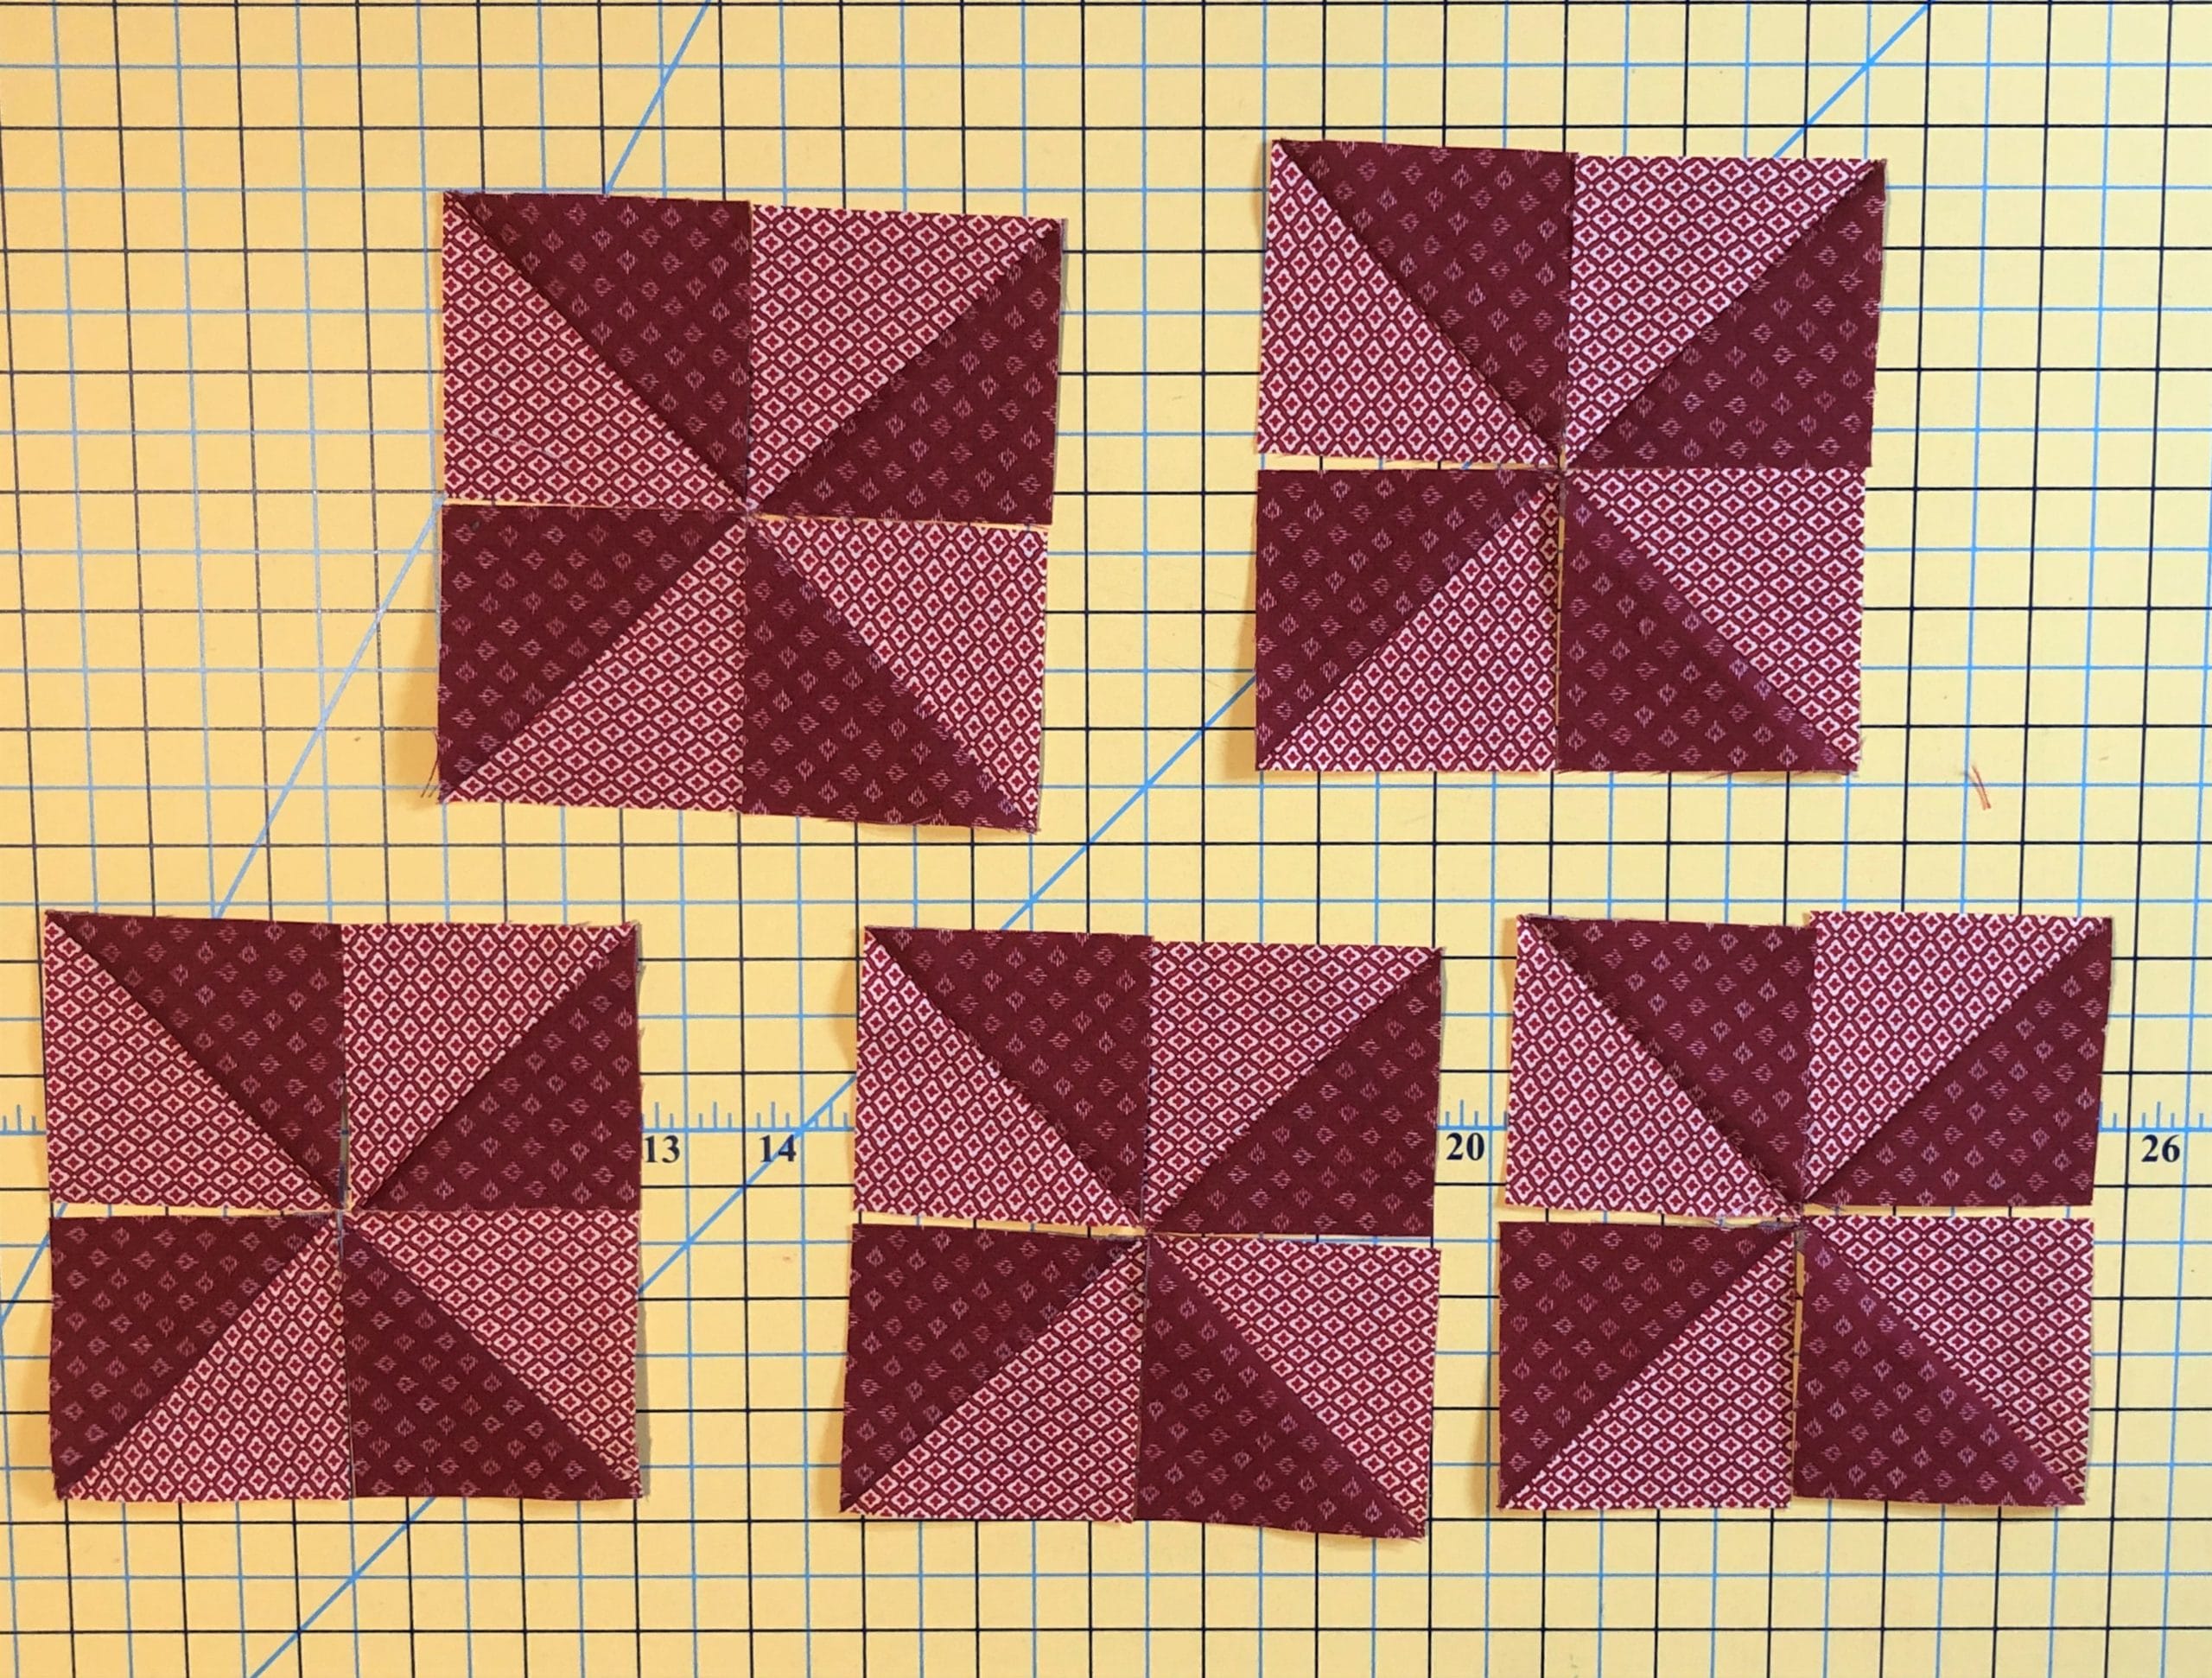
The ratio for these fabric rectangles is extremely simple – about 2:1 – so you can adjust it to the size of your choice. That means that the long side needs to be twice as long as the short side. The samples I cut were 16″ x 8″, 14″ x 7″, and 12″ x 6″ (see the orange Quartz Metallic pumpkins in the first photo). If you want your pumpkins to be a bit taller, just pad an extra 1/2″ or 1″ to the short side: 16″ x 9″, 14″ x 7.5″, 12″ x 6.5″ (see the black Bat Lace pumpkins in the first photo, they’re all just a bit taller than their orange counterparts). The size I cut for this tutorial is 12″ x 6.5″.

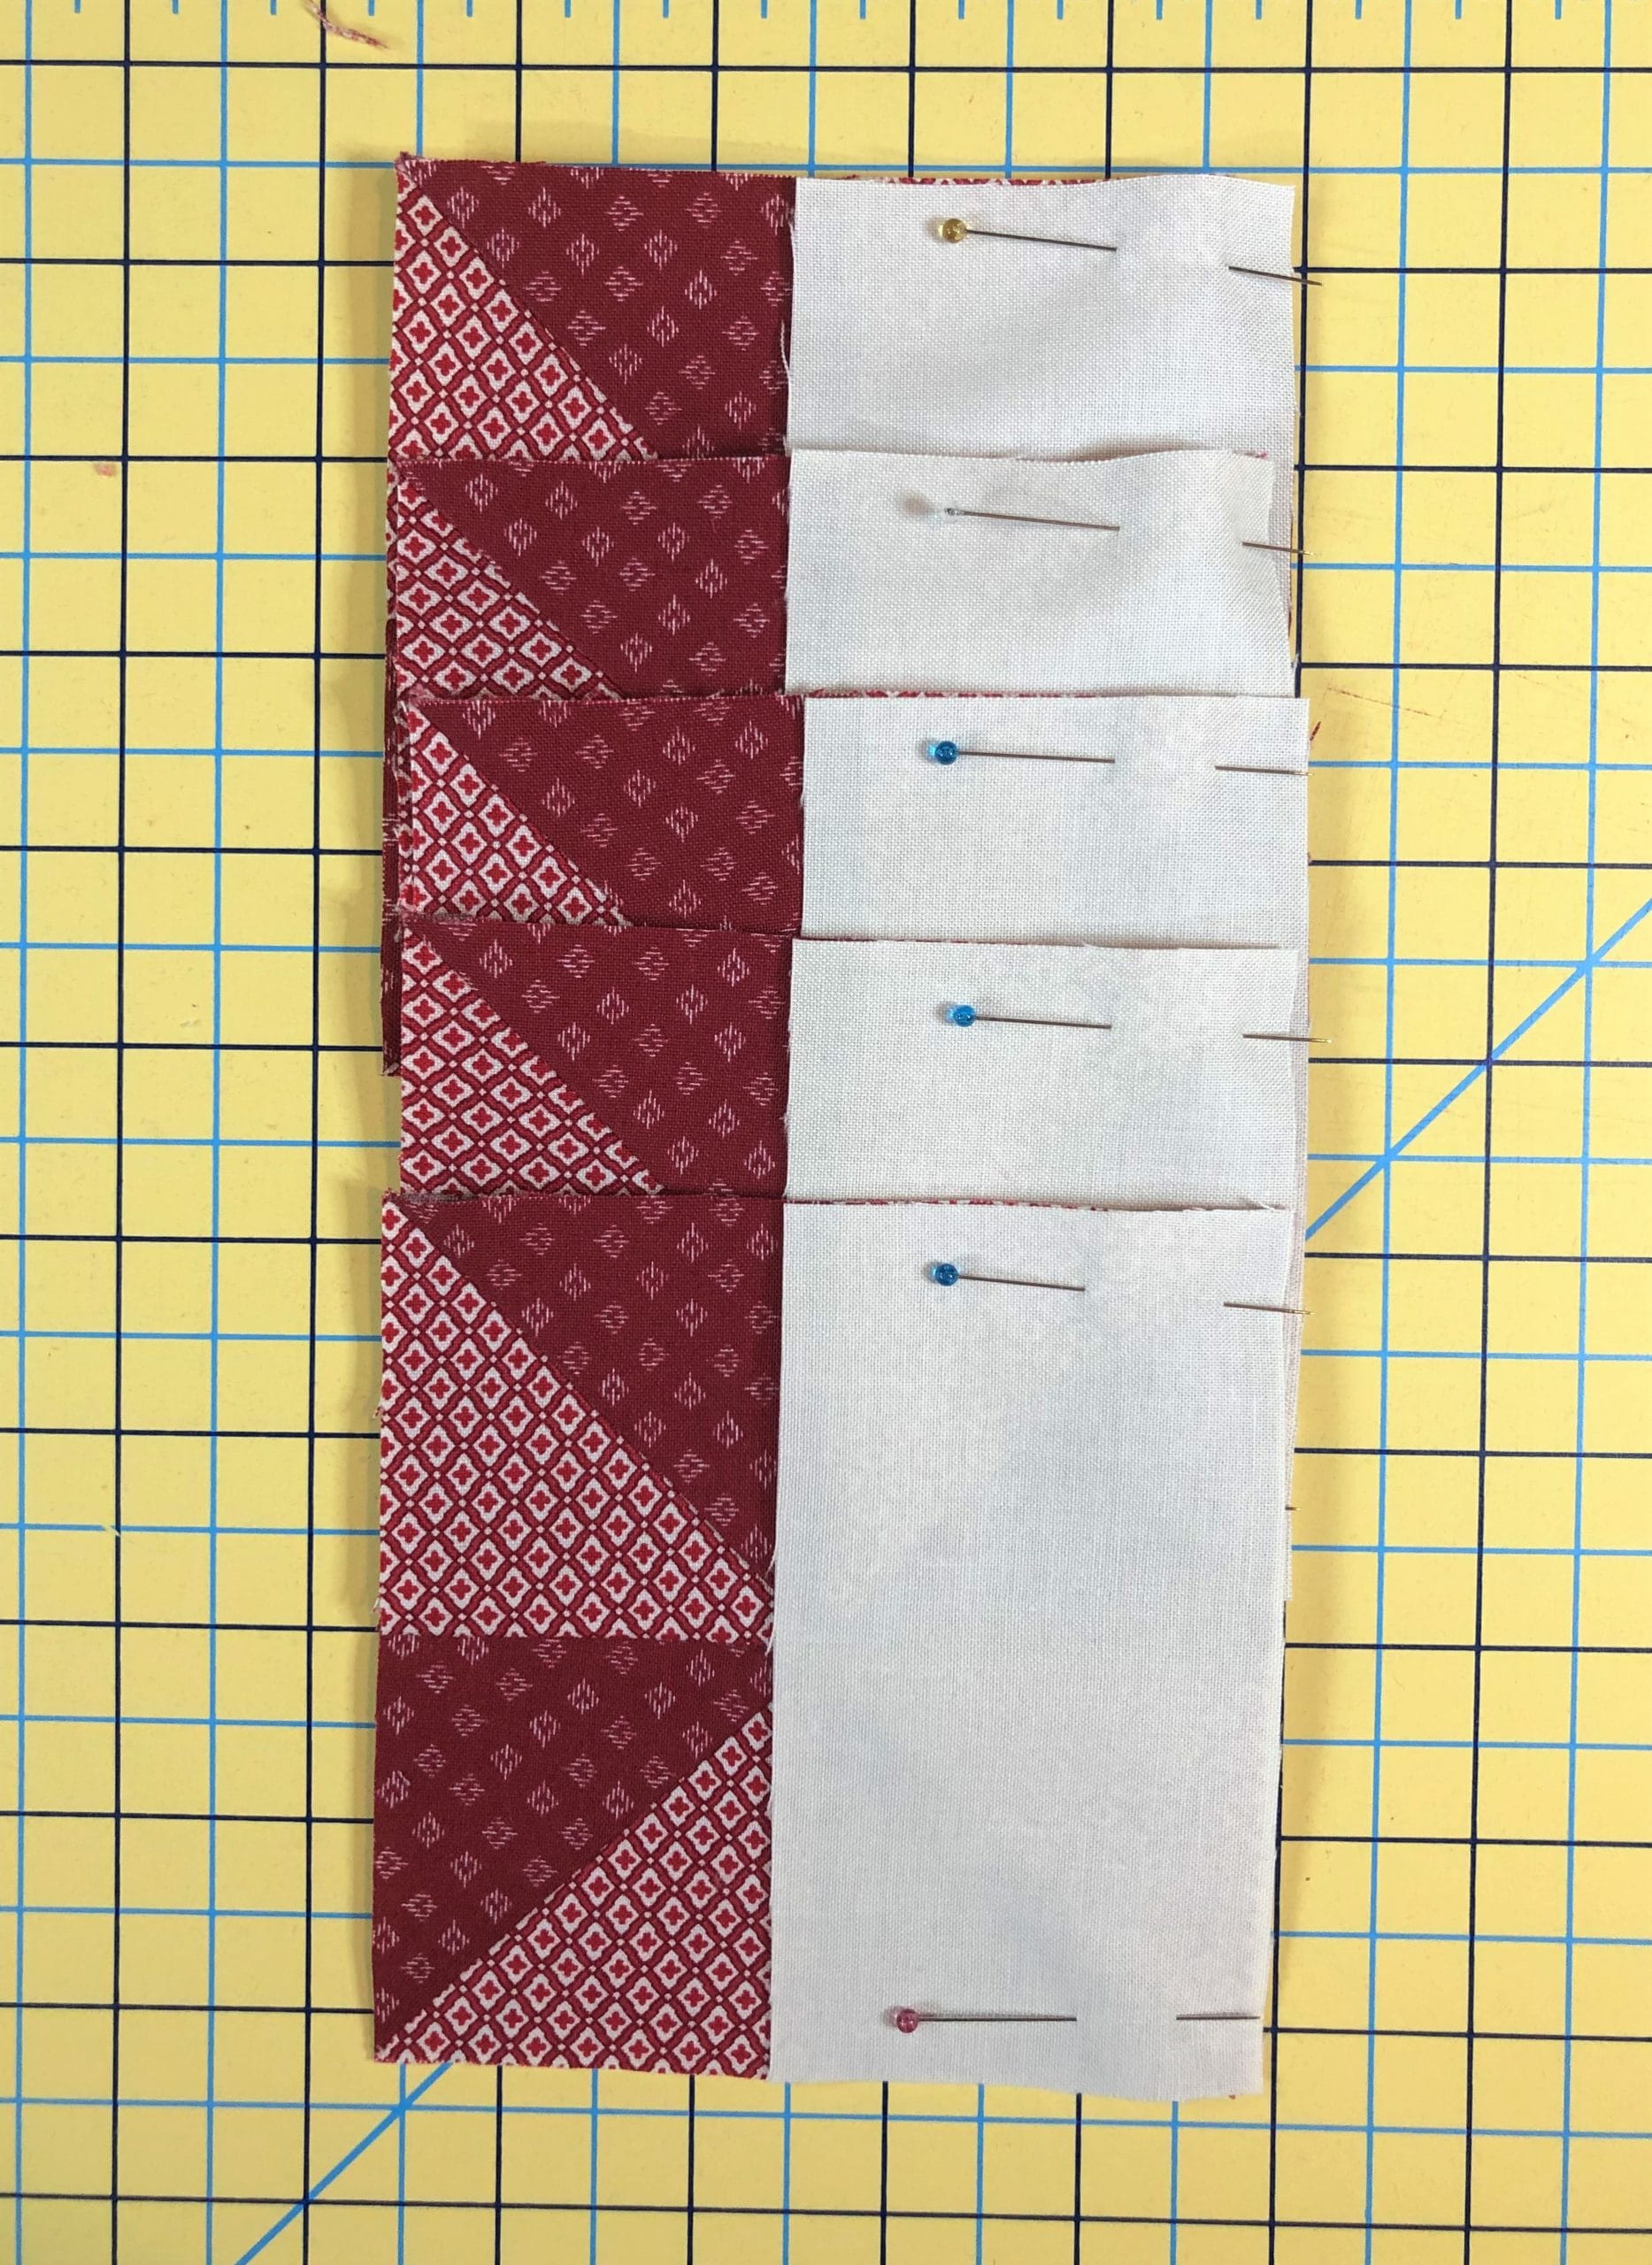
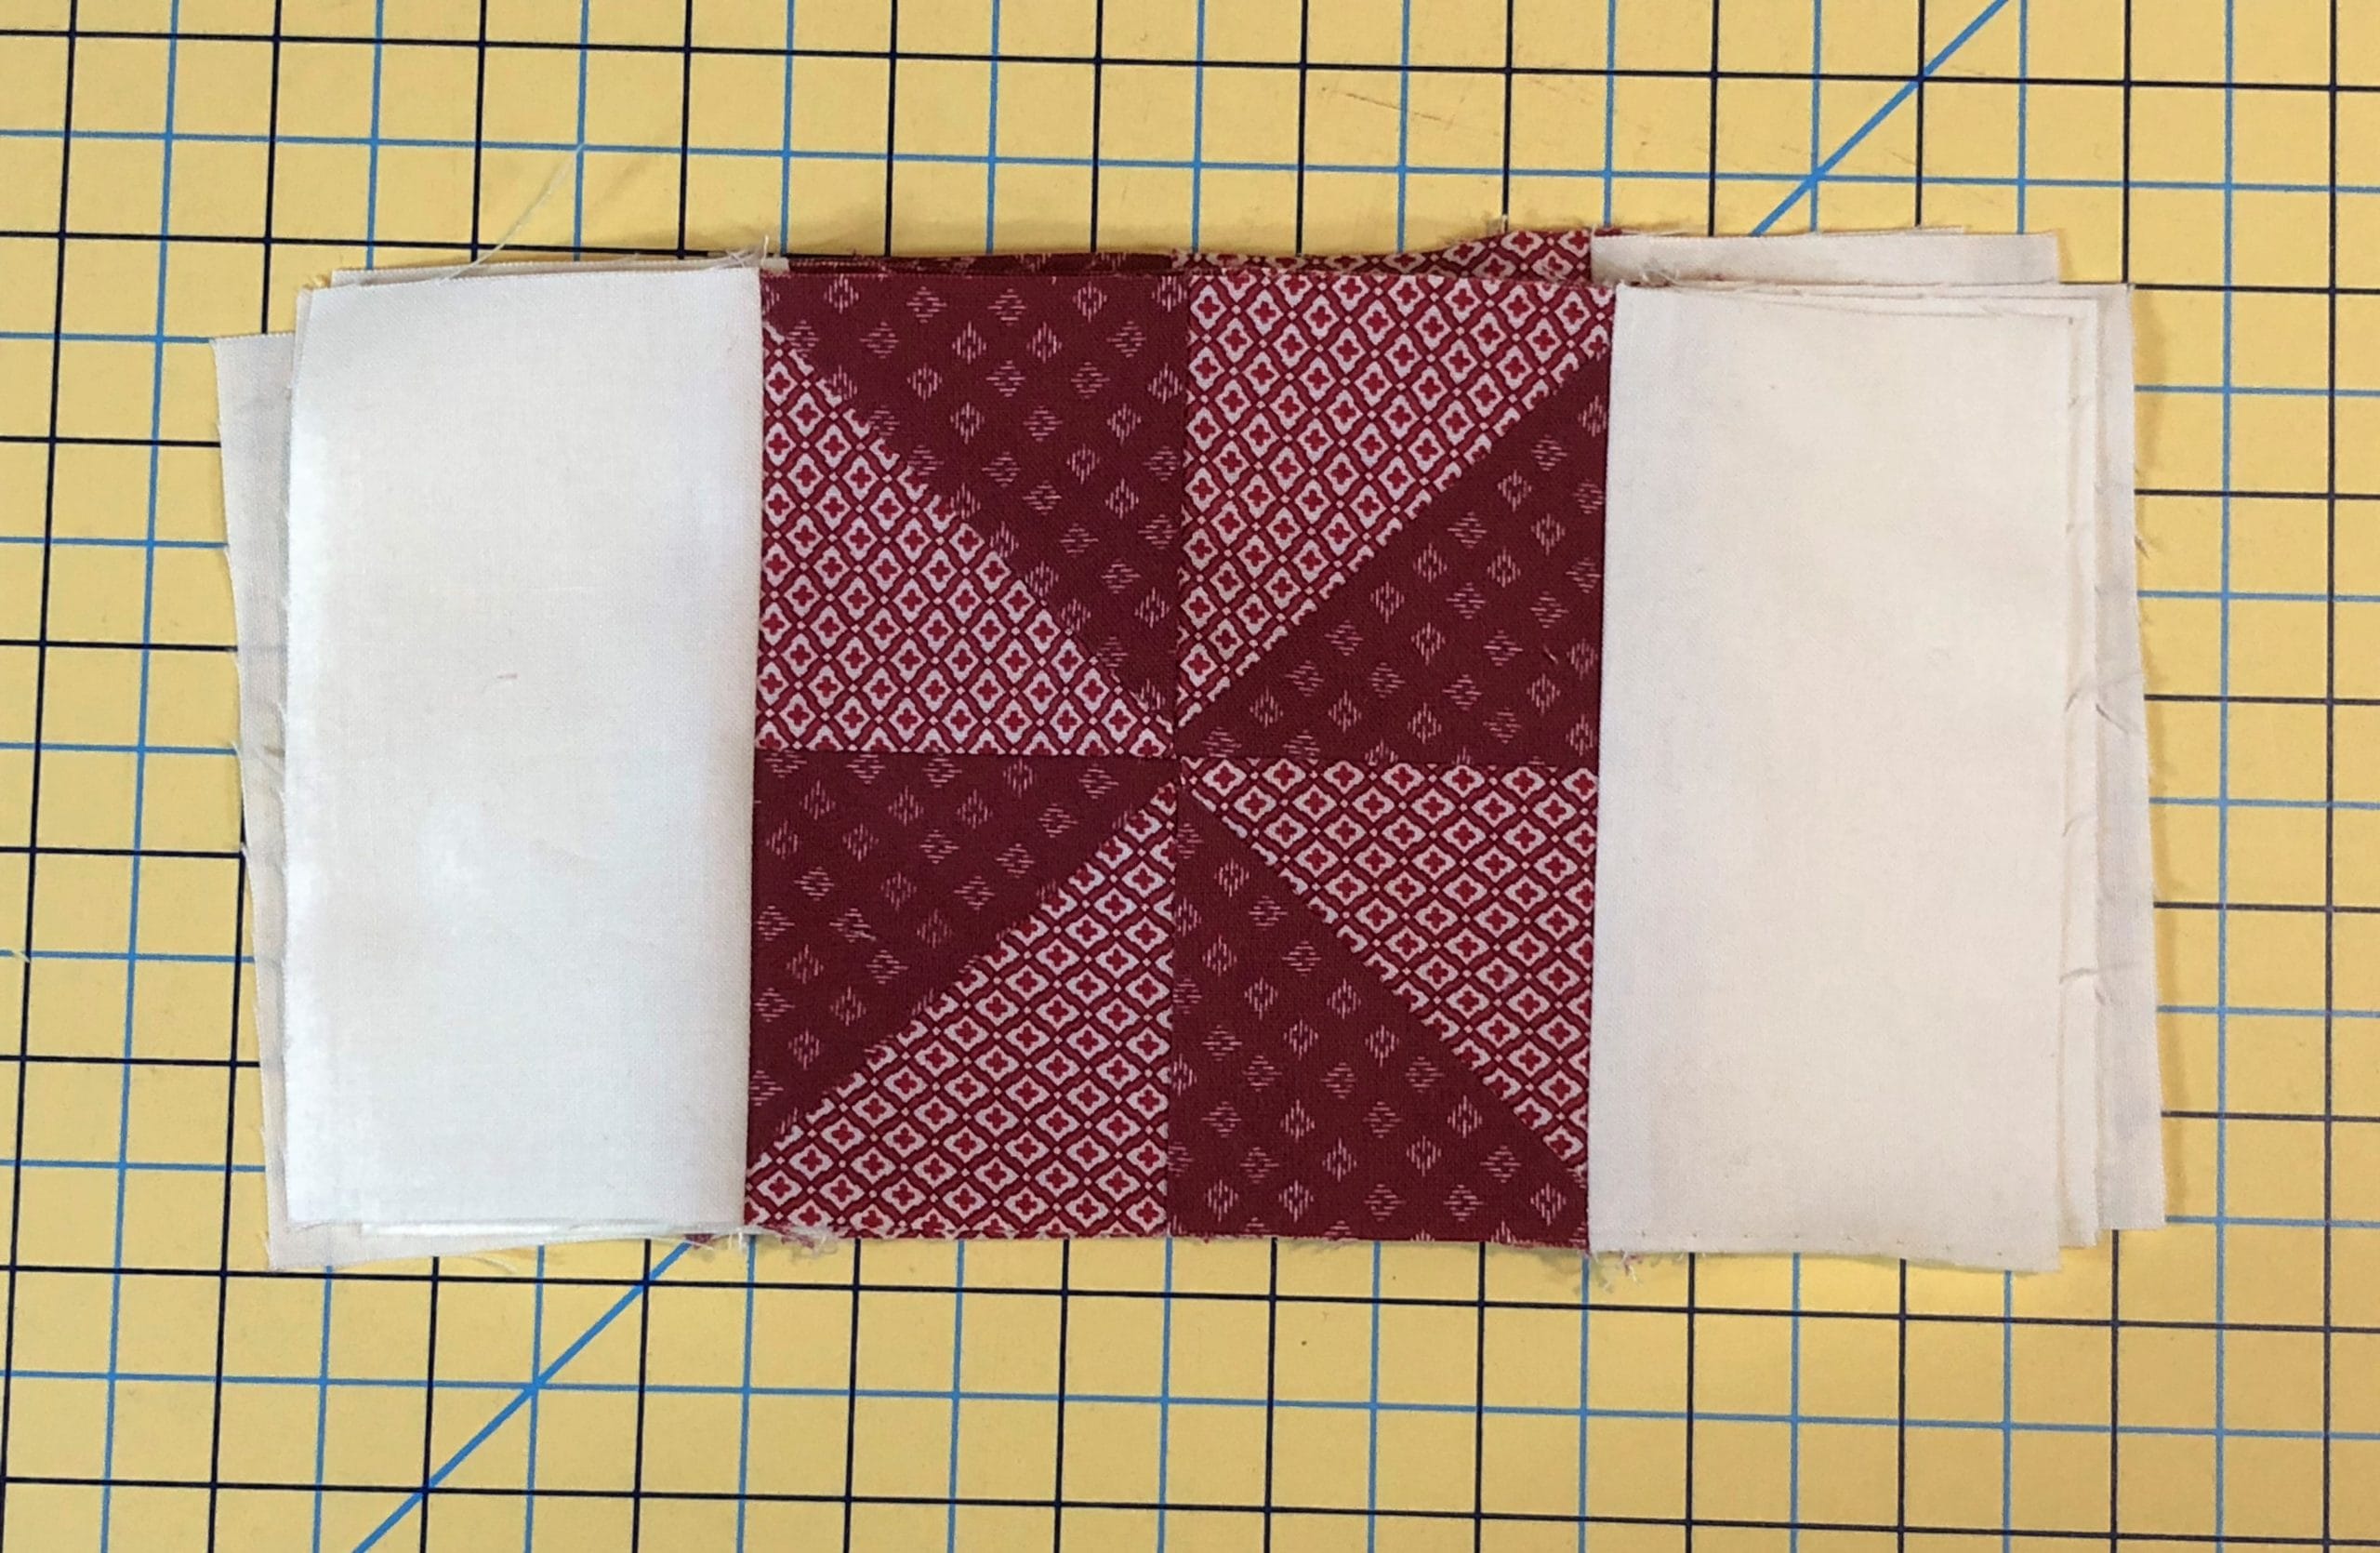
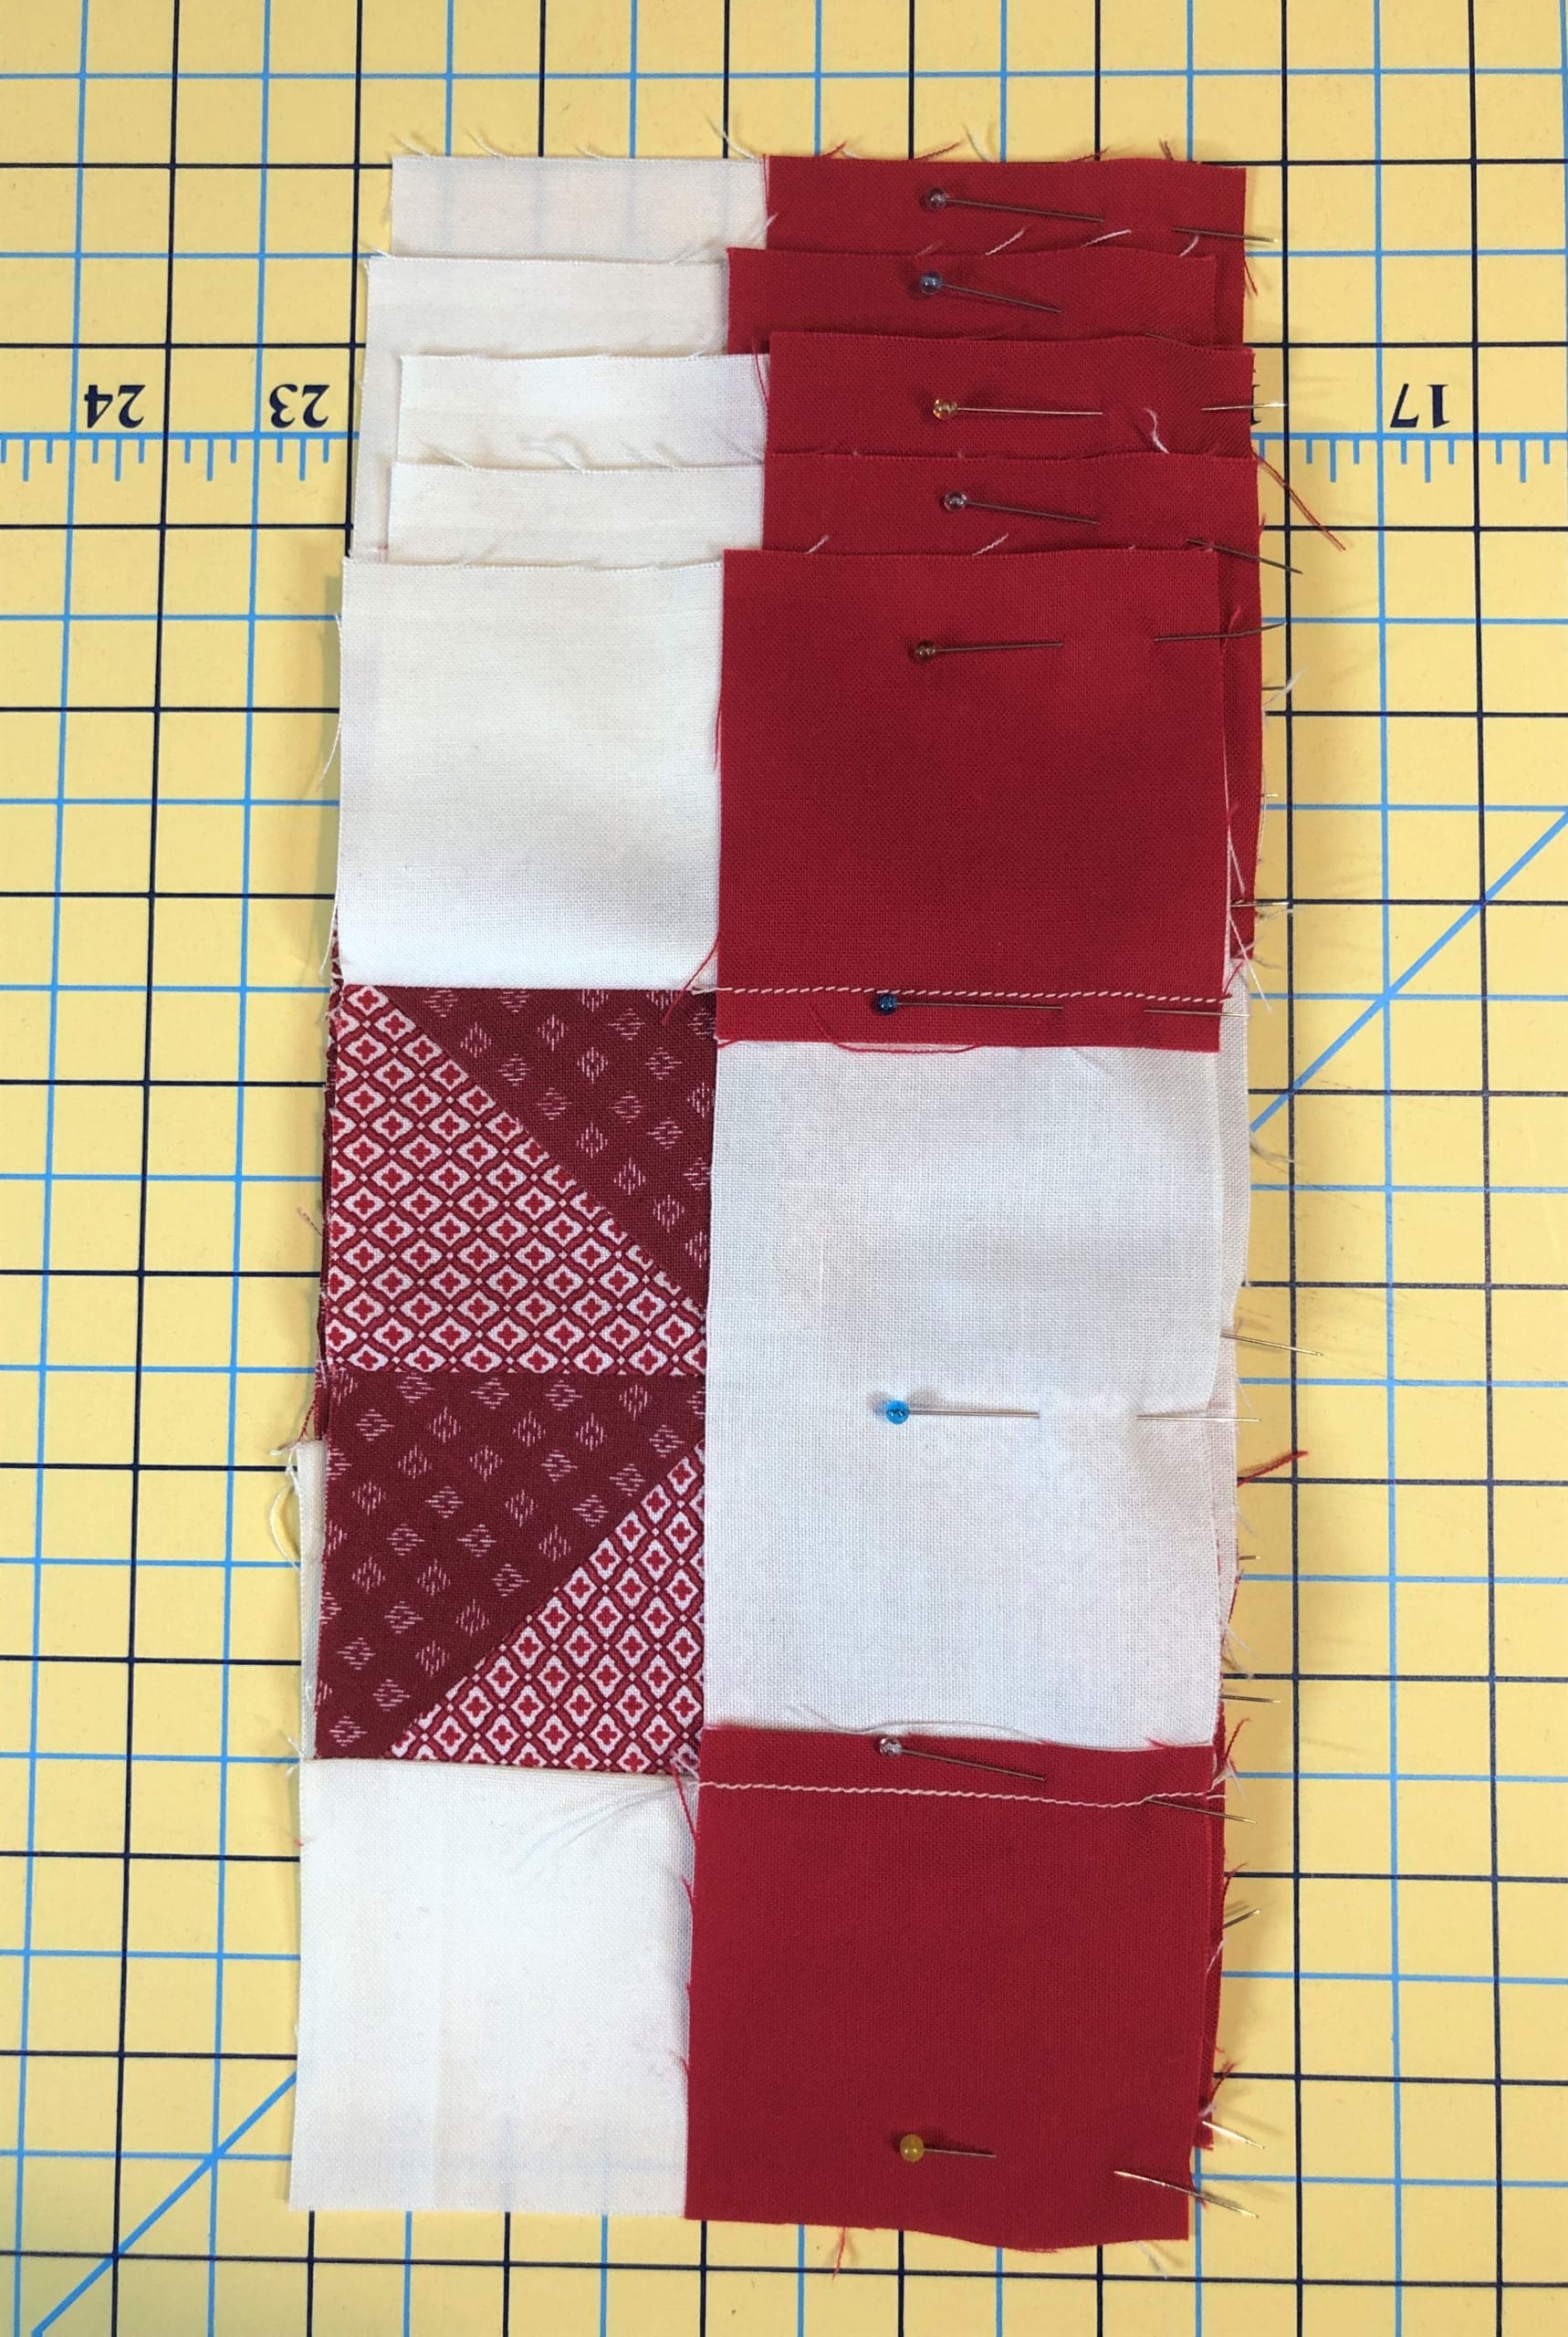
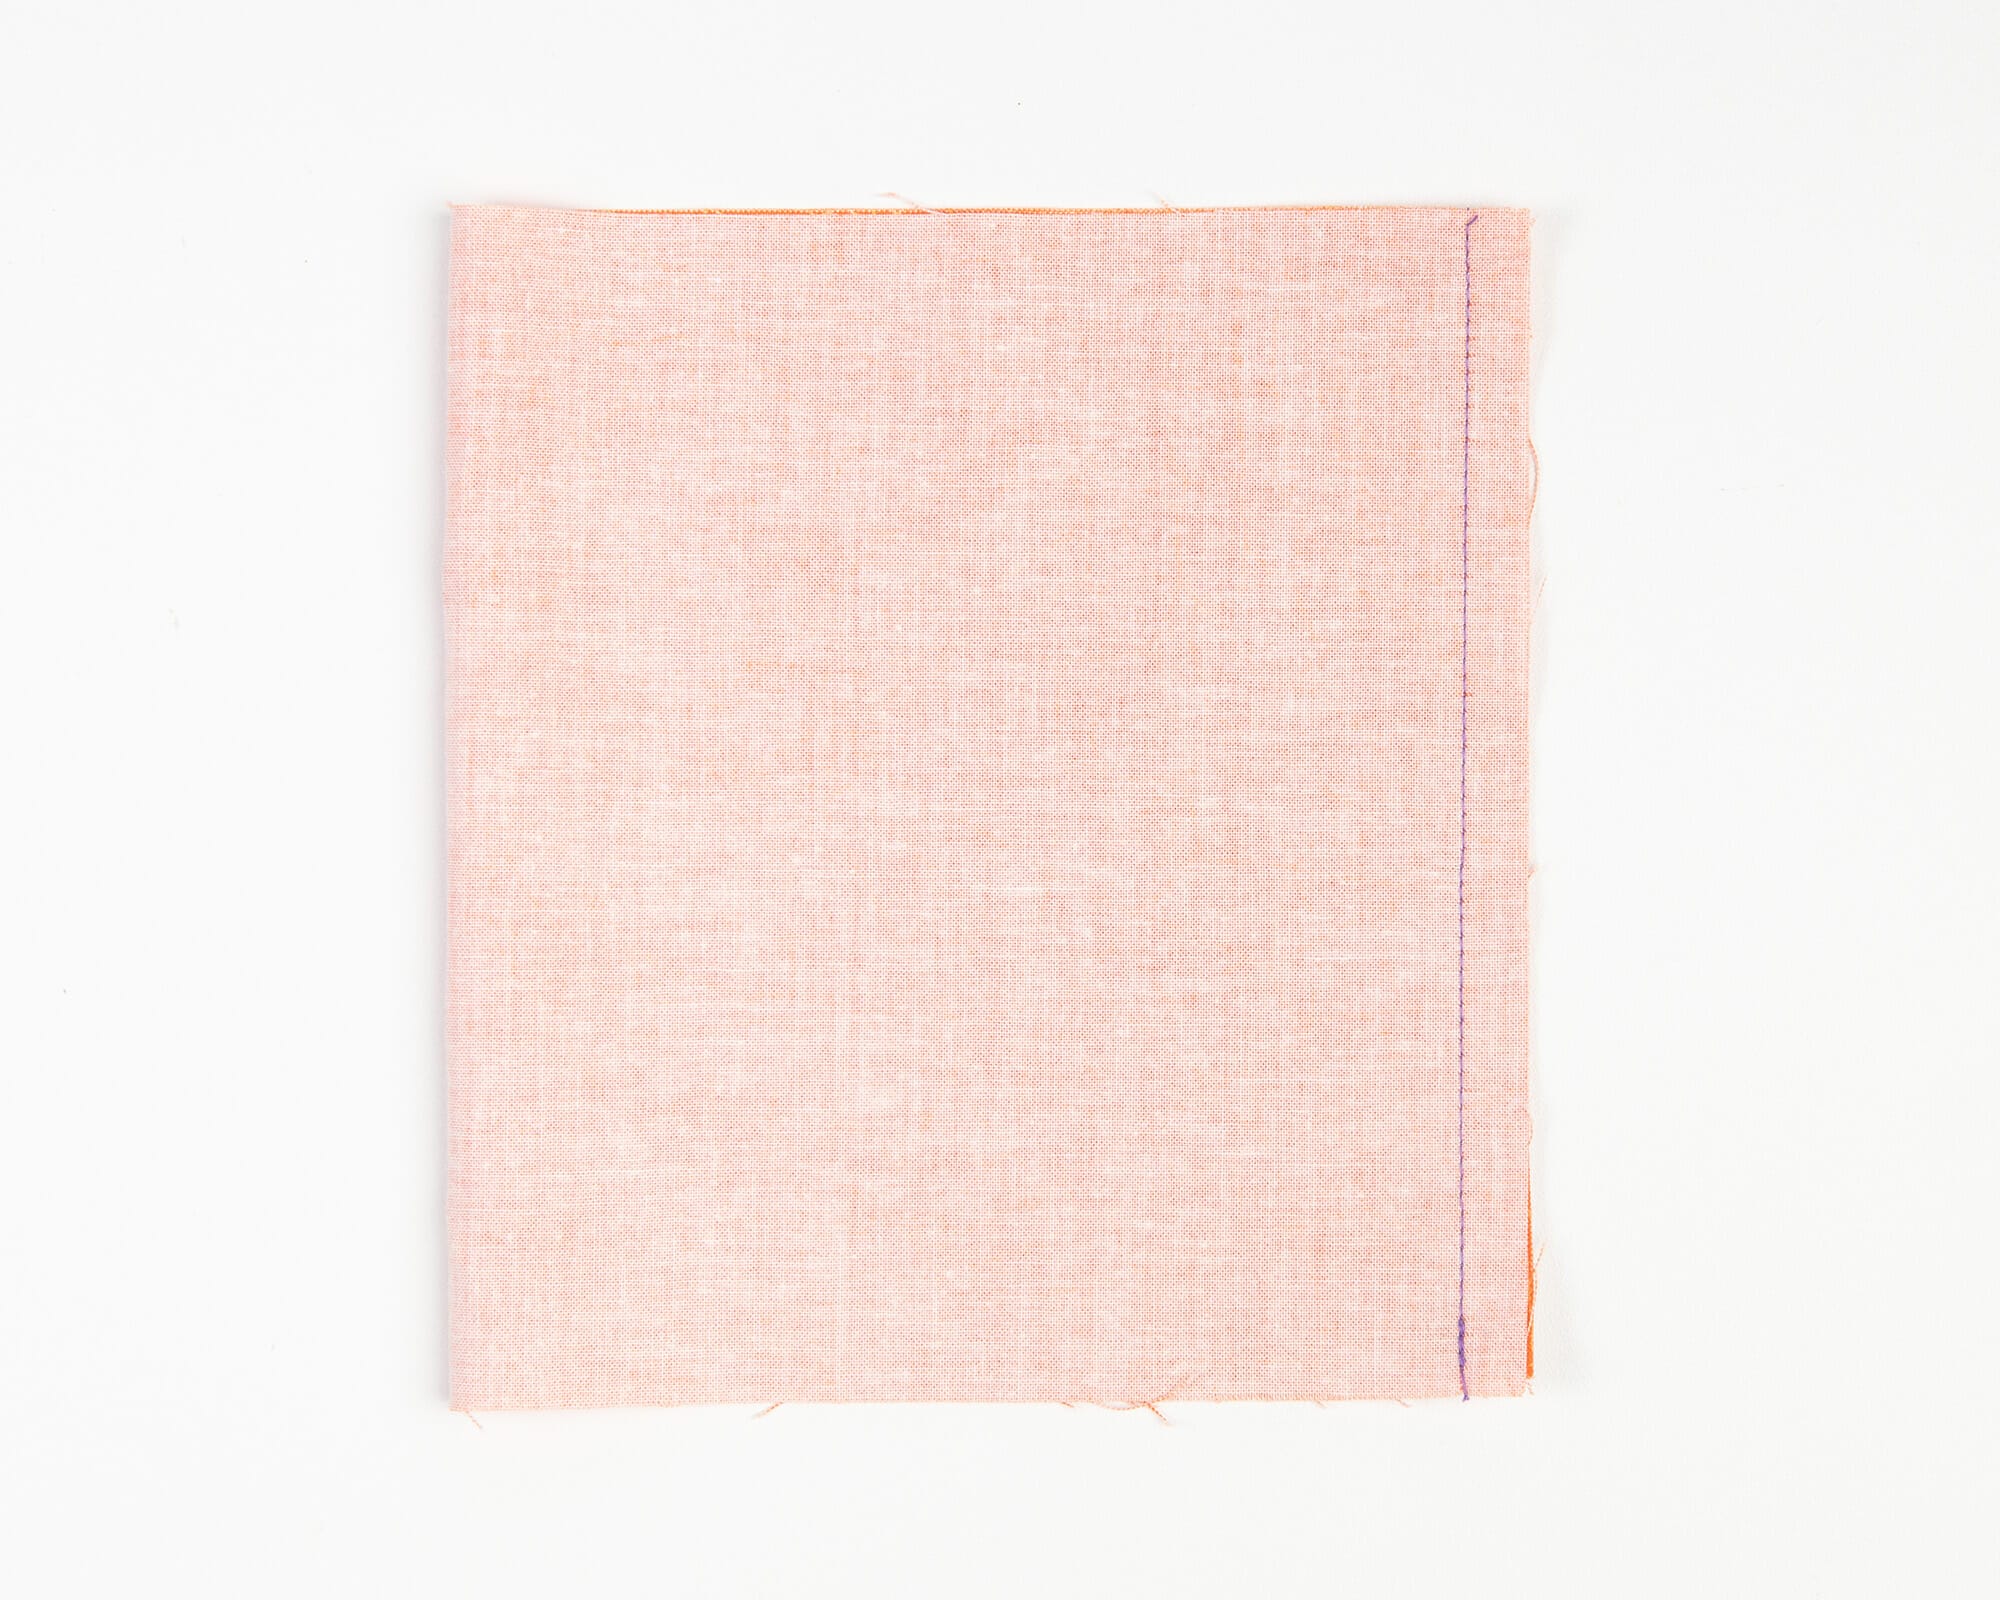
Fold the fabric in half, right sides together, and sew a seam along the two short sides with a 1/4″ seam allowance. You’ll have a little tube like this:

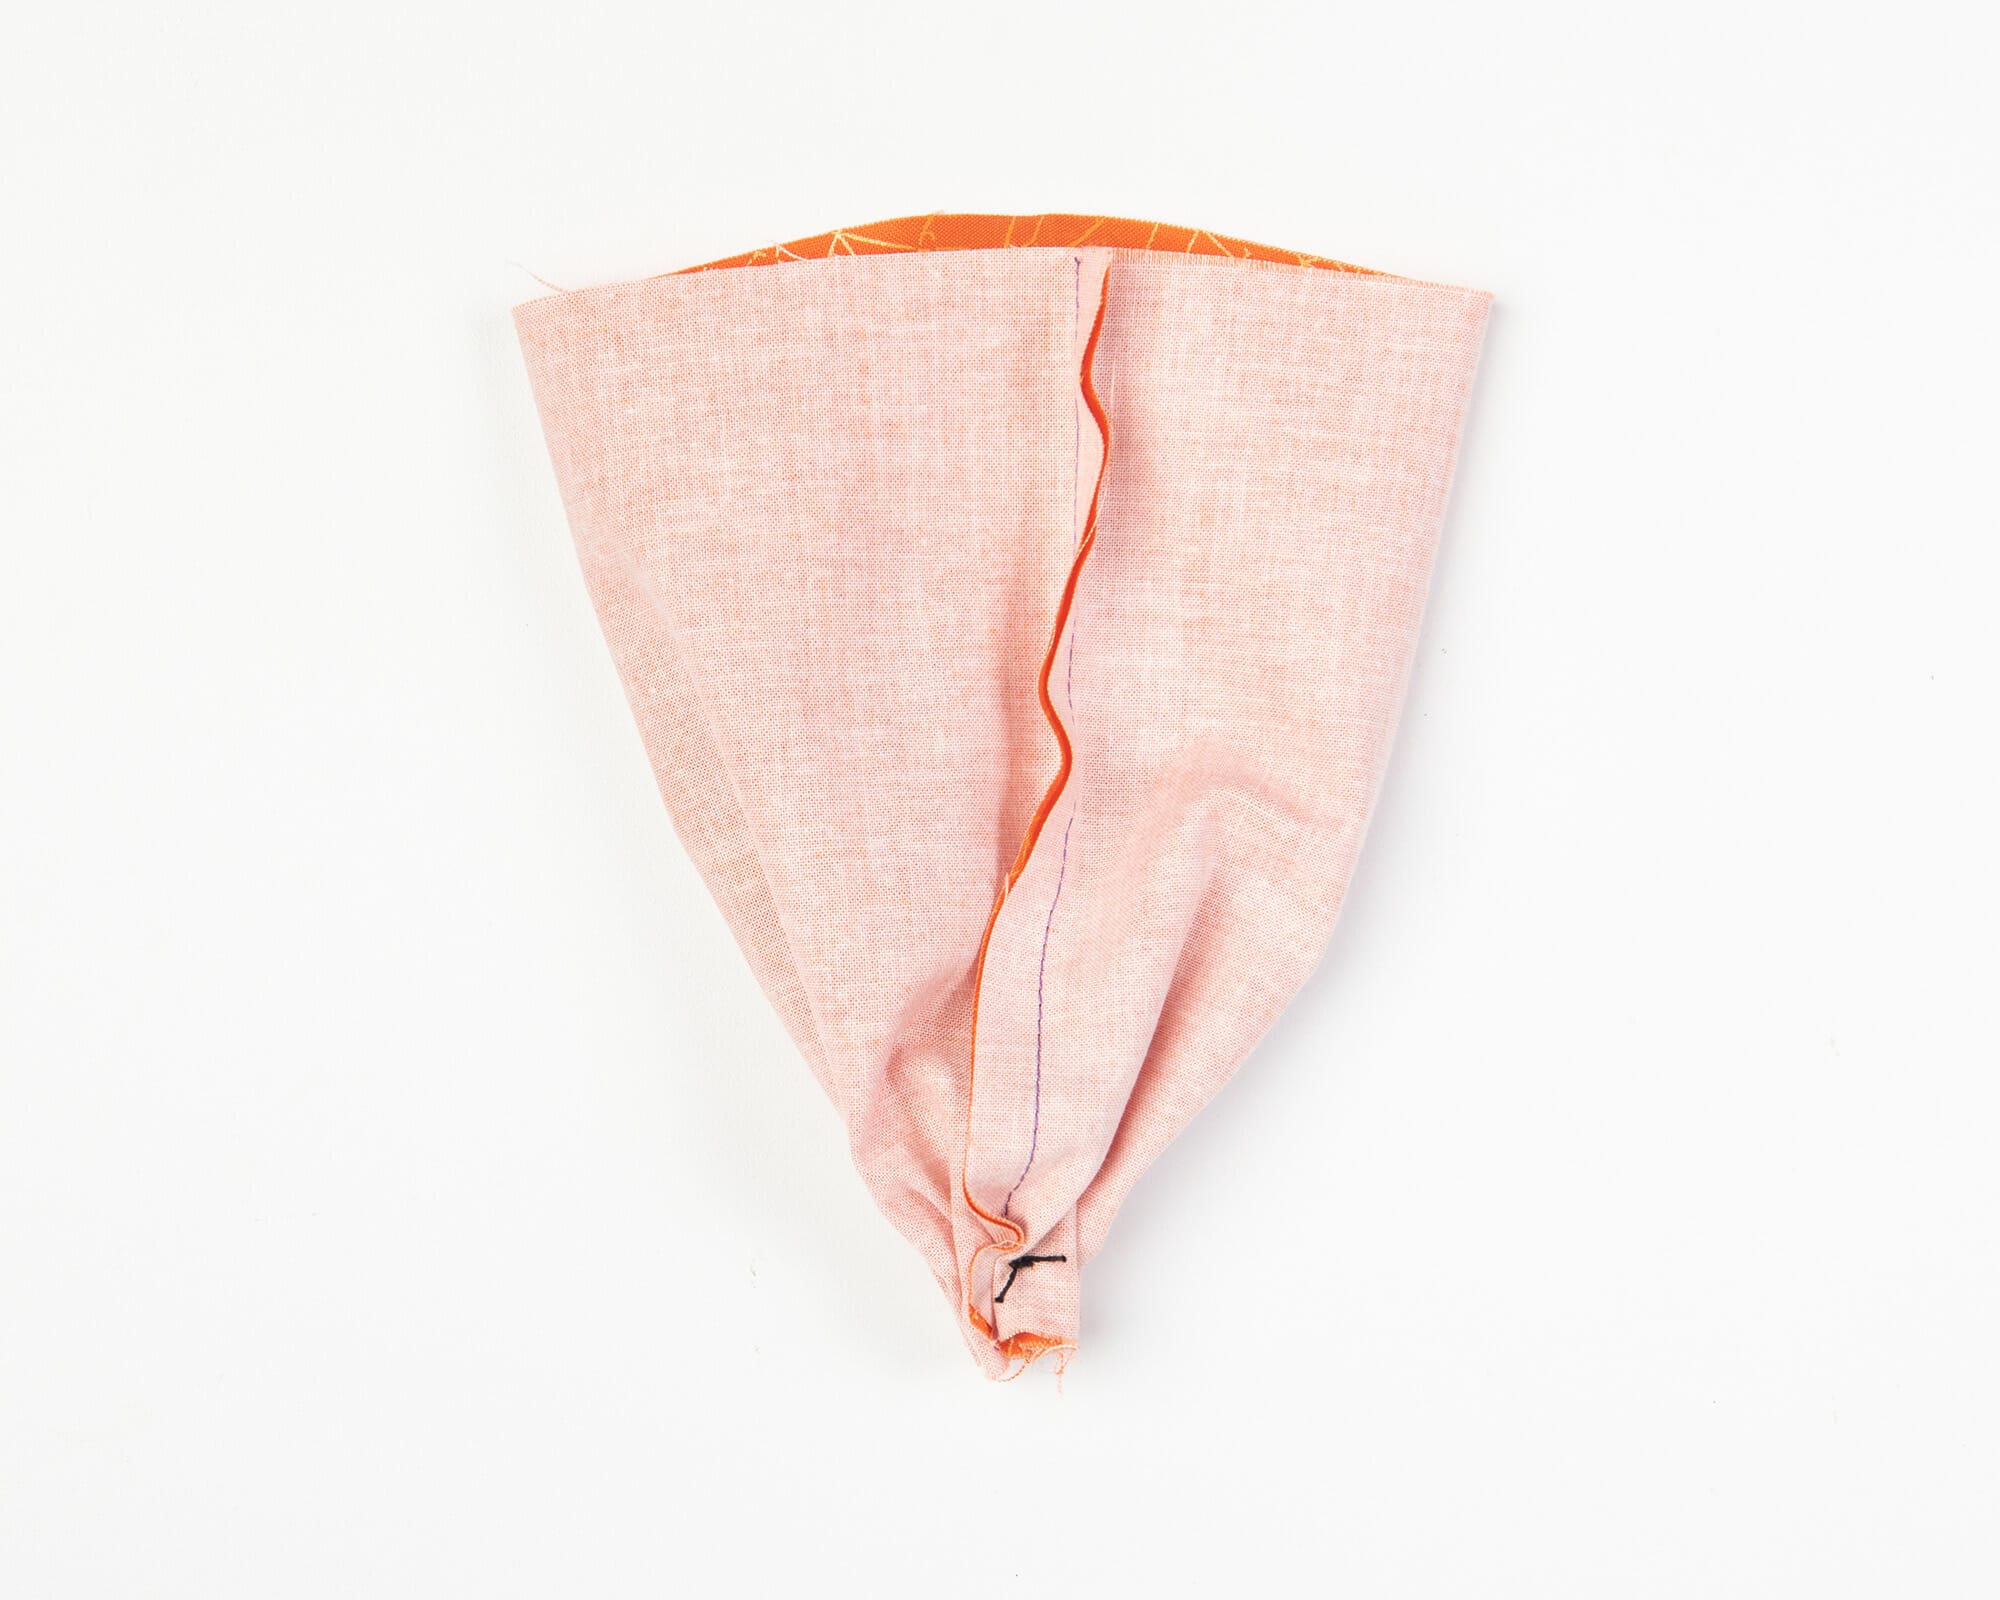
Next, we’re going to sew the bottom of the pumpkin closed. Grab your darning needle and load it up with about 12″ of the Perle Cotton thread. Along the bottom edge, start stitching 1/2″ away from the edge, with a stitch every 1/2″ or so – nice big, wide stitches to create a gathered bottom edge:

Once you’ve stitched through the entire bottom edge, you’re going to cinch it nice and tight (it’s why I recommend the thicker thread here, so you can really pull those gathered stitches together). You should have something that looks like this:

Turn your pumpkin right side out.

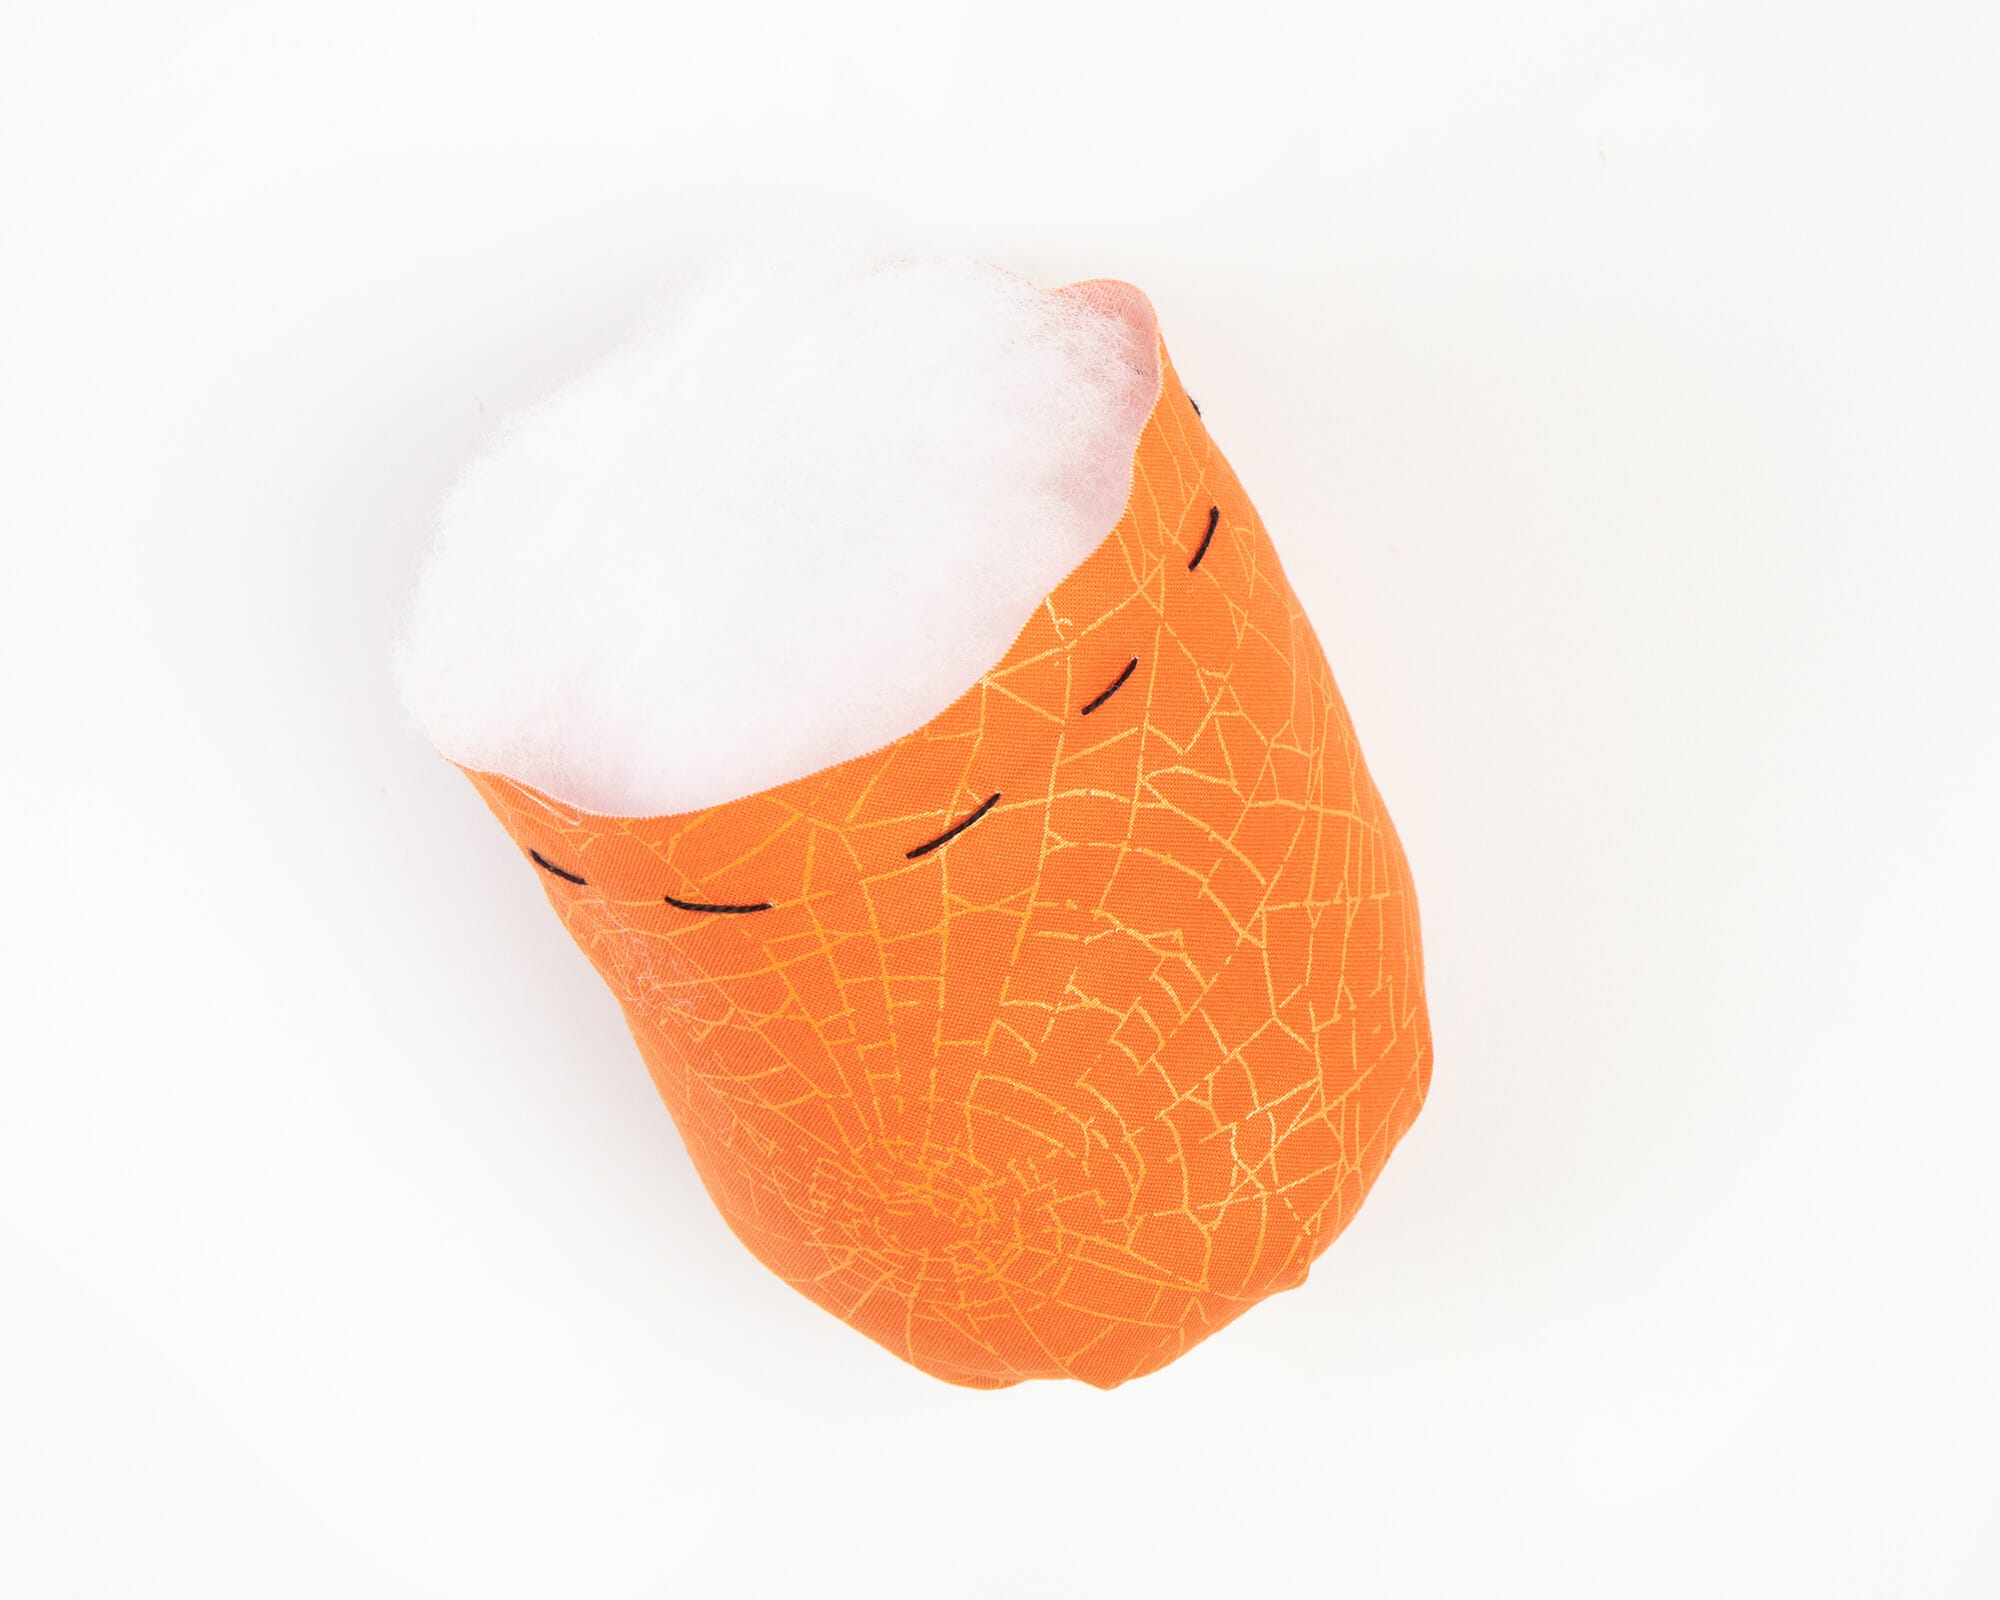
Now you get to start stuffing! Take your poly fill and start cramming it in there, really making sure you get deep in those gathered crevices at the bottom. The more you stuff the pumpkin, the tighter it will look at the end.

Next, you need to gather the top edge. Load up your darning needle with a long piece of thread – I tie off the top and then create the ribs with the same piece of thread, so it’ll need to be long enough to create the indentations. Mine ended up being about 30″ for a 12″ x 6.5″ pumpkin. Just like you did before, you’re going to create 1/2″ wide stitches about 1/2″ away from the fabric edge. It should look something like this:

Now you’ll need to cinch the top closed. This can be a bit tricky, especially if you’ve really stuffed this little pumpkin! Start by pulling it tight and start your knot – just one crossover of your thread – and pull it even tighter. This will make it easier to finish your knot and keep it taut.

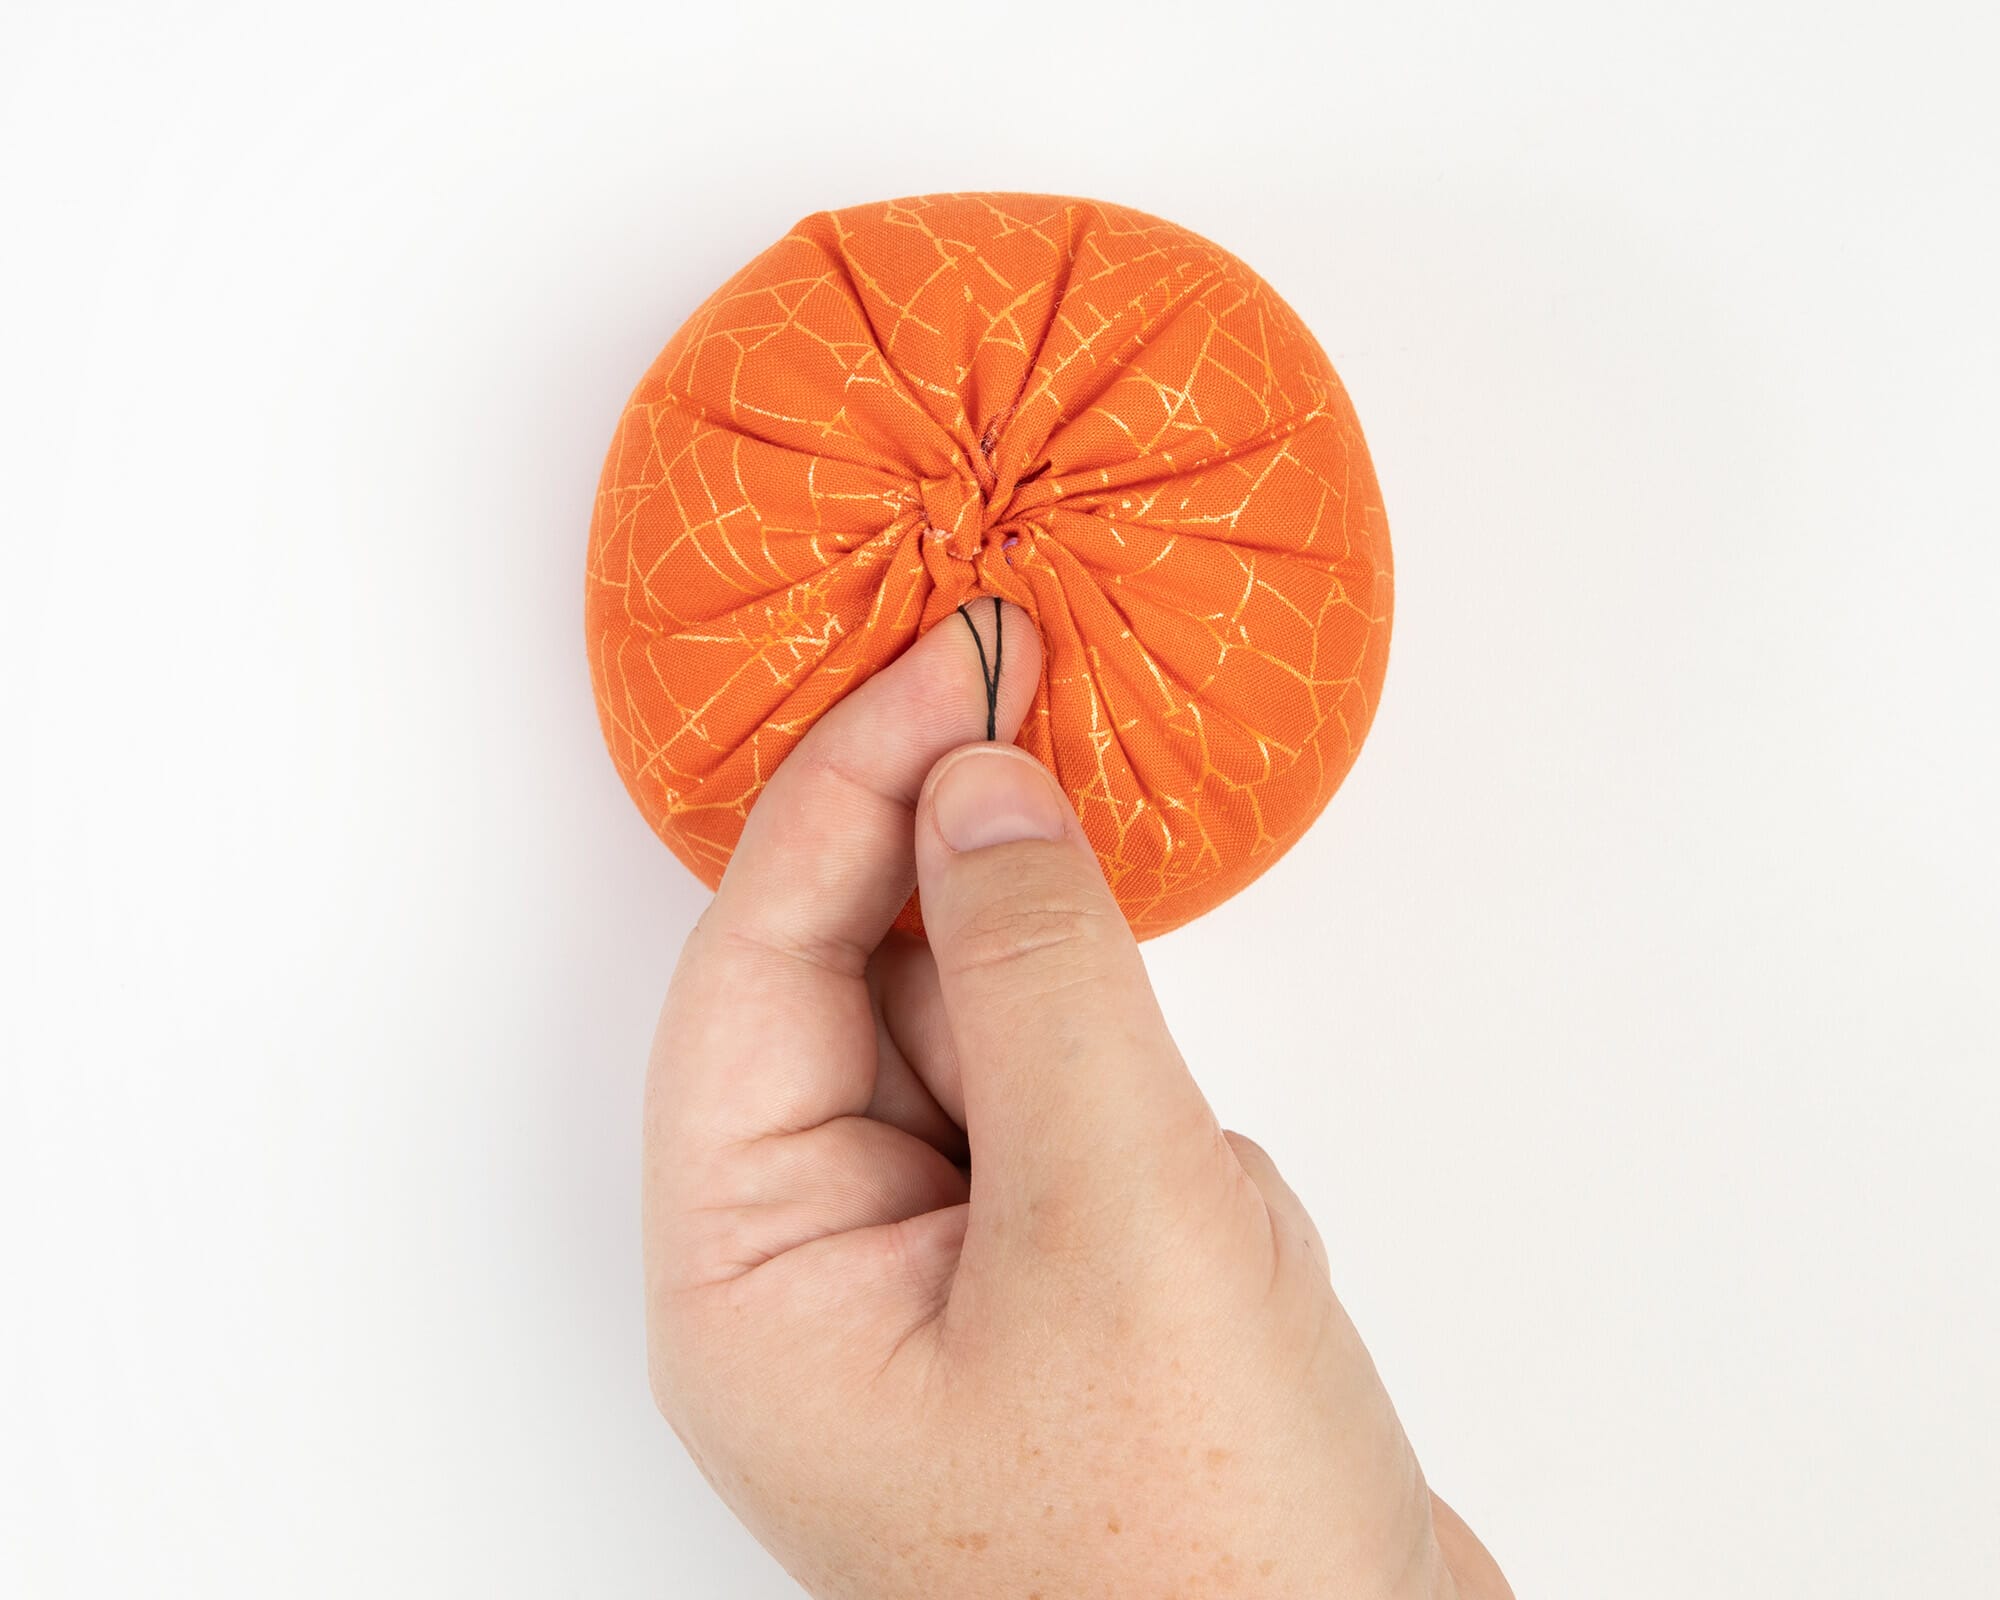
As you’re pulling it, start tucking in the top gathered seam into the opening. I like to use the end of a pen or the Purple Thang (the best multi-use tool ever!) to push those gathered edges inside the pumpkin. Tie it off as taut as you can, but don’t worry too much if it’s got a teeny little opening left at the top – this is where you can put your stem and no one will ever know! 😉 Leave a nice tail too, this is where we can tie off our thread at the end of the tutorial.

Then, we create the ribs. I like 5 of them evenly spaced throughout, but I tried 4 and 6 ribs: both looked cute! Take your darning needle and punch it down the center of your pumpkin.

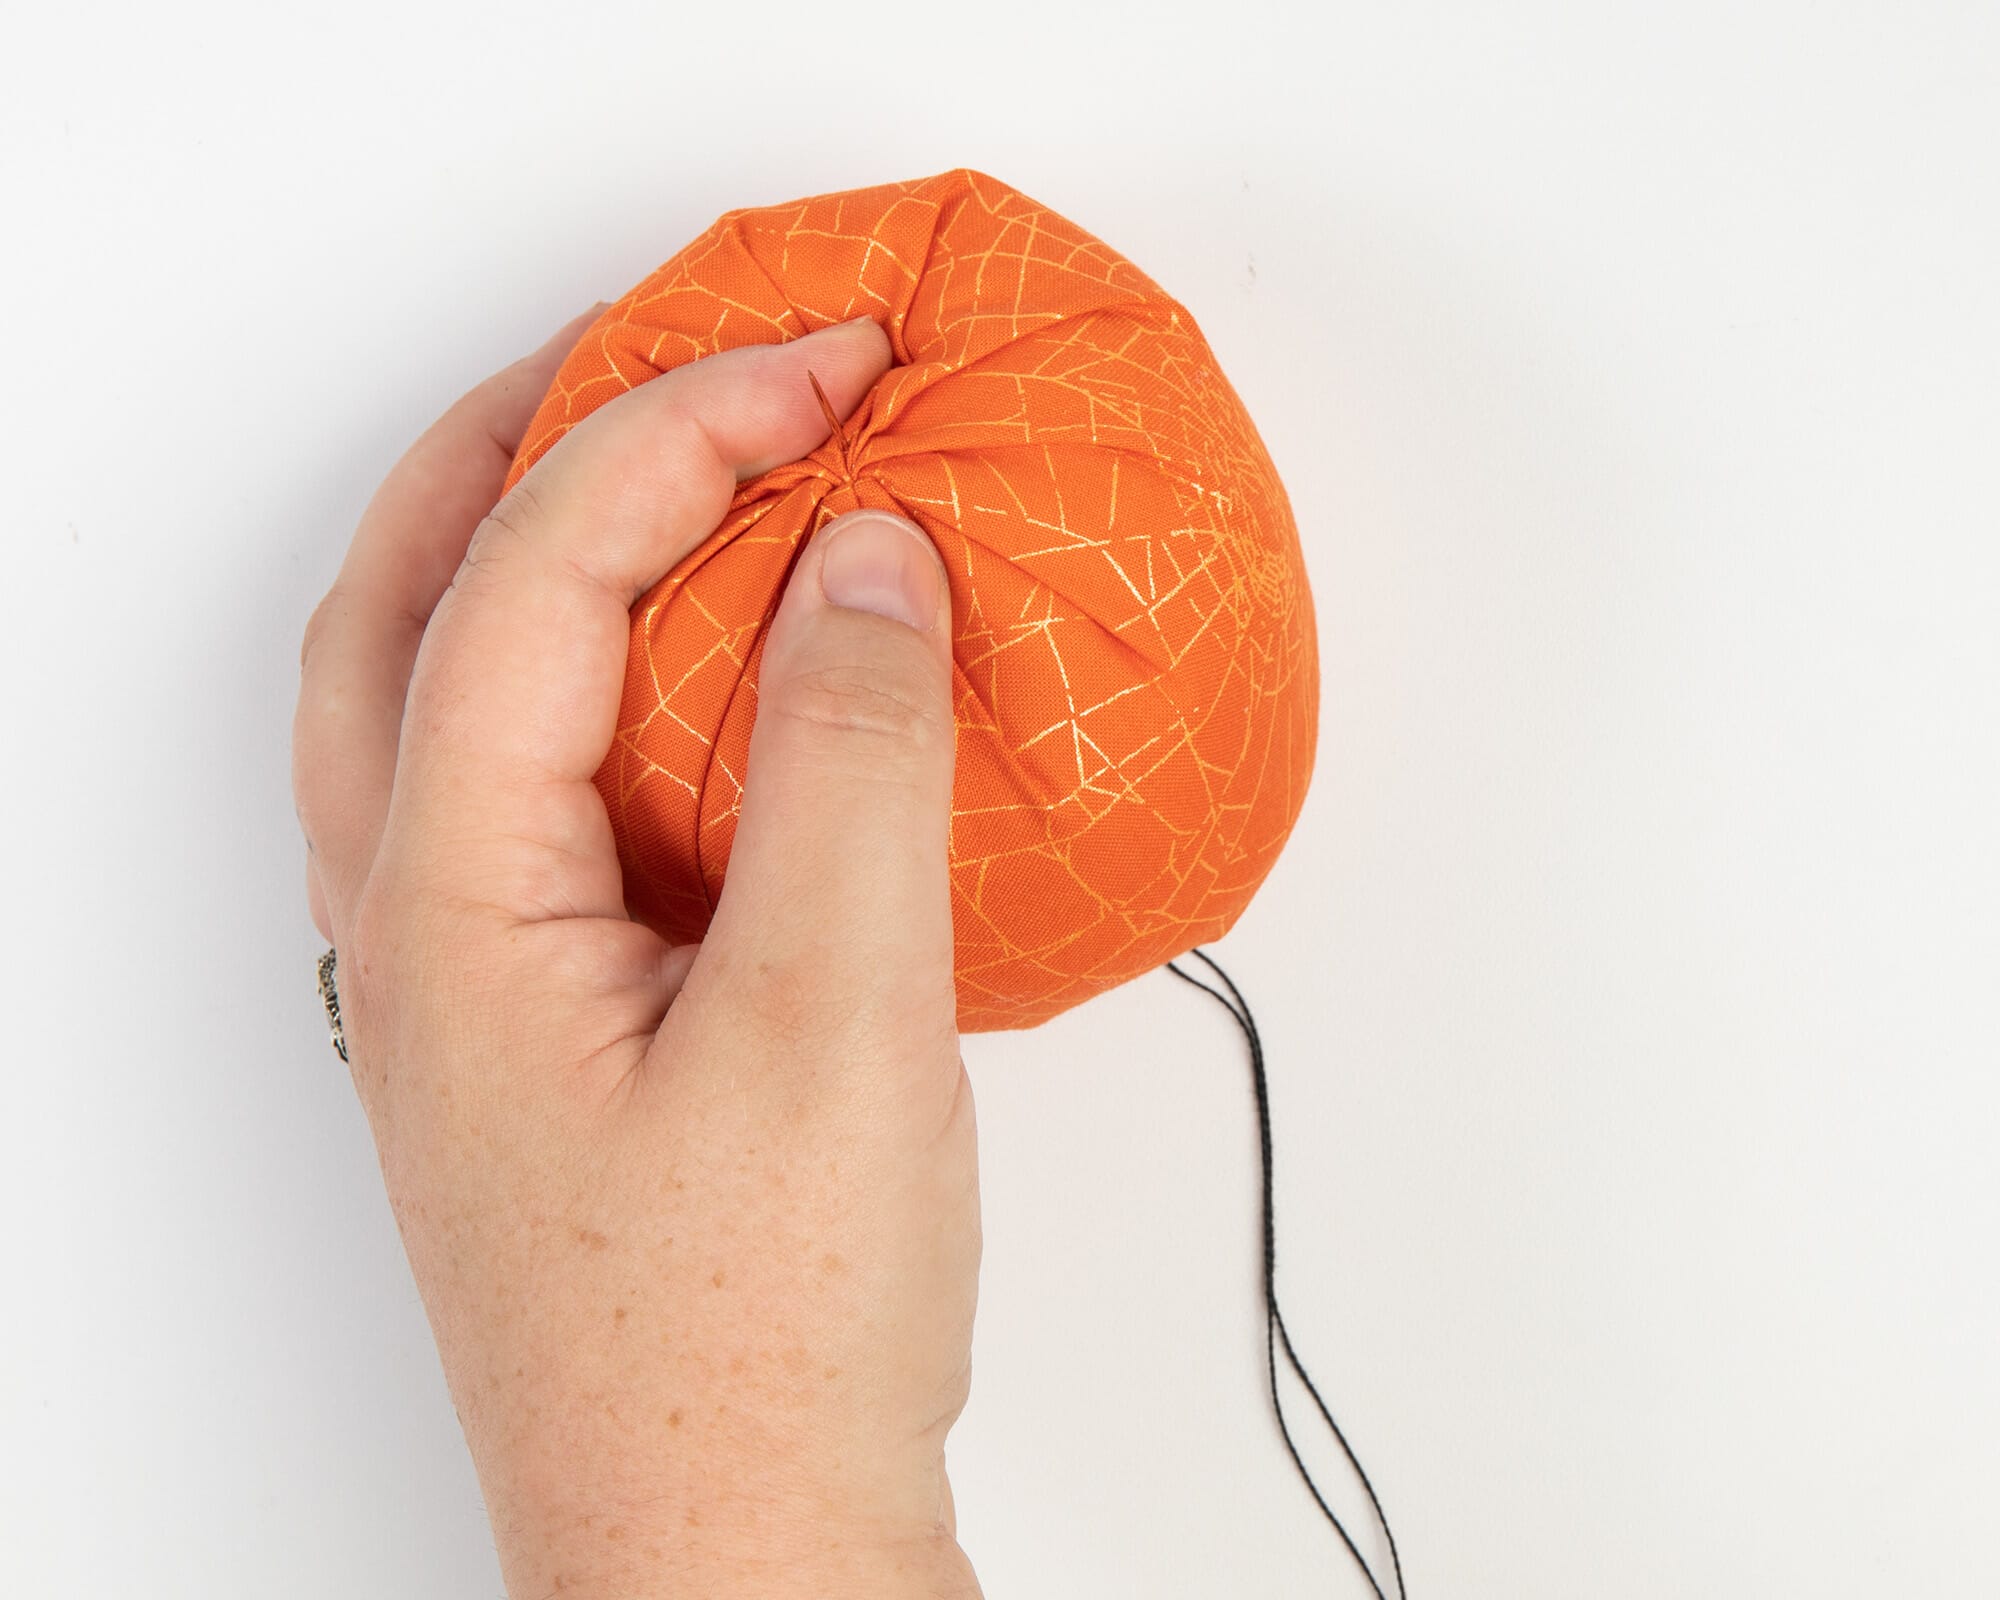
If you have a tall pumpkin with a shorter needle, you may need to squish it:

I like to use a rubber thimble (like these) or a rubber needle gripper to help pull the needle through the pumpkin. Pull it taut, then thread it through the opposite end again. Repeat this 3 more times until you have 4 ribs. On the fifth rib, tie off your thread with the leftover tail. I like to thread my needle through a notch at the opposite end of the pumpkin to help stabilize my knot when I tie it off. Grab the leftover thread – cut it off or tuck it into the pumpkin.

Next, we create the stem. If you’re using a cinnamon stick, just cut it to size and wedge it into the top of your pumpkin. You can add some liquid fabric glue here to stabilize it, or not: I had success with the stick staying on with both methods.

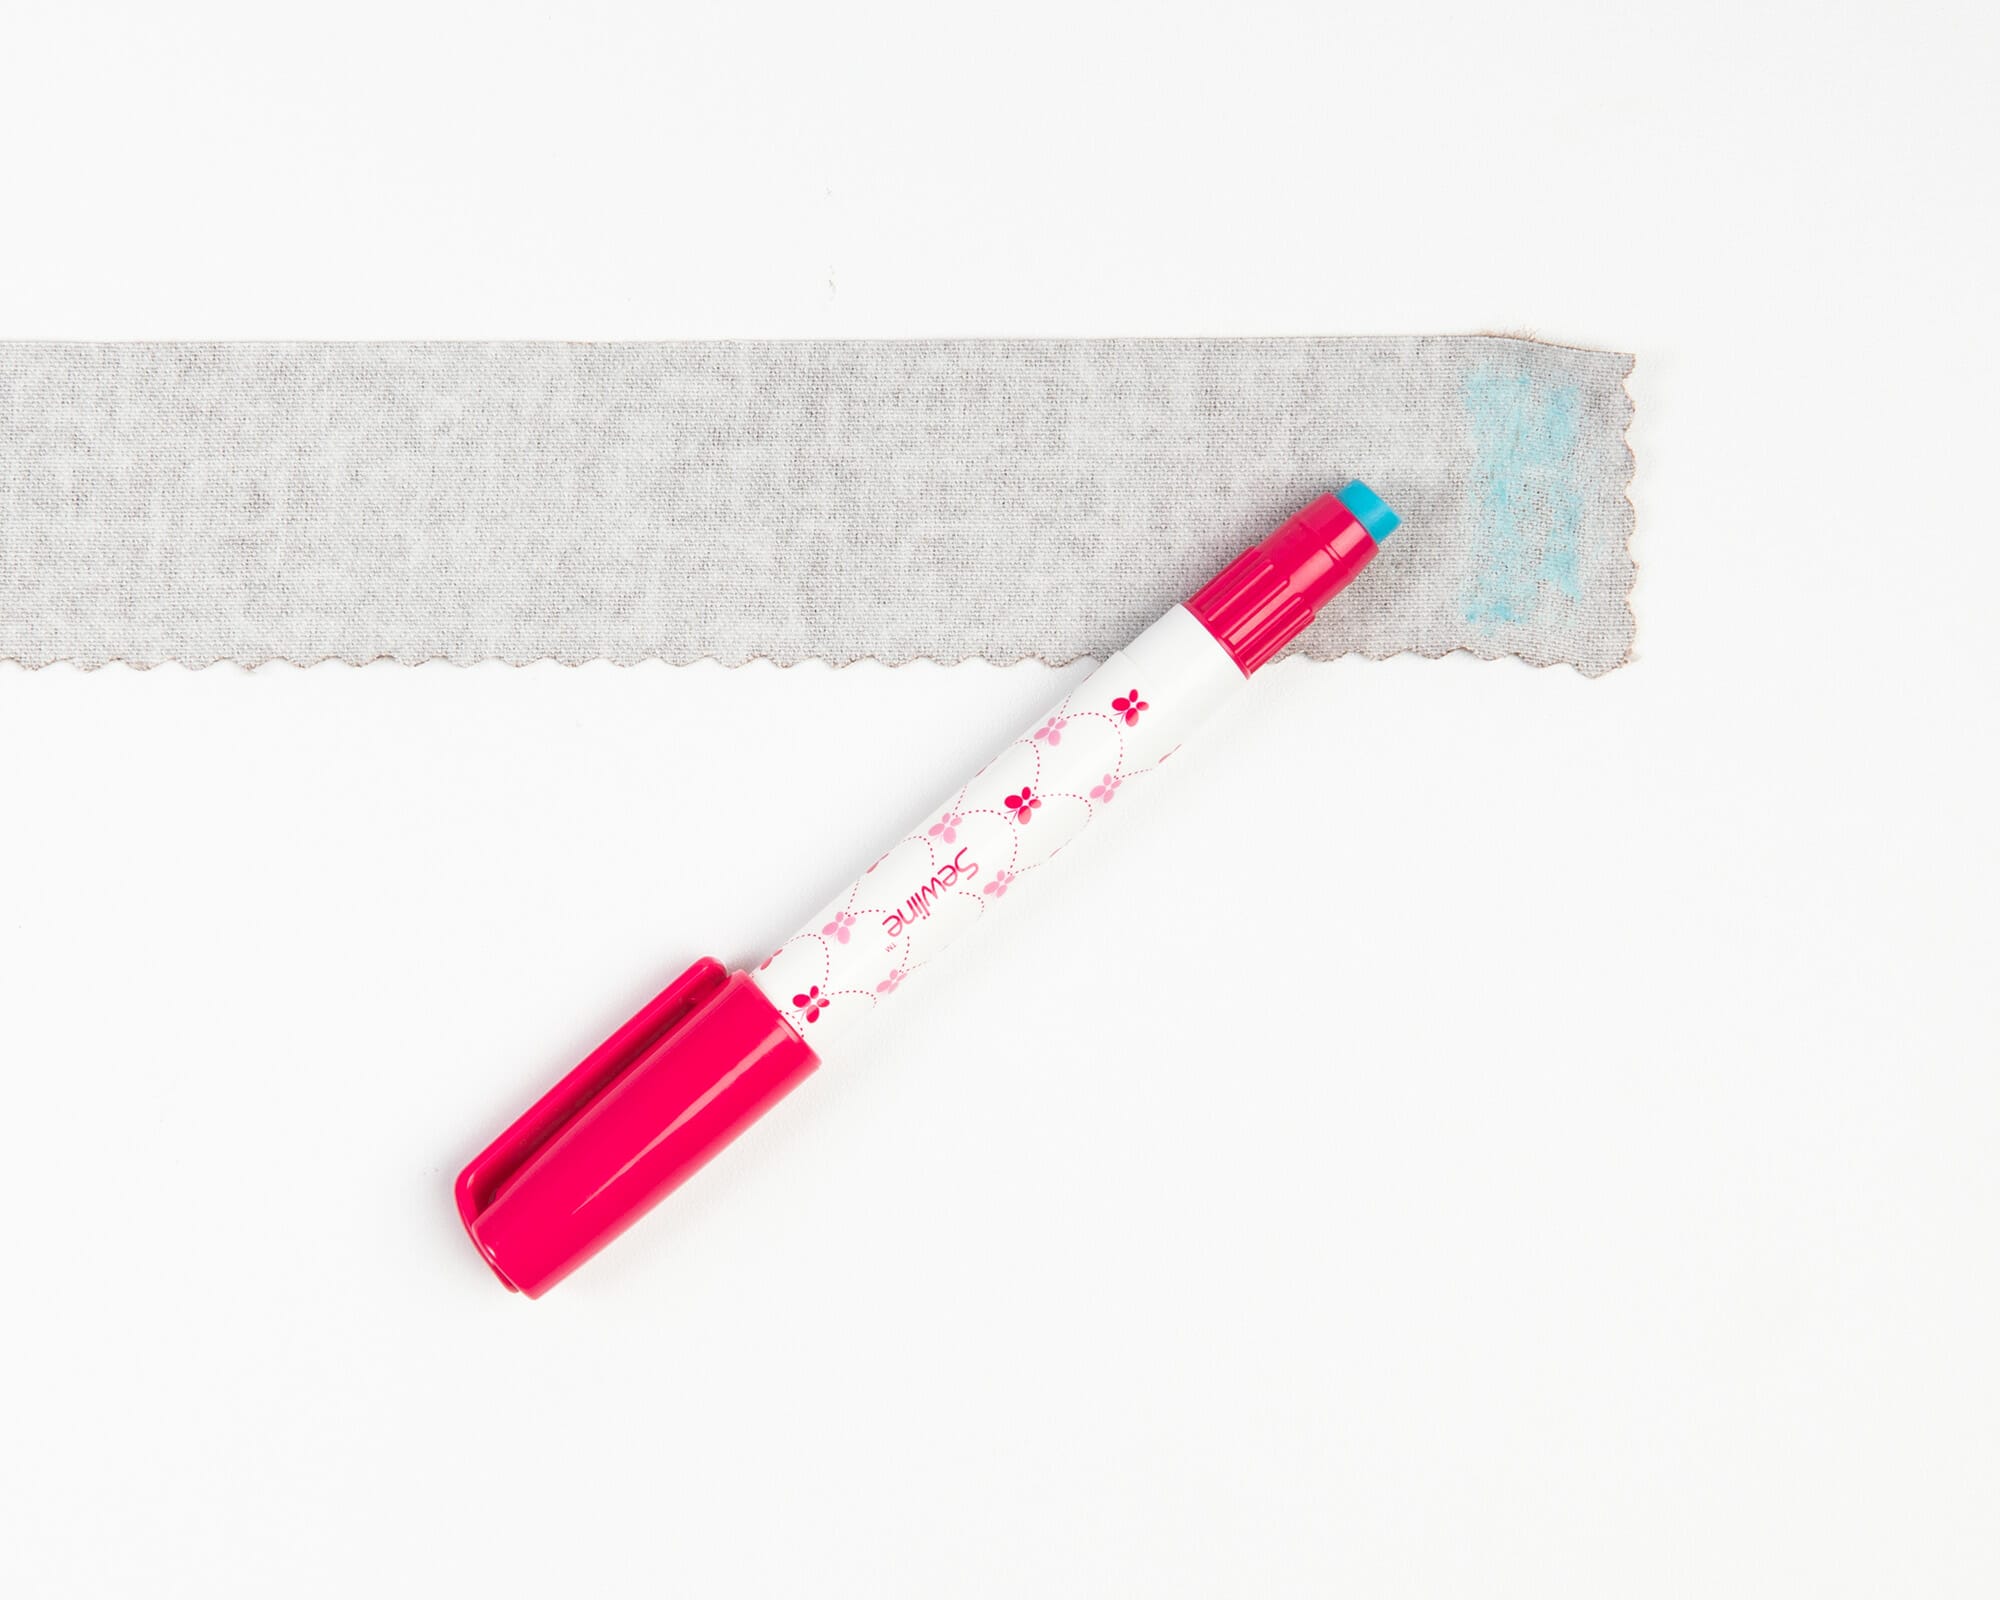
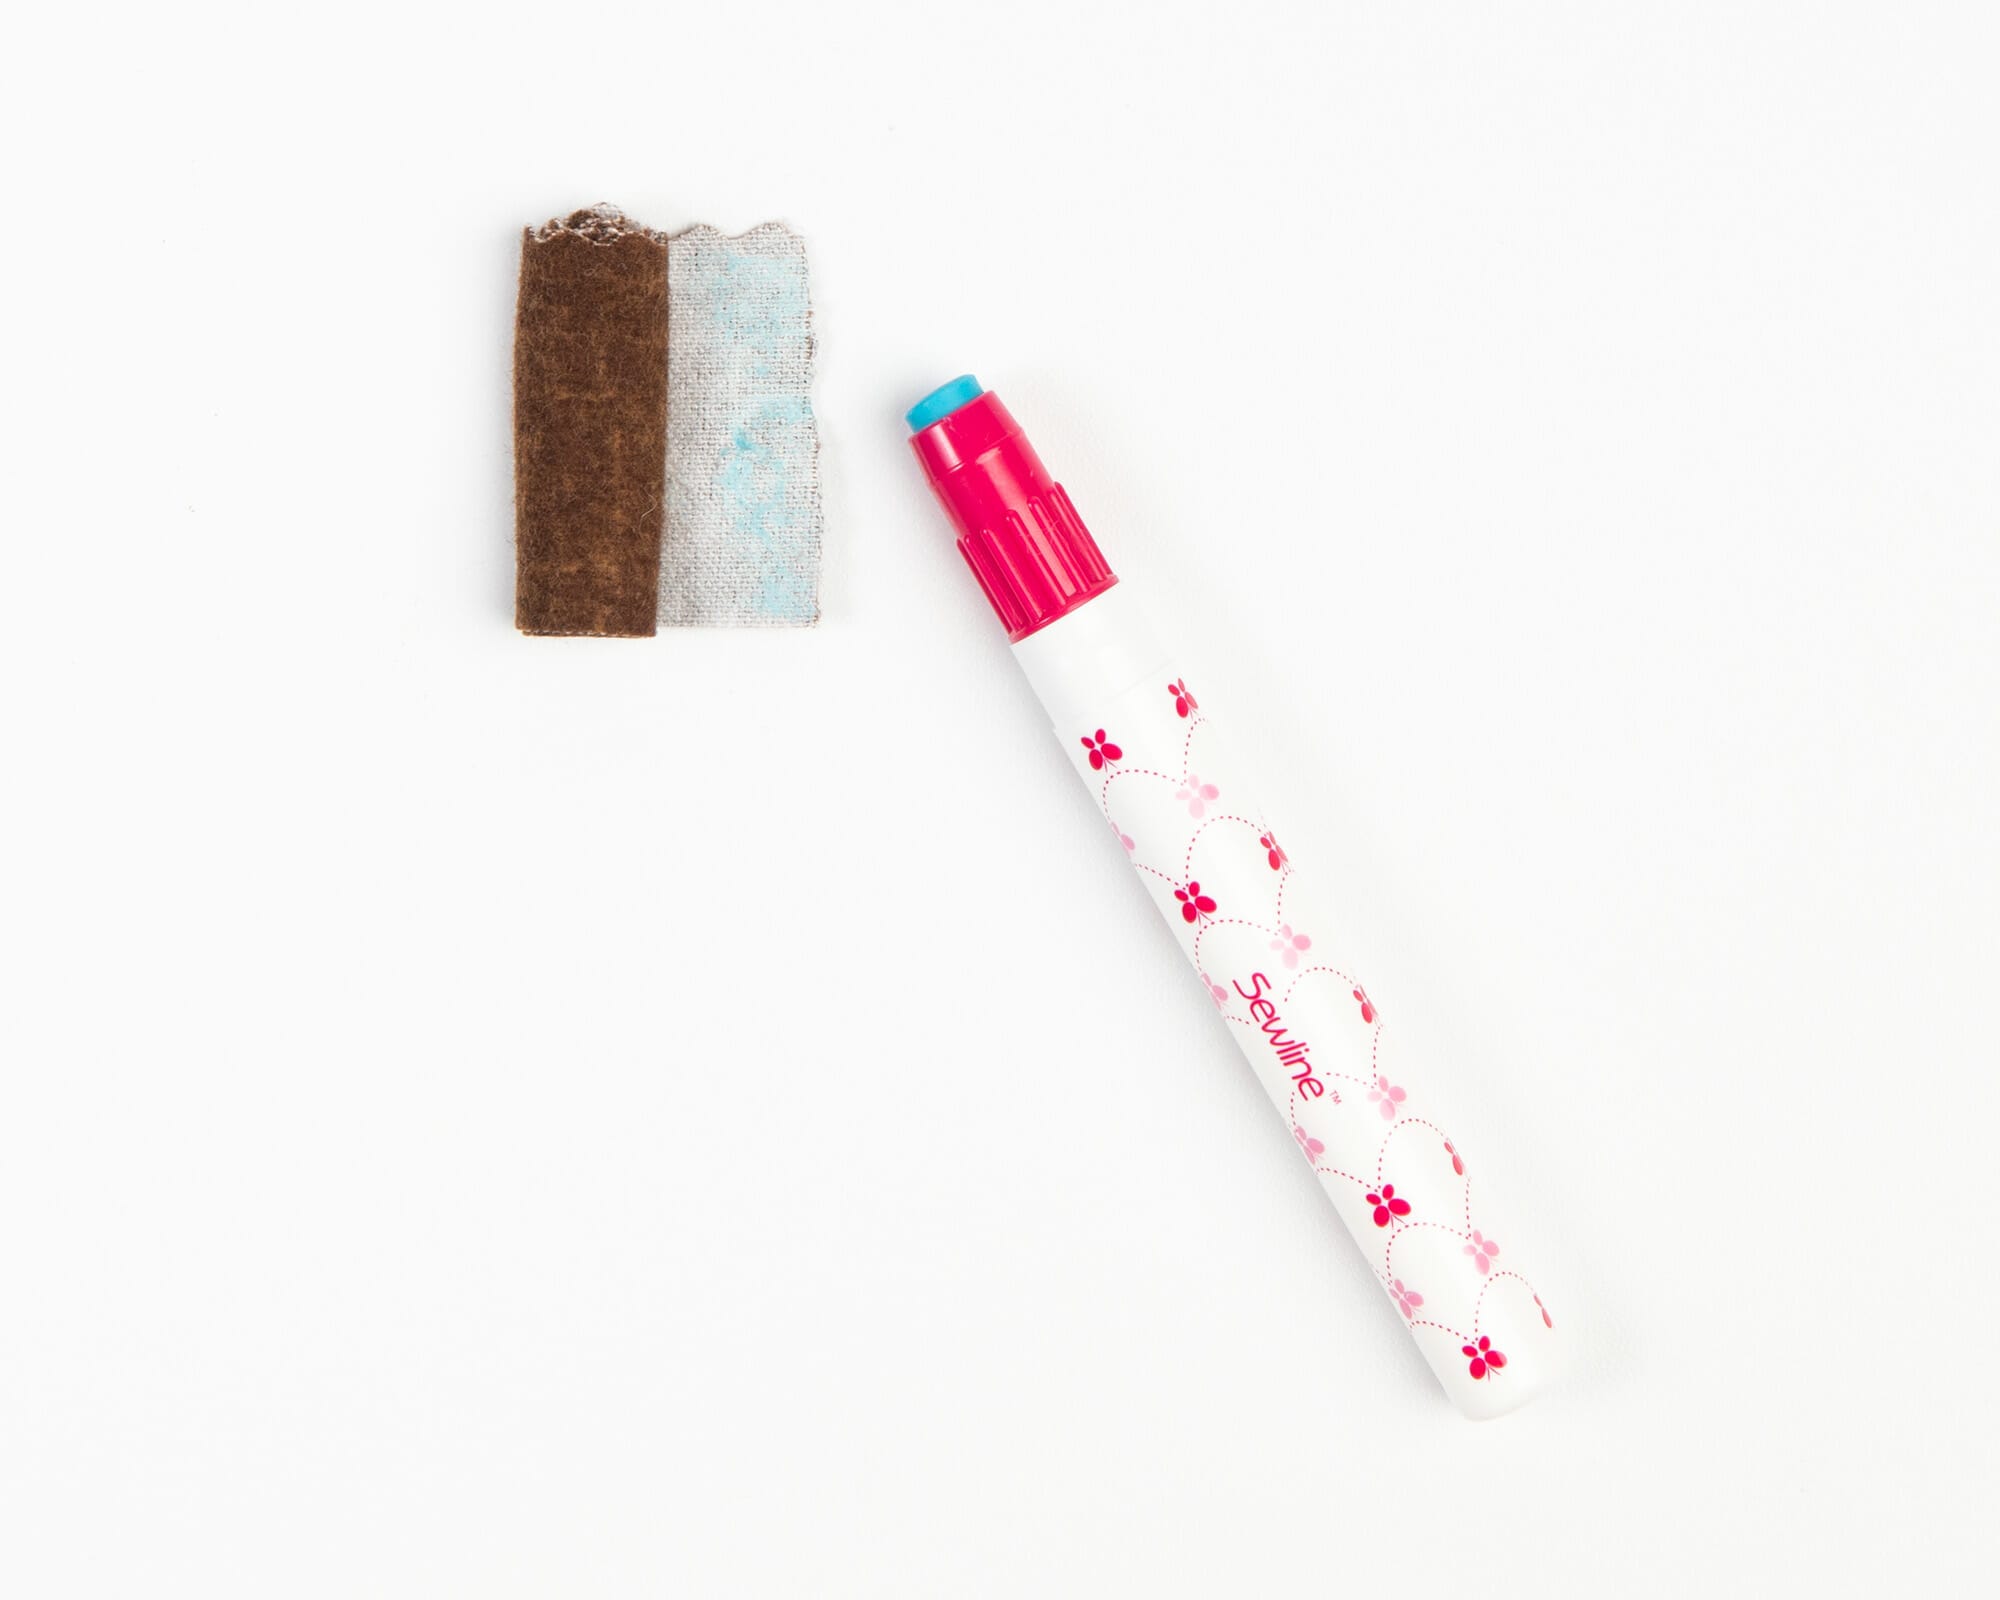
To create a flannel stem, cut off a 1.5″ strip of the edge of your 10″ layer cake square. I love the 10″ Woolie’s Flannel square because of the pinked edge: it looks so great as the top of the stem! You can also cut a piece of flannel or felt to 1.5″ x 10″.

On the wrong side, add a little glue to one end.

Fold over a little edge and press it down.

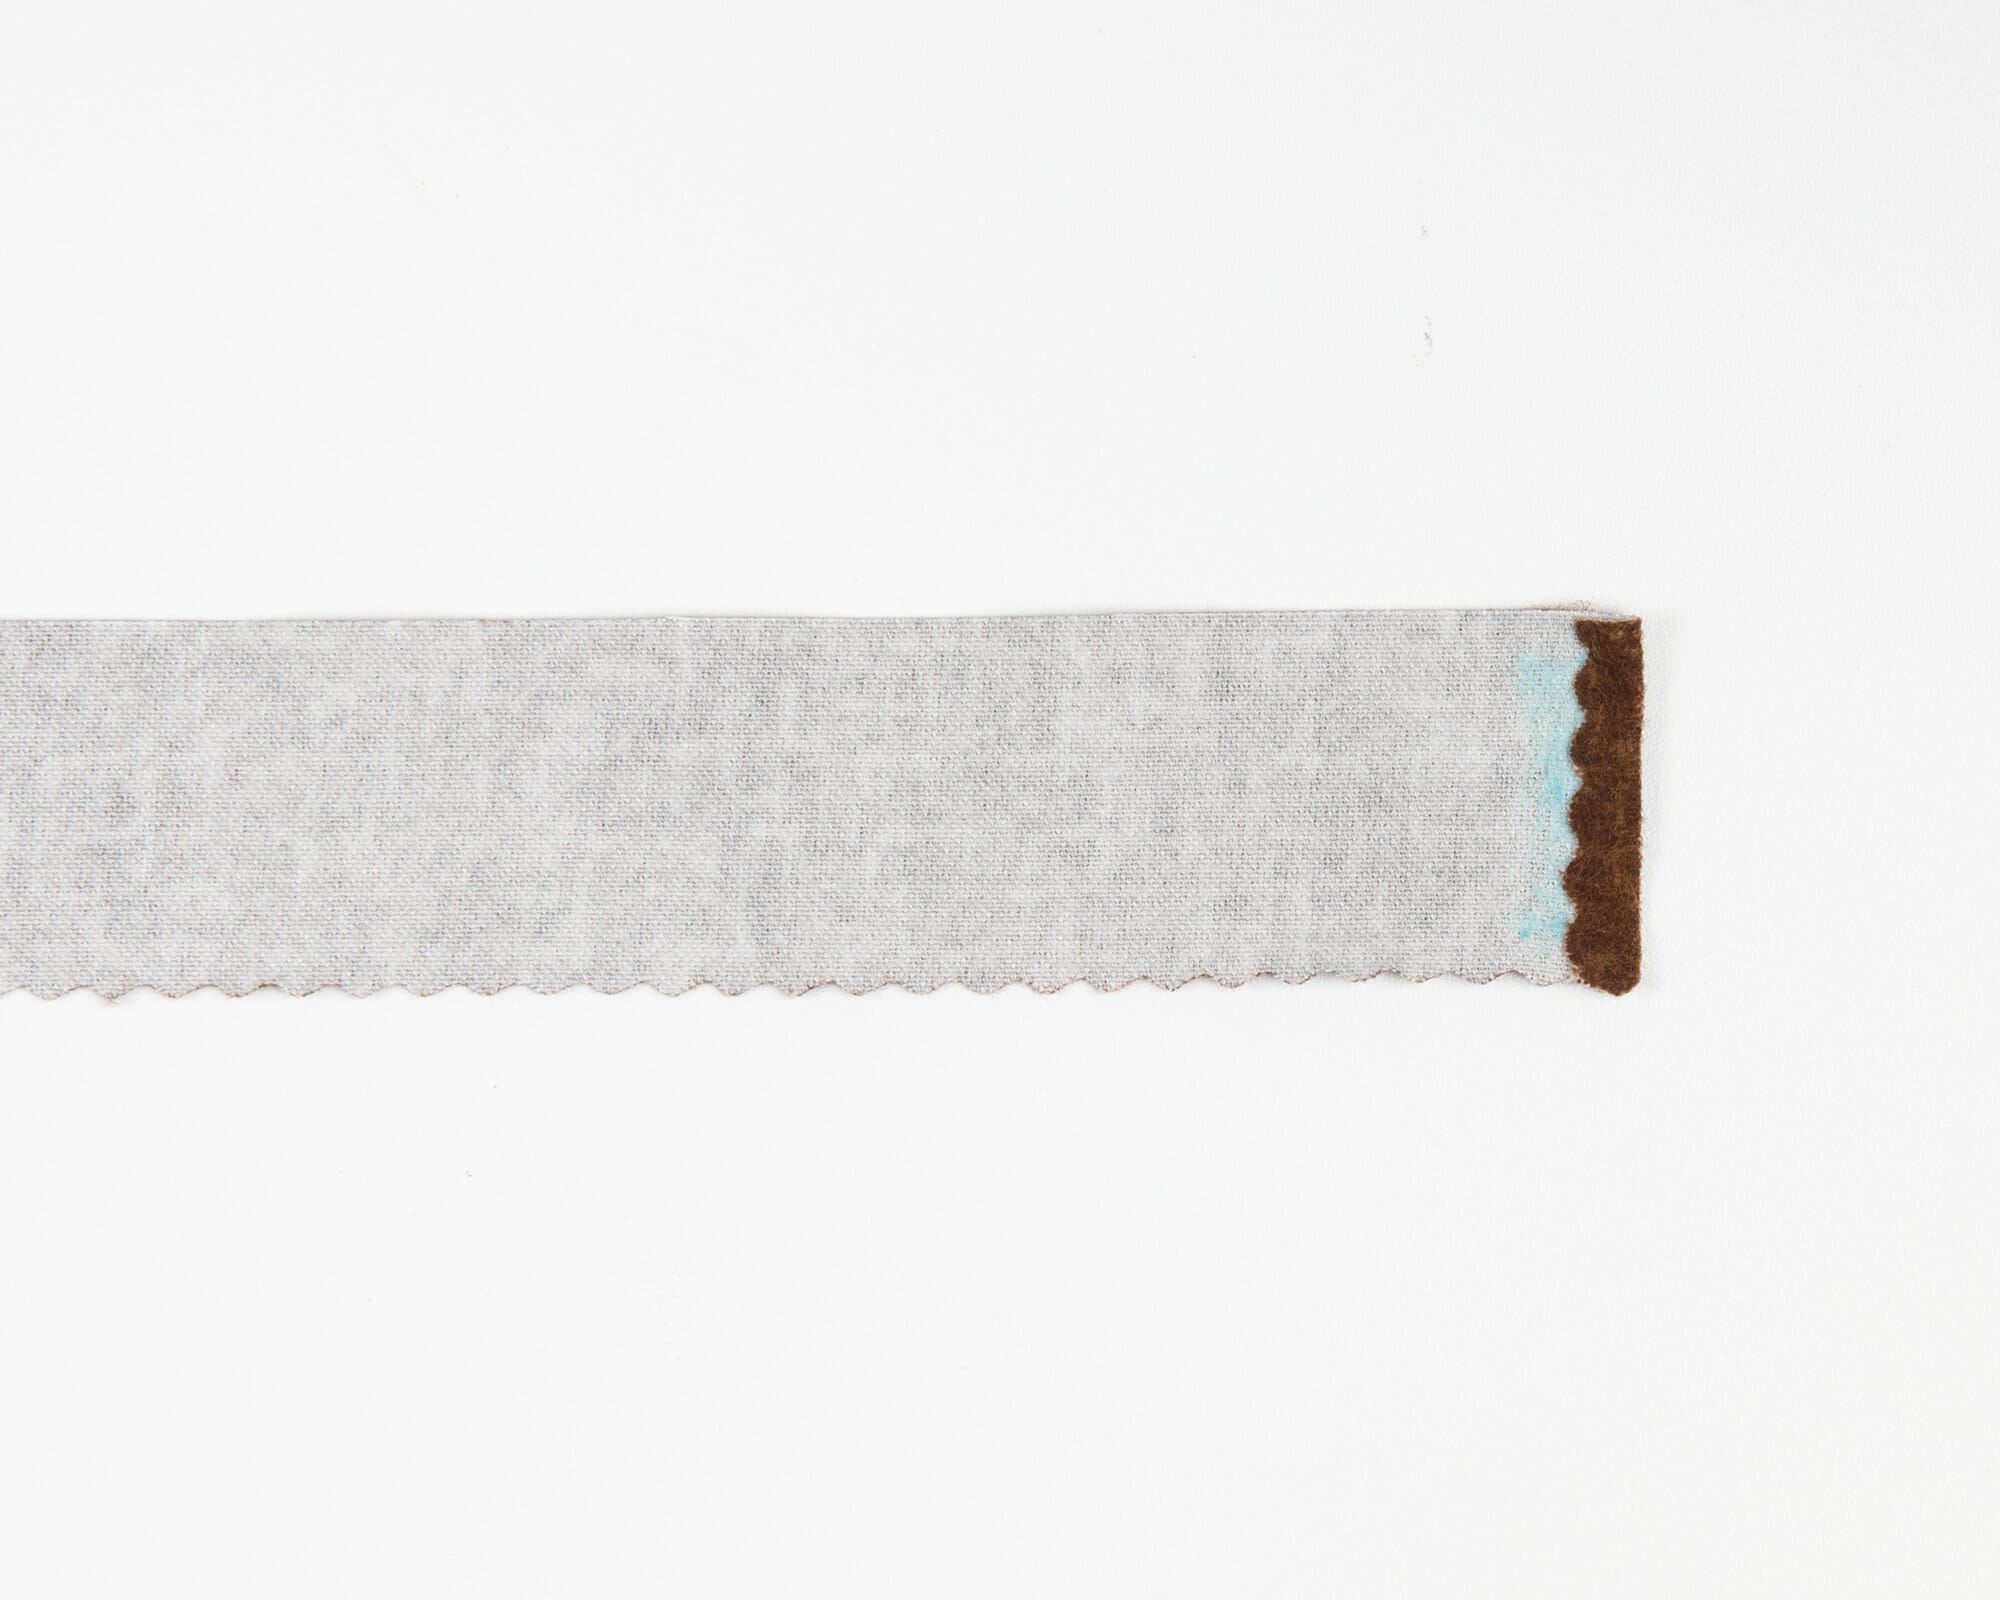
Now I like to glue a little bit, roll a little bit, then rinse and repeat until it’s about the size I want. Cut off any excess fabric, add some glue to the end and roll it around the edge.

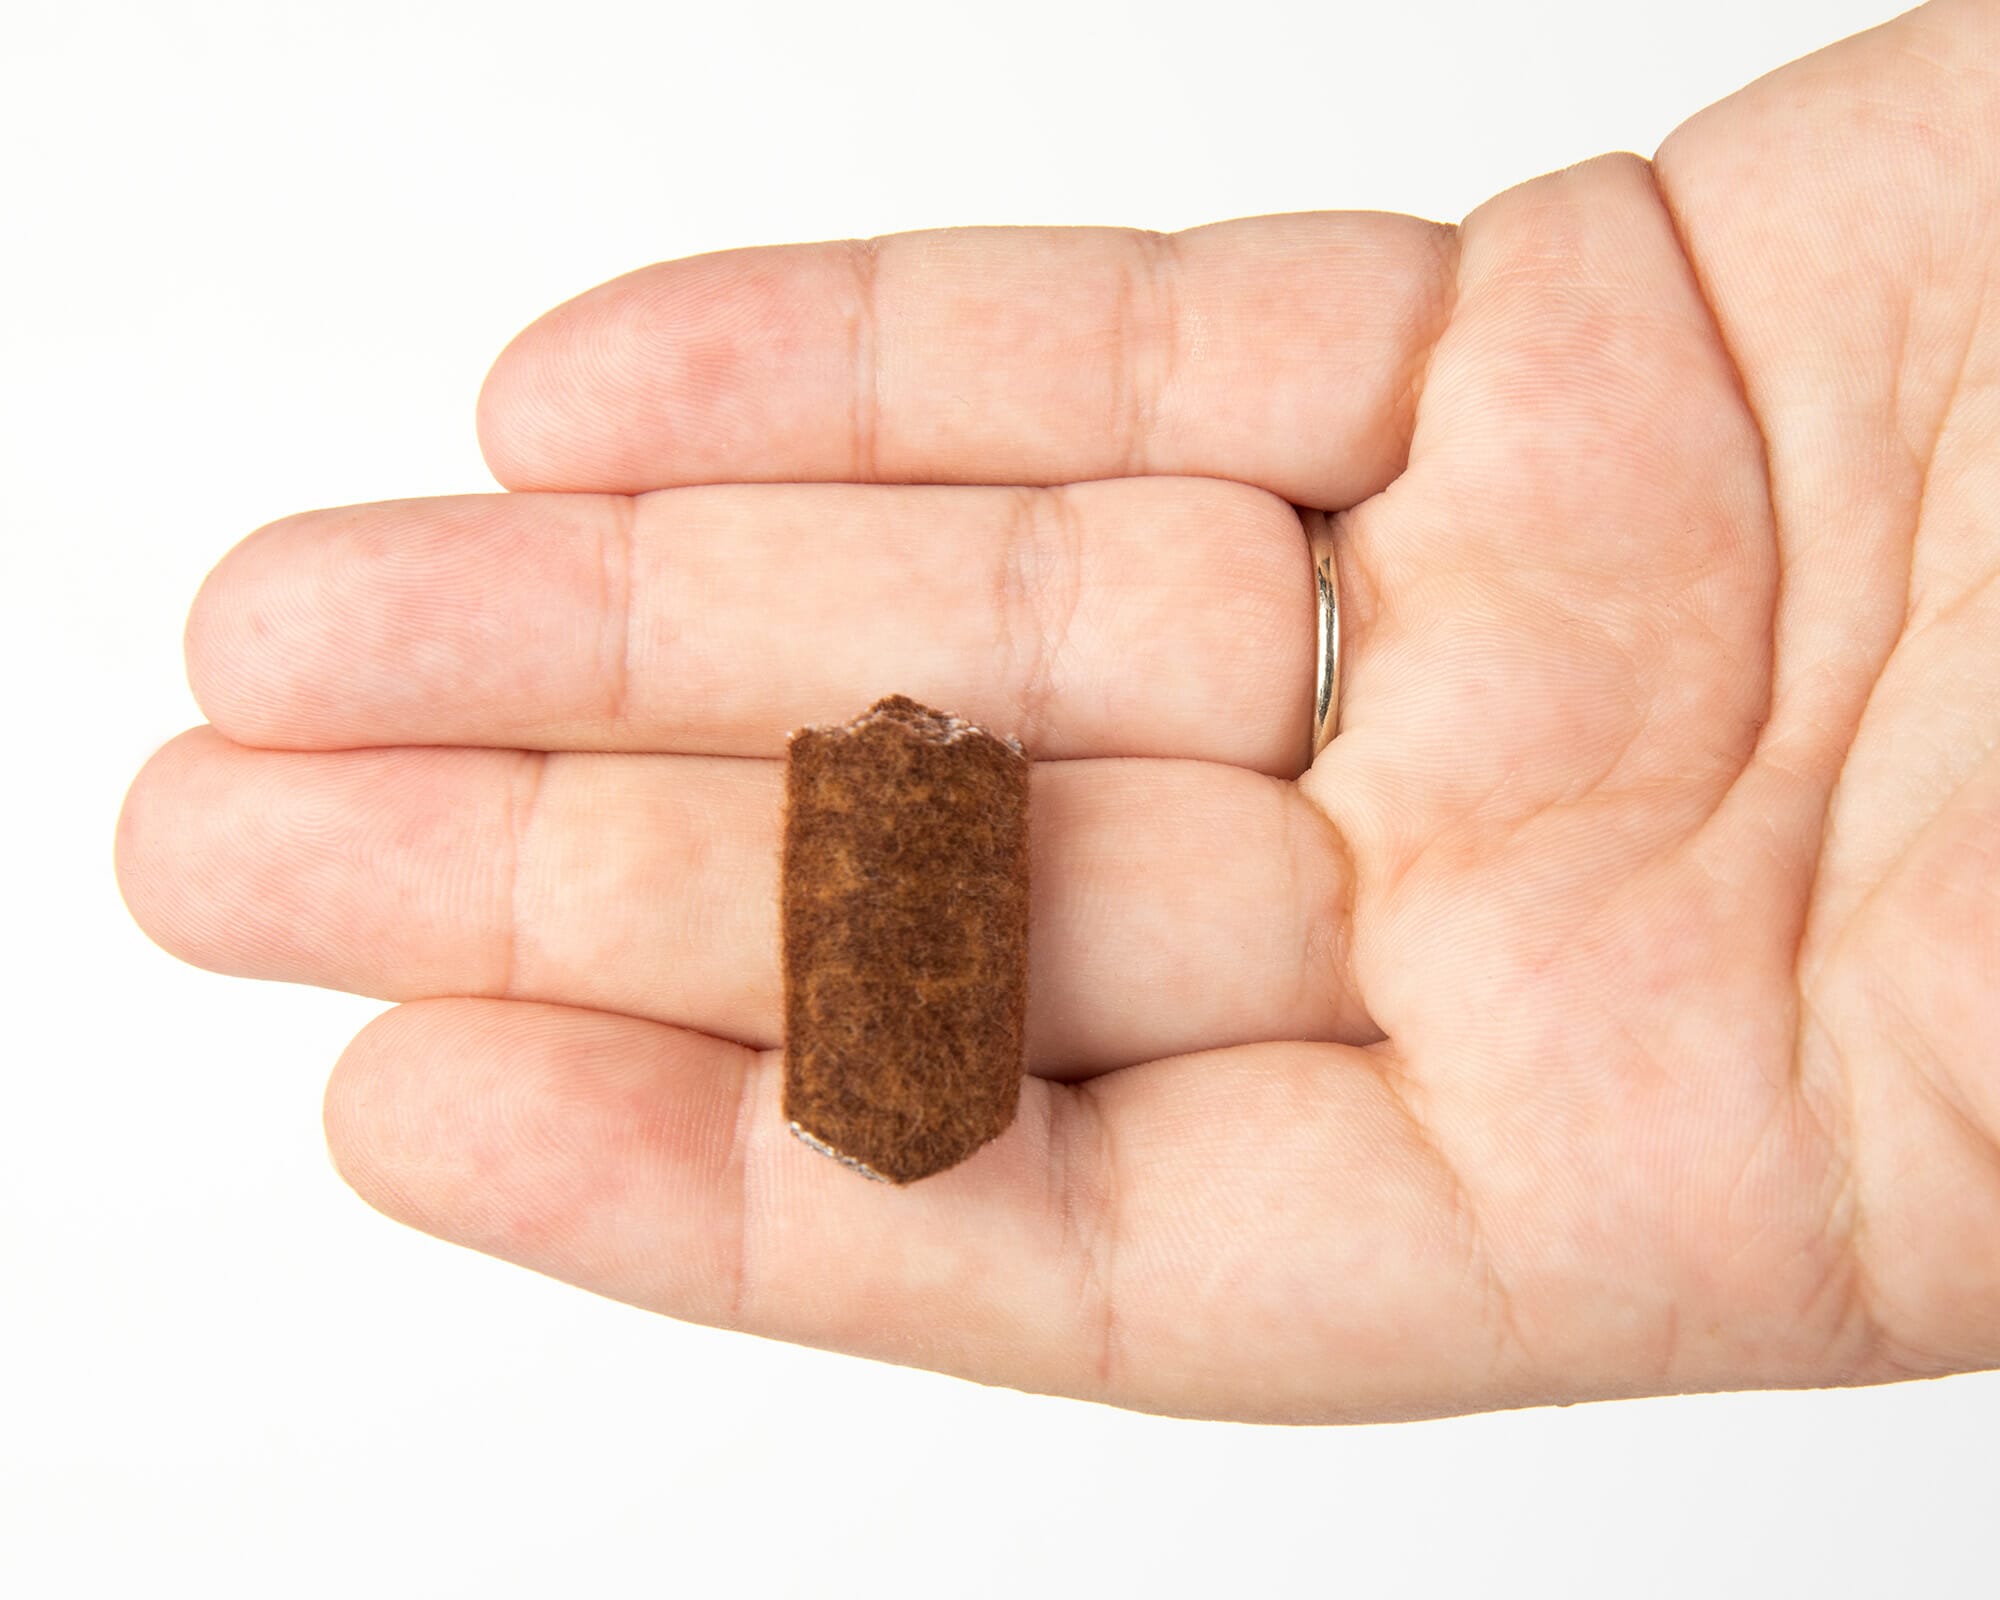
Take your scissors and cut a small V shape at the bottom of the stem: this really helps you nestle the stem into the center of the pumpkin. It’ll look something like this (now is the time to shorten your stem if you think it’s too tall!):

Add some fabric glue to the bottom of the stem and put it in the top center of your pumpkin. You’re done!

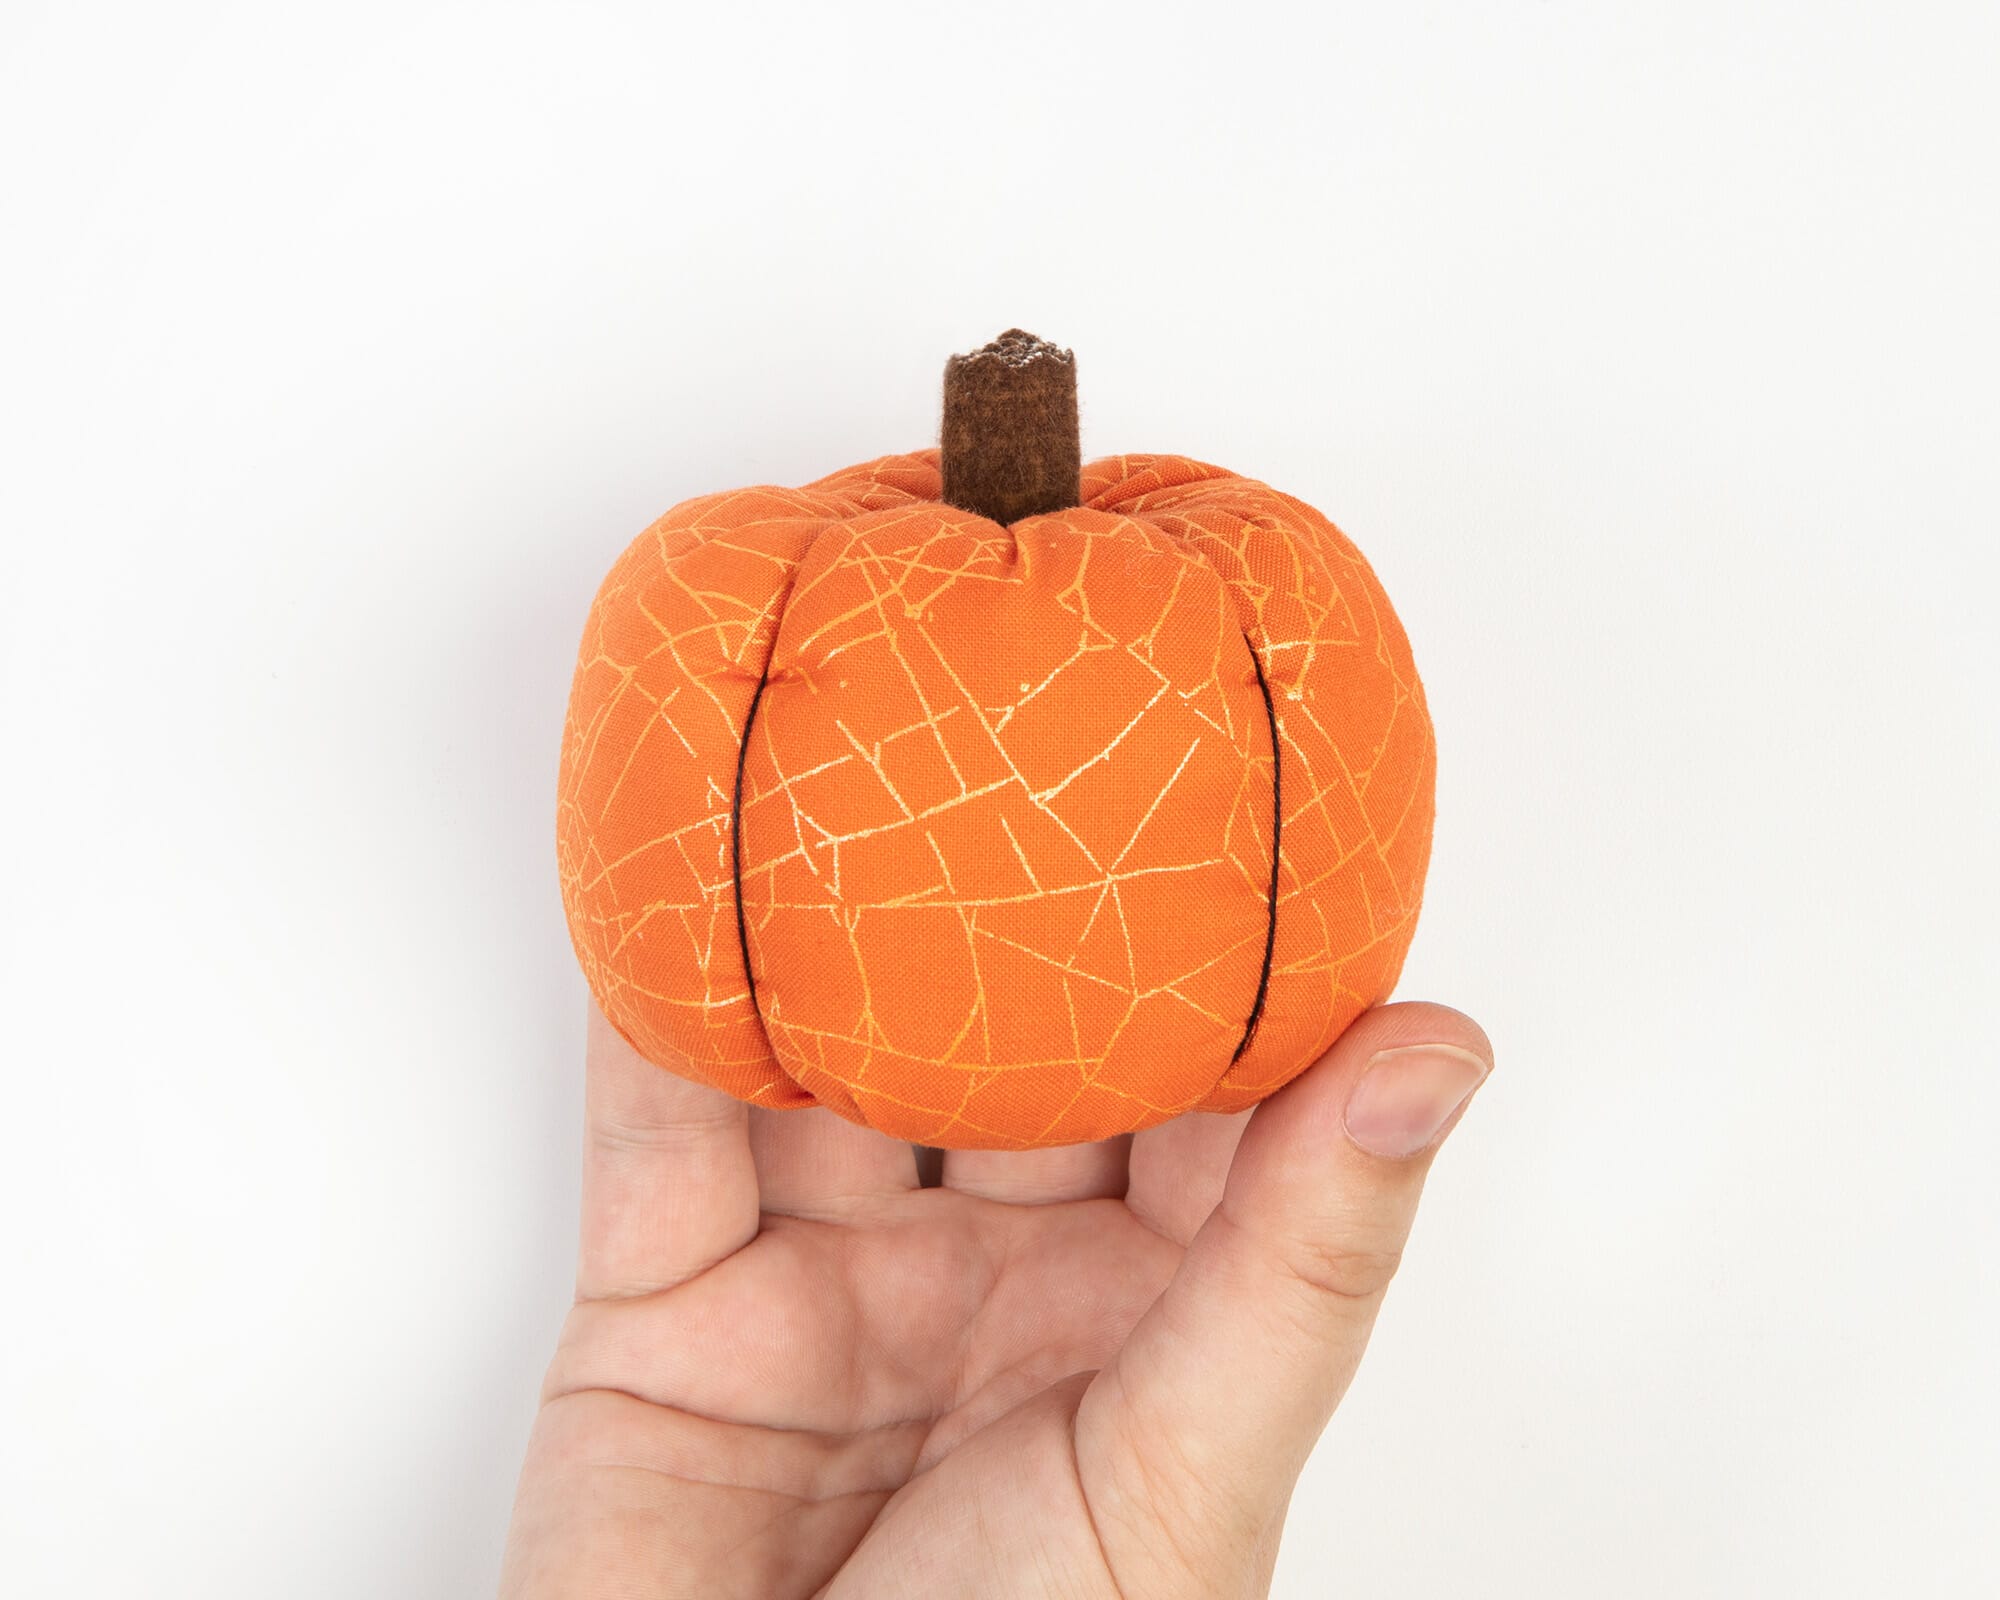
Congrats, you made an adorable fabric pumpkin! If it’s a little wonky, it’s easy to adjust: you can move around the stuffing and modify the position of the ribs.

We can’t wait to see what combinations you come up with and don’t forget to tag us on Facebook and Instagram so we can see your creations! Happy Halloween! 🎃


Ruby BOM Month 4
11.2.2021
Five red and white quilt blocks hang from twine, they feature a red pinwheel design at center and small red squares at the corners.

Can you guys believe it is already November?! I don’t know about you all but this year has flown by for me. And here we are, already working on month 4 for the Ruby BOM. Just think, after sewing these blocks, we will be 1/3 of the way done with this quilt!

This month may look a bit familiar to all of you, since it’s exactly the same as month 2. Surprise! For those with sharp memories, you may recall that we are making our 25 Irish Chain blocks in this quilt over the course of many months. This month we will be making another 5.

Since I previously did a blogpost with a tutorial for making the block, I won’t bore you again with the details. Please feel free to refer back to Ruby BOM month 2’s blogpost if you want a refresher.

This month I thought I would show you how I sew when I’m making multiples of the same block. Probably many of you already do this as well. It just makes things go so much faster!

Step One

Cutting and pinning.

I begin by cutting out everything for all 5 blocks and then get to work.

Whenever I’m piecing a quilt, I look at the entire pattern first. I try to see how much sewing I can do at the same time, even if that means skipping around a bit.

For these blocks, I know that I need to make the half-square triangles right off the bat, so I get those ready.

Squares of fabric are pinned in pairs, right sides facing, with a marked line corner to corner and pins on either side of the line.

But I also know by looking ahead in step 3 where it says “Take the two remaining D strips and sew a C square to each end”, that I’ll need two of those C/D/C units for each of the 5 blocks. So I get all ten of those prepped and pinned for sewing too.

And then looking even FURTHER ahead in step 4, I see that each block also has two units with a C square being sewn to each end of an E strip, so I get all ten of those pinned as well.

Step Two

Piecing Squares, Strips, and HSTs

Then I sit down at my sewing machine and get to work.

I always do chain piecing whenever possible. Below is a photo of my chain of half-square triangles after my first pass along one side. I don’t clip the strings, but just run the chain back through on the other side. I then clip everything when I’m done.

Squares of fabric with right sides facing have been sewn next to the marked lines into a strand and are resting on a cutting mat.

Once I have all that prep sewing done, I finish up my half-square triangles, square them up, and start making my pinwheel blocks.

Step Three

Piecing Pinwheels

This time I paid attention to the orientation of the pinwheels, and laid everything out from the start (to make sure I didn’t mess those up like last time)! If you want the nitty-gritty of putting these together, you can refer back to Ruby BOM Month 2.

I’ve included a photo of the pinwheels with one showing the back side so you can see how I pressed the center open. This allows the block to lay flat. If you carefully press the center open, it should naturally push one seam up and the other seam down. You should also end up with a tiny pinwheel in the center where you’ve pressed open!

Red fabrics are sewn into 5 squares with a pinwheel design and are resting on a cutting mat.

Step Four

Assemble Blocks

After the pinwheels are finished, there is more assembly line pinning and sewing to get all the D strips to the sides of the pinwheel.

Sew strips to pinwheels

Now that the sides are pressed open, I can put those C/D/C strips I previously made on the top and bottom. I like to pin at each seam, especially when there is a seam I can’t see on the back side. The pins serve as a reminder, so that I can make sure my seams aren’t flipping up as I sew.

I usually don’t press things until I have both sides sewn on, as you see below.

Press and trim

After pressing everything, I like to go ahead and square up the units. Make sure they are all 8-1/2” square. As you can see from the photo, there isn’t much to trim off. I like having the edges all cleaned up for the next step.

Attach final strips

All that is left is to sew on the final E strips, along with the C/E unit’s I’d previously made. Sometimes I like to pin both sides at once, so I can stay at my machine and sew like crazy!

By sewing the blocks this way, I was able to get all 5 done in a matter of hours. I love it when things come together quickly! By the time we are done with this quilt, we will be able to make these blocks in a flash, right?!

I hope you all have a wonderful November, and I’ll catch you all next month for Ruby BOM Month 5! – Kristin


YoYo Makers
12.13.2016

Featured Tool: YoYo Makers by Clover, Item # 81857, 81858, 81837, 81838

What is this tool typically used for?

The YoYo Makers are for making cute, sewn (cinched) fabric embellishments.

What was your first impression of Clover’s YoYo Makers?

They look like Mickey-Mouse ears!

How did you use it?

You cut fabric to fit 1/4″ around the plastic yo-yo maker, place the fabric inside, and snap the lid on. Yo-yo makers are a guide for stitching around your fabric so that when you cinch or pull the thread to tighten your yo-yo, the stitches are even. It also provides you something to hold onto. You’ll end up with a very nice yo-yo.

How long did it take you to learn how to use it?

Just a minute or so!

What did you like best?

I love using these yo-yo makers, it’s pretty fast and you can really crank out some yoyos in no time at all. There are four different sizes available: extra small, extra large, small, and large.

What did you like the least?

Nothing negative stood out to me about this tool.

Why do you NEED it?

They are FUN to use and super easy.

Who would appreciate YoYo Makers most?

These are perfect for:

  • Beginner, intermediate, and expert quilters
  • Someone acquiring the basics

Chevron Techniques
9.4.2014

Chevrons seem to be everywhere in quilting, home décor, and clothing. They have a modern, graphic appeal with a sense of movement and vibrancy. Since my work revolves around quilting patterns and designing, I have come across several ways to construct chevrons. While there is often more than one way to do a design or technique in quilting, it is a bit unusual to find so many methods to accomplish the same design element. Please keep in mind, I am making up the names of the methods based on the method or basic unit involved.

So, just for fun, here is a run down of ways to make chevrons. The color and size of the chevrons can easily be changed depending on your project.

Rail Fence
The easiest way may be to strip piece two-rail Rail Fence blocks. For example, sew two 2-1/2″ strips, press to the darker fabric, and sub-cut every 4-1/2″. Placing the units at alternating 90º angles shows you the pattern but the units are pieced in diagonal rows before sewing the rows together. The edges are trimmed, leaving a 1/4″ seam allowance.

Ann-NewRailFence1

Ann-RF2

Half-Square Triangles
Half-square triangles (HSTs) are a very common way to make chevrons. If the HSTs have a lighter and darker side, they can be rotated consistently to form the chevron pattern as shown below.

Ann-HSTs

Strip Piecing with Diagonal Cuts
For this strip-piecing method, fabric strips are sewn together and then cut on a 60º angle. The same or different fabrics are joined and cut on a 60º angle going the opposite direction. The diagonal sub-cut sections are sewn together to form chevrons. Using slightly darker fabrics in the second strip set adds to the 3-D effect.

Below are two drawings to demonstrate the assembly method:

Ann-Dwg4

Ann-Dwg5

Stitch and Flip
The units making up the chevrons are made with the stitch and flip method. Squares, marked on the wrong side with one diagonal line, are added to each corner, sewn alongside the diagonal line on the side closer to the corner, trimmed leaving a 1/4″ seam allowance, and pressed. It is important to pay attention to the orientation of the diagonal line and the color placement. Half of the units have the diagonal lines going the opposite direction.

Ann-SnF4

Ann-SnF-1

Ann-SnF-3

Flying Geese
Rows of Flying Geese can create chevrons by alternating the spacing of each row. If the odd-numbered rows start with a Flying Geese unit, the even-numbered rows start and end with a HST as shown.

Ann-FG

Tri-Recs
The Tri-Recs ruler makes square units with a triangle in the center.

Two Tri-Recs units make a particularly deep chevron. Note that you need to reverse the color placement on half of the units.

Ann-Tri-Recs