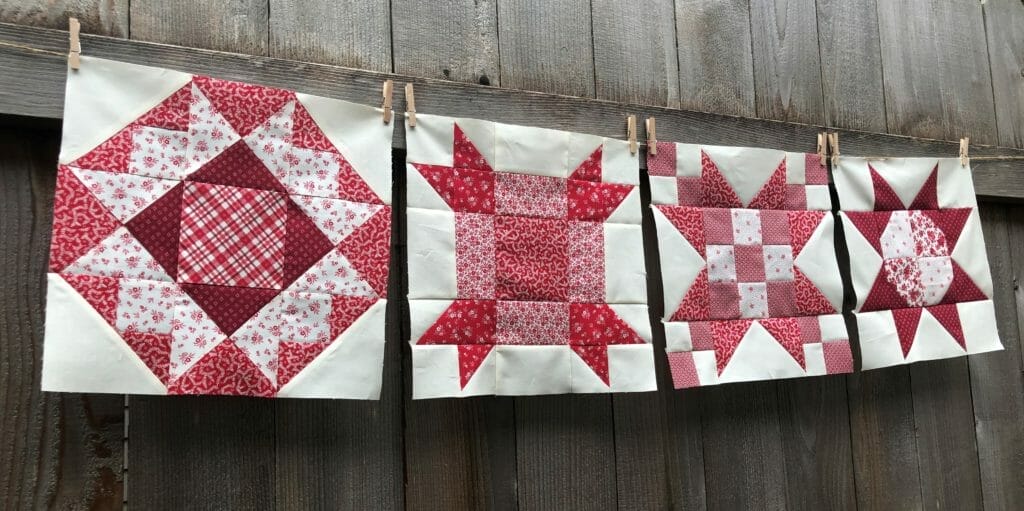
Welcome back, and Happy Holidays everyone! I hope during this season that you all get to take a little time for yourself, and hopefully some of that ‘me’ time involves quilting. As for me, I’m still working on getting up the last of my Christmas decorations. My tree is up, but still has yet to be adorned with ornaments. I also inherited SO MANY decorations from my mom’s passing earlier this year, and I think I need a bigger house to fit them all. For some insane reason, my husband disagrees. I mean, a couple hundred santas isn’t too much, is it? I know some of you might think I’m exaggerating. I am not. My mother LOVED Christmas on a whole other level, and even after dividing everything up with my siblings, there is still enough at my house to open my own Christmas store. And honestly, I LOVE IT! But I digress. You are all here to read about this month’s Ruby blocks, not my holiday shenanigans! Back to business…
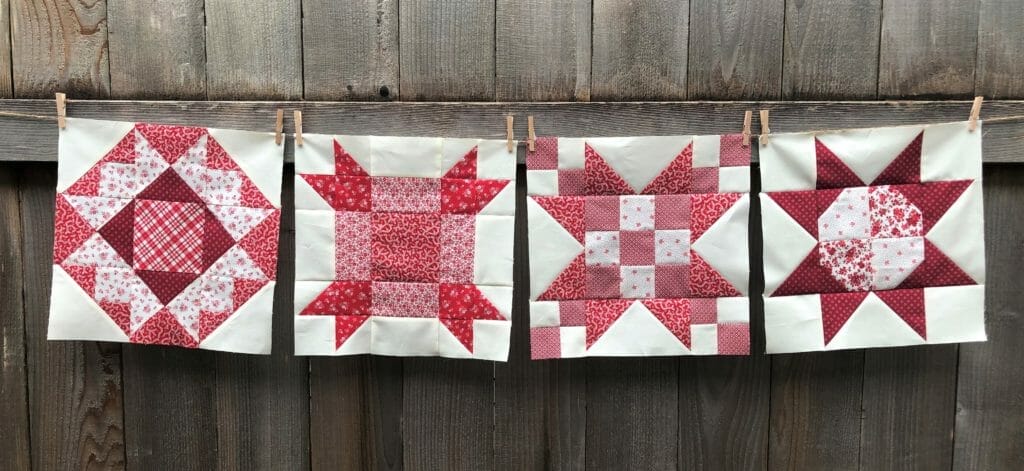
This month we will be making another 4 unique blocks, although a couple of these may look familiar to you. If you look closely at the finished quilt, you’ll see that every “unique” block actually appears twice, with the two blocks sewn in different fabrics. I’ve written separate instructions for each one, just so you don’t get confused as to which fabric goes where. I made that mistake in an old BOM, and vowed never to do that again! Lesson learned.
Block 3
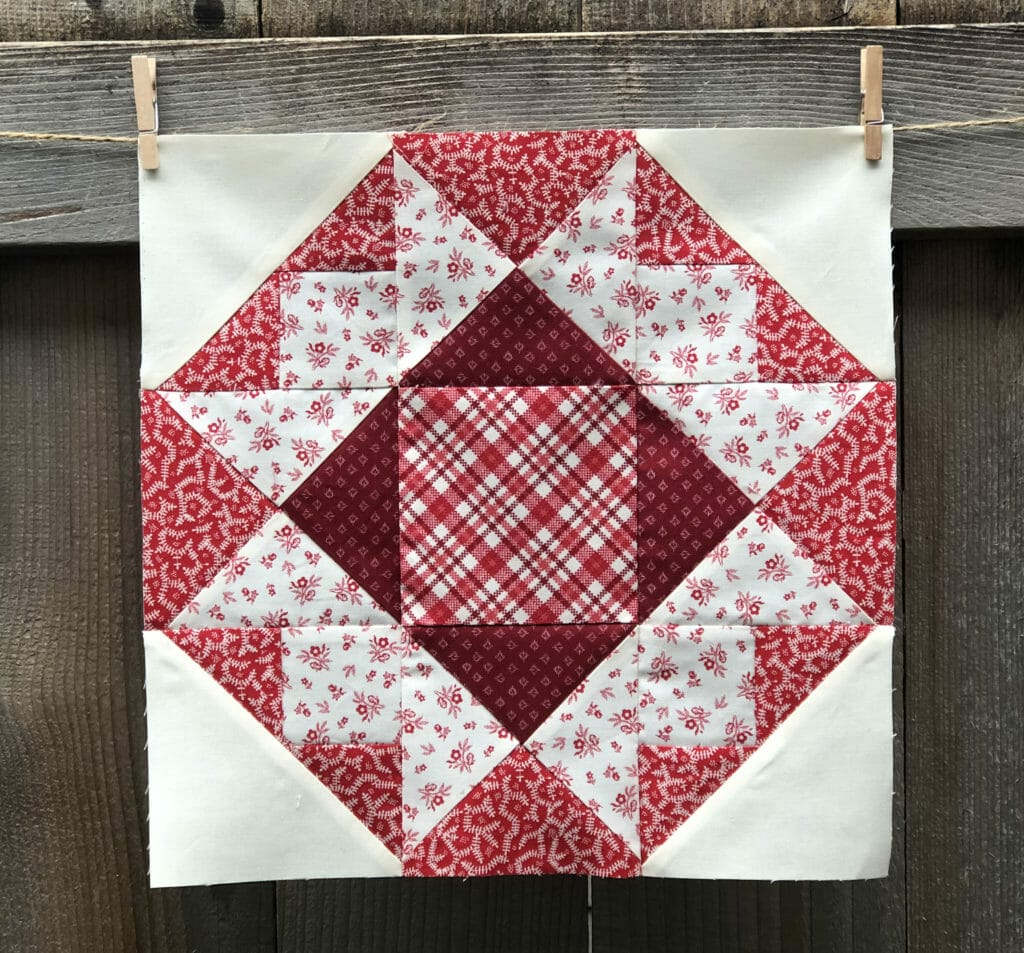
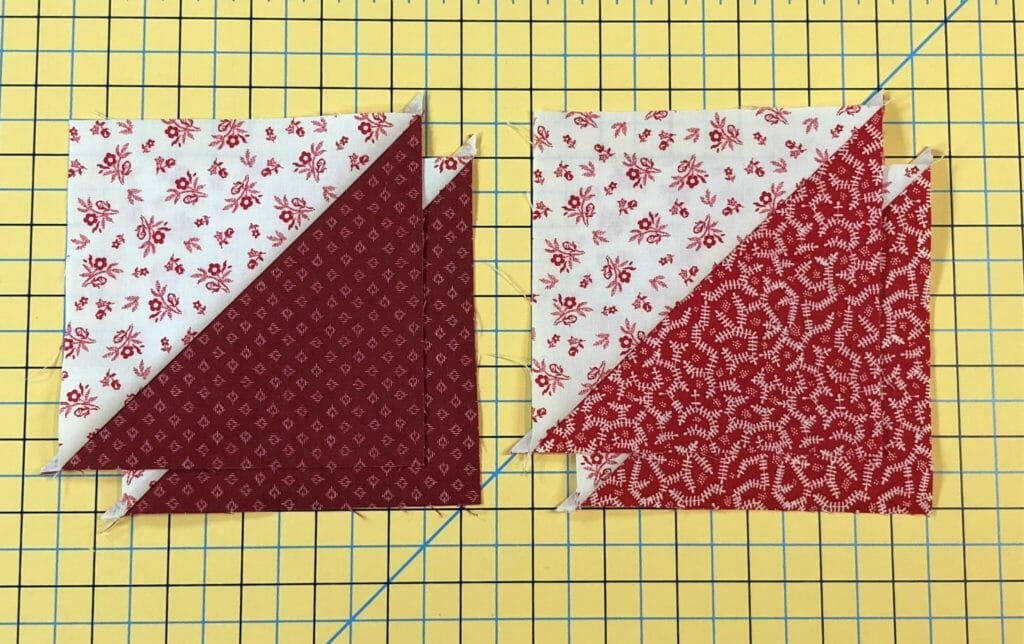
Block 3 is making an appearance for the first time this month. The first order of business is to make some hourglass blocks. We’ll begin by making some big half-square triangles in steps 1 and 2. Normally I trim and square up all my blocks as I go, but with hourglass blocks, I wait until they are finished, which means I don’t worry about those little triangle tails for now.
Then we will take an HST from each step and pair them up. The diagram in the instructions and the photo both show the two pairs not lined up exactly, just so you can see how the C triangles should be opposite of one another, but the two HSTs should be matched up in all the corners.
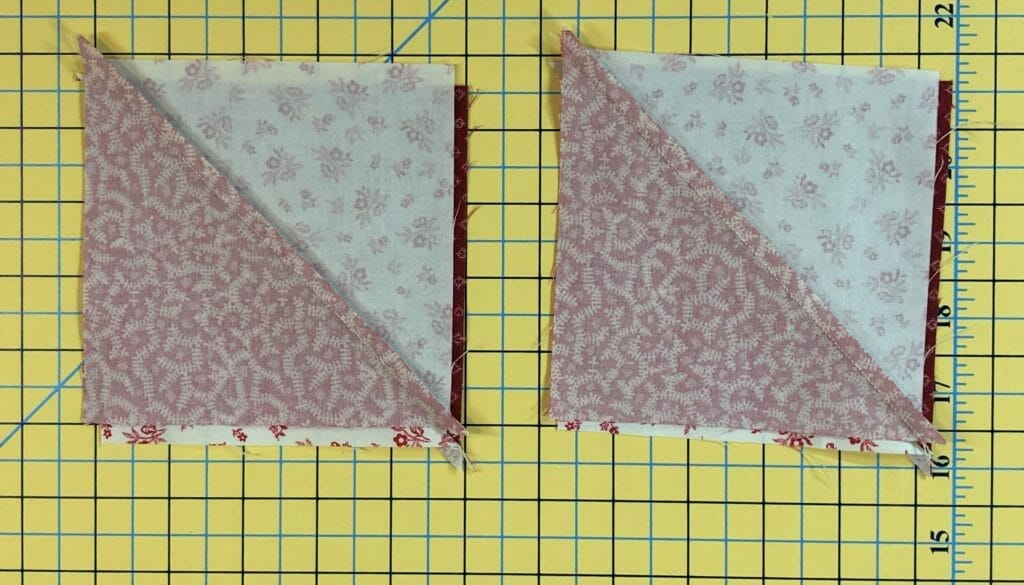
After marking a line that is perpendicular to the seam of the HST, you’ll sew a ¼” away from each side of the line, and then cut on the line. This will give your 4 hourglass blocks, which you should now trim to be 4-1/2” square.
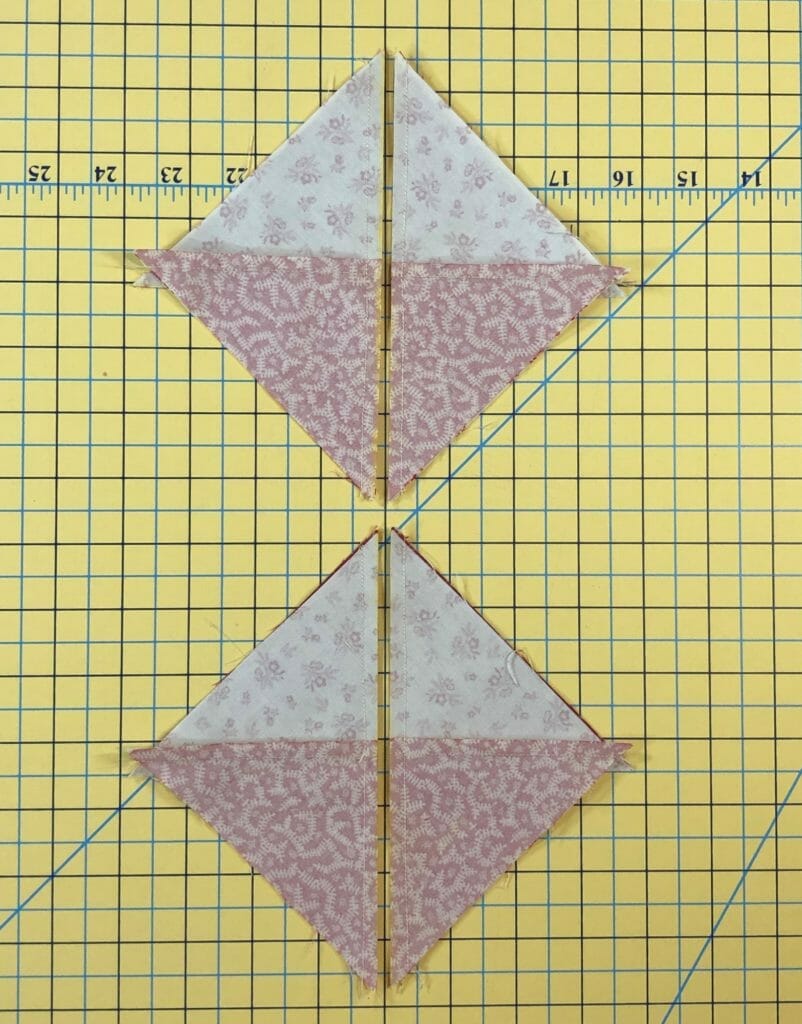
In the pattern I don’t have an arrow for pressing the hourglass blocks in step 3. Normally it doesn’t matter too much, but for these I decided to press them toward the B triangles. Here is a photo of the back side of the blocks, so you can see for yourself. I think it helps to minimize some of the bulk later on.
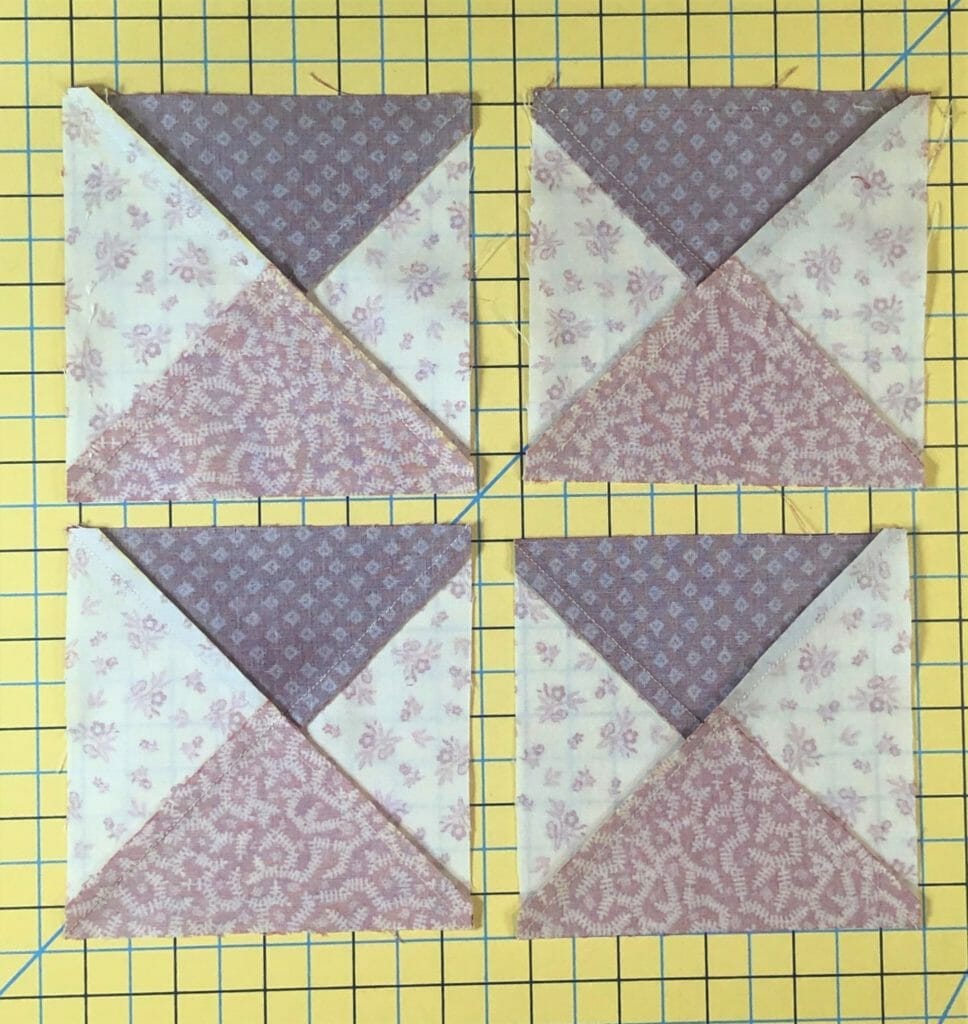
For the next units in the block, we’ll take two F triangles and sew them to each D square, just like it says in the directions. I usually trim off the tails as I go. Here are a few photos so you can see the steps of what I did:
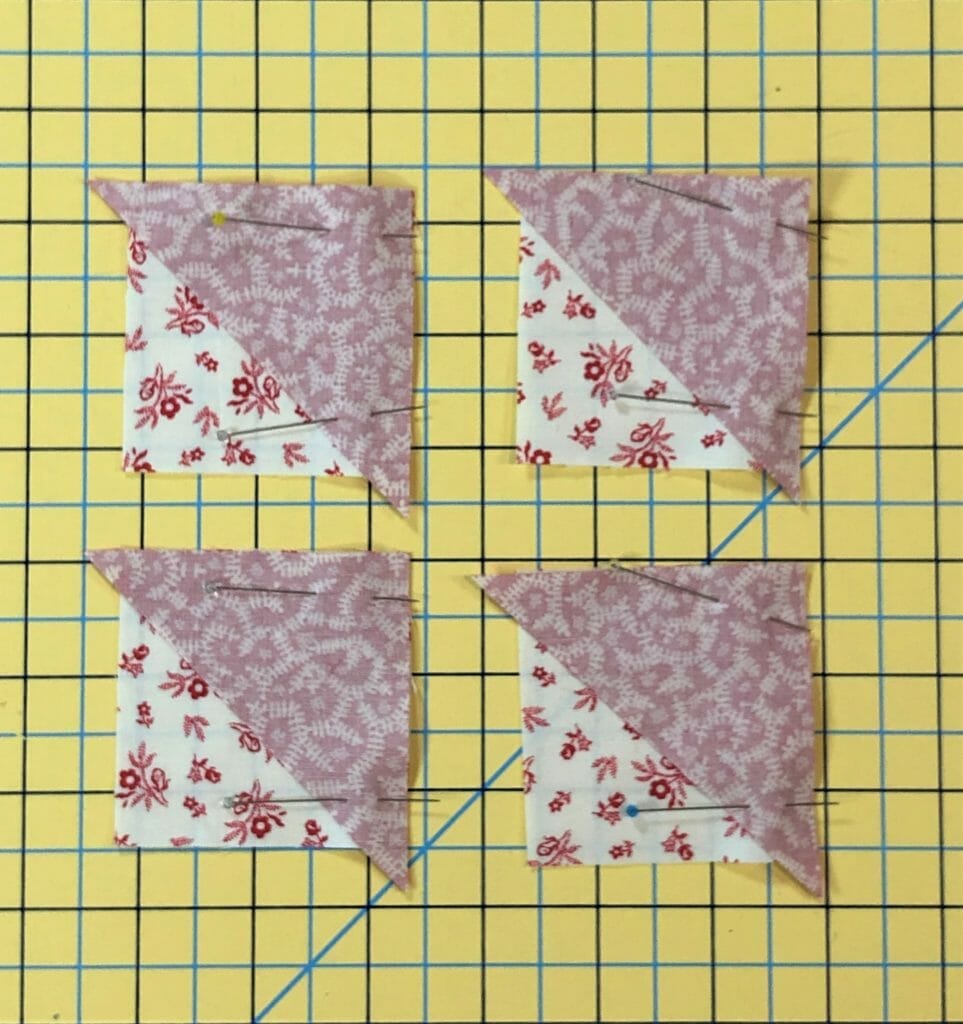
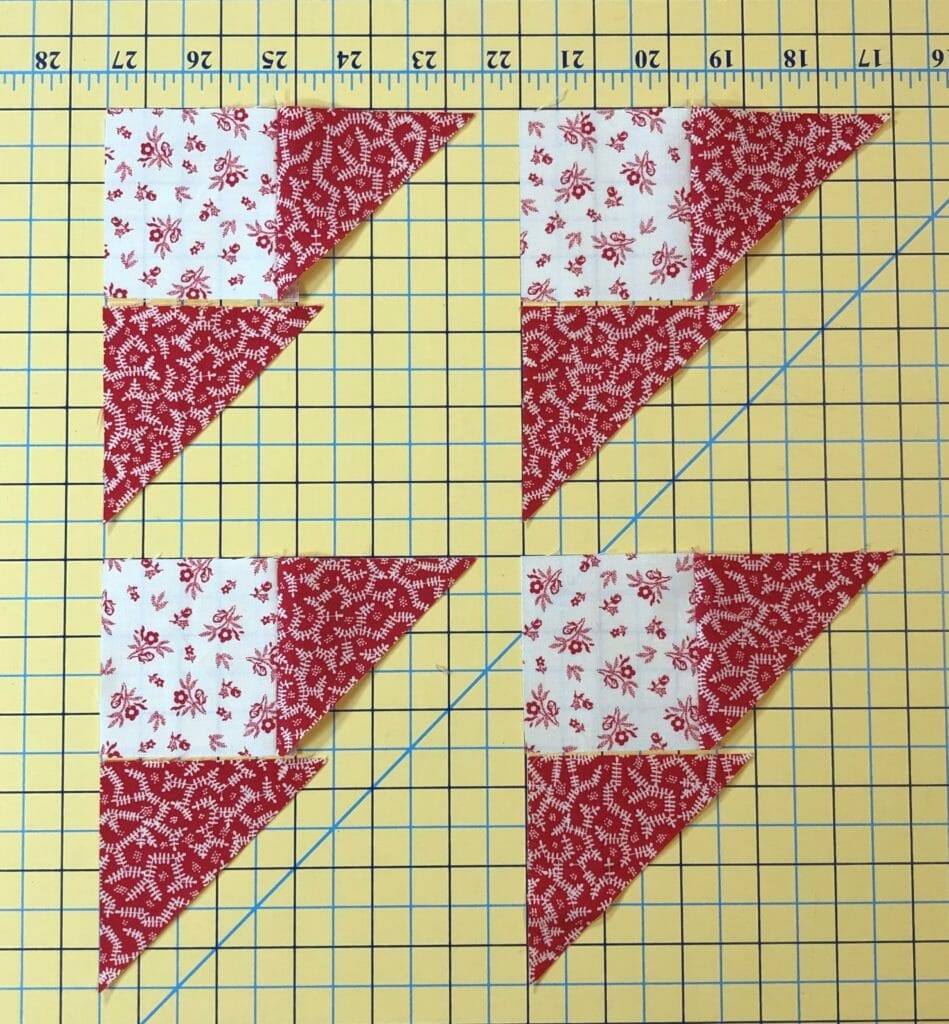
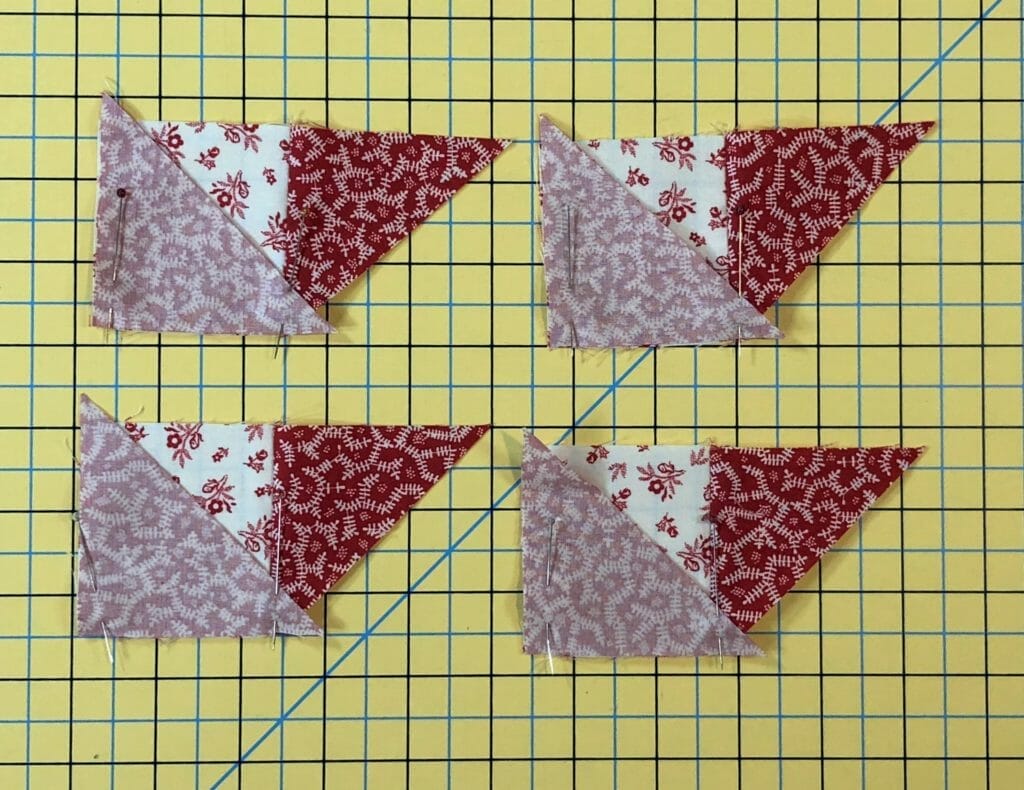
After sewing on the G triangles to each unit in step 5, I make sure all the units are measuring at 4-1/2” square, and trim accordingly.
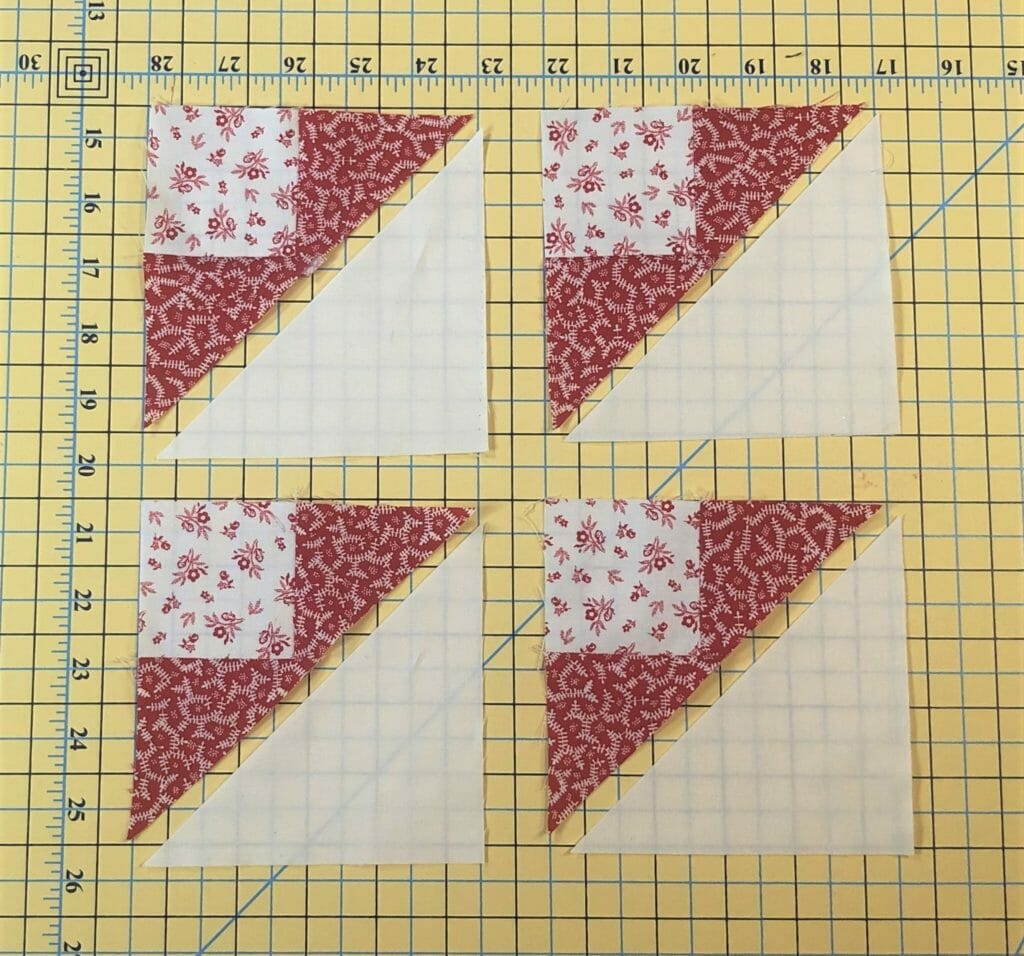
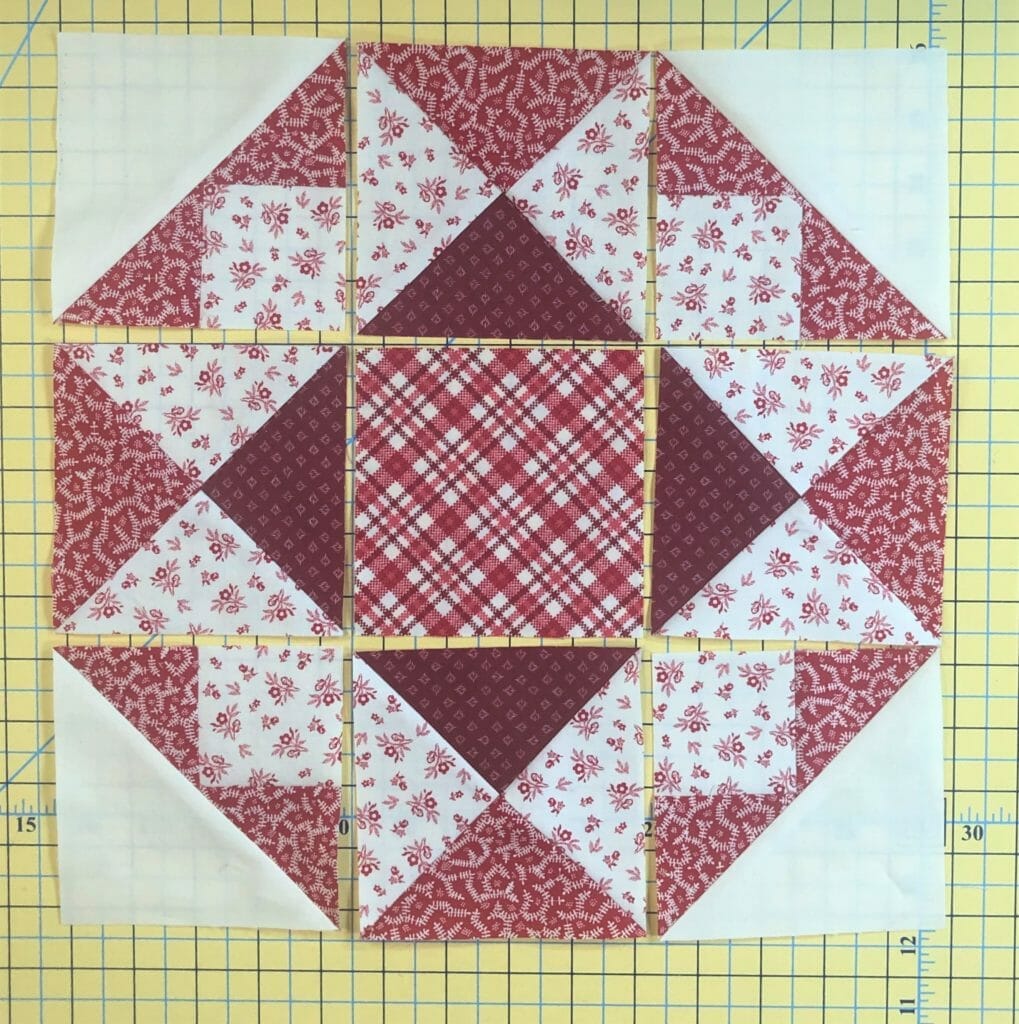
Now all we have to do is assemble everything for the block. As I’ve mentioned many times in previous posts, I always lay out the components of my block before I begin sewing. I tend to make less mistakes this way. For this block, you’ll want to pay attention to the placement of those dark red B triangles, making sure they frame the center plaid square. You’ll also want those large solid Cream triangles to be in the outer corners of the block.
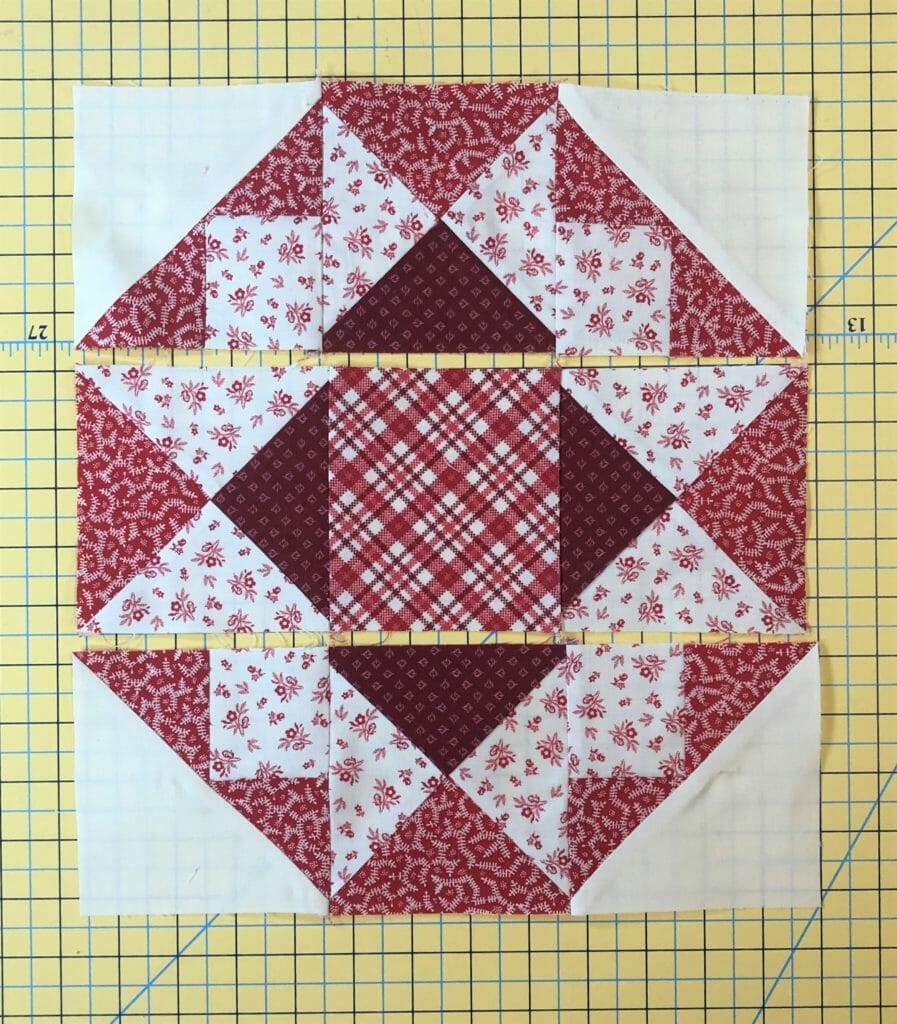
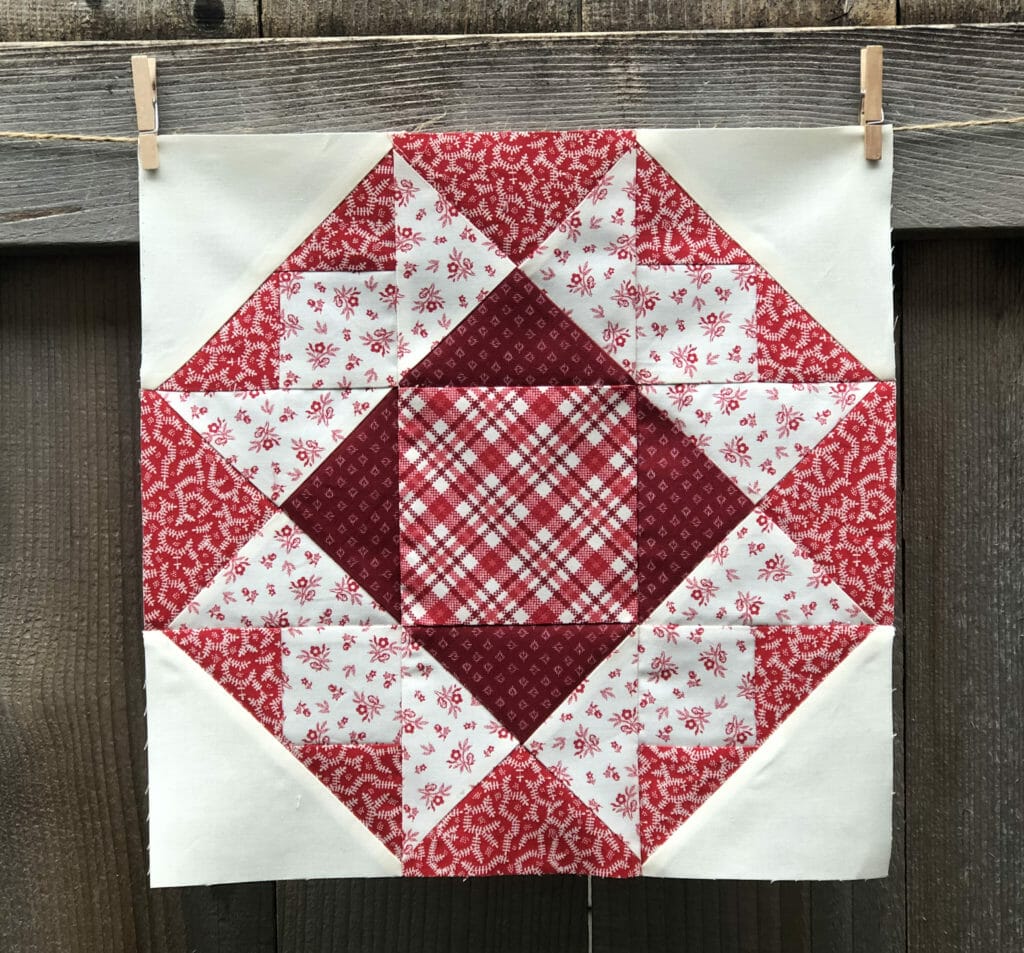
Block 9
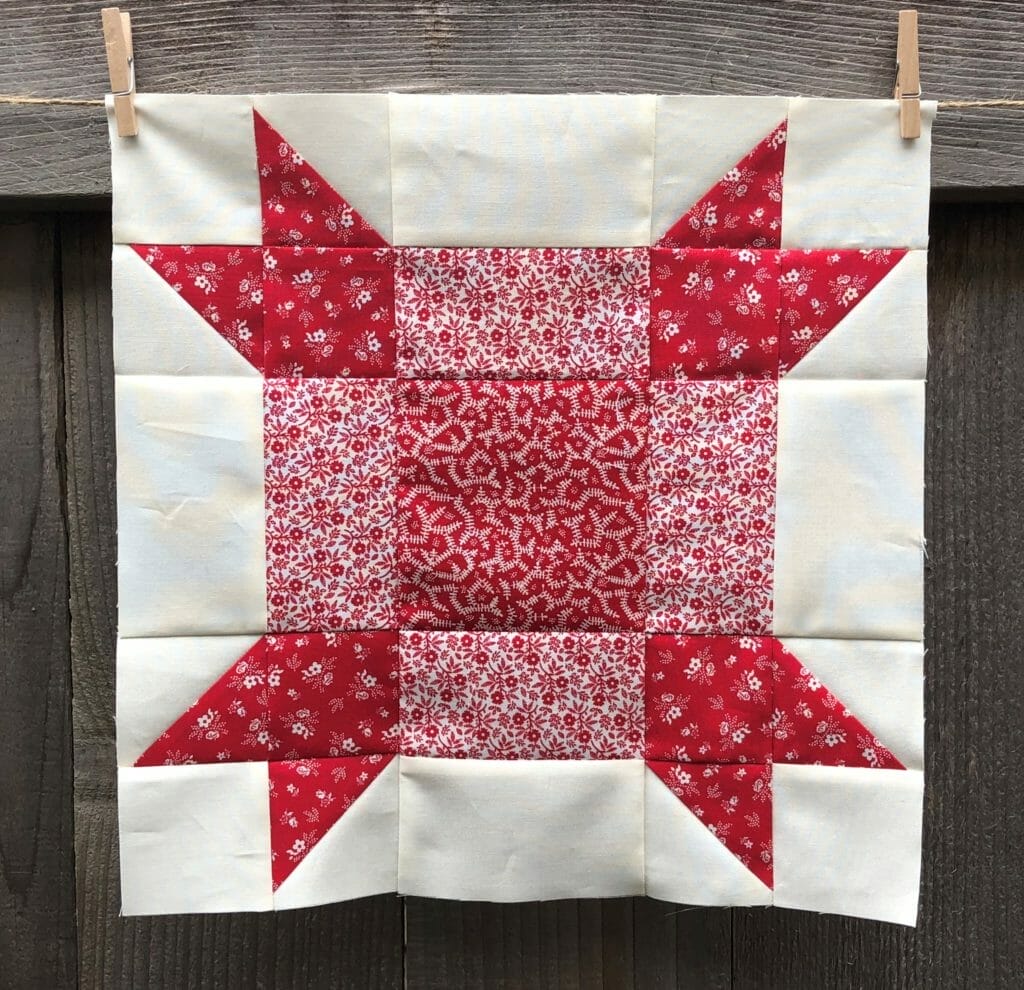
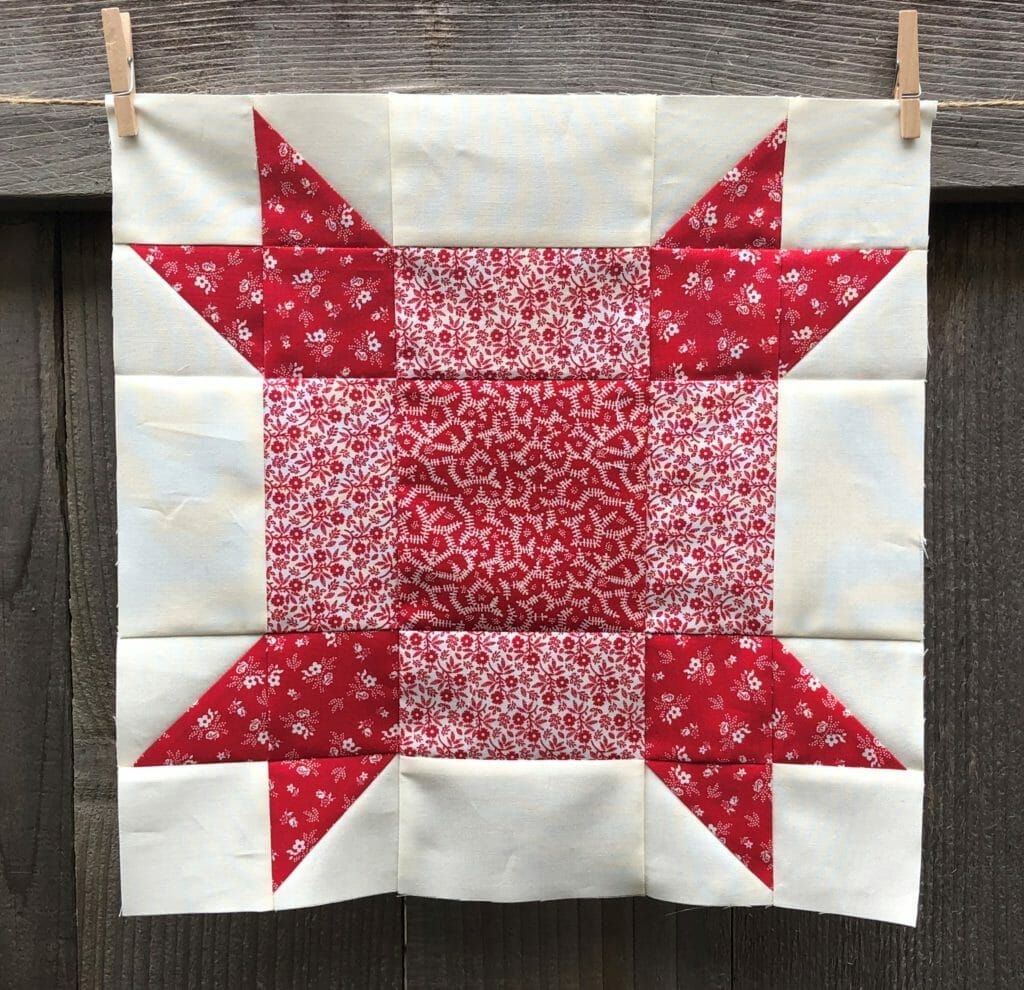
Block 9 is another new one we’ll be making, and thankfully it is pretty simple. Because it’s December and we all have lots to do. Maybe I’m just speaking for myself 😉
Right off the bat I need to make a correction! The pressing arrow in step one is WRONG. Your lives will all be a bit easier if you press toward the red D triangle. I mean, it’s not the end of the world if you press toward the Solid Cream, but everything just lays down a little nicer in the end if you press the opposite way.
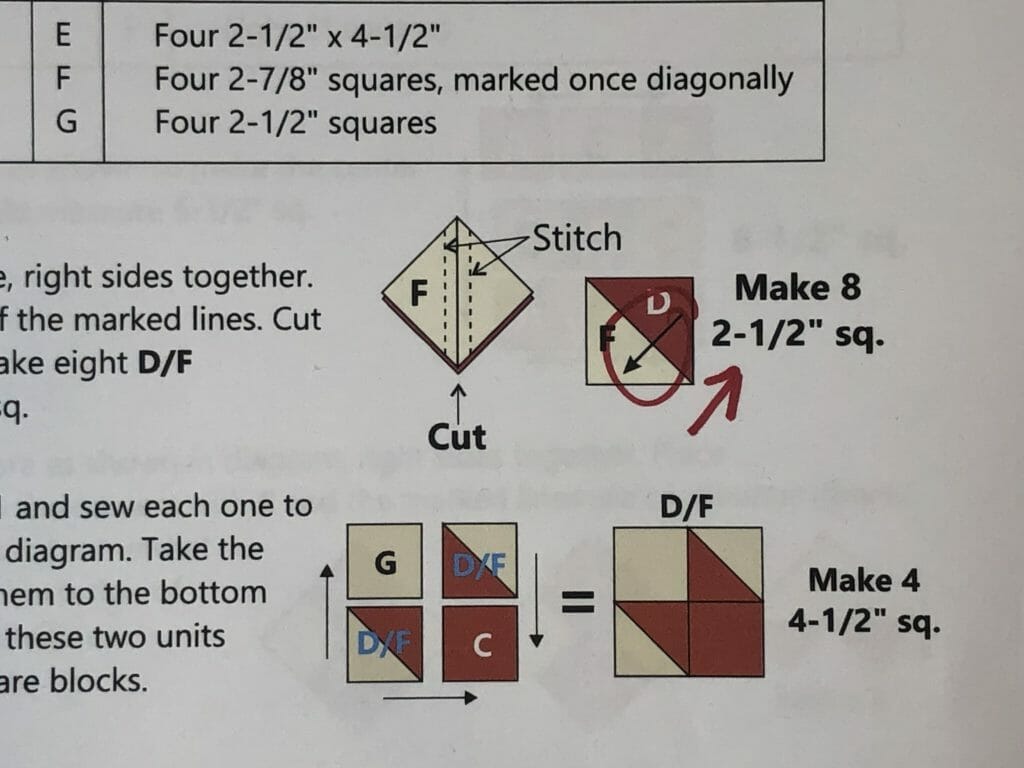
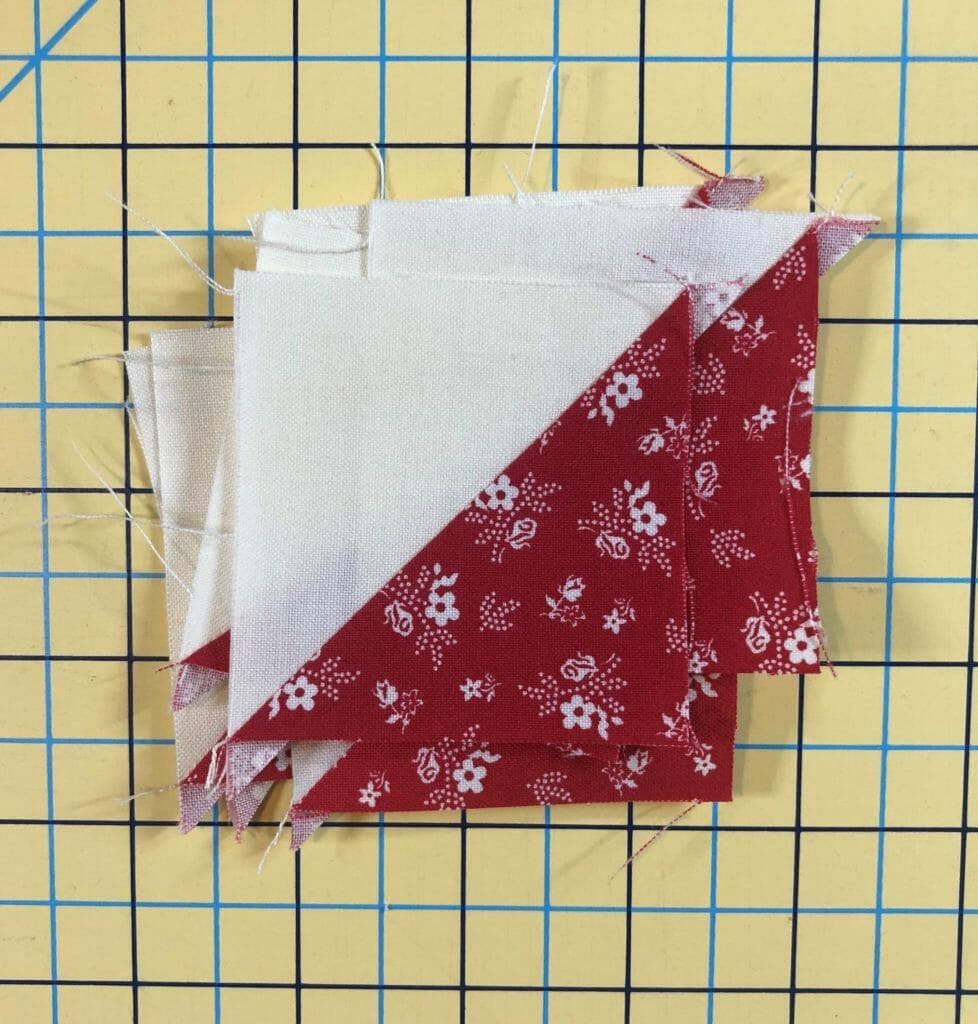
Once you have those D/F units made you can move on to step 2 and sew them to some red and cream squares as instructed to make some nifty little blocks, which will become the corners units of the large block.
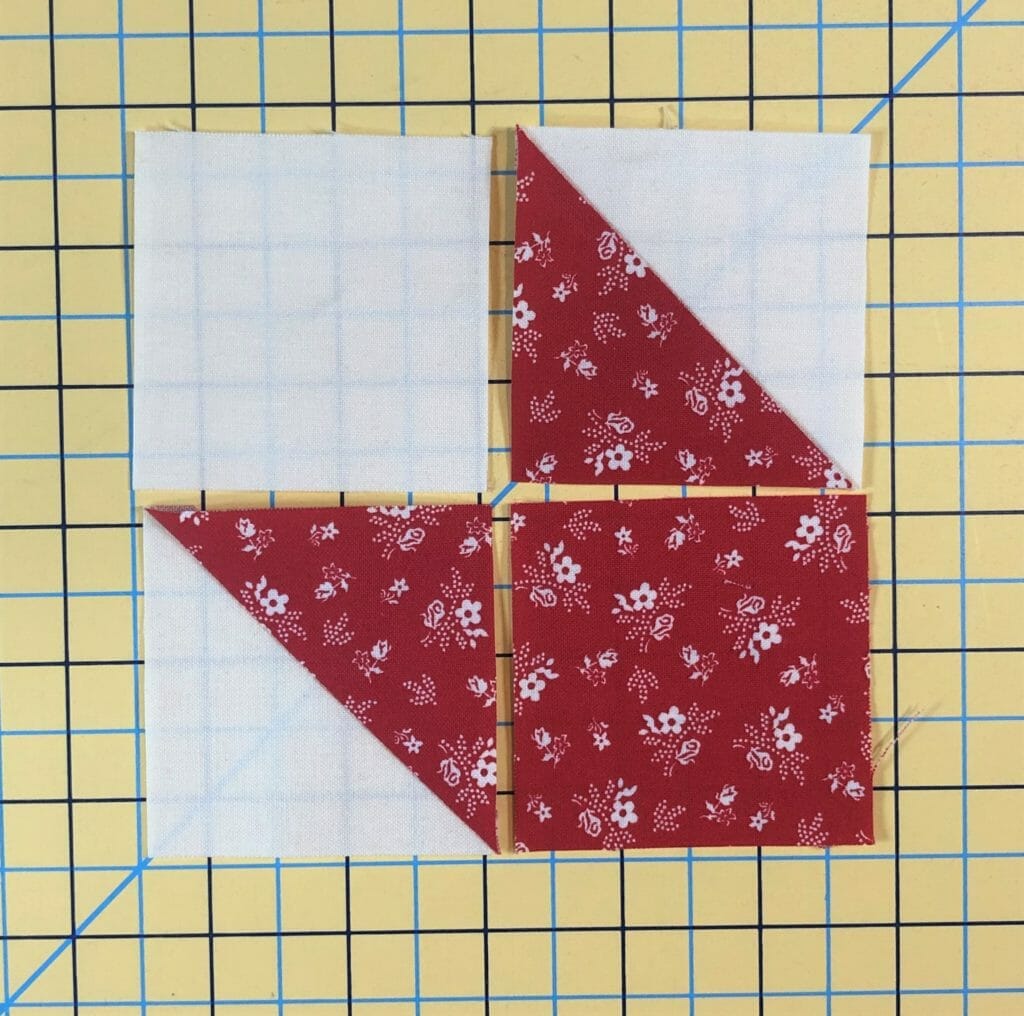
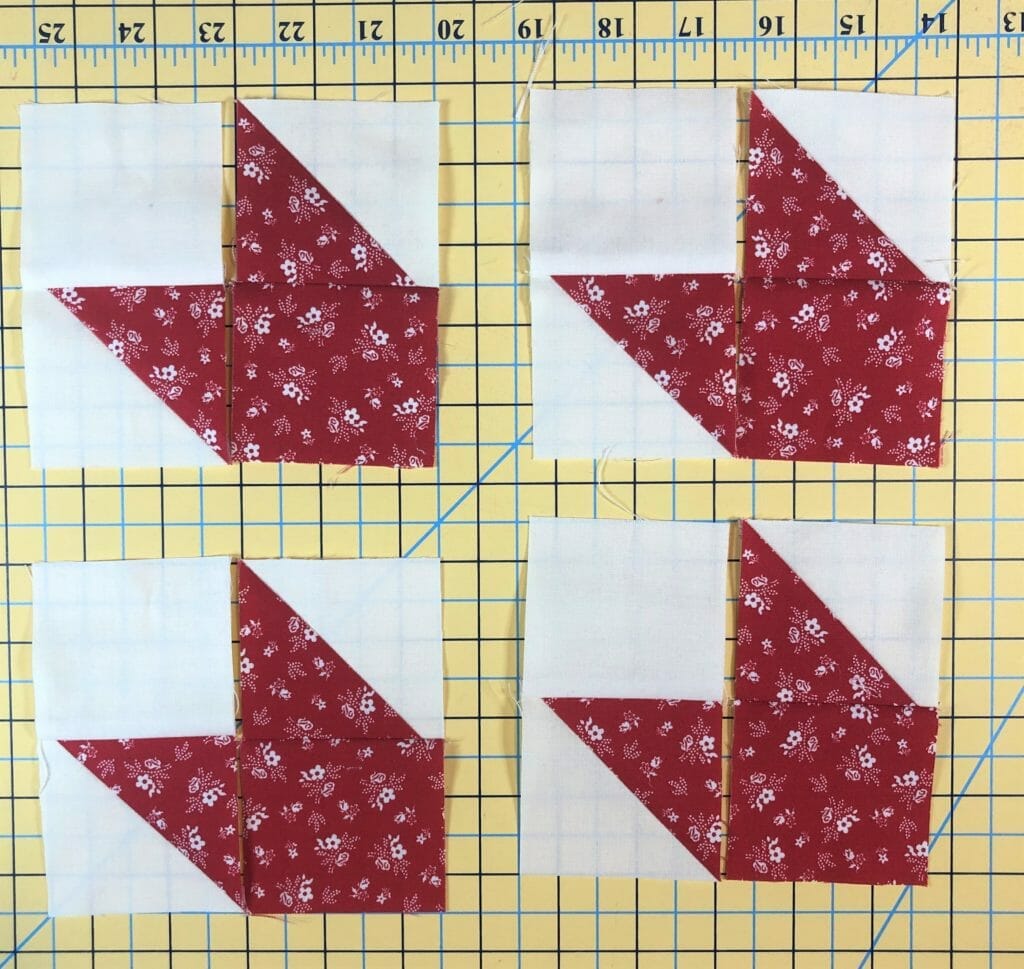
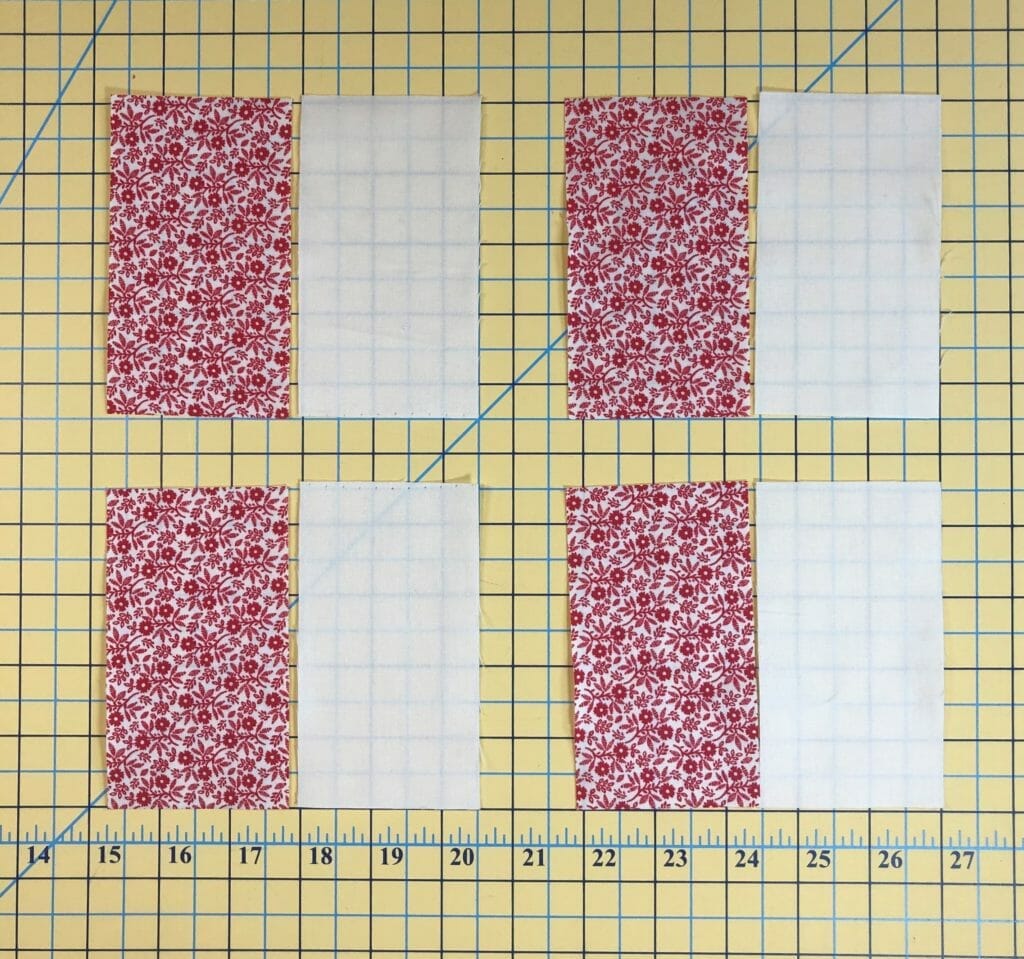
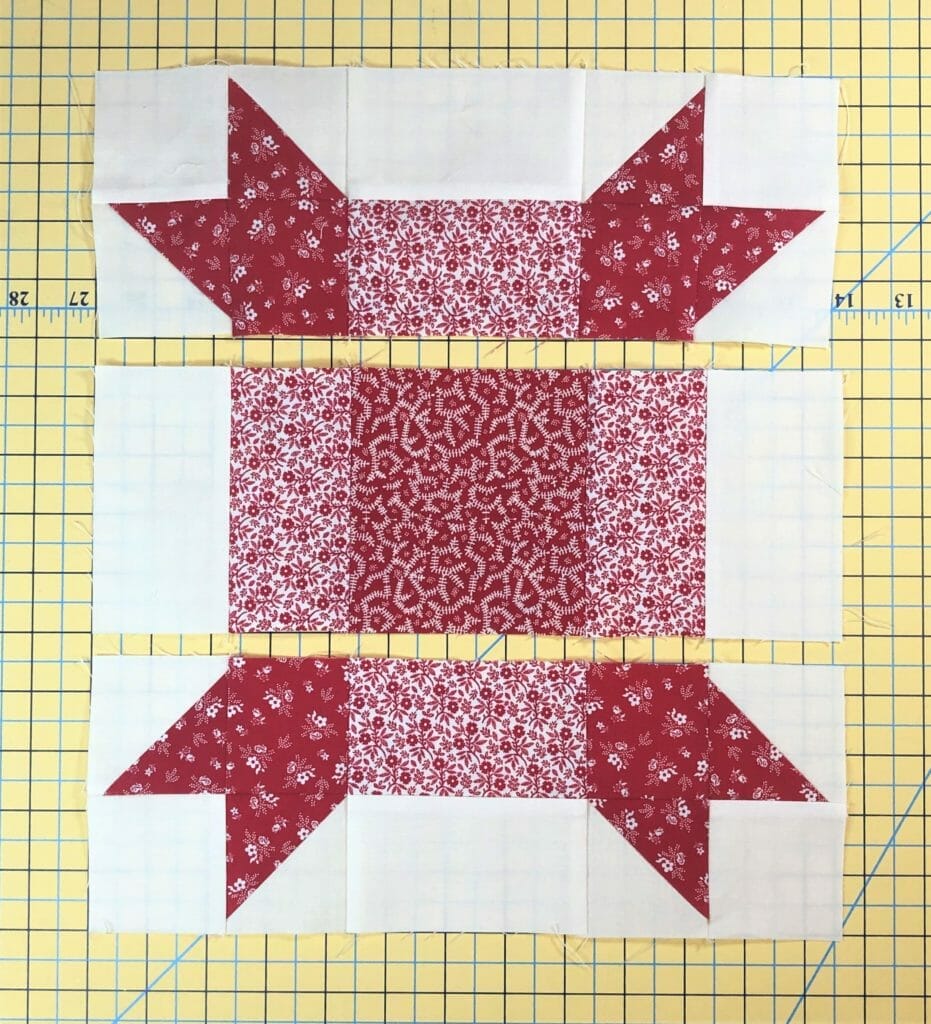
After sewing the B and E strips together like you see below, it’s time to assemble the block.
Again, I’ve laid everything out, and will now sew the block into rows.
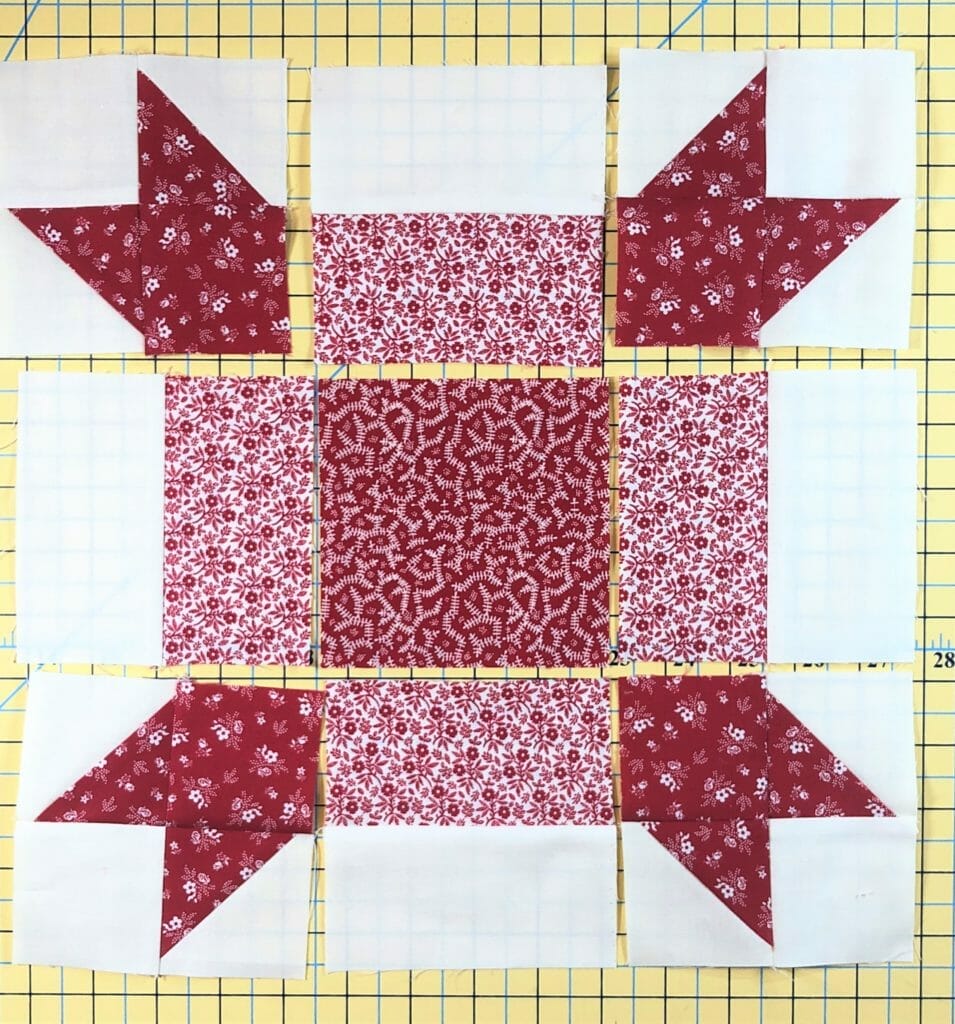
With the rows complete, I can now sew them together and finish the block.
Block 13
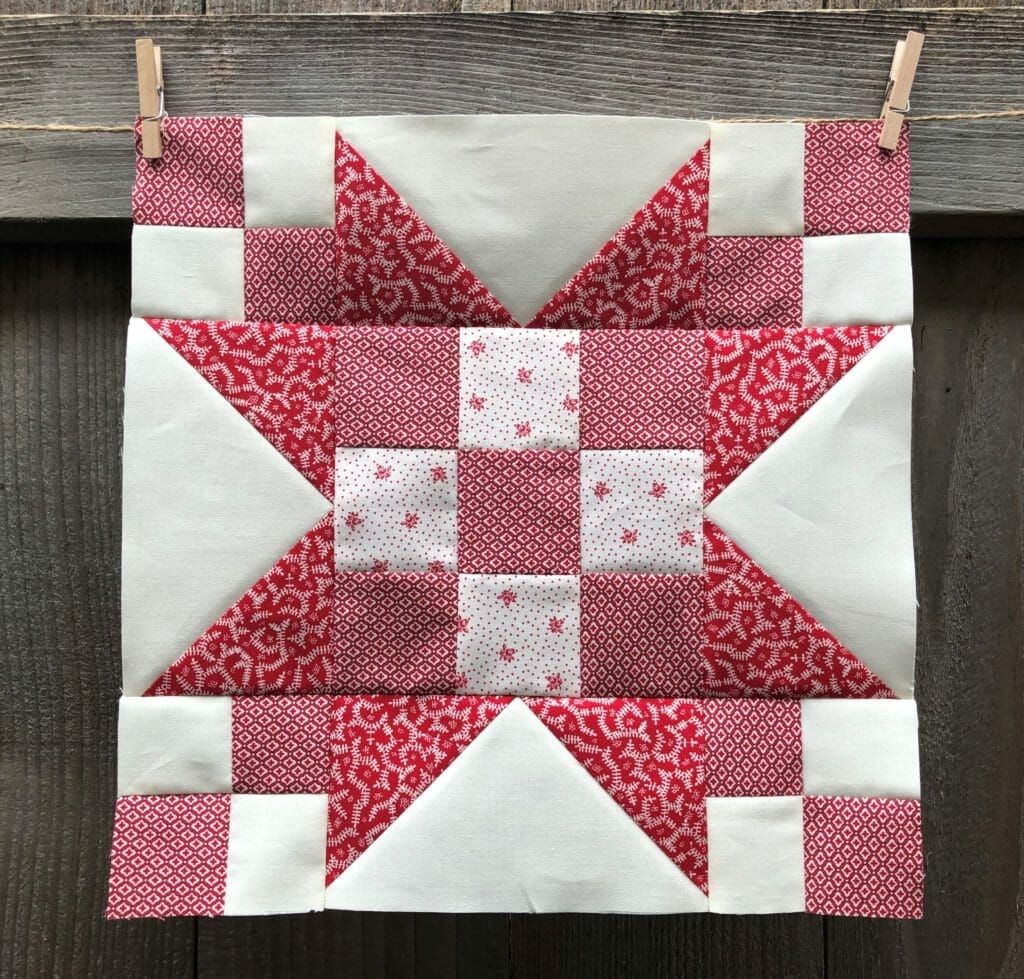
The next two blocks should look familiar to you. Block 13 is a repeat of block 22 from month 1. The instructions are all the same as before, just the fabrics have changed. I won’t bore you with another step-by step tutorial, since you can find that in the Month 1 blogpost. But I’ll show you some photos below of this block sewn up in the new fabrics.
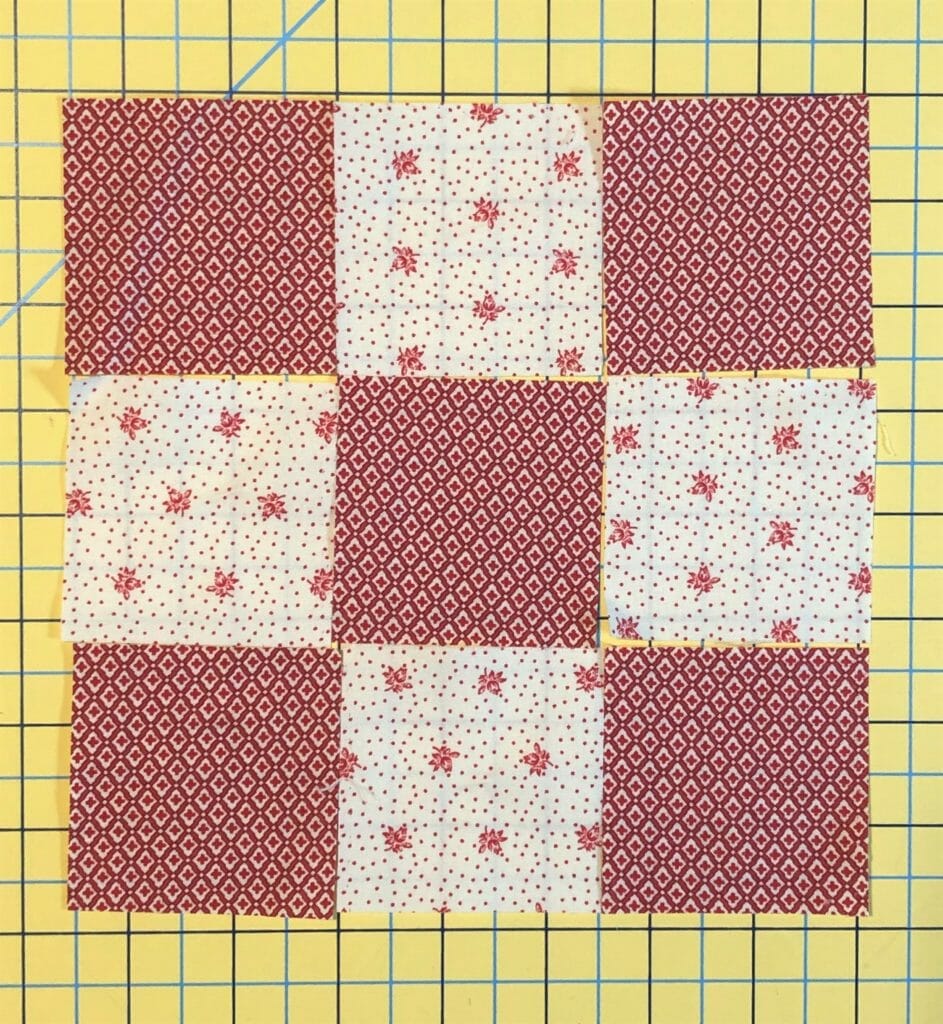
Here is the 9-patch unit from step 1 – with the squares all lined up and ready to sew:
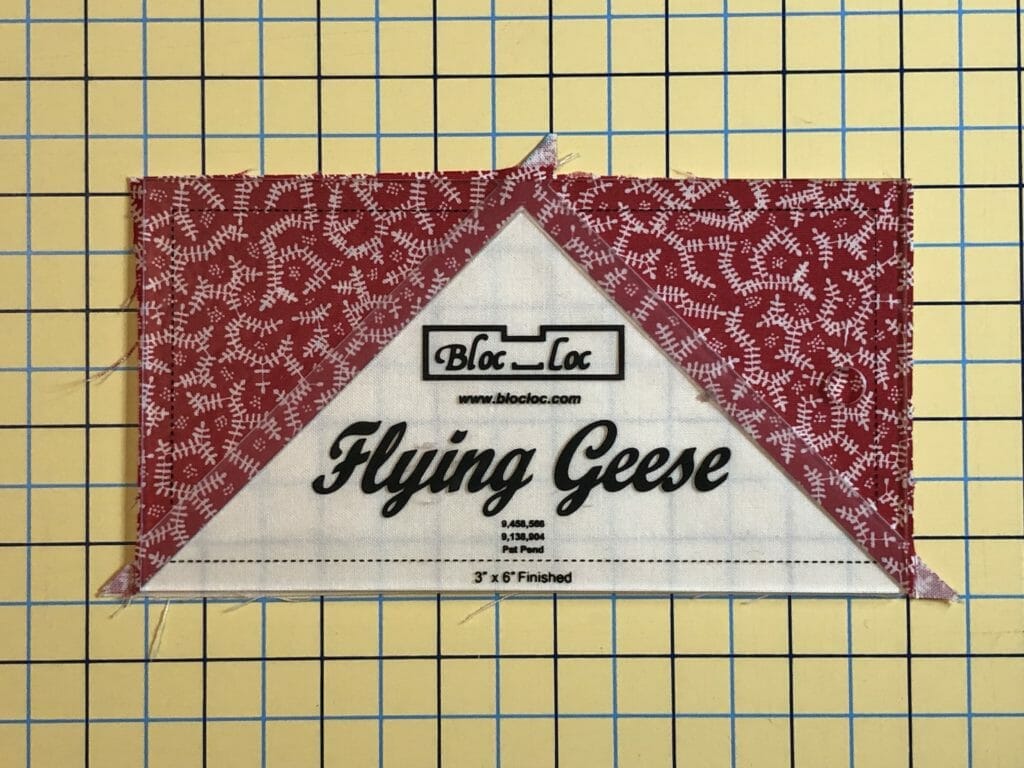
The flying geese units you’ll be making in steps 2 and 3 will look like this when done. For some reason I only took a photo of the block getting ready to trim. As I’ve mentioned before, I love Bloc-loc trimming rulers. They are an investment, and not necessary for making this quilt. I just find them oh-so-handy for getting my flying geese units absolutely perfect.
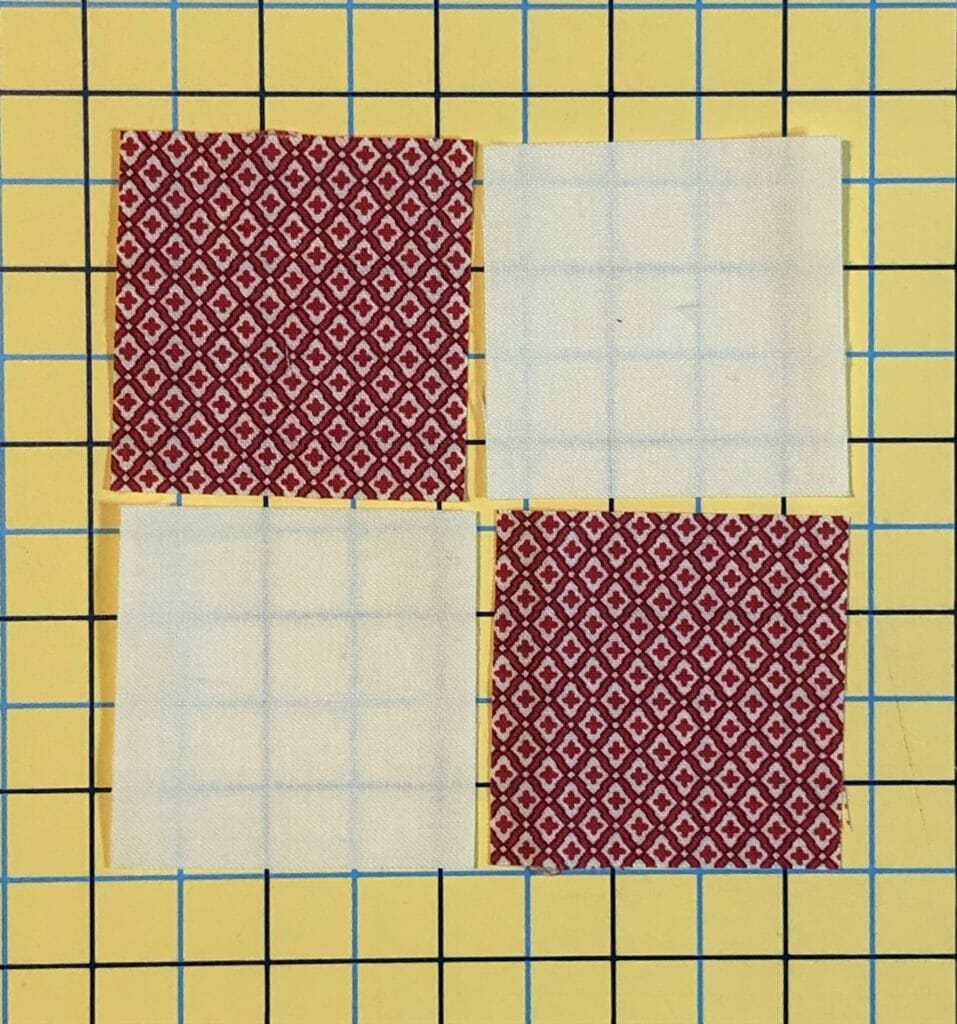
I lined up all my 4-patch units that we are making in step 4 so I could do some assembly line sewing. The Bonnie Red fabric is technically directional, but the pattern is so subtle that it doesn’t matter too much if your squares aren’t all facing the same direction. If it’s important to you, then line them up the same way. I don’t think anyone will notice though, if you decide to throw caution to the wind here.
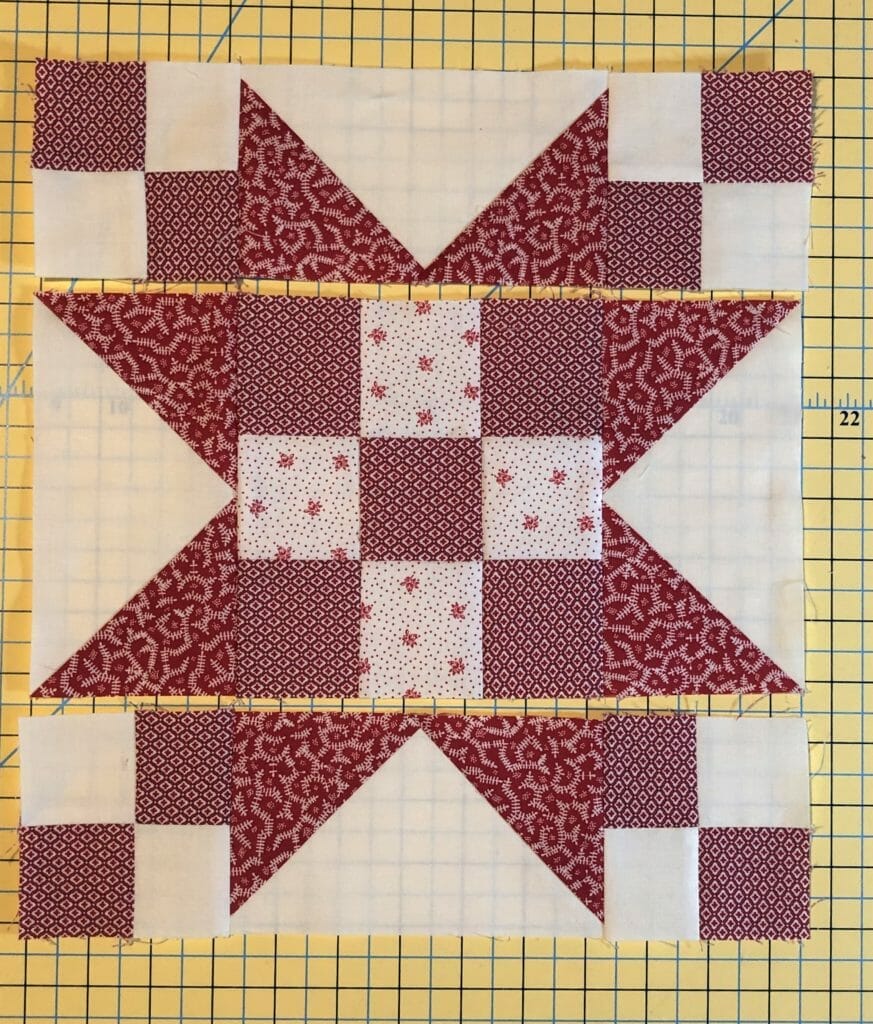
And just like that, all the units are done and ready to be sewn into a fabulous block! Below you can see that I’ve already sewn the rows of the block together.

Block 19
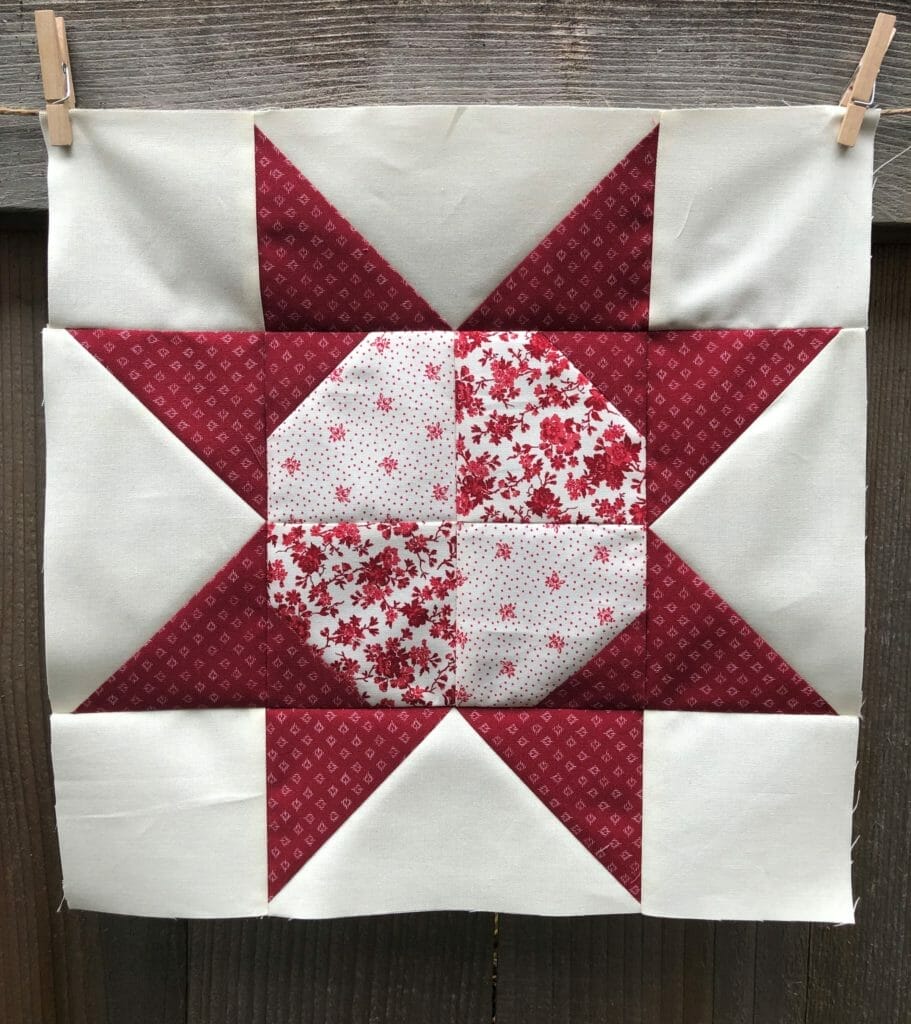
Block 19 is our next repeat of the month, and it’s another one that goes pretty fast. We made this block in month 3, only then we called it Block 7. My blog post from month 3 will have all the nitty gritty details for making the block, but I’ll post some more photos just like I did above, so you can see the fabrics we are using this time.
Here is the 4-patch unit from step 1:
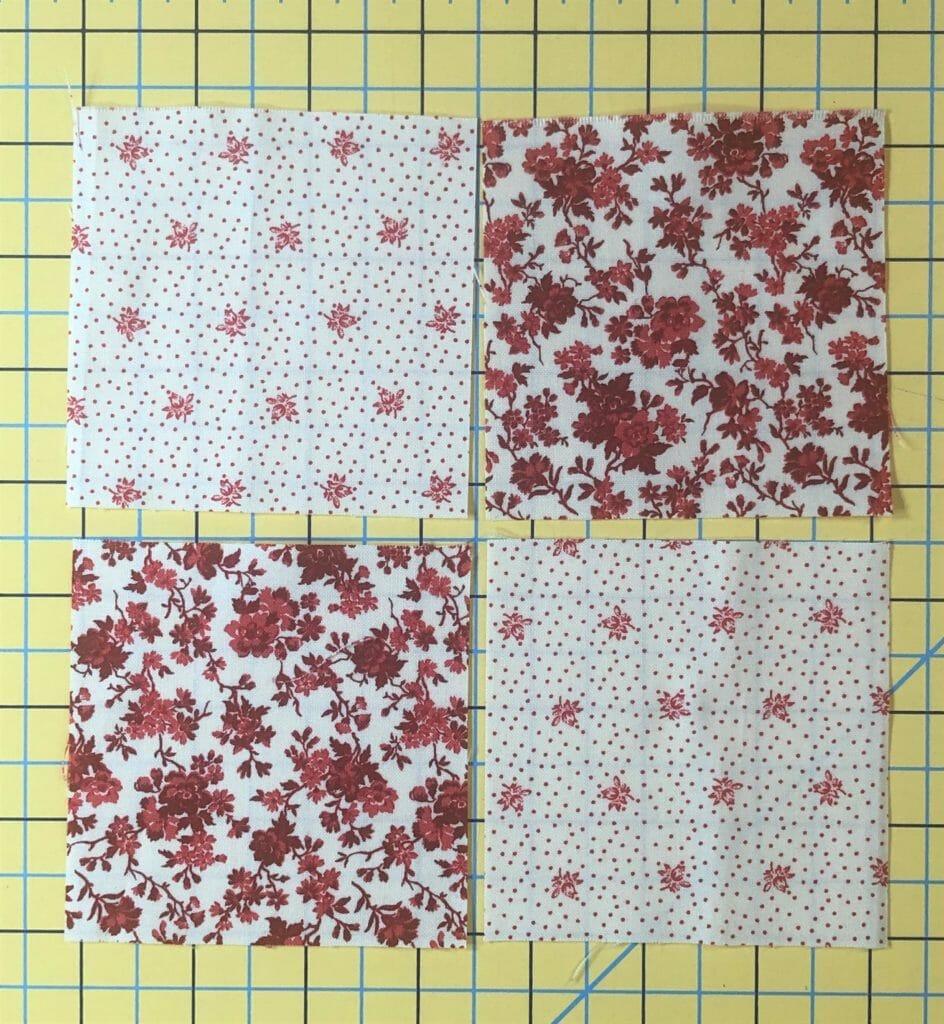
Step 2 has you sew all the D triangles and trimmed like you see below. I still have to press them open and trim the block.
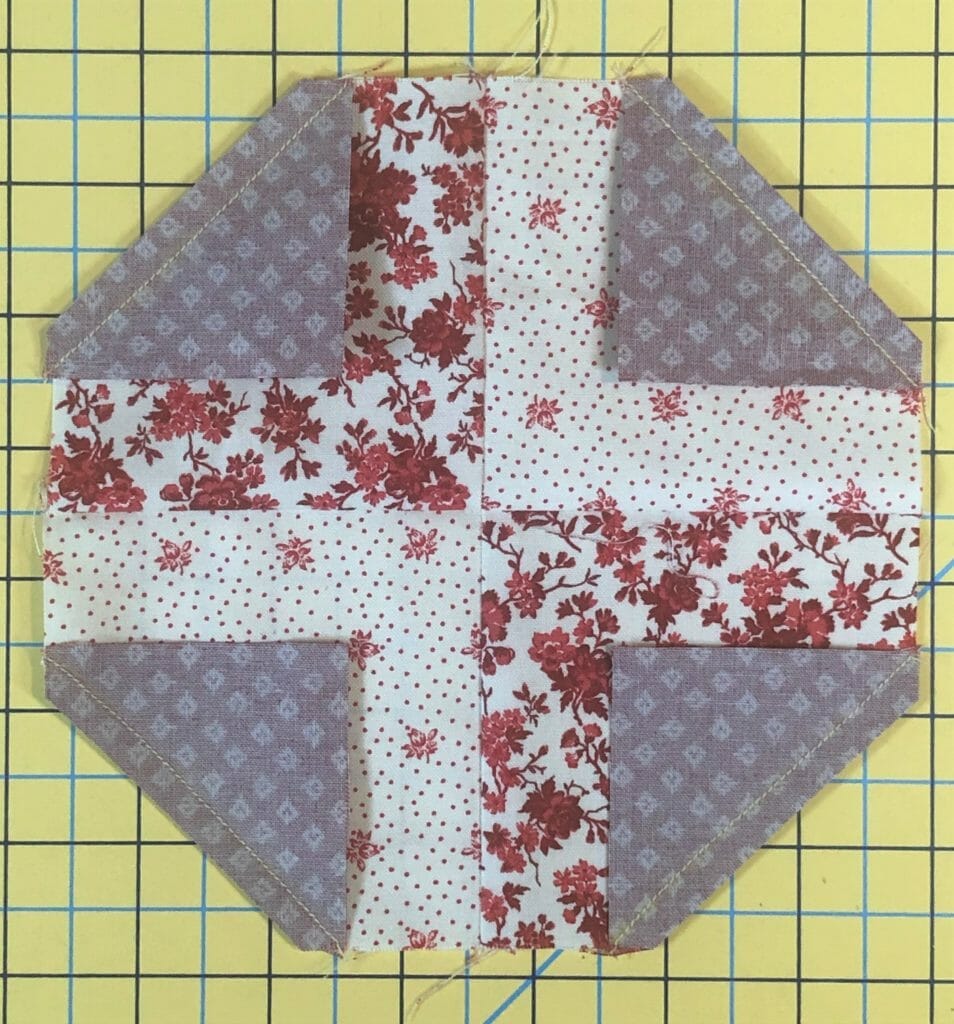
The C/F flying geese units are sewn up using the Spades, Scarlet fabric, shown below.
And now the units are all done and ready to be joined together to make the block.
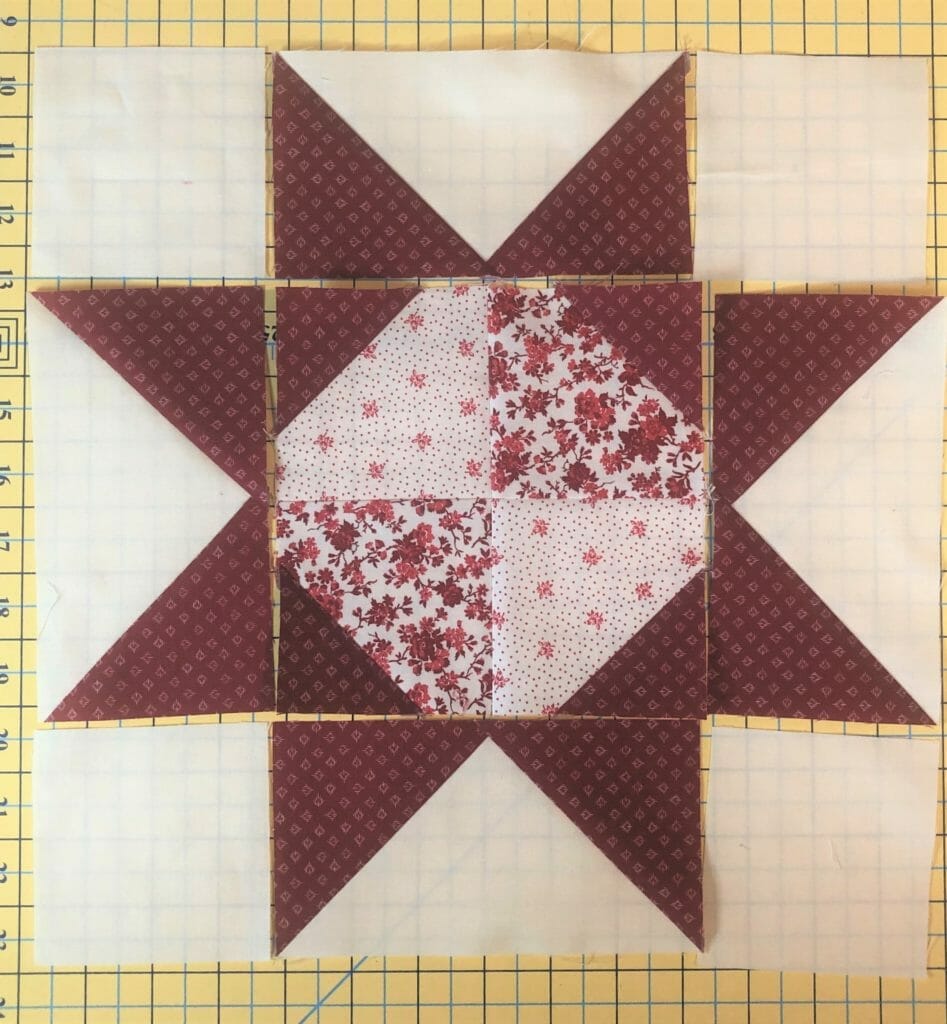
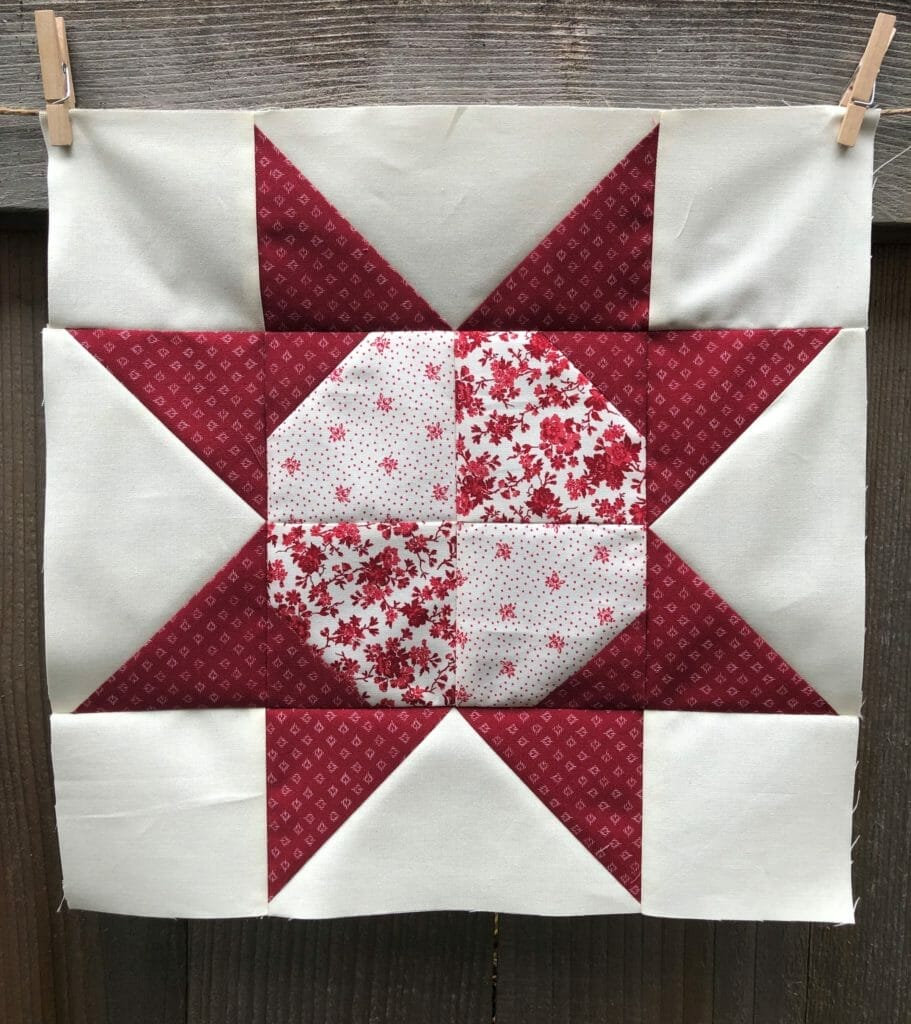
Four more blocks are in the books, which means we are almost half-way done! Those finished blocks should really be stacking up now.
Next time we chat, it will be 2022, so I want to wish all of you a joyous and happy holiday season, and a wonderful new year!
Until next time- Kristin


 Tutorials

