I can’t believe we are finally at the finish line with this BOM. Wow! They say time flies when you are having fun, and I hope you have all had fun these past 12 months as we have made this quilt together.
Since we finished making all our blocks last month, all we need to do for our last month is get the quilt assembled and add some borders.
Even though you’ll need to sew the quilt blocks together before adding the borders, I started this month’s instructions by making the pieced borders first. Of course, you can sew steps 3 and 4 before steps 1 and 2, and it won’t make a bit of difference at all. In fact, some of you have probably sewn the blocks together already, since they were all finished up with last month’s installment.
When designing this quilt, I debated about putting in this pieced border, because it would have been so much easier to finish this quilt without it, but the more I played around with the design, I just knew it had to stay. And I have to say, making it went faster than I thought it would.
You’ll start out by cutting 72 assorted 3-1/2” x 5-1/2” rectangles out of your leftover prints. I stayed away from the Solid Red fabric, (and the Ivory solid, obviously), but anything else was fair game. This gave me about 18 assorted prints to use for those 72 ‘A’ rectangles. Full disclosure, I got carried away with cutting rectangles, and ended up not using the Corsage II Ivory, and one of the Bonnie prints, because I’d already cut too many of the other fabrics before I realized what I was doing. Oops!
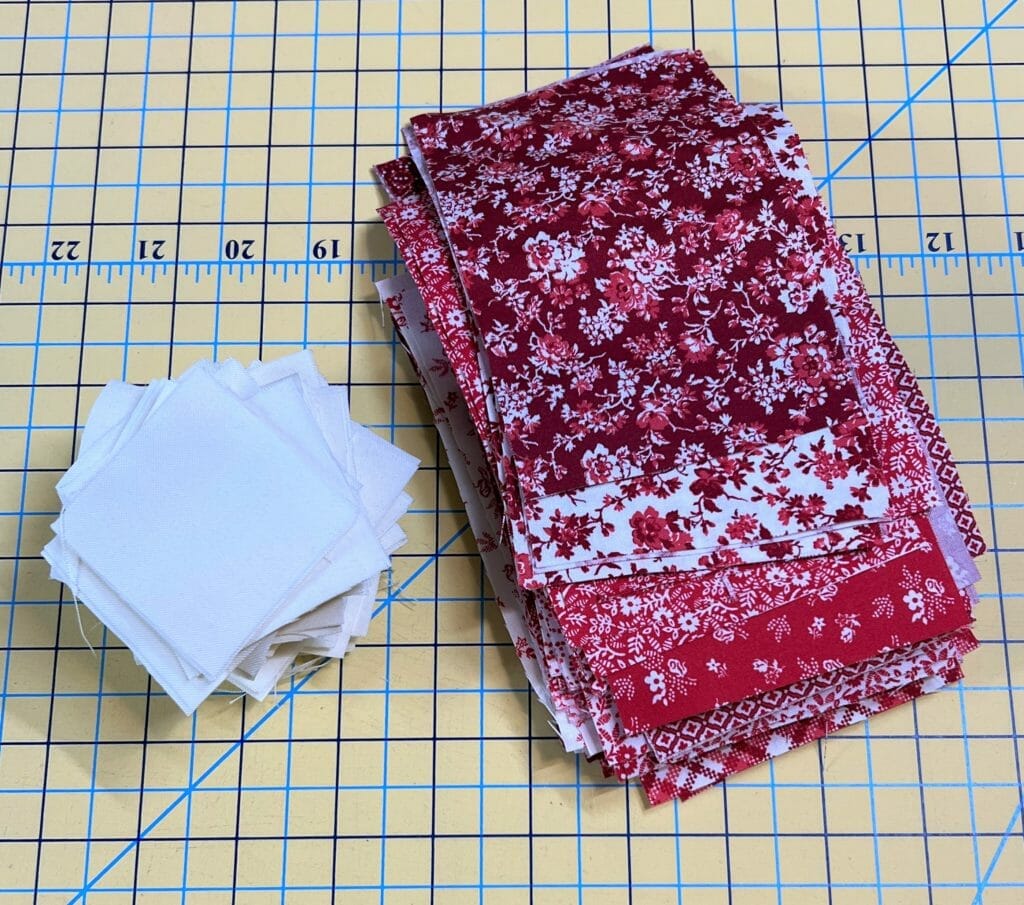
Once I’d cut all my A and C pieces I started sewing them together according to the directions. Please make sure you follow the pressing arrows, and press the right C triangle INWARD, and the left C triangle OUTWARD for each unit. This will ensure that the seams nest together nicely when you sew all these together.
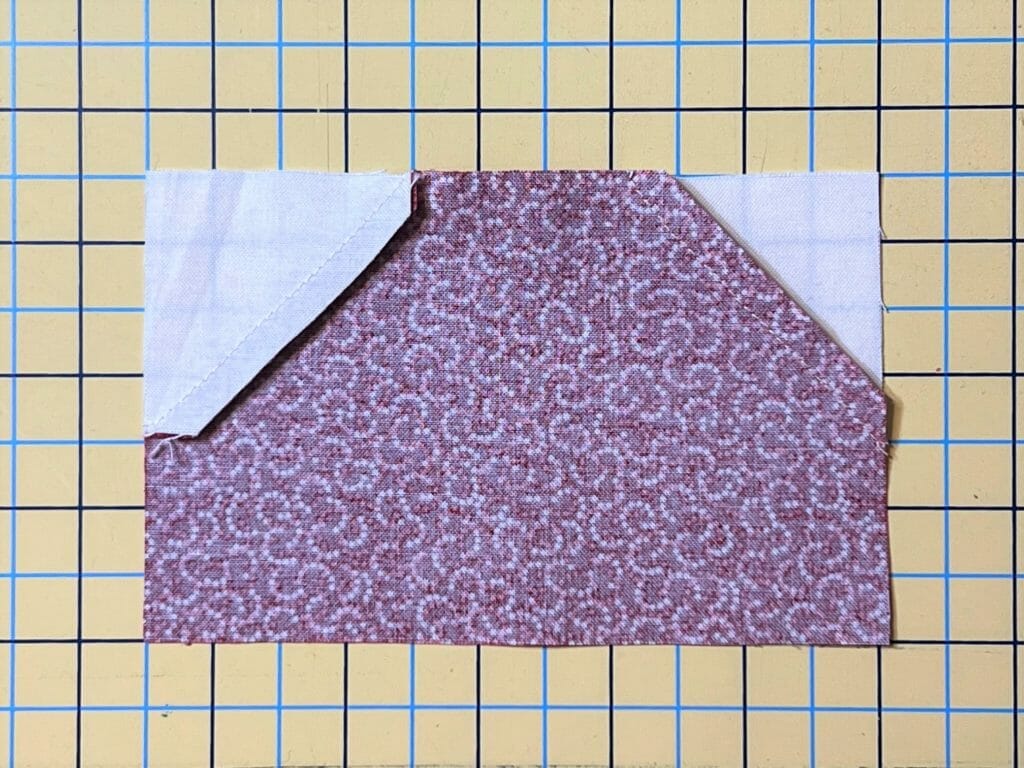
The photo above isn’t the greatest, but you can see from the back side how I’ve pressed the seams.
When I was done making these, I placed them all into matching stacks, which made it easier to assemble the borders.
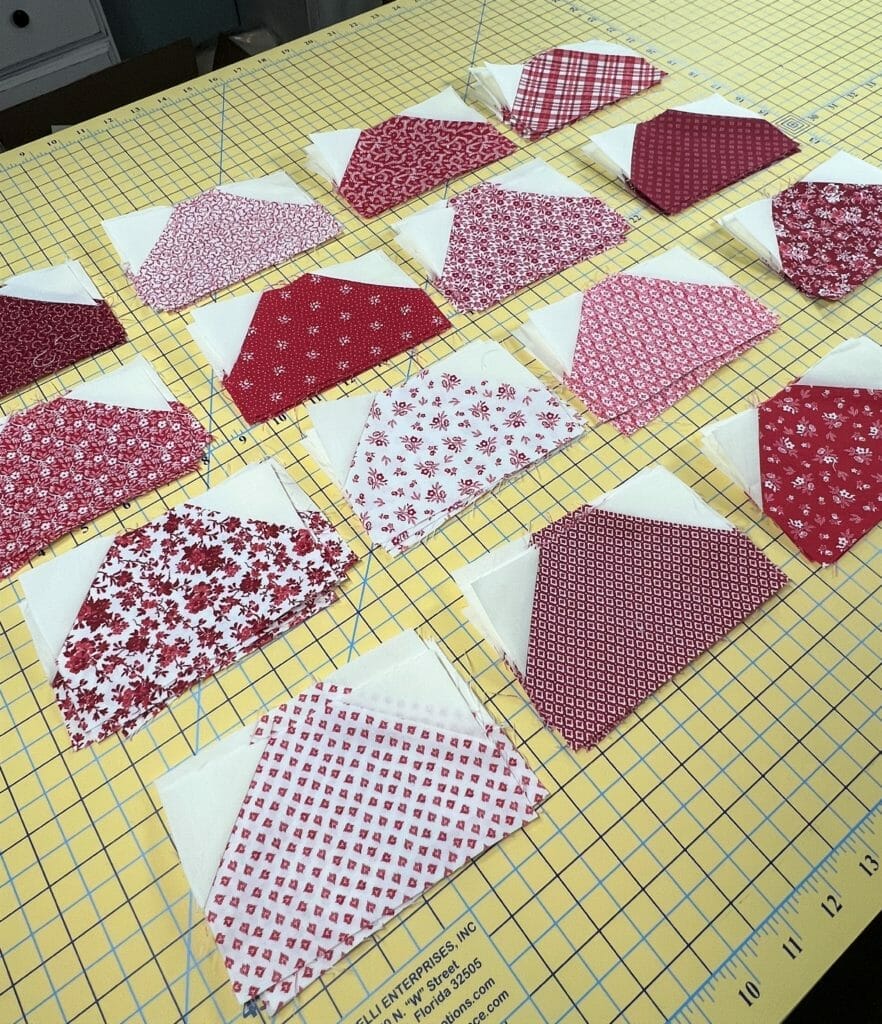
After I was done with all 72 of these units, I wanted to plan out my borders just a bit. I know these are technically scrappy borders, but I don’t like having the same prints too close together, so I decided to lay out all four rows on my living room floor and movie pieces around until I was happy with the result. One tip is to alternate light and dark prints within these rows. It’s not an exact science, but try to keep prints of the same value away from each other, and I think you’ll be happier with the results.

When I had arranged them to my liking, I took pictures on my phone so I could refer back to them later if I needed to. I think I ended up mixing up some of the blocks after sewing, but I decided things still looked okay, so I didn’t worry about it too much.
Now that these rows are ready, you can set them aside and proceed with sewing the blocks together in step 3. There is a diagram at the back of this month’s pattern that you can use as a guide for block placement, if you’d like to have yours turn out the same as mine. But really, there is no right or wrong here. You can place the blocks however you like.
A comment about pressing the blocks: when sewing blocks into rows, I generally press all the seams in the same direction for that row, and then press seams for the row below it the opposite direction. Then as I’m sewing the rows together, I can have those seams nest together. This is what I did for the Ruby quilt too. That being said, I wondered after the fact if this quilt might have benefited from having all the seams pressed toward the Irish Chain blocks? It would have eliminated some of the bulky seams in some places. It’s something to consider. So if you decide to press all your seams inward toward the Irish Chain blocks, leave a comment below and let me know how it goes.
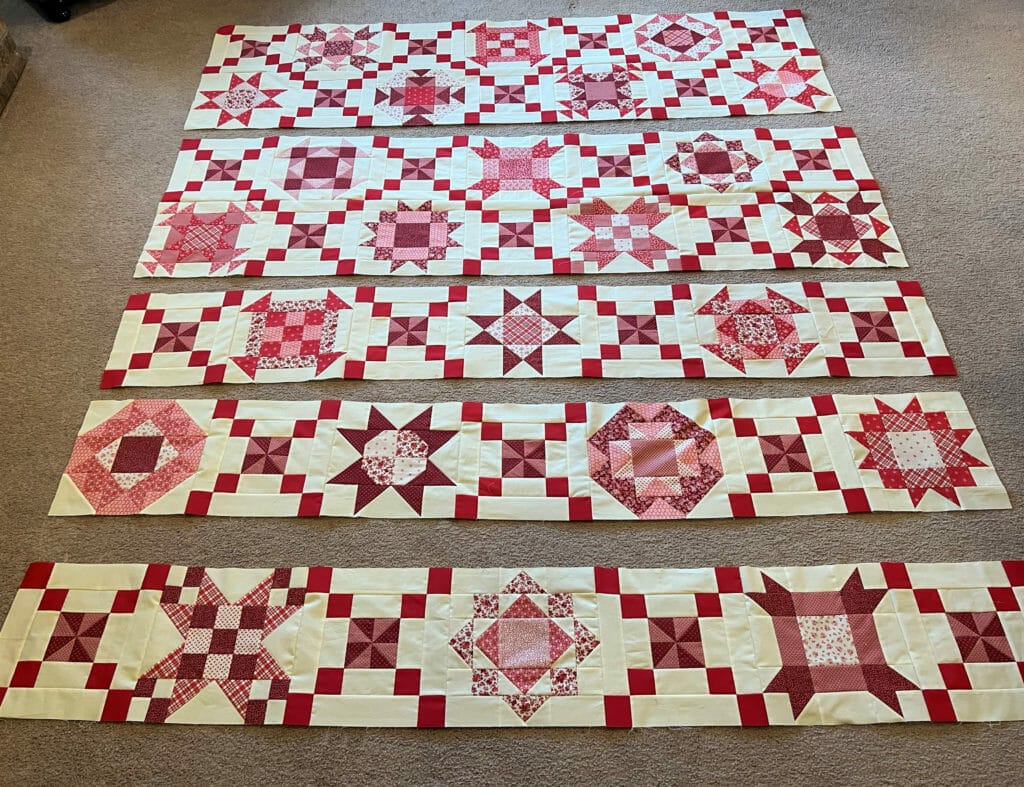
After my rows were sewn together I sewed them into pairs of two, with one straggler at the bottom of course! You can see in the photo above that I jumped the gun a little big before remembering to take a picture. It’s a bad habit I can’t seem to break – Ugh! Then I sewed the rows into chunks like you’ll see below.
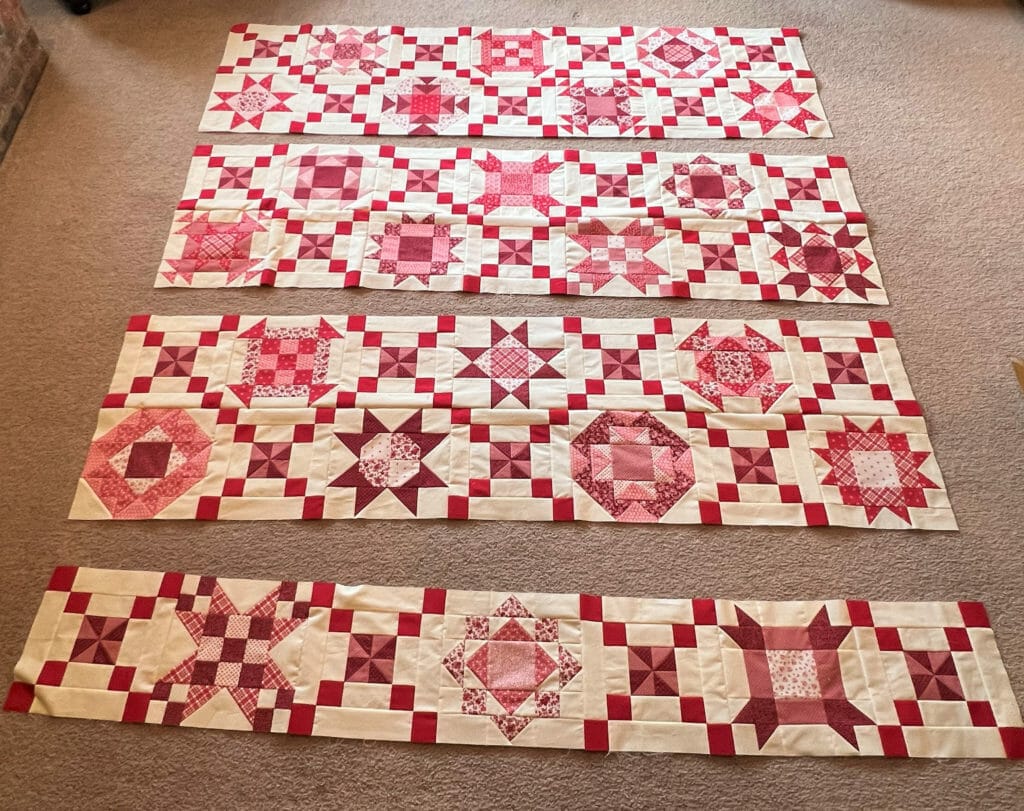
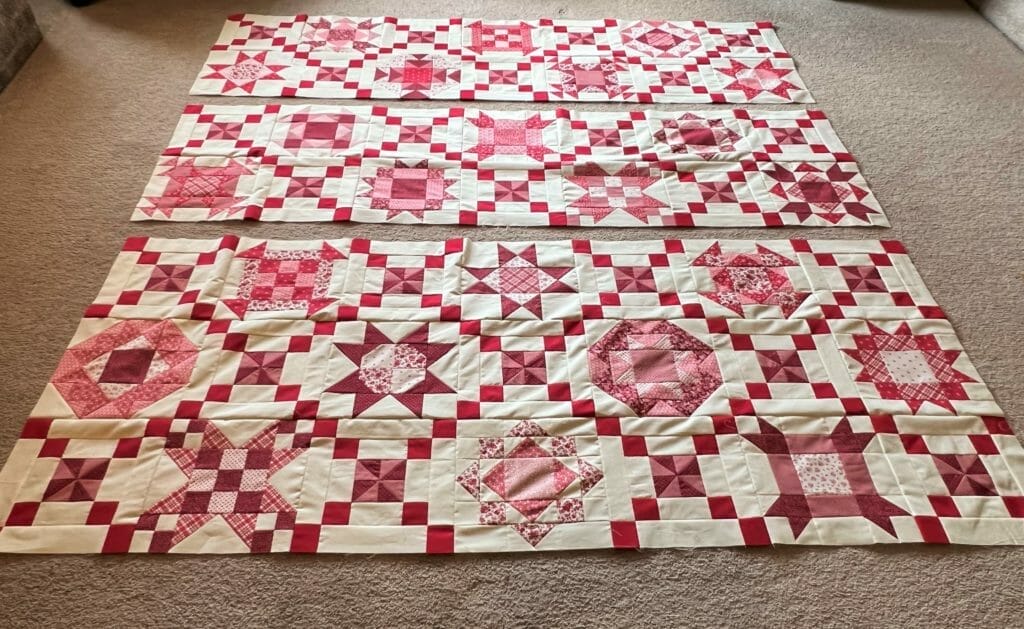
Once we have the blocks assembled, we can work on the borders. I always cut my border strips an inch or two longer than necessary so I have some wiggle room to trim them to be even with the rest of the quilt top when I’m done.
After sewing on the D and E strips, we can attach those finished pieced border strips. Before sewing these to my quilt, I laid everything out just to double check that I wasn’t going to end up with similar fabrics close together in the corners. This is also when I chose the four different fabrics I would use for the B squares in the corners. I then cut those out and sewed them to the top and bottom pieced border strips. I had a hard time getting the whole quilt in a photo from my staircase, but you get the idea.
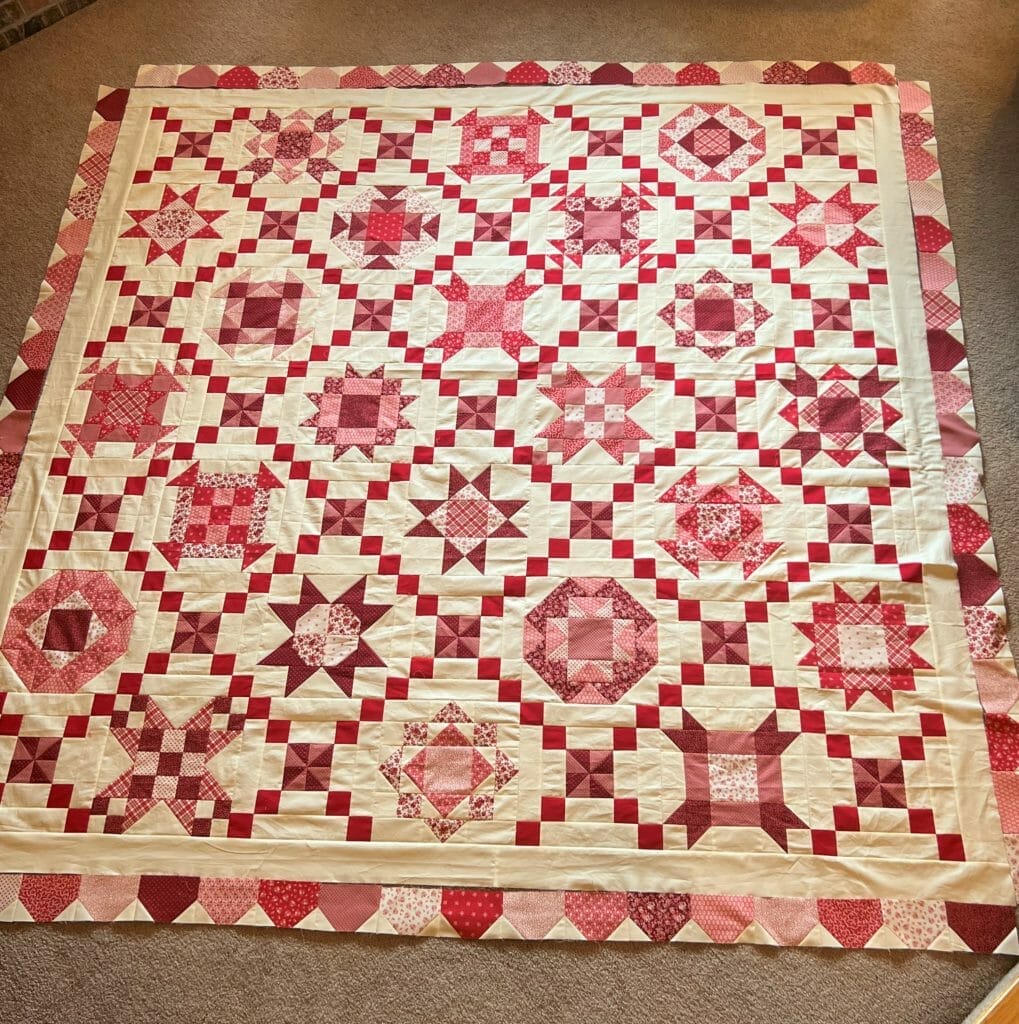
Now all that is left is to sew on the F and G strips, and the top is finished! Hooray!!!
Thank you so much for joining me on this journey for the past year. I hope you have enjoyed making this quilt, and that you will love it for years to come.
Take Care, and Happy Quilting!
-Kristin


 Tutorials

