


 Tutorials
 6.27.2022
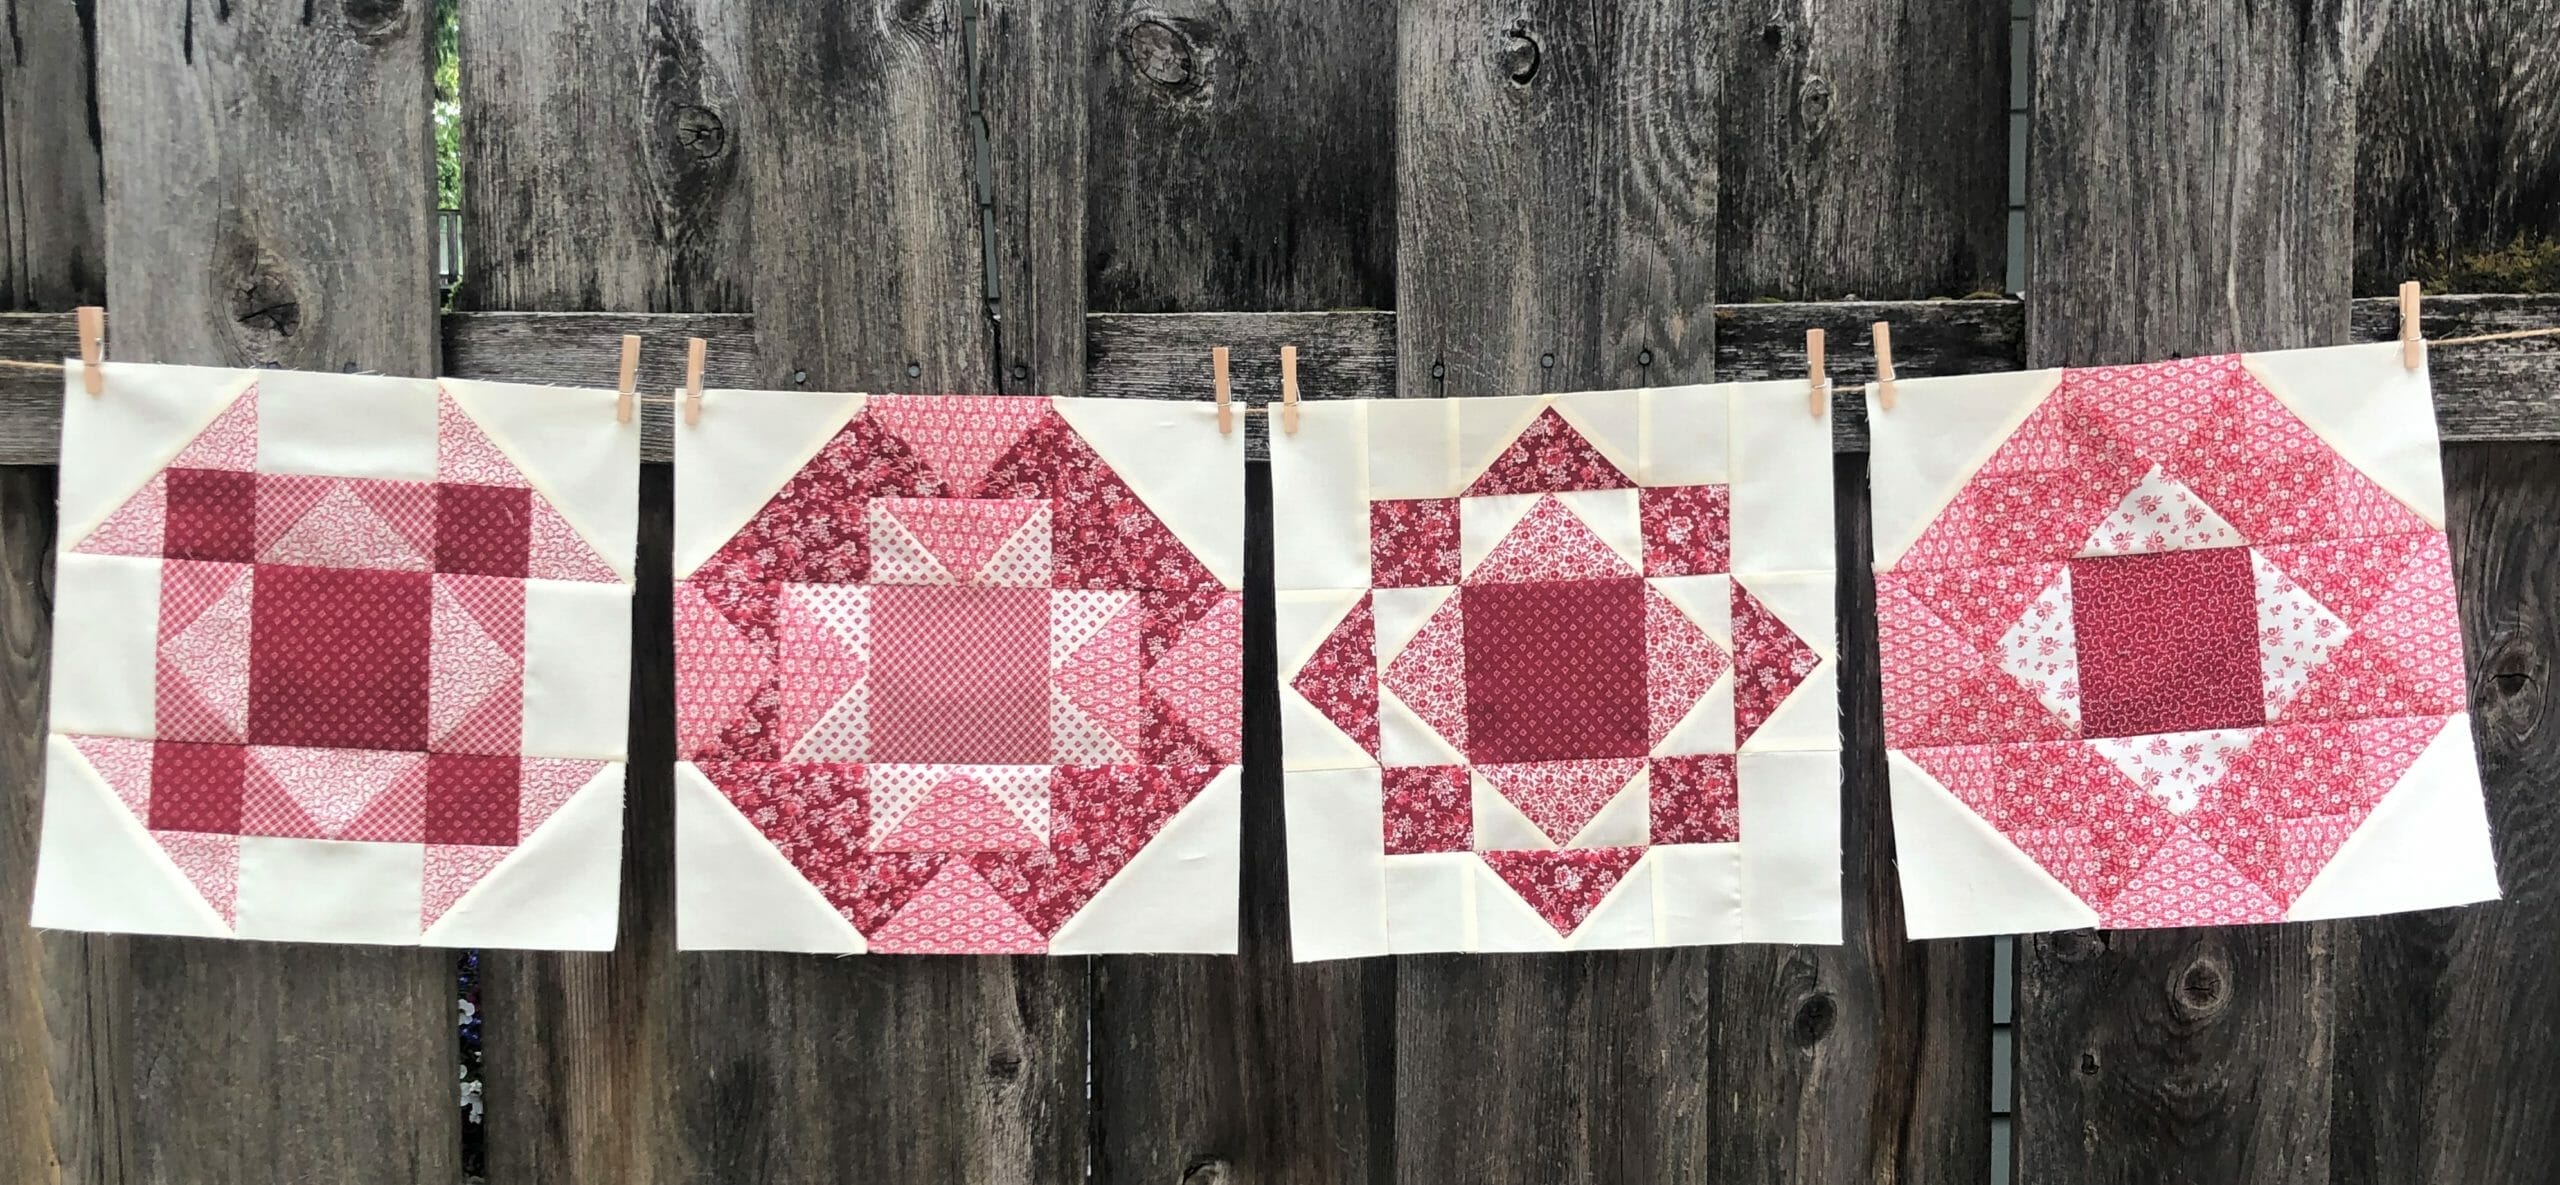
Well, we did it! We’ve made it to our last four blocks of this quilt. Hooray!
Before we get to the other blocks, Let’s talk about block #18. Some of you probably don’t know, but all my quilts are designed first on the computer using digital swatches of fabric, because the actual fabric hasn’t been manufactured yet. I submit my digital designs to Connecting Threads, and then they factor in the yardage I used (as well as other designers whose kits they will package and sell), to place their order. This means that once I’ve used a fabric in my design, it’s expected that it will be there for good.
Most of the time, this works great, but on rare occasion, things look different on my computer, than in real life. This block #18 is one of those rare times. While there’s nothing technically “WRONG” with it, I just wasn’t pleased with how blendy it looks when it’s finished. There was definitely more contrast in the digital version, than there is in reality.

But the great news is, since this is the last month for block making, you can feel free to swap out any fabrics you don’t like on any of these last four blocks with no damage done.
So, that’s a really long way of telling you that you can keep the fabrics as is, or change them to your liking. The only thing we will need the remaining prints for, is for the scrappy border we will make next month.
And I’ll give you all a head’s up about that: Next month we will be cutting a whopping SEVENTY-TWO 3-1/2” x 5-1/2” rectangles to make the border. These are to be cut from all the assorted prints, So if you’d like to get started now, by all means do so. My recommendation would be to try and use as many prints as possible. I steered away from the solid red, but the rest were all fair game.
Okay, now let’s get to the actual blocks for this month. Since these are the last ones for the quilt, they will all be repeats of previous months. As usual, I will let you know which months these blocks were previously sewn, in case you want to refer to back to those blog posts, where I give more detailed tutorials on each of these.
Block # 8

This was originally block 17 back in month 3, so feel free to refer back.
Here is a brief photo series of me sewing up the components in the new fabrics:
First I sewed the no-waste flying geese.


This photo shows the completed no-waste flying geese paired up with the F rectangles.

Next I sewed the pieced triangle units together. I got a little carried away with my sewing and forgot to take a photo until I got to this stage: Oops!

And here are the completed B/D triangles, paired up with the G triangles.

Now everything is squared up and ready to sew the block together.


Block # 10

In this block, we’ll make more flying geese, then sew them to the large center square, with some smaller squares as cornerstones for the center unit. I won’t bore you with more photos of the flying geese under construction, since I think you all have it down by now. Below is the center unit, ready for assembly.
Next, we make a few more flying geese units, then take two of them and sew an F square on to each end. The remaining two will have a G rectangle sewn to each end.

Then we will sew these on to the center unit we completed in step 3 to complete the block.
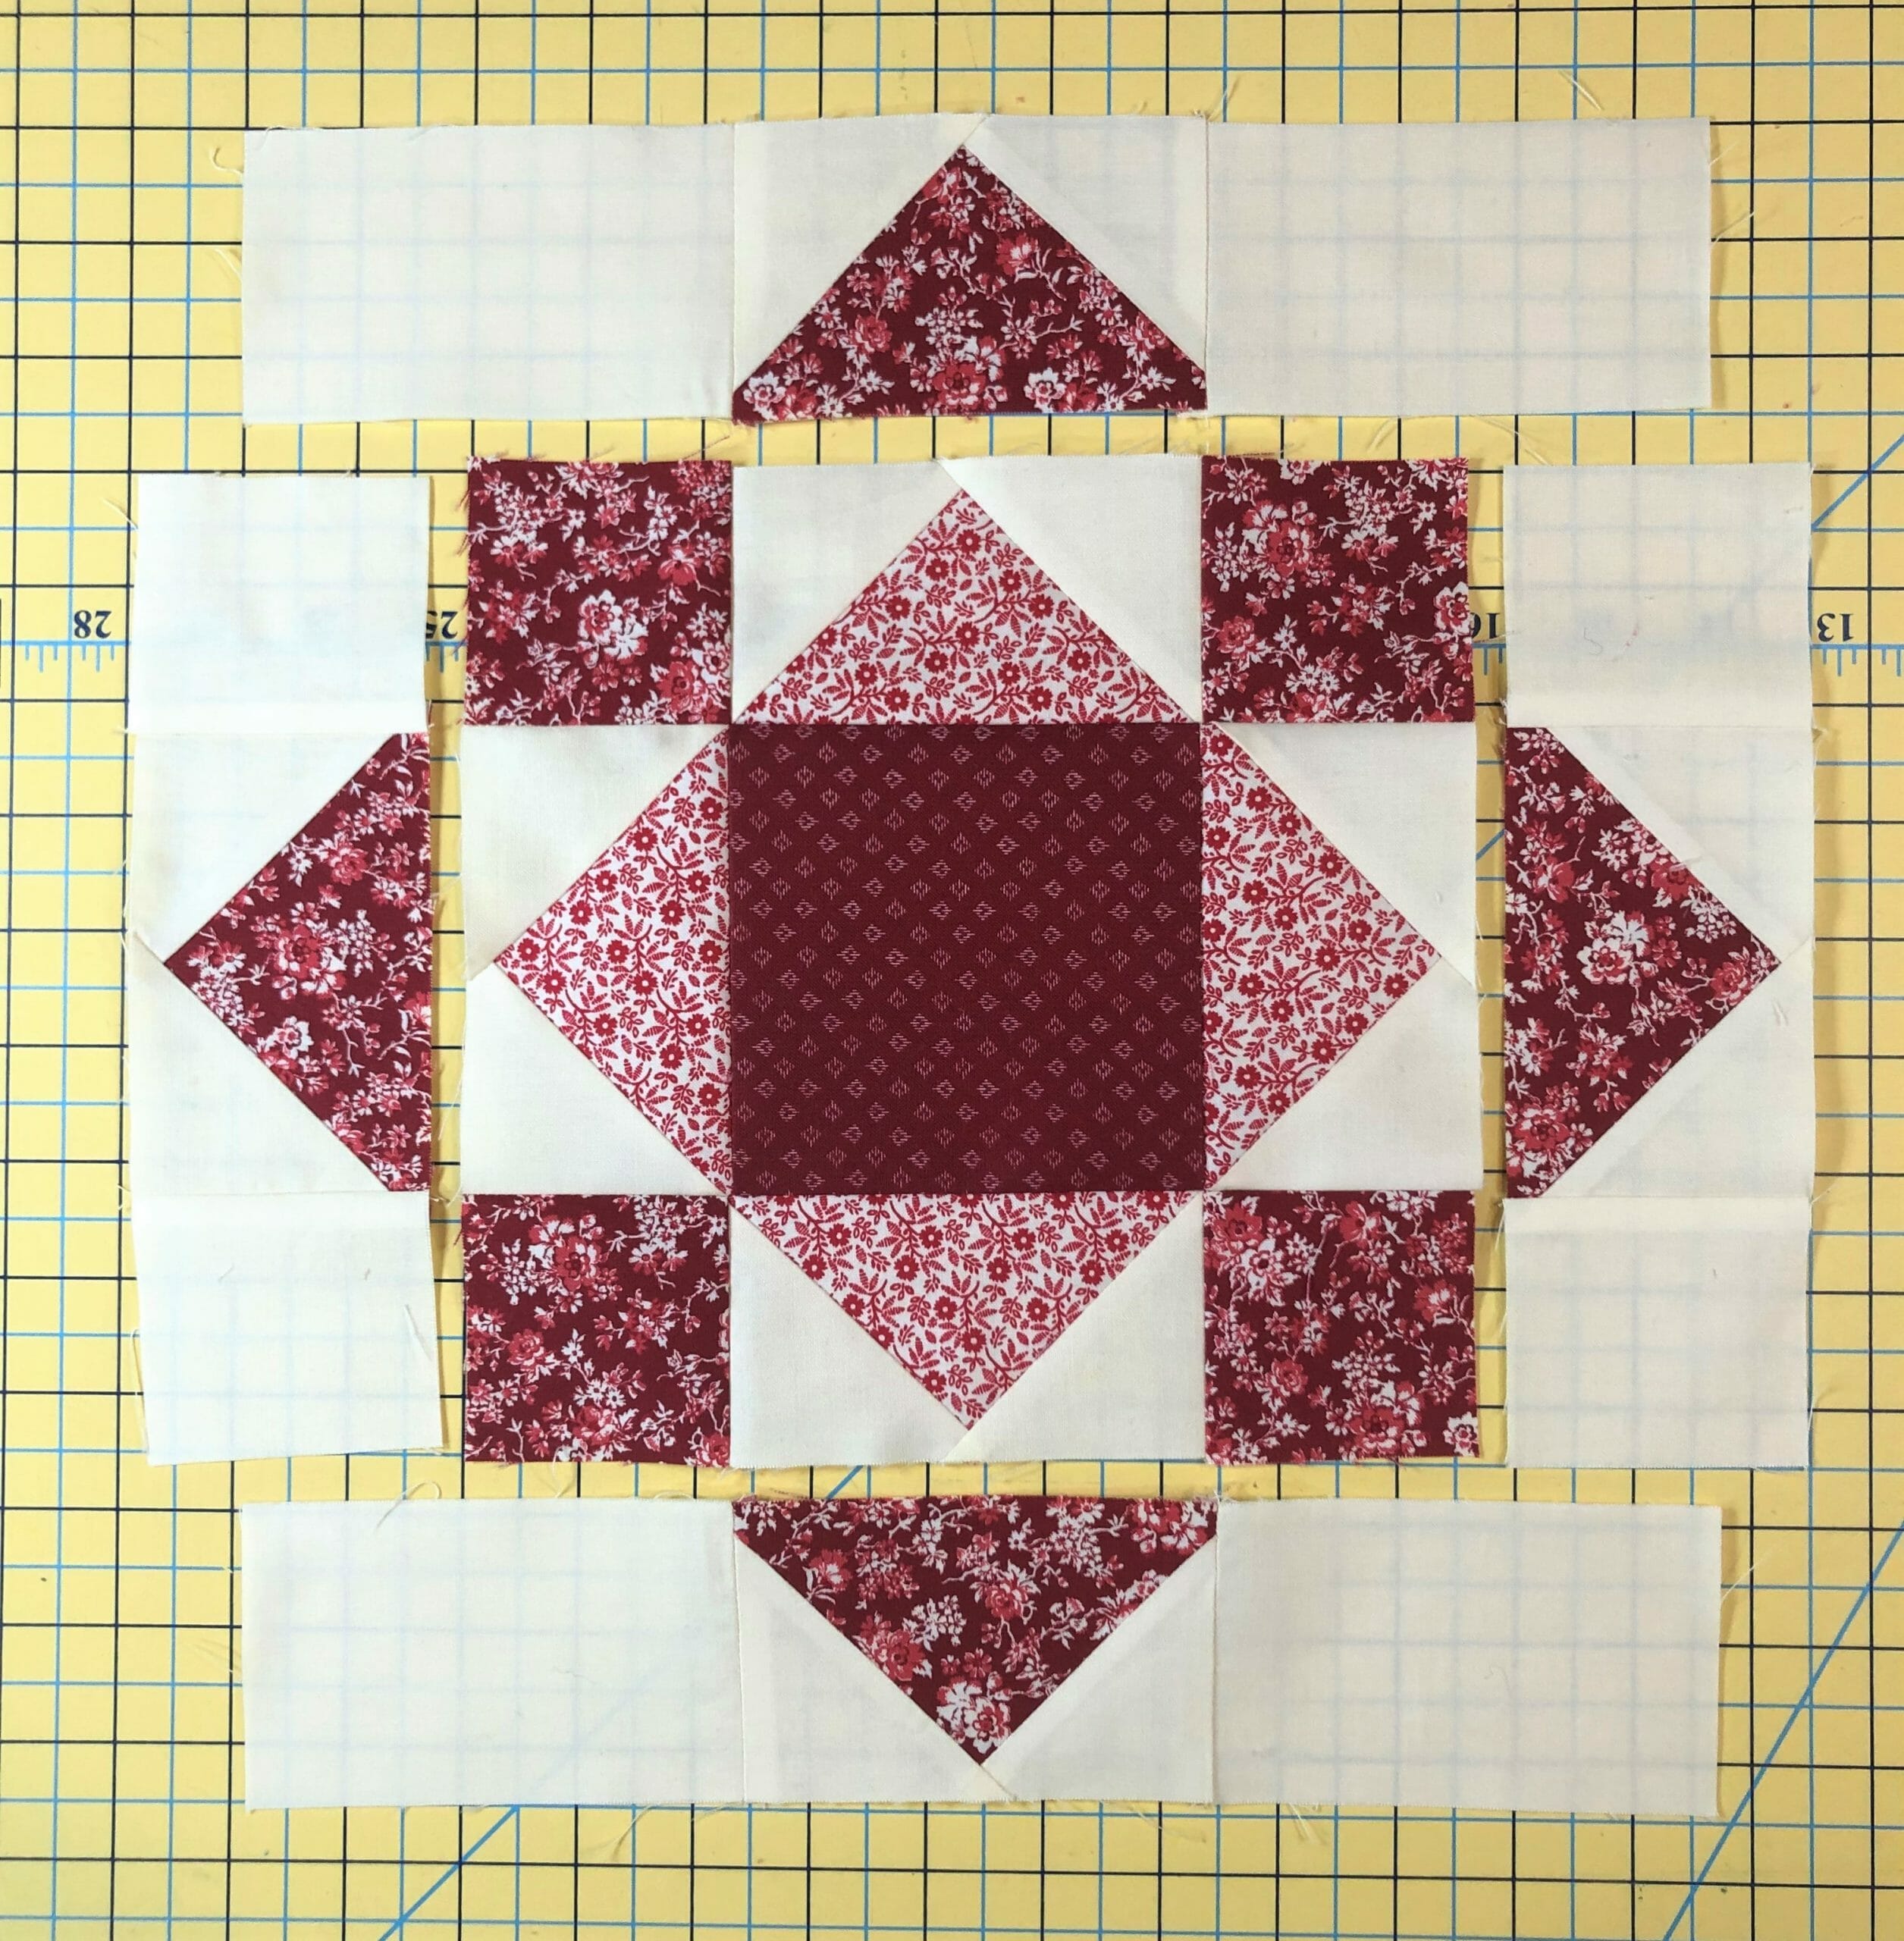

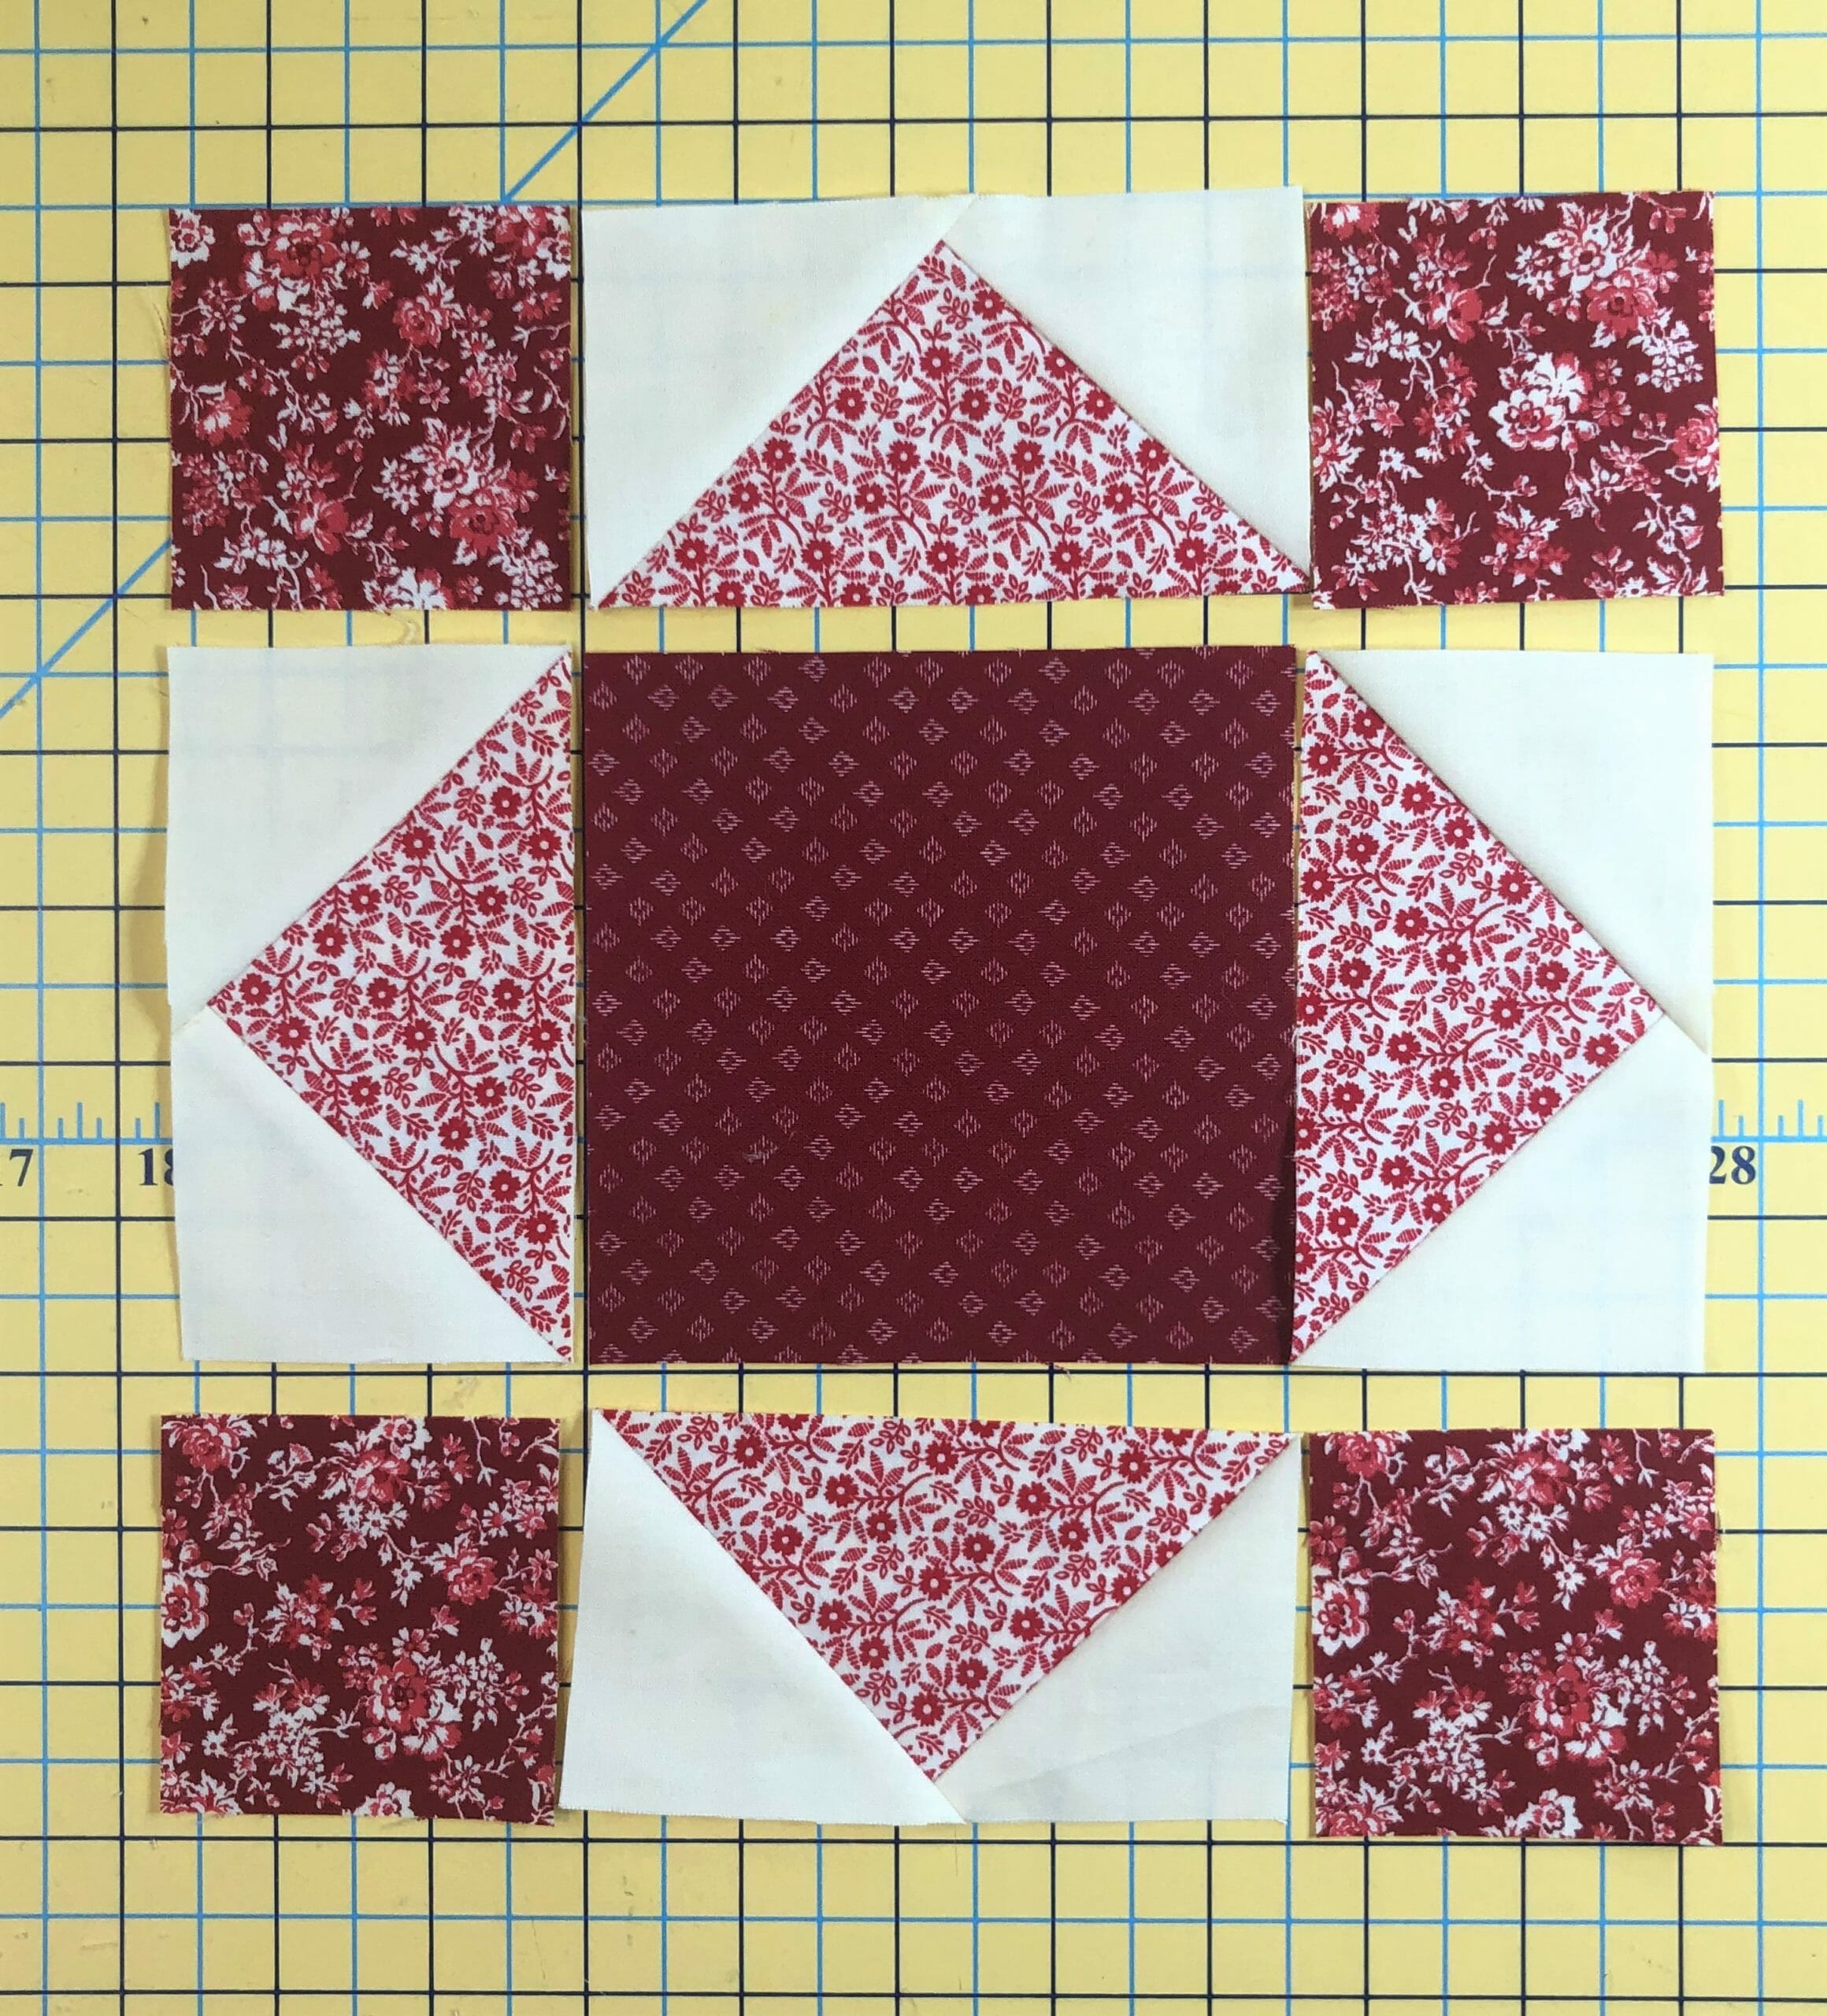
Block # 18

This was block #3 from month 5. And as I mentioned earlier, the fabrics in this version don’t have a lot of contrast. My recommendation would be to swap out the Tiny Flowers, Red for a darker print like Potpourri Scarlet, or to perhaps switch the Scadoodle Scarlet with the Tiny Flowers Red within the block. So that mean cutting the A square from the Tiny Flowers Red, then cut the C and D pieces from Scadoodle Scarlet. Or, if you don’t want to leave the block as is, by all means, please do so. This is YOUR quilt, so I want you to love it, no matter what you choose.
My photos below will show the block as it is sewn according to the directions.
We’ll begin by making an hourglass unit, starting with some half-square triangles.

After we pair up each C/B and C/E square, we’ll draw our line as a guide and stitch on each side as instructed. As you construct these, don’t forget to check and make sure your triangles are in their proper place. The C squares should be opposite of each other.

While I normally square up my half-square triangles before using them within a block, when making these hourglass (sometimes called quarter-square triangle) units, I always wait until they are done to do any trimming. So this means I wouldn’t do any squaring up until the end of step 3.
Next we’ll make some triangle units just like we did in block #8.


Now all the units are ready to be sewn together to finish the block.


Block #20

We made this one a couple months ago in month #9, and it was block #5 then.
Our last block begins like so many others – making no waste flying geese. Since I knew I needed two different sets, I decided to make them at the same time.


Once we get the two versions finished they get sewn together to make 4-1/2” squares.

Next, we just have to make some large half-square triangles, and then this block is ready for assembly.


One of the things I love about this particular block, is that it looks more complex than it actually is. It’s a fun one to make!

Yay! We made it! Next month we’ll get this beauty finished. I can’t wait to see everyone’s quilts when they are done. We will have a lot of sewing next month, so I wouldn’t fault anyone who decides to start sewing their blocks together at this point. But if you are too nervous to start until you get the instructions, that’s perfectly fine. Remember – there are NO RULES in quilting, only suggestions!
Until next time – Happy Quilting!
-Kristin

