


 Tutorials
 8.8.2022
Hi everyone! I hope you are all having a fantastic summer, and doing your best to beat the heat, wherever you are. I’ve found that staying in my air-conditioned quilt studio is a great way to stay cool, haha! If I could, I’d have you all join me!

Okay, let’s get back to why you are all here – the BLOCKS!
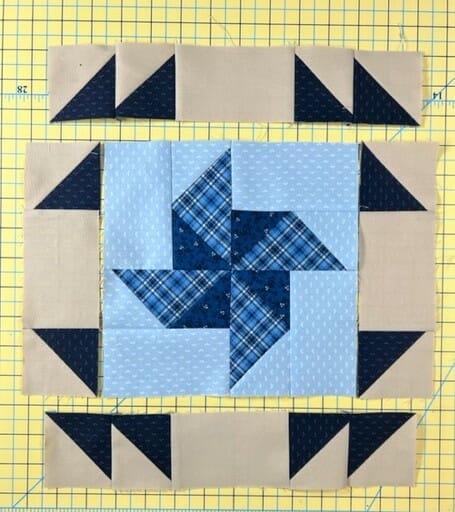
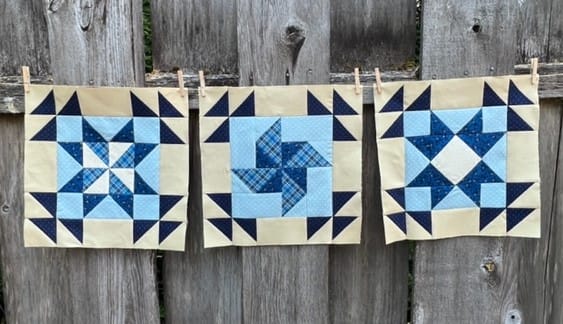
BLOCK #4
This is a fun one, and it’s also fast! The center portion is made by making some fancy flying geese units. One key thing to note in the directions is that the D square is pressed inward, and the F square is pressed outward. But guess what? When I sewed this up, I didn’t even look at my own directions and pressed them both out. OOPS! And you know, it wasn’t the end of the world! The block still turned out just fine. The seams didn’t nest together perfectly, but the seams weren’t terribly bulky. So if you screw up like me, just forge on. But I digress…


After the flying geese are made, all you have to do is sew the G rectangle to the top of each one.
Now we’ll sew them together pinwheel style, and the center portion of the block is done! Easy peasy!
And of course, we’ll finish things off like we always do with our HST border that we have made a million times by now.
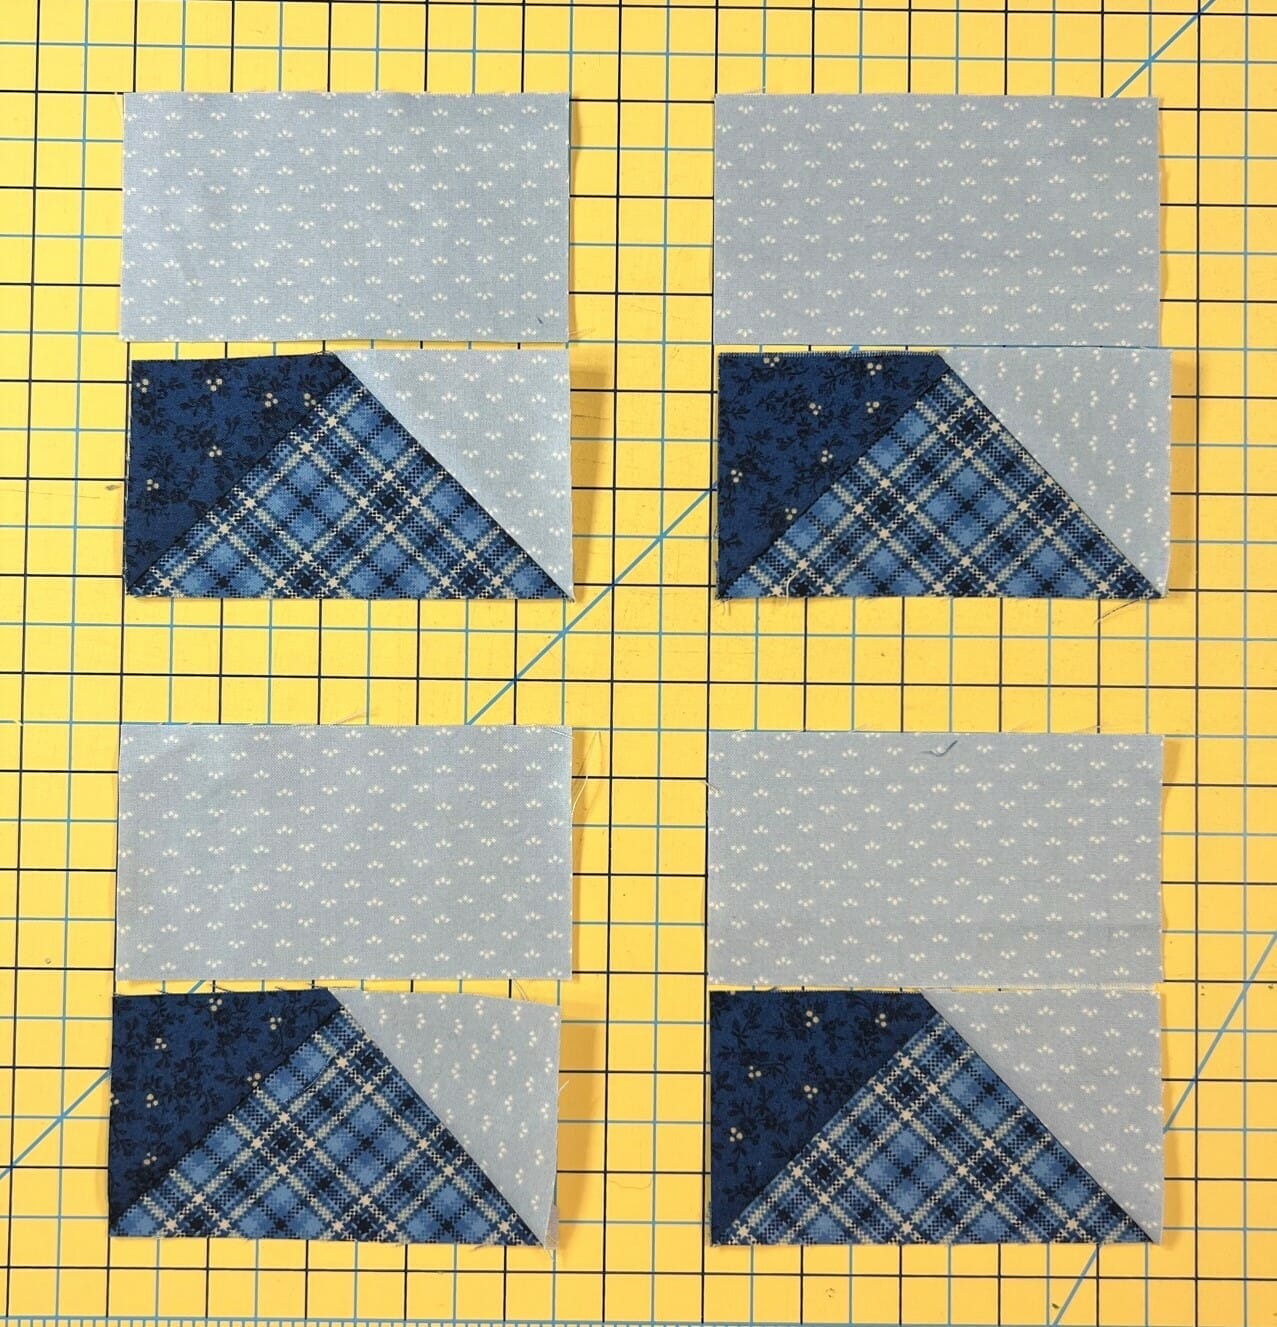
BLOCK #5

Our next block starts with making a square in a square unit, like the one we made last month in block #9. You can refer back to last month’s post about block #9 for more details, but I’ll remind you that you can fold and finger press the F square in half both ways to find the center, which will help you to properly place the E triangles for sewing. You want E triangles extending equally on both sides.


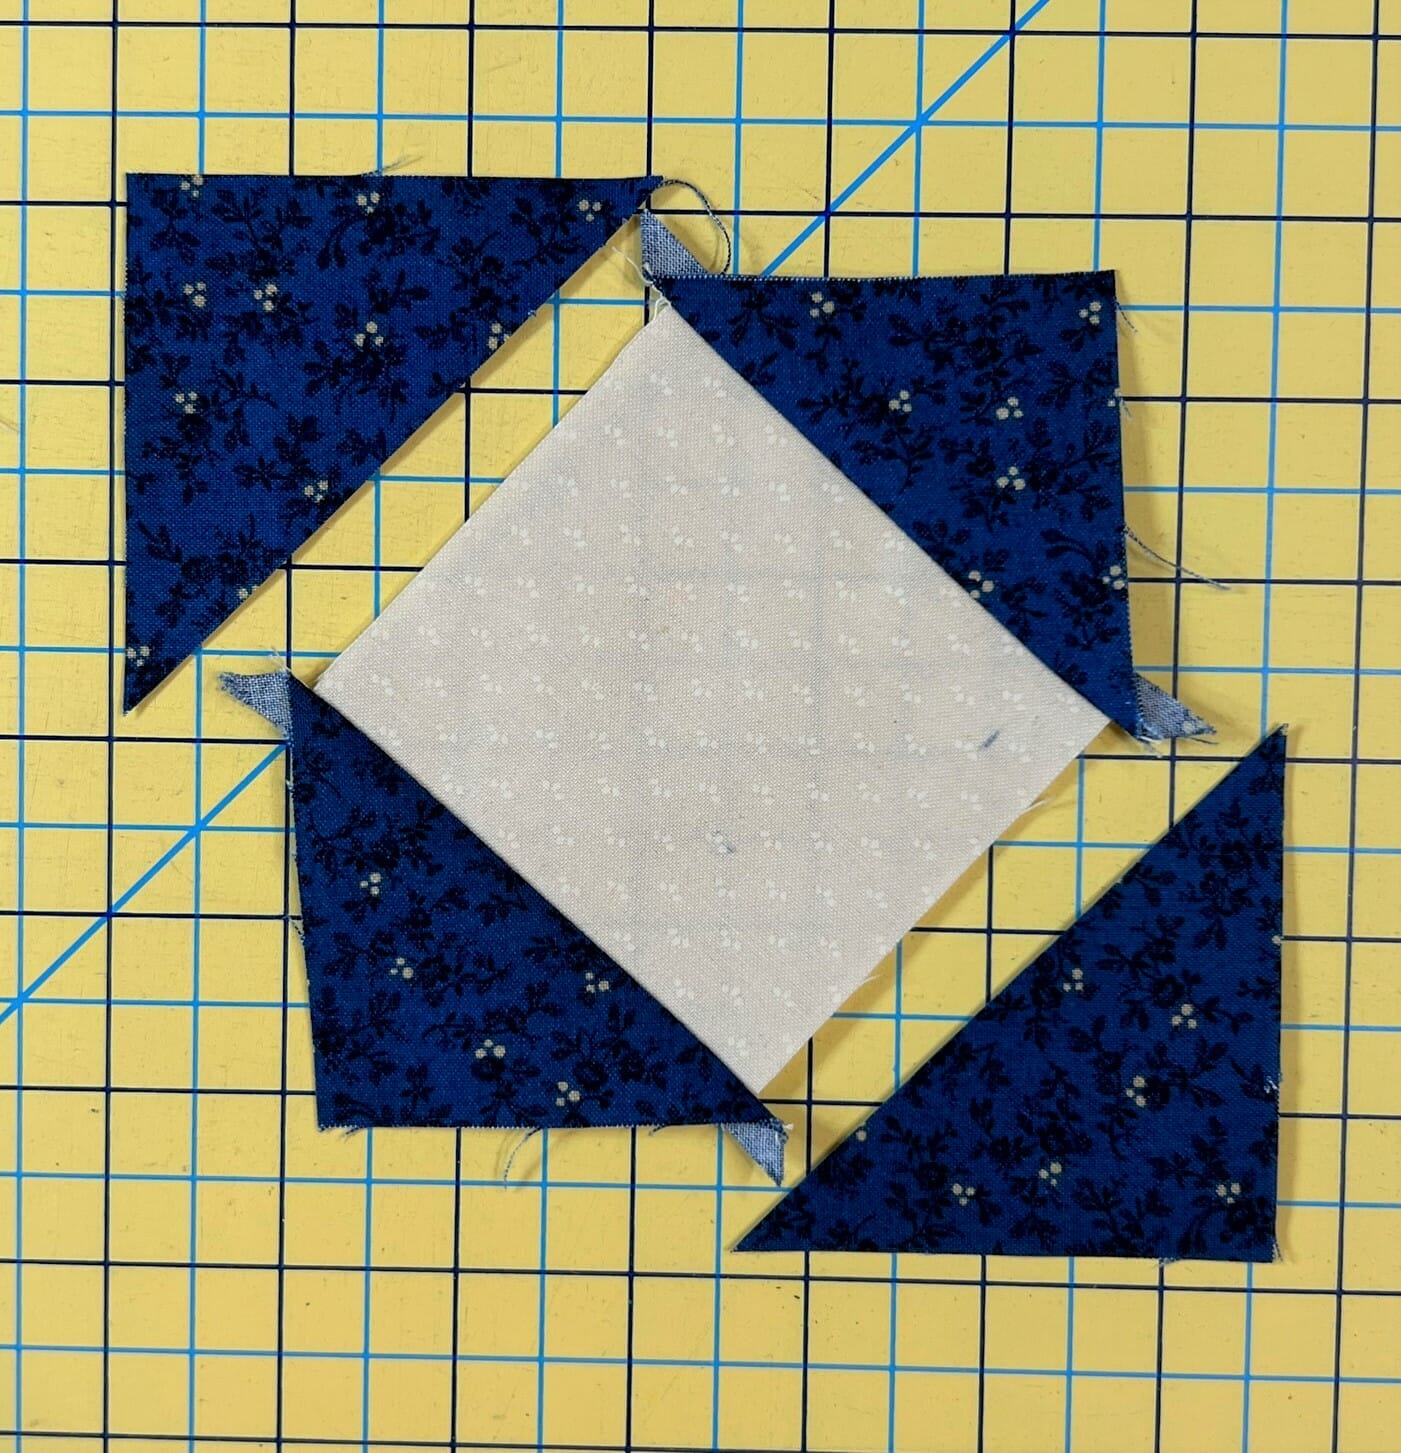
I also wait until I’m done with the square in a square unit before trimming off all the triangle tails. Some do it as they go. It doesn’t matter either way.
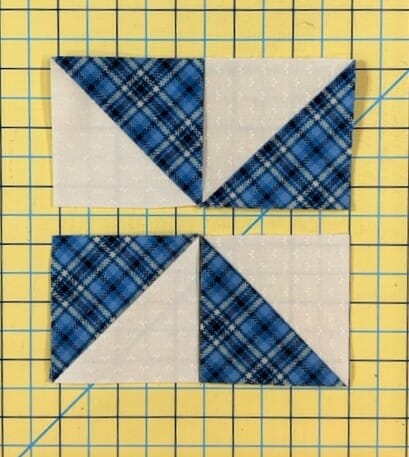
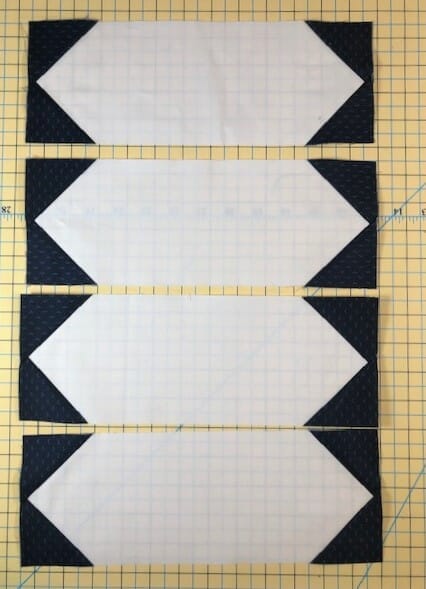
After that, we’ll make four flying geese units using the stitch and flip method, and get those trimmed to size.


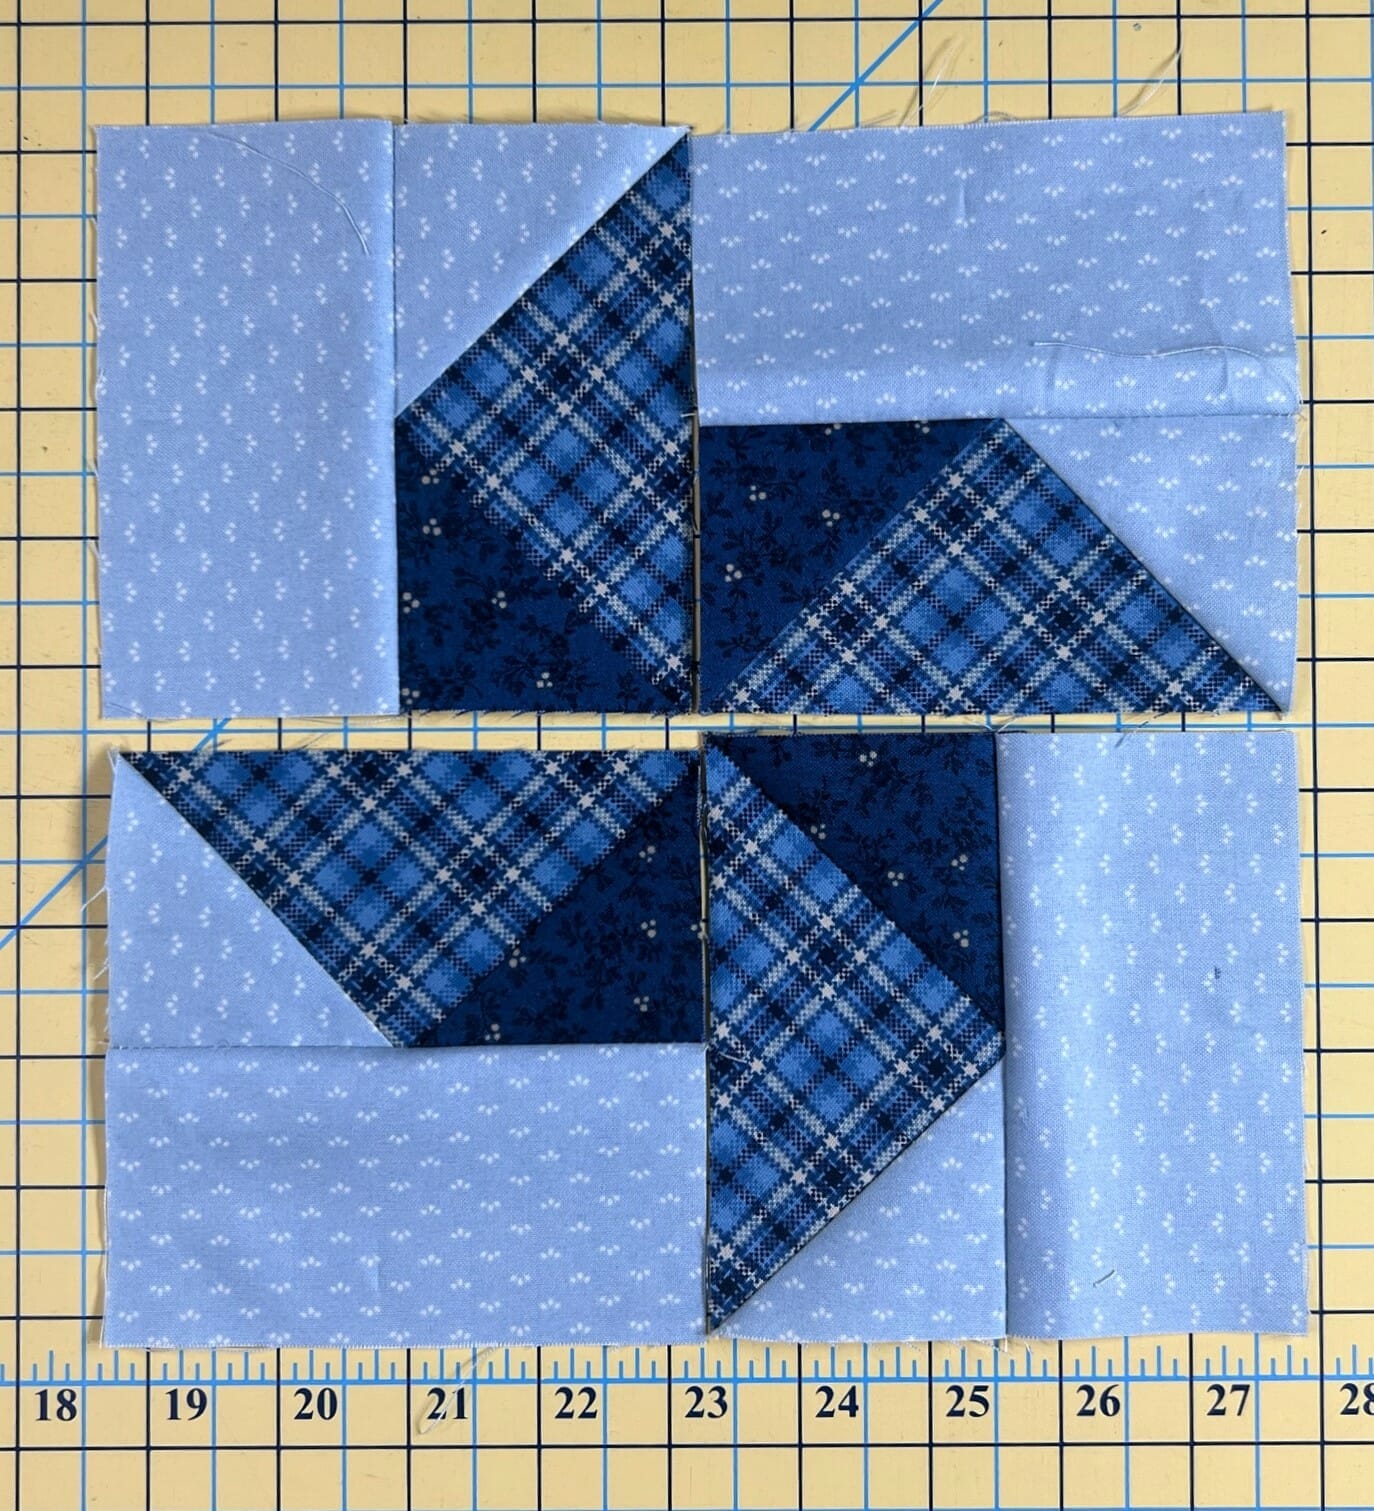
Here is the block, all laid out and ready for sewing. Somehow I never took a picture of the finished flying geese until this photo. If you’ve been reading my previous blogposts, you know this is a common problem with me. So sorry guys! You can see them finished below.
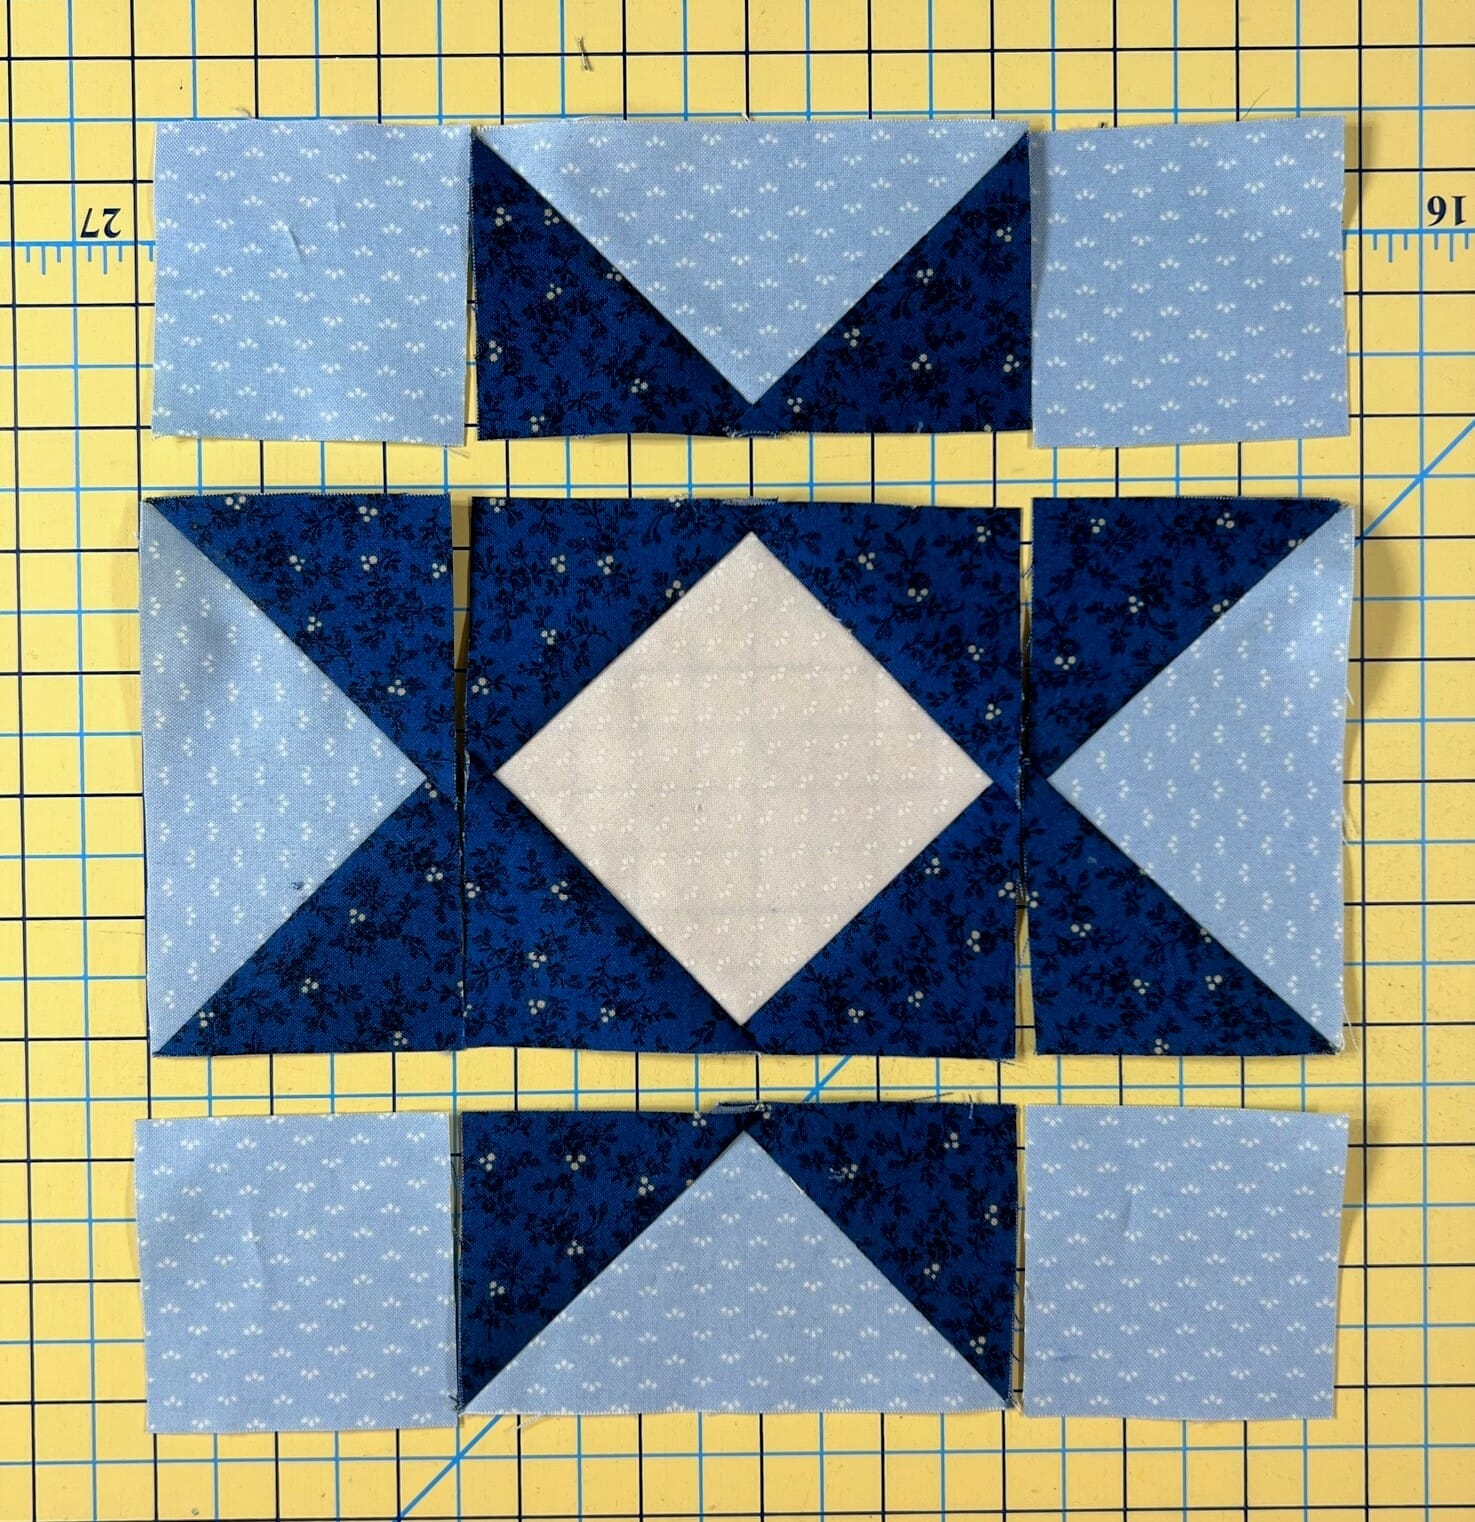
Sometimes it can be tricky to get the points of the center diamond to line up with the points of the flying geese units. I find it helpful to stick a pin through the intersections of both points so that things stay lined up.
The center star has some seams that can be a little bulky, so if you prefer, feel free to press those seams open. No one will ever know!
When that is all done, it’s time for our favorite part! Borders!

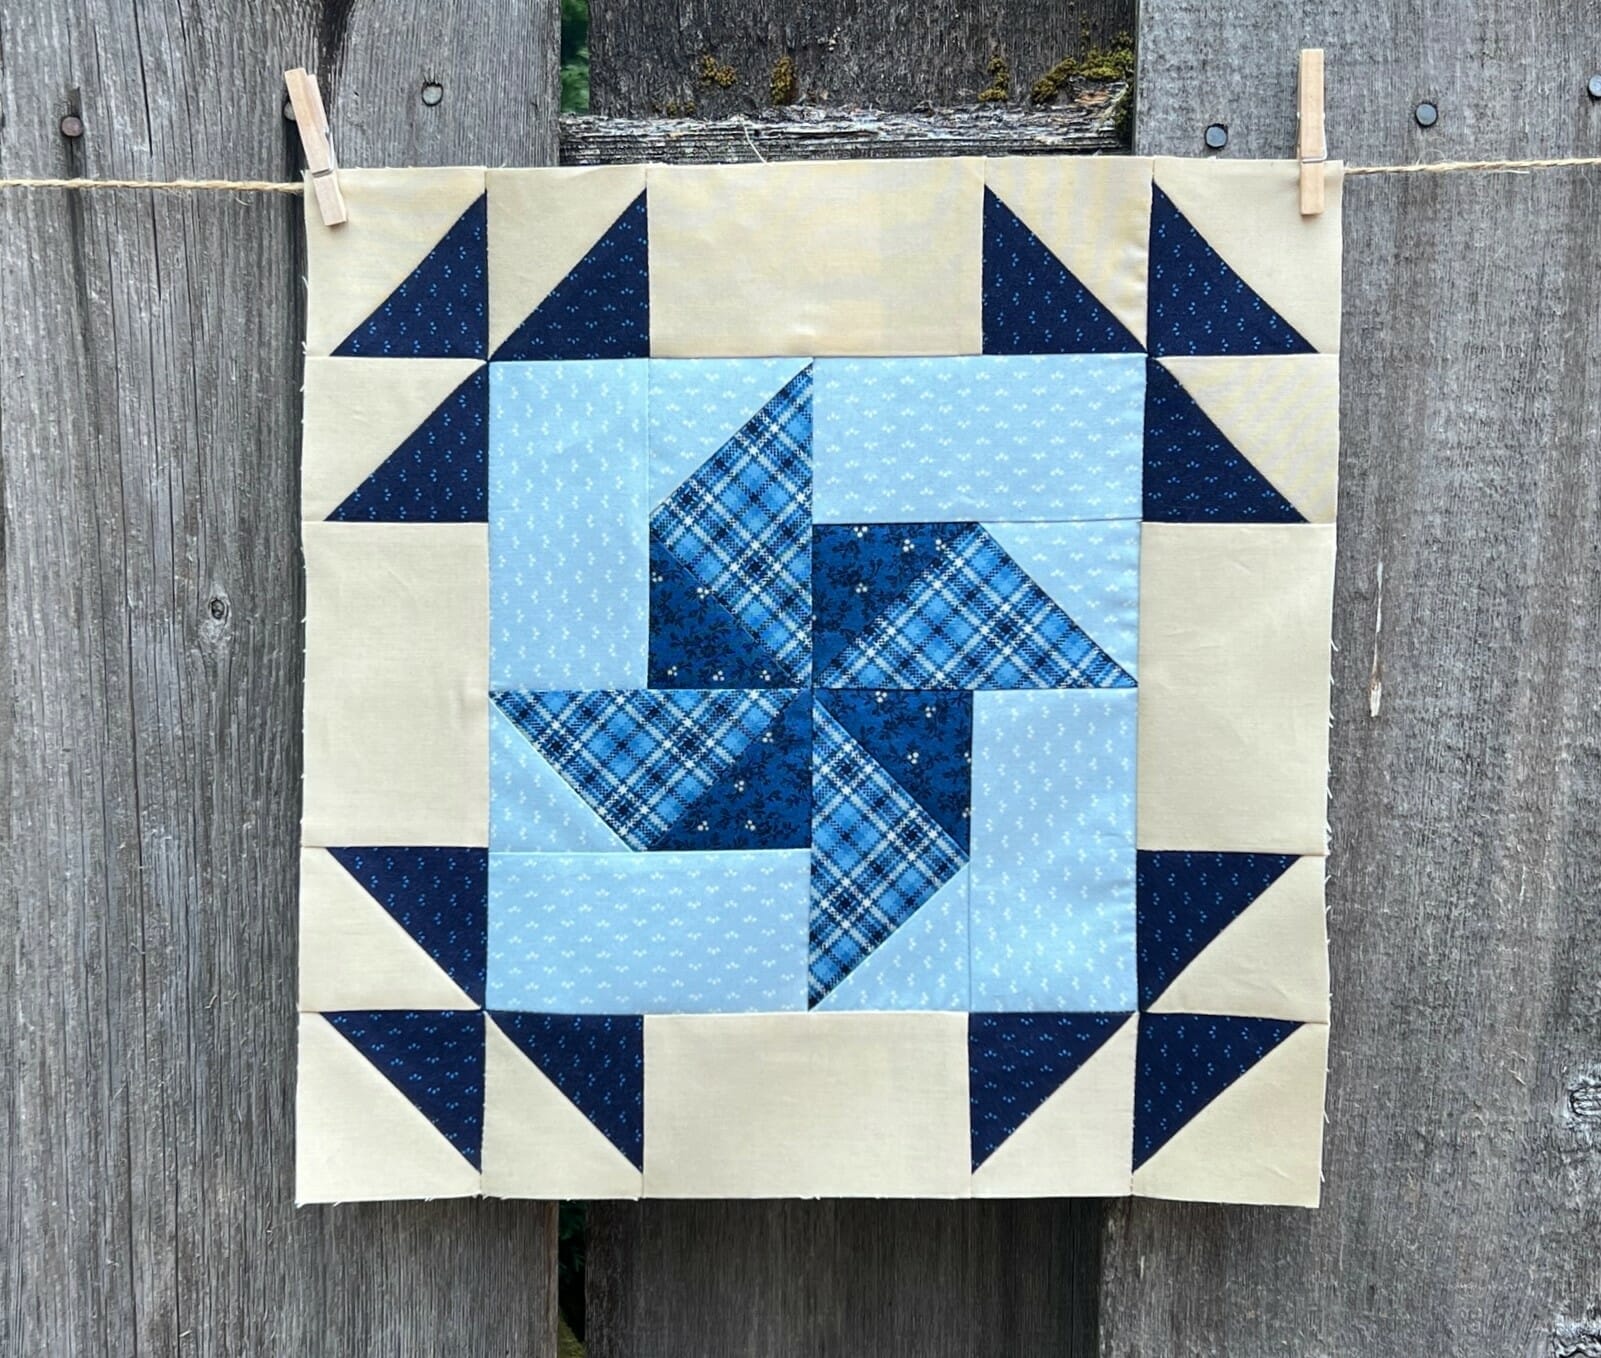
BLOCK #10
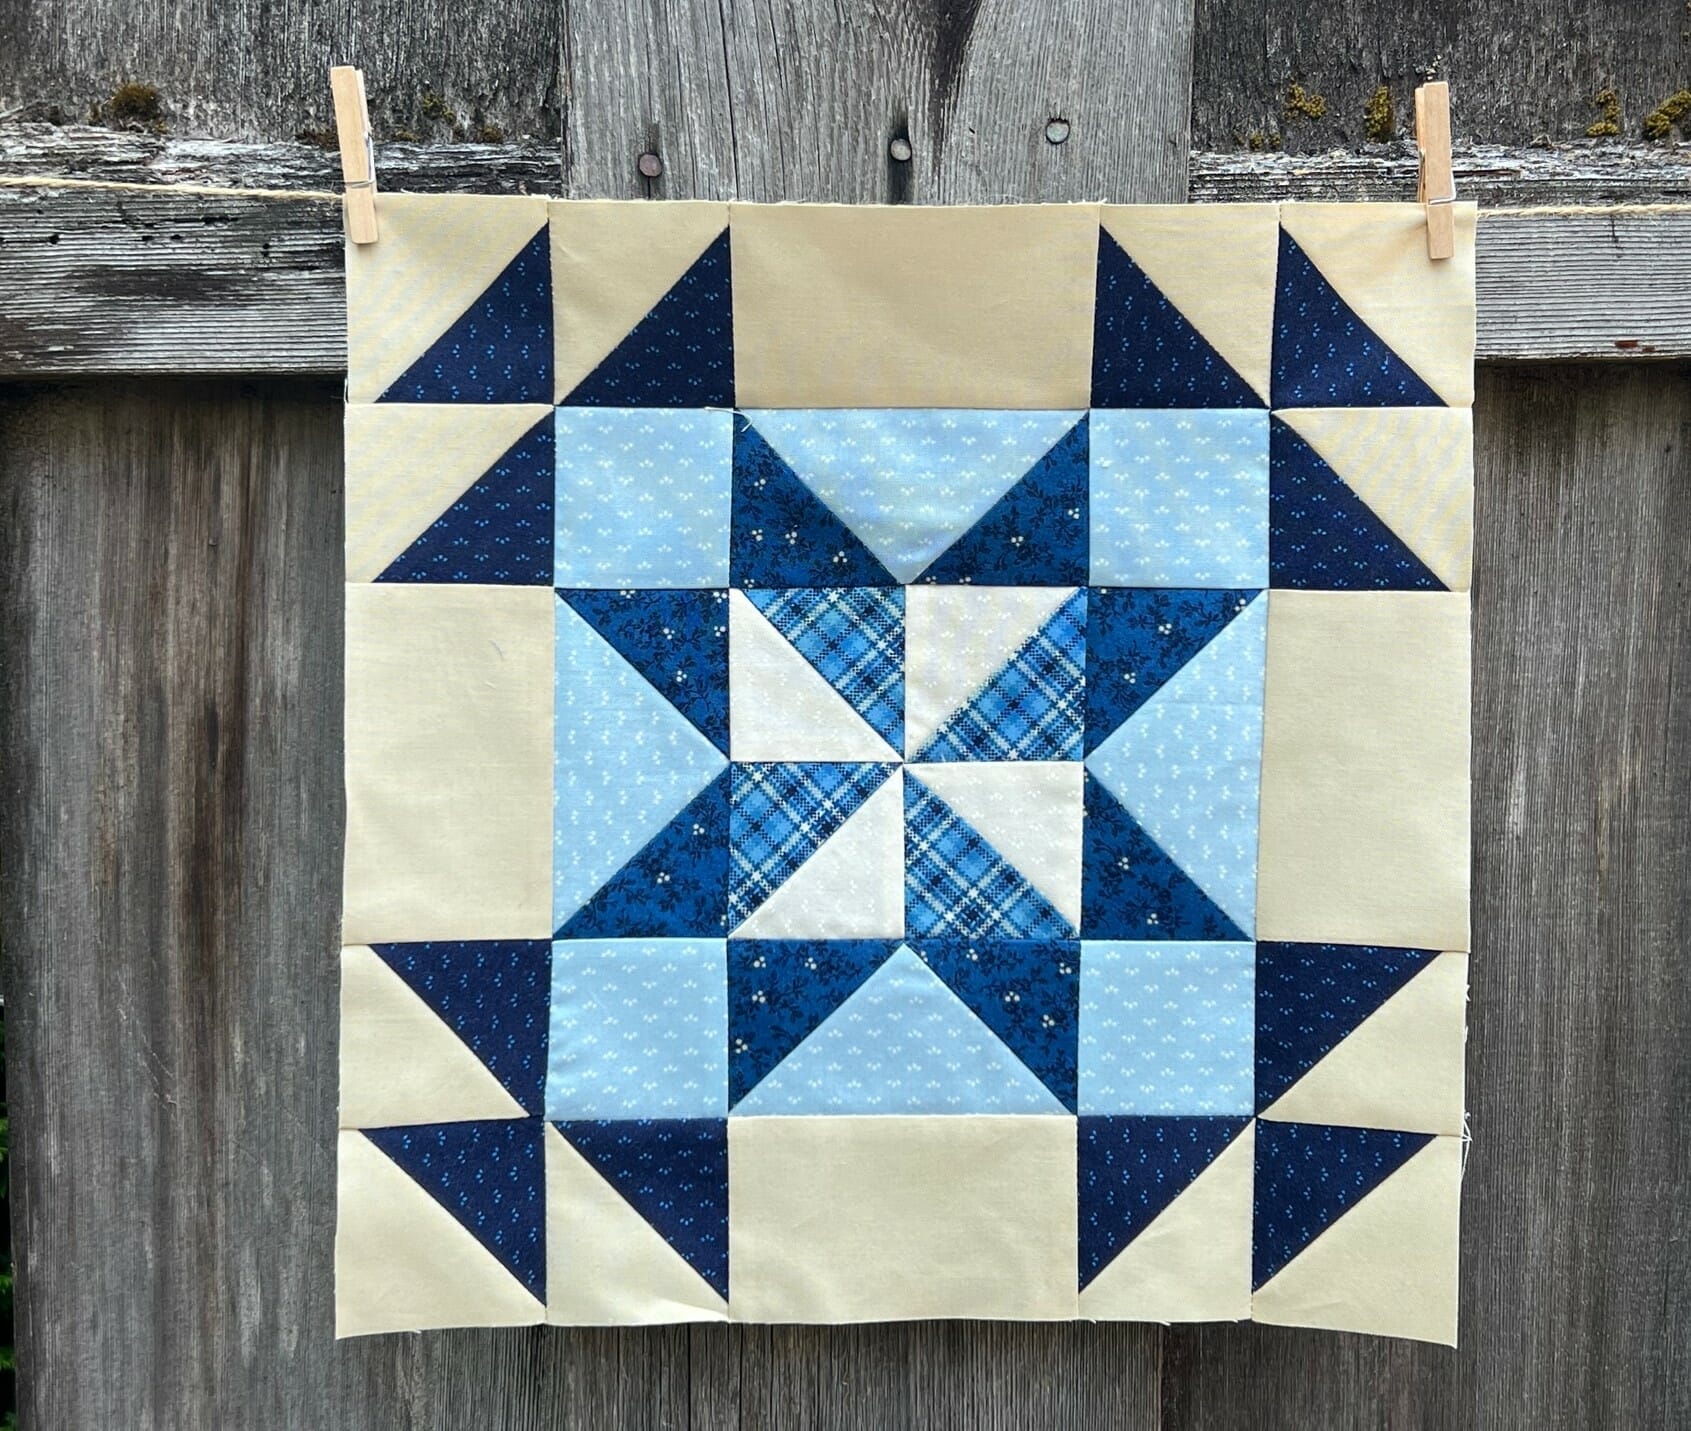
This block has my heart, because I LOVE pinwheels, and I LOVE sawtooth star blocks. It’s the perfect combo in my book!
First, we’ll begin by making the Half Square triangles for the pinwheel. Remember, you can ALWAYS cut these bigger to start, and then trim them down to size when you are done. Then, after they are finished and trimmed to size, we’ll sew them together like so:
Next, we’ll make four flying geese units, and if these look familiar, it’s because they are IDENTICAL to the ones we made in the previous block. I could post more photos, but they would look just like the ones from the previous block.
Now, all we have to do is lay everything out and start sewing!

Once this cute little block is sewn, we can add our usual HST borders to finish it off.

I found this month’s blocks to come together quickly, and I hope you do too.
Don’t forget to keep sewing your sashing strips too! I know it can be easy to put them off, but you will thank yourself later.
Stay cool my friends, and I’ll see you all next month. Don’t forget to make time for happy moments every day!
-Kristin

