


 Tutorials
 7.5.2023
NOTE: these blog posts for the Aurora quilt top are part of a limited series for our Block of the Month subscription program. Sign-ups for the Aurora BOM are no longer available. You can learn more about our upcoming Block of the Month subscriptions here.
Hello again friends!
This month is a busy one! Over the next few months we’ll be making all those lovely star blocks that will form our next border for this medallion quilt. By the time we’re done we’ll have a total of 32, but we’re taking them one color at a time. This month we will be making the Lagoon colored ones. We also can get a jump start on some of the diamond units for another border down the road.
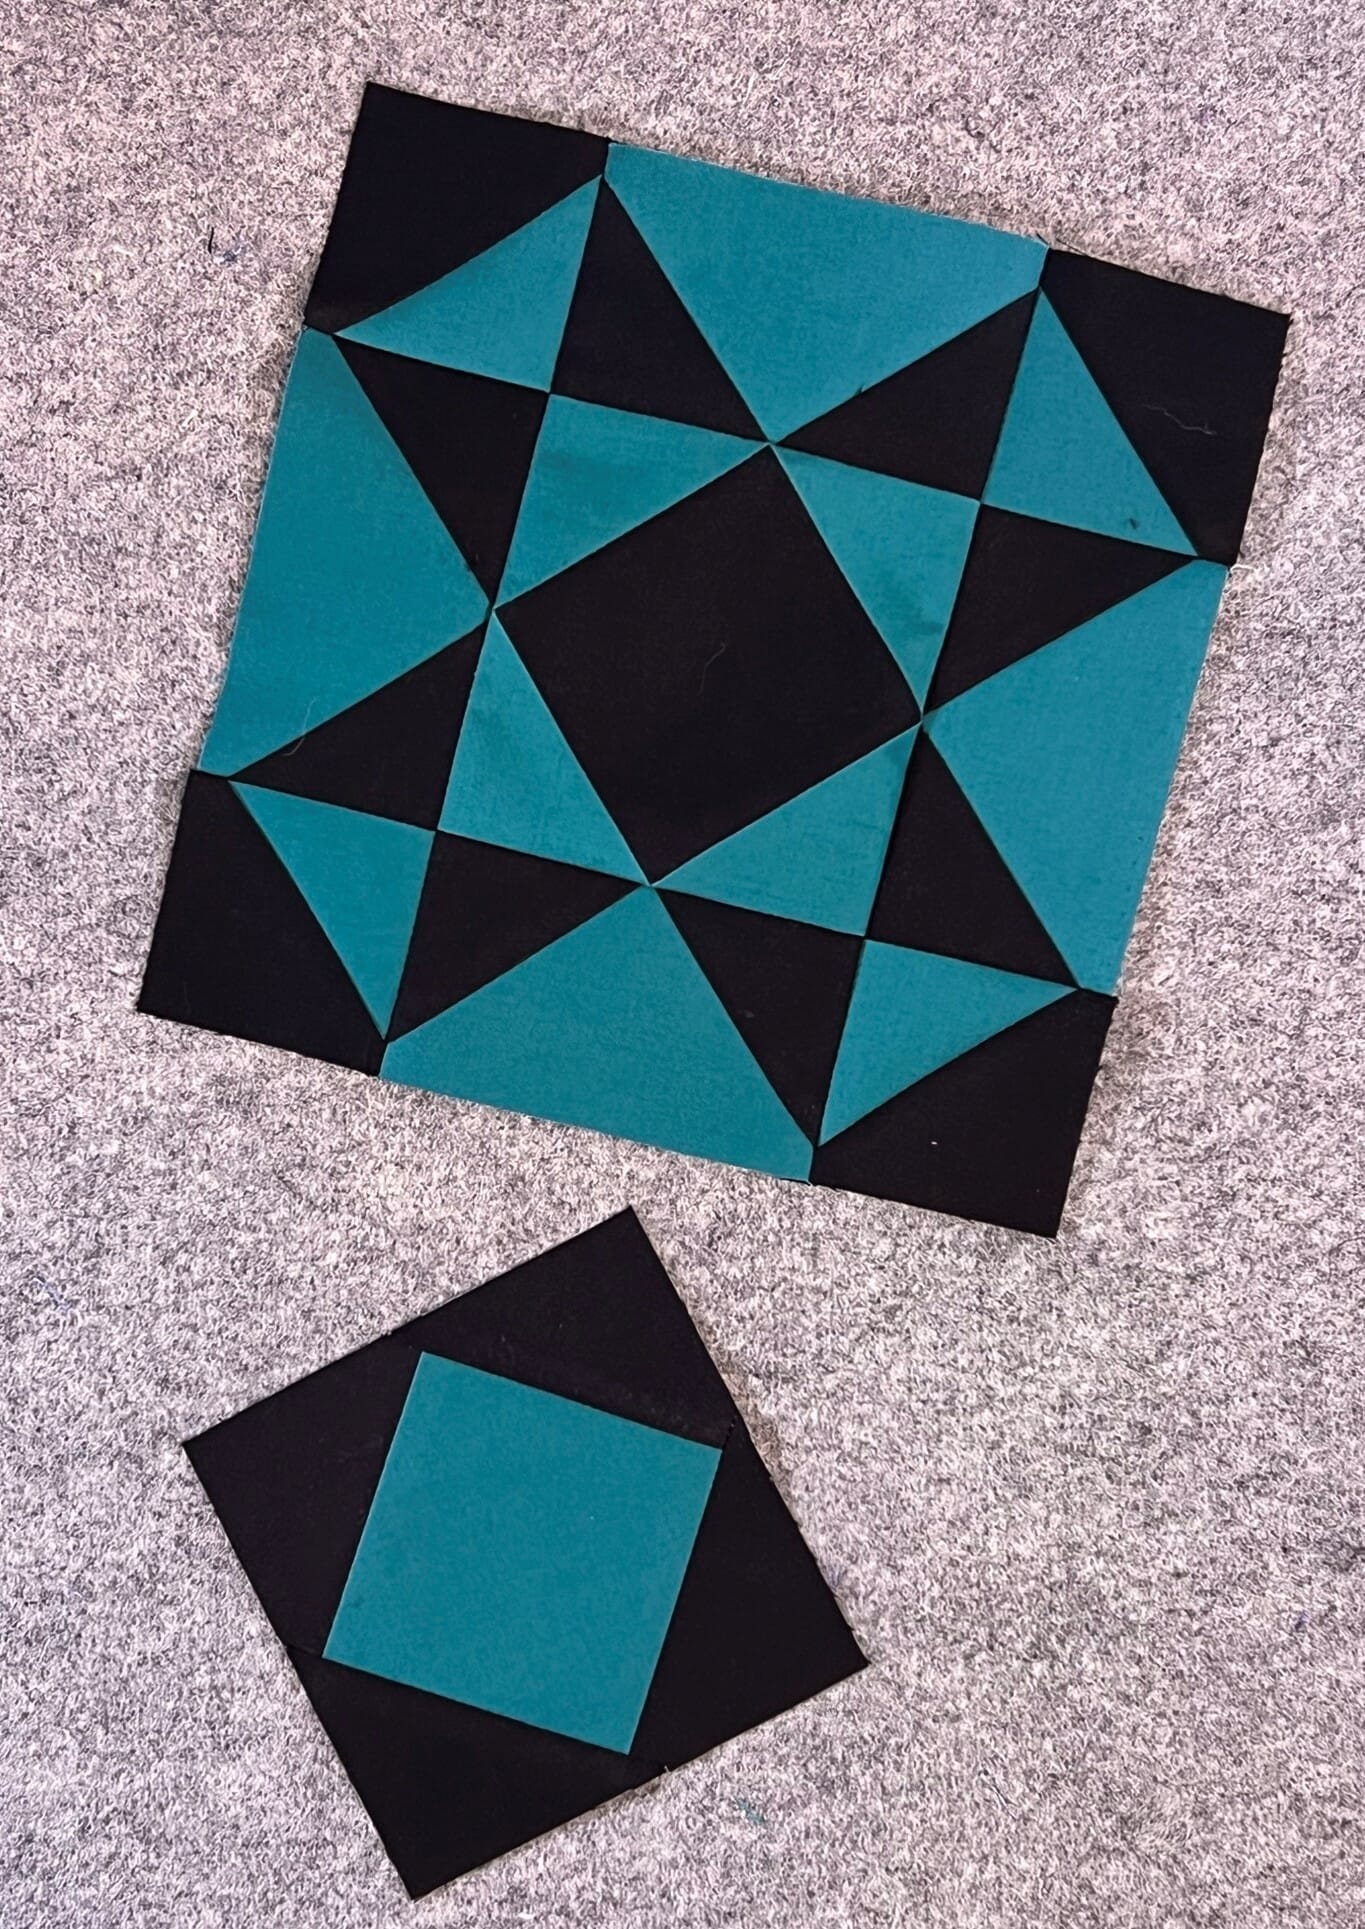
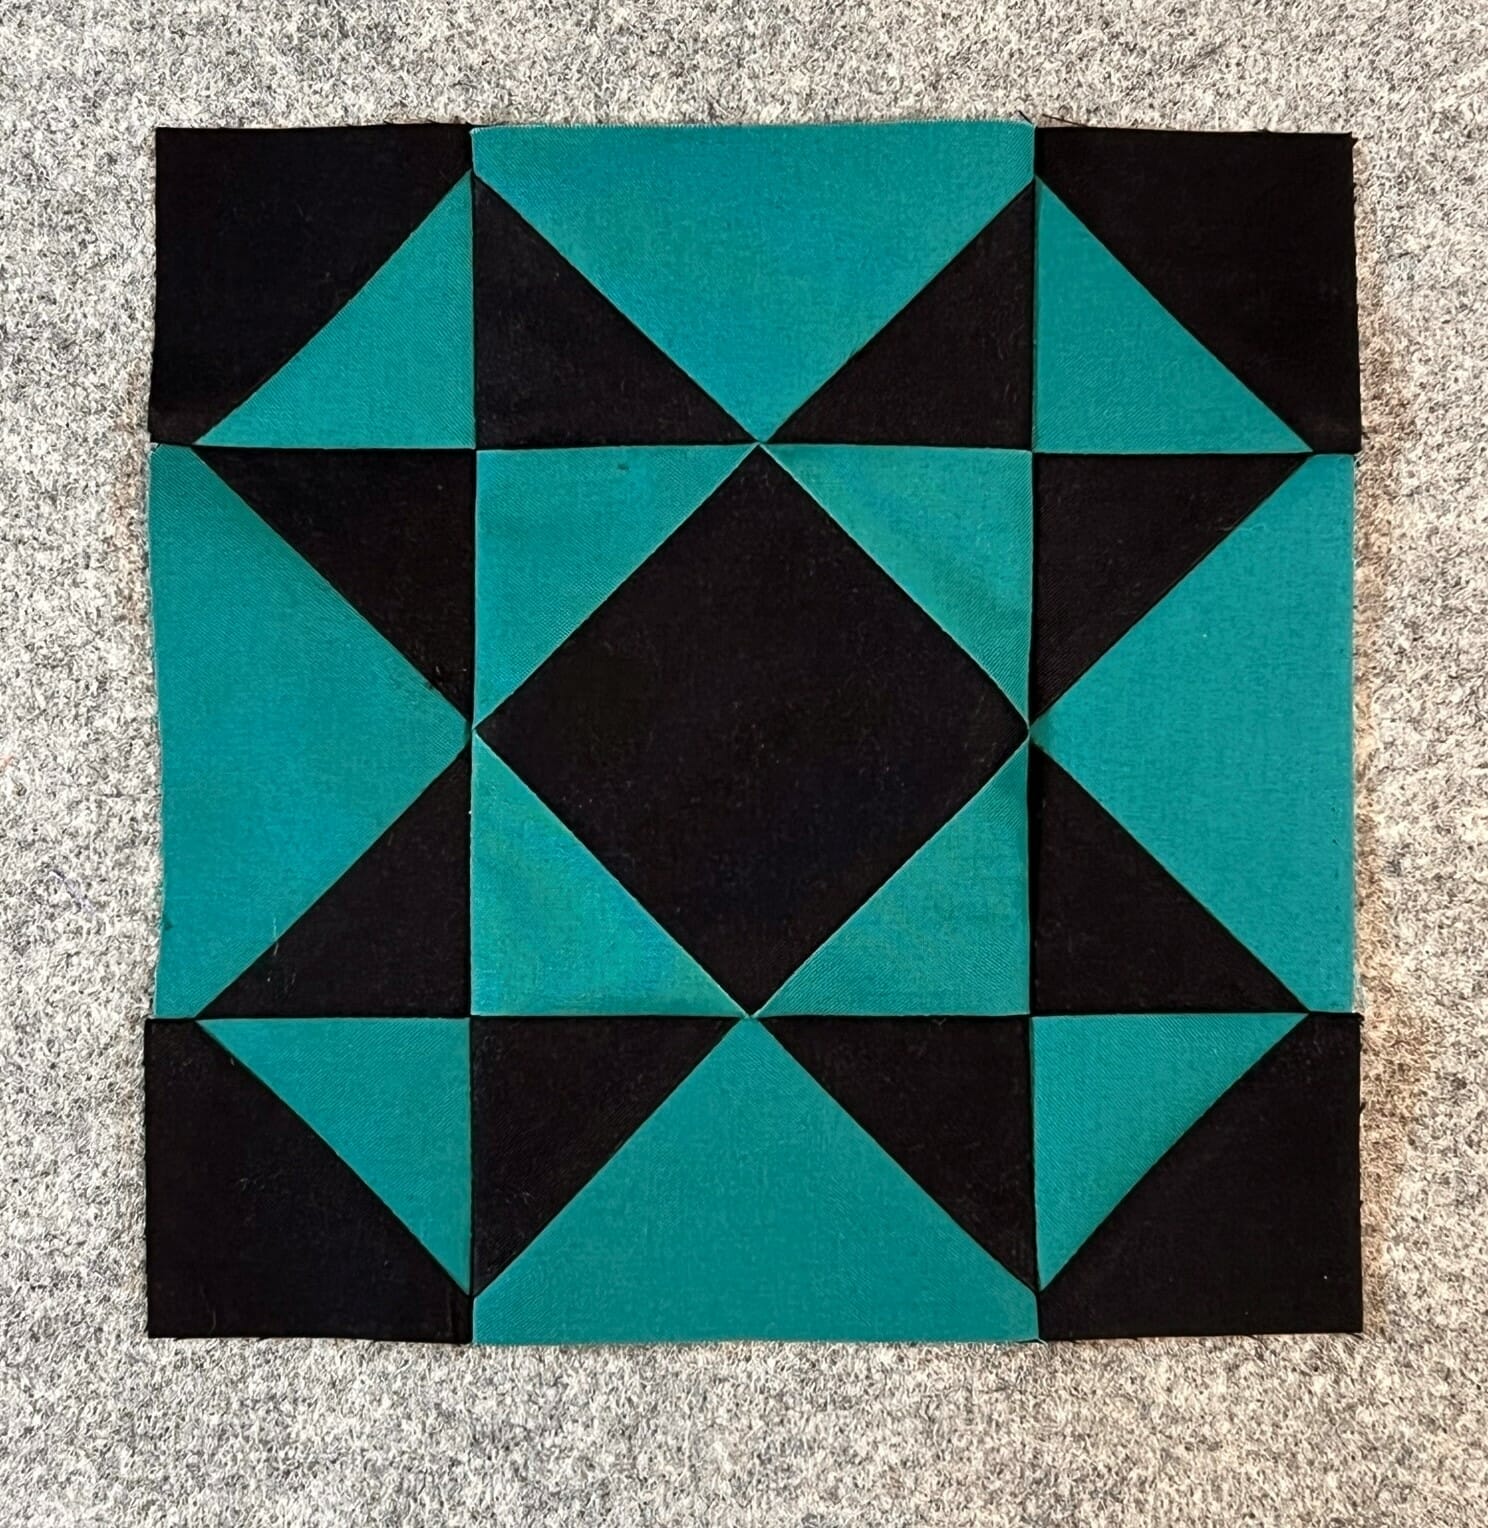
lLet’s talk about how to make this Star block:
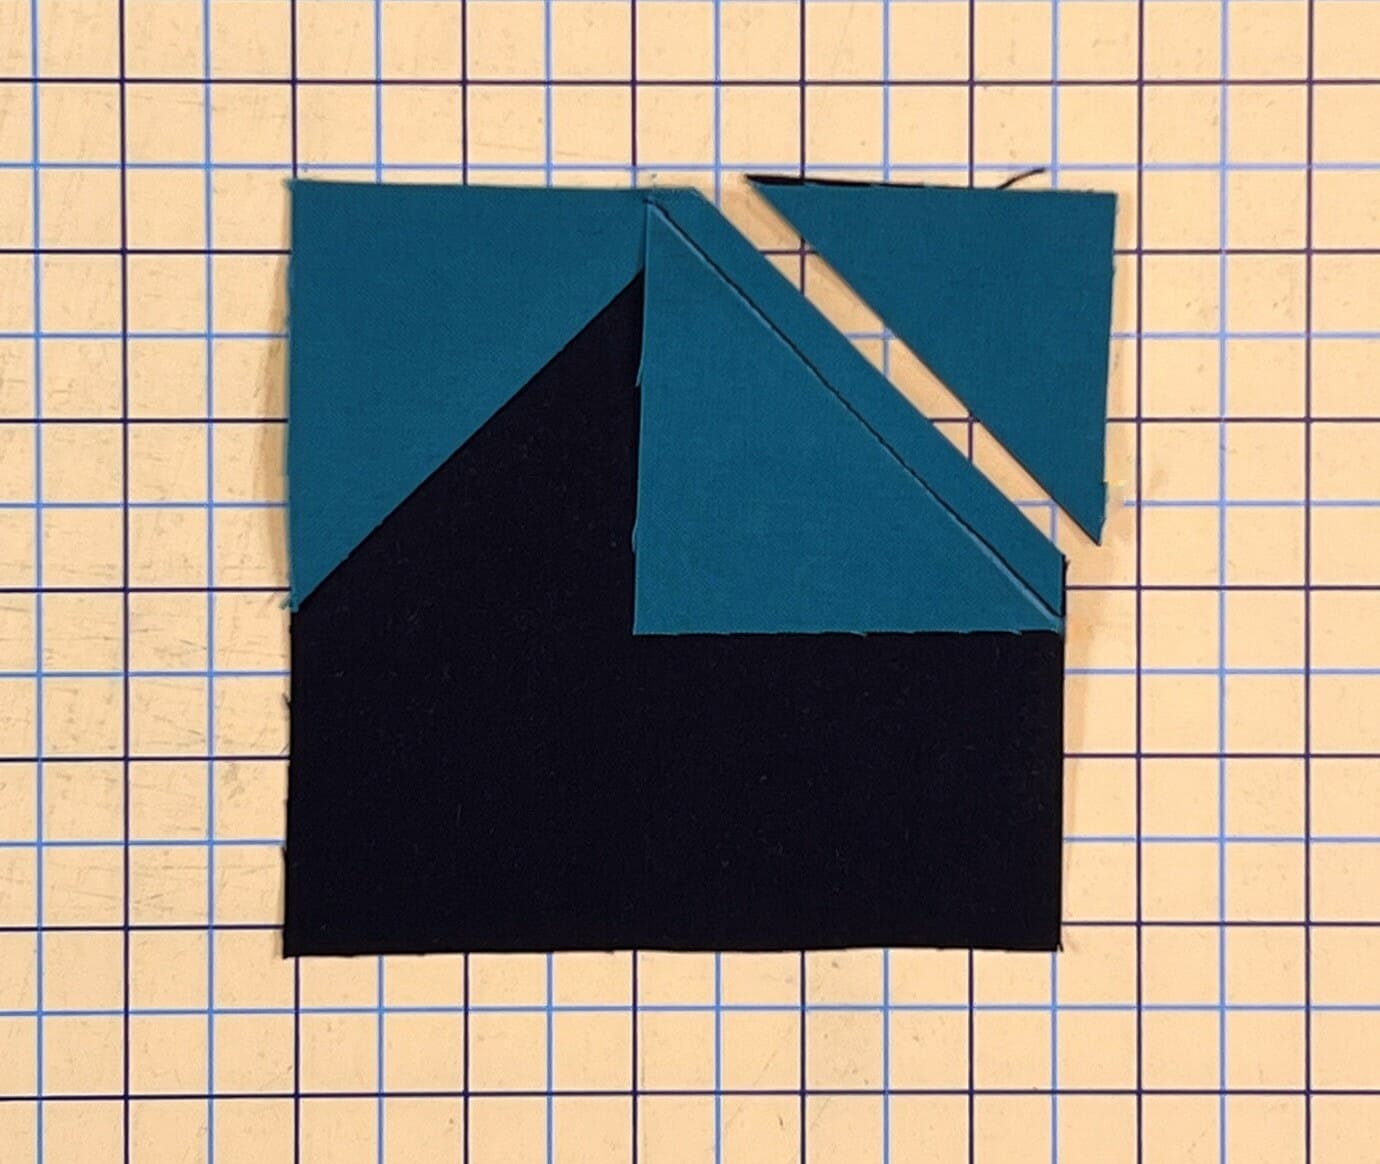
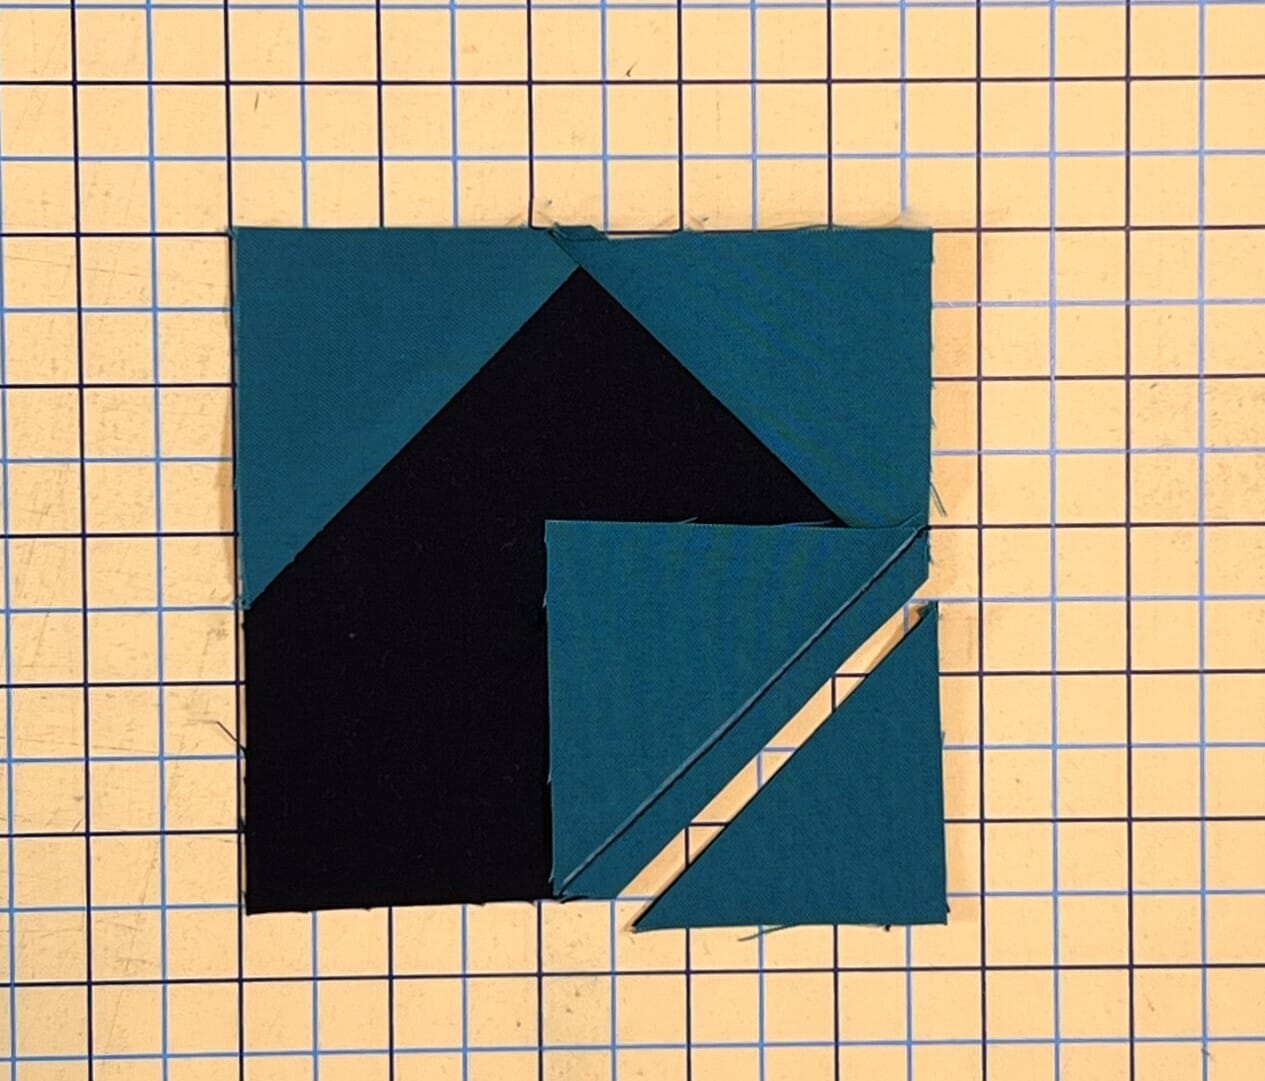
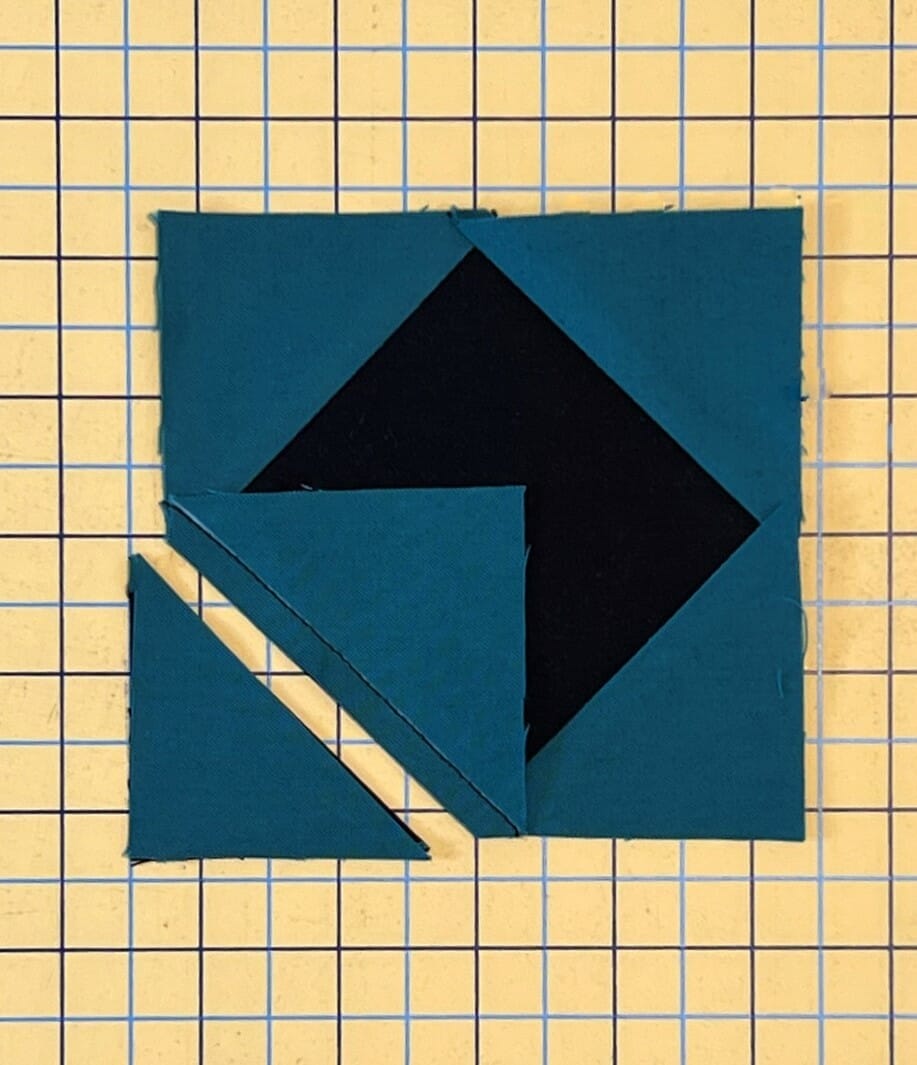
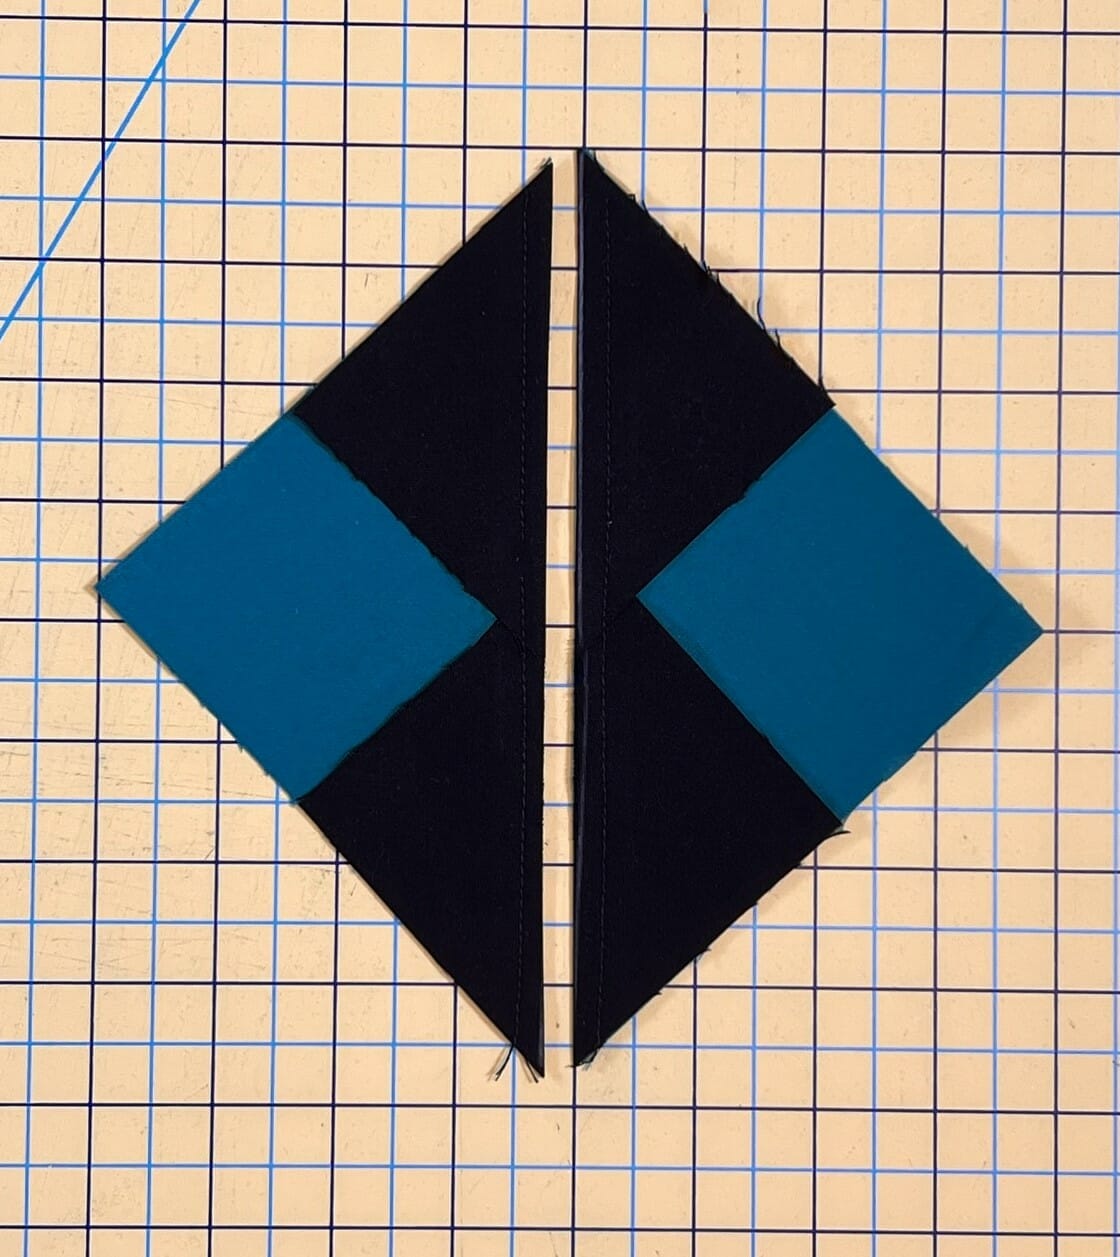
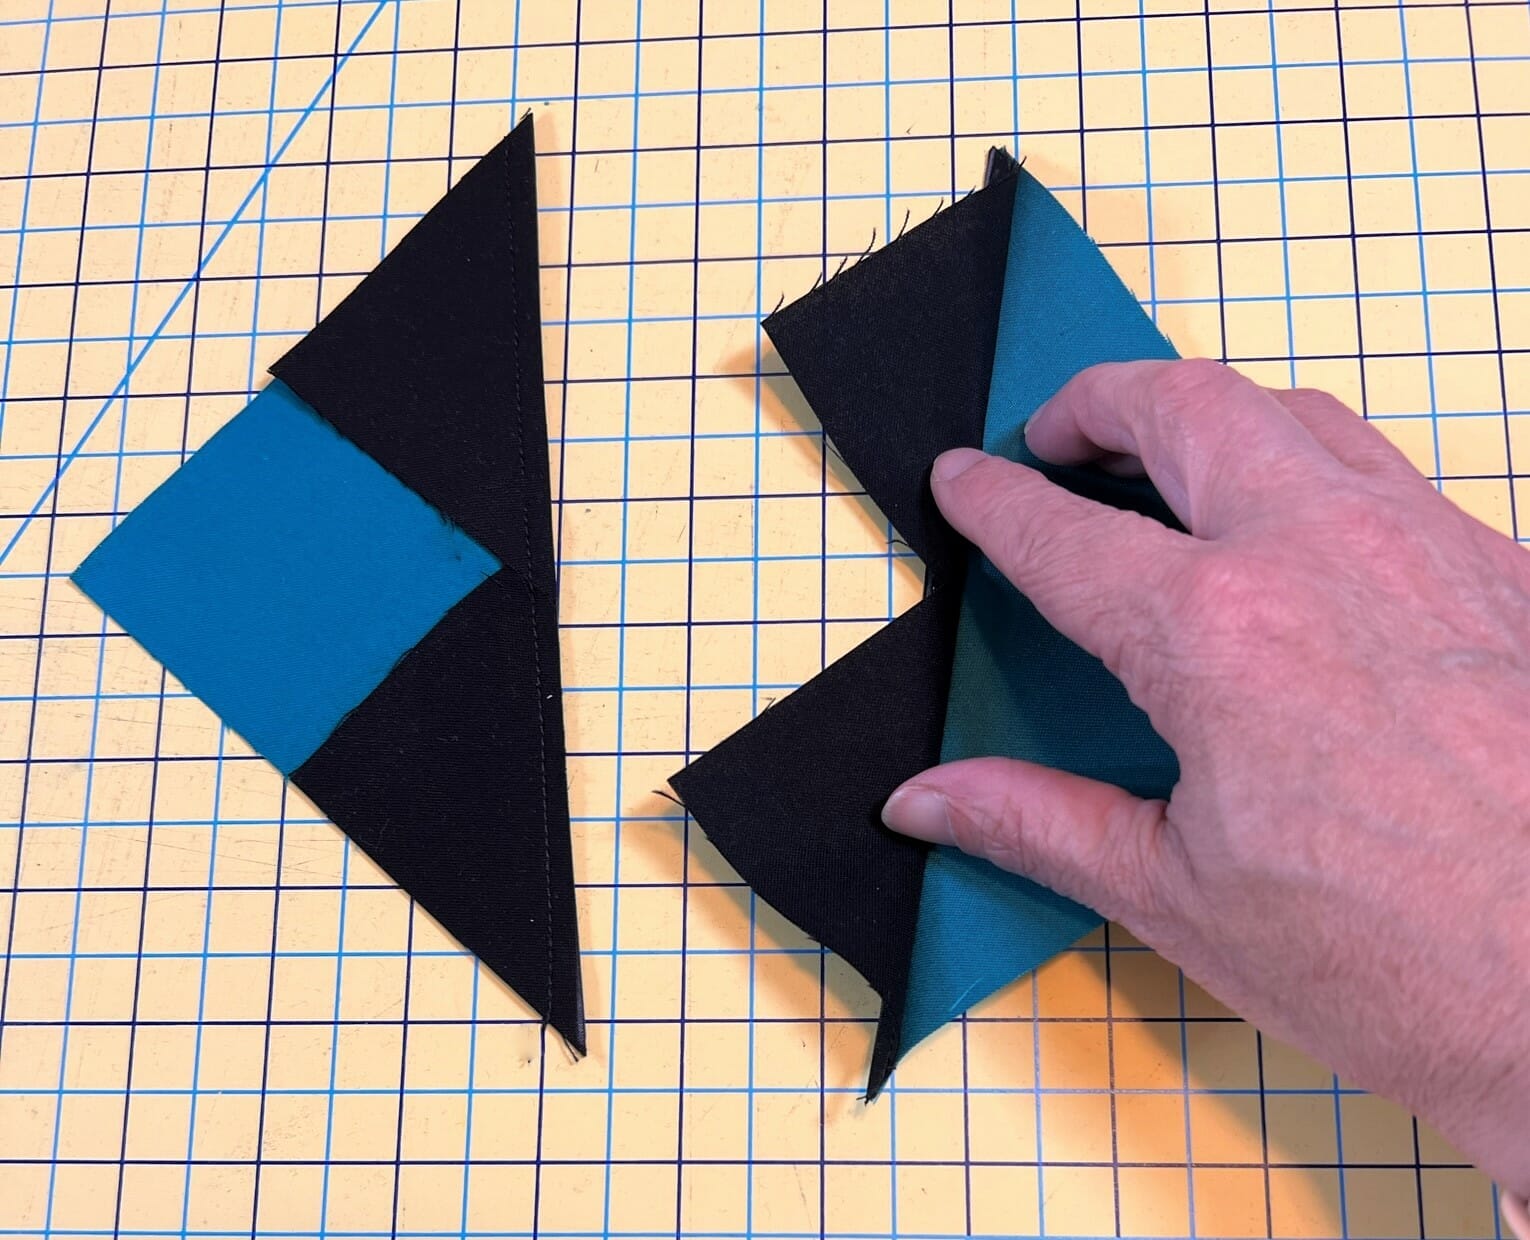
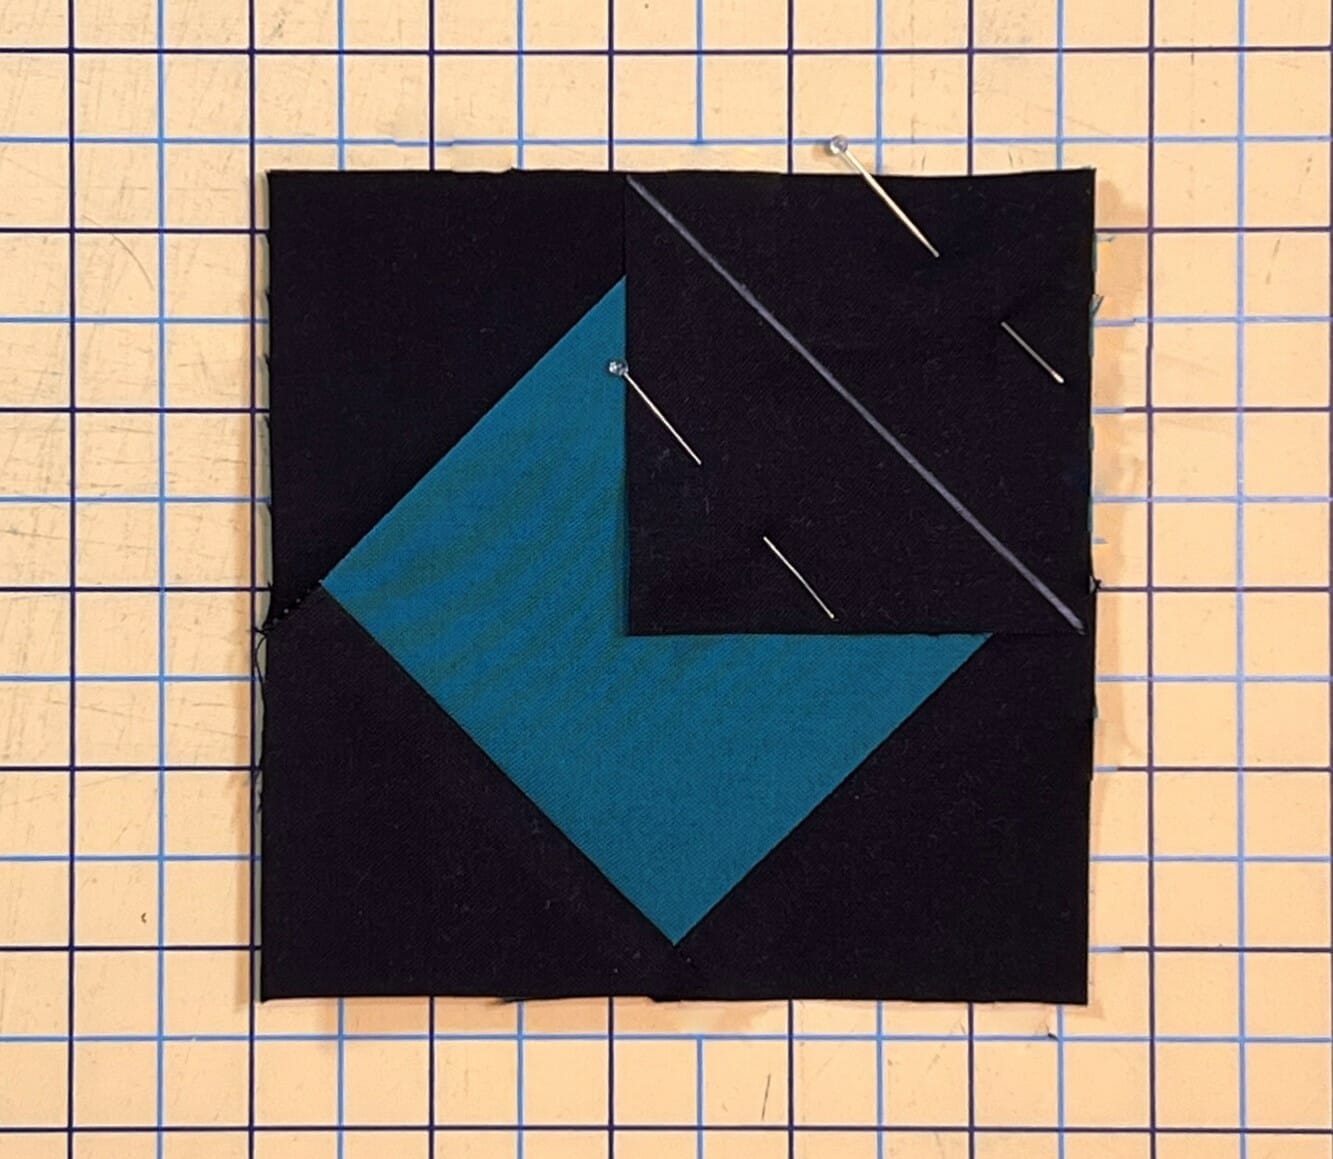
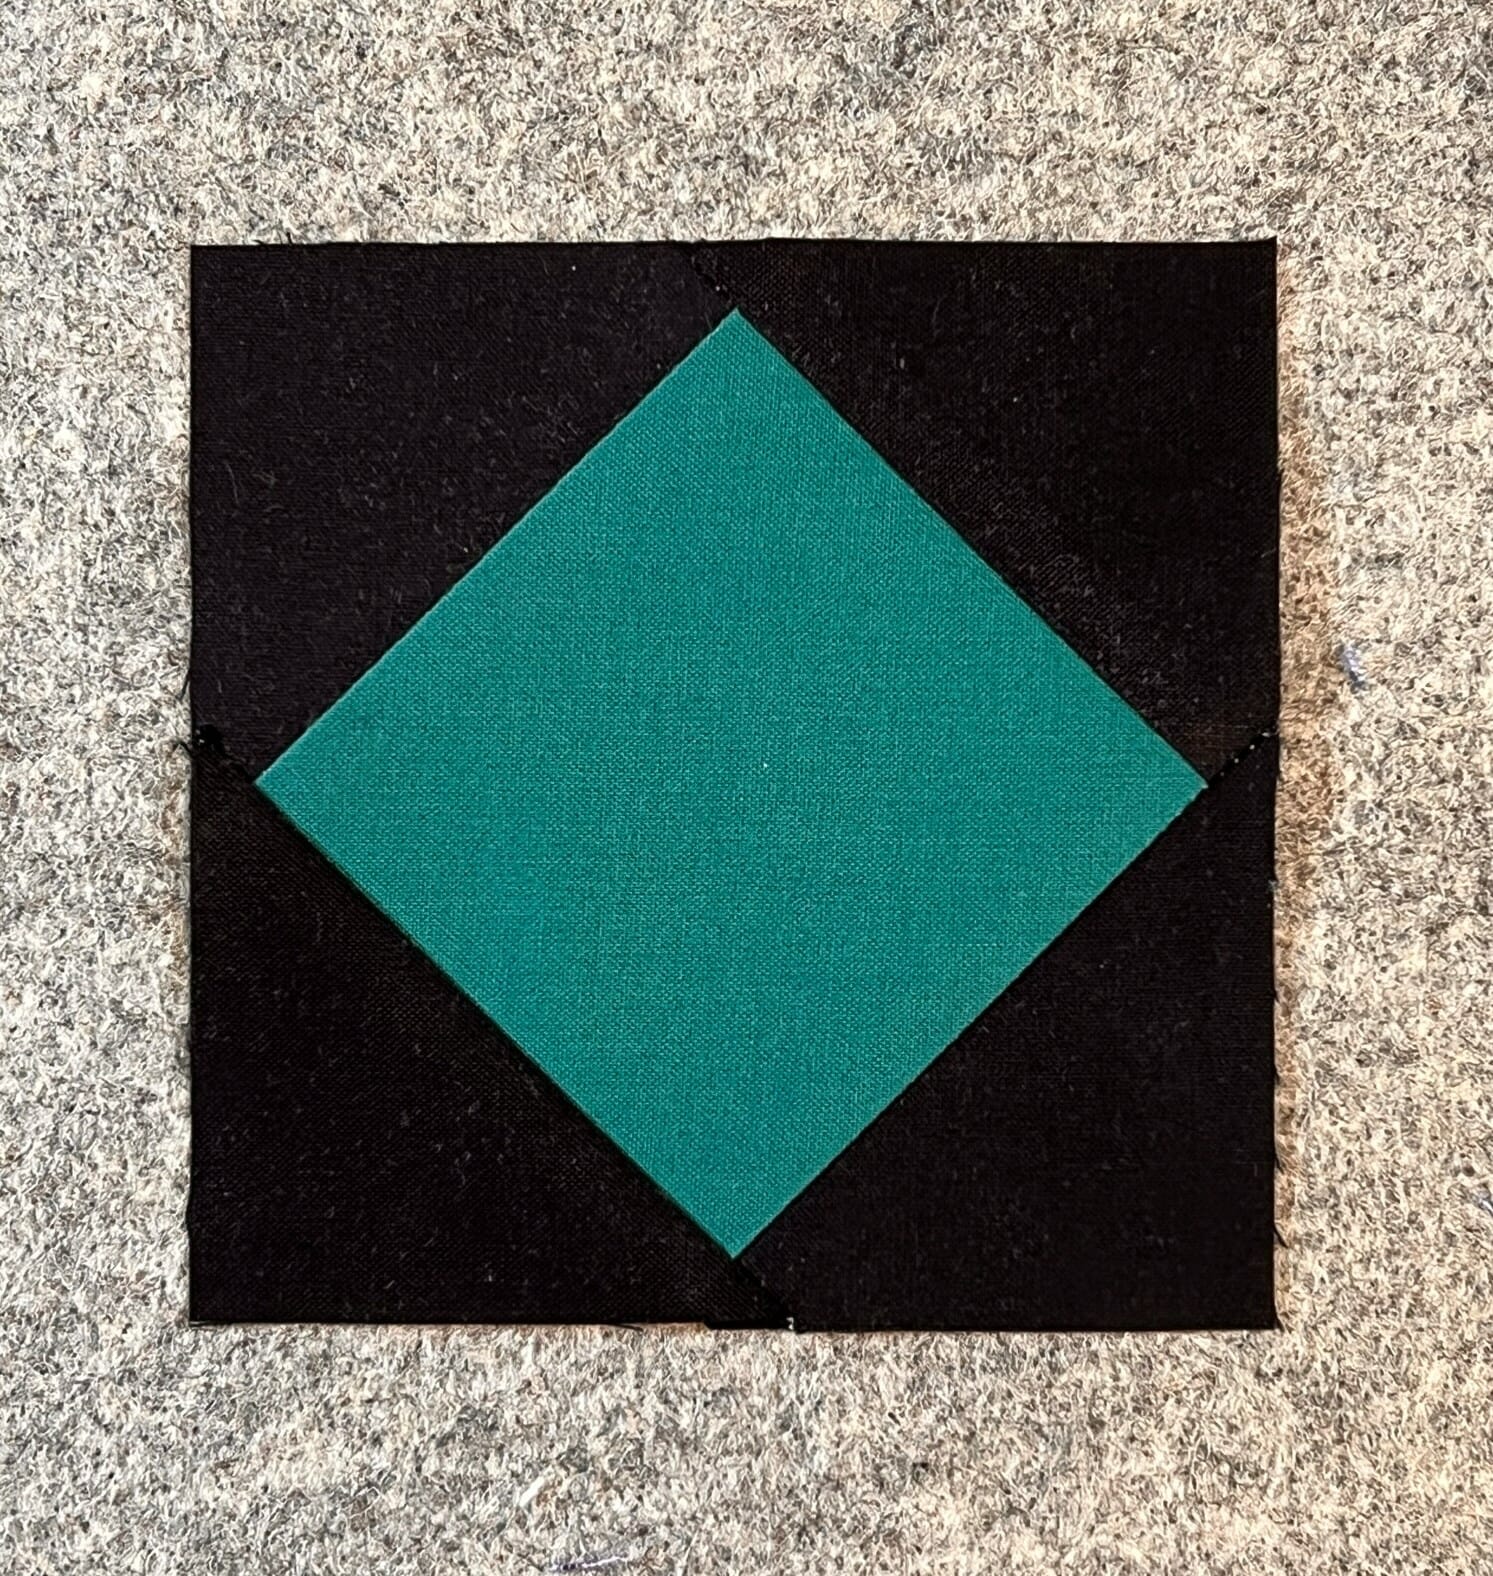
In our first step, we will make a square-in-a-square block, using the stitch and flip method. When using this technique, as I’ve probably mentioned before, I like to sew just a hair outside of my marked lines. I also flip up the squares along the sewn line, to make sure that things match up in the corners. If I come up short, I know my finished square will be too small, so I rip out my sewing and start again. Not fun to do, but the end result is worth it.
These Lagoon squares are sewn one at a time and trimmed as you go, just like you’ll see in the photos below. All the seams are pressed outward for these.
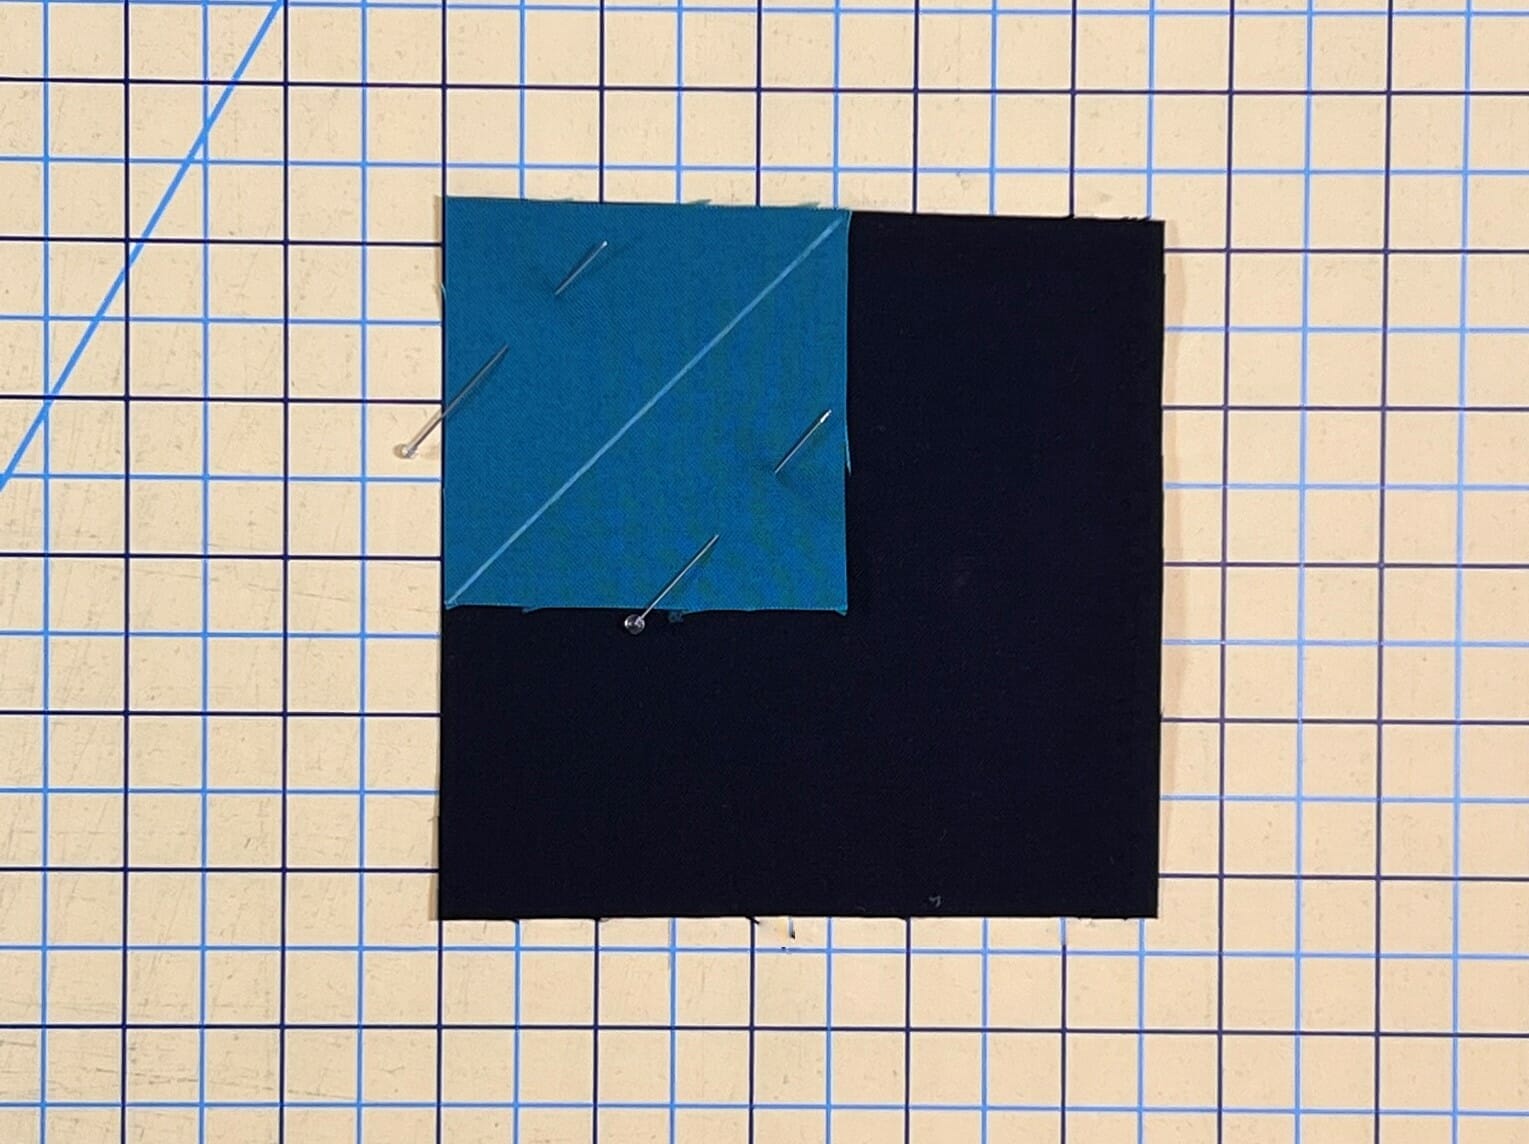
If you look carefully at the next two photos, you can see that I’ve stitched just barely outside of my marked line…or at least I tried!
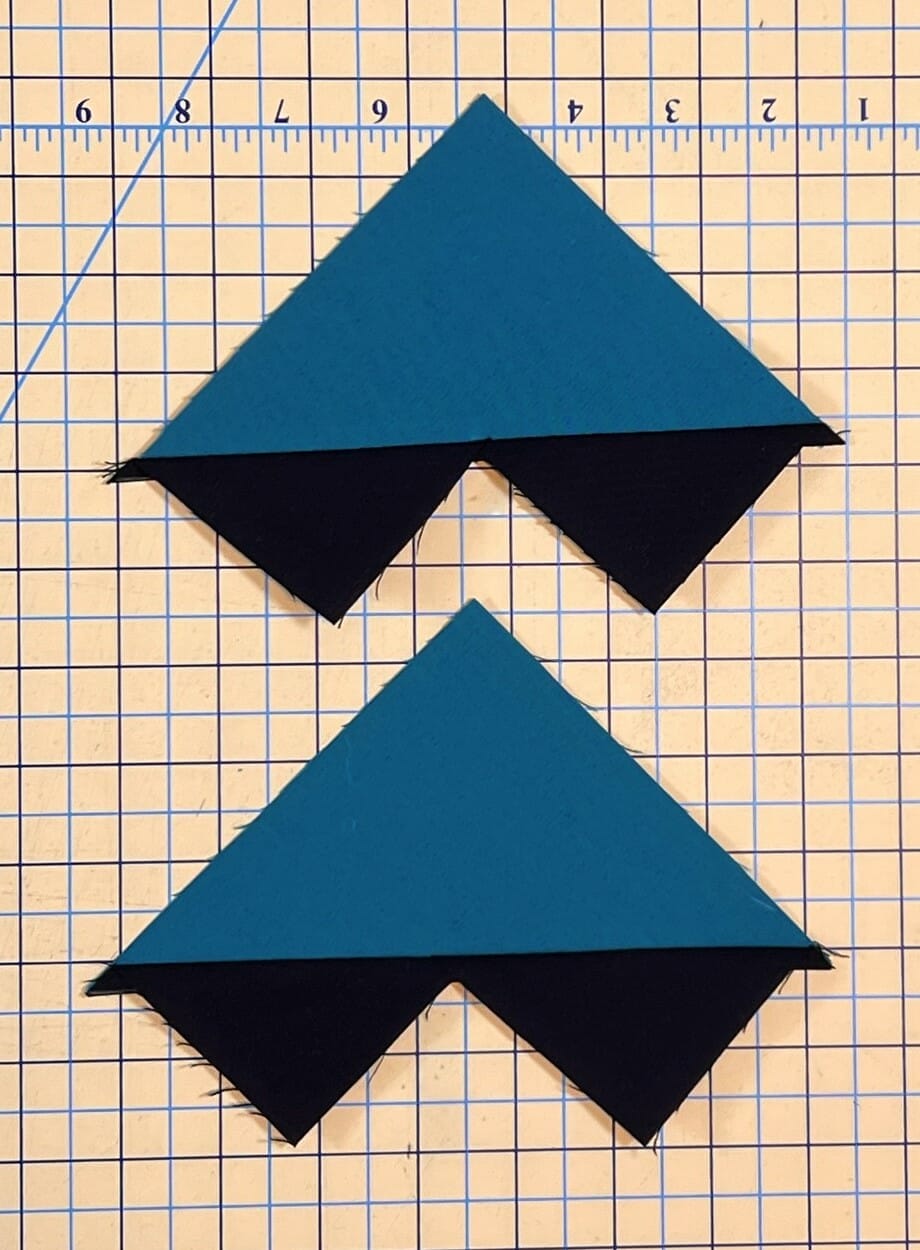
Once the C/D units are made, you can set those aside and move on the the Half Square triangles. Remember that you can cut these a bit bigger and trim them down once you’ve finished sewing and pressing.
Next it’s time to make some flying geese – a lot of them! You can use the same stitch and flip method that you used in step one, as the pattern directions state, or if you want to use the no-waste method, you can do that too.
If using the no-waste method for these flying geese, you’ll want to disregard the cutting instructions for A and E, and instead cut EIGHT 5-1/4” squares for A, and Thirty-Two 2-7/8” squares for E (I usually cut all these just a hair bigger.)
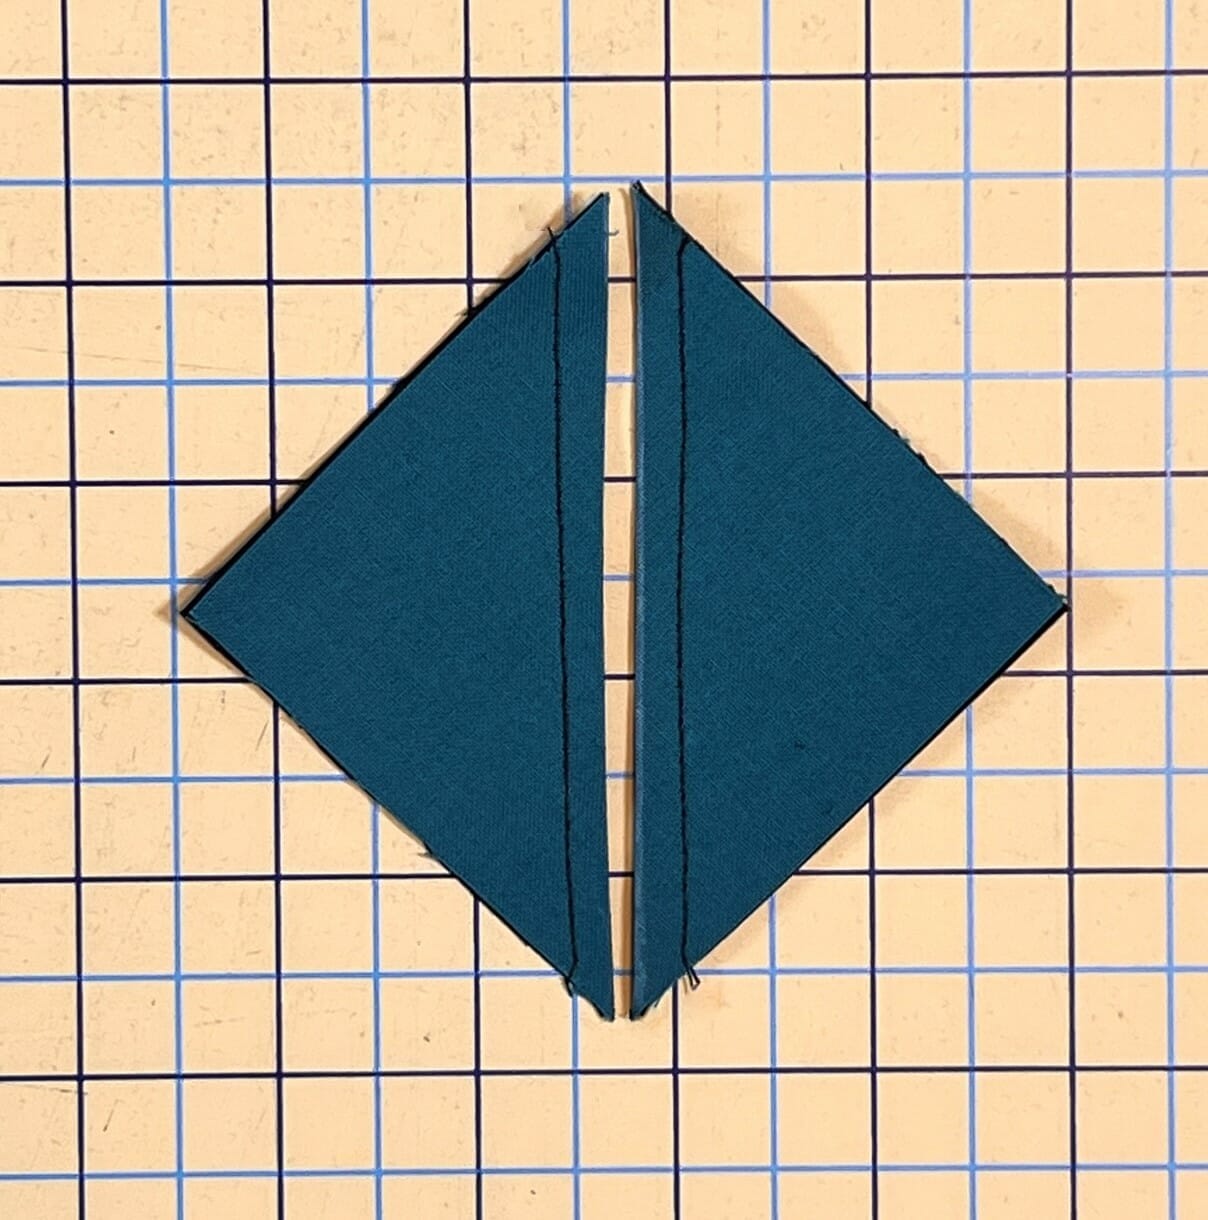
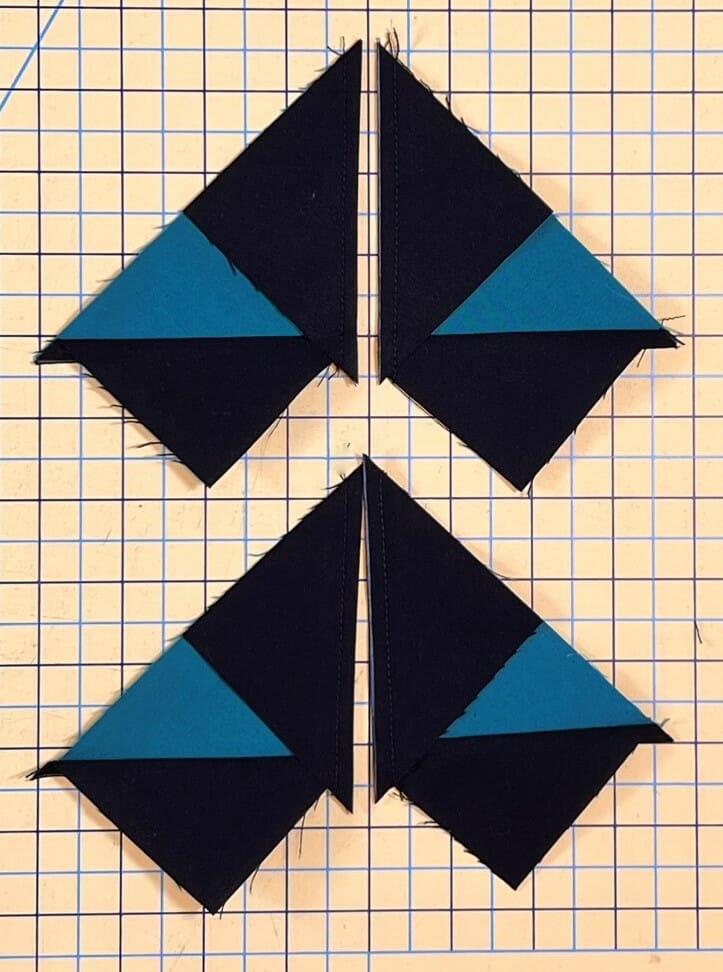
Begin by placing two Black E squares on a Lagoon A square, like you see below, and mark a continuous line down the center of the E squares as shown.
Sew a ¼” away from BOTH side of the marked line, and then cut ON the line when done.
Press the triangles down.
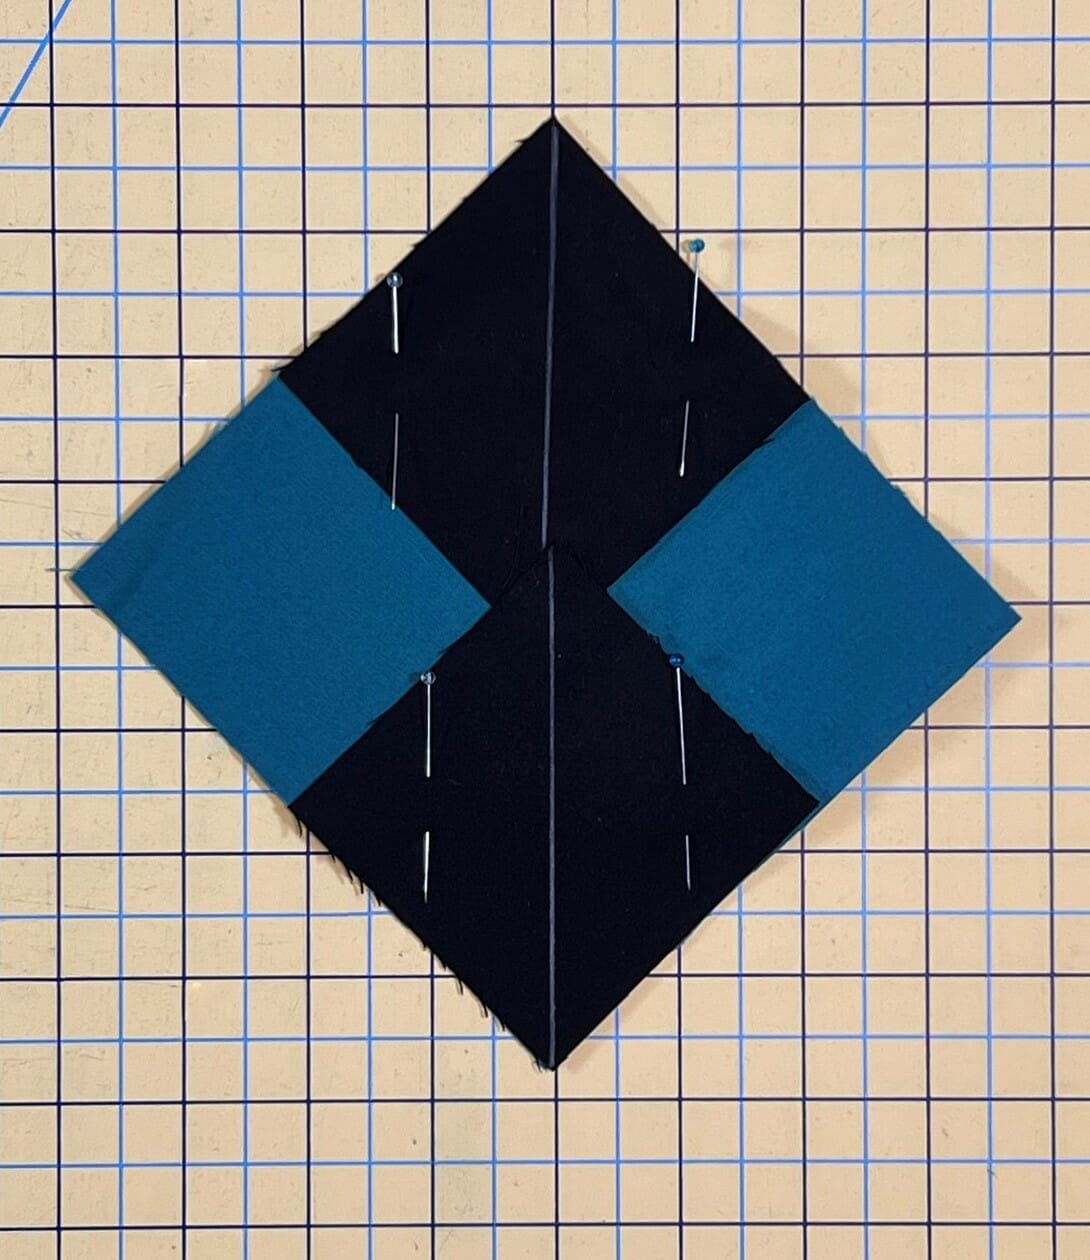
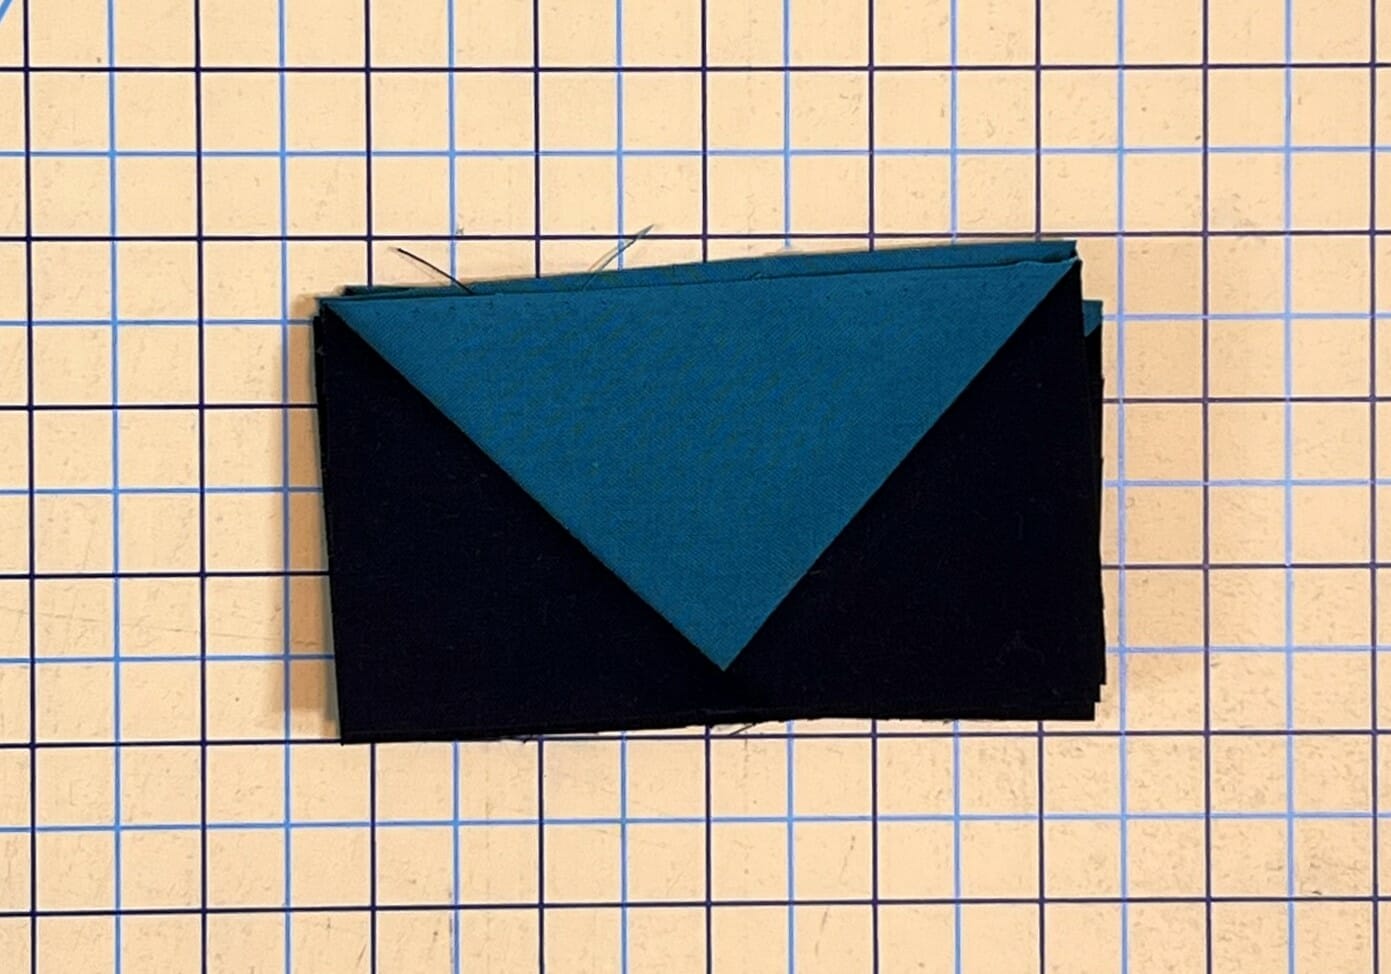
Then add another E square to each unit as shown, marking a line down the center.
Sew a ¼” away from BOTH sides of the marked line, just like you did before, and then cut on the line.
Press the triangles away from the units, and voila! You now have 4 flying geese units! Trim these up to 2-1/2” x 4-1/2”. Repeat this for all the A and E pieces you’ve cut, and you’ll end up with 32 flying geese when you are done.
This is actually my preferred method for making flying geese, but I know a lot of people feel they get better results with the stitch and flip, so I leave that in my instructions, and allow for enough fabric to make them that way. If you use the No-Waste method, you’ll end up with even more leftover fabric at the end of this quilt, which you could use to make a matching pillow or something else fun!
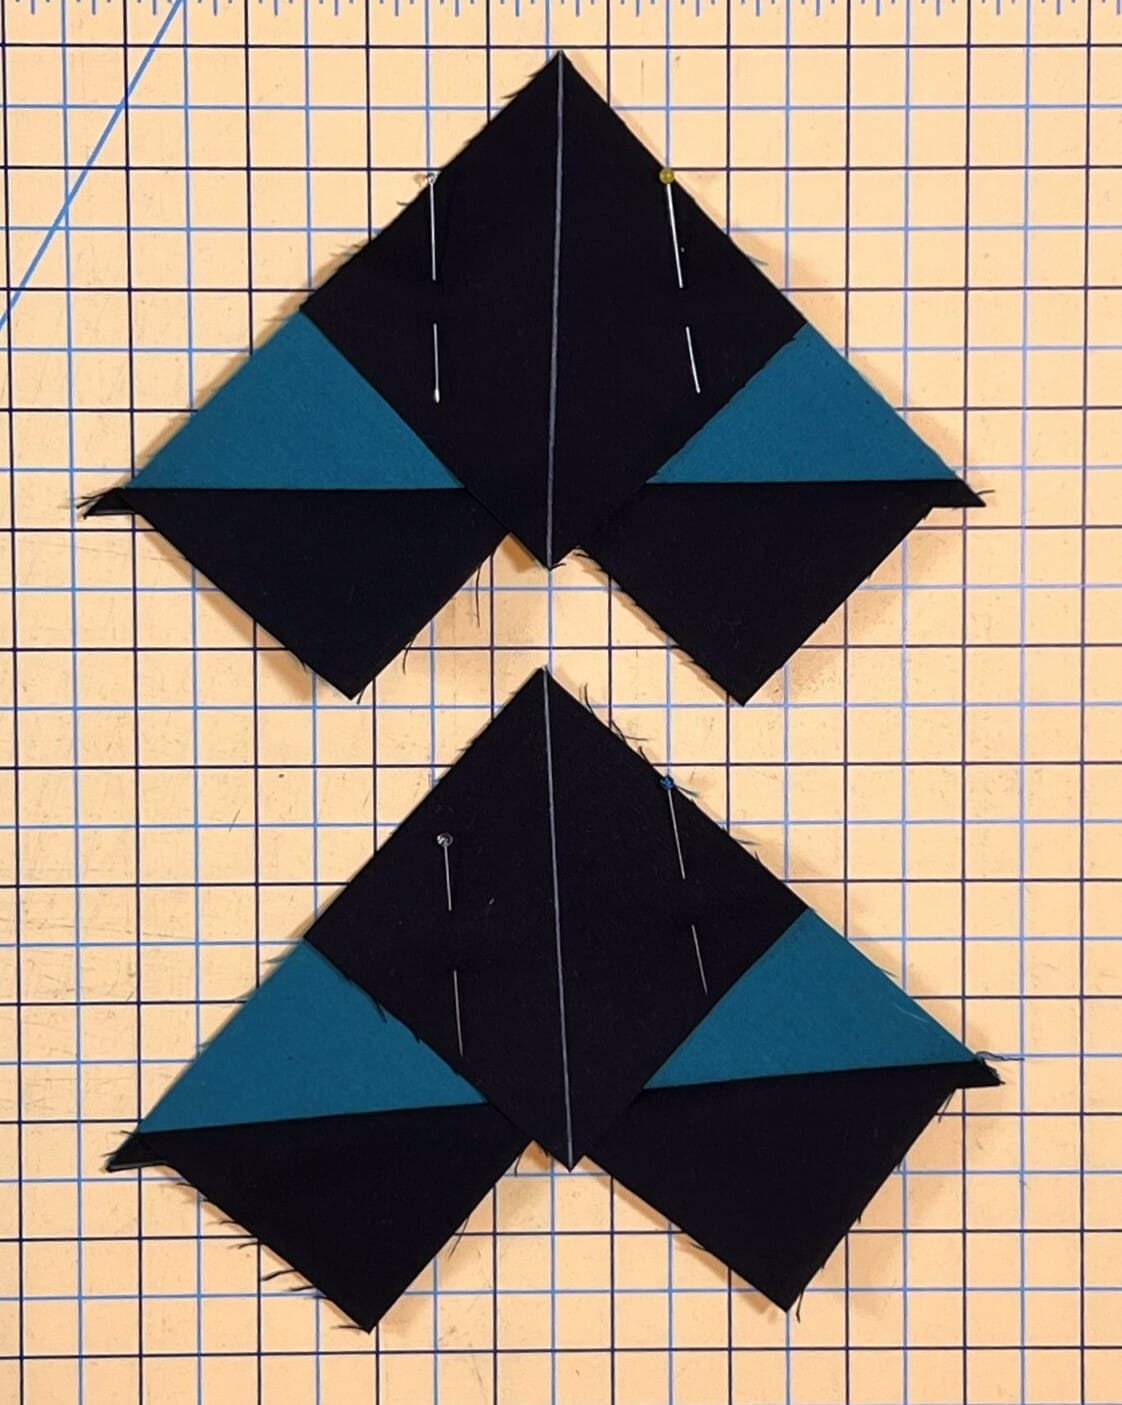
Now it’s time to assemble our block: If you’ve been sewing with me for a while, you know that I always lay out my blocks before I sew. This block in particular, can be easy to switch something the wrong way.
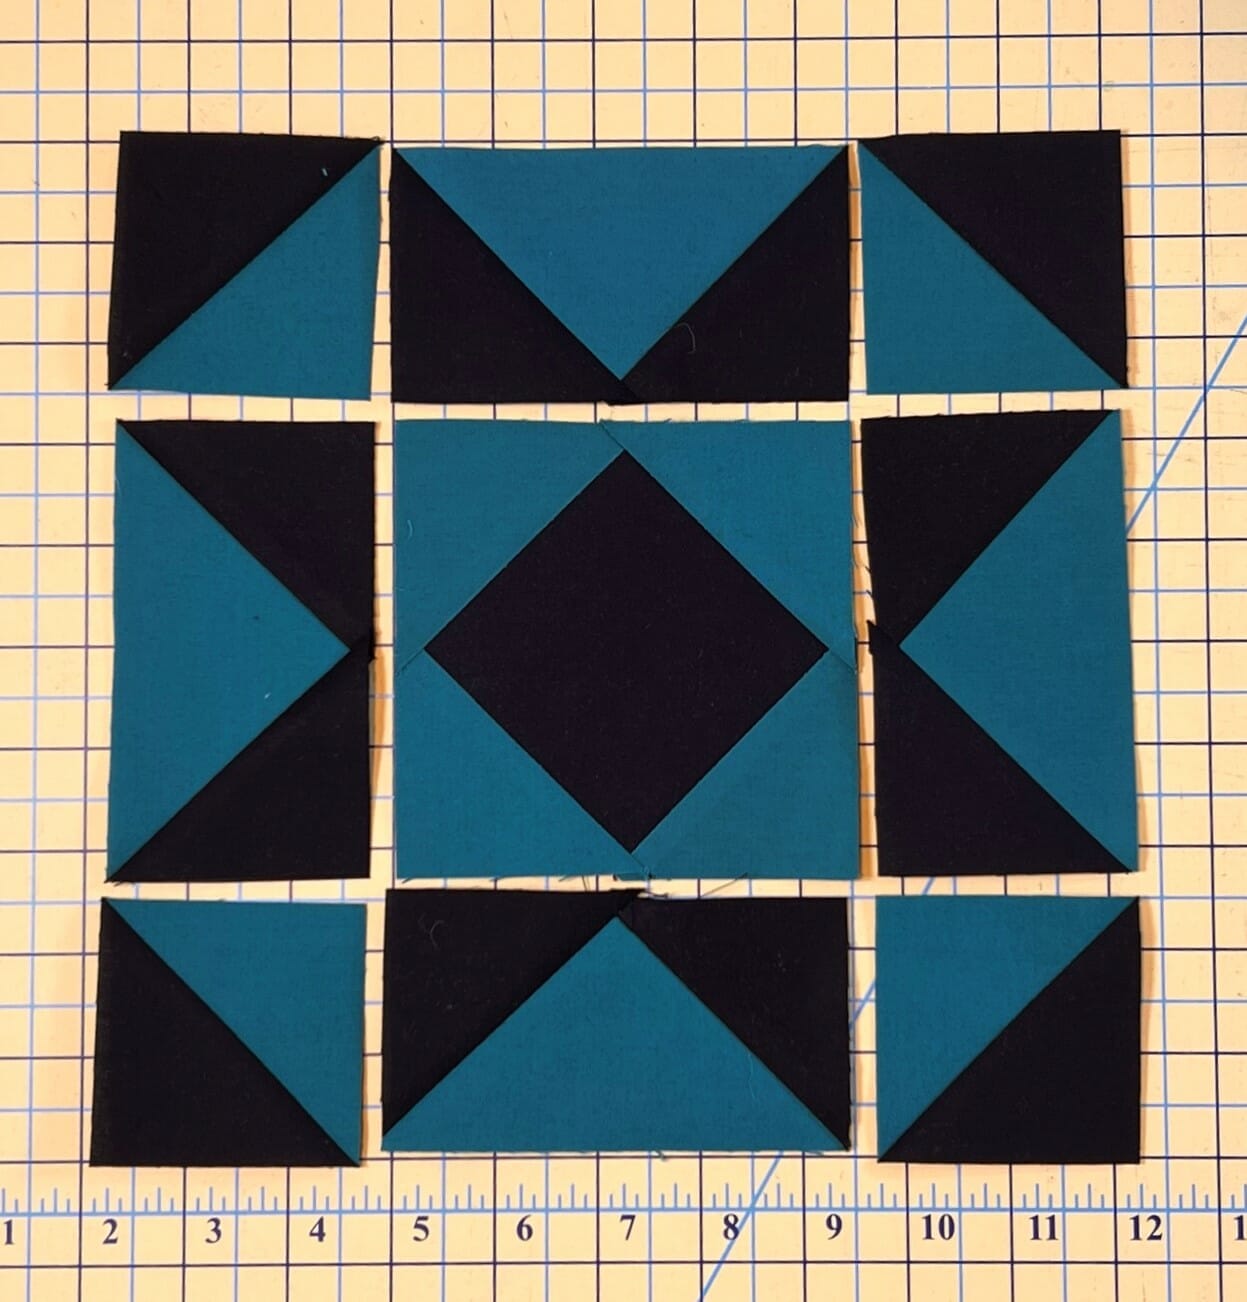
I will also say that because of our center square-in-a-square blocks, the seams can get rather bulky. I still pressed my blocks just like I recommend in the pattern, but you can also choose to press your seams open if you prefer. I will say though, that if you follow my pressing instructions, it will allow for the seams to nest together later on, when we sew all the different star blocks together to make the border rows. But do whatever you like best!
Like I mentioned before, this month we also get a bit of a head start on making some of our diamond squares for the border. These are exactly the same as the square-in-a-square units we made in step 1 for our Star block, only the colors are reversed. I won’t repeat a full tutorial, but you can get the gist of what they will look like below. You don’t have to make all 36 this month, but even knocking out 8 a month for the next few months will save you some work down the road.
I hope you’ve enjoyed making these star blocks, and maybe even learned some thing new. Next month we’ll be tackling the green Peapod colored stars, so stay tuned.
Until next time – Happy Quilting!
Kristin

