


 Tutorials
 5.3.2023
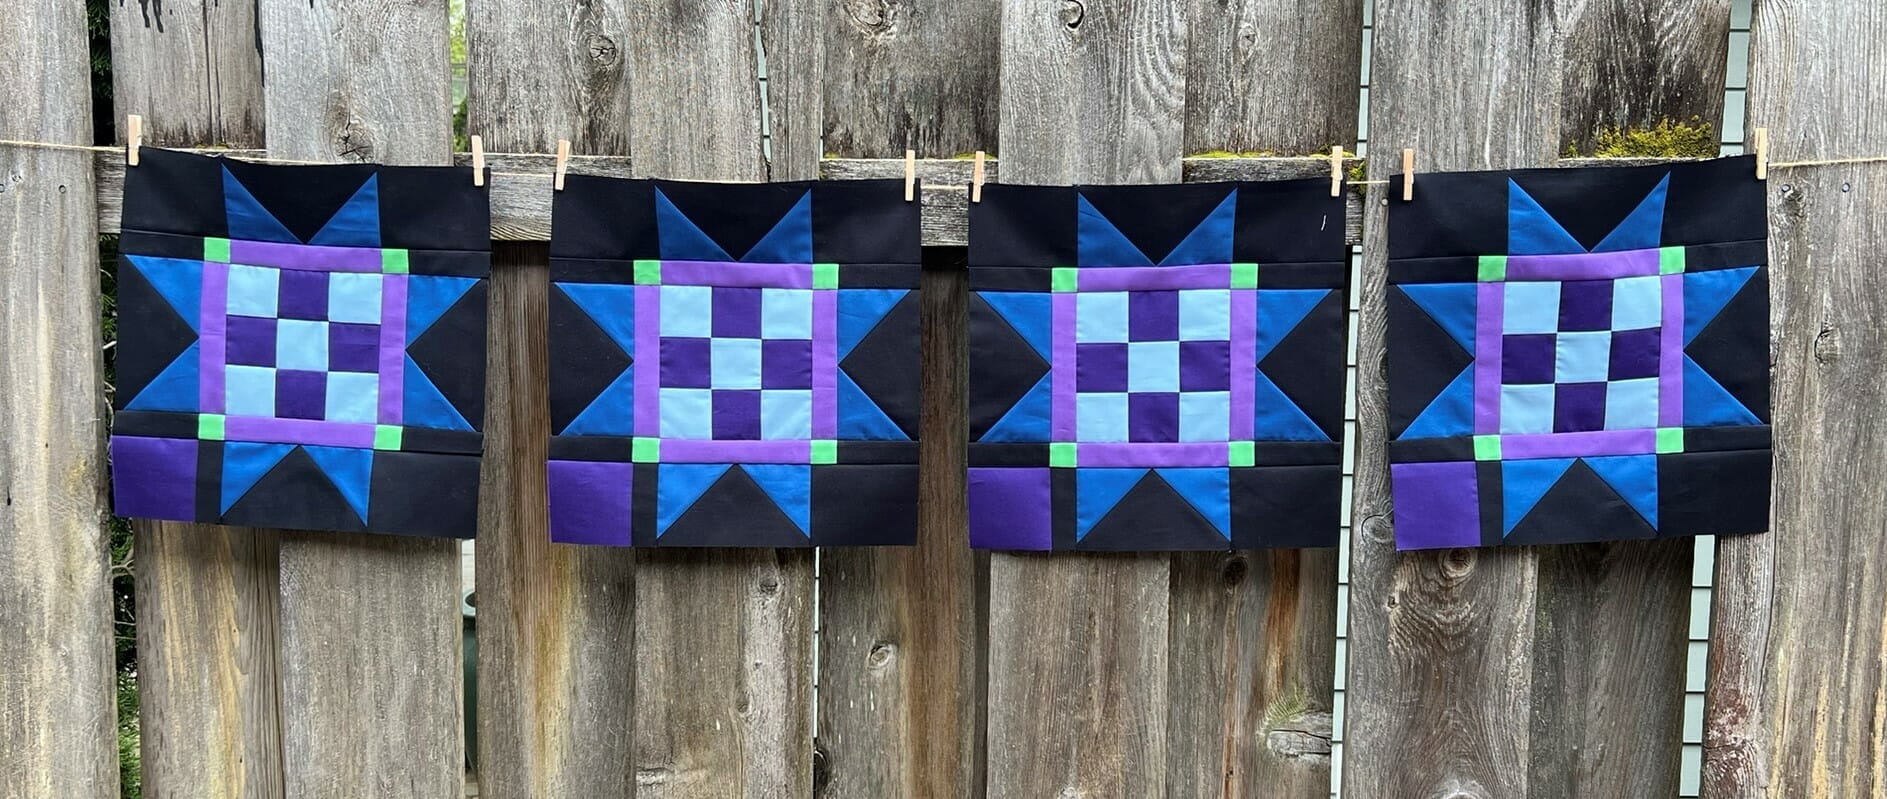
NOTE: these blog posts for the Aurora quilt top are part of a limited series for our Block of the Month subscription program. Sign-ups for the Aurora BOM are no longer available. You can learn more about our upcoming Block of the Month subscriptions here.
Hi friends!
We’re back for month 3, and this month we’ll be making the four star blocks that will be in the corners for our first inner border. These blocks are fun to make, but you’ll need to pay attention to a few things to ensure it comes together properly. Let’s get started!
We’ll begin by making a simple 9-patch for the block’s center. Nothing too crazy here.

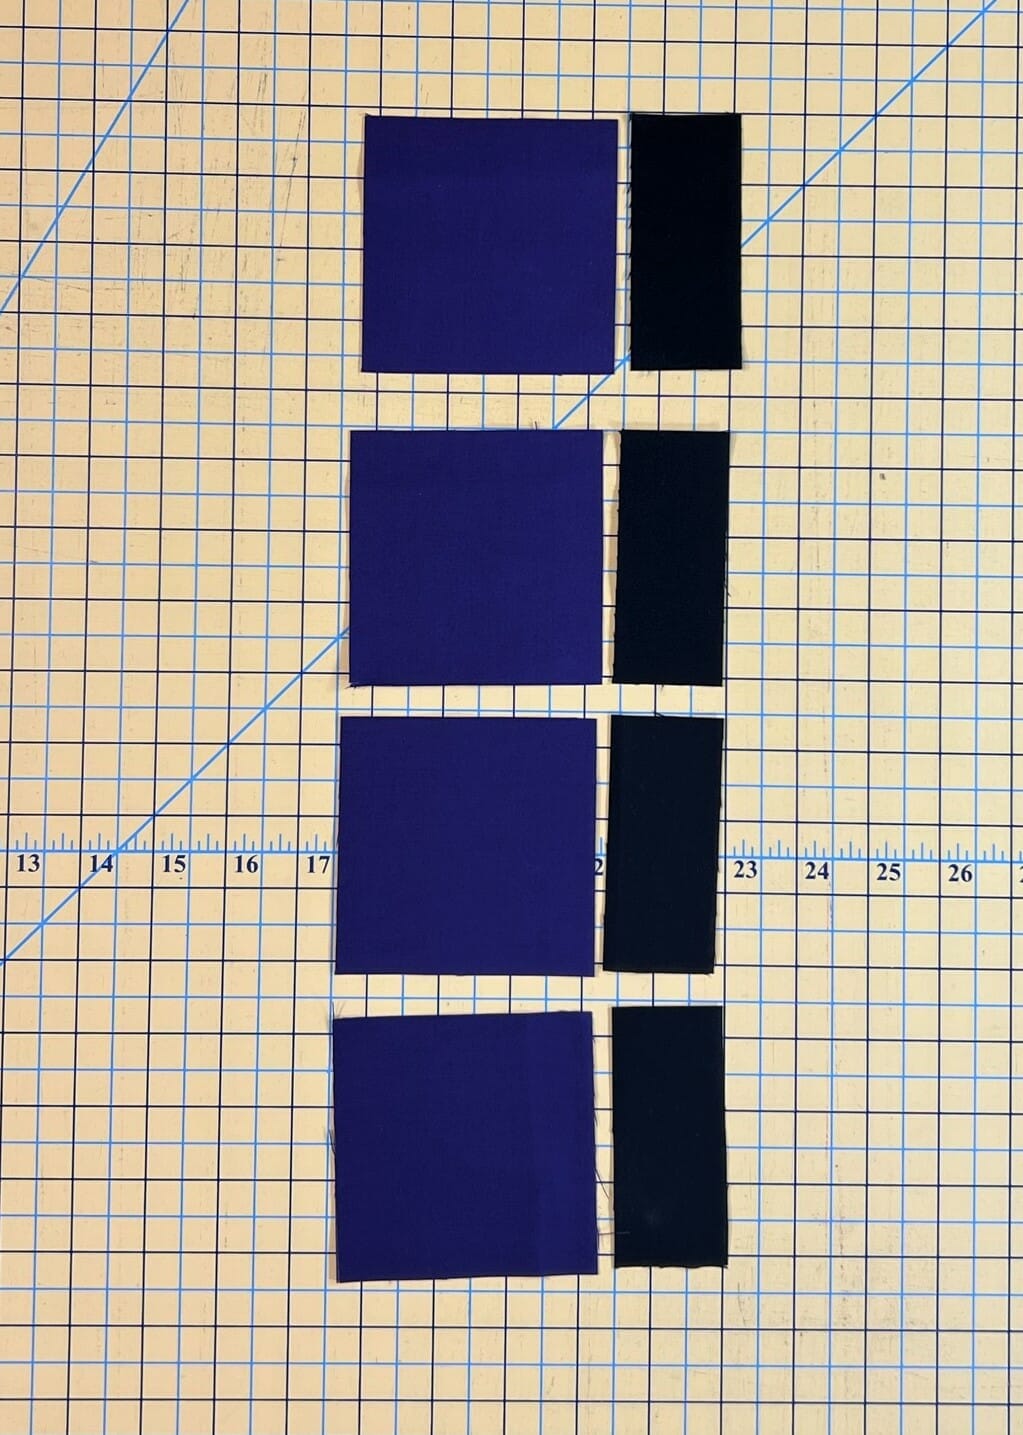
Once those are done, It’s time to make some flying geese. I’ve used the stitch and flip method throughout this quilt, but feel free to use any method that works best for you. My personal favorite is the no-waste method, but some customers have grumbled about it, so I switched back to the old standard in my patterns. Any which way you make them is fine, so long as you end up with Sixteen flying geese, each measuring 3-1/2″ x 6-1/2″. You should have enough fabric for any method. As you can see below, mine still needed a good trim when I took this photo.
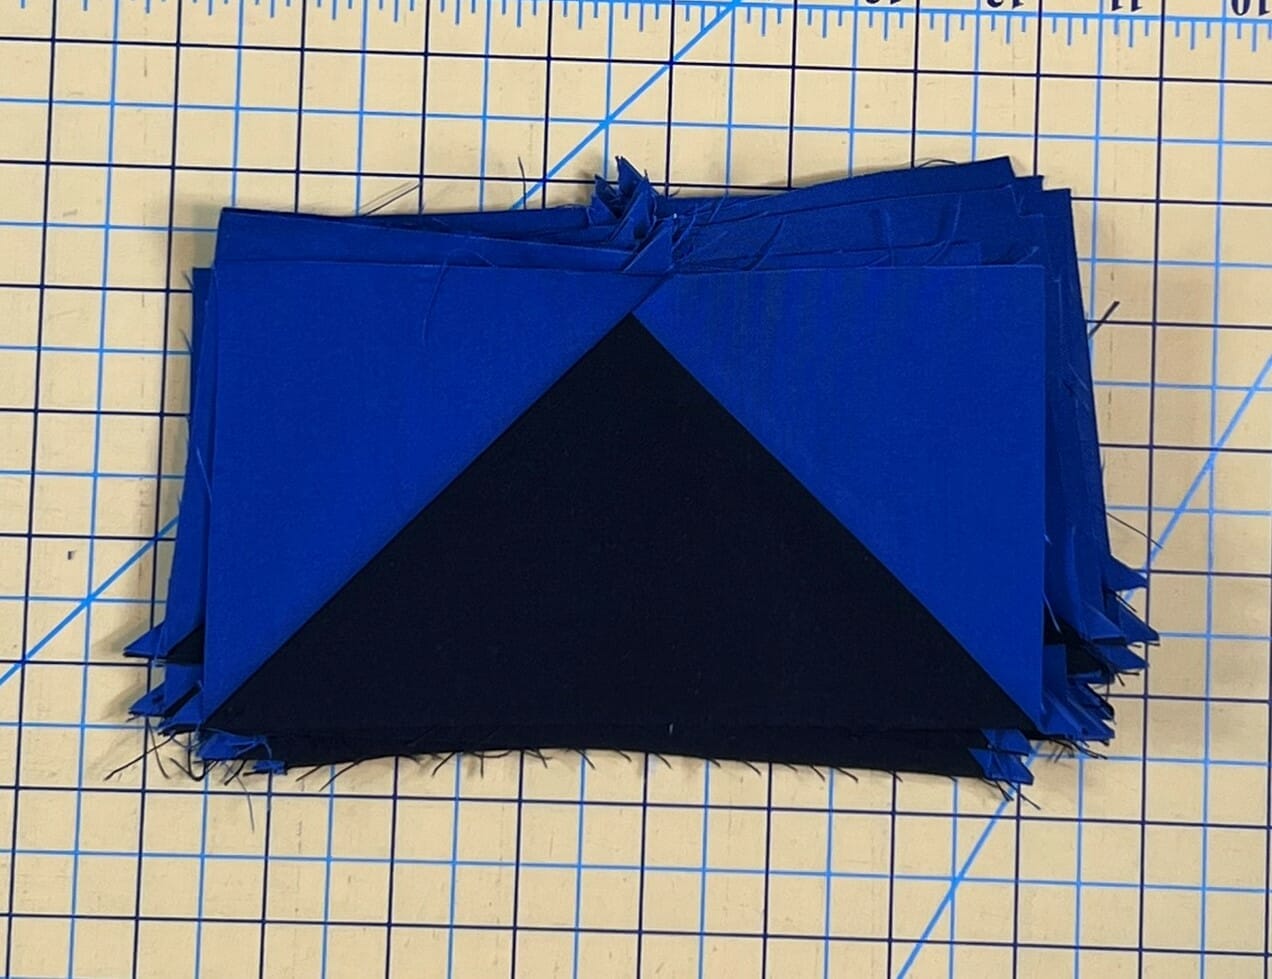
After you’ve trimmed up your flying geese, you’ll take eight of them to use for step 3. The directions state to start by sewing the F strips to the sides of the 9-patch units, and then sew the flying geese on to the other sides of each F strip, but the order doesn’t really matter, so long as you’ve got everything where it’s supposed to be in the end. Just make sure you’ve got those flying geese oriented the same as the diagram, or you won’t end up with a star block when you’re done.
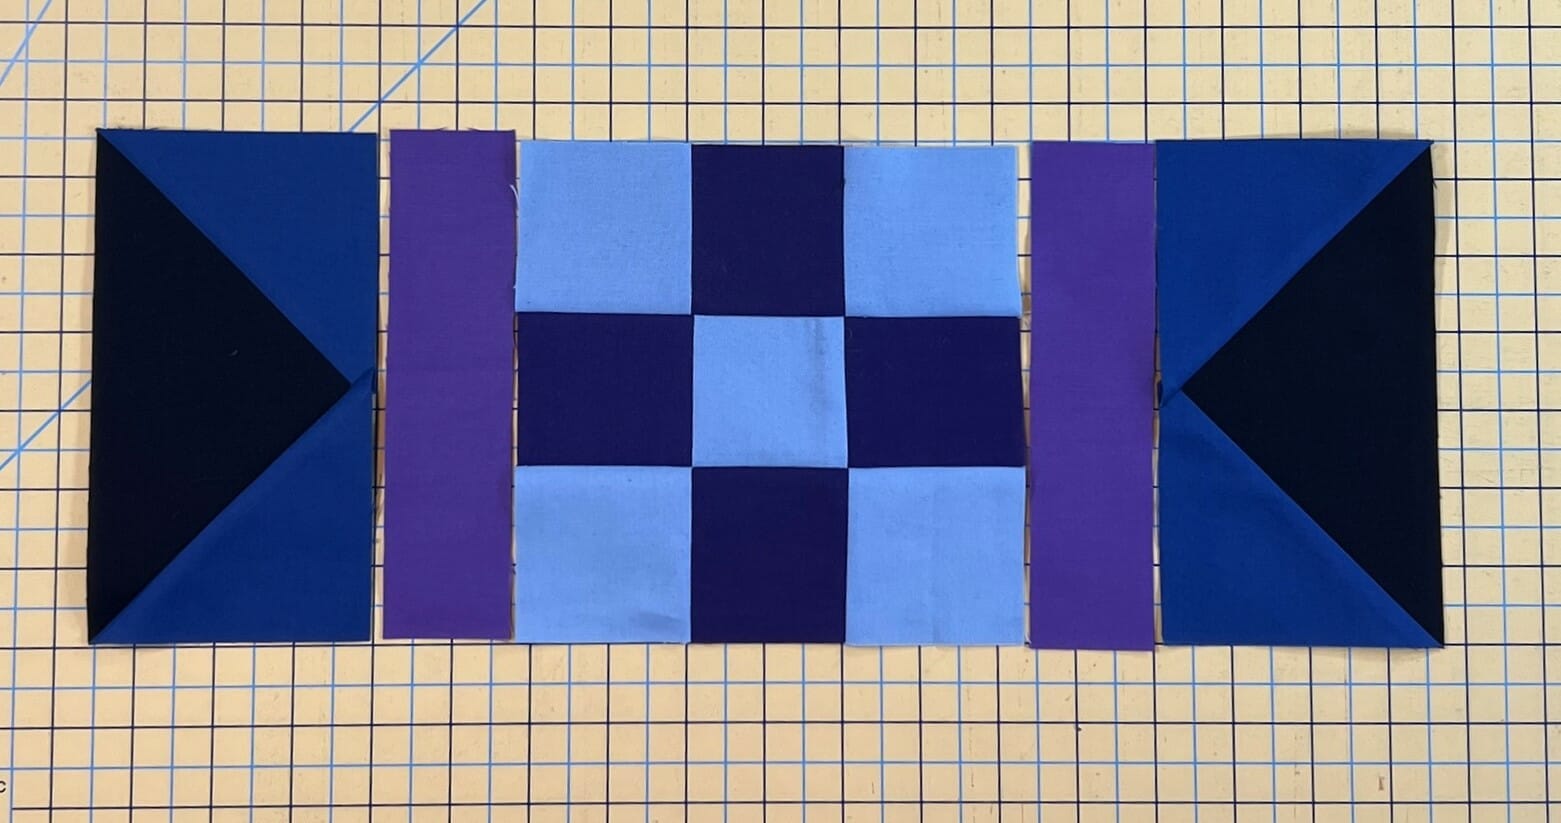
In step 4 we’ll make some skinny pieced strips. I highly recommend using some extra starch for these. Even with starch, it can be easy for these strips to get a little warped looking when they are done. Don’t stress too much if that happens. Just try your best to have the edges of the strips line up with the edges of the center block portion you made in step 3, and it should all work out.

It’s also important to pay attention to the pressing arrows so that you can get those seams to nest properly when sewing the strips to the top and bottom of the block.
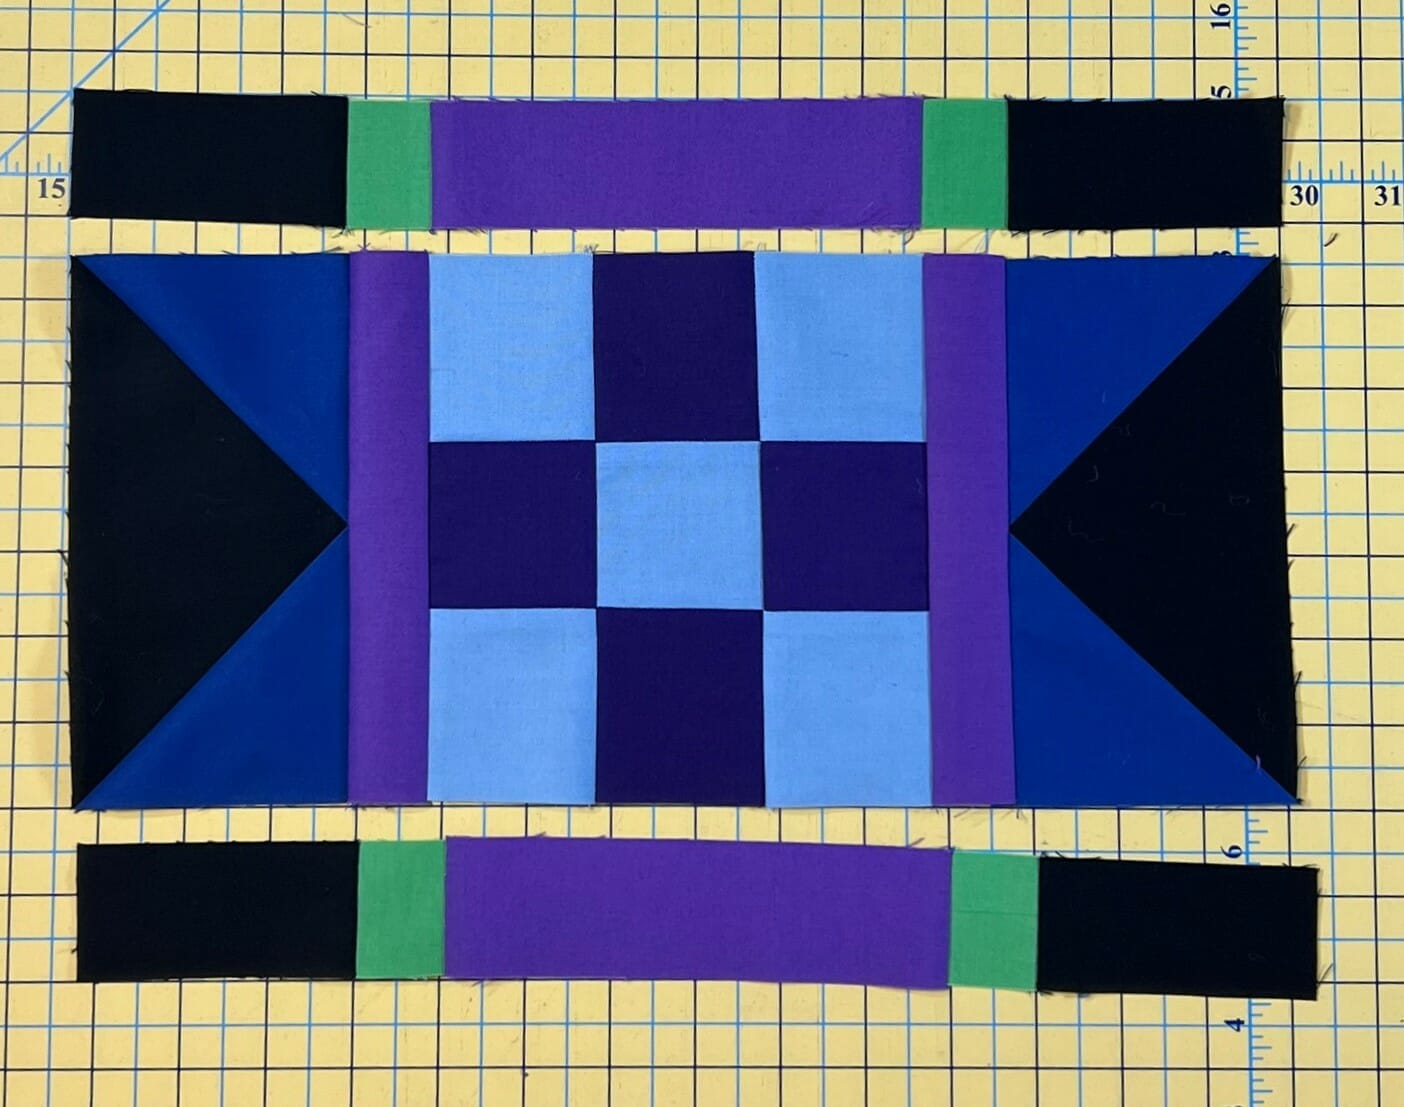
Next we will sew a Royal Purple E square to the side of each of the four remaining H strips. These purple squares become the corners of the solid purple border that frames our center medallion we made in month 1.
Once those H/E units are sewn, you’ll take four flying geese units and sew each H/E unit to the left side, making sure the black H strip is next to the flying geese, not on the outside. You’ll then sew a G rectangle to the right side. Just follow the diagram in the pattern and you will be fine.
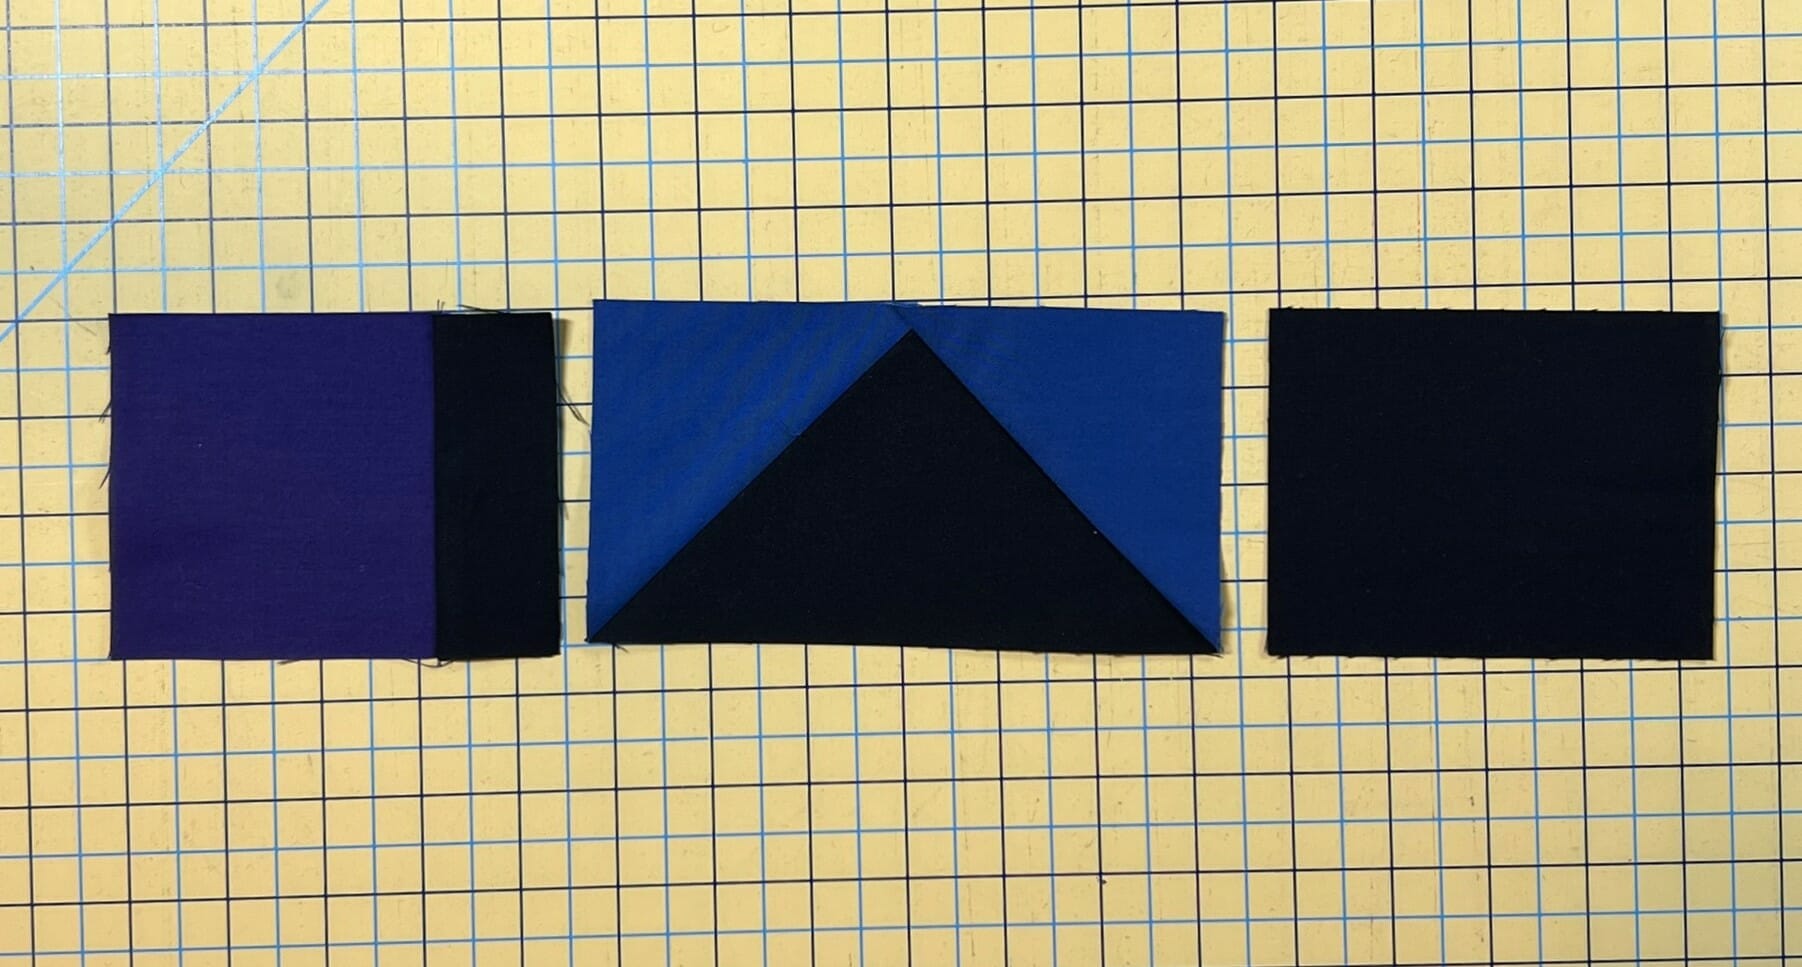
The rest of the flying geese units will have the G rectangles sewn to both sides.

Now we can finish the block by sewing the units from steps 7 and 8 to the top and bottom of the center unit.
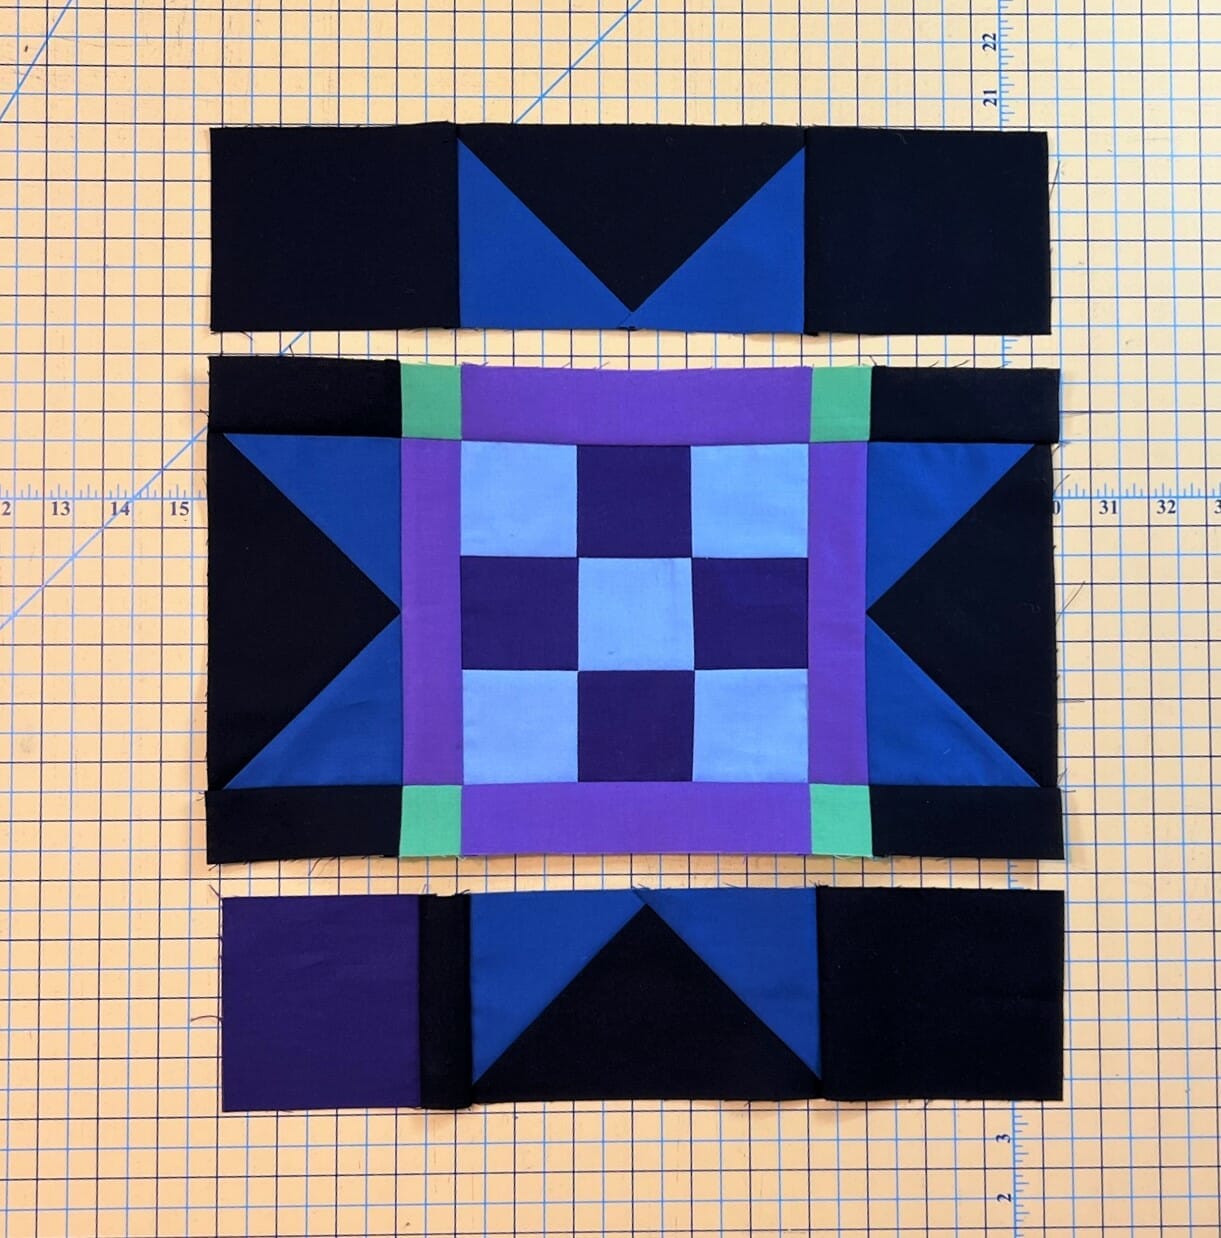
All finished! If all has gone according to plan, they should each measure 14-1/2″ square.

Next month will be another fun one! We’ll make a few more blocks and then we get to sew all the things we’ve made to our center medallion. I can’t wait!
Until next time – Happy Quilting!
Kristin

