


 Tutorials
 10.6.2020
Hi there everyone!
As I’ve probably mentioned before, I LOVE LOVE LOVE Star blocks! Which I guess is why this quilt has a lot of them in it. They are my design weakness!
For this month we will be making eight of these little cuties. They are each 10-1/2” square, and will give you lots of practice with flying geese. (I know, it’s just what you all wanted!)
For these flying geese I use the traditional stitch and flip method. This is the method I used to use all the time when I first started quilting and writing patterns. Then I learned the no-waste method and I have been hooked on that ever since. However, because of the way this block is constructed, we will be using the old-fashioned way. It’s tried and true and does the job.
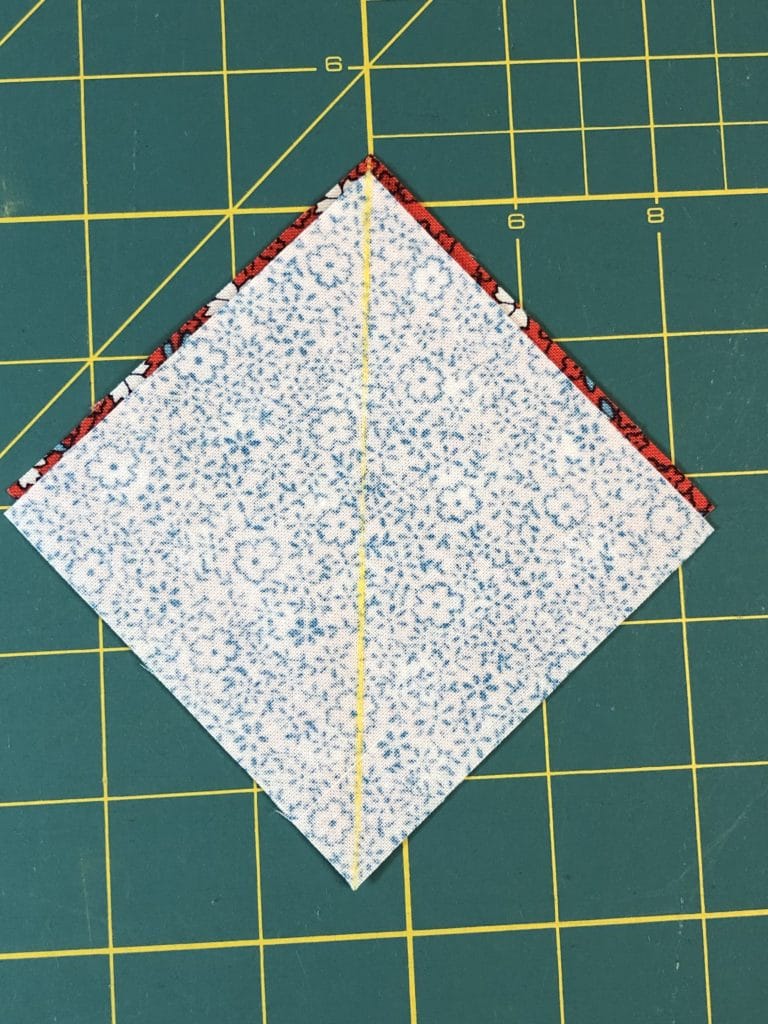
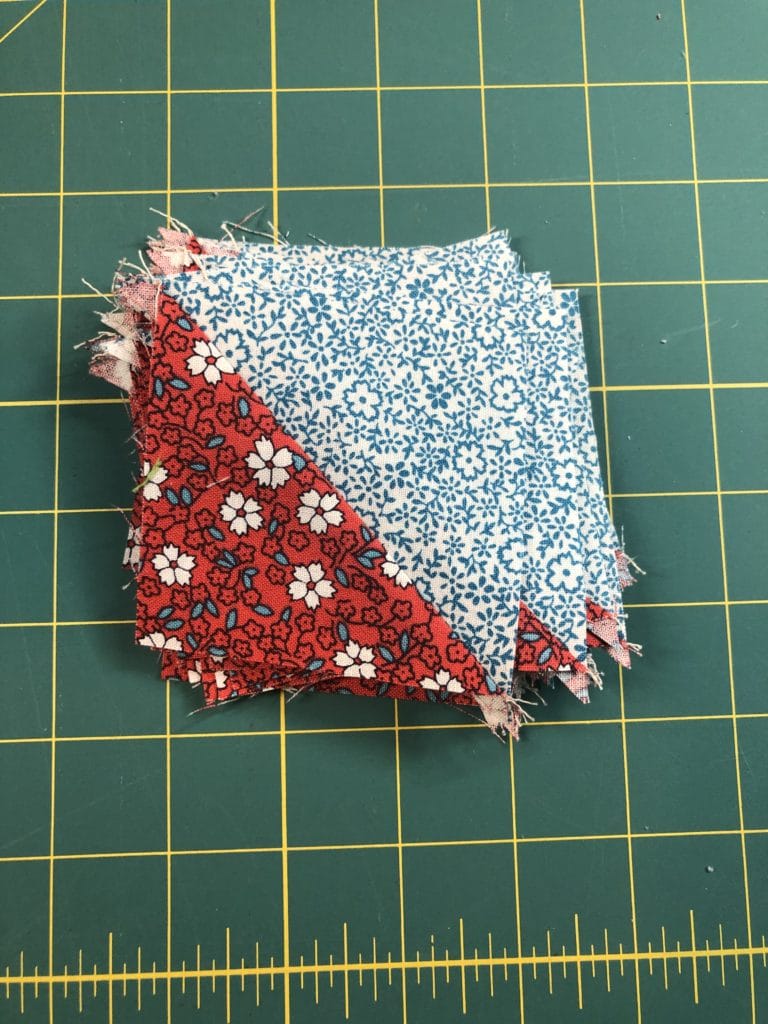
But I’m getting ahead of myself. Before we get to those flying geese, we will need to make some pinwheel centers for our blocks, starting with some half-square triangles.
Make sure as you press your F/D squares that all the seams are pressed toward the red print fabric and then all your seams will nest together nicely.
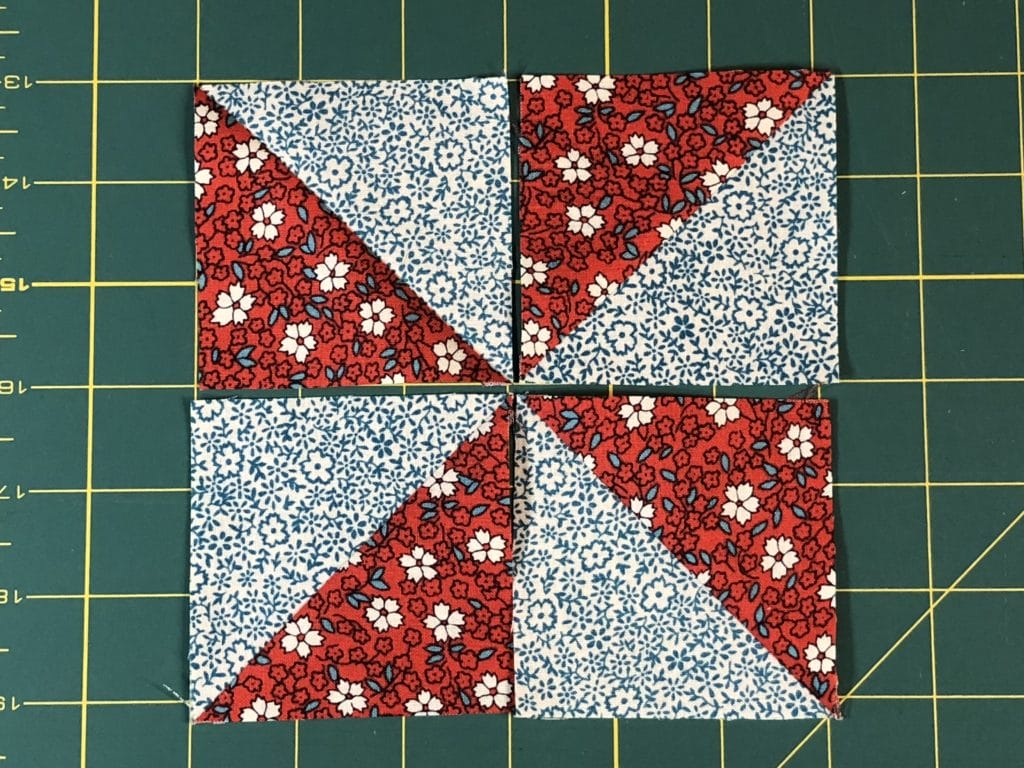
Make sure all your pinwheel are sewn just like the diagram in the pattern. You want the red and blue prints to be placed in the same orientation so that things will all match up later.
After your pinwheel blocks are finished, it’s time to make those flying geese.
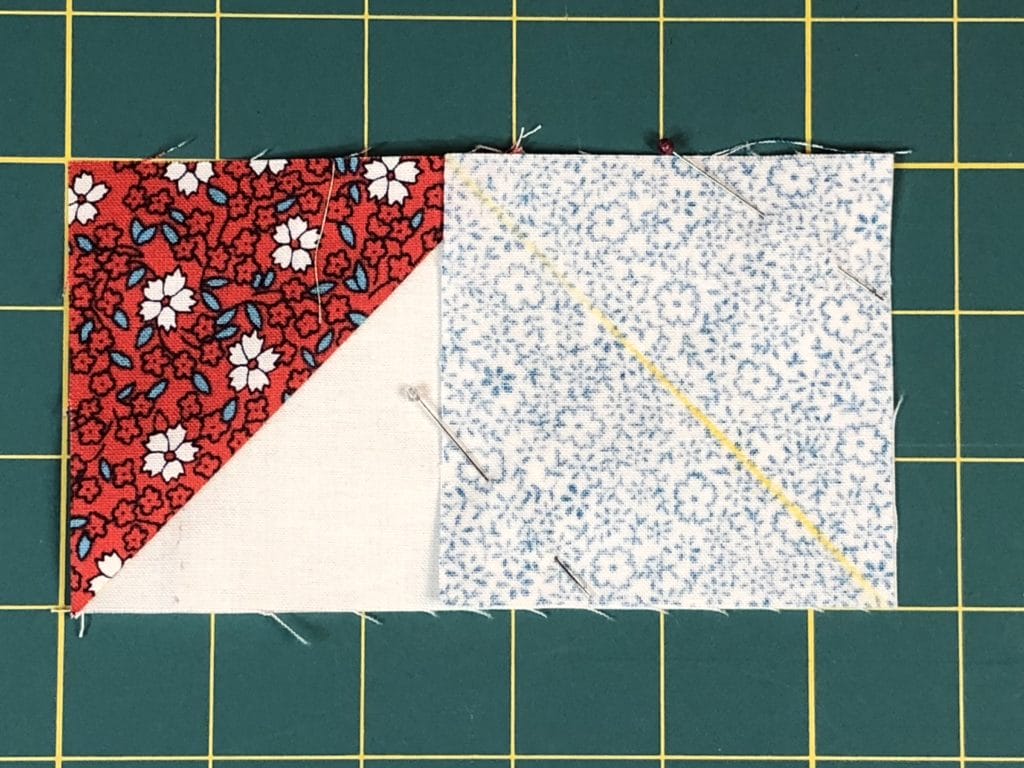
Place the Red C squares on the left side of each of the A rectangles, and follow the directions.
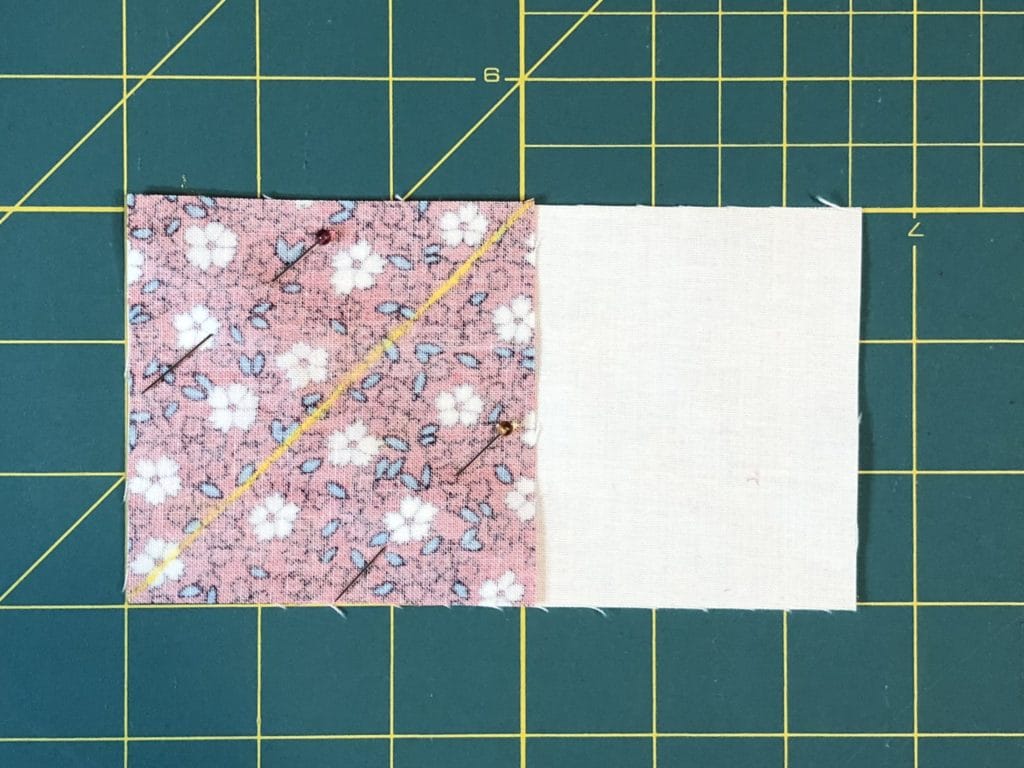
Then place the Blue E squares on the right side to finish them up. I like to sew just outside of my marked line so that I have some room to square up my flying geese when they are done.
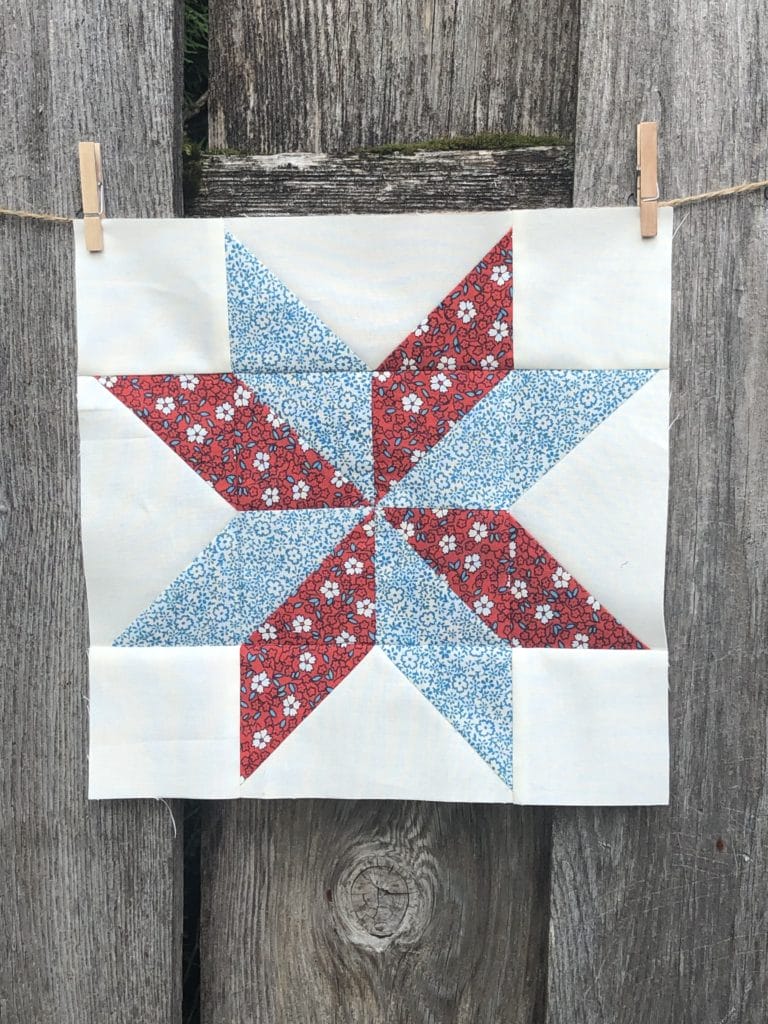
Now we can sew all the components for the block together!
Here below I have laid out all the pieces to make sure everything is in its proper place.

This picture is a little crooked, but you get the idea.
If you’ve sewn your pinwheel blocks together correctly, all the red fabrics and blue fabrics should line up with each other, giving the illusion that they are one continuous piece.
Once you get going, these blocks come together pretty fast. I hope you have enjoyed making these sweet little stars!
SPOILER ALERT: If you look at the finished quilt on the front page of your pattern, you will notice that we have more of these star blocks to make, just in different fabrics. So be prepared to make a few more of these cuties later on!
Take care, and Happy Quilting! – Kristin

