


 Tutorials
 9.8.2023
NOTE: these blog posts for the Amherst quilt top are part of a limited series for our Block of the Month subscription program. Sign-ups for the Amherst BOM are no longer available. You can learn more about our upcoming Block of the Month subscriptions here.
Hi everyone!
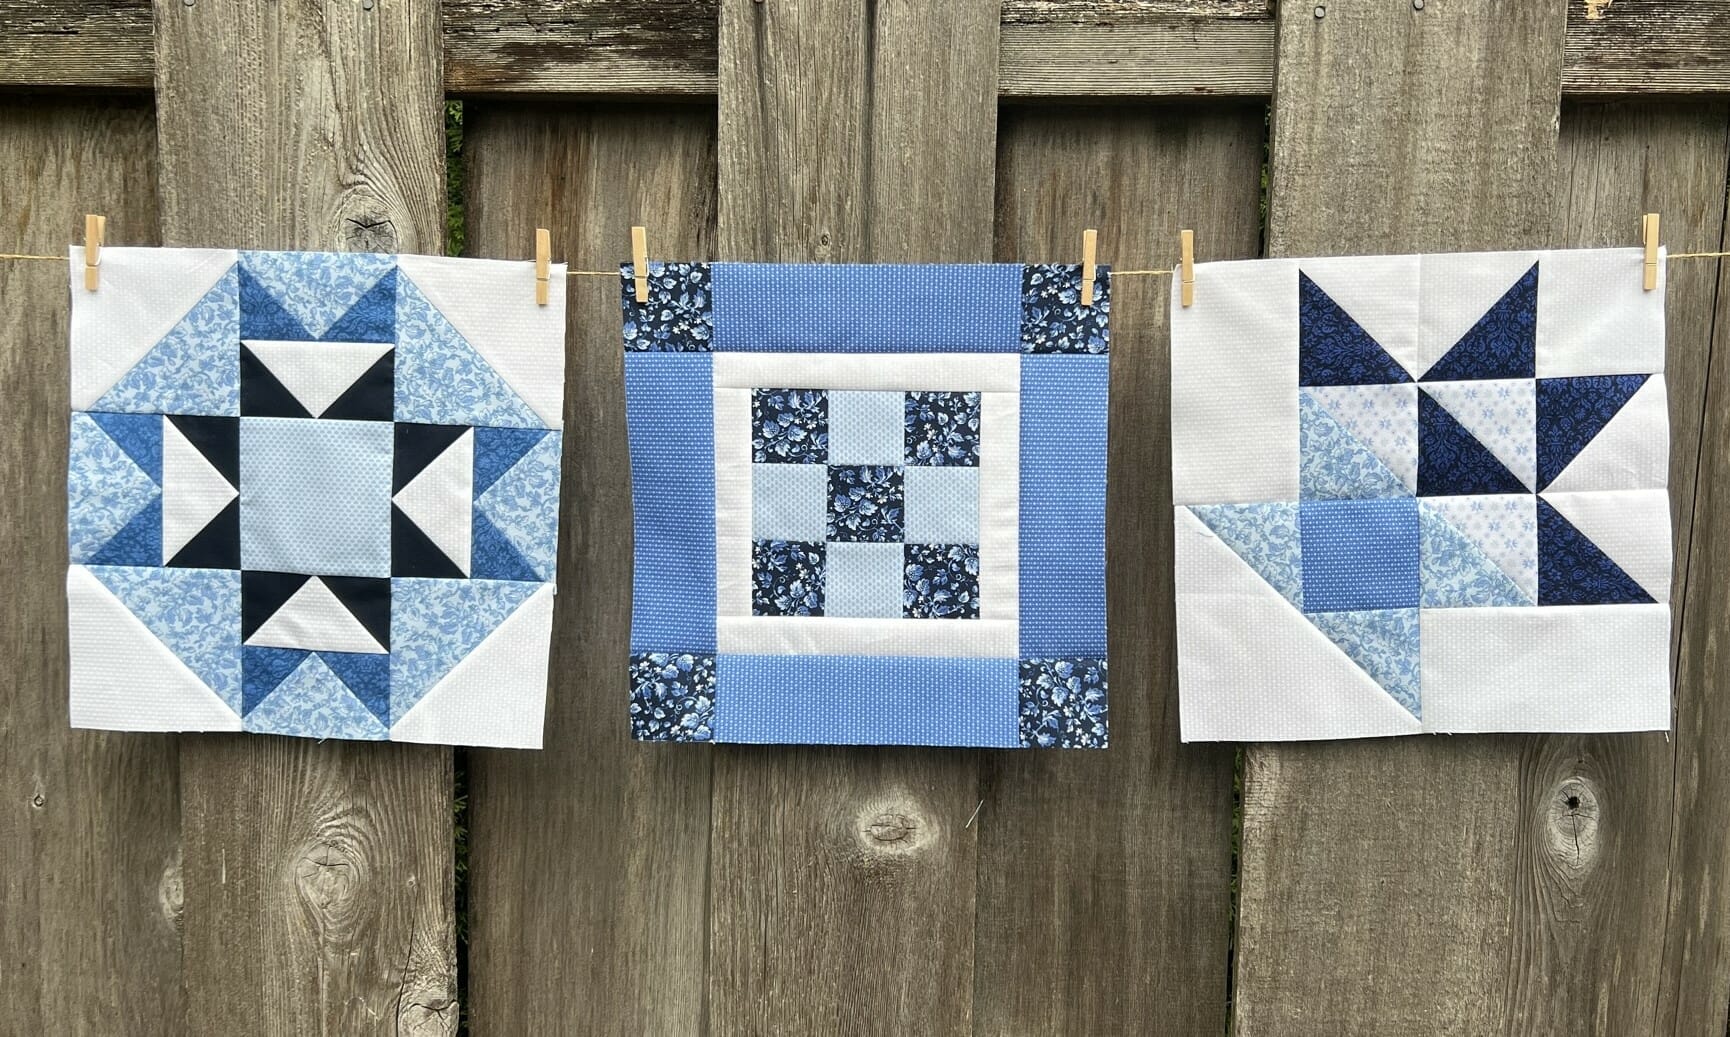
We’re back with another three blocks this month. One of these blocks is pretty easy, and the other two are more in the intermediate range, if I had to assign them a difficulty level. However, one of the two intermediate blocks (I’m talking about you, Basket Block!), challenges my brain power. But don’t be scared. I promise we can all do it! But we’ll talk about that later. First let’s cover the steps for the other two blocks.
Block #2
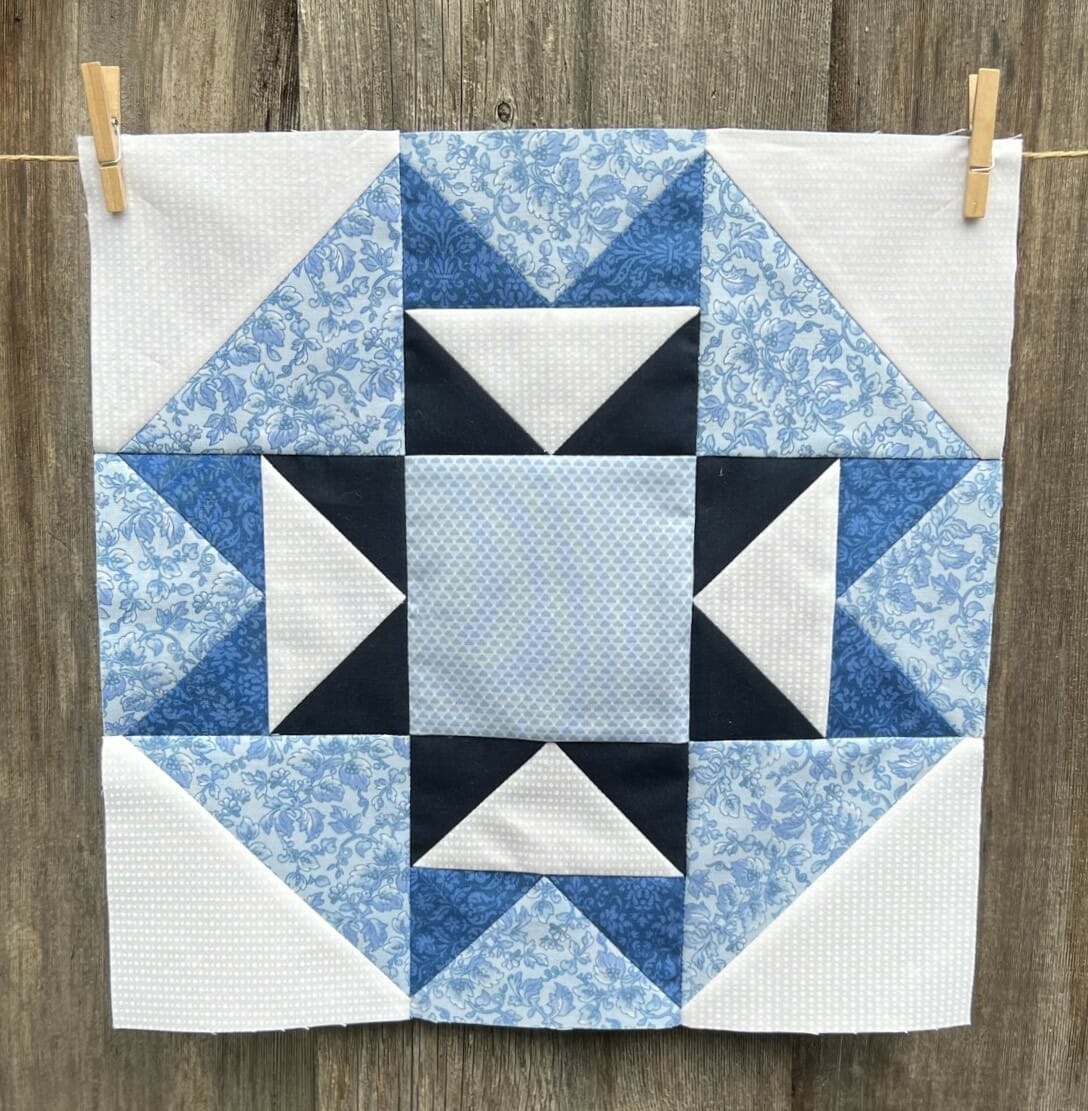
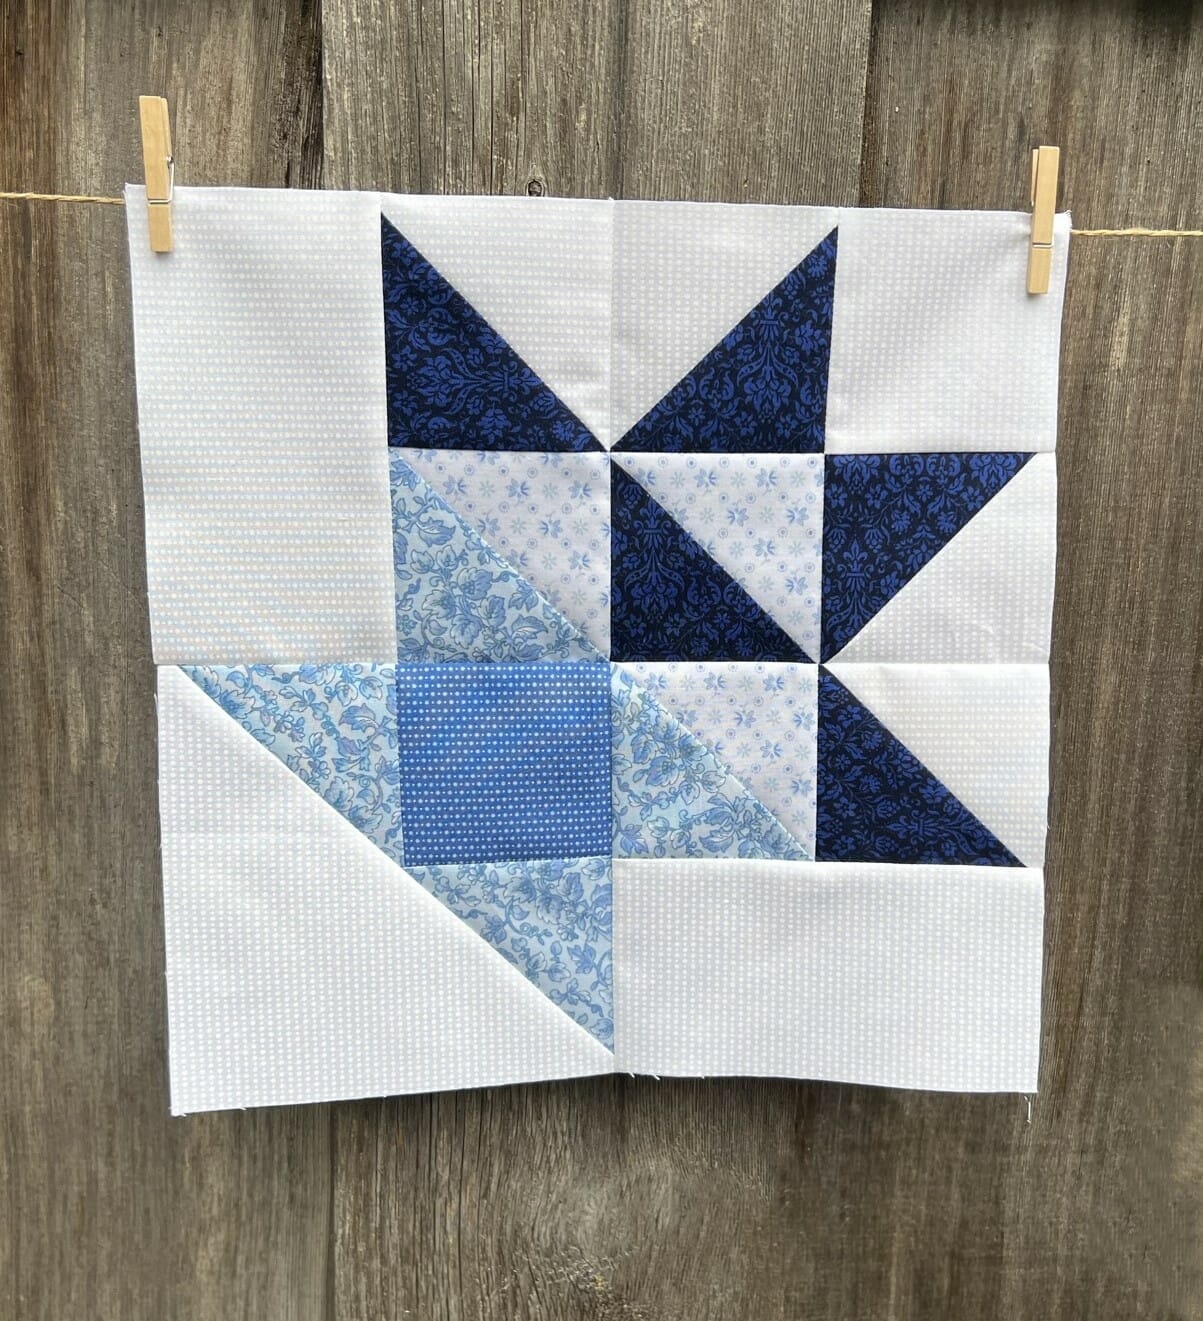
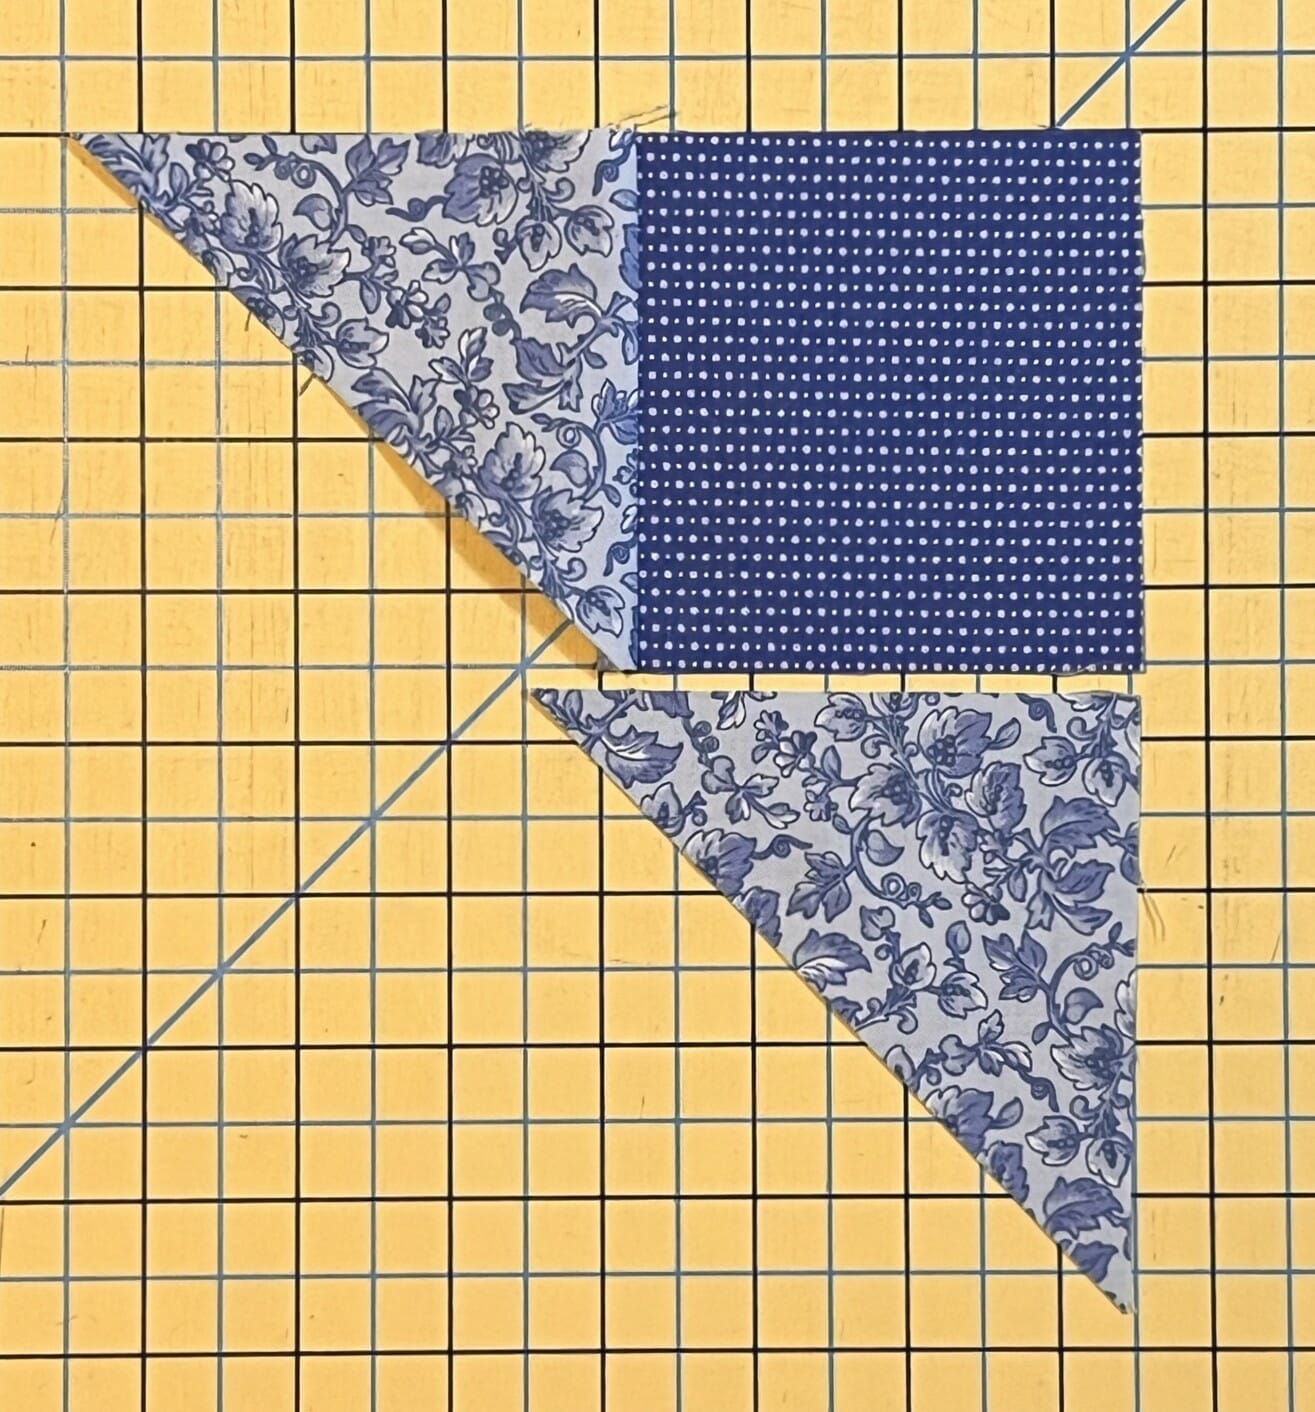
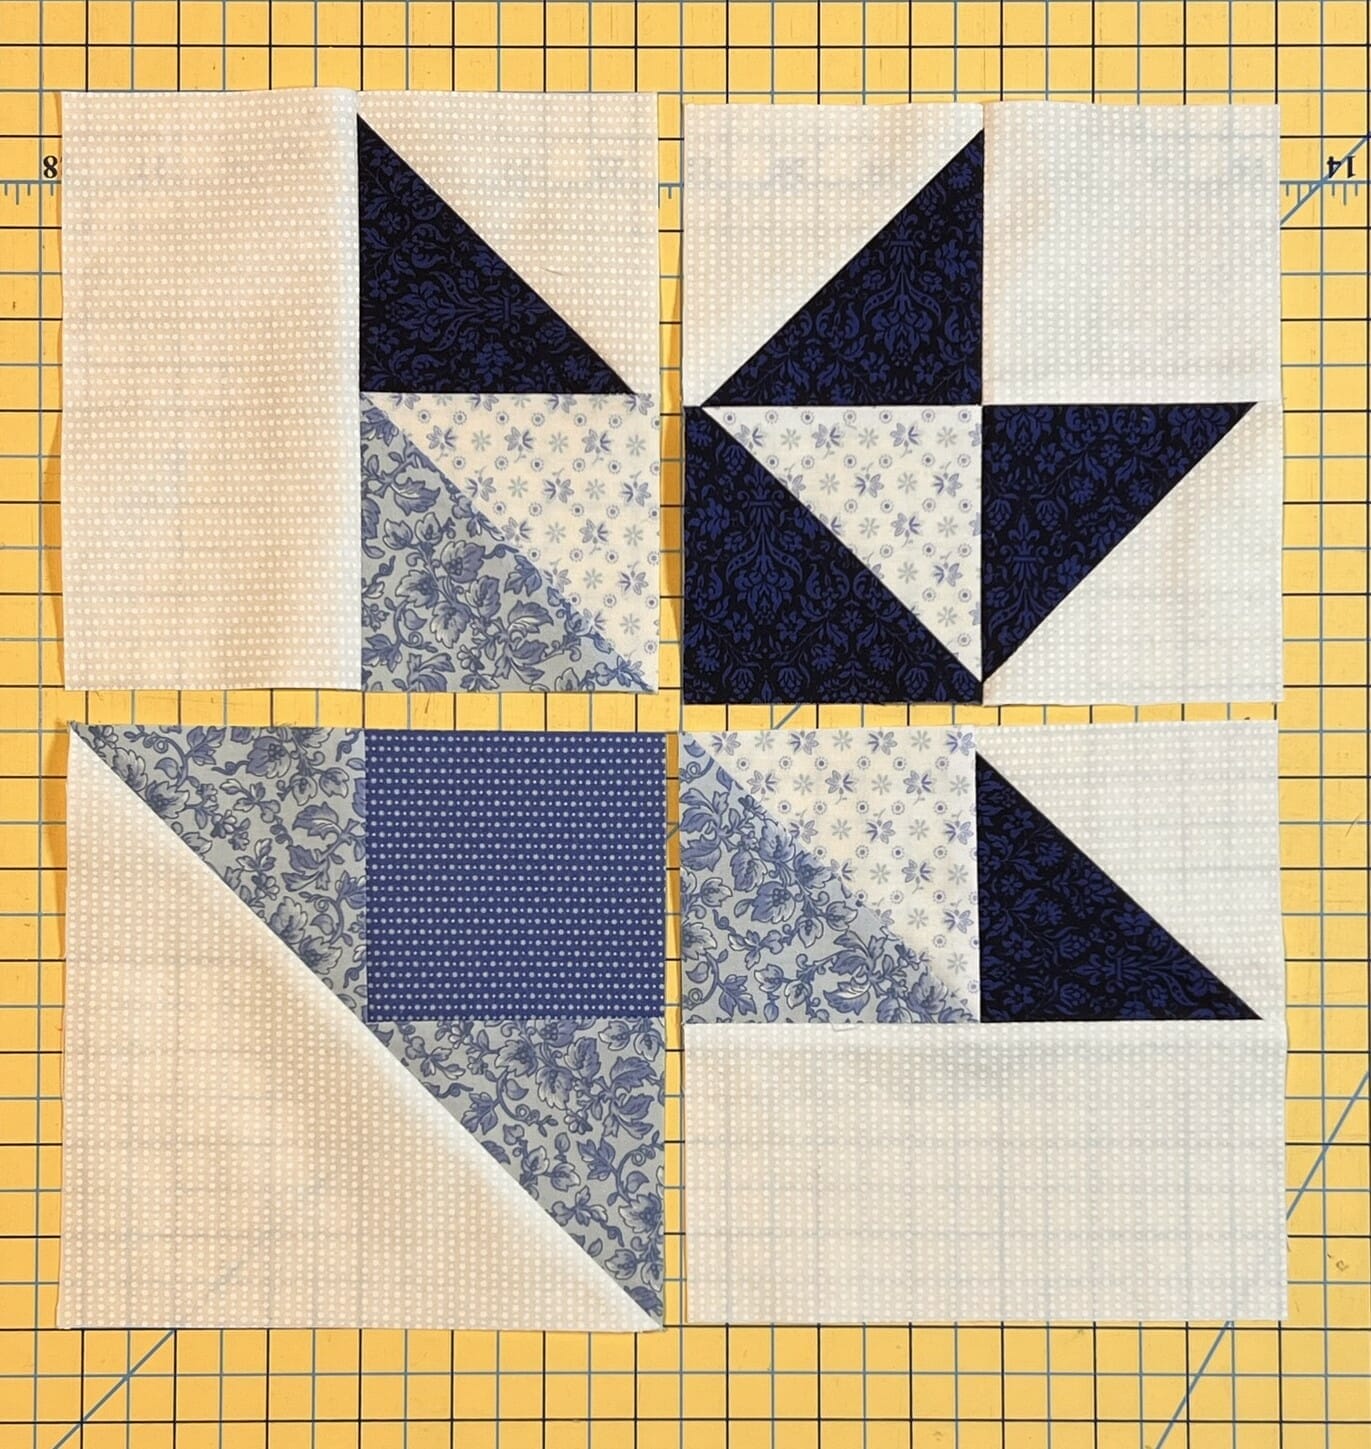
Our first block for the month begins with making some flying geese, in two colorways. To save time, I sewed them up simultaneously. Since we’ve covered the No-Waste Flying Geese method in previous blog posts, I won’t bore you with another long description. But since I’m a visual person, I’ll show you the steps in photo form. I find it helpful to see what things actually look like, rather than just the diagrams in the pattern.


After they were done and trimmed, I laid them all out, and then sewed them together in pairs like so:
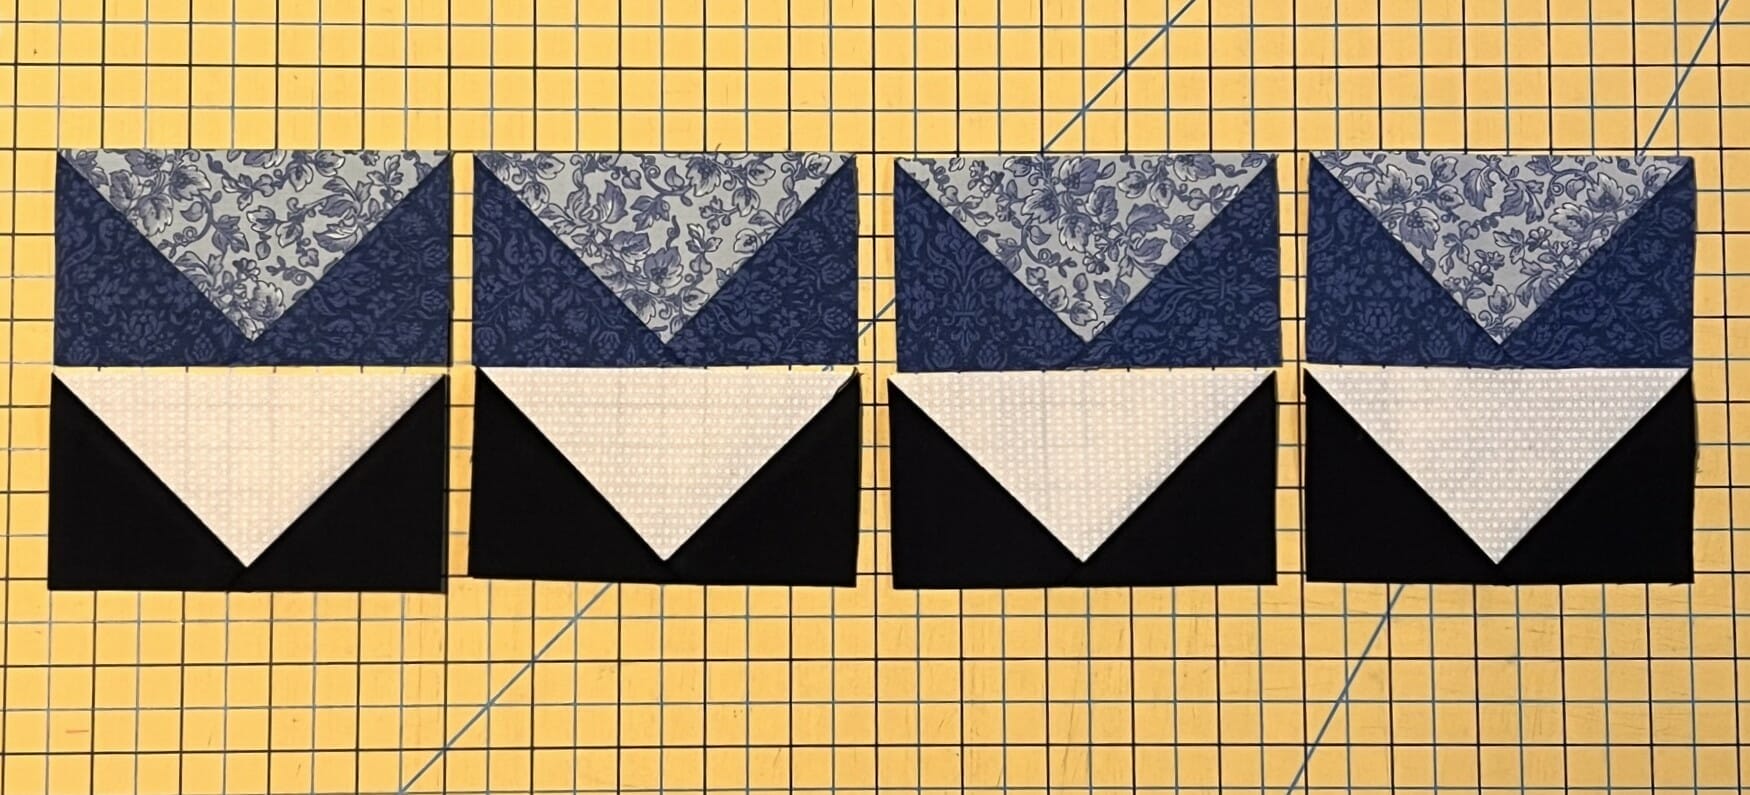
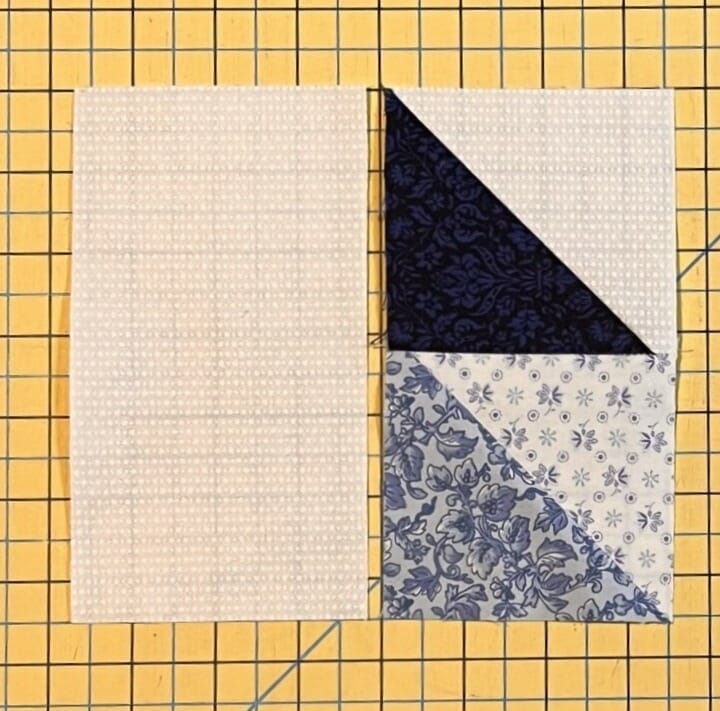
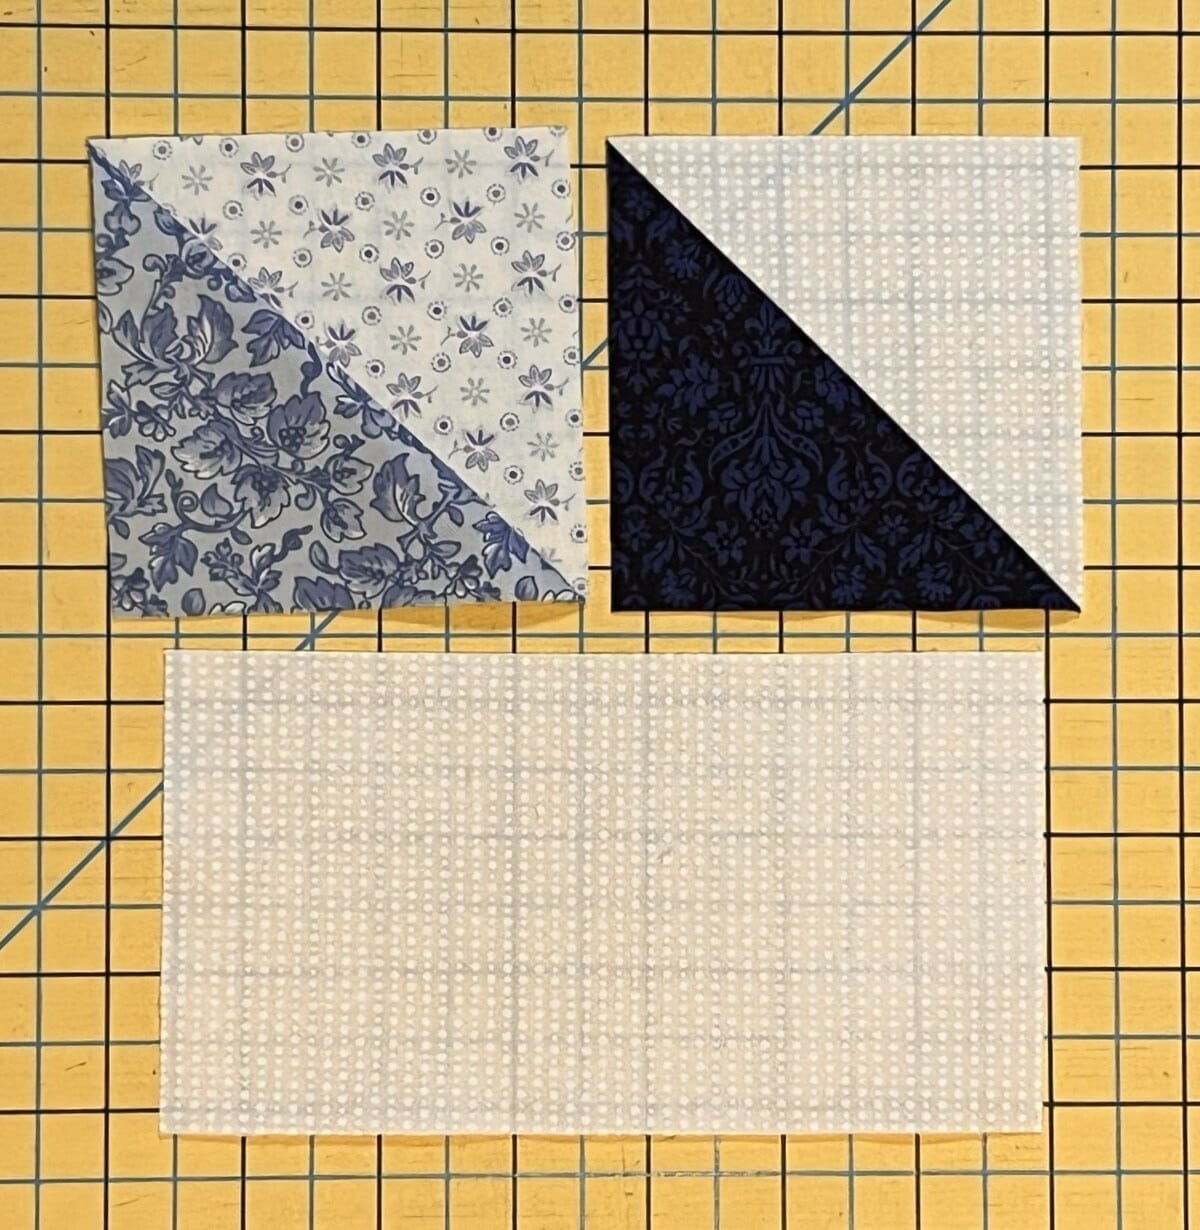
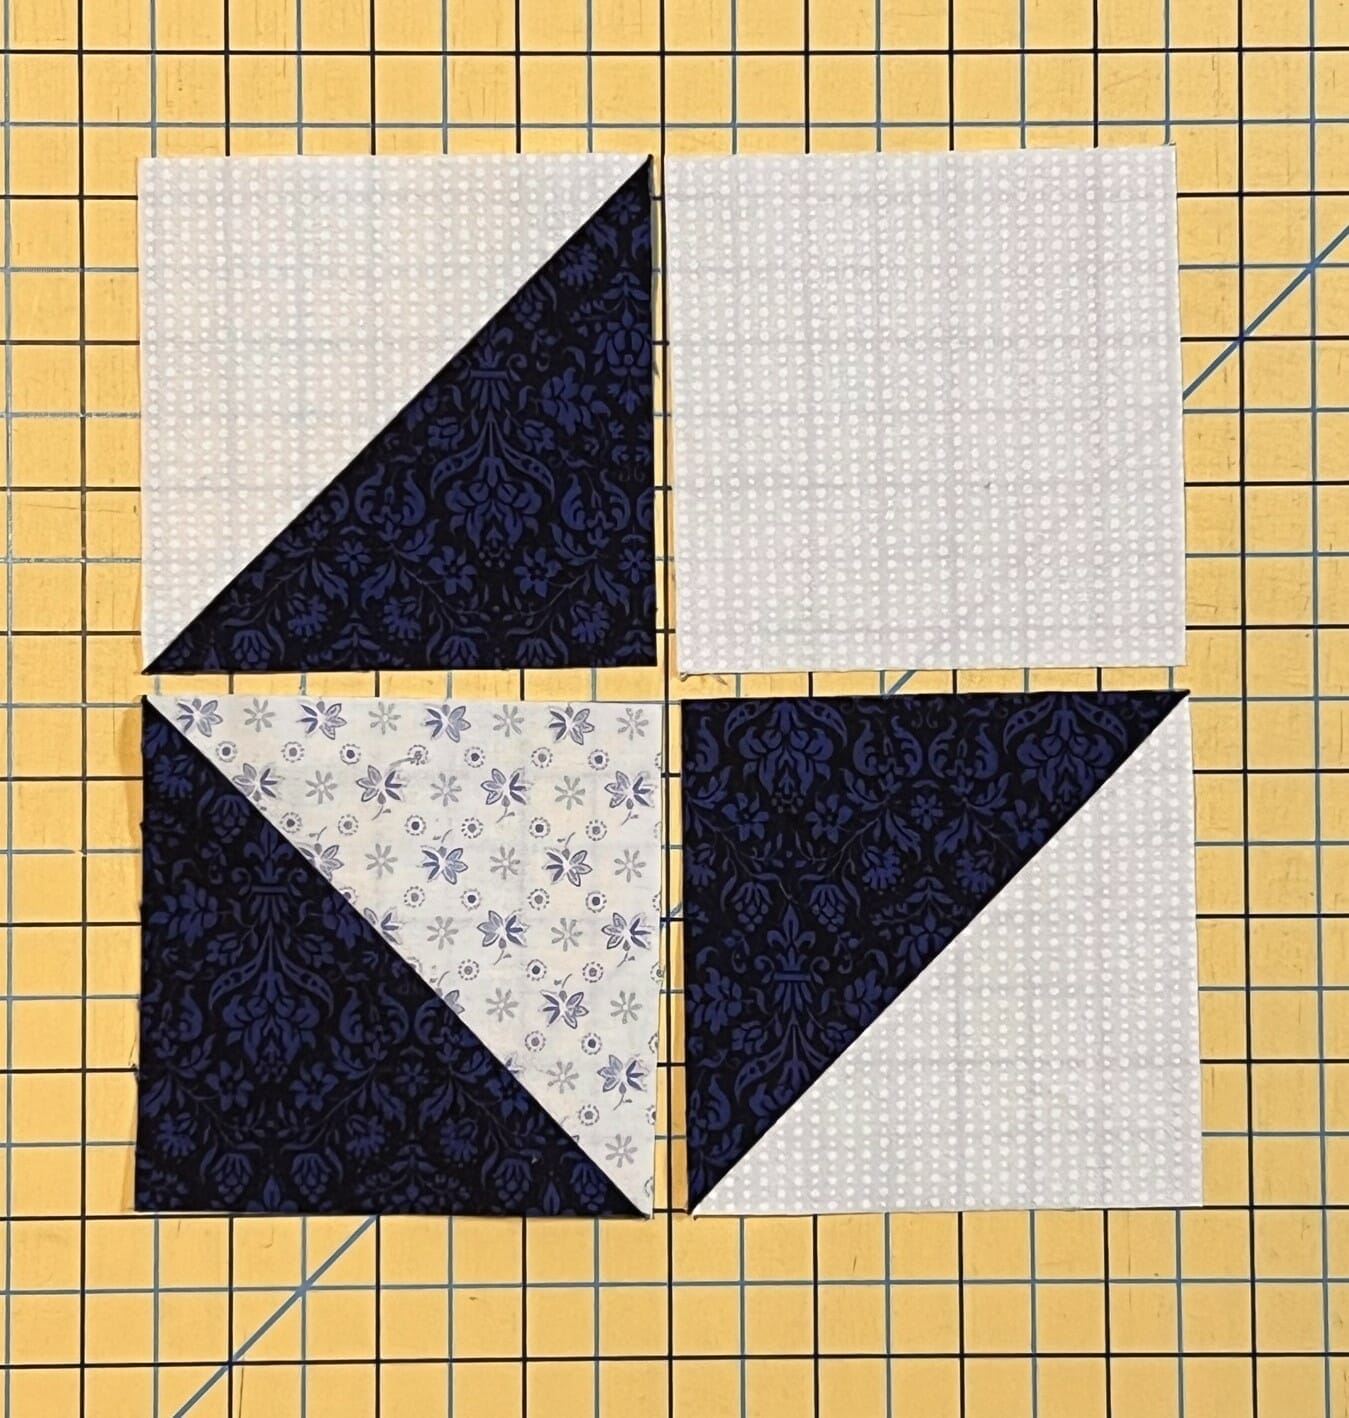
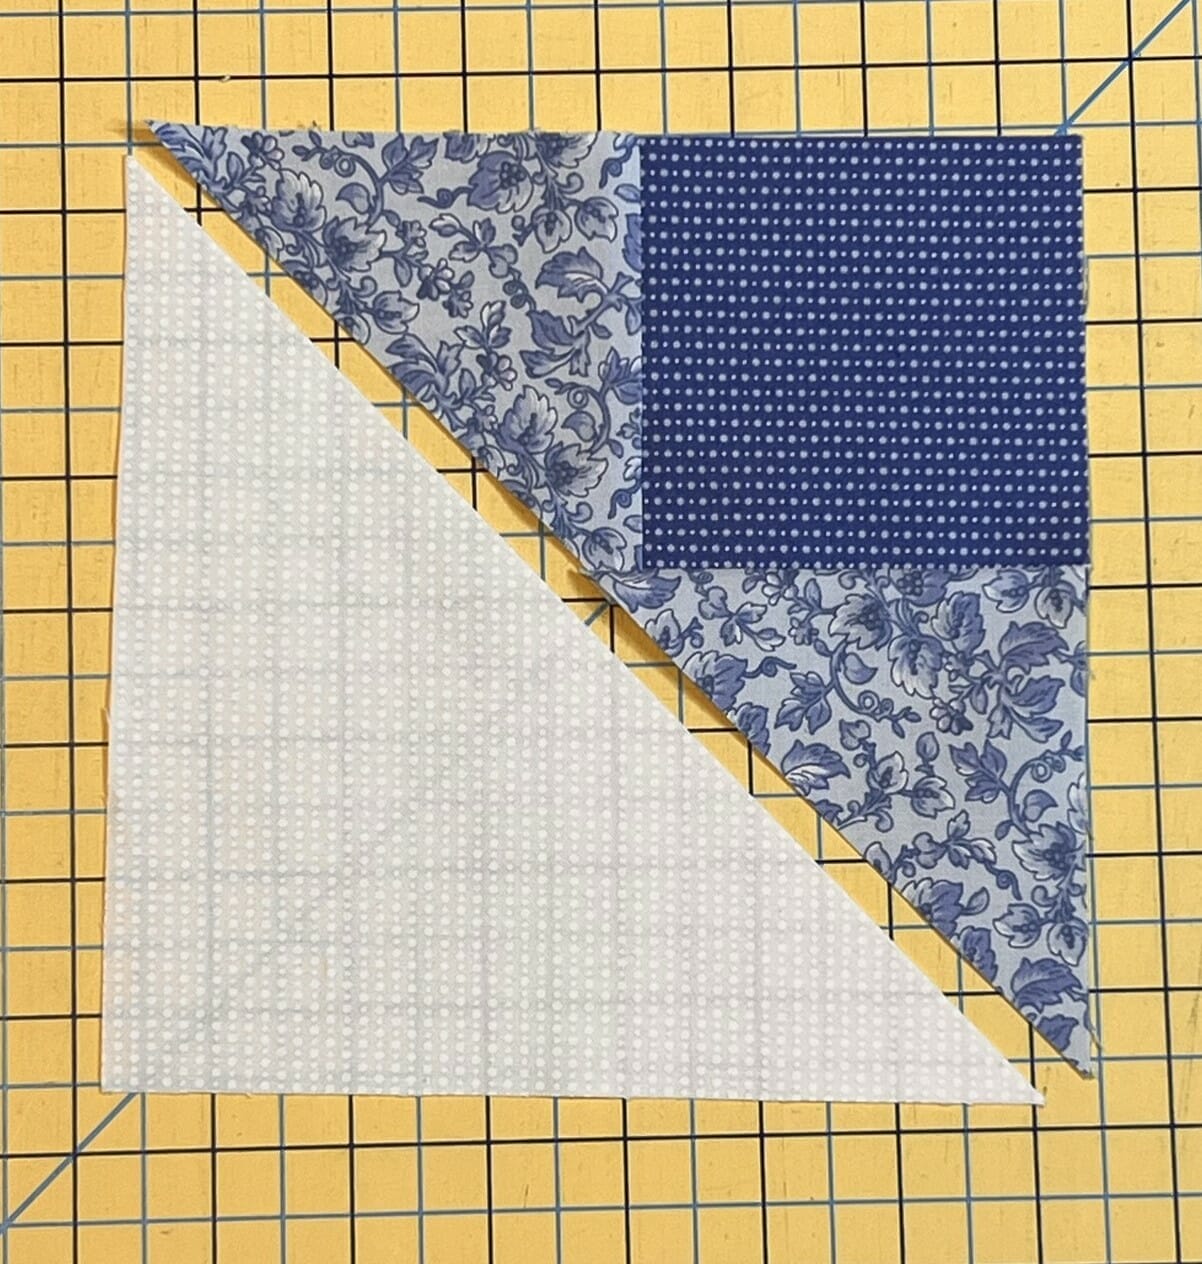
I also made the four Half Square triangles, and trimmed them to size. All the units we’ve made so far should measure 4-1/2” square.
As usual, I lay out all my units before sewing, and make sure I’ve got all my flying geese pointing inward before sewing the block together.
Block #7
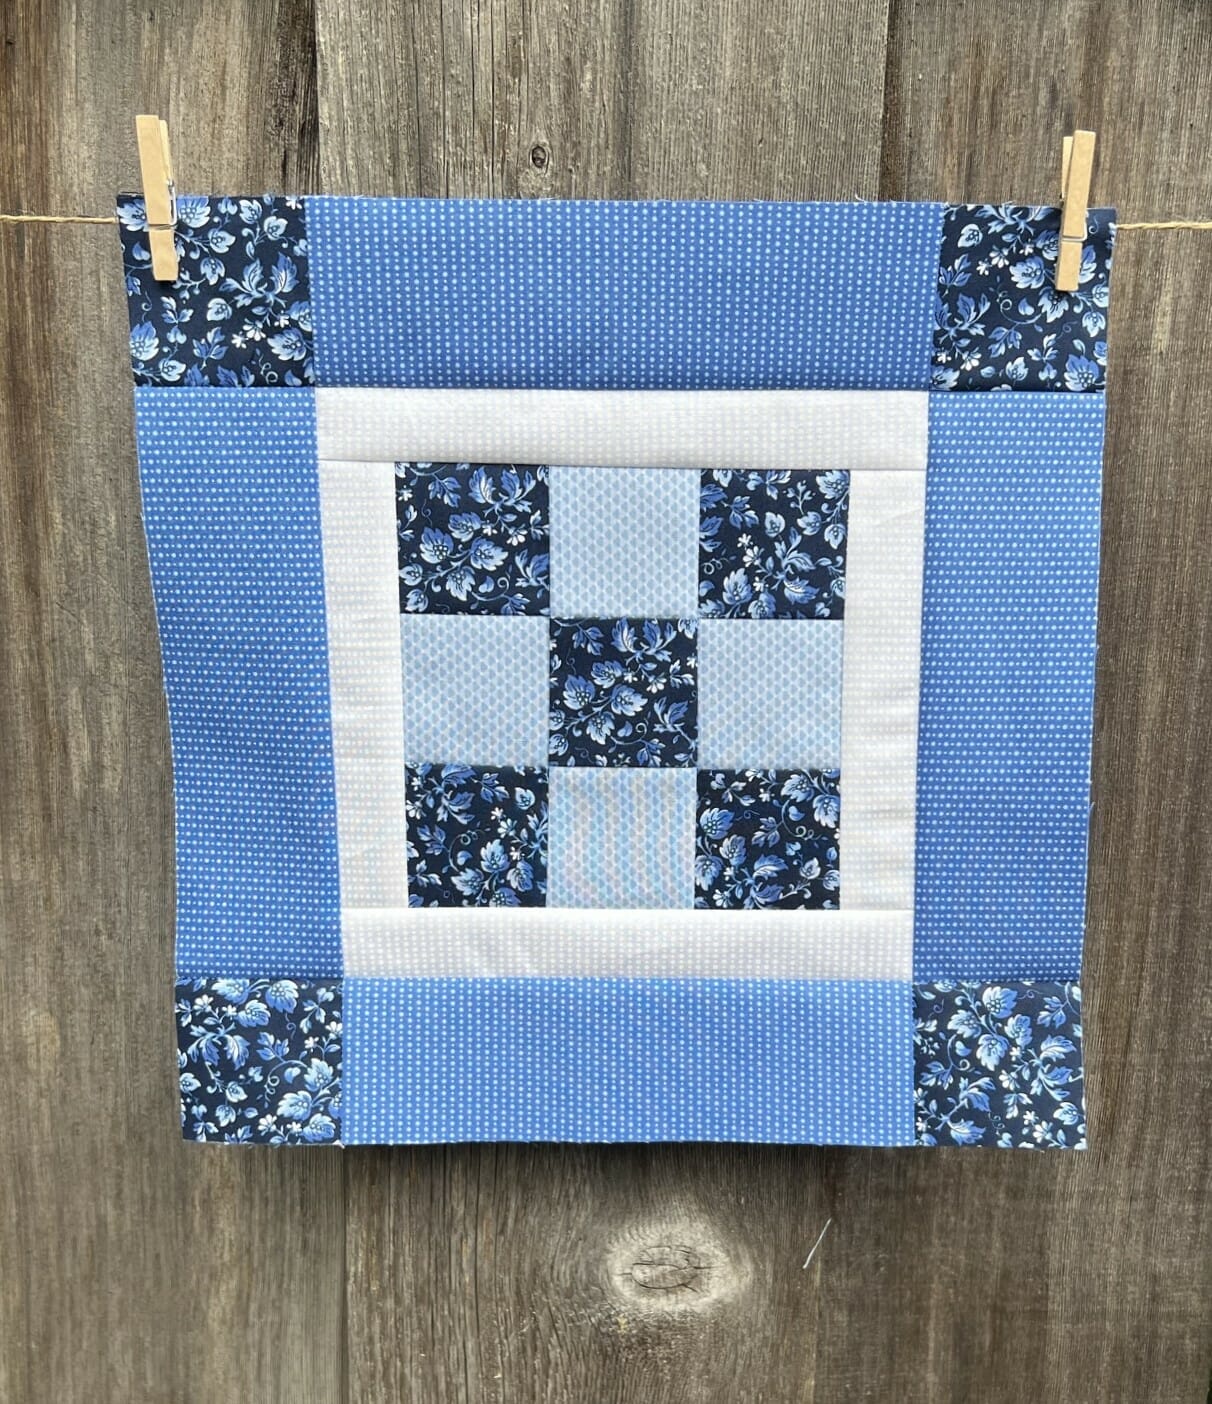
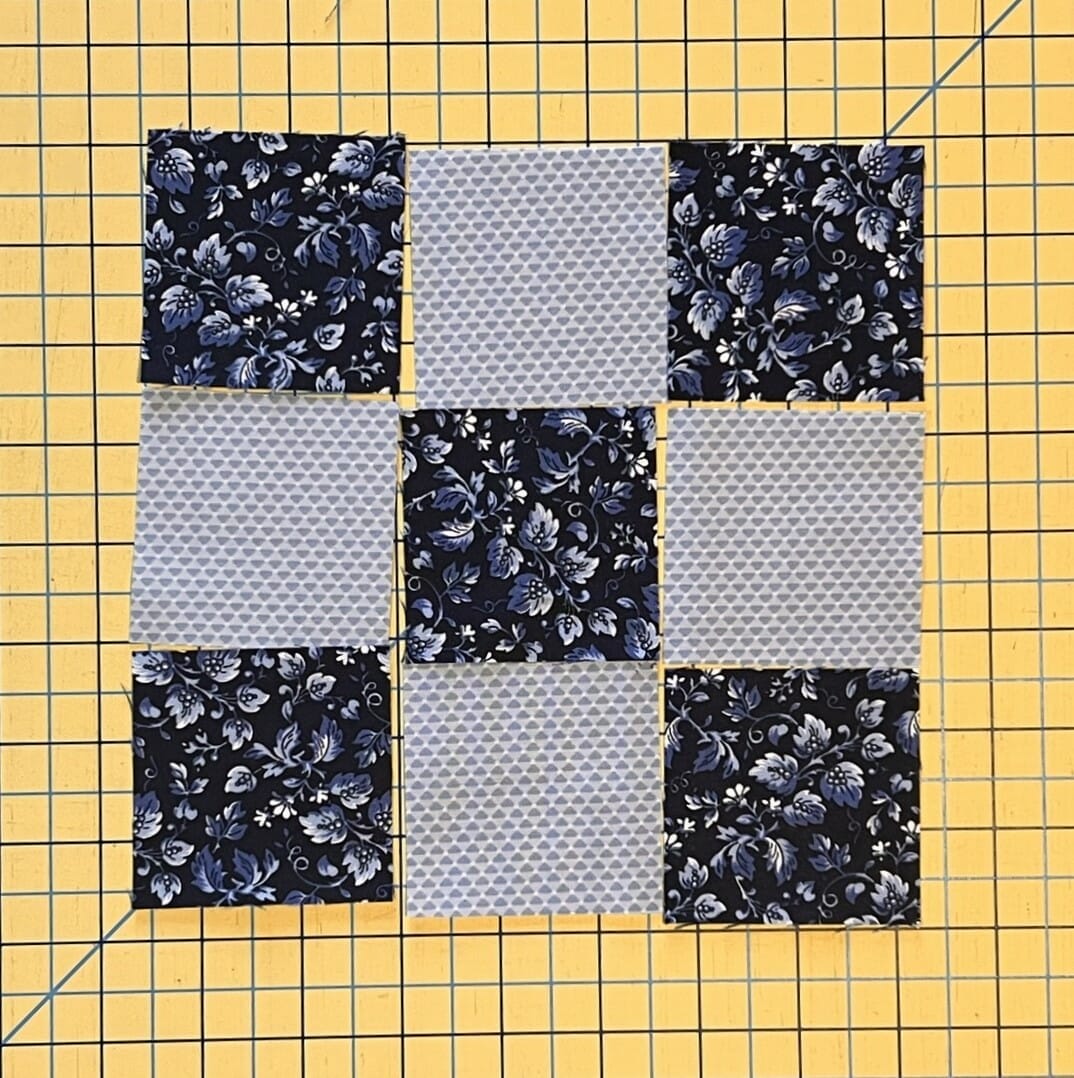
Hooray for easy blocks! This block is all squares and rectangles, and it comes together pretty fast.
All you need to do is make a 9-patch:
Sew on the small white borders:
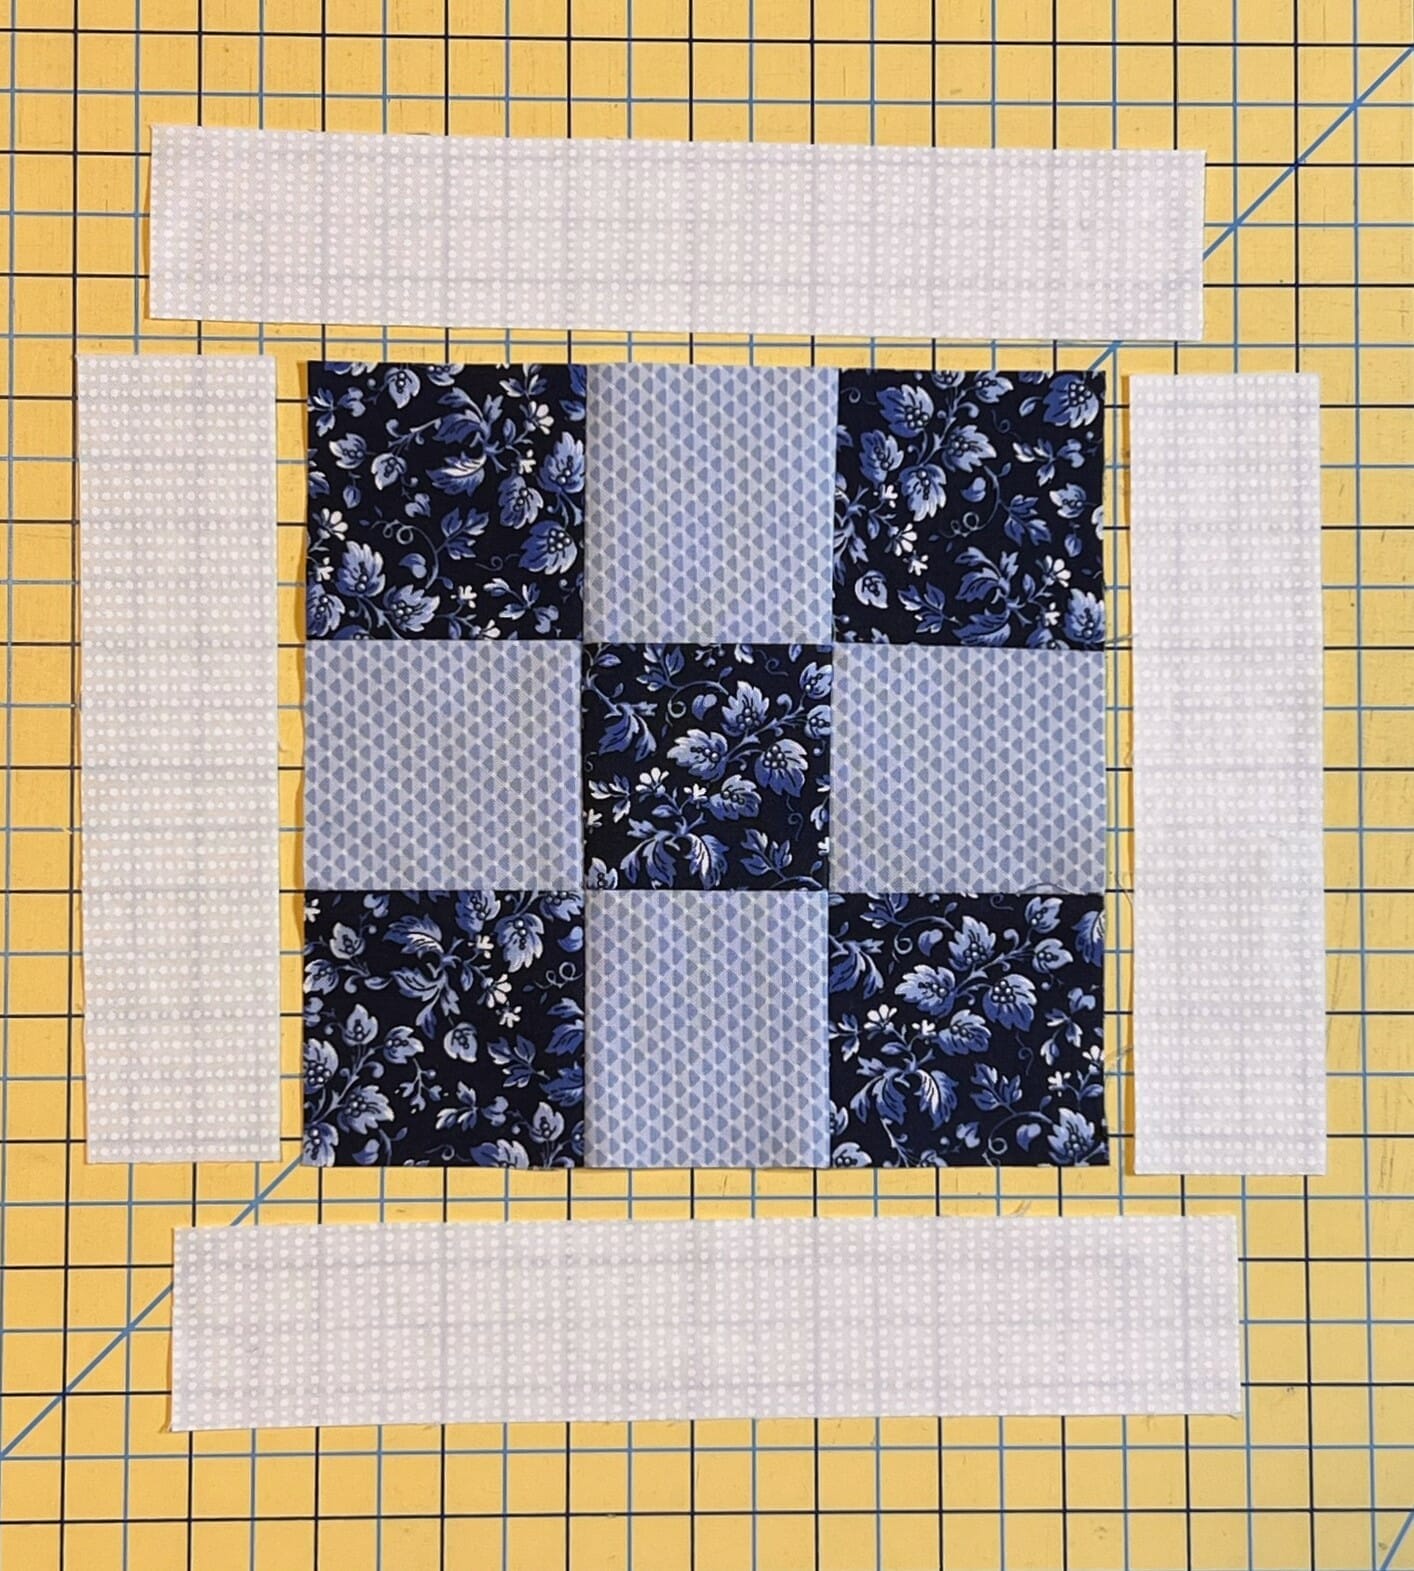
Sew a couple larger E borders to the sides, then take the remaining two E borders and sew an A square to the ends of each one. Sew those to the top and bottom, and your block is done. Super simple!

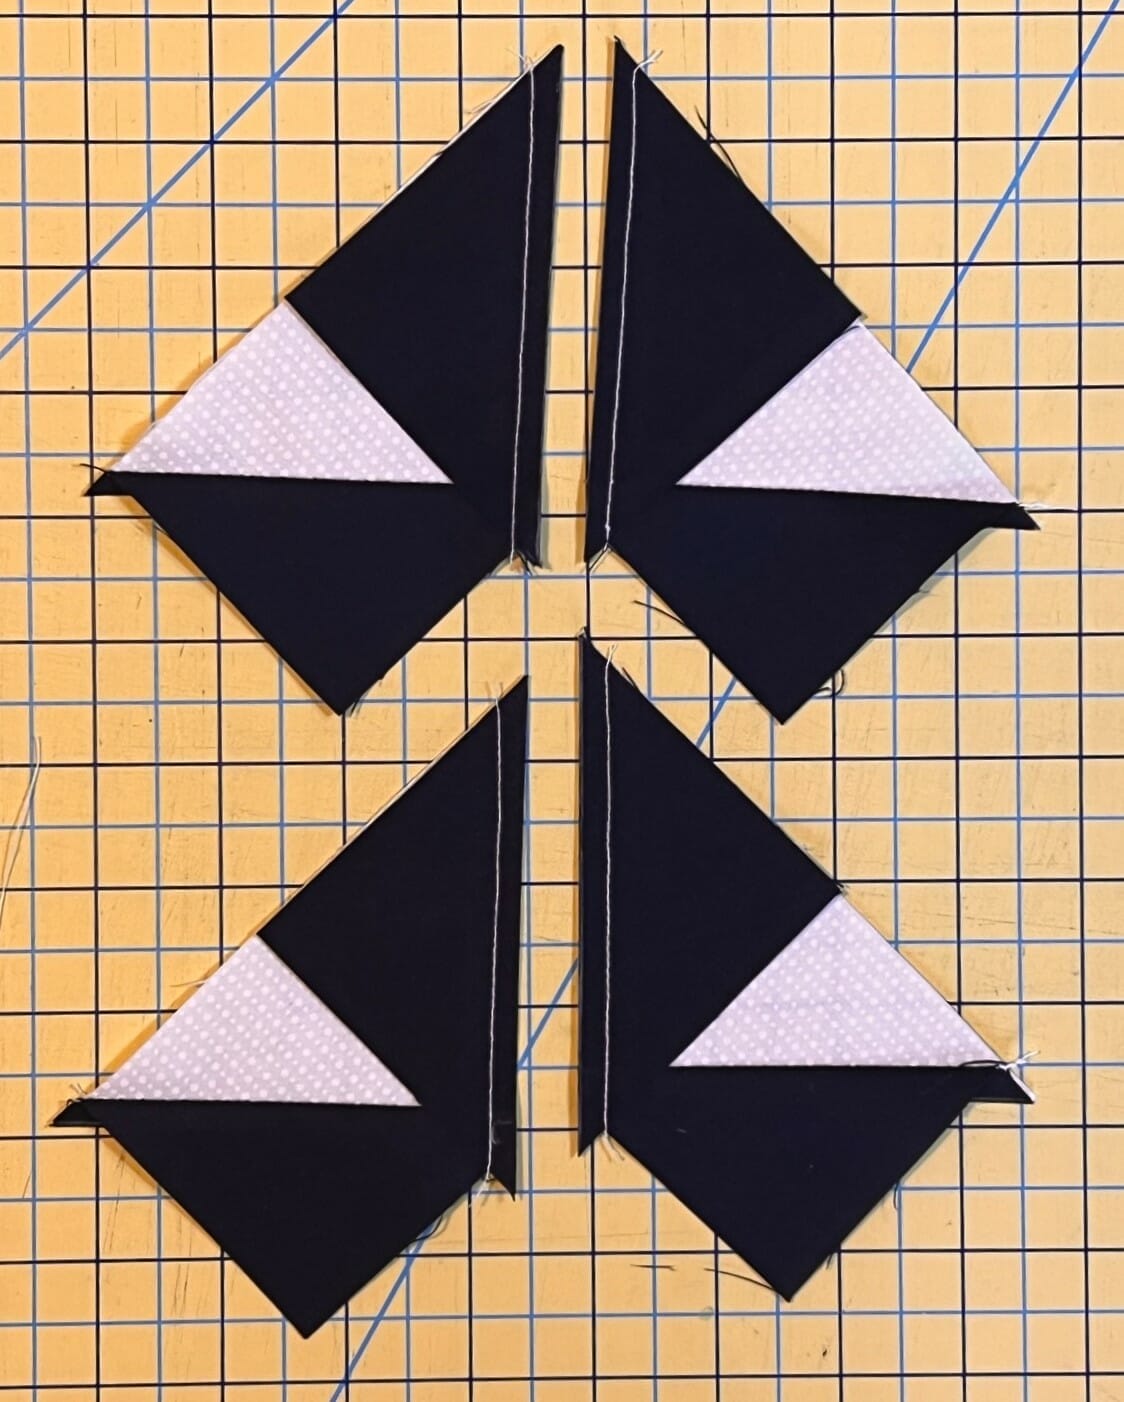
Block #17
First let me say, I really do love Basket Blocks. In fact, I’ve designed other quilts made up entirely of basket blocks. I think they are adorable! However, they always give me a run for my money. Not because they are technically challenging necessarily, but because you have to pay close attention to the orientation of all your pieces, and it can be easy to get confused. Every single time I make a Basket block of almost any variety, I end up needing to use my seam ripper because I’ve turned something the wrong way.
So, please also pay close attention to the diagrams and the directions of all your Half Square Triangles in this block, and you’ll save yourself some time with Jack the Ripper. Also, pay attention to the pressing arrows, because it matters with this block. (And yes, I messed that up too the first time…)
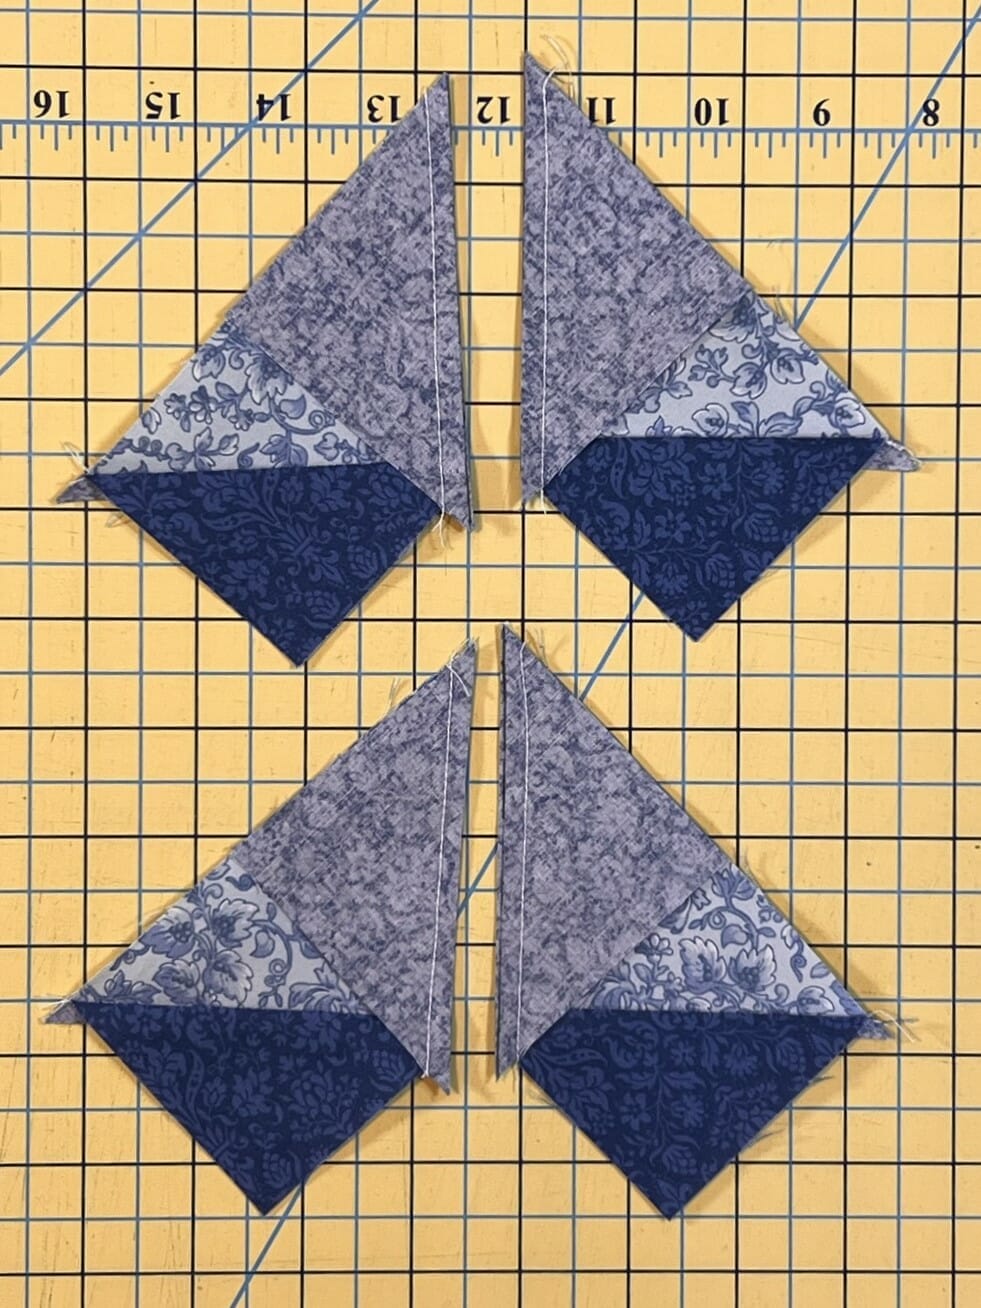
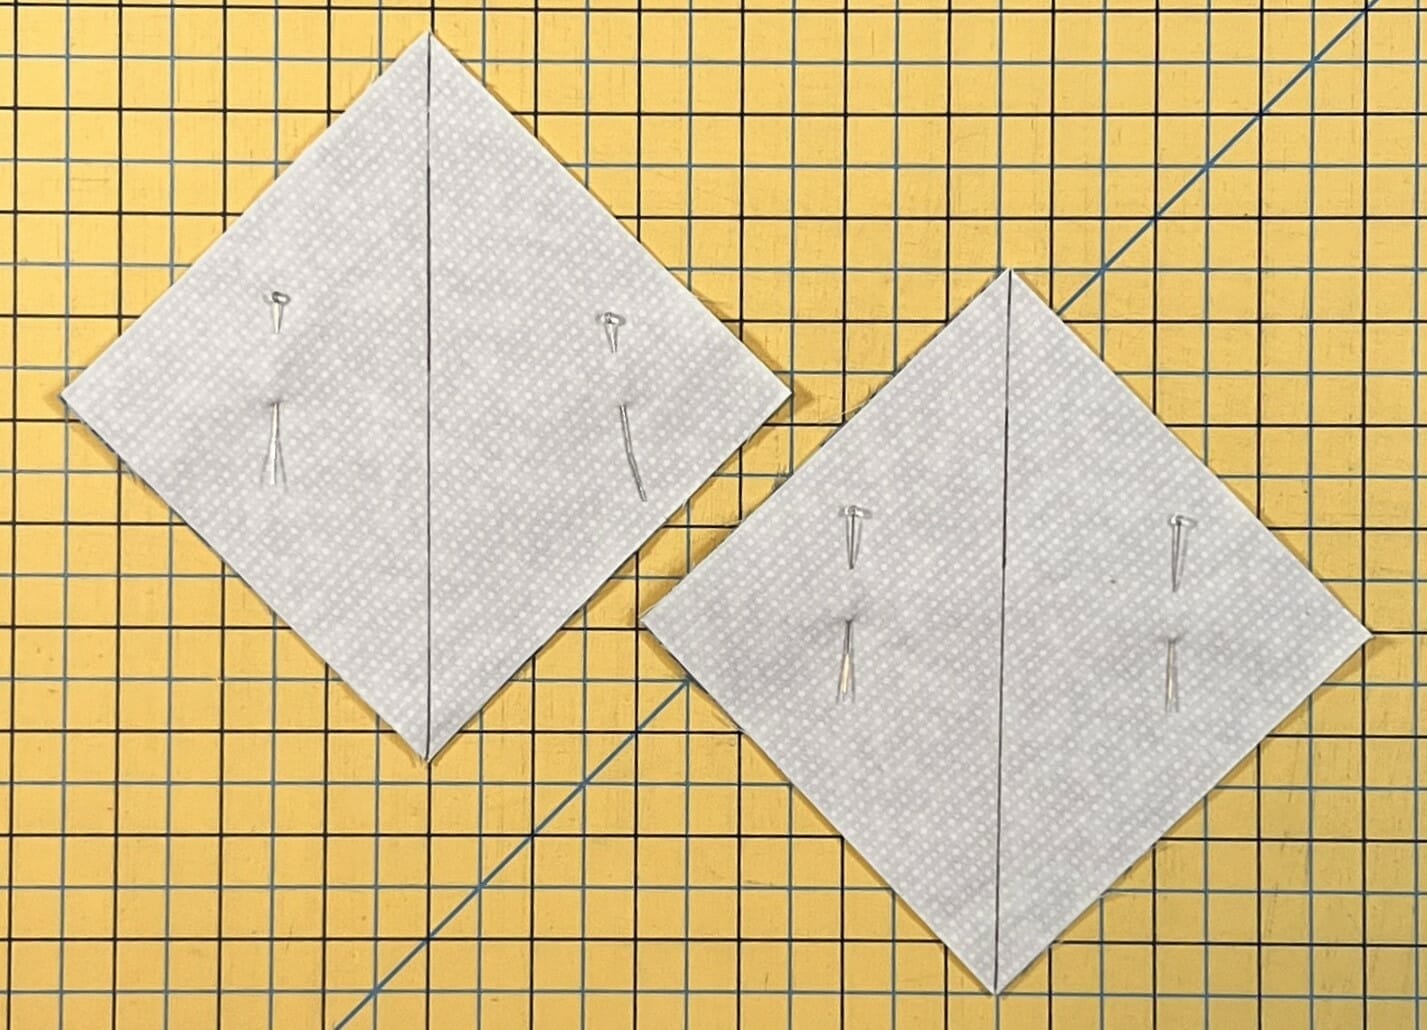
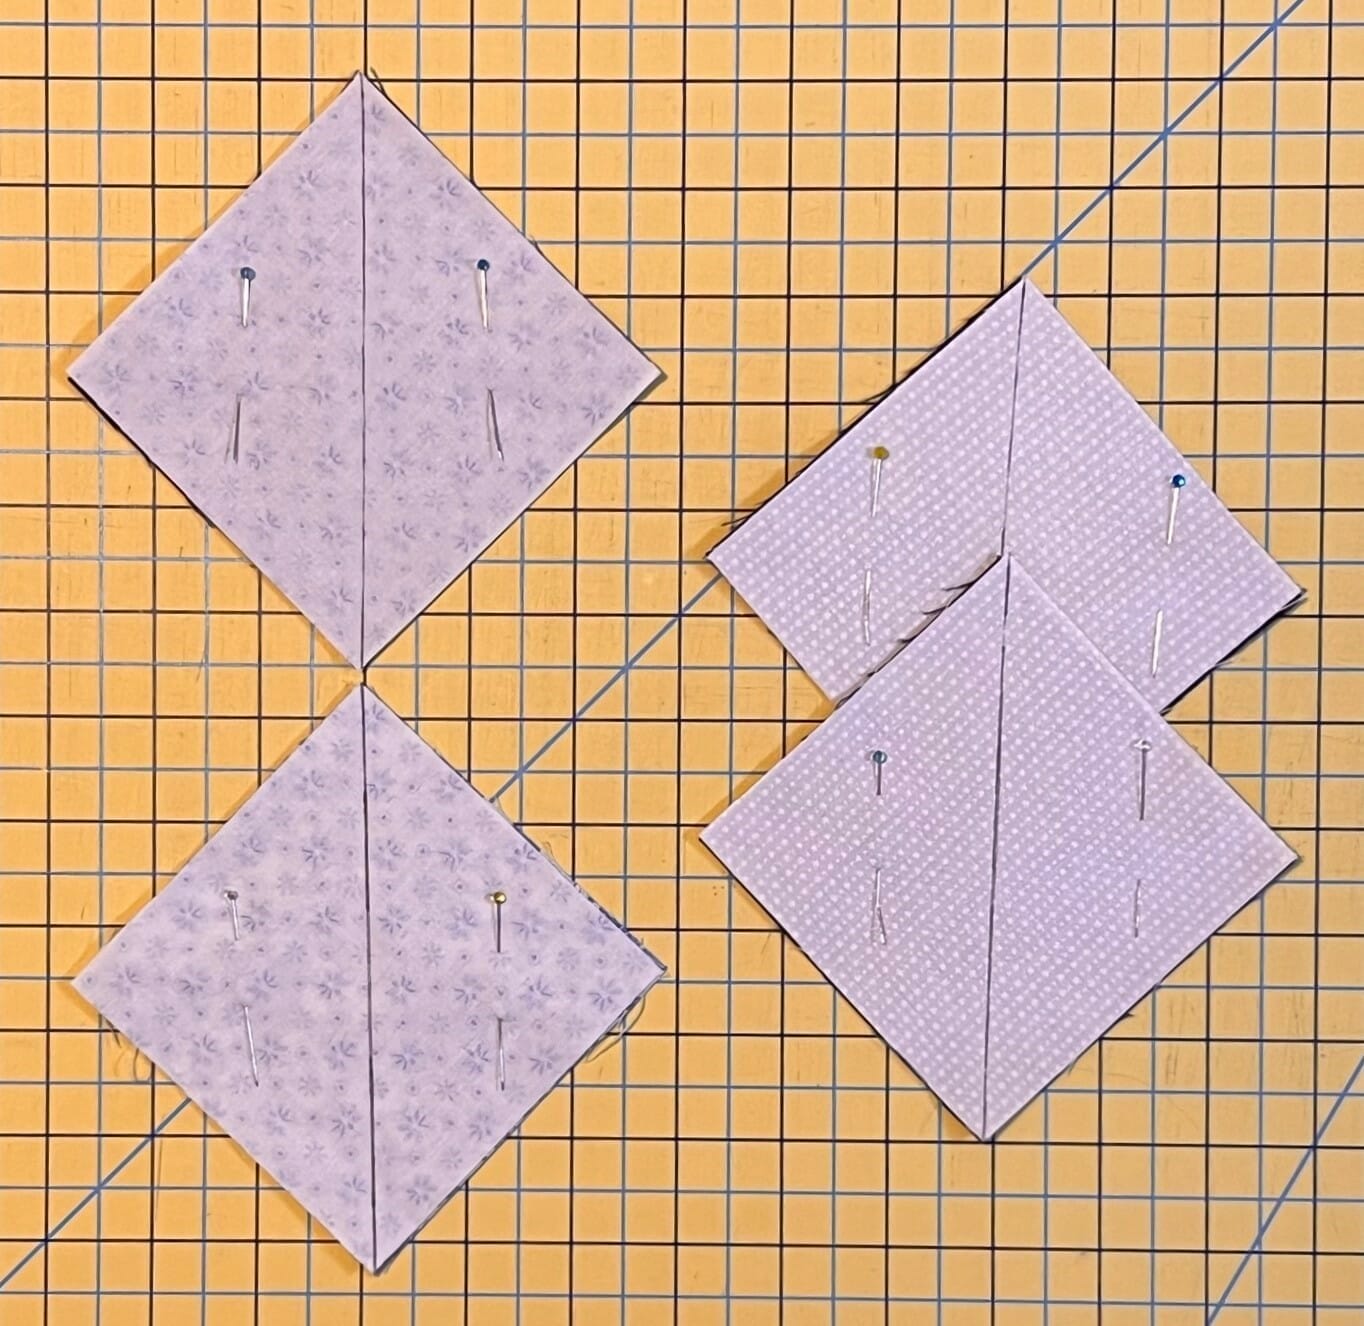
The first three steps are pretty straightforward, since we’re just making a bunch of half square triangles. Remember, you can always cut these a bit bigger to start, and then trim down after you’ve sewn them.
I sewed these all at the same time, and tried not to get confused about which fabric should be paired up with which. Looking at the actual fabrics in the diagram on page 29 helps.

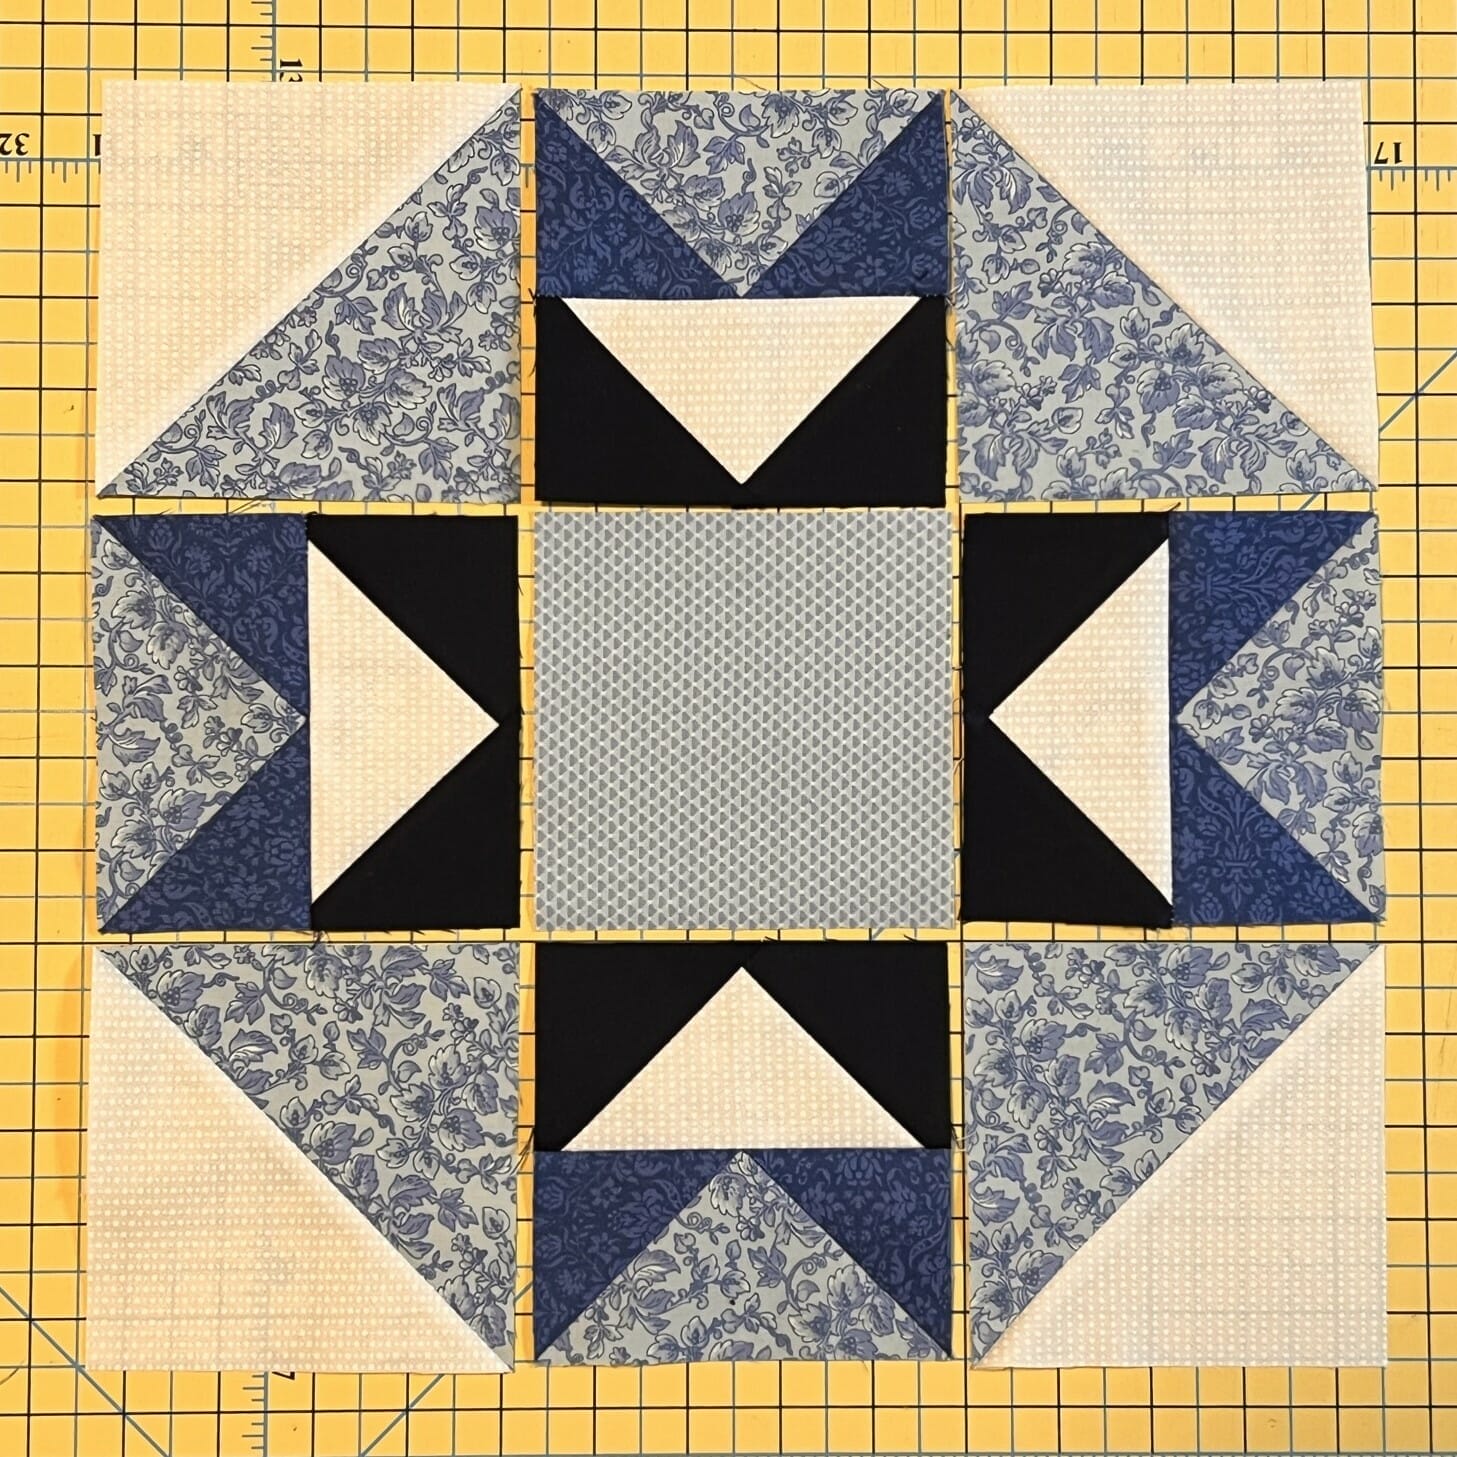
Once those were finished and trimmed I paired up a G/E and a D/F unit and sewed them together like so. Make sure these are oriented correctly! Then I attached an A rectangle to the left side just like you see here:
Next, I paired up another G/E and D/F unit, only this time they are oriented differently, and sewn side to side like the photo shows below. When those were done, I sewed the remaining A rectangle to the bottom of the unit.
Each of these units should measure 6-1/2” square.
Now it’s time to take the remaining two D/F units, along with one E/F unit, and a C square, and sew them together 4-patch style. You’ll have an extra E/F square that isn’t used.
In step 7, I attach two H triangles to the I square like it shows in the diagram. Line up the H triangle with the top of the I square. After sewing the first triangle to the left side of I, you’ll want to trim the little triangle tail off before attaching the remaining H triangle.

Once that’s done, sew a B triangle to the bottom, and trim to 6-1/2” square.
If all has gone according to plan, when you lay out the four units, it should look like a basket. As you sew these units together, the seams should nest nicely, with the exception of the seams that abut the unit from step 8.
When testing this block way back when, I tried ironing the H triangles inward for step 7 in order to have ALL the seams next together, but it was just too bulky for my liking, so I went with seams not matching up at those spots in the end. I decided it was the lesser of two evils. You can also press any and all seams open if you prefer.
I hope you’ve enjoyed making our three blocks for the month, and that they didn’t give you too much trouble. I’d be curious to know in the comments, or on the Facebook group if any of you agree with me about the basket block being tricky. Now that it’s done, I love it!
Next month we’ll be making another four to add to our collection. We’re over half way there!
Happy Quilting! – Kristin

