


 Tutorials
 6.5.2023
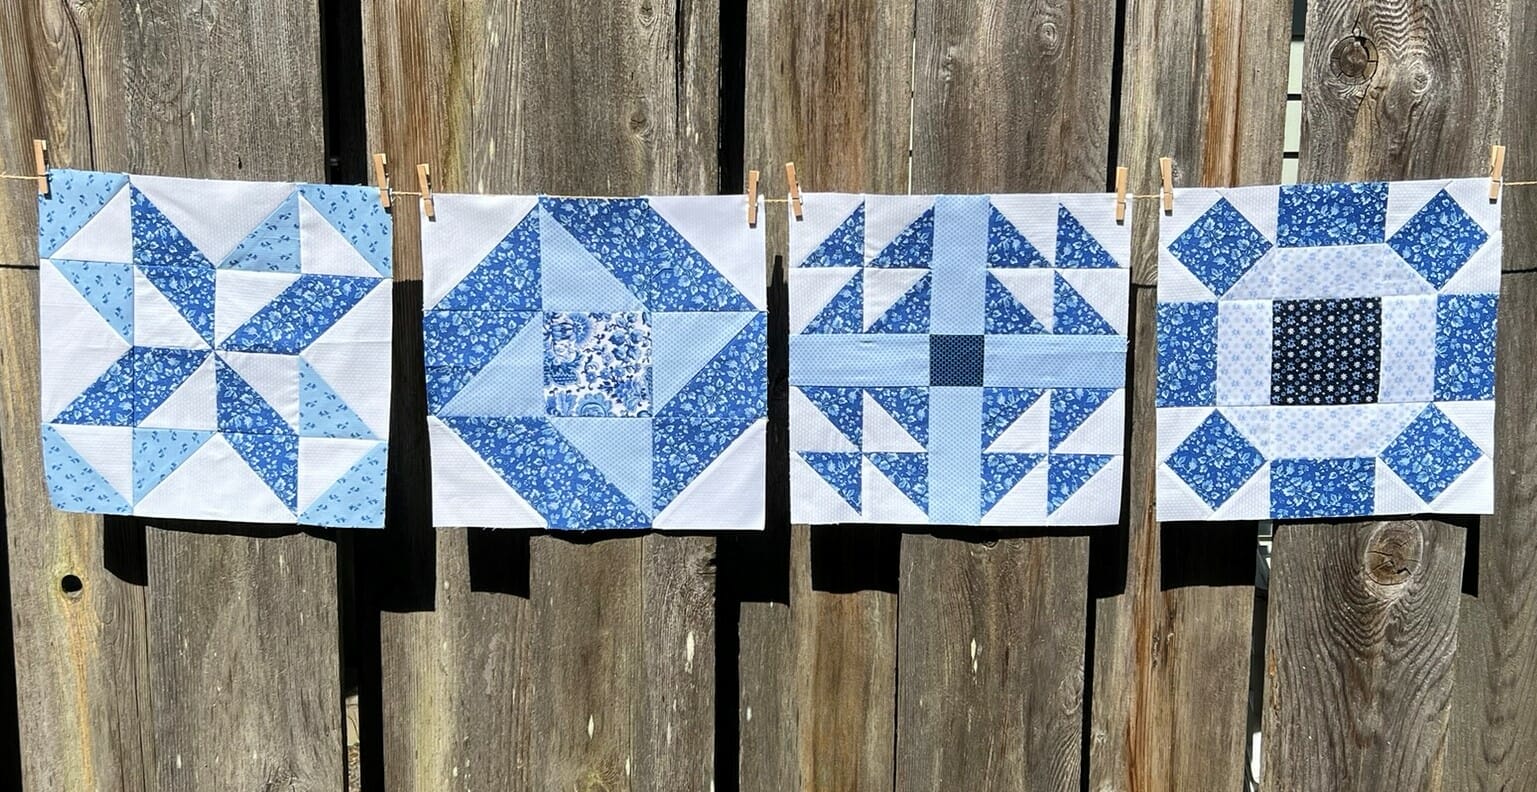
NOTE: these blog posts for the Amherst quilt top are part of a limited series for our Block of the Month subscription program. Sign-ups for the Amherst BOM are no longer available. You can learn more about our upcoming Block of the Month subscriptions here.
Hello Friends! Welcome to month 2 of our little block of the month project. This month we’ll be making another four blocks, and I hope you’ll love them as much as I do. Let’s dive in!
Block #1
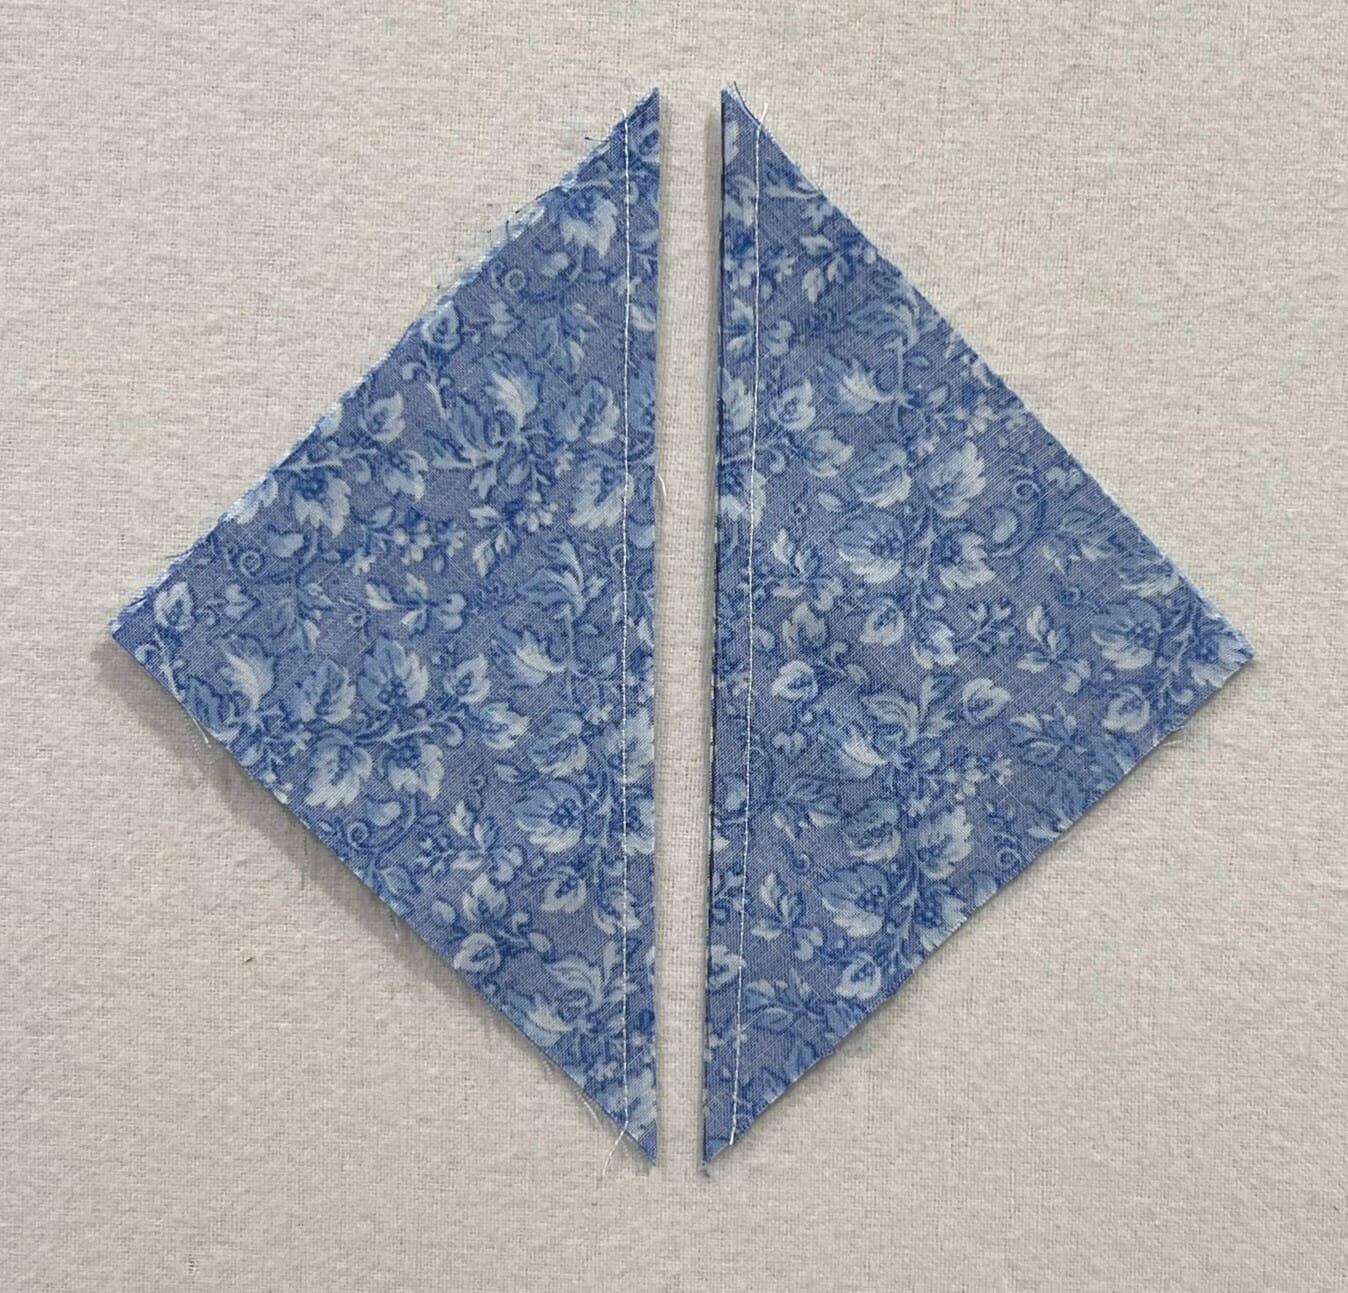
This block begins by making four HSTs that will get turned into a pinwheel unit. Remember, you can always cut your A and C squares a tad larger so that you have room to trim them to size after they are sewn together.

When making the pinwheel is it VERY important to make sure you have it oriented EXACTLY like you see it in the diagram, otherwise you will lose the block later on. Here is the pinwheel unit laid out. We want to make sure that when the block is finished that our C and D pieces will line up.
After the pinwheel is finished, it’s time to make four flying geese. Again, placement is important! Also remember that you can stitch just a hair outside your marked line, on the side closest to the corner.
Begin by sewing the F squares to the LEFT side of each B rectangle, like so:
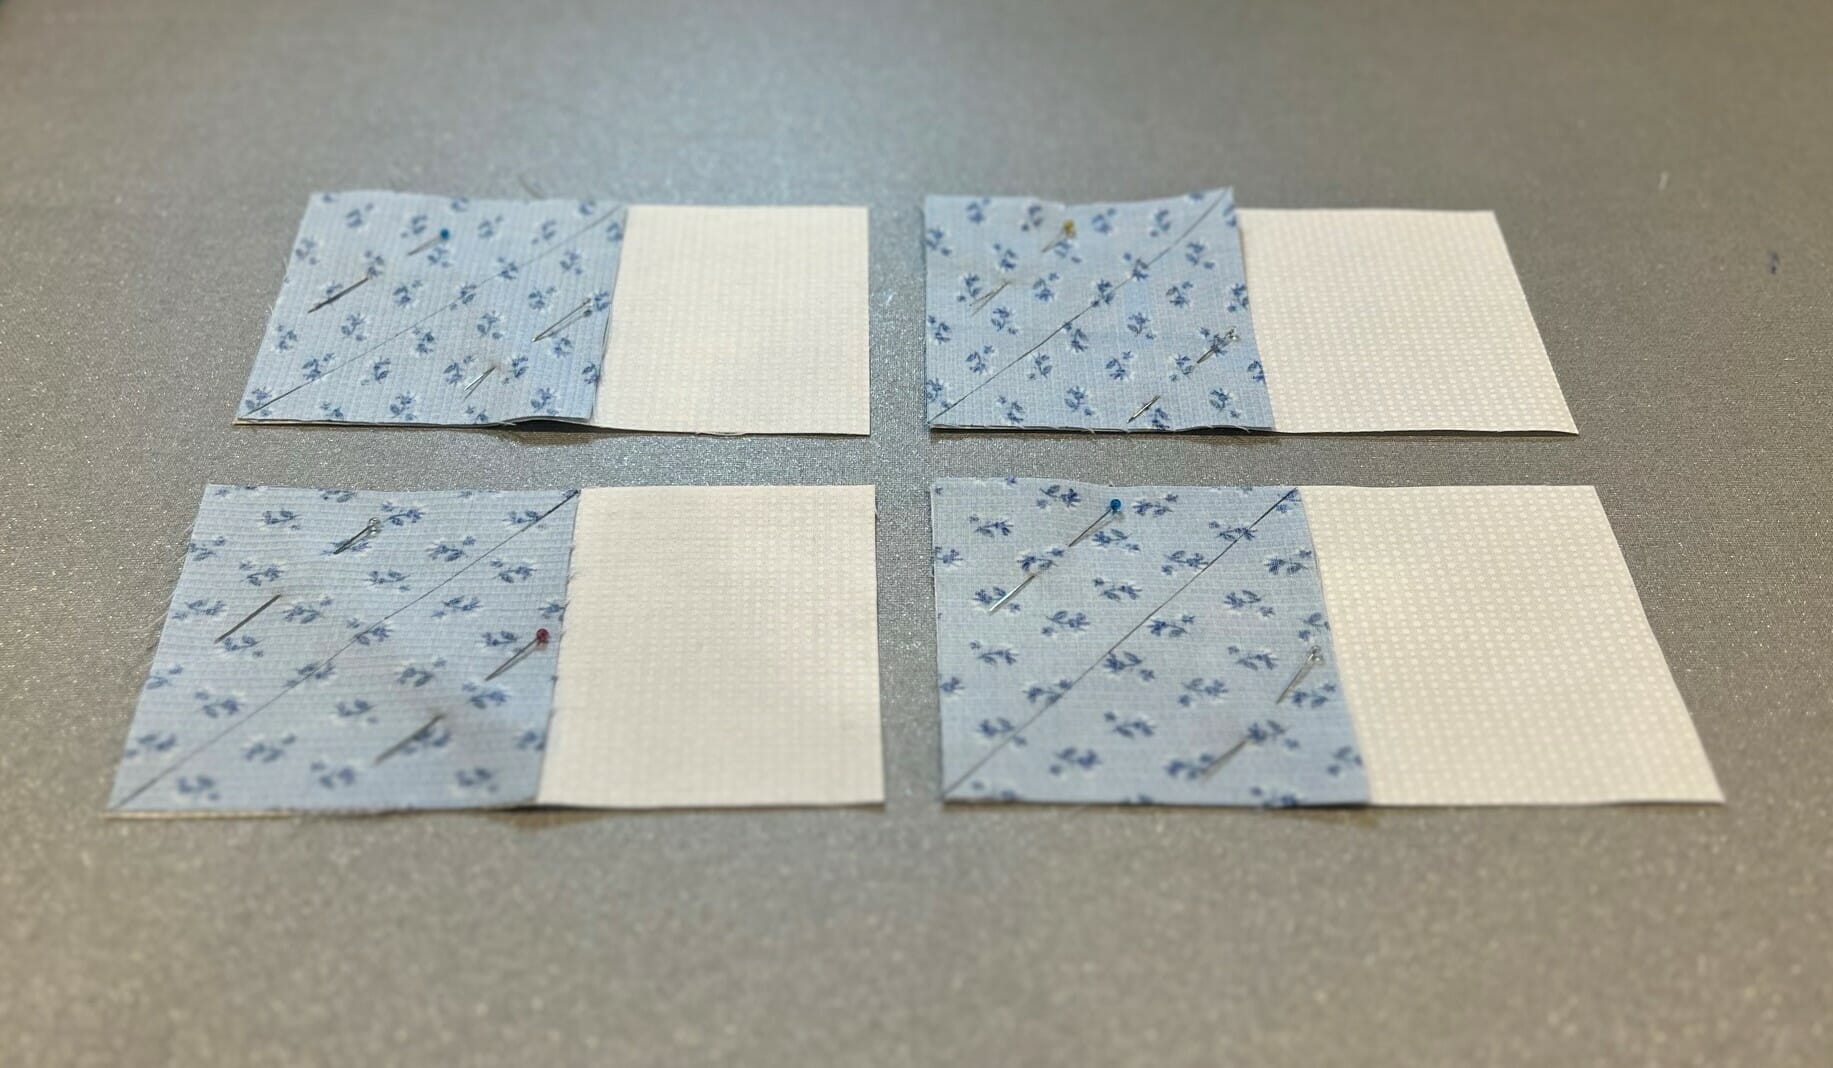
Then sew the D squares to the RIGHT SIDE, like this:
Once these are done, you can trim them to be 3-1/2” x 6-1/2”.
Next it’s time to make four more HSTs.
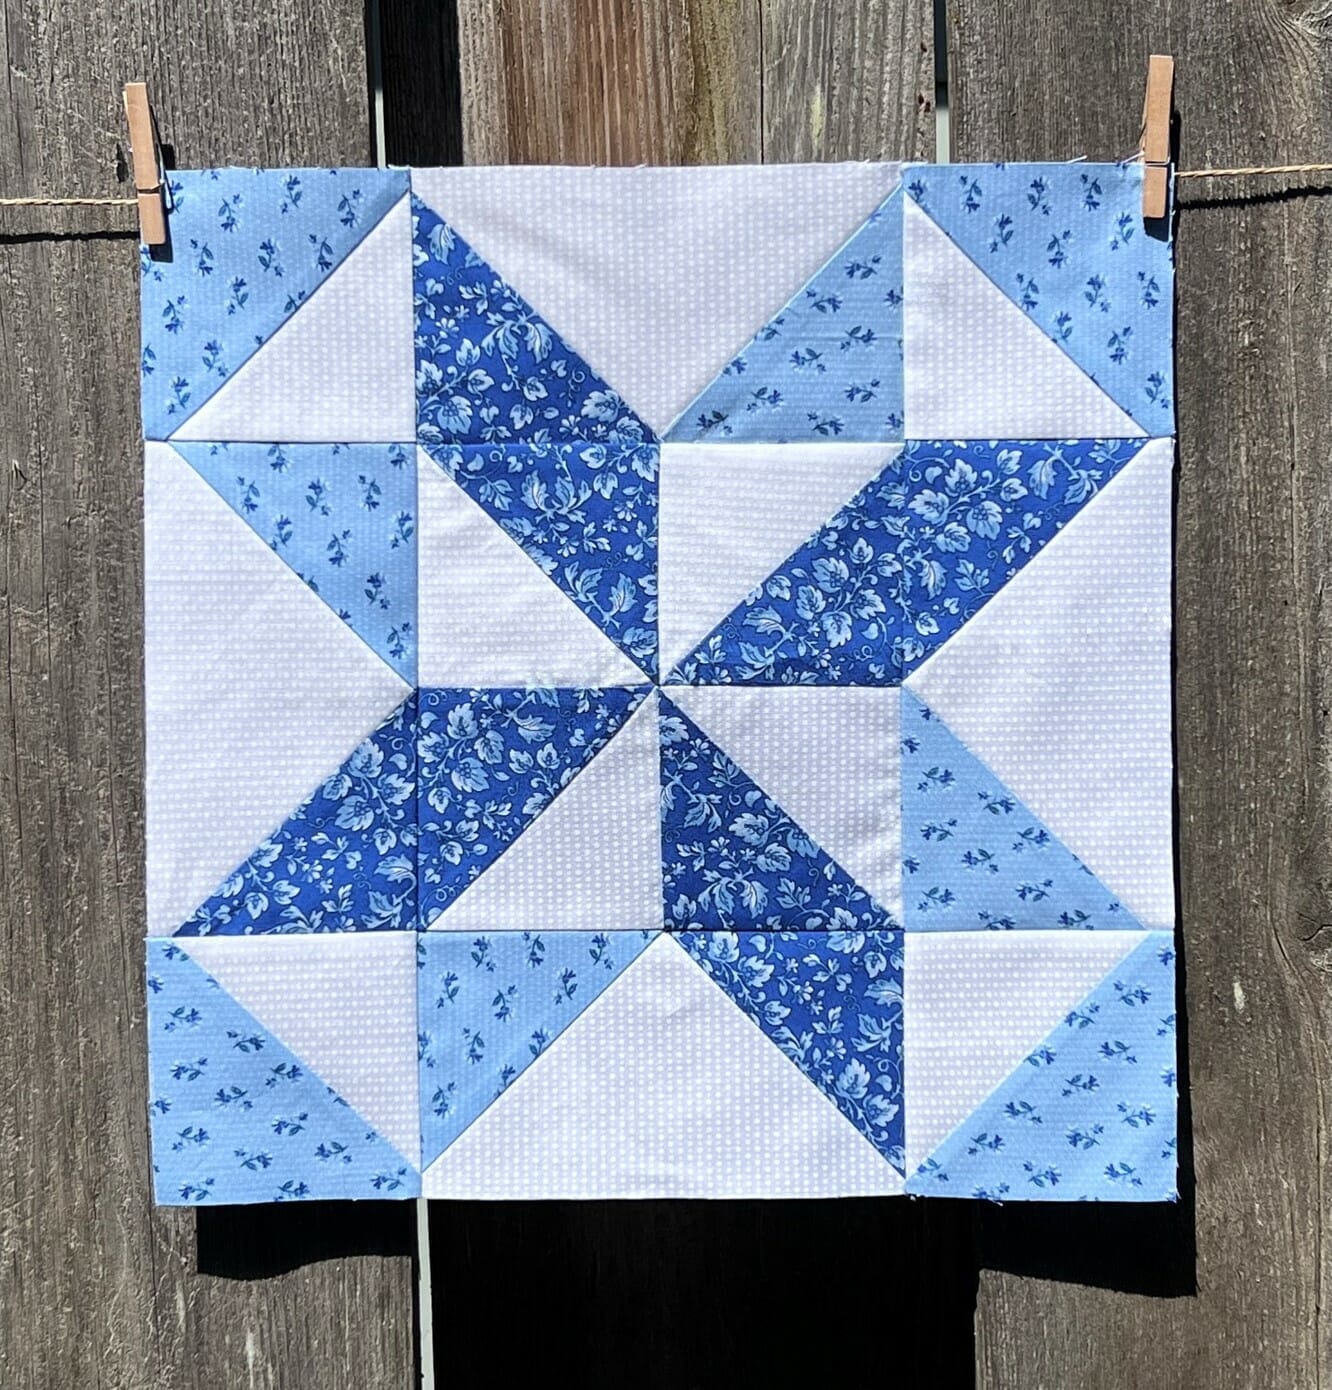
Now the block is ready to be assembled. If all has gone well, the C and D fabrics should line up to make a larger pointed pinwheel in the center. Refer to the diagram to make sure everything is in its proper place.
Block #13
This block is just a friendship star block, and it comes together pretty quickly. All you’ll need to do is make some Half Square Triangles, and then orient them correctly to form the star design in the block.
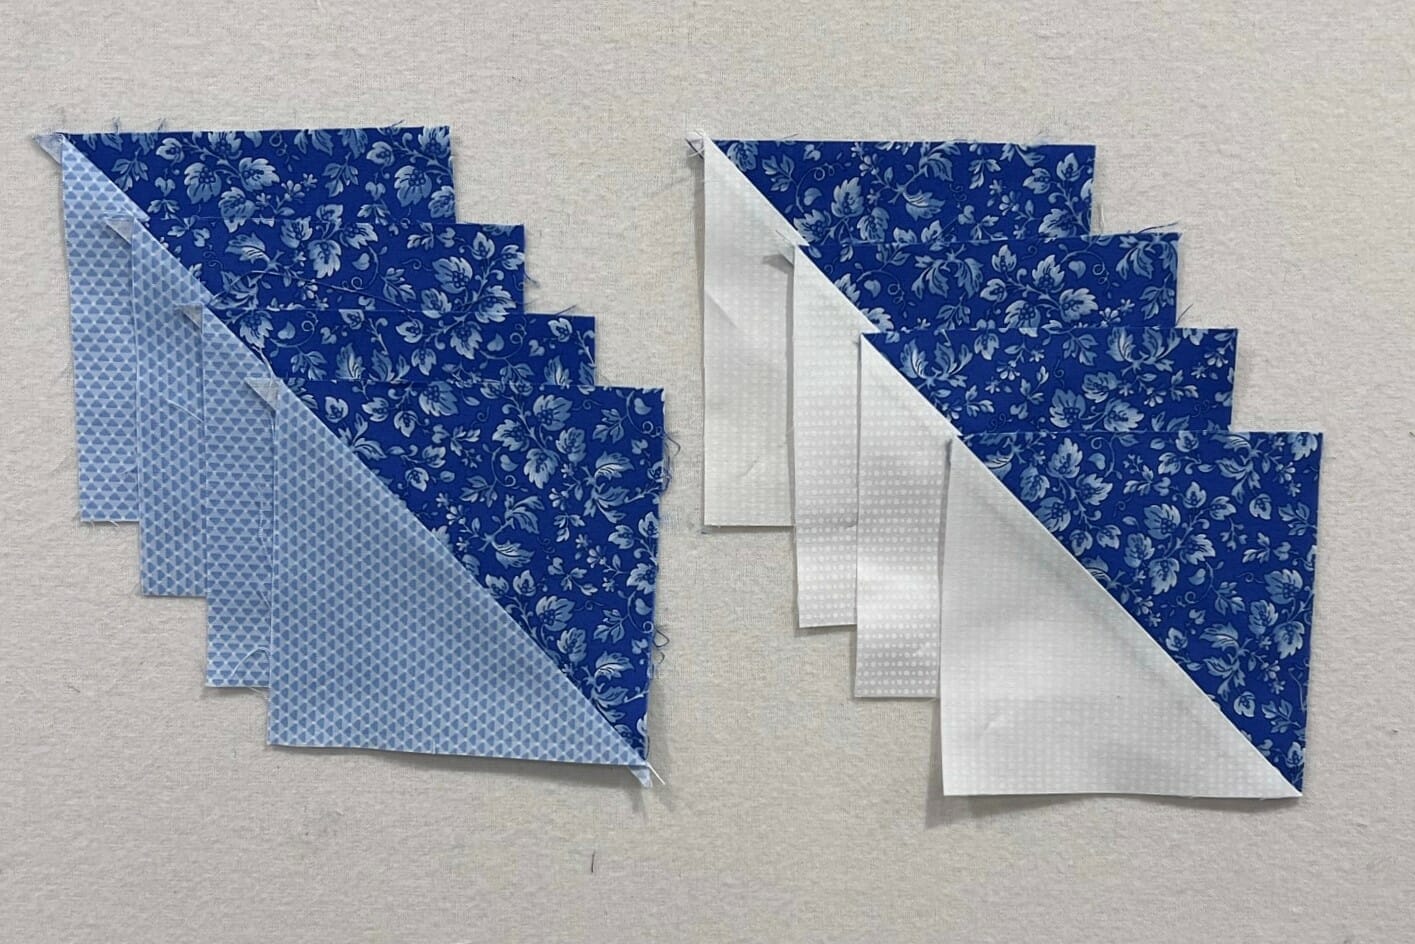
I have the steps broken down in the pattern, but I still laid out everything like you see below, before I began sewing steps 3 and 4. Just follow the diagrams and you’ll be set.
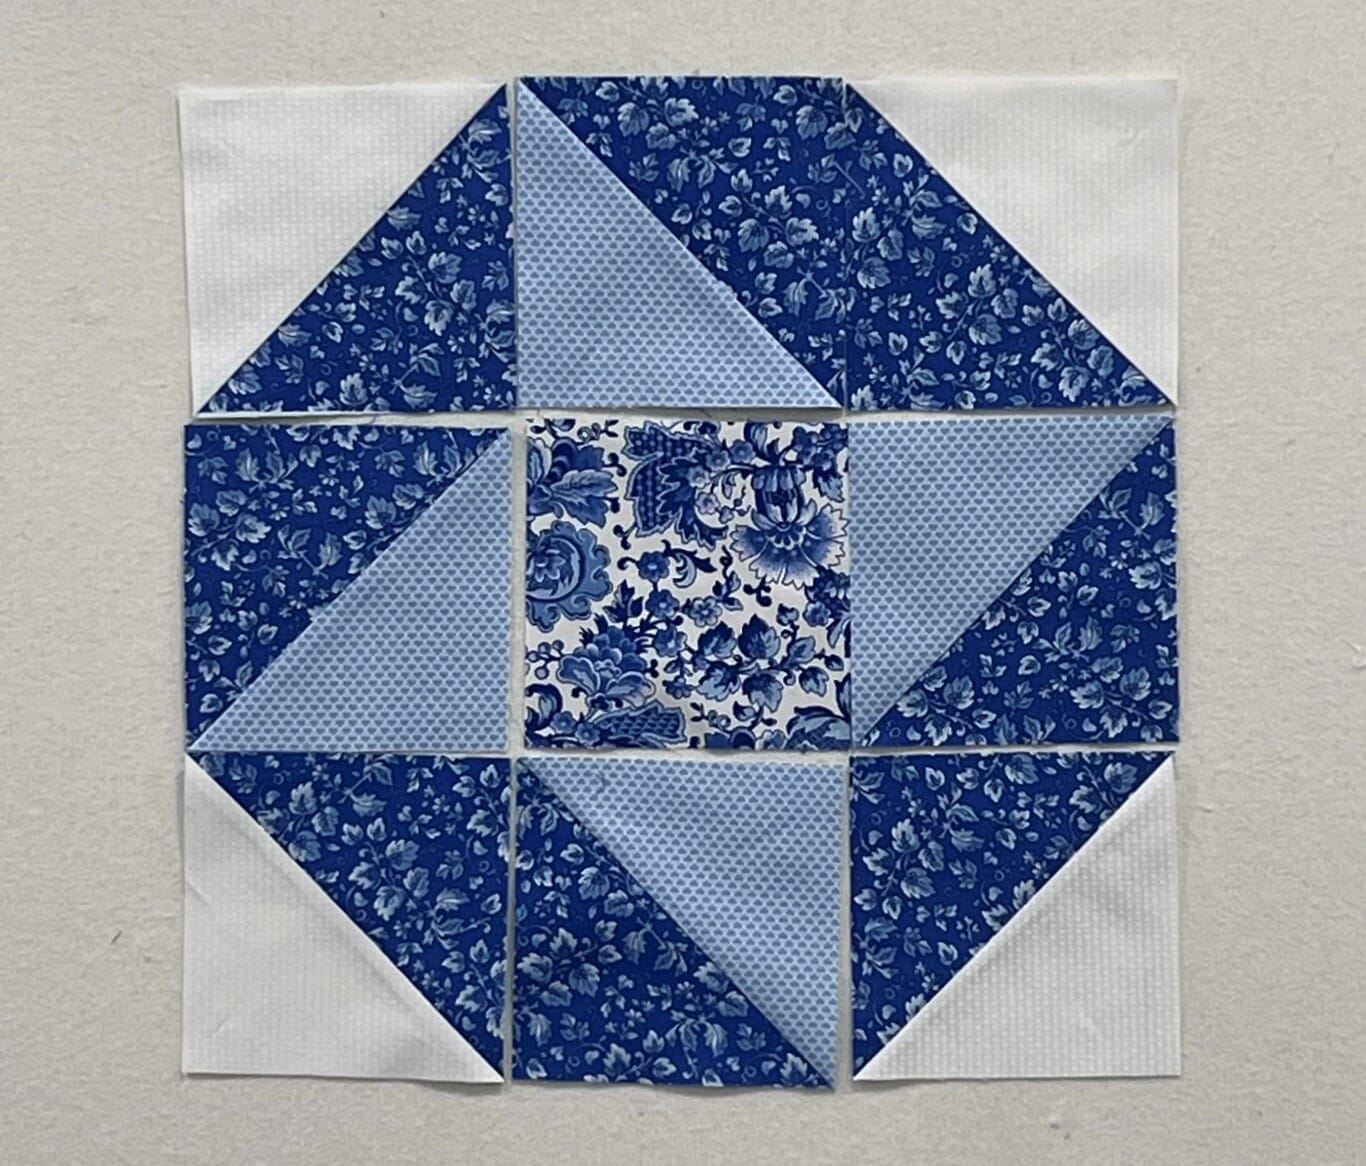
See? I told you this one was easy peasy!
Block #26

Well, this seems to be the month for Half Square triangles doesn’t it? Because here we go again! And this block has a whopping 16 of them! But at least they are all the same, so you can get them pieced assembly line style. I’ve already got these a bit oversized to begin, so there’s no need to make your A and B blocks bigger if you don’t want to.
Once those are done, you’ll sew them into groups of four, just like it shows in the pattern. If the seams are getting too bulky, feel free to press them open. Or you can press to the sides if you prefer. I think mine ended up being a combo, like the arrows suggest in the pattern. Either way, it doesn’t matter, because the blocks will all be sewn to sashing strips in the end, so there aren’t any seams to match up later.
Now all you need to do is sew what is essentially some sashing strips in between the units from step 2, and the block will come together. I love this block because it looks fancy without being too difficult.
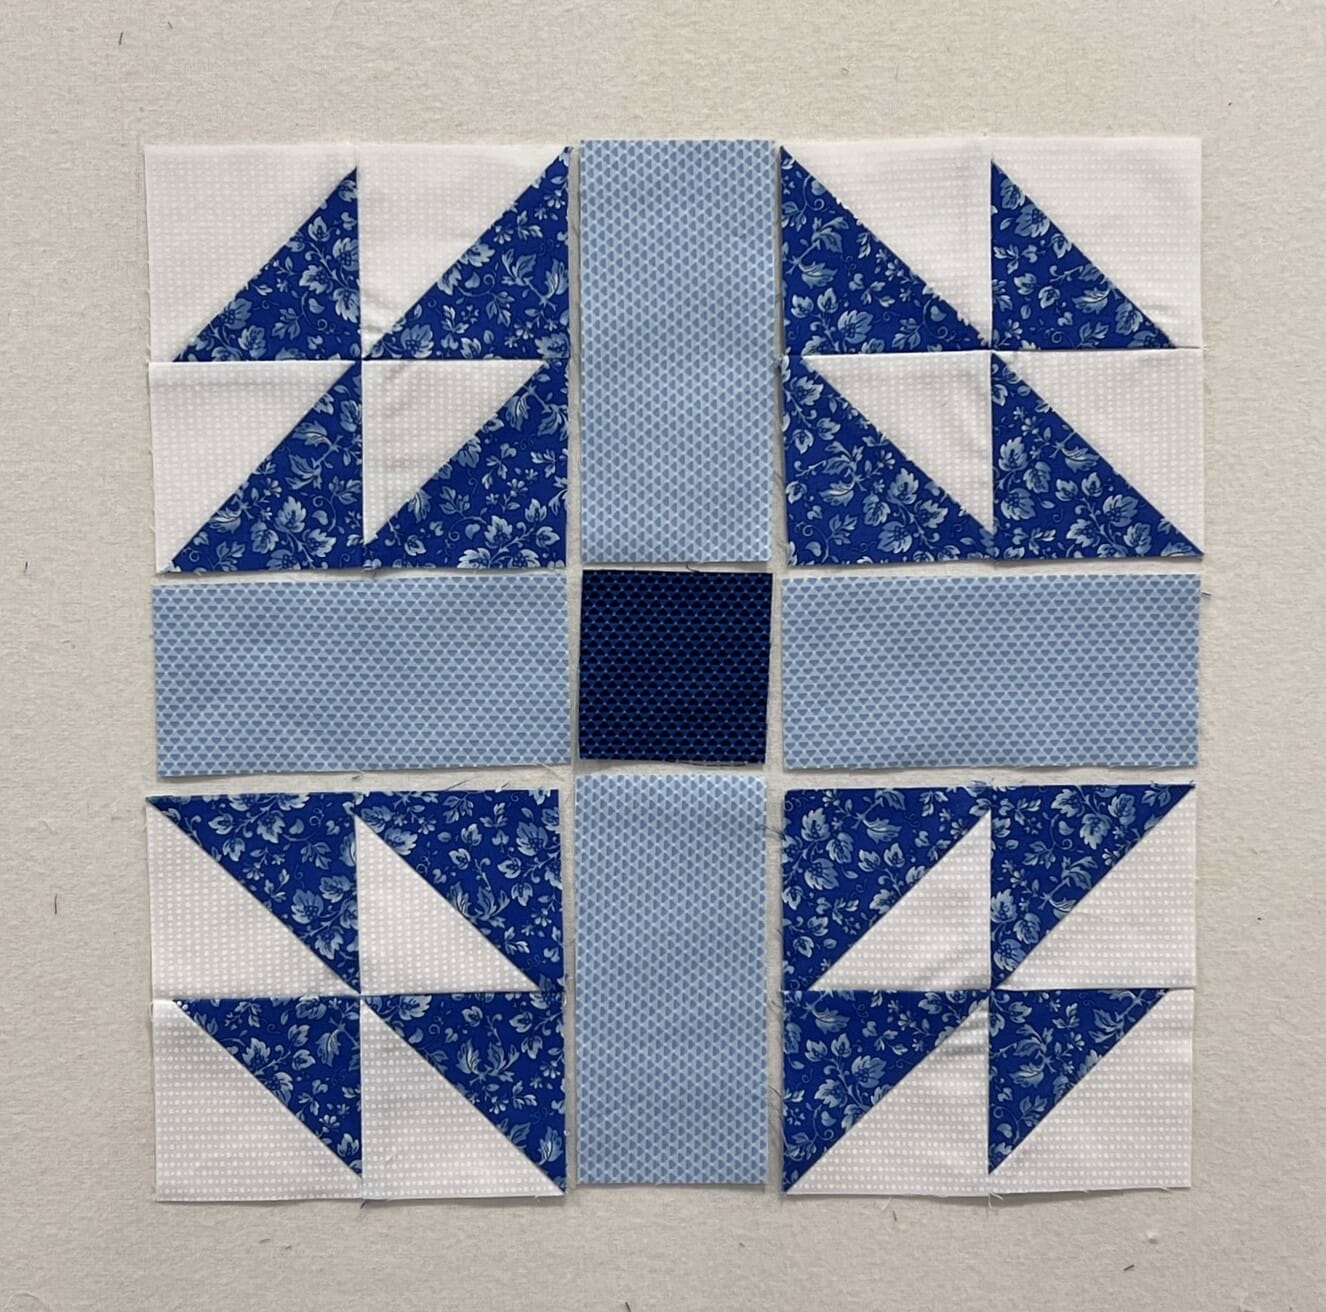
Block #28

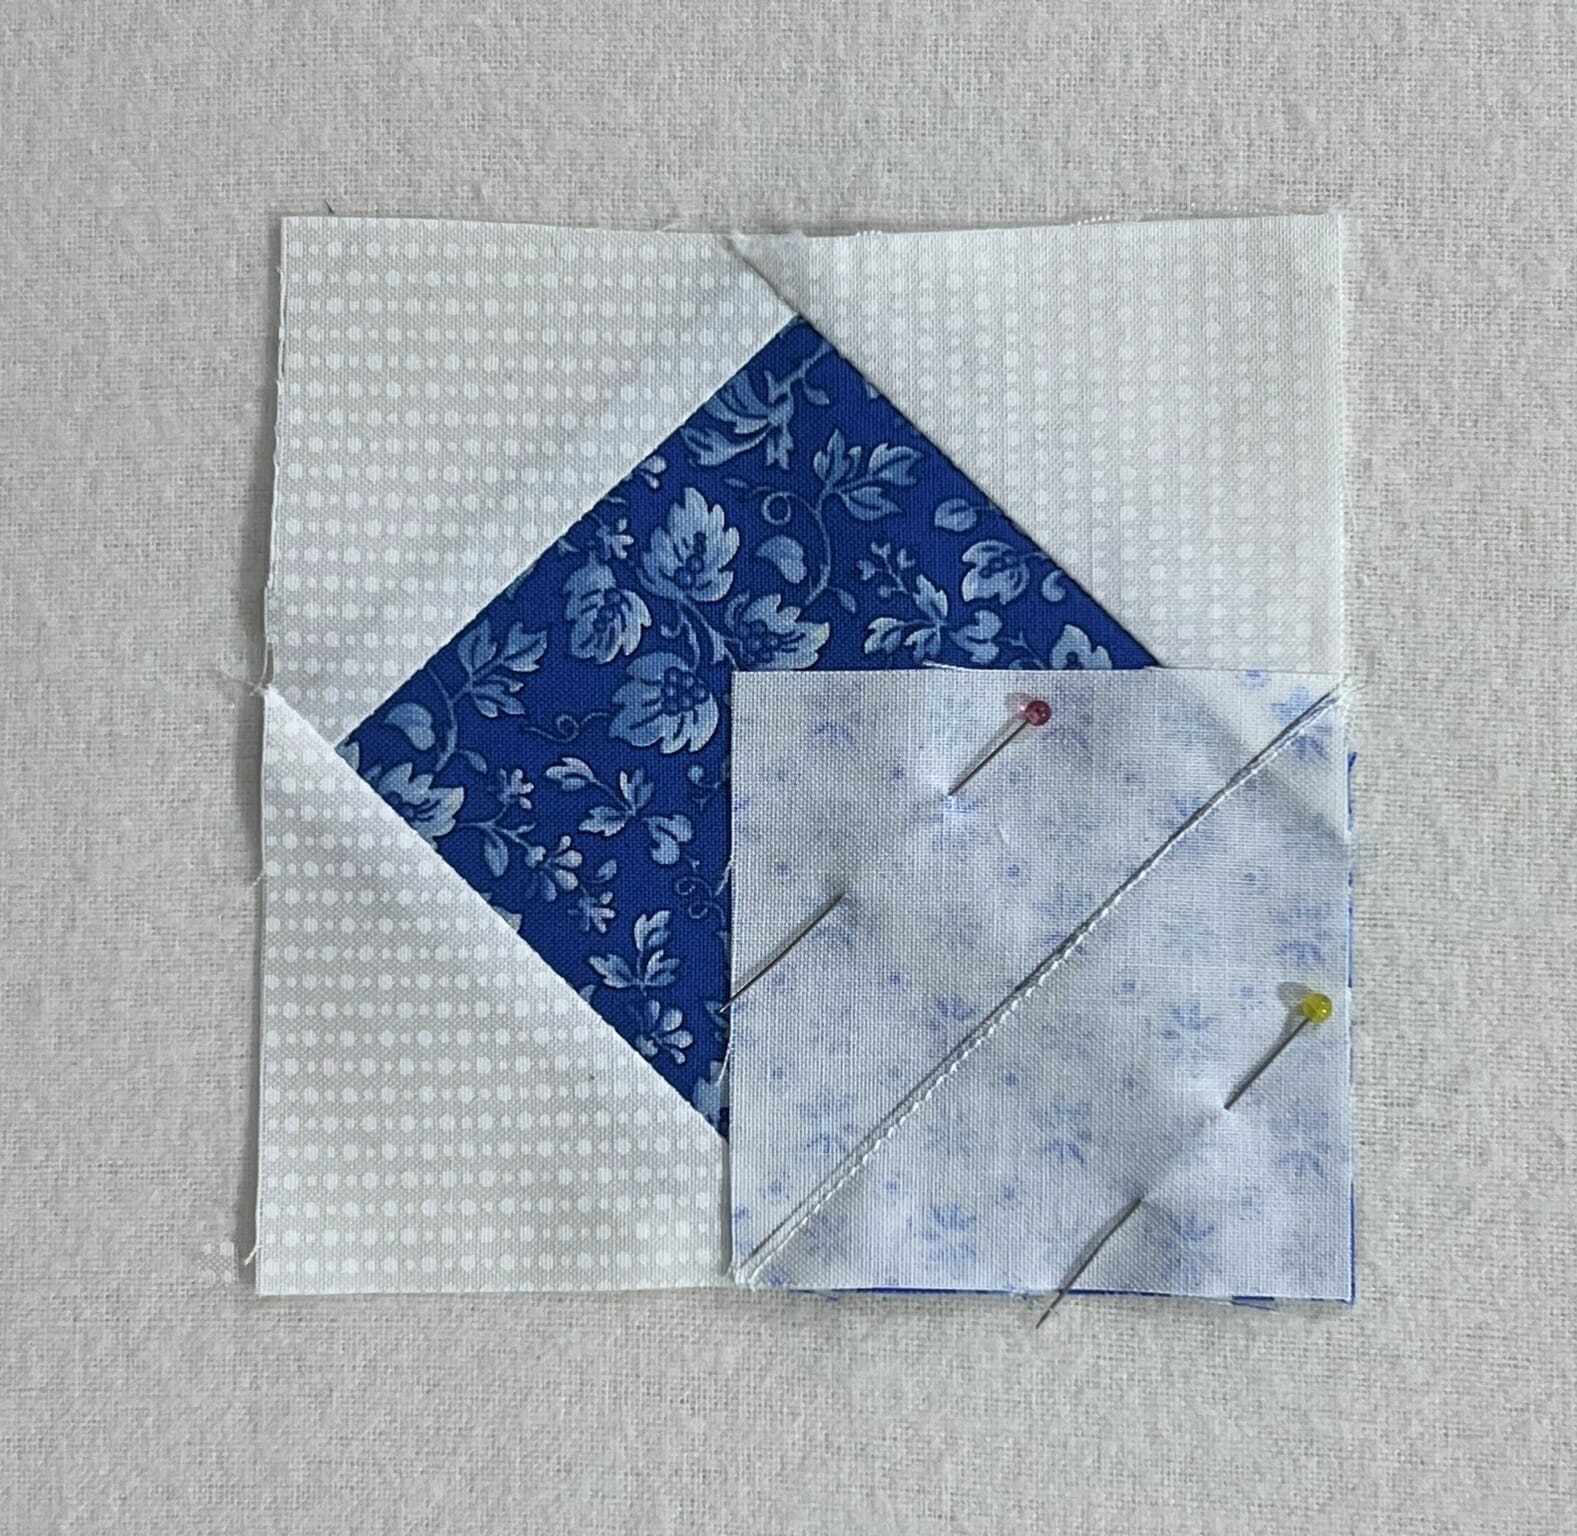
This is our last block for the month, and guess what? NO HSTs! Instead we’ll start by making a square-in-a-square block. There are a couple of ways to make these, but I find I have better luck when I use the stitch and flip method, so that’s the technique I put in my patterns. There’s a bit more fabric waste, but I think it’s worth it. It’s basically like making a flying geese square, if that makes any sense.
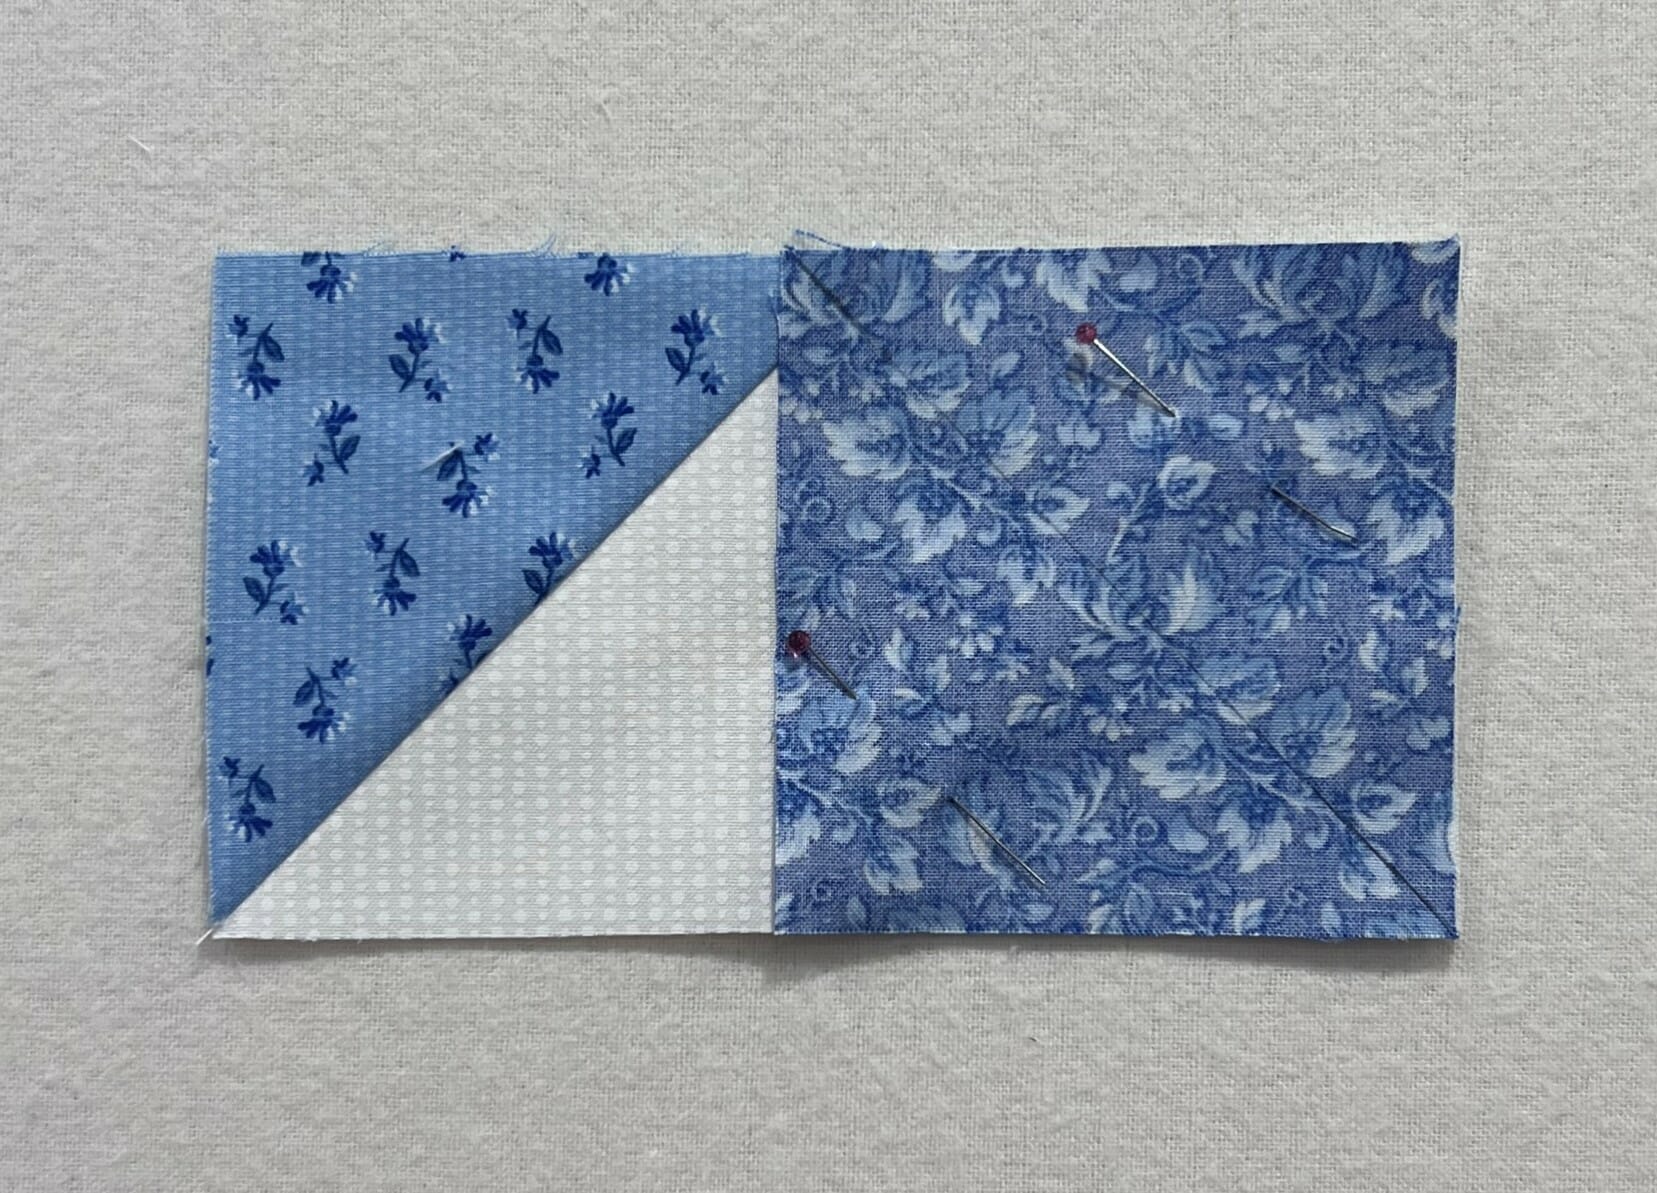
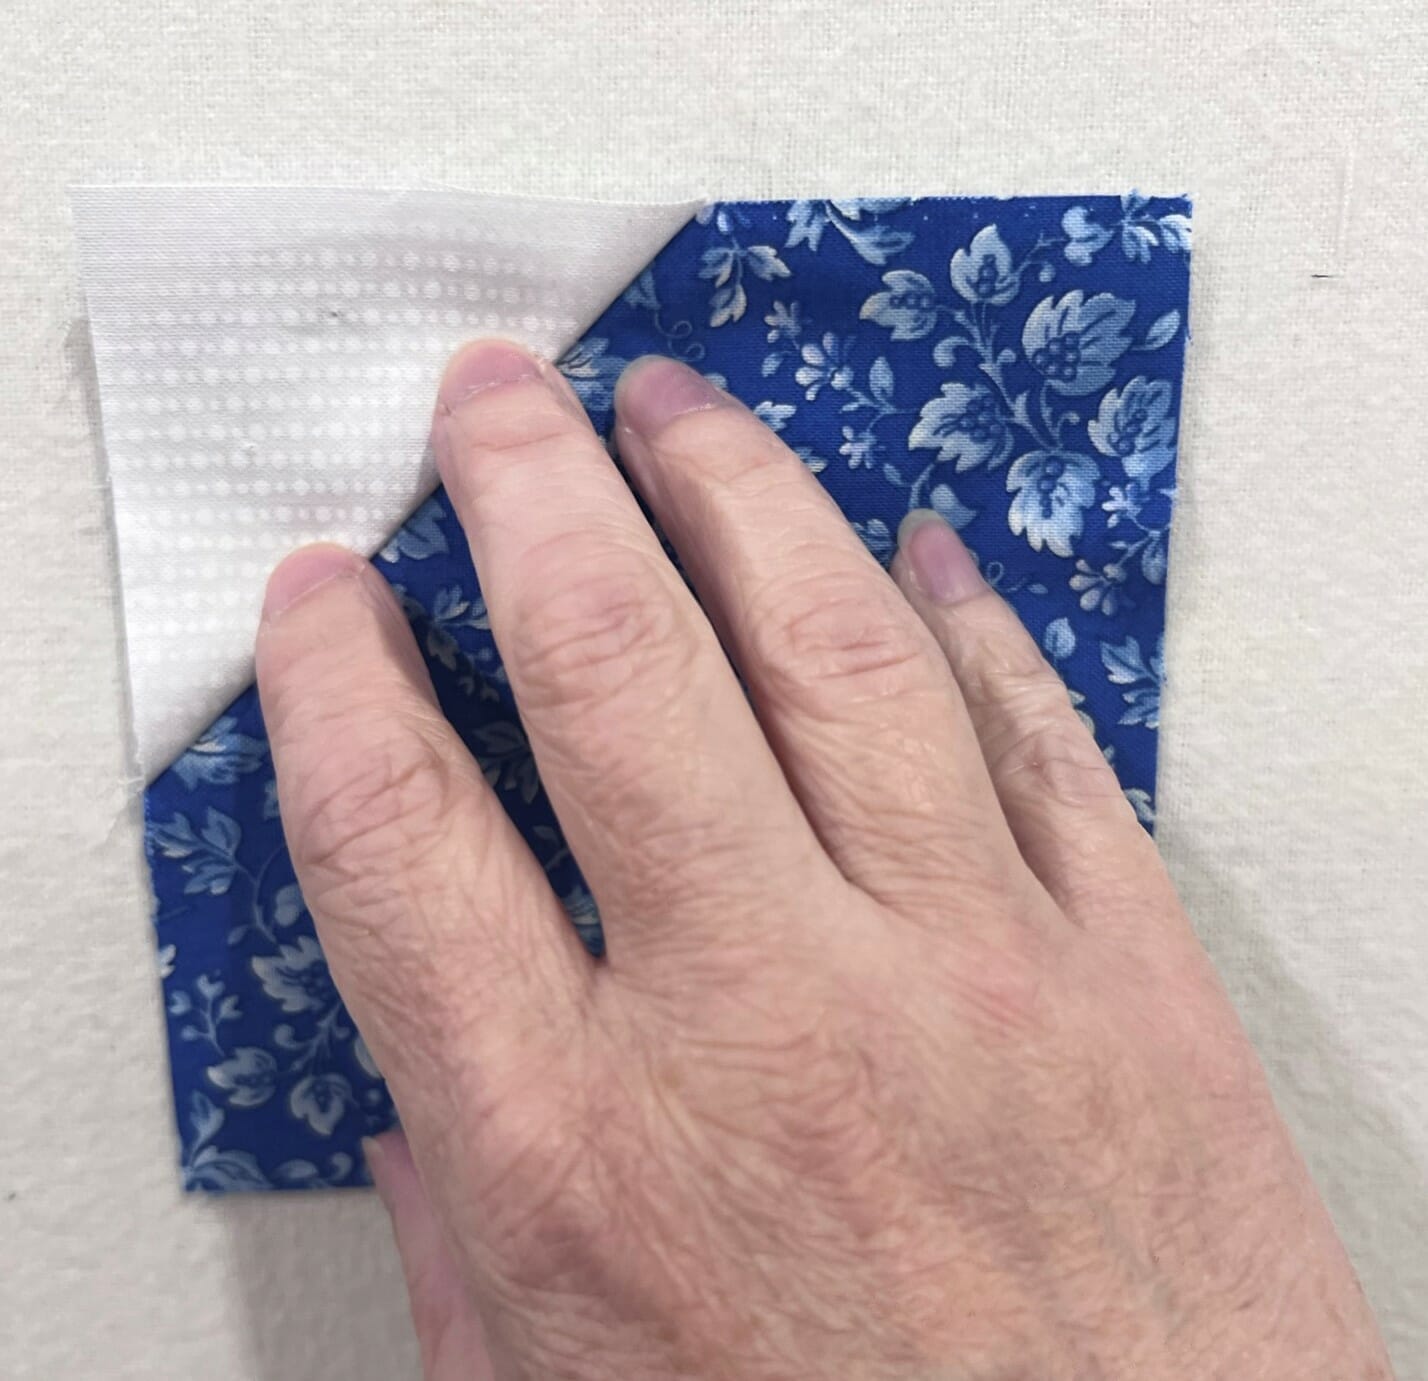
Each square-in-a-square unit has three white background fabric squares (F) and one Dainty White print (C) square attached to it, just like it says in the directions. I would still recommend stitching just outside the marked lines, closest to the outer corners, and then checking to make sure everything is still 4-1/2” square, allowing for a ¼” seam allowance at all four points when done.
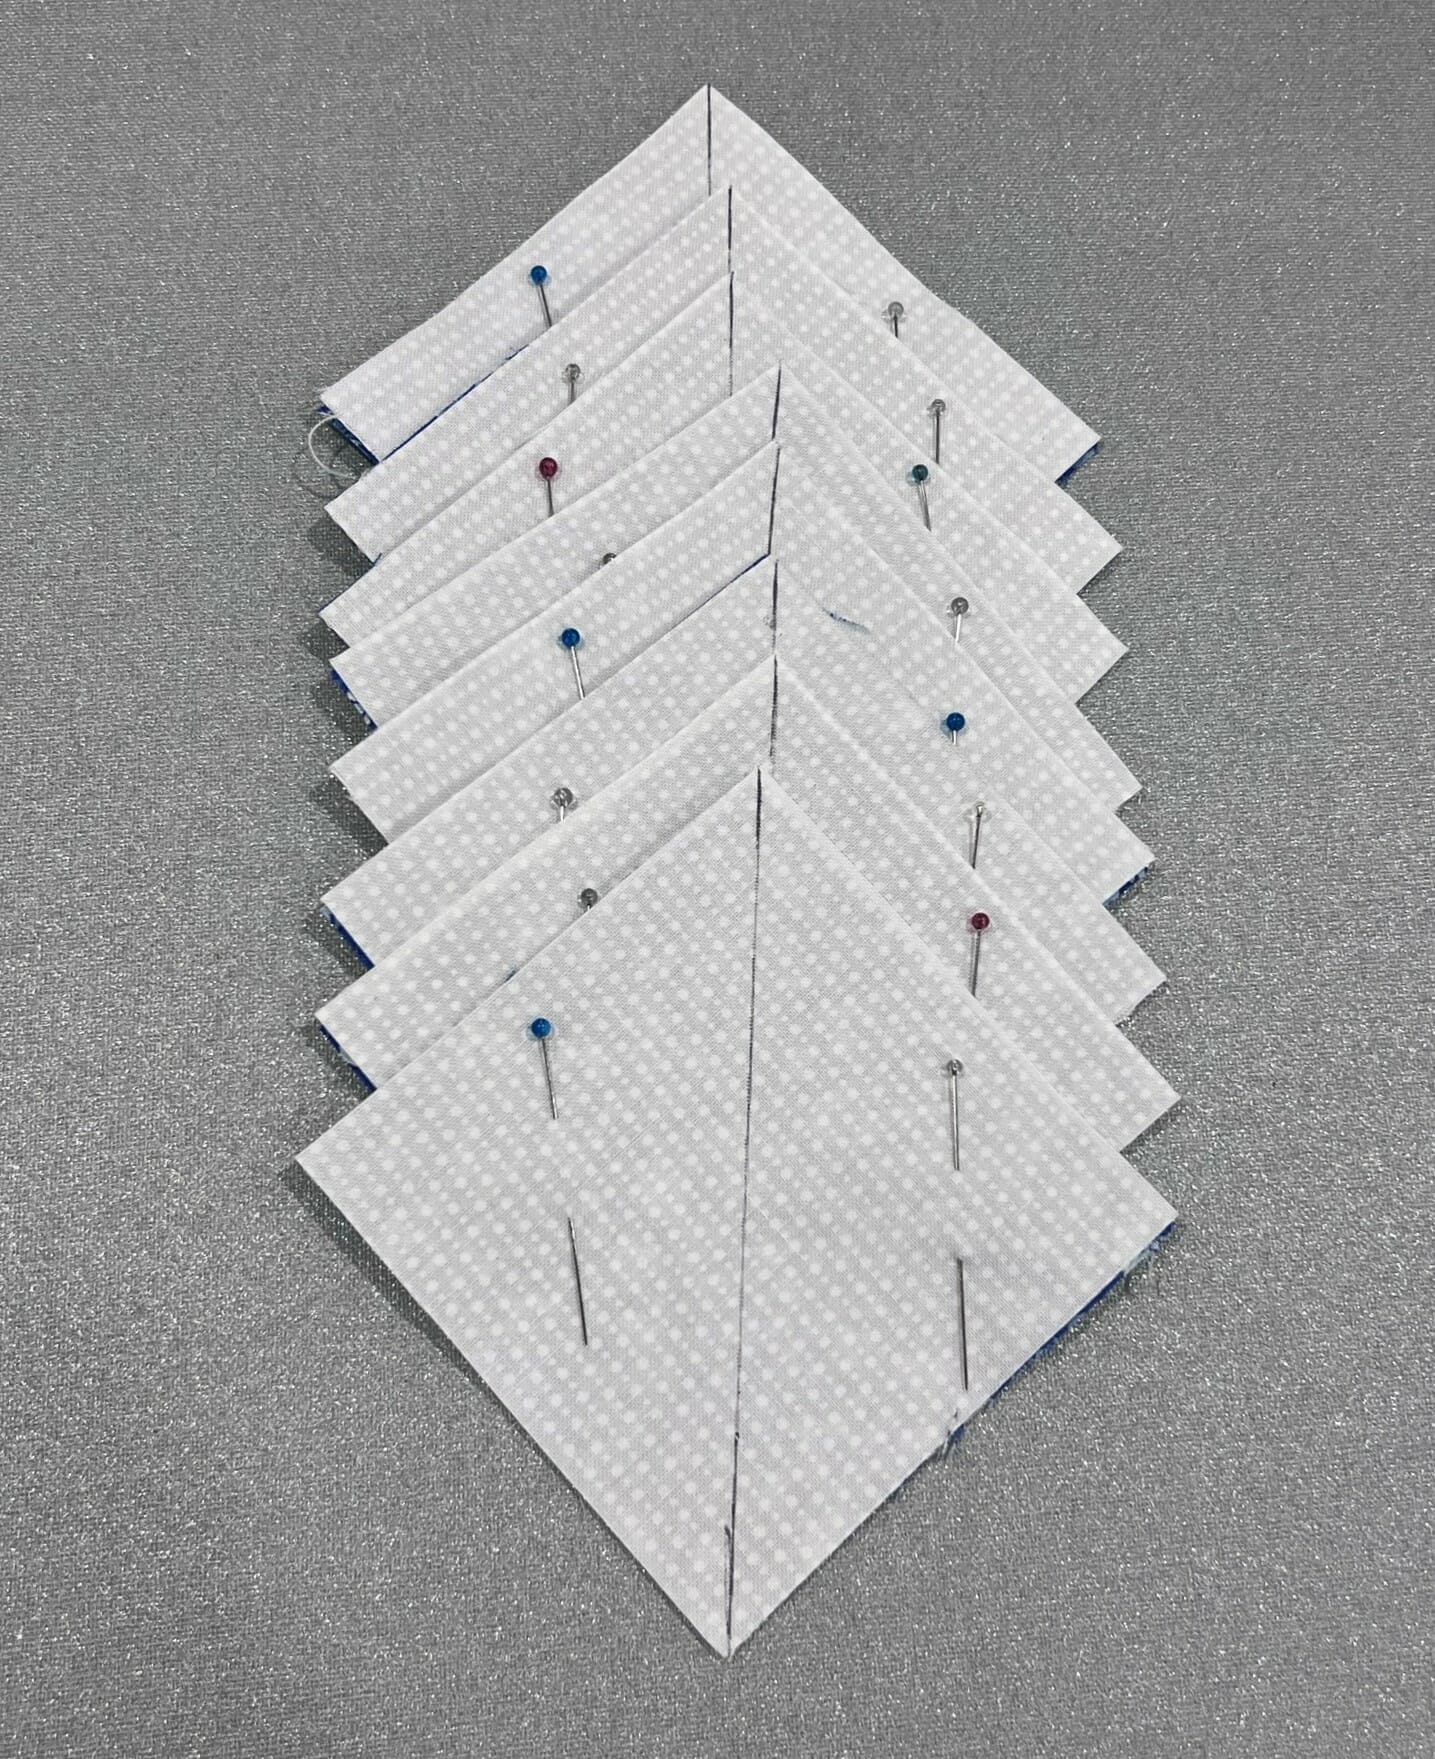
I like to flip up the corners to make sure they match before trimming and moving on the next square. Notice in the photo below that you can’t see the darker blue fabric peeking out from behind the white.
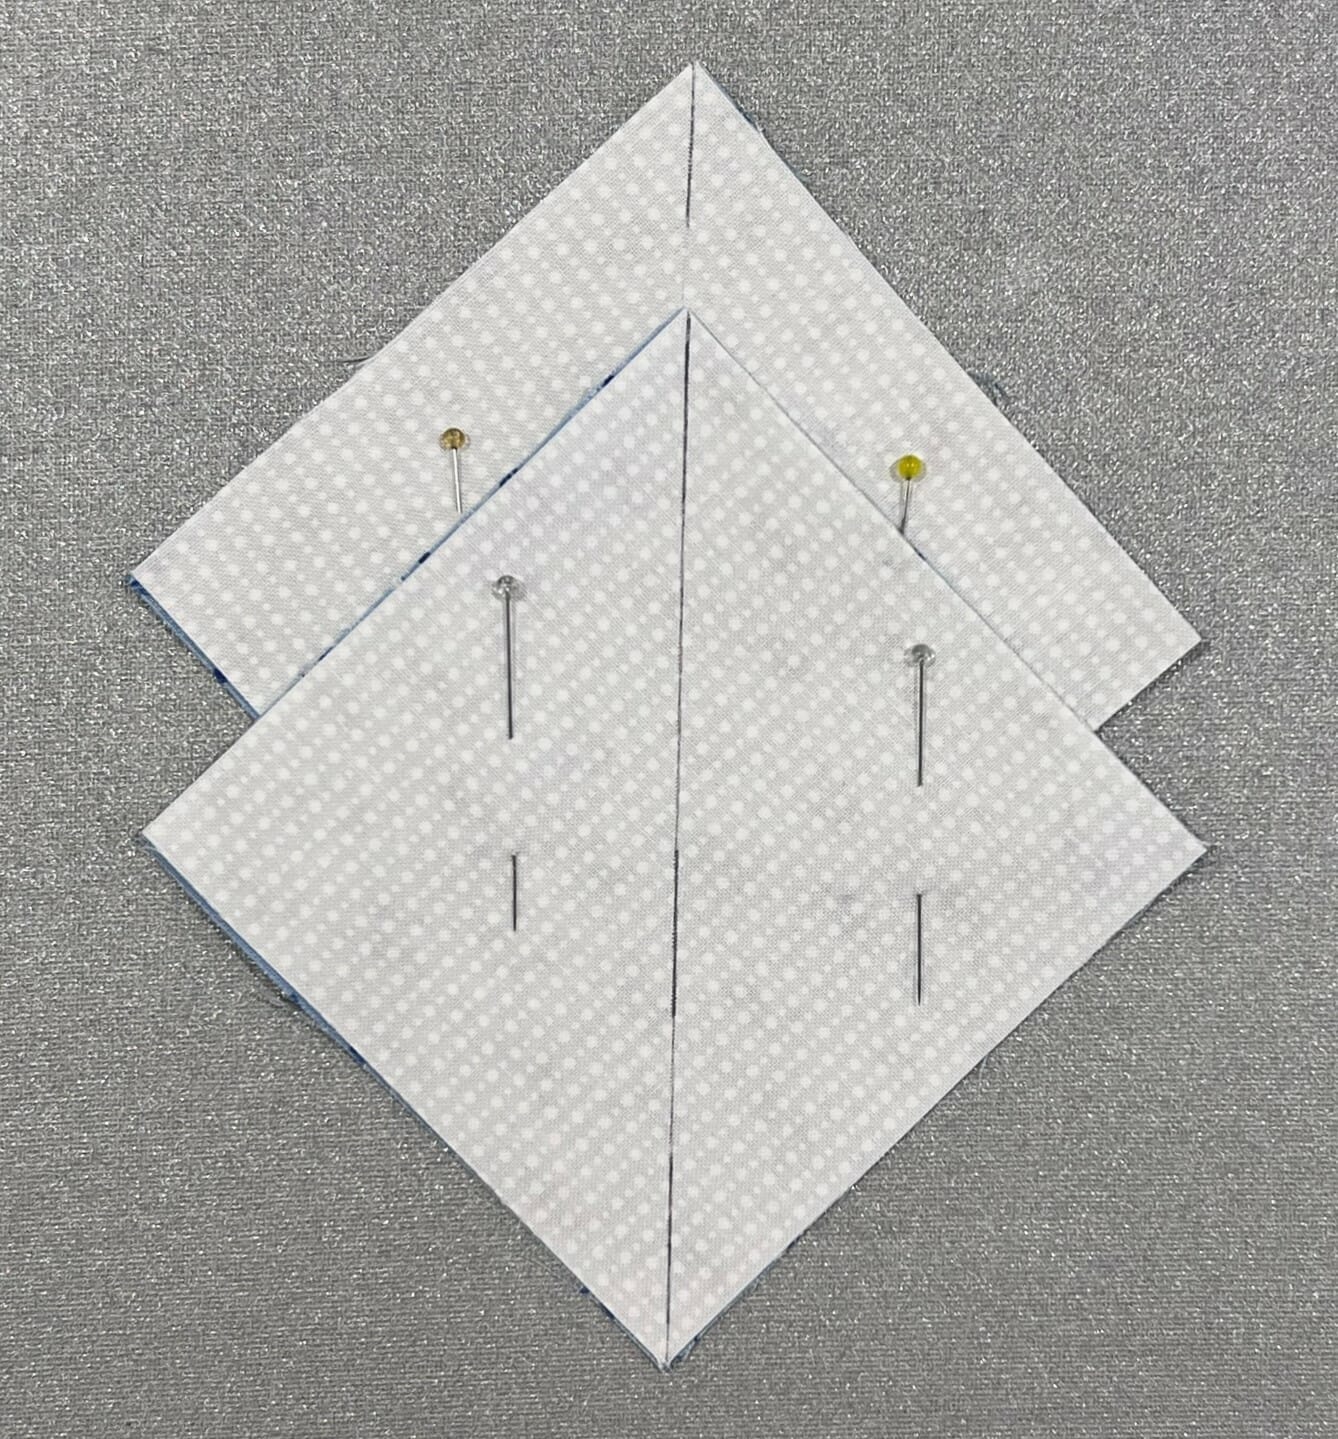
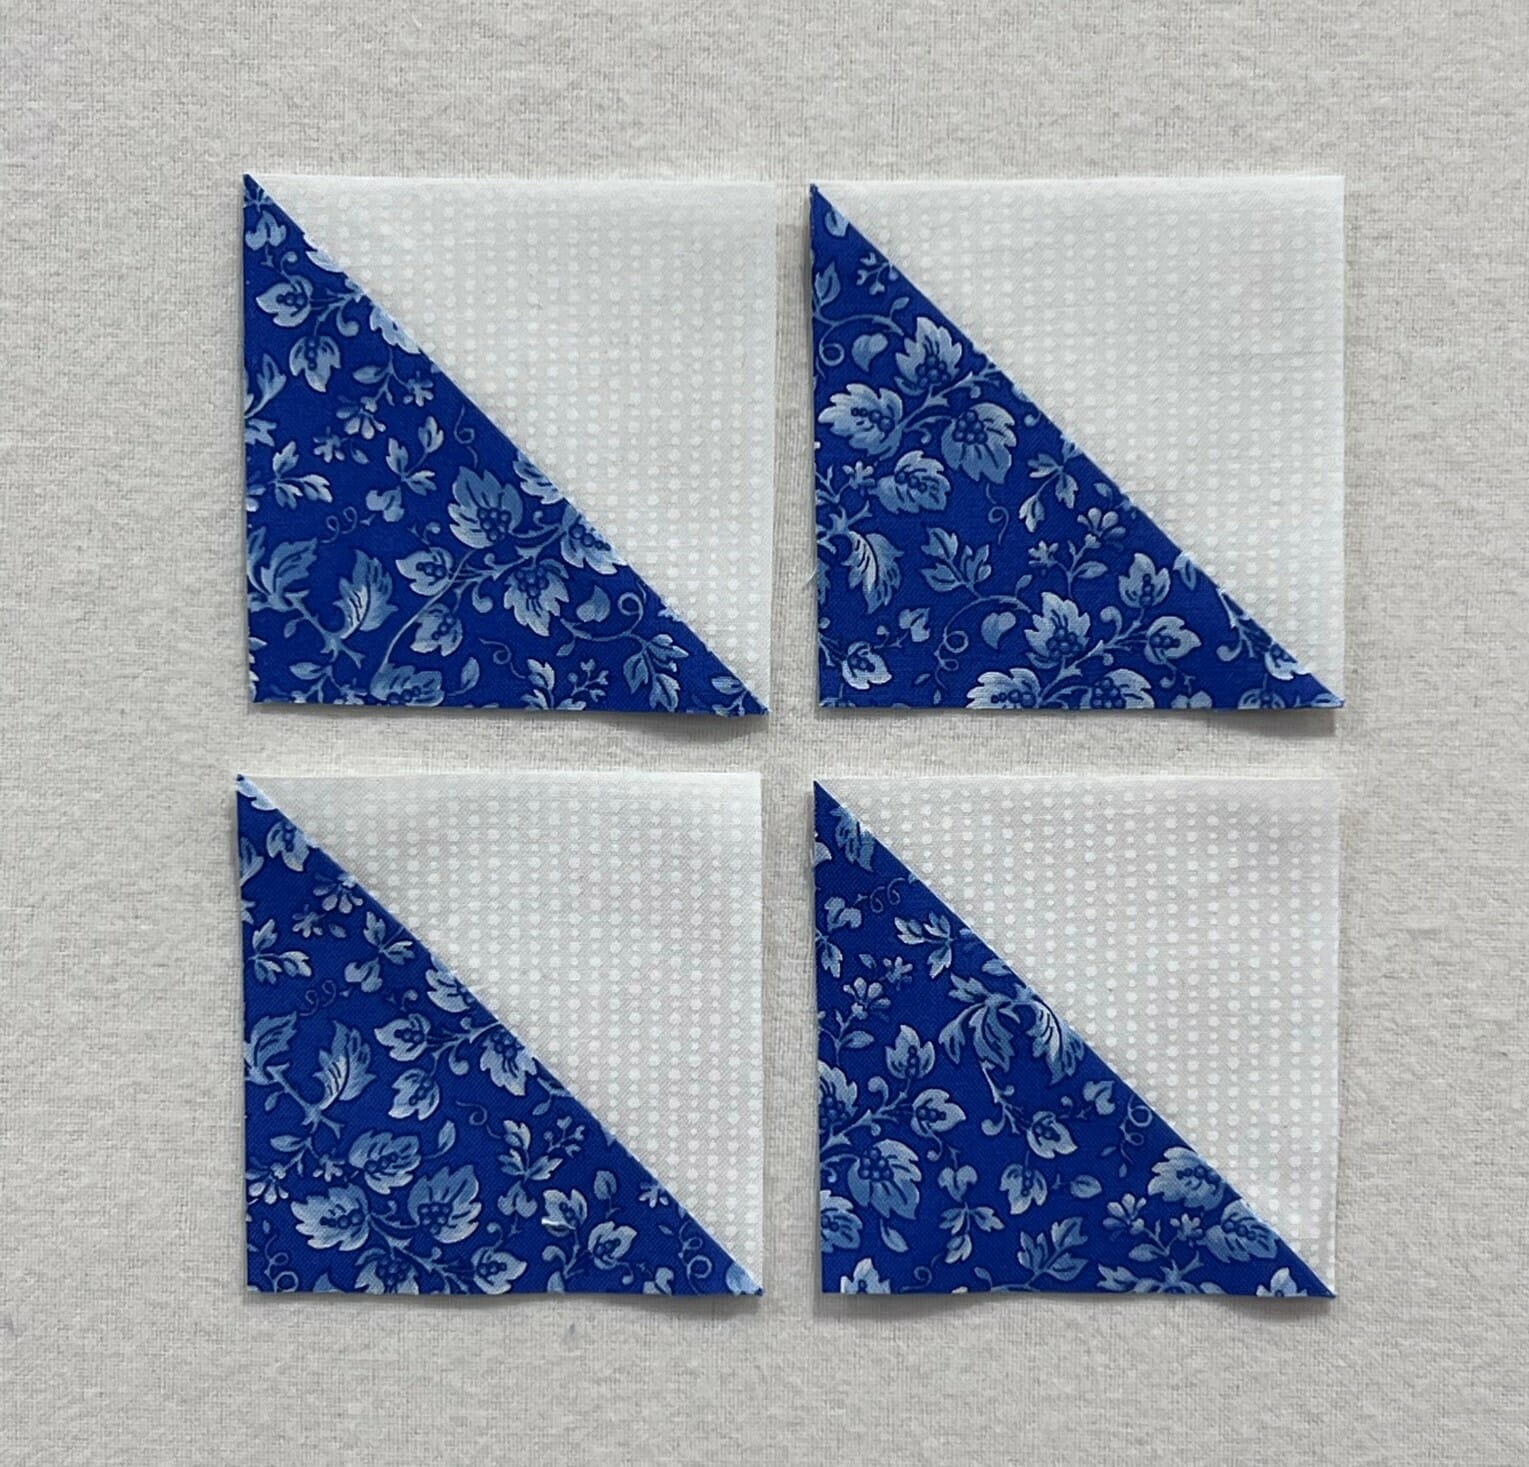
Here’s a series of photos of the rest of the process for making these units. I check all the corners with each step before trimming.

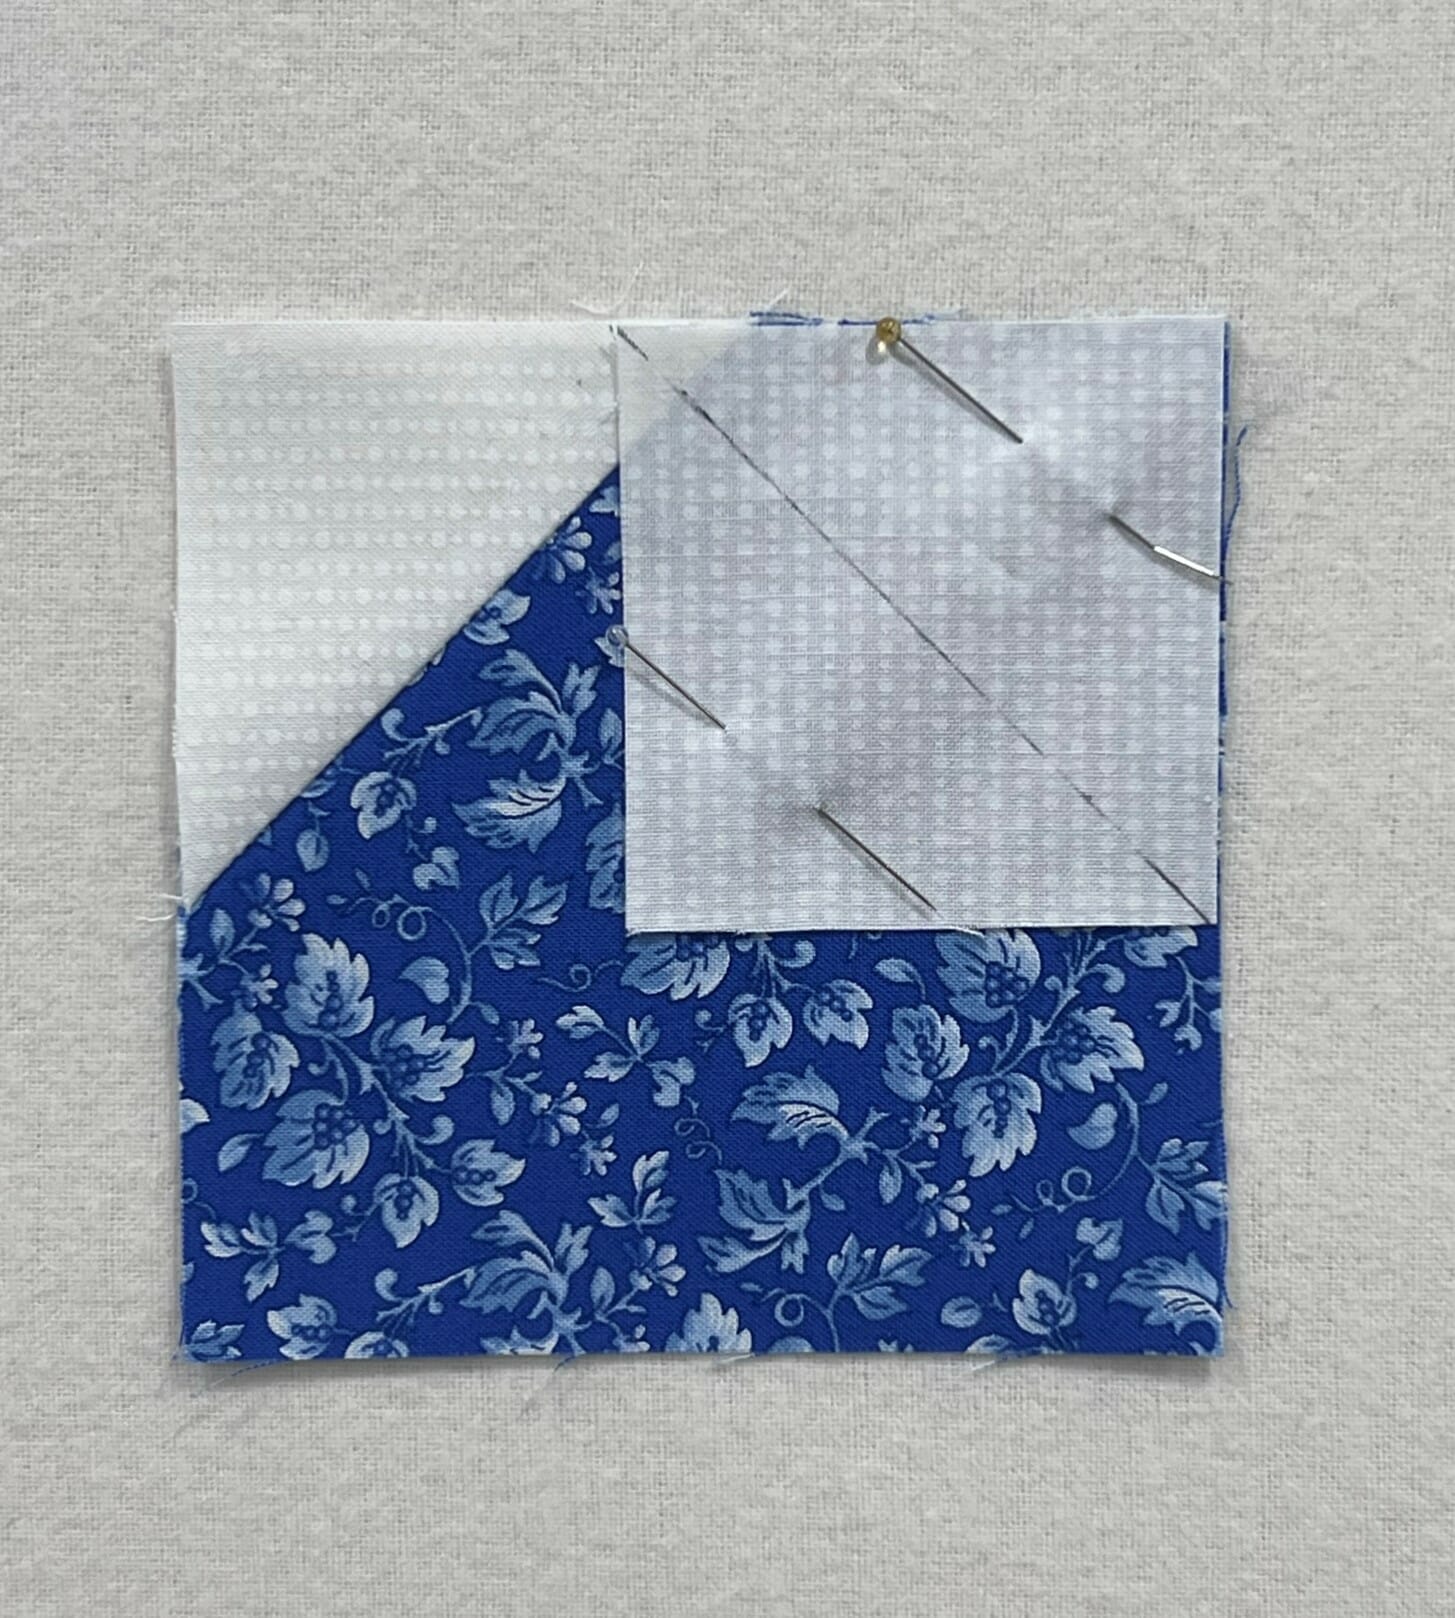
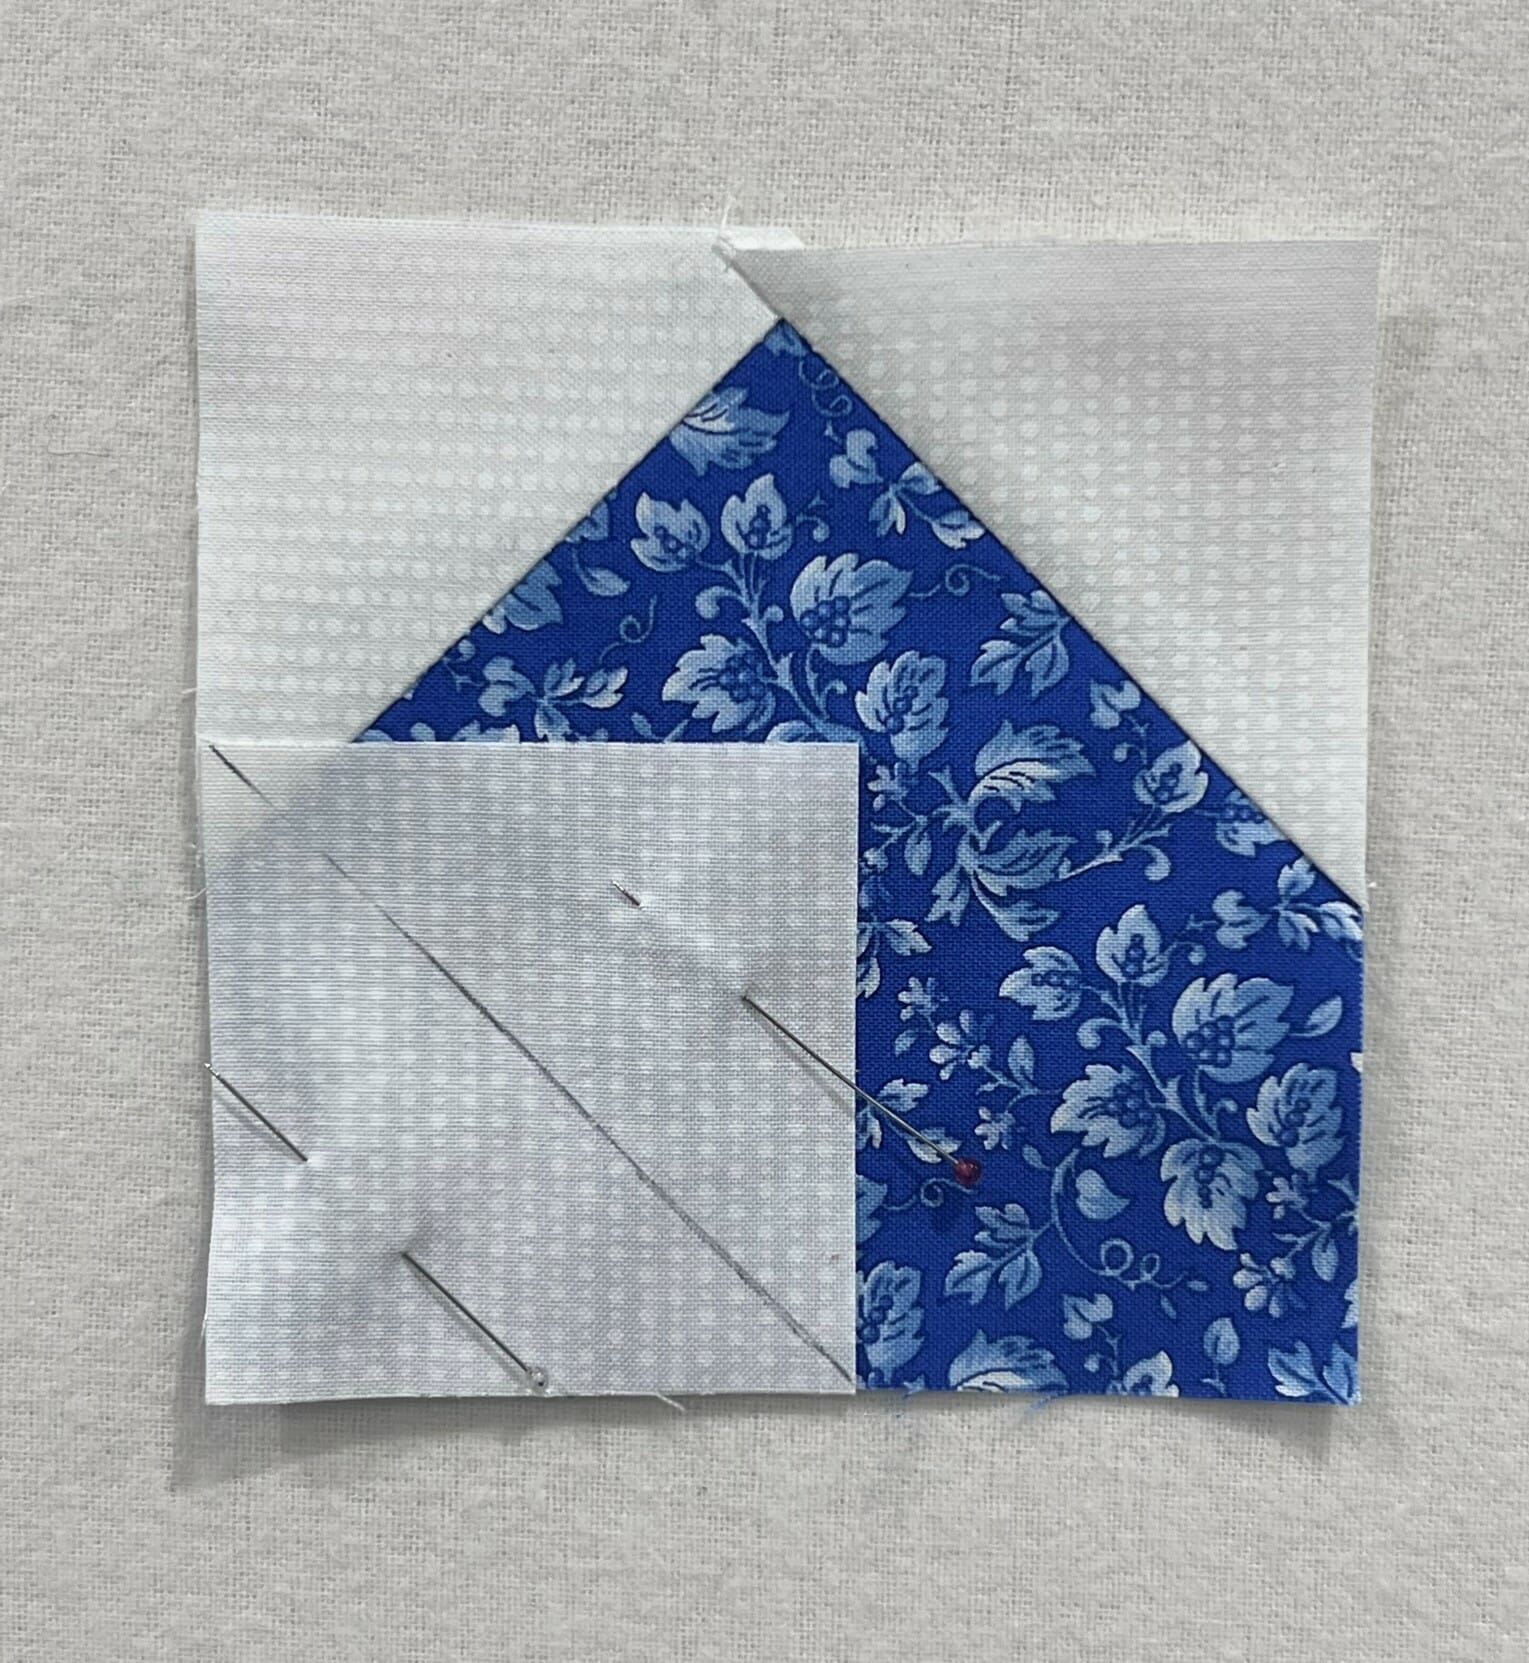
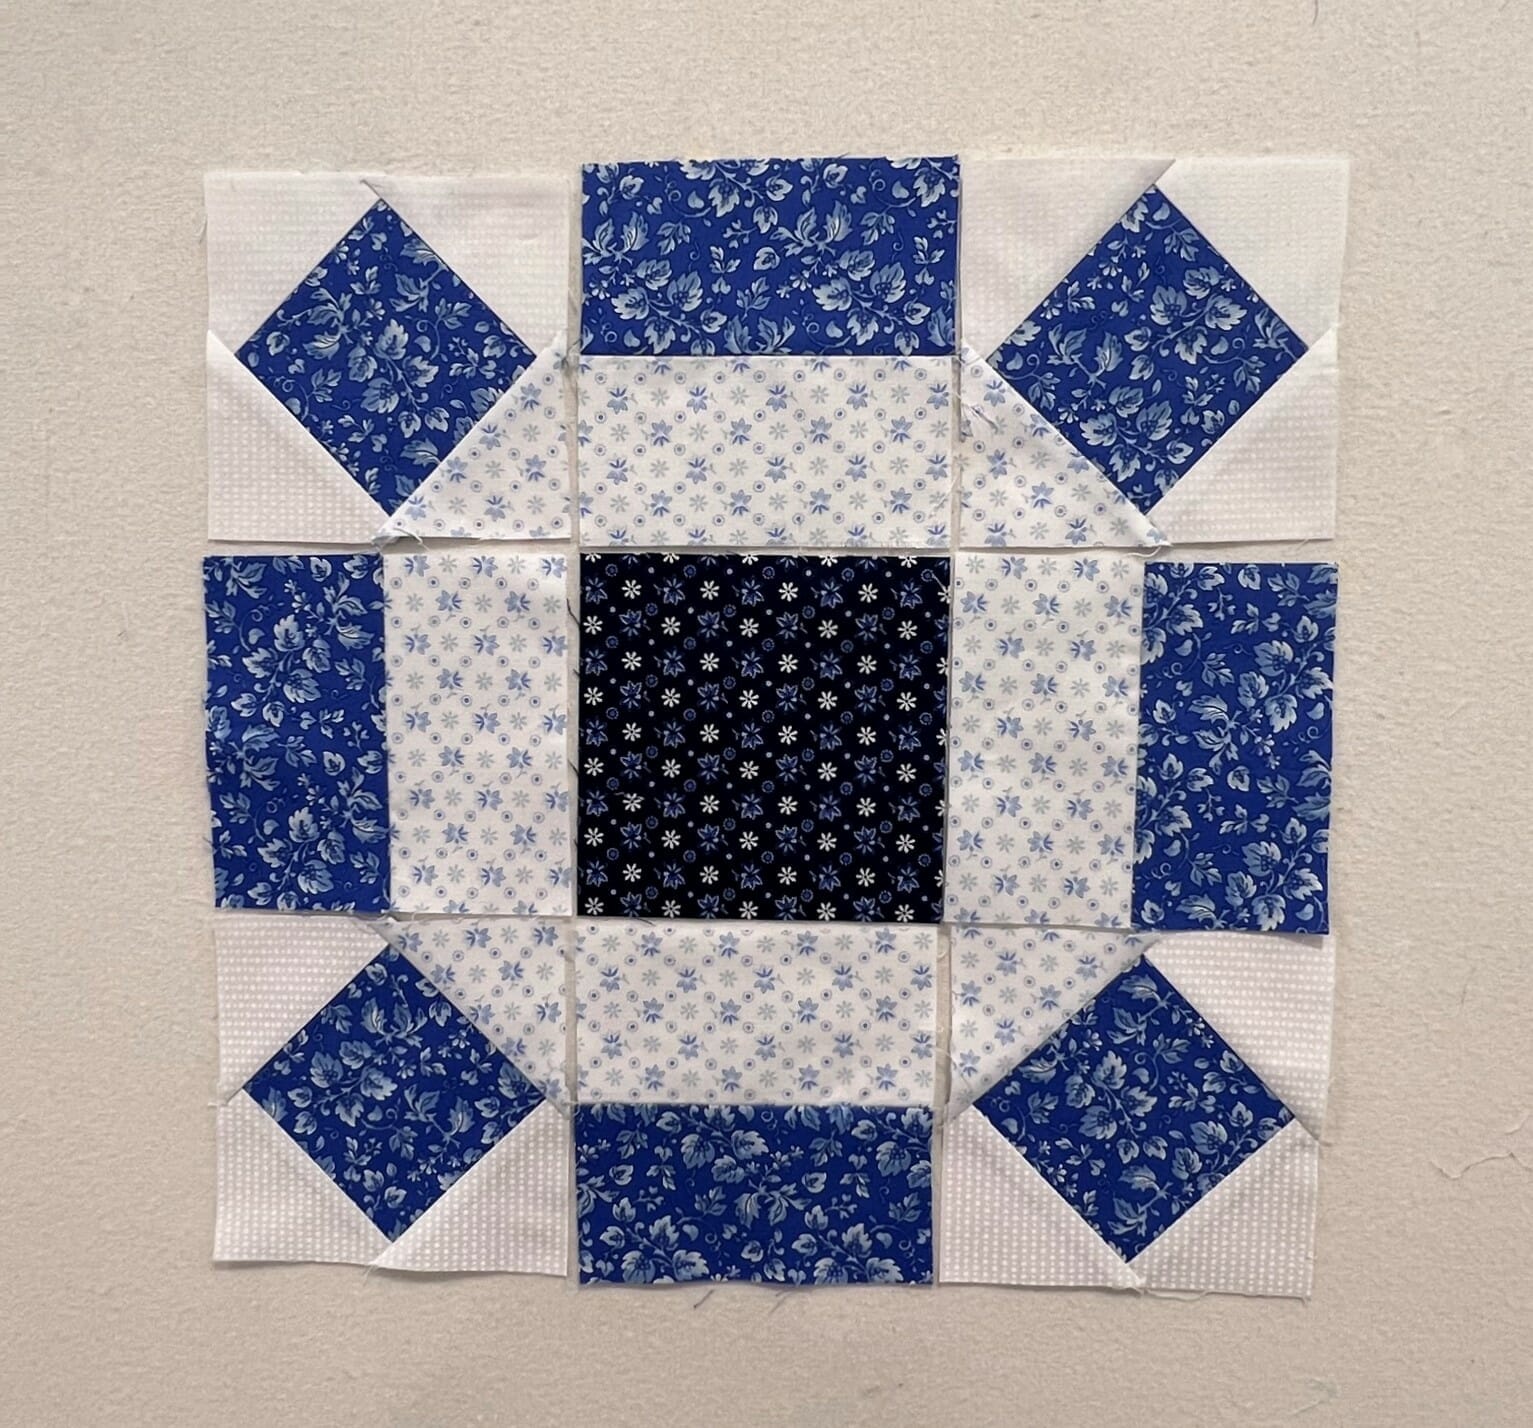
In step 2, you’ll sew each E and B rectangle together to make four additional 4-1/2” squares.

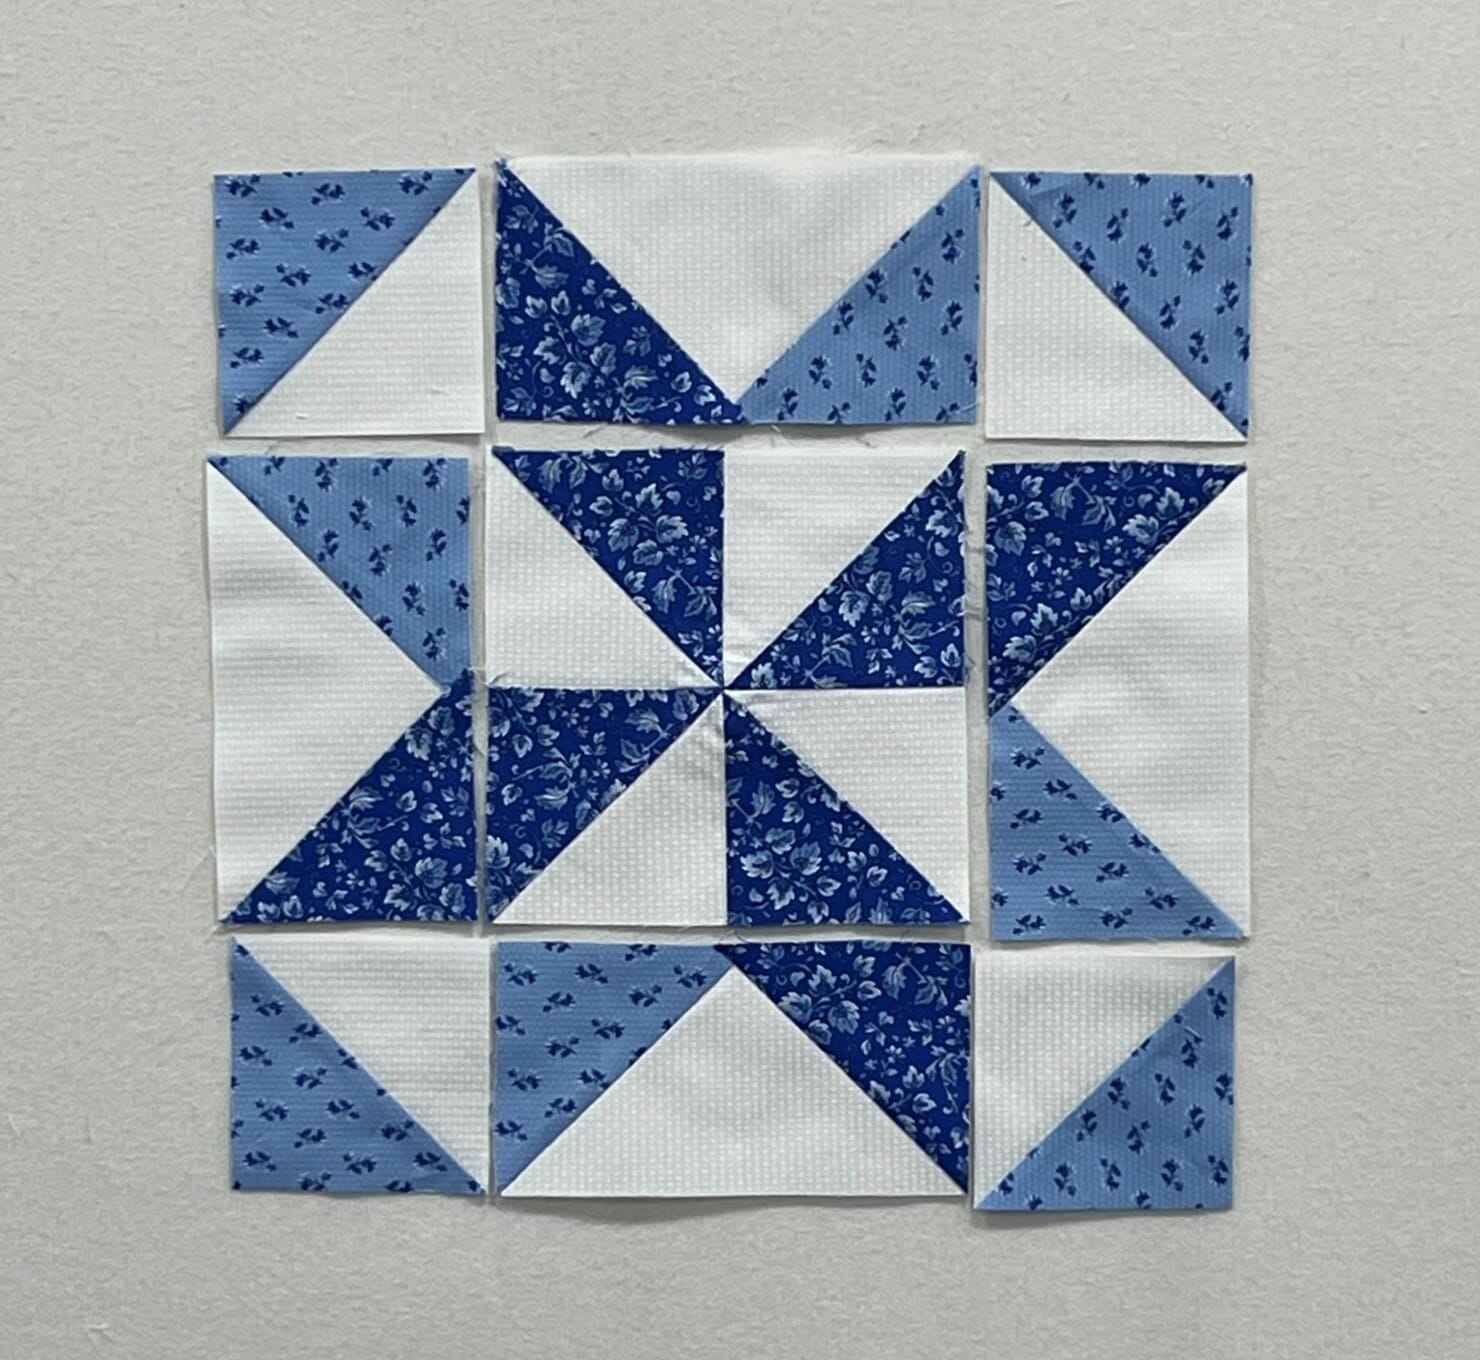
Now it’s time to sew everything together. I have everything laid out to make sure the light blue B and C pieces are surrounding the A square, like the diagram shows. Sometimes it can be tricky to keep the integrity of the points for the square in a square units, so I recommend having those units on top when you pin and sew. This way you can ensure you don’t sew through the points.
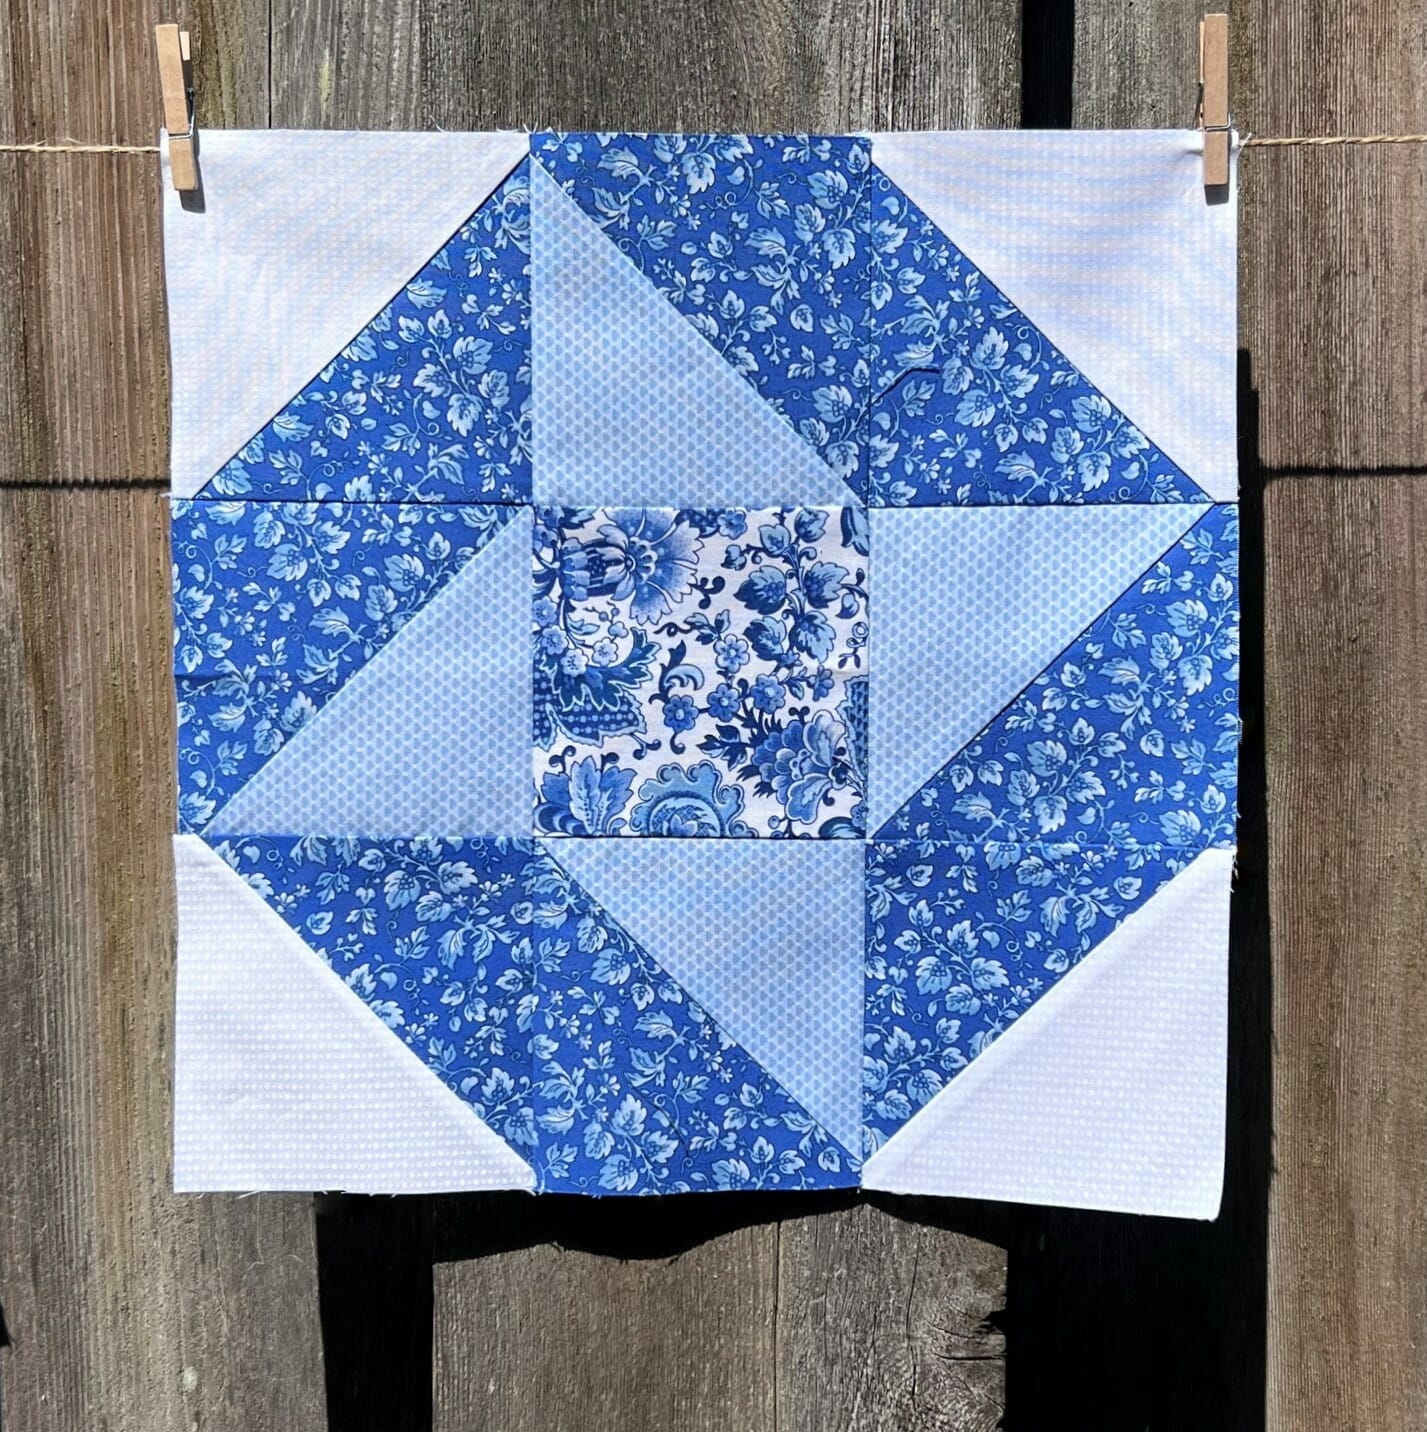
This is another block that can get bulky with some of the seams, so feel free to press things open if you want to.
And just like that, we’ve already made EIGHT blocks for this quilt! As always, holler if you have any questions, either in the comments below, or to the email listed on the pattern.
Until next month, Happy Quilting! -Kristin

