Tutorials
 1.14.2023
I LOVE pillows! Absolutely love them!
I know, it’s silly to boldly state that I adore pillows, but I can’t help myself. They’re the perfect introductory sewing project, incredibly easy to adapt for your needs and so much fun to design. Snowflake pillows for wintertime? You bet! Heart pillows for Valentine’s Day? Of course! Cloud pillows for the rainy Pacific Northwest? Why not! The possibilities are endless, but there’s one thing I’ve learned over the years that has helped me along my pillow journey:
Making my own pillow forms!
When you’re looking for pillow forms, they come in pretty standard sizing: 16″ x 16″, 18″ x 18″, or 20″ x 20″. We offer quite a few pillow patterns that fit these sizes – my favorite being the Serendipity Pillow that requires a 20″x20″ insert and is great for beginners! That said, what happens if you find a pattern that isn’t a basic size? Or maybe you designed one that you can’t seem to make fit into a 20″ square grid?
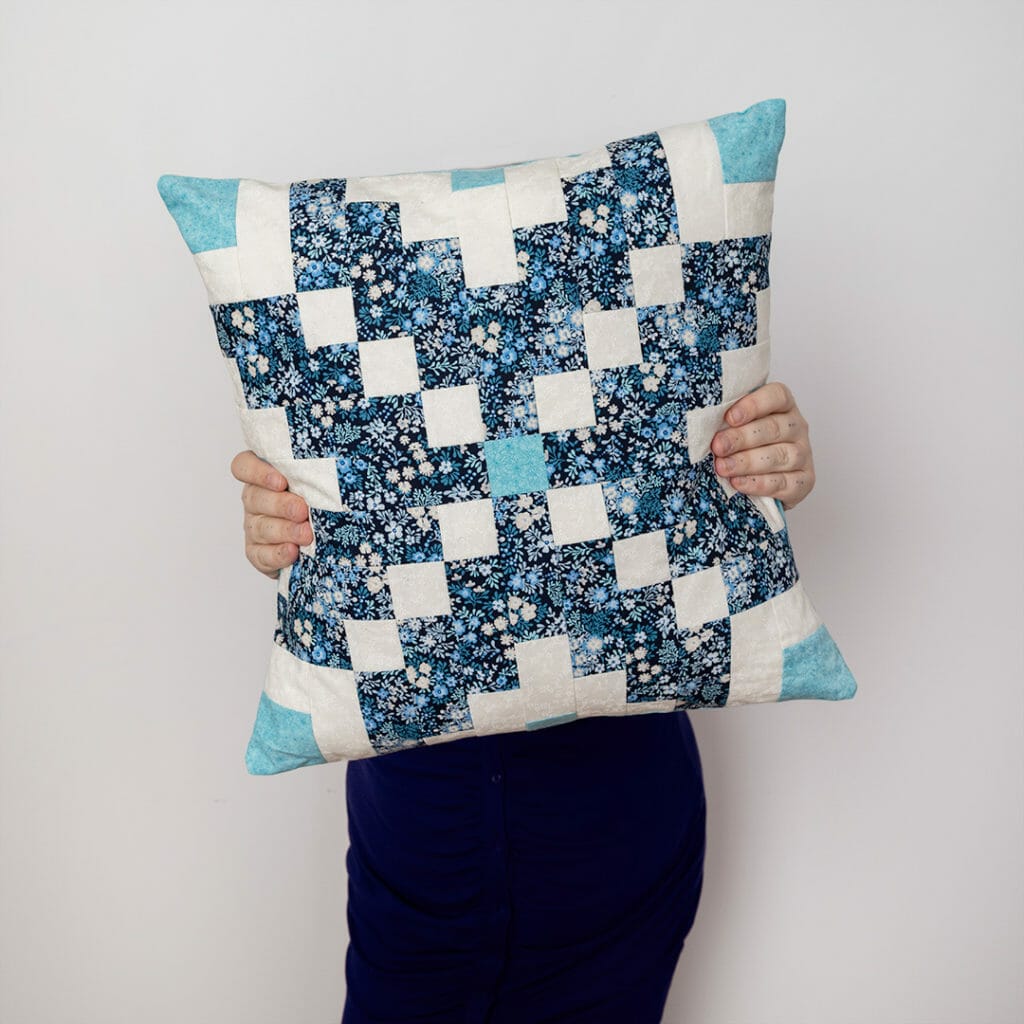
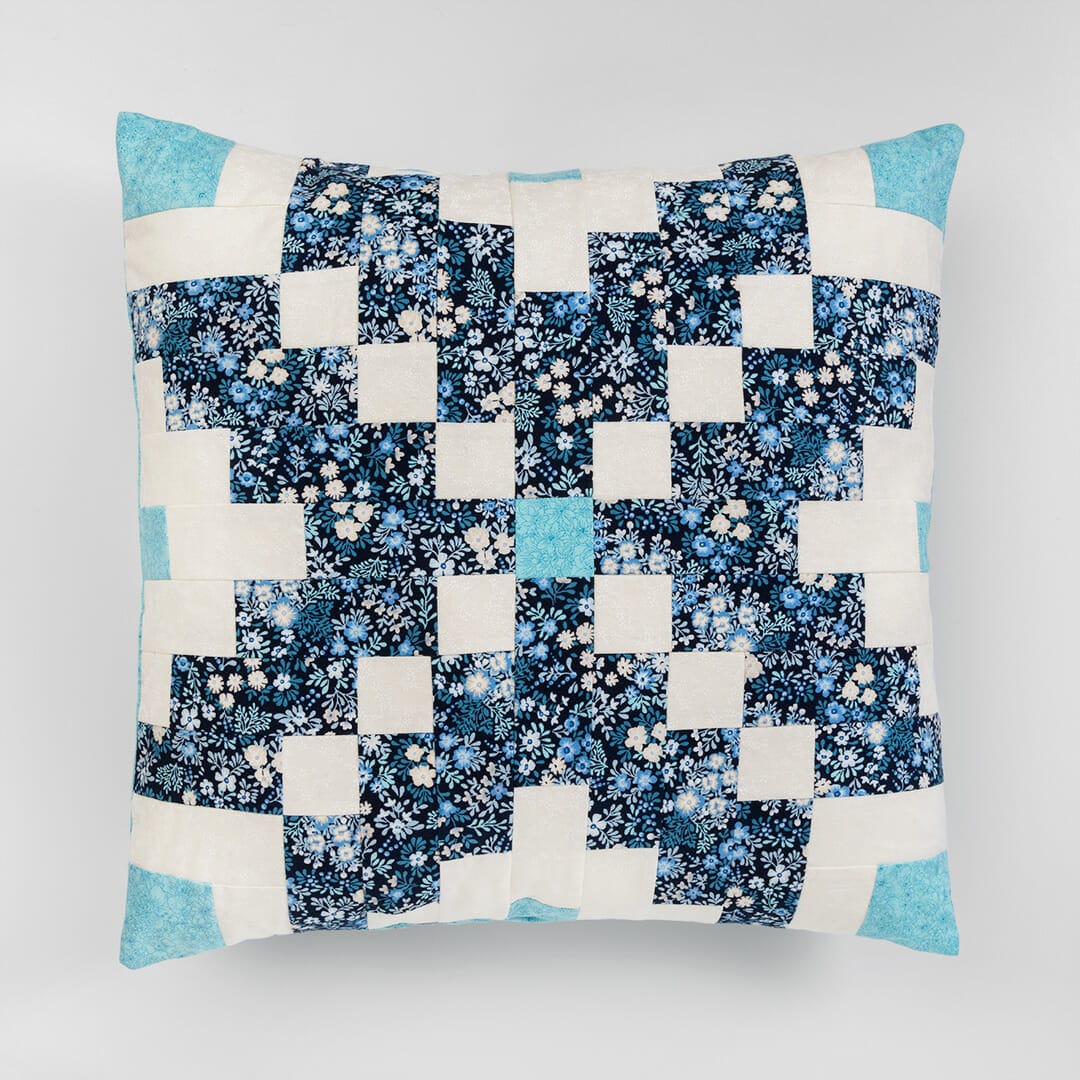
This is one of the many reasons why I adore making my own pillow forms. Don’t ever let a standard size stop you from designing a fabulous pillow! My Snowflake Pillow (seen below) was a blast to make with our newest Icy Splendor fabric collection, but I really struggled to get it sized perfectly for a 20″ pillow insert. Finally landing on a pillow cover sized to 17.5″ x 17.5″, I decided to make my own pillow insert to match, at 19″ x 19″.
A quick note: A great way to have beautifully stuffed, fluffy pillows is to size UP your insert. Have an 18″ x 18″ pillow cover? Try a 19″ or 20″ square pillow insert. It’ll fill out your pillow cover perfectly and you won’t end up with saggy corners or edges!
The process for this is simple:
- Cut out two squares with 1/4″ seam allowance on each side. Example: If I want my insert to be 19″ x 19″, I would cut two 19.5″ x 19.5″ squares.
- Tip: If you’re sewing a pillow cover out of lighter fabric, you’ll want a lighter pillow form. Feel free to use any scraps you have lying around, so long as they’re a lighter shade than your pillow cover! It’s a great opportunity to get rid of some fabric you’ve had in your stash for a while!
- Right sides together, sew 1/4″ seam allowance around 3 sides. On the 4th side, leave a 6″-8″ opening.
- Turn the insert inside out. Start filling it with stuffing of your choice!
- Once the pillow is stuffed, hand sew the opening closed using a Ladder Stitch. Don’t worry if you’ve never used the Ladder Stitch – Take a look at our guide to hand-sewn bindings, where we show you what it looks like!
- That’s it! Slip on your pillow cover and enjoy!
Now you might be thinking: why is this crazy lady creating her own pillow form when she probably could have used a standard size and just made it work?
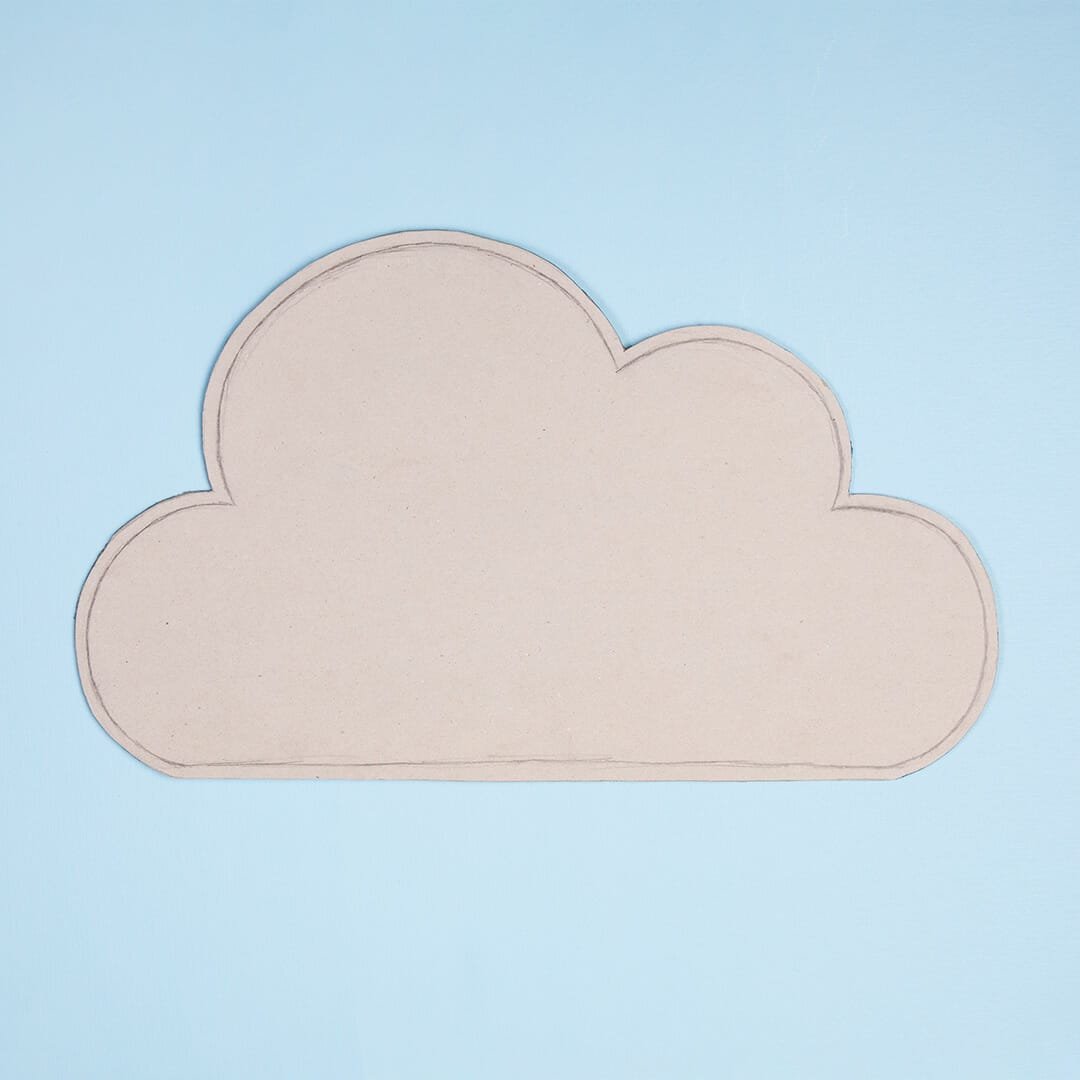
This technique is wonderful for square pillows of any size, but it’s truly best for NON-SQUARE pillows. I have a friend whose daughter is obsessed with clouds – we live in the Pacific Northwest, so they’re pretty prevalent! – and she absolutely loves finding ones that look like funny shapes. For her birthday this year, she’s getting a cloudy skies quilt I designed with matching cloud-shaped pillows. Since she’s under 5, and spends her life with constantly sticky hands, I wanted to make sure that these pillows had covers that could be removed for washing. This is a great example of a situation where you’d want to make your own, custom-shaped pillow form:

The other reason I love making my own pillow forms is STUFFING. If you’re anything like me, you’ve got bins of scrap fabric, leftover yarn, and cut off strips of batting that you haven’t figured out how to use yet. This is such a fun way to reduce your crafty waste: take some plain ol’ PolyFill to stuff into any corners or edges, then use your leftover scraps of yarn, fabric and batting to fill the middle of your pillow. By combining some regular stuffing, which is very lightweight, with some heavier fabric and yarn scraps, you end up with a fluffy looking pillow that has just a bit of heft to it.

Now I get to pass on a set of these adorable cloud pillows – complete with invisible zippers for easy cover removal – and I got to use up some batting and yarn scraps to make it a little thrifty!
Now are you starting to understand my love of making pillows? I sure hope so!
If you’ve always wanted pillows to fulfill your decor dreams – hearts, stars and clouds, oh my! – don’t let pre-made pillow forms hold you back. Draw out a design on some thick cardboard (like mine shown below), add a seam allowance and get to cutting. You’ll have a pillow form and a matching cover in no time!
Before I go: if you like my Snowflake Pillow using Icy Splendor, unfortunately I did not produce a written pattern. That said, this type of block is found in lots of places and can easily be adapted for your usage! Try the Norway Quilt Pattern by Thimble Blossoms – it’s cute, great for beginners and easy to adapt!
Happy (pillow) sewing!