This month, I’ve been working on some fun eco-friendly projects to help reduce plastic waste. It’s been a truly delightful endeavor and I’ve learned a lot along the way! Did you know that humans produce around 380 million tons of plastic waste each year? When I saw that number, I was truly shocked!
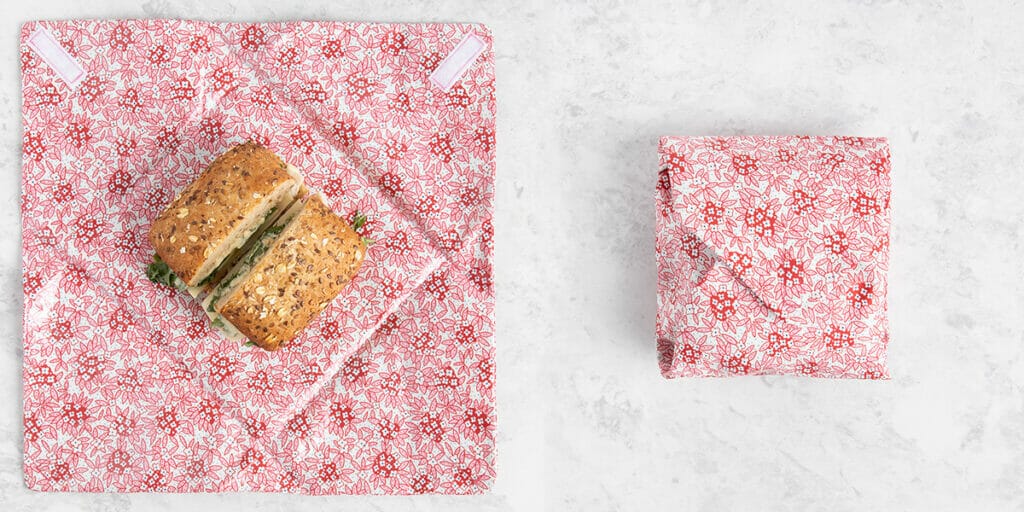
One of the ways that we can help reduce that number is by creating reusable options that replace single-use plastics. That’s how these Reusable, Vinyl-Lined Sandwich Wraps were born: a way to replace plastic baggies and plastic wrap when I’m packing a lunch on the go! They’re unbelievably easy to create, simple to customize and endlessly useful.
Let’s jump right in with all the items you’ll need to make your own Reusable Sandwich Wrap!
Materials:
- Fabric for the outside, measuring 11 ½” x 11 ½”
- It’s very important to pre-wash your fabric! Since these wraps are meant to be used with snacks, they’ll need a good wash from time to time.
- I used the pink Flower Cluster fabric from General Store 2023 – isn’t it so cute?!
- Fabric for the lining, measuring 11 ½” x 11 ½”
- HeatnBond Iron-on Vinyl
- 2 – 2″ pieces of 1” wide Velcro
- Basic sewing supplies
- Essential Cotton Thread
- Rotary Cutter
- Cutting Mat
- Ironing Board or Mat
- Iron
- Sewing Machine
- Pins
Wrap Sizing:
For this pattern, you’ll be making the Small Wrap, which requires 2 pieces of fabric measuring 11 ½” x 11 ½”. For a Medium Wrap, cut your fabric pieces to 13 ½” x 13 ½”. I’ve found that these two sizes work well for general, store-bought bread and an average sandwich. The smaller size works well with an average ciabatta bread sandwich, the medium size works well with a larger sourdough bread sandwich. (I made and ate a lot of sandwiches for this project, it was wonderful!)
Instructions:
1. Cut your 2 pieces of fabric, one for the lining and one for the outside. We’ll be making the small size, 11 ½” x 11 ½”, so from here on out I’ll be referencing that.
2. Prepare your lining with the HeatnBond Iron On Vinyl. If you’ve used it before, just follow the basic package directions and forge ahead! If you’ve never used it before, you can watch our short video tutorial on Instagram or Youtube! Below is a detailed step-by-step:
a. Lay out your lining fabric, right side up, on your cutting mat.
b. Roll out the vinyl and cut a piece that’s about ½” bigger than your fabric.
c. Take off the paper from the vinyl – this reveals a lightly sticky side that will cling to your fabric. KEEP THE PAPER!
d. Place the vinyl, stickier side down (the side you just revealed), on top of your fabric. Slowly press it down evenly across your fabric.
e. Cut off the excess vinyl around the edges of your fabric.
f. Place fabric vinyl side up on your ironing board. Set your iron to Medium (or a Silk setting), no Steam. Take the paper you peeled off and place it grid-side up over your fabric.
g. Iron your fabric, one section at a time, for 8 seconds each.
h. Let the fabric-vinyl cool for a moment, then flip it vinyl side down on the ironing board. Iron the fabric, one section at a time, for 4 seconds each. Make sure that you don’t have any vinyl hanging over the edge of your fabric here – the vinyl can’t be ironed directly!
3. Take your outside and lining fabrics, and place them right-sides together. This means the right side of your outside fabric will be facing the vinyl side of your lining fabric.
4. Sew around all 4 edges of your fabrics with a ¼” seam allowance, leaving a 4” opening along any side.
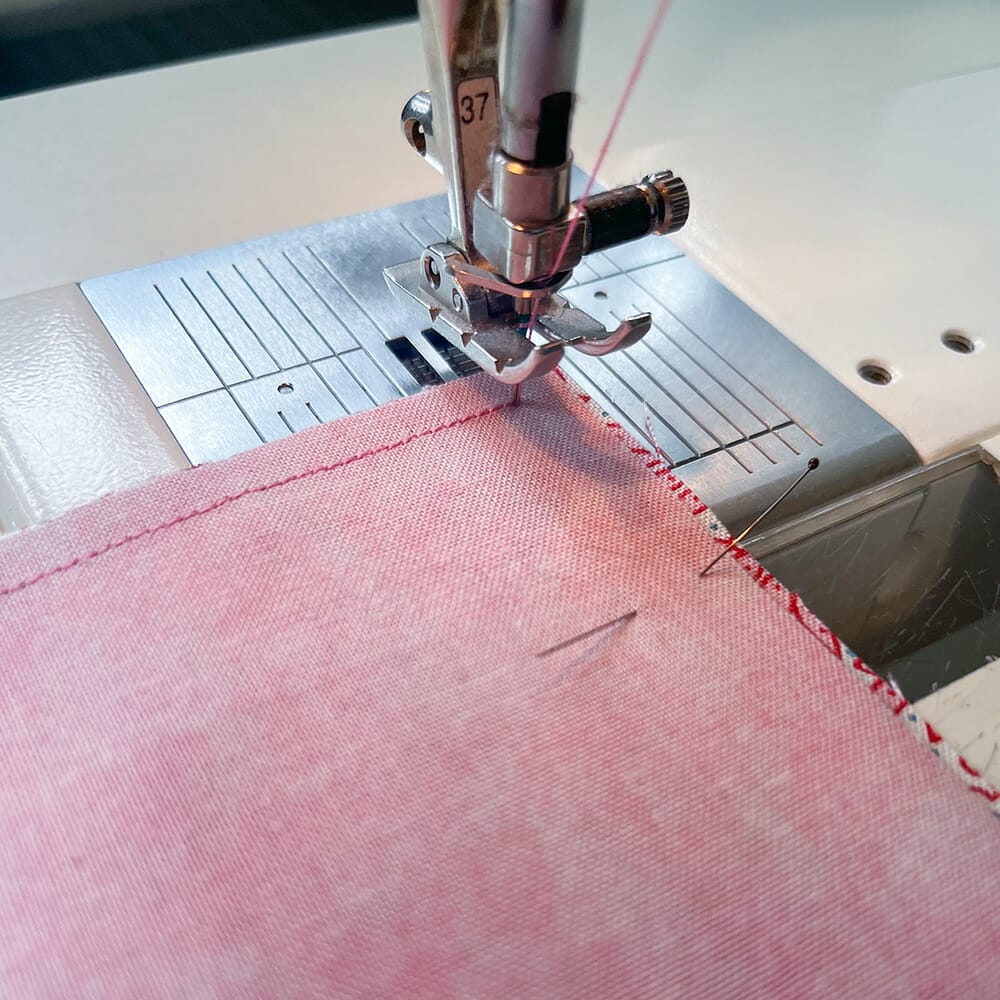
a. It’s best to put your needle down in each corner lift up your presser foot, turn your fabric 90 degrees, put your presser foot back down and keep sewing (See photo below for reference). When you’re finished sewing, you’ll want to trim your corners off – this helps then pop out easier when you turn your fabric right-side out.

5. Turn your fabric right side out through the opening you left. The vinyl can make this process tougher, so take your time! Use a tool like That Purple Thang to push out your corners.
6. Vinyl side down, iron your seams flat. Remember, NEVER put a hot iron directly on your vinyl, so be very careful when you iron your seams here. Take your 4” gap and iron down the ¼” seam allowance, again making sure not to press the iron directly to the vinyl.
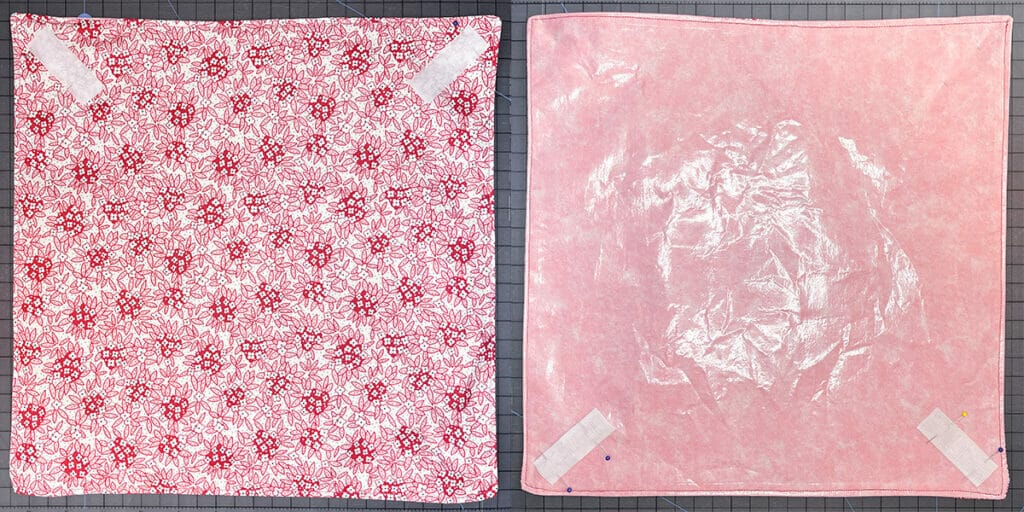
7. Sew your 4” gap closed. You can hand sew this for a cleaner look, but it’s not necessary. Personally, I like the style of an 1/8” seam around the entire wrap – it sews down your gap seam and creates a lovely, finished look! (Look at the photo below to see what I mean – you should seen a dark pink seam around the entire edge!)
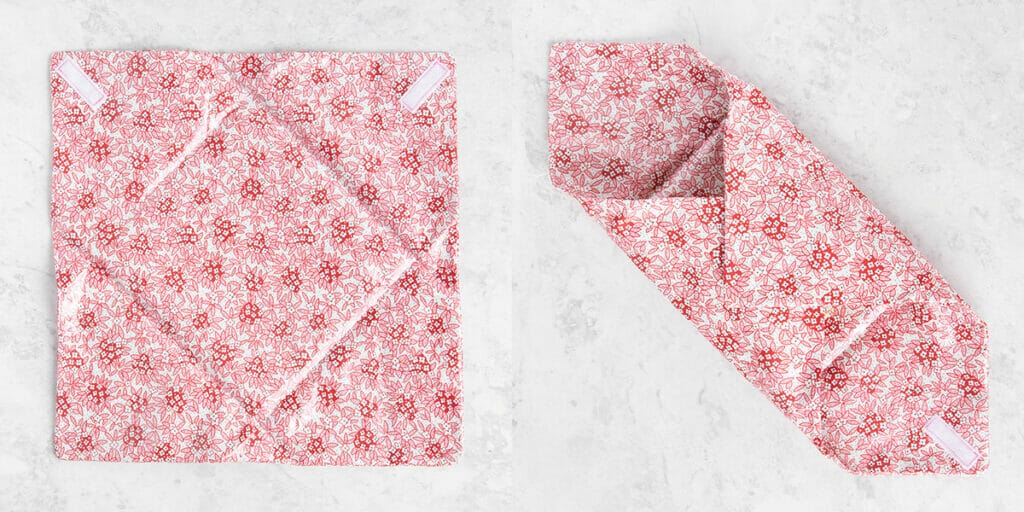
8. Place your Velcro strips. You’ll put 2 pieces on the inside corners and 2 pieces on the outside corners. Look at the images below to make sure you’re placing your Velcro in the right spots:

9. Pin your Velcro in place and sew around each edge.
Boom! You just made a Vinyl-Lined Sandwich Wrap!
Cleaning Tip: Your finished sandwich wraps can be easily wiped out for a quicker cleaning. To deep clean the whole wrap, toss it in the washer on a cold, gentle cycle, then line dry.
Make a sandwich, wrap it up and head out on a walk with your reusable wrap – just be prepared to tell everyone who sees it how you made it! I can’t take these wraps anywhere without people constantly stopping to ask where I bought them. One of my favorite parts of being a sewer is getting to answer the question, “Where did you get that?” with “Oh, you know, I made it.”
Happy sewing!


 Tutorials

