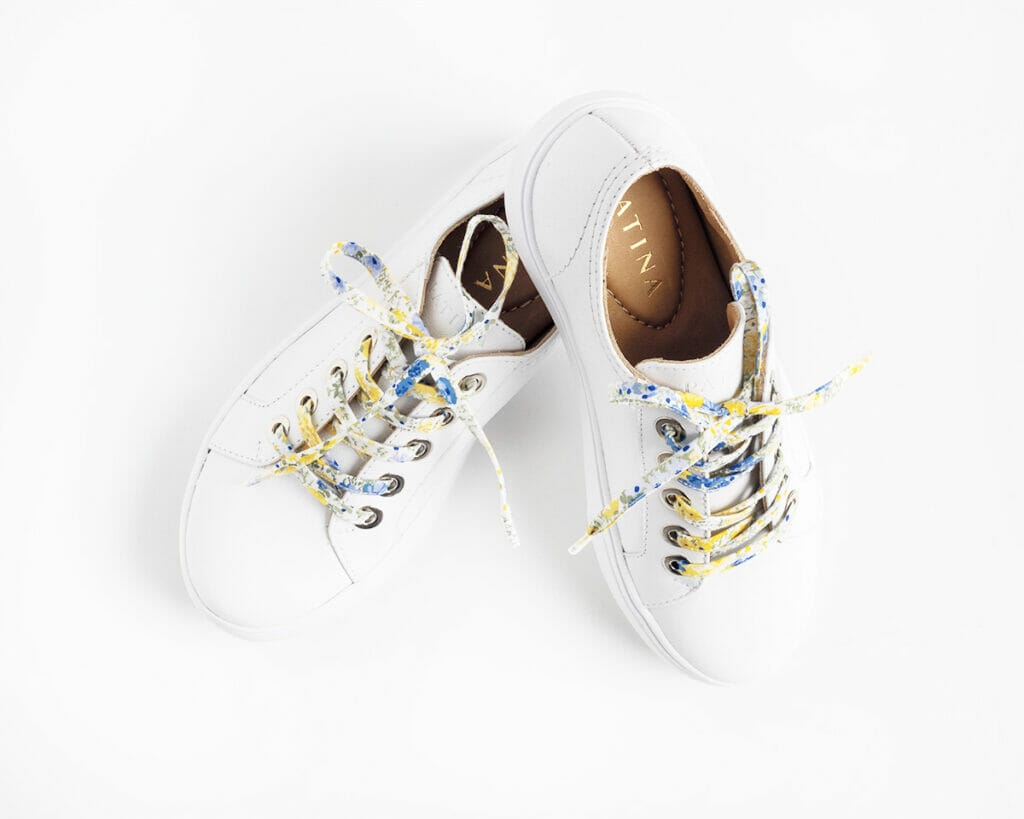
If you have leftover 2 1/2″ strips, sometimes it can be tough to figure out to fit them in with another big project. Maybe you only have 4 or 5 strips leftover, maybe none of them match, maybe they’re a color you don’t typically like in your quilts. Whatever the reason, we have a fabulous project to help use up those leftover 2 1/2″ strips: DIY shoelaces!
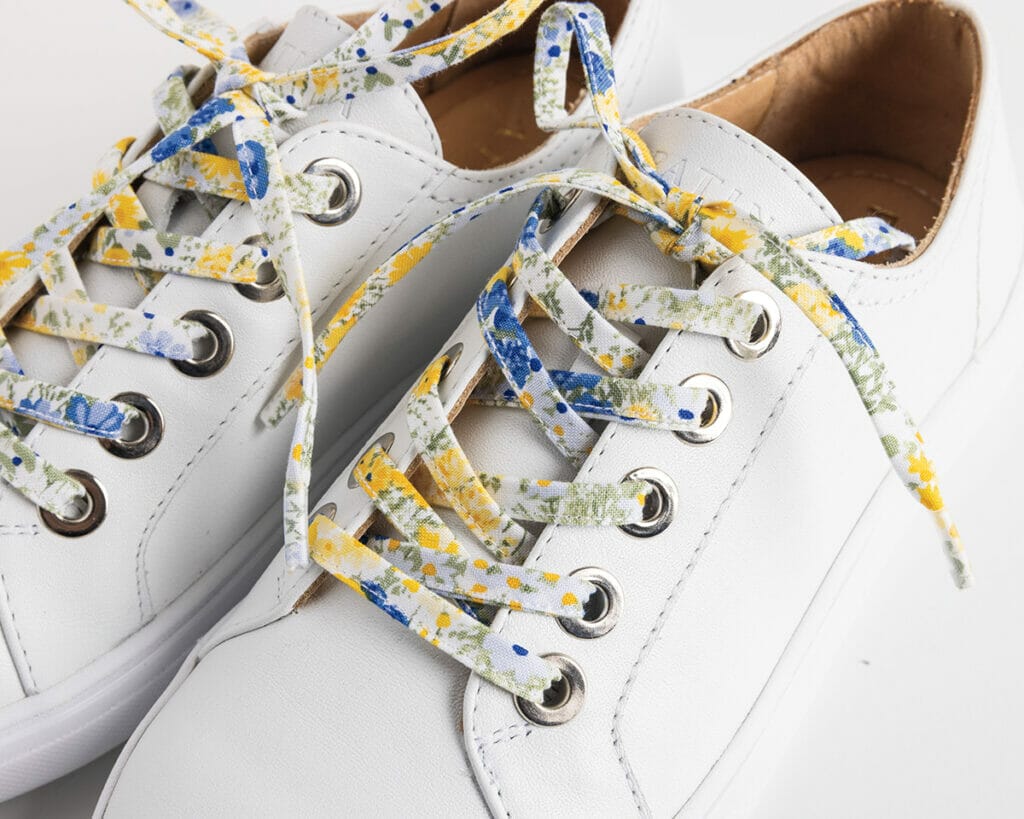
Aren’t these just adorable? Shoelaces are shockingly simple to make, easy to customize and extremely fun to make for loved ones! Let’s jump right in:
First, we need to gather up supplies. In this tutorial, we’ll be making shoelaces that are 3/8″ wide. Madison, our Connecting Threads Marketing Coordinator and sewing superstar, made multiple sizes and we’ll have more information about that at the end of this post. For the purposes of this tutorial, we’ll be talking specifically about the 3/8″ inch wide shoelace.
Here’s what you’ll need:
- 2 full length 2 1/2″ strips
- It’s ok if they don’t match! Who says shoelaces have to match?!
- Transparent Heat Shrink Tubing or Shoelace Aglets of your choice
- In this tutorial, we’re using this set of pre-cut heat shrink plastic tubing, because they’re perfect for DIY shoelaces!
- If you’re using heat shrink tubing, you’ll need a heat source to shrink the plastic. We suggest an iron with the ability to steam, a hair dryer or a heat gun.
- Looking for a more polished finish? Try these DIY Metal Aglets, which don’t require a special tool to install!
- Bias Tape Maker ¾” (optional)
- You don’t need to use a bias tape maker, but it’s highly suggested for such small strips. Trust us, it’ll save your fingertips from getting burnt by your iron!
- Basic sewing supplies
- Thread
- Rotary Cutter
- Ruler
- Cutting mat
- Wonder clips or pins
- Sewing Machine
Basic Instructions:
1. Grab your first leftover 2 1/2″ strip and put it on your cutting mat. We’ll be sizing this strip down to 1.5”. Keep it folded in half, to make cutting easier.
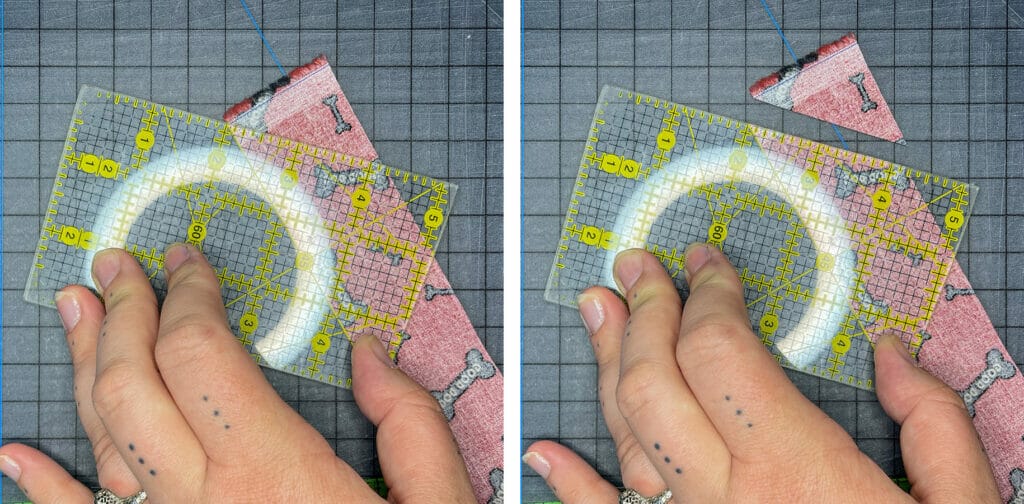
2. Line up a ruler, preferably one that’s at least 24” long, with the longest edge of your strip. You want to cut away the pinked edge along one side of your strip (shown in left image). Before you make your cut, line up the fold of your strip to the short edge of your ruler. This will ensure that your strip is straight and your cut line is perpendicular to your fold (shown in right image).

3. Flip over your strip and line up your newly cut straight edge with the 1.5” mark on your ruler. You should now have a 1.5” wide strip!
4. To prep your strip for the bias tape maker, I highly recommend you cut one edge of your strip at a 45 degree angle. This makes it easier to push the strip through the bias tape maker. It also helps to have a ruler with a 45 degree marked line, like you can see in the photos below. You line up the long edge of your strip with the 45 degree marker and slice off a corner.
5. Now we feed your strip into the bias tape maker. Take the pointed end that you just created, wrong side up, and start pushing it into the widest end of the bias tape maker. It can take a little finagling, so don’t worry if you have a tough time at first! One way to help coax the fabric into moving is to take a thin, sharp object (like this Clover Curved Awl) You’ll know you’re successful when you see that pointed tip peek out the end – once you do, give it light tug to start the process.
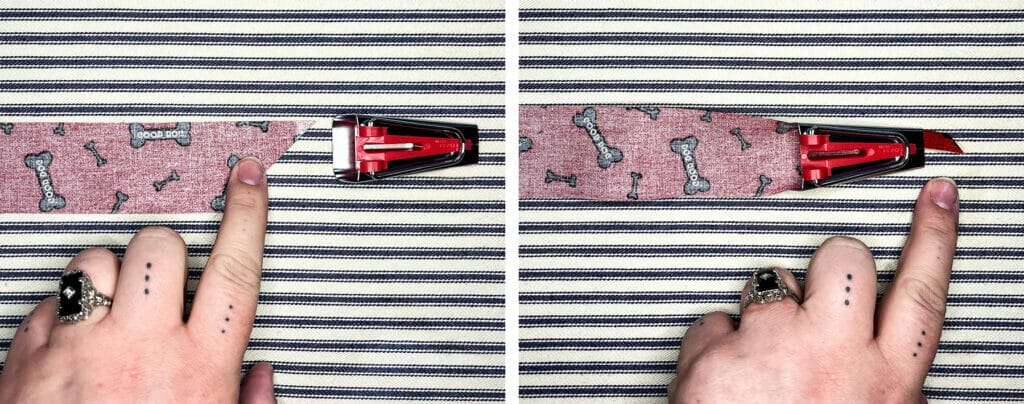
6. As you start to pull your strip through, you’ll see the bias tape maker doing its job. It will create two folds which you’ll want to iron down. I like to press my iron down onto the folded strip, pull the bias tape maker back to create more tape, then iron the next section. It’s best to go slow and steady here.
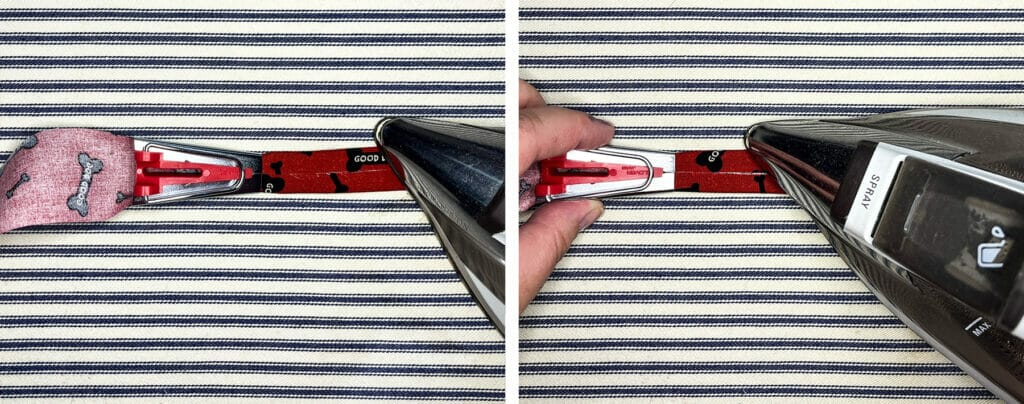
7. Once you’ve pulled your entire strip through the bias tape maker, you have one last ironing step: you’ll need to fold the entire strip it in half. You’re basically hiding those raw edges inside your new fold!
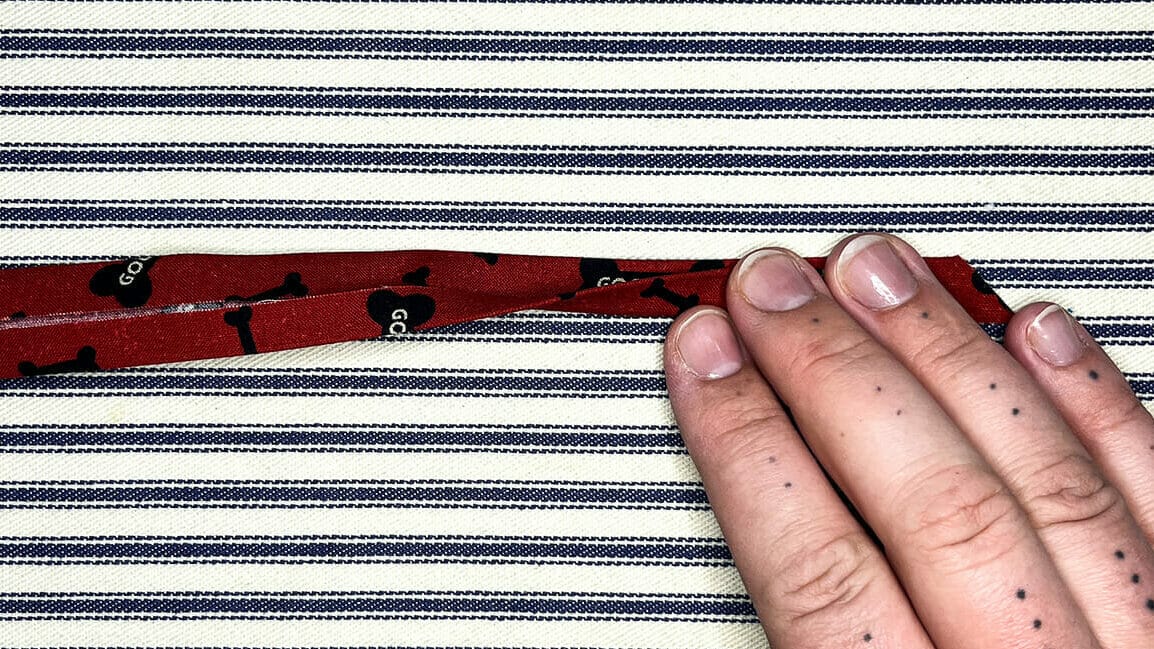
8. Now your shoelace is ready to be sewn. I suggest either pinning or using wonder clips to keep your bias tape folded as you sew. Once it’s secured, you’ll sew as close to the open edge as you can – for me, it was about 1/8”. Sew along the entire long edge of your shoelace.
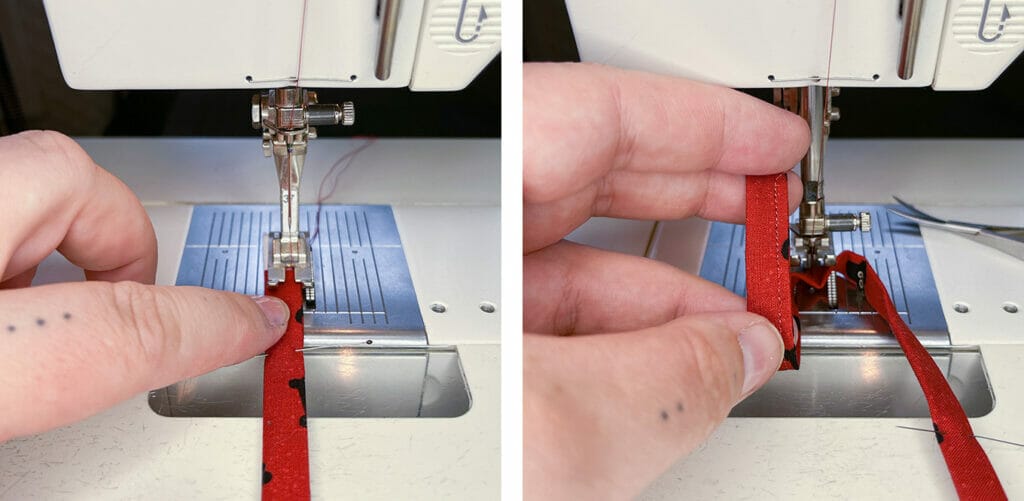
9. Trim one end of your shoelace. Grab your plastic tubing and trim it into two short pieces – mine were about 1”. Fold one end of your shoelace in half to help shimmy it into a piece of tubing. Leave just a tiny overhang of plastic tubing, seen below.
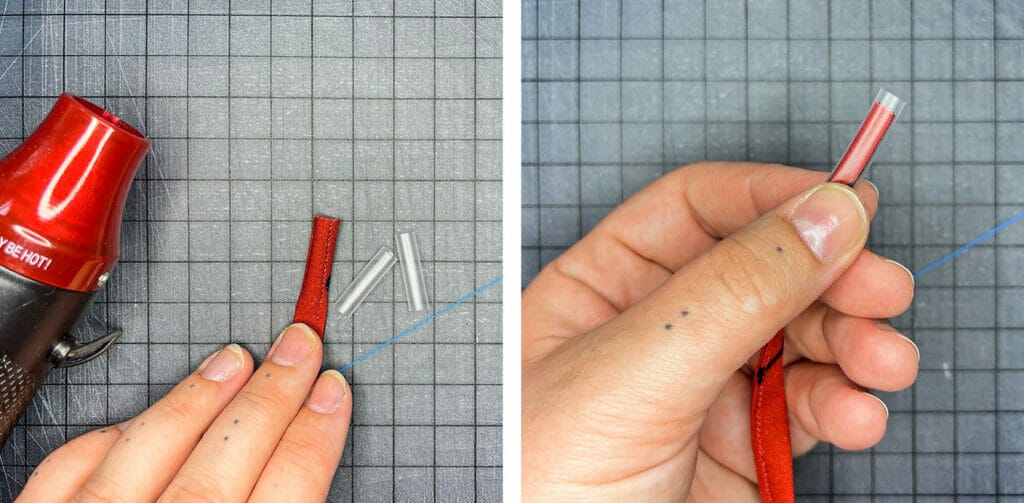
10. Grab your heat source and start it up – I’m using a heat gun. Point it directly at the plastic tubing and begin heating it up. You should see it start to shrink within just a few seconds! Rotate your tubing and make sure to heat all sides until it cinches around the fabric.
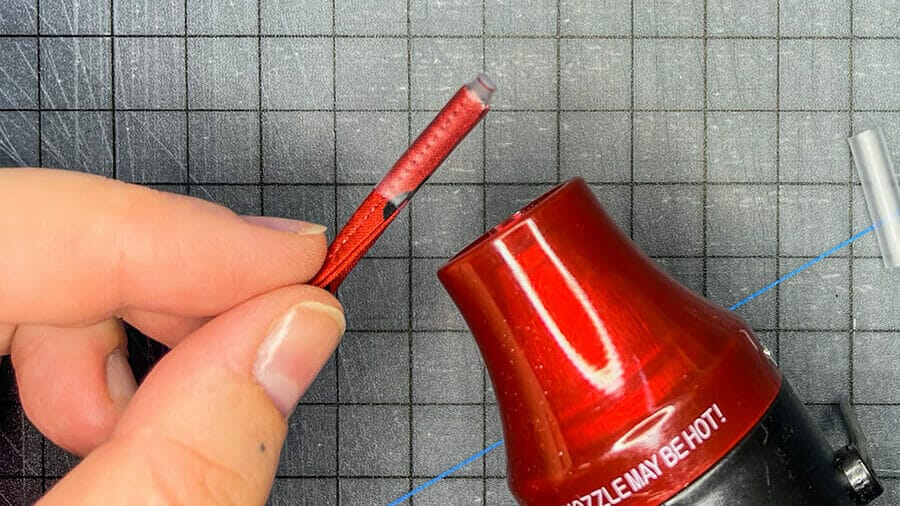
11. Optional: I found that, directly after you turn your heat source off, pinching the overhang of plastic helps create a tighter end to your shoelace. Then you can trim off the excess.
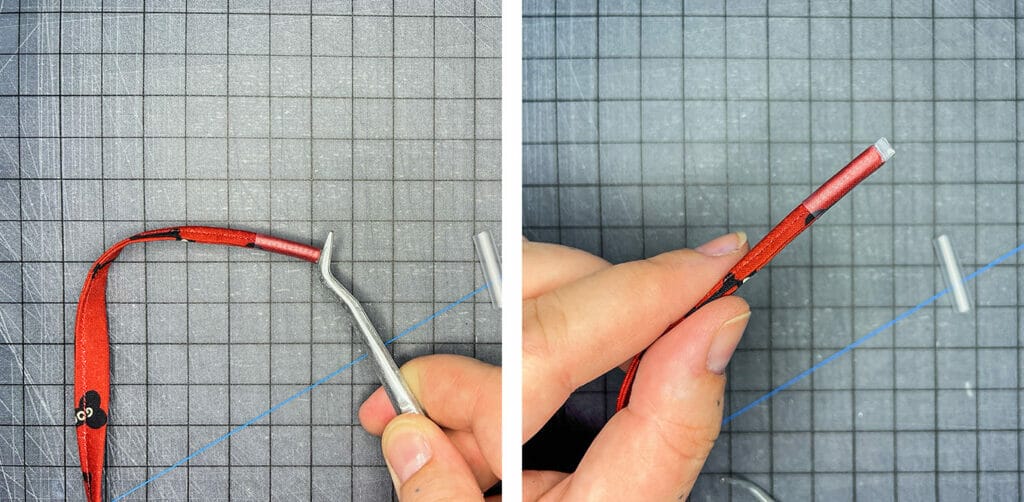
12. Before you repeat the plastic tubing process with your other shoelace end, this is a great time to check the length. If you know exactly how long you need it to be, you can measure it now. If you aren’t sure, I suggest lacing it up into your favorite shoes to see how long it’ll need to be. Once you’ve trimmed off the second end, repeat the plastic tubing process.
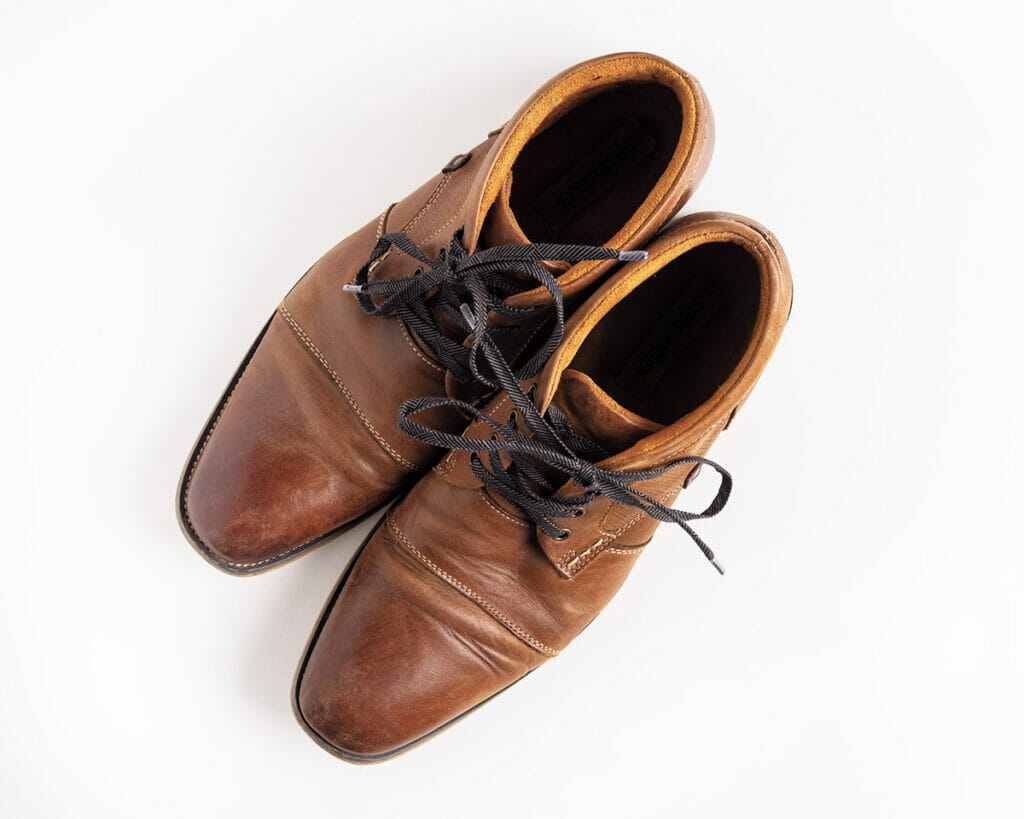
13. Voilà, you have a finished shoelace! Start back up at Step 1 and repeat this whole process for your second shoelace. Now that you’ve got a pair, lace up your favorite shoes and you’ll be delighted with how lovely they look!


 Tutorials

