
The moment we’ve all been waiting for has finally arrived. After months of sewing blocks, we get to put this quilt all together and finish!
I know many of you jumped right in after finishing last month’s blocks and have already assembled the main portion of the quilt. Once you have the quilt blocks all laid out, it’s not too difficult to see how it all goes together.
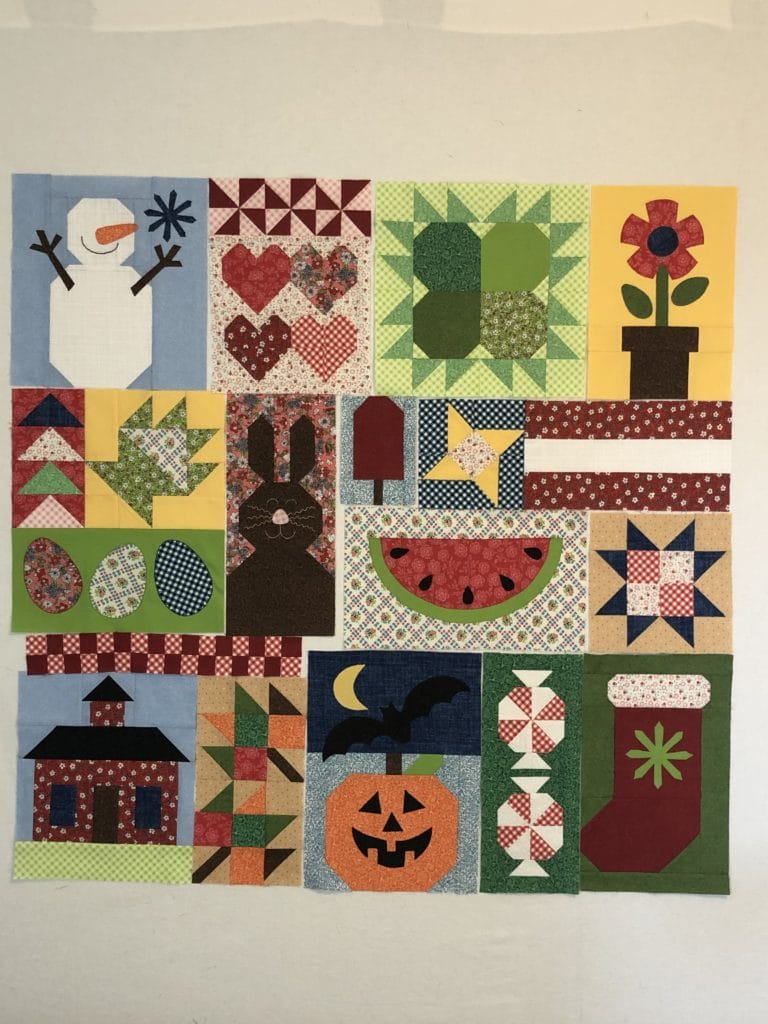
I must admit I got a little carried away myself sewing the blocks together, and forgot to take pictures of some of my sewing. Fortunately you all have the pattern to refer too!
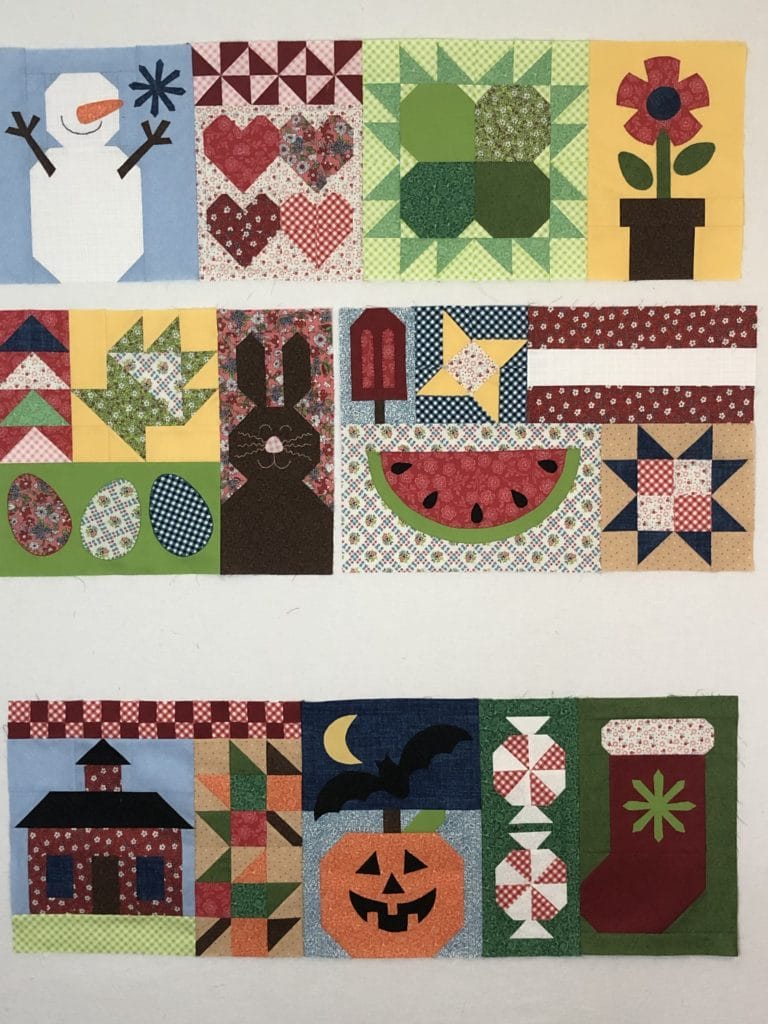
Once the center portion of the quilt is put together, it’s time to make and sew the borders. Whenever I have solid borders to add to a quilt, I ALWAYS cut my borders an inch or two longer, just to make sure I have plenty for squaring up the corners.
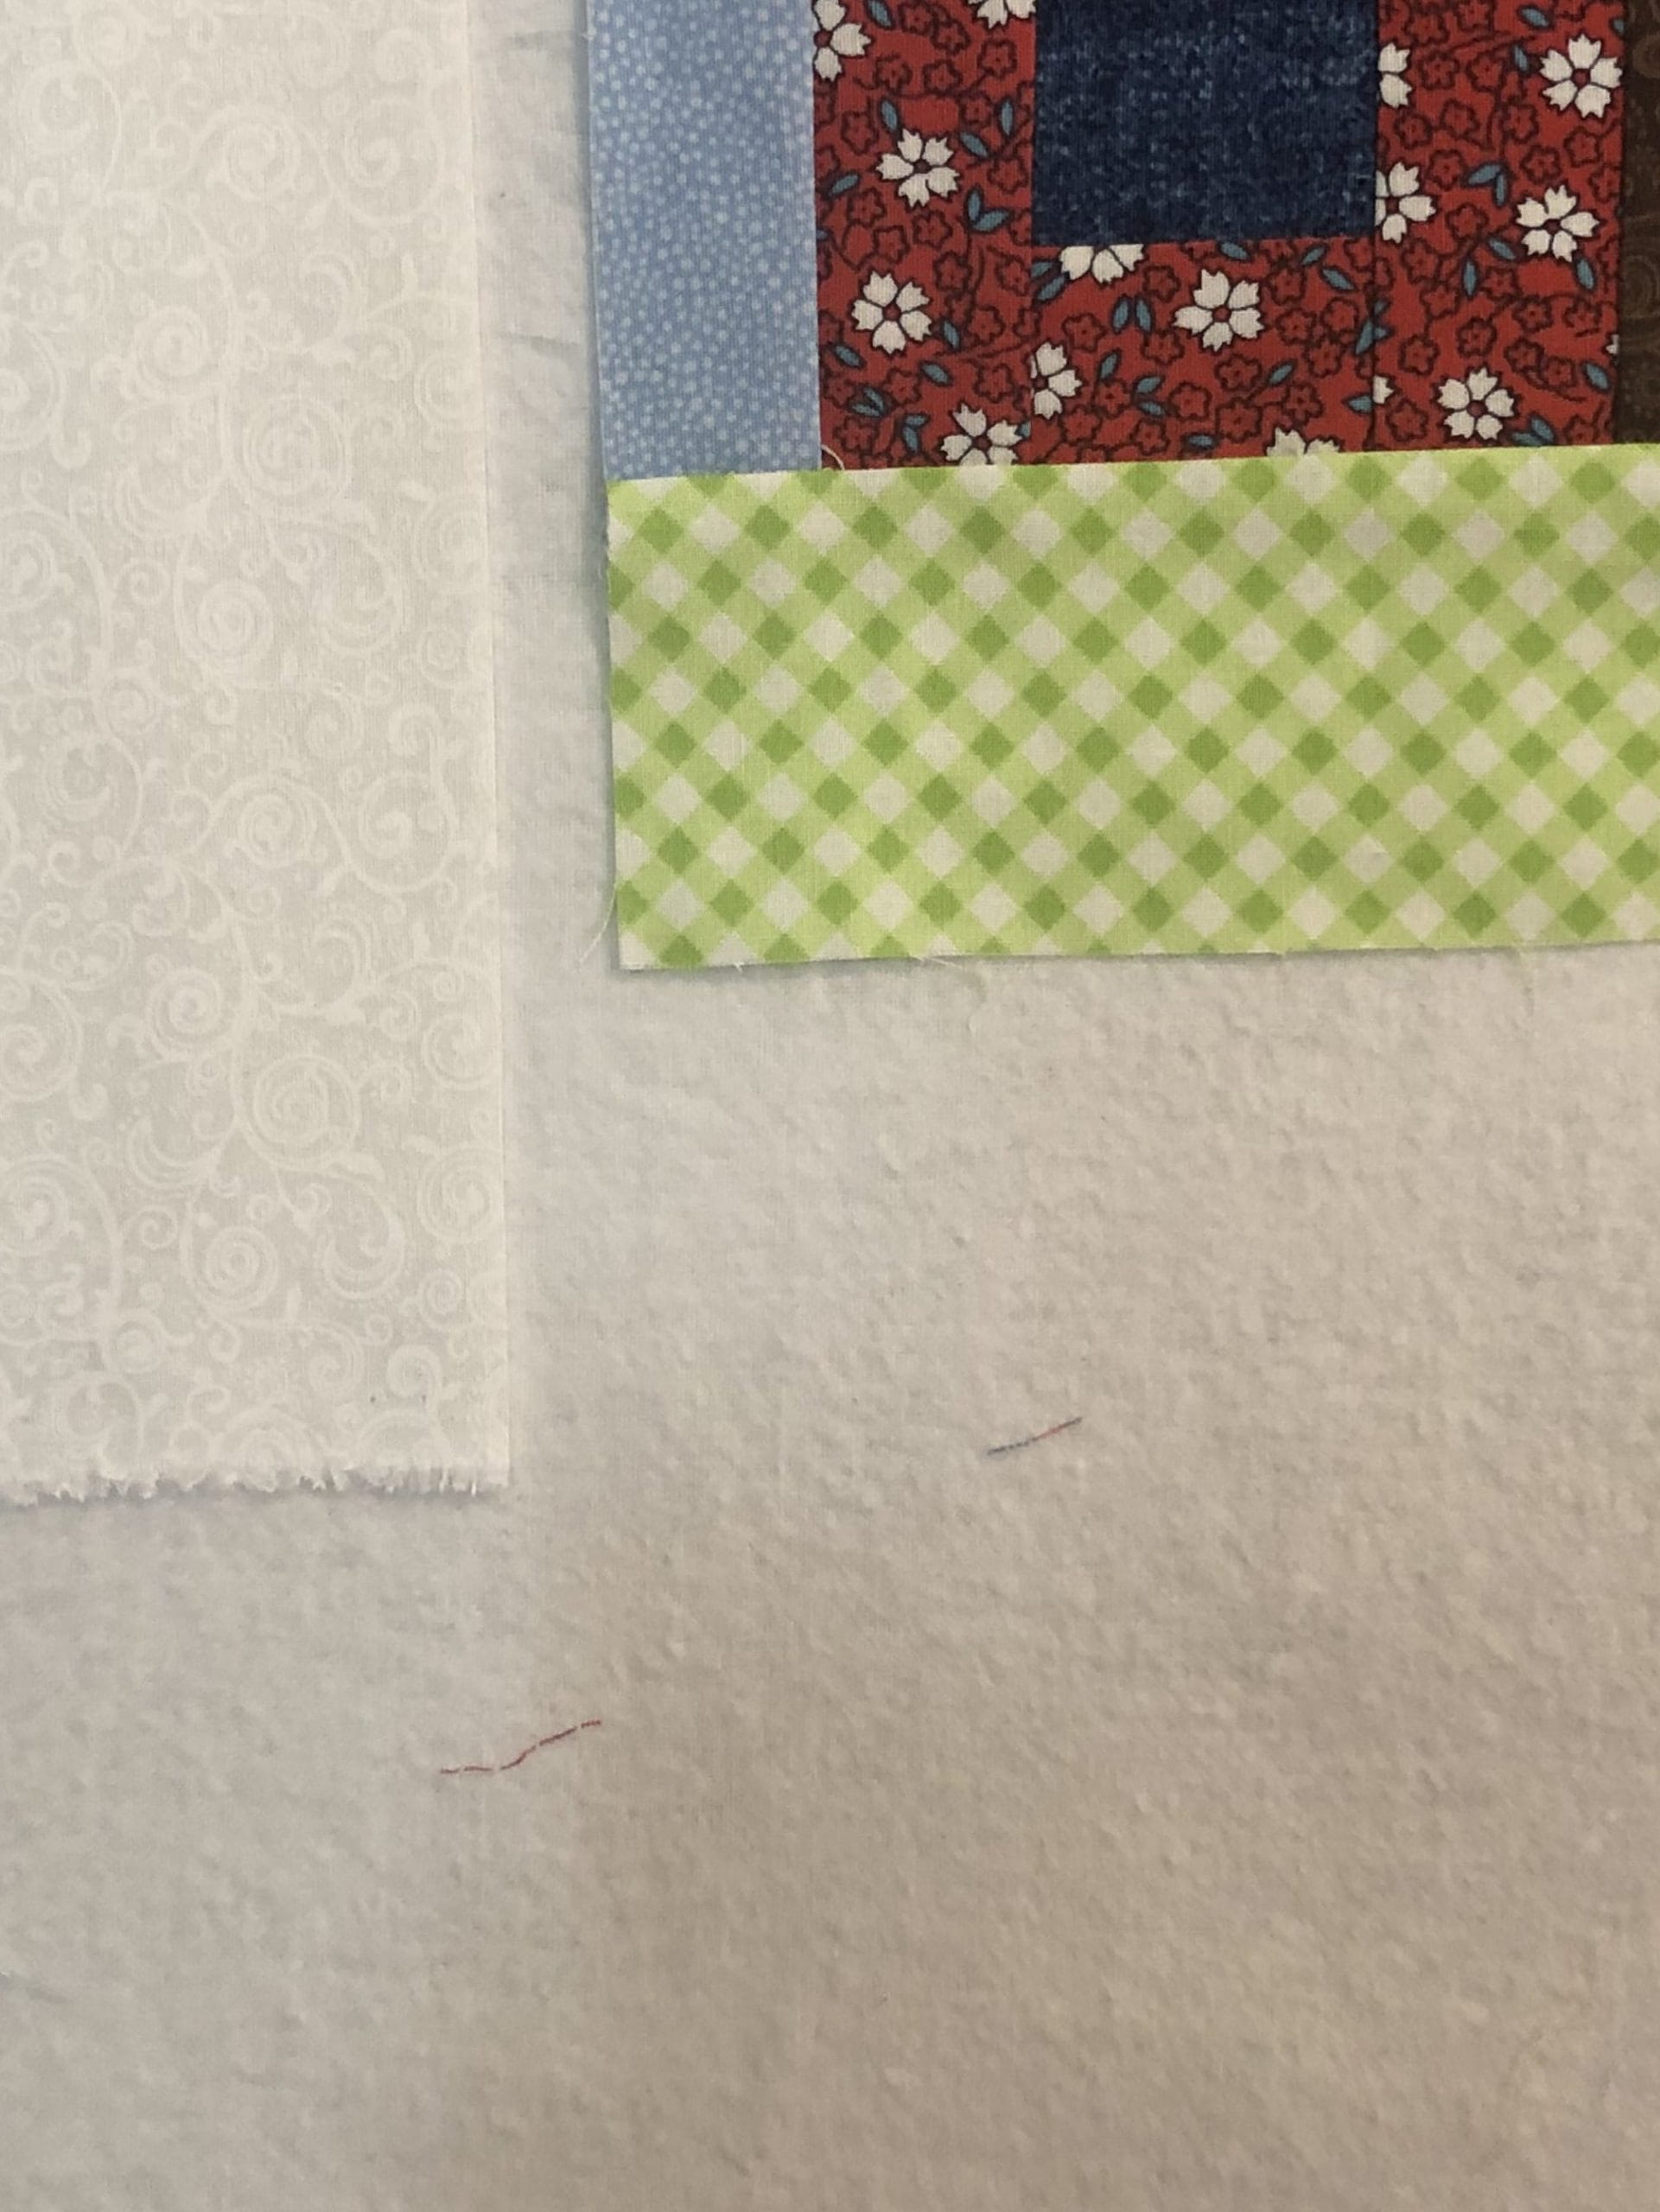
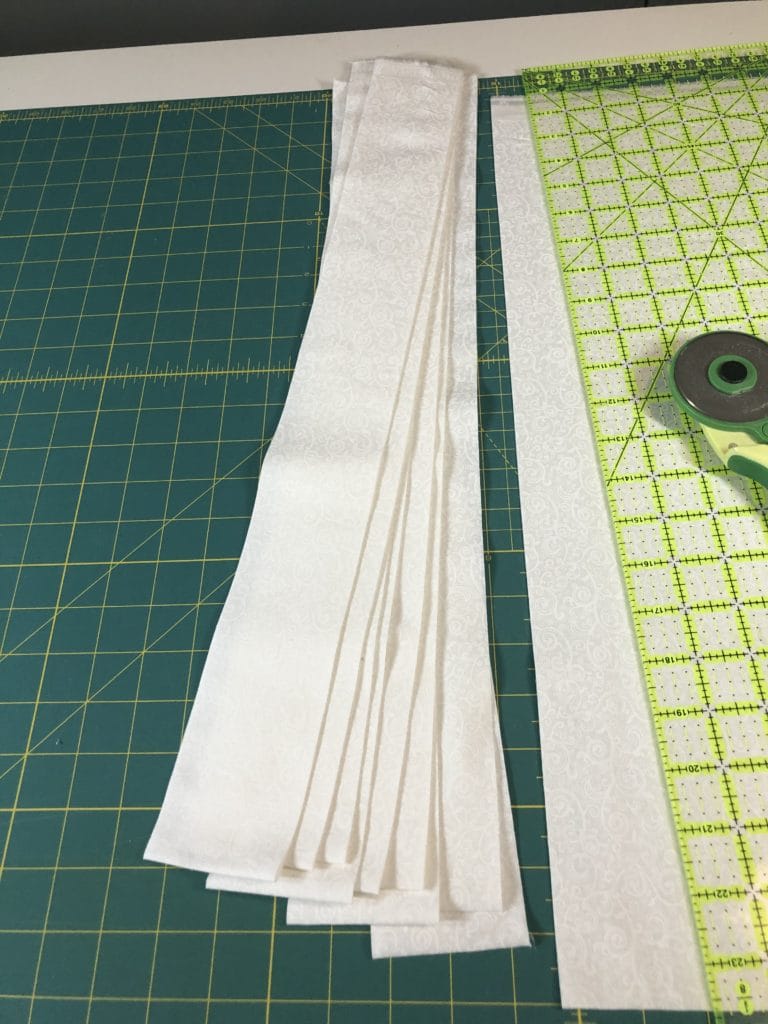
This month’s kit comes with 1-1/2 yards of the White Swirl fabric for the border strips, which means that you don’t need to piece your border strips for the A-D pieces, since you can cut them length-wise on the fabric. If you want to do this so that your borders don’t have seams, make sure you cut all of the A-D strips before cutting out all of your E squares for the pieced border.
Of course, yours truly forgot this and just went to town cutting strips running the width of fabric before I realized what I’d done. Sooo….I got to do some piecing for most of my white border strips. But it works either way, and there is plenty of fabric. I just have a few strategically placed seams in some of my borders.
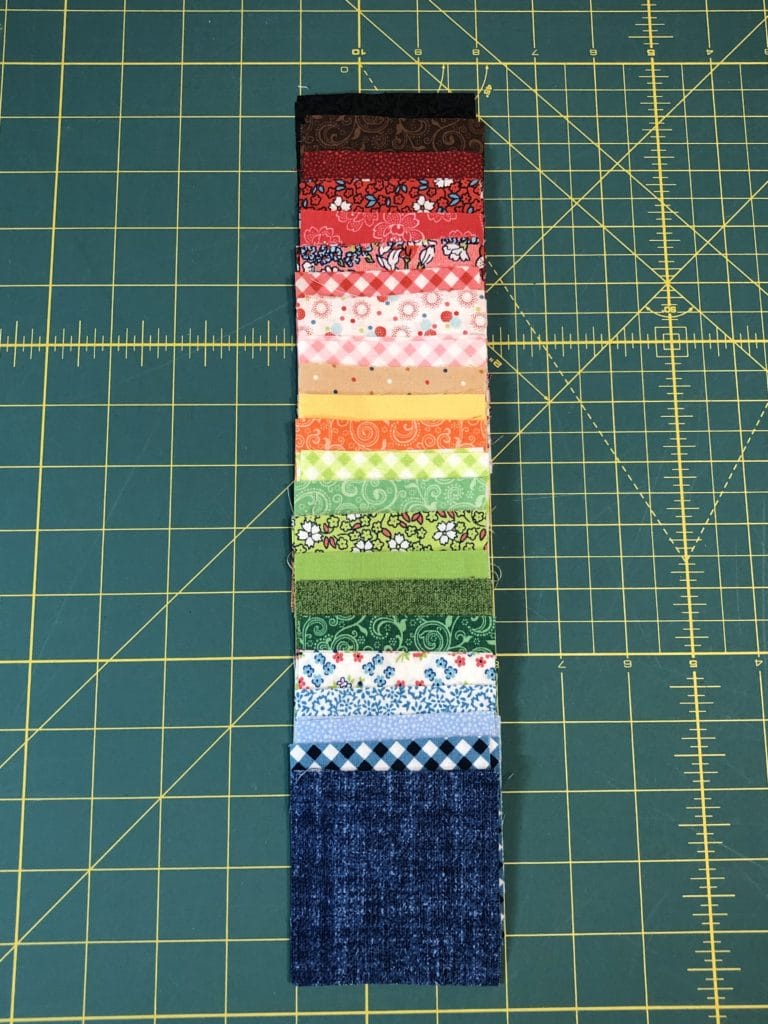
Now it’s time to make the half-square triangles for the pieced borders. Since you all know by now how to make these, I won’t worry about that part. But I’d like to share a little bit about fabric placement and color. Since this quilt is very colorful, I wanted to make sure that the border was a continuation of what was happening in the main body of the quilt. So I made sure to cut two F squares from each fabric in the quilt. This quilt has a lot of greens, blues, and reds, but not as many oranges and yellows, so I went ahead and cut a couple of extra squares of the orange and yellow fabrics so that my border would look more balanced.
Here are all my squares ready for sewing: You can see I’ve made sure I have all the colors of the rainbow represented.
Next, comes the fun part! I know many quilter who at this stage would just start sewing these half-square triangles together at random and surprise themselves with the finished product. I admire their moxie, but I have always had a hard time doing that. I’m one of those crazy people who neurotically places ALL my squares around the quilt on my design wall and then stands back to look at it. I want to make sure I don’t have too many fabrics of similar color or value next to one another. I may move the things around a dozen times before I am satisfied. (Bananas, I know!) Then when I’m happy with the results, I pull out my trusty phone and take pictures of everything before I begin sewing.
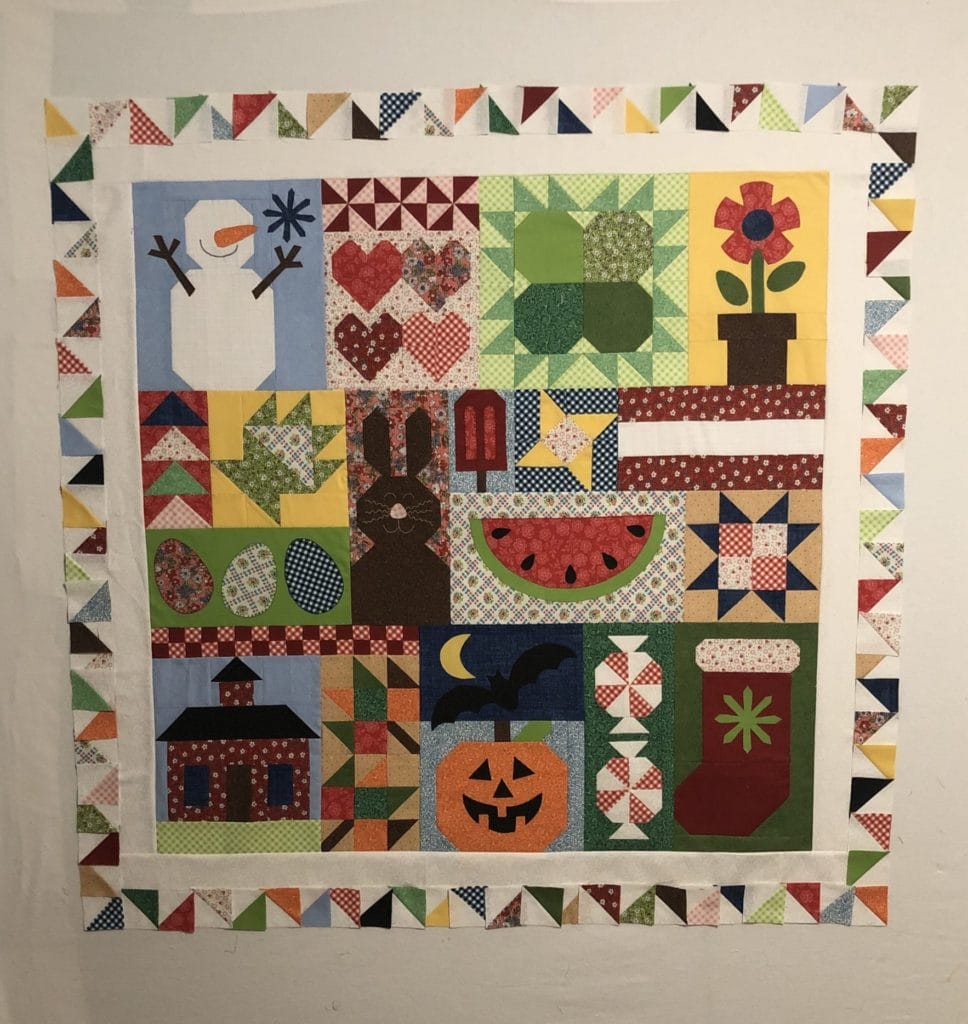
Plus, the added advantage is that I can also make sure that I have all my triangles oriented correctly, especially in the corners.

As you may notice from the photo above, I also sew the squares together in segments, and continually return things to my design wall and refer to my photos to make sure I’m not goofing things up as I go along. It takes a little longer this way, but it’s rare that I have to rip anything out.
Whenever making any type of pieced border, it can be tricky to make sure things fit properly. Even a 1/32 difference in seam allowance can have a big effect when you are piecing together dozens of squares. I’ve made hundreds of quilts, and I still every once in a while end up with something being way off.
Here are a couple of tips I use that may help
For border strips that are too long
After I’ve ironed my border, if it’s off by around a ½ inch or less, one of my favorite tricks is to spray the pieced strip with MaryEllen’s Best Press, and let it rest. I don’t iron it again before sewing. I just let it dry and it shrinks up just enough to usually fit pretty well. After I sew it together then I press and it works like a charm!
If my pieced border is REALLY long, I will go back and increase the seams in multiple places by just a hair. There’s no need to rip anything out, just sew right next to the old seam. You need to be careful that you don’t increase each individual seam by too much, or it will throw off your triangle points when it’s attached. So it’s better to do a tiny bit on multiple seams, rather than just adjust a few seams by a large amount.
For border strips that are too short
If my borders are just a bit too short, then I can usually stretch them a bit and ease them in, but if they are way off, then I get friendly with my seam ripper. I generally will rip out multiple seams and then re-sew them just a scant under the ¼” seam allowance until it fits. It’s not fun or easy, but it works.
Once we have all the pieced borders attached, we can sew on the final border strips and the top is FINISHED!
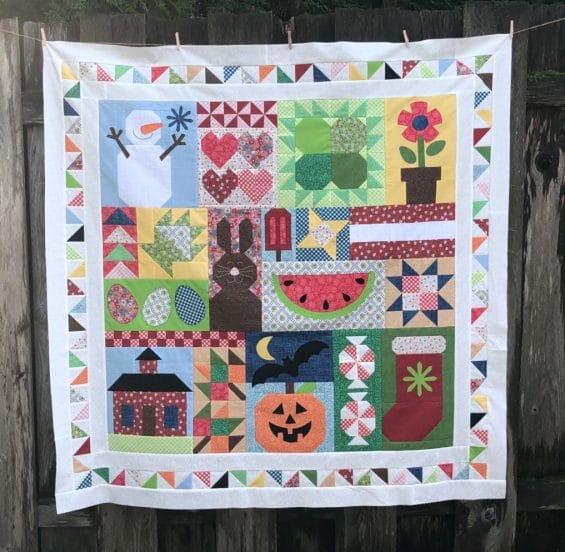
Thanks so much for making this quilt with me! I hope you enjoy it for many years to come!
-Kristin


 Tutorials

