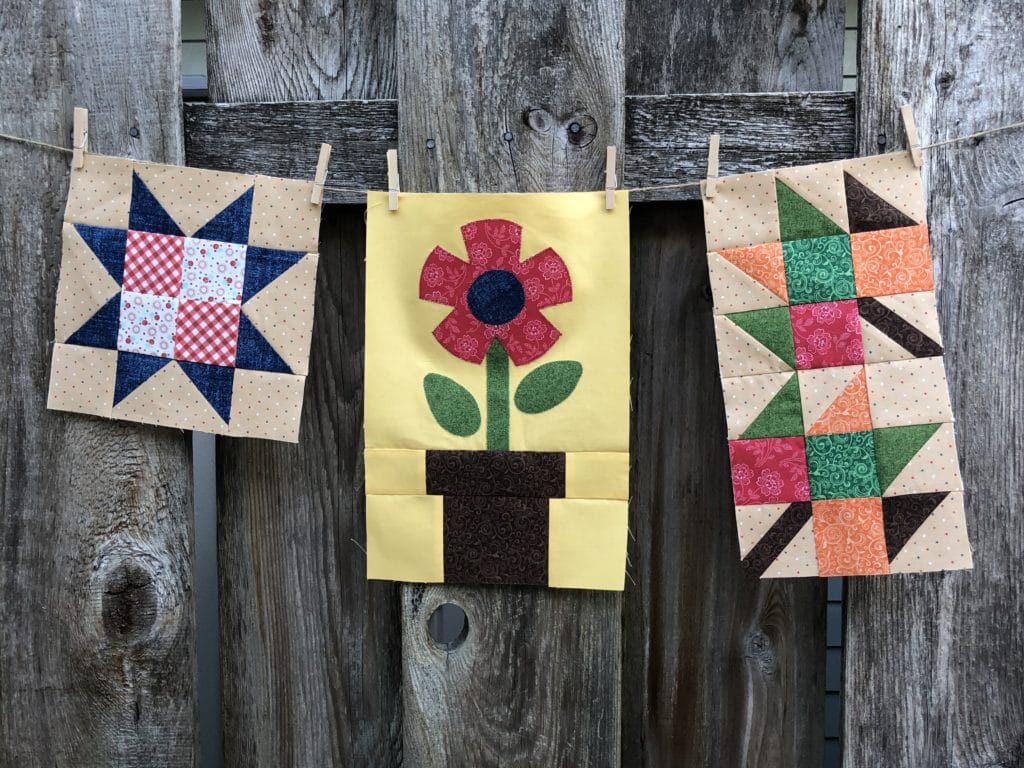
I’m so excited to get going on the second installment of the Season quilt! This month we will sew another three blocks. Two are entirely pieced, and one has some applique. Let’s get started!
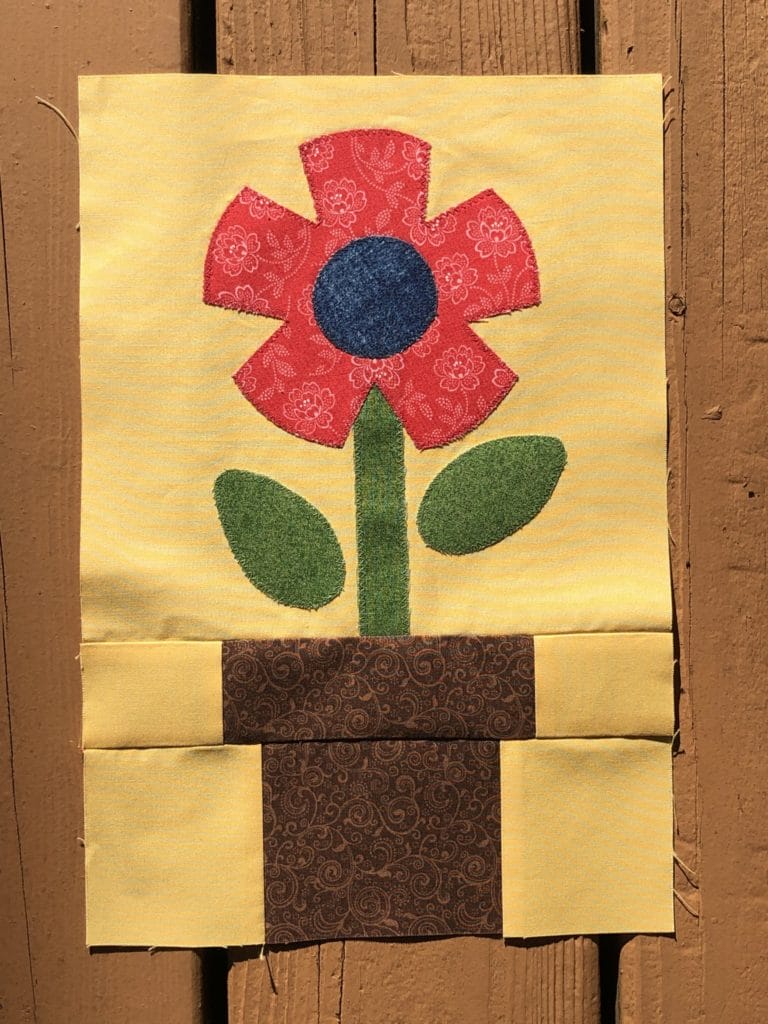
Our first block is the Potted flower. The potted base is pretty straight forward, but the applique this month involves some layering. You can go about this one of two ways: If you are using the fusible web to attach your pieces, you can do this all at once and then stitch everything once it’s all affixed. Or you can attach the stem and leaves first, stitch around those, and then add the flower petals and flower center to do afterward. Both ways work great! Just make sure your stem (piece F) is tucked underneath your flower petals and also goes to the edge of the block. If you need some tips on applique, please refer back to the Month #1 blogpost.
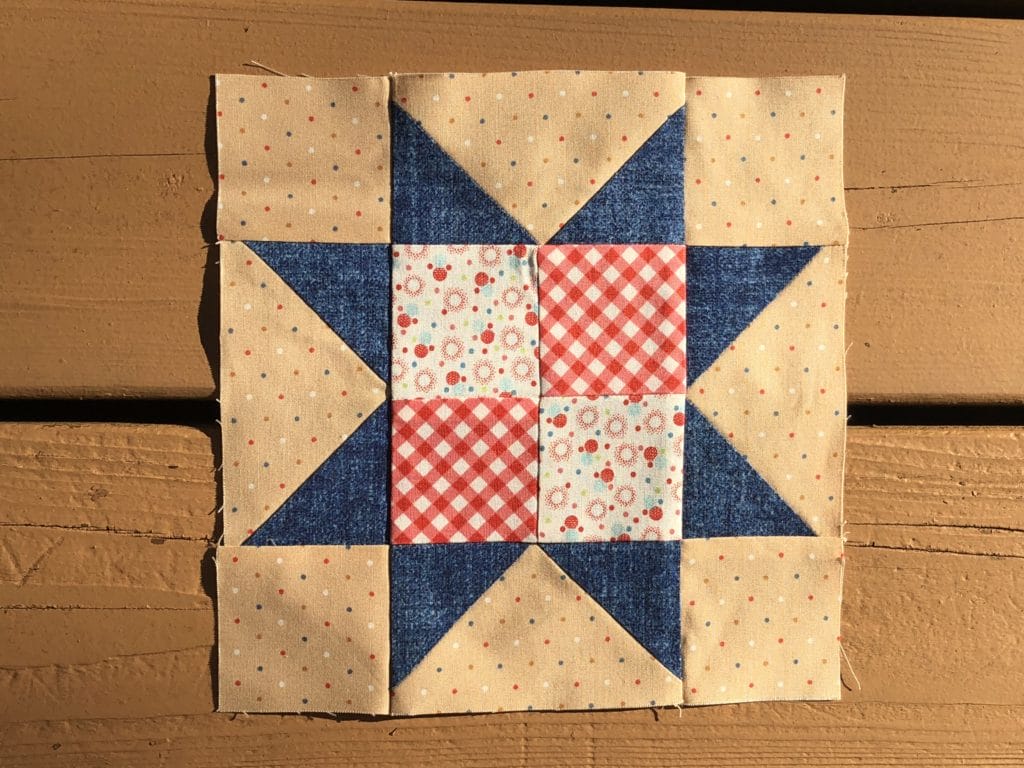
Our 2nd block is the Sawtooth Star – one of my all-time favorite easy blocks to make. Here are some pictures that will give a quick tutorial for making no-waste flying geese, which is my favorite way to make them.
Place your two C squares on to each D square just like you see below. You can draw your lines on ahead of time, or add them all at once after you lay them both on the D square. They will overlap in the middle, just like it says in the instructions.

Now all you have to do is sew a 1/4″ seam on both sides of the marked line, and then cut directly on the marked line. This will give you two units like this:

Now add and additional C square to each unit, and repeat the same process.

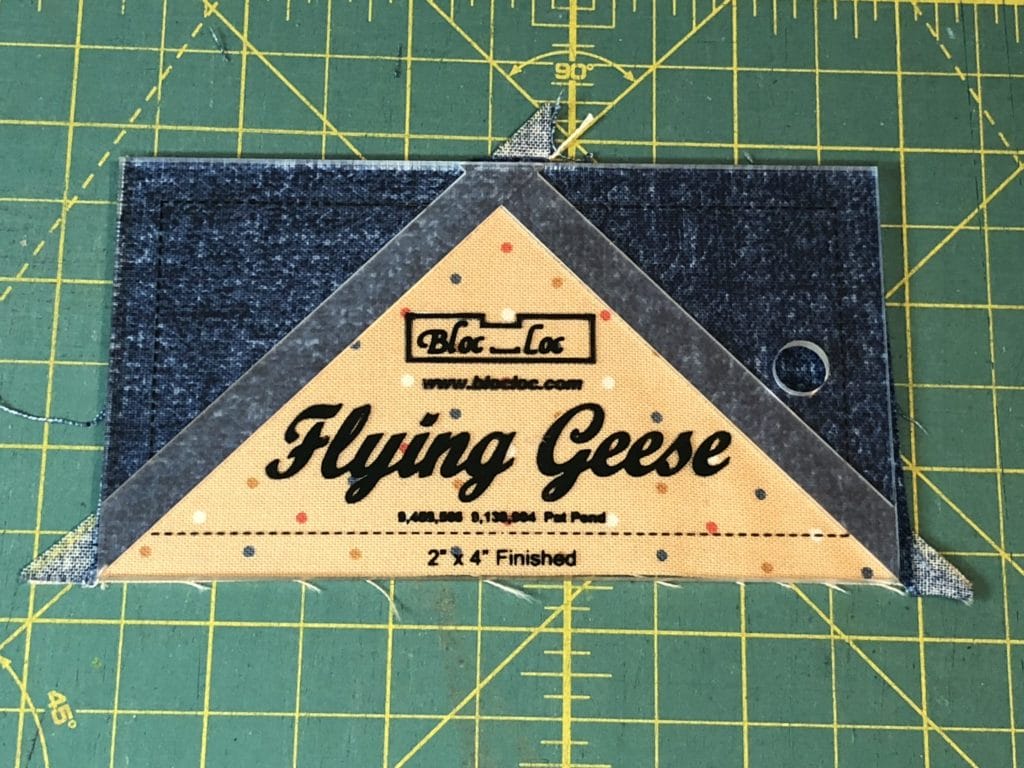
And now that they are pressed, all I have to do is square them up. My FAVORITE tool for doing this is the Bloc-Loc flying geese ruler. They make such quick work of trimming things up. I’m not sure who invented these amazing rulers, but they are a genius! It took me a while before I felt I could justify adding these to my ruler arsenal, but I’m SO glad I did! And no, I’m not a paid spokesperson, just a fan.
Our last block for this month is the Falling Leaves block. Fall is my FAVORITE season! I’m a sucker for sweaters, college football, and crisp cozy evenings. Plus, it means that the holidays are coming, which makes me downright giddy!
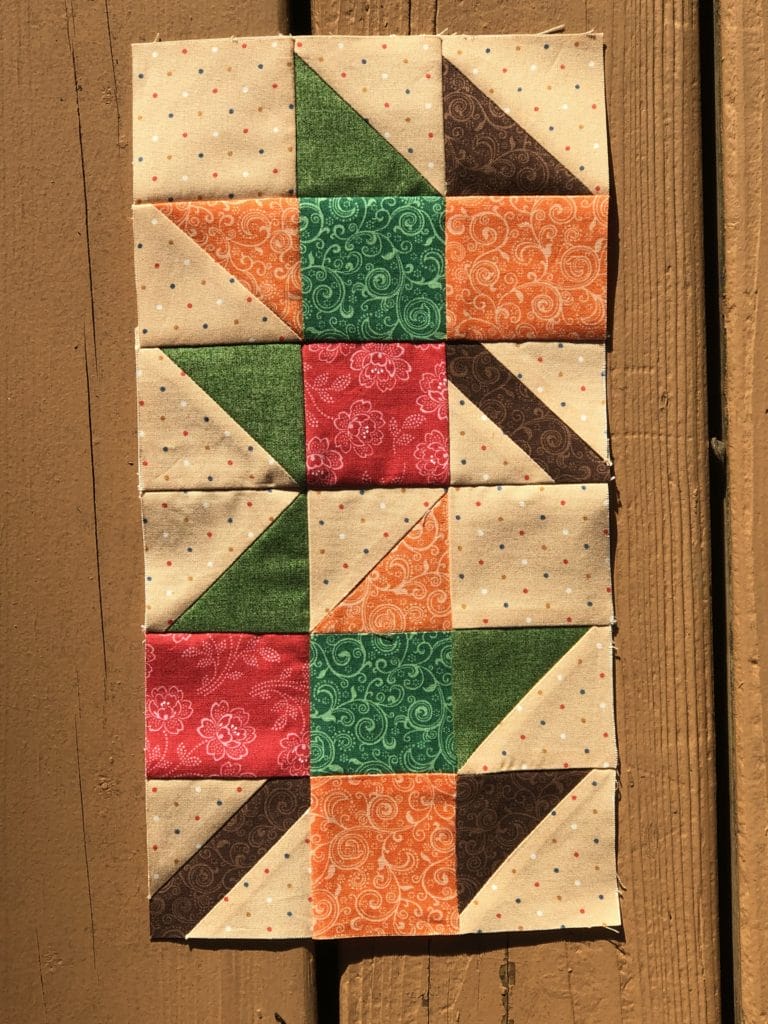
These blocks are mostly just a bunch of Half-Square Triangle units sewn together with a few plain squares. The most important thing to remember for this block is to follow the pressing arrows in the directions so that all your pieces will next together nicely.

Feel free to mix and match the units around to give it a scrappy look. Or if you prefer, you can make both of the 6-1/2″ blocks exactly the same – it’s up to you! In fact, if you are extra observant you will notice that the picture I’m showing below doesn’t exactly match the Falling Leaves block made in the sample on the cover page. I mixed up the brown and green units on one of the blocks. Apparently I can’t even follow my own directions! But guess what? It doesn’t matter, because no one will know unless they read this blog post haha!
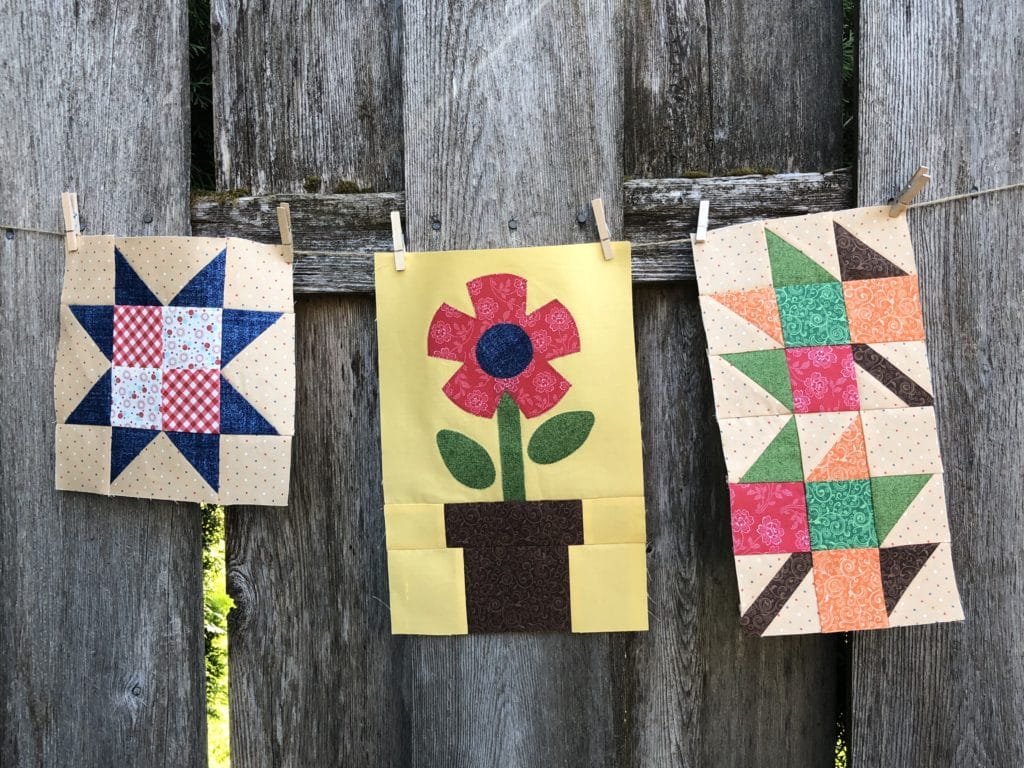
I can’t wait to see everyone’s finished blocks! Have fun, and Happy Quilting! – Kristin


 Tutorials

