


 Tutorials
 5.5.2023
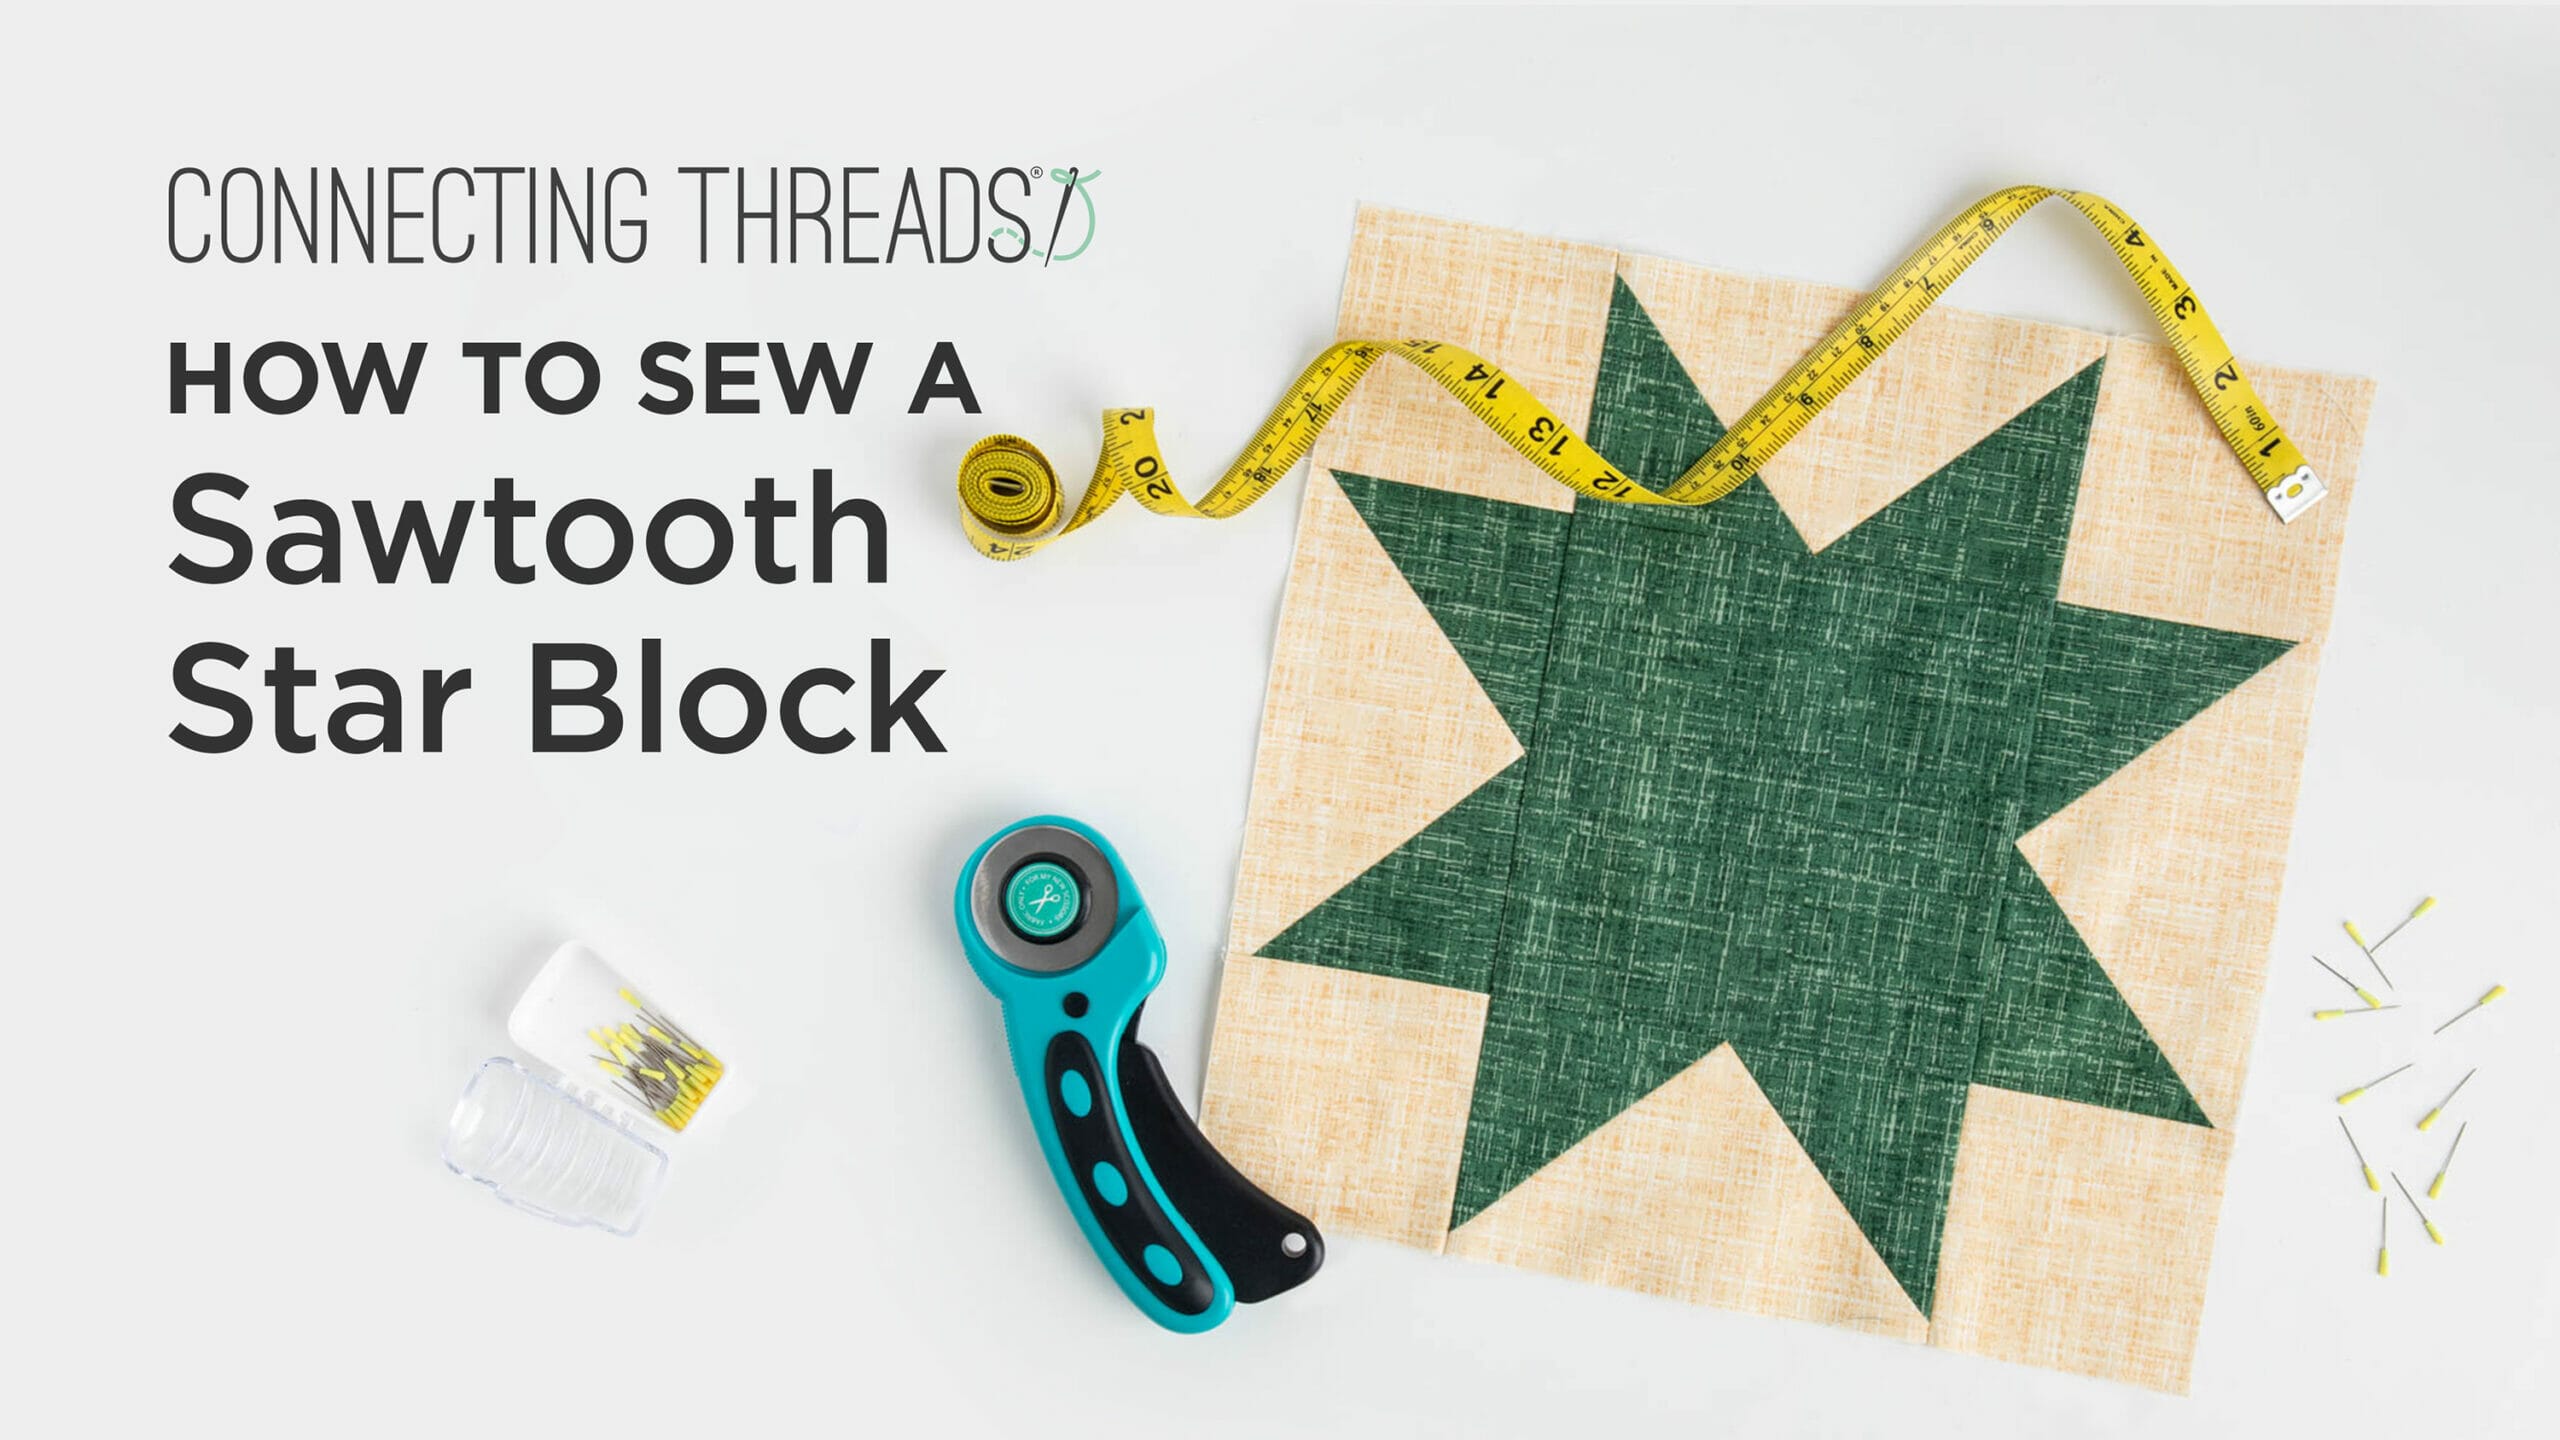
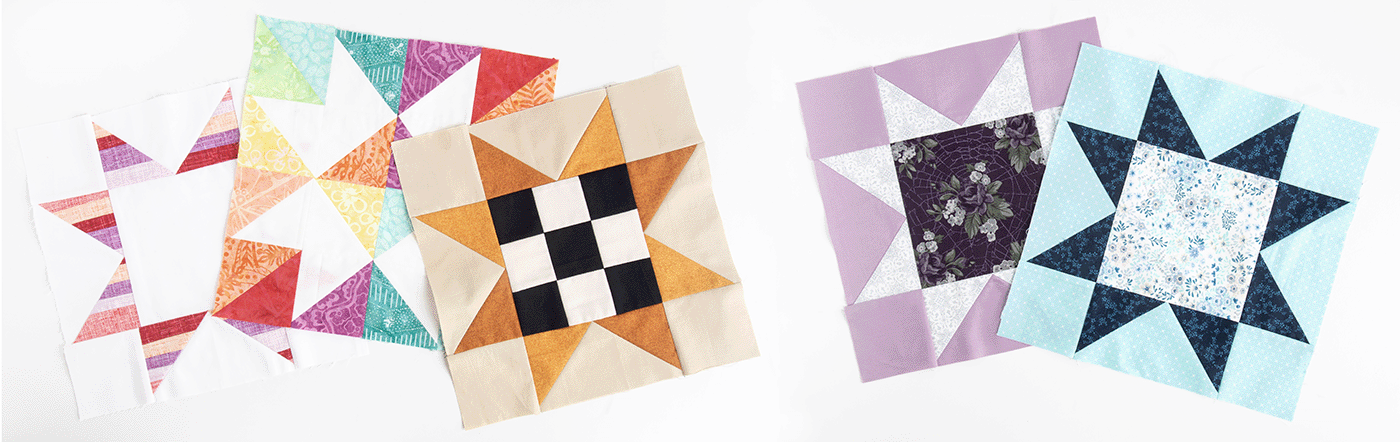
The Sawtooth Star is a simple block with endless potential. A history that goes all the way back to 1884, when it was first published in Farm & Fireside Magazine, this humble block was designed to reference the teeth of a saw. Now, the Sawtooth Star can be anything you want it to be: bold and beautiful, traditional and subtle, every single component can be changed in a delightful way! Take a look at some of these lovely samples, sewn by our very own Connecting Threads staff:
Our video about how to sew the Sawtooth Star is on YouTube and is a lengthy beginner-friendly tutorial for all our quilting newbies out there! Click this link to start watching and refer to the Description for time stamps if you want to skip ahead to specific section.
This blog post is a written description of all the steps you’ll see in our video. We know it can be helpful to have text to follow along, so feel free to open both up to get started!
First, let’s start with all the materials you’ll need:
- One fabric for the background: the yellow fabric in our video is Faux Tweed in Cornsilk. You will need:
- 4 squares cut to 3 ½” x 3 ½”
- 4 rectangle cut to 3 ½” x 6 ½”
- One fabric for the star: the green fabric in our video is Faux Tweed in Fern. You will need:
- 1 square cut to 6 ½” x 6 ½”
- 8 squares cut to 3 ½” x 3 ½” (these will be the points of the star)
- Essential™ Cotton Thread
- Marking pens
- I used a Frixion Gel Pen – the marks disappear when ironed, it’s fabulous!
- For darker fabrics, the Chaco Liner Pen in white is fantastic!
- Basic sewing supplies (products from our video are listed below):
- Omnigrid 12″ x 18″ Cutting Mat
- Olfa Rotary Cutter
- Dritz Easy Grasp Pins
- Wool pressing mat
- Dritz Mighty Travel Iron
- Ruler: as long as it has 1/4″ lines to trim your seam allowance, any size will do!
A quick note before we start out directions: this written tutorial matches our video tutorial where we will be making a 12” x 12” block. That is the sewn-in size, meaning once the block in sewn into a quilt, it will measure 12” x 12”. The unfinished size should be 12 ½” x 12 ½”.
If you want to make a different size, we have a handy size chart at the bottom of this blog post. Scroll to the end and you can learn how to make the size of your choice!
Instructions:
1. Cut your pieces, sizes are listed above in the materials section. You should end up with 4 corner squares & 4 rectangles in your background fabric, and 1 center square & 8 star point squares in your star fabric.
2. Next, you’ll need to create 4 Flying Geese blocks that will be your star’s points. This is a very simple, 1-at-a-time method, but feel free to use whatever you like best!
- Start by taking your 8 star point squares and turn them right side down. Take a marking tool and draw a line down one diagonal of each square. I like to mark all of my squares in one go to speed up the process! See the reference photo below on where to mark (line is drawn in red):
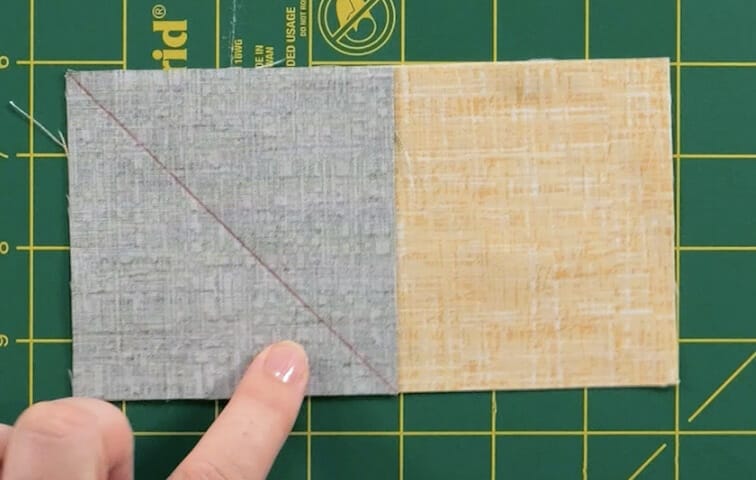
- Take one star point square and place it right sides together with one yellow rectangle. It should line up with one 3 ½” side. Again, check the reference photo above to make sure your placement is correct.
- Pin along the diagonal line and sew on your marked line. Take the pins out as you sew!
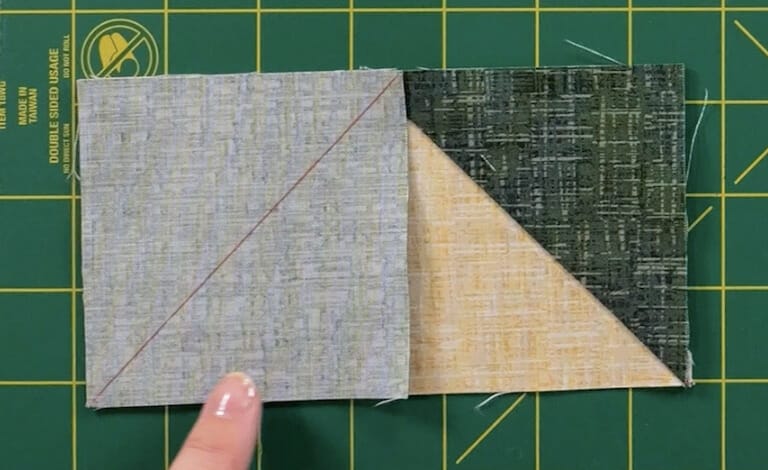
- Trim a ¼” seam allowance from your sewn line. See the reference photo below (I used red thread to make it easier to see!) – you want to trim off the smaller corner, not the entire block:
- Press your block open. If using the listed fabrics, you should now have a yellow rectangle with one green triangle in the corner!
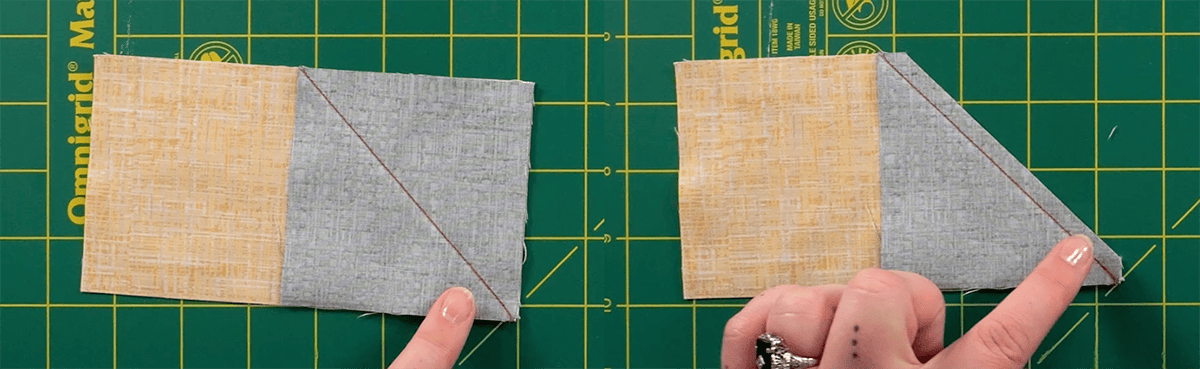
- Take another star point square and place it right sides together with your rectangle. Your square should align with the opposite 3 ½” side from the first square. See the reference photo below to check that you have the placement correct – the red line is the diagonal you drew in a previous step:
- Pin along your diagonal line then sew along that same line, taking the pins out as you go.
- Just like you did with the first point, trim a ¼” seam allowance from your sewn line.
- Now you need to repeat this whole process for each Flying Geese block, ending up with 4! Take your time and don’t forget to drop those triangle cut offs in your scrap bin – they sew together into perfect little half-square triangles for another project!
3. Lay out your corner squares, your finished Flying Geese blocks and your center square. See the reference photo below to check placement:
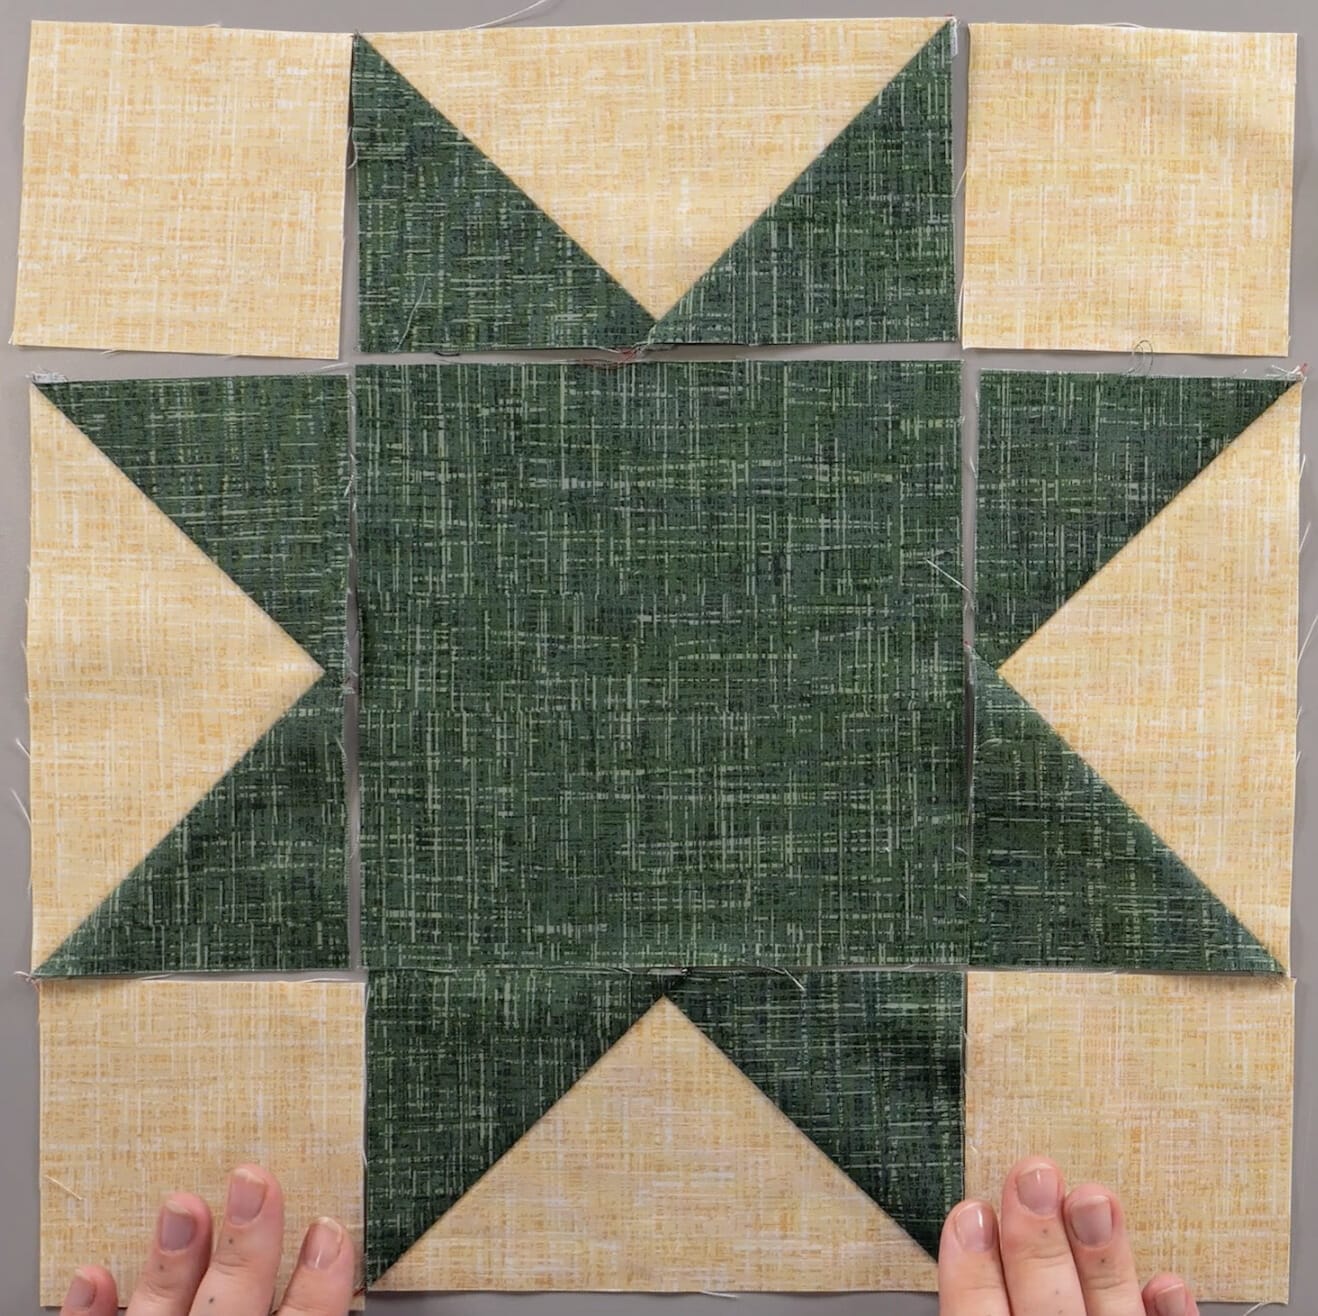
Your top row will be: one corner square, one Flying Geese, one corner square.
Your middle row will be: one Flying Geese, one center square, one Flying Geese.
Your bottom row will be: one corner square, one Flying Geese, one corner square.
4. Now we sew each of these rows together. Take your left side blocks and flip them right sides together with your middle blocks. See the reference photo below:
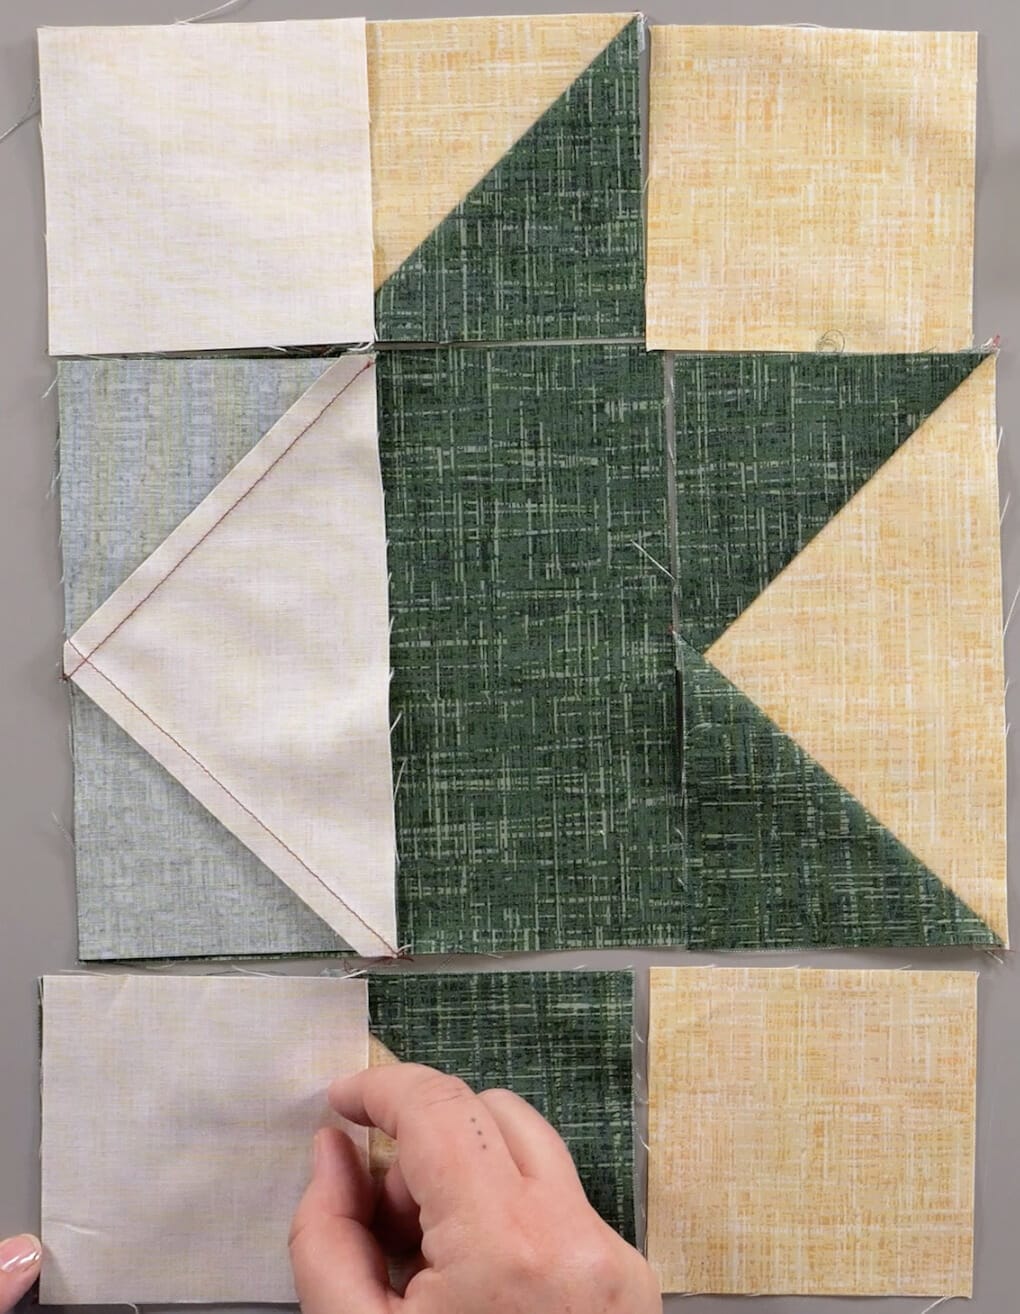
Pin down all of the seams that will be facing your sewing machine – this will help ensure that they remain flat during the sewing process! Take a look below – you’ll see that I pinned the seam in the middle of the Flying Geese block (which is being sewn to your center square):

Using a ¼” seam allowance, sew each pair together. Iron your seams open and repeat this process with your right side blocks.
5. You should now have three rows, ready to be sewn together! Take your top row and flip it right sides together with your middle row. You’ll want to pin at each intersection, especially any seams that might be facing your sewing machine. See the reference photo below to see where I like to pin:
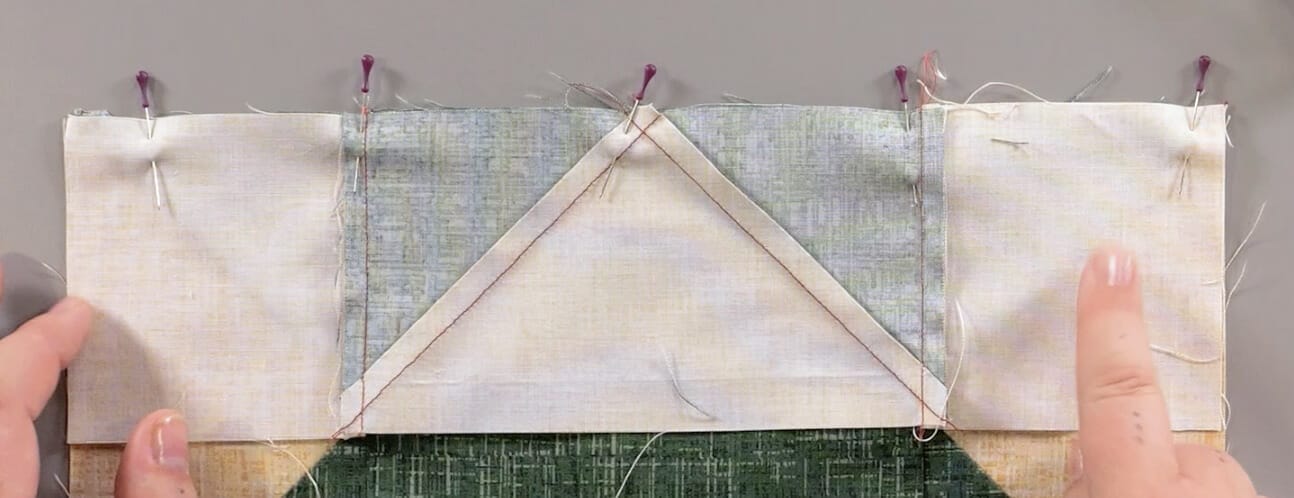
Using a ¼” seam allowance, sew your top row and middle row together, taking pins out as you go. Iron your new seam open.
Repeat this same process with your bottom row. Flip it up, right sides together, with your middle row (which is now attached to your top row). Pin at your intersections and seams, then sew using a ¼” seam allowance. Iron your new seam open.
6. You now have a finished Sawtooth Star block! Congratulations!
So you’ve made a Sawtooth Star and you love it, right? I know, me too – I’m absolutely obsessed and can’t stop making them! However, I’m guessing that you might want to make one that’s a different size. Not everyone want a 12″ x 12″ block!
Here is a Size Chart for different block sizes. The blocks are listed by sewn-in size, then each component is listed by the size you will need to cut.
|
Sewn-In Block Size |
Corner Squares (Cut 4) |
Center Square (Cut 1) |
Star Point Squares (Cut 8) |
Rectangles (Cut 4) |
|
4” Block |
1 ½” x 1 ½” |
2 ½” x 2 ½” |
1 ½” x 1 ½” |
1 ½” x 2 ½” |
|
6” Block |
2” x 2” |
3 ½” x 3 ½” |
2” x 2” |
2” x 3 ½” |
|
8” Block |
2 ½” x 2 ½” |
4 ½” x 4 ½” |
2 ½” x 2 ½” |
2 ½” x 4 ½” |
|
10” Block |
3” x 3” |
5 ½” x 5 ½” |
3” x 3” |
3” x 5 ½” |
|
12” Block |
3 ½” x 3 ½” |
6 ½” x 6 ½” |
3 ½” x 3 ½” |
3 ½” x 6 ½” |
|
16” Block |
4 ½” x 4 ½” |
8 ½” x 8 ½” |
4 ½” x 4 ½” |
4 ½” x 8 ½” |
Happy sewing!

