Tutorials
 10.10.2022
Hi everyone, and Happy Fall!
This month we have three more blocks to make, which means we are almost to the end of our block making. By now you’ve probably mastered most, if not all, of the techniques used in making this quilt. But if not, practice makes pretty! I no longer say ‘perfect’ when referring to my quilt blocks, because I’m not sure there really is such a thing, and I’ve learned over the years to let go of trying to fix all the tiny imperfections that no one else will notice but me. Piecing blocks should be fun, not stressful!
Let’s dive right in and talk about this month’s blocks:
BLOCK #6
We’ll begin by making a simple 4-patch unit, and press toward the G squares.
Next, we will make four flying geese units using the simple stitch and flip method, and press toward the H triangles. And yet AGAIN, I forgot to take enough photos as I was sewing. But hopefully by now, you all know what to do.
And those are the only units we need to make before assembling the center portion of the block. As usual, I lay everything out and make sure things are oriented correctly before I begin sewing my pieces together.
By now you know the drill for finishing these blocks – adding the final border.
BLOCK #7
This block is sometimes called Dutchman’s puzzle, and it’s just flying geese sewn together in a fun way.
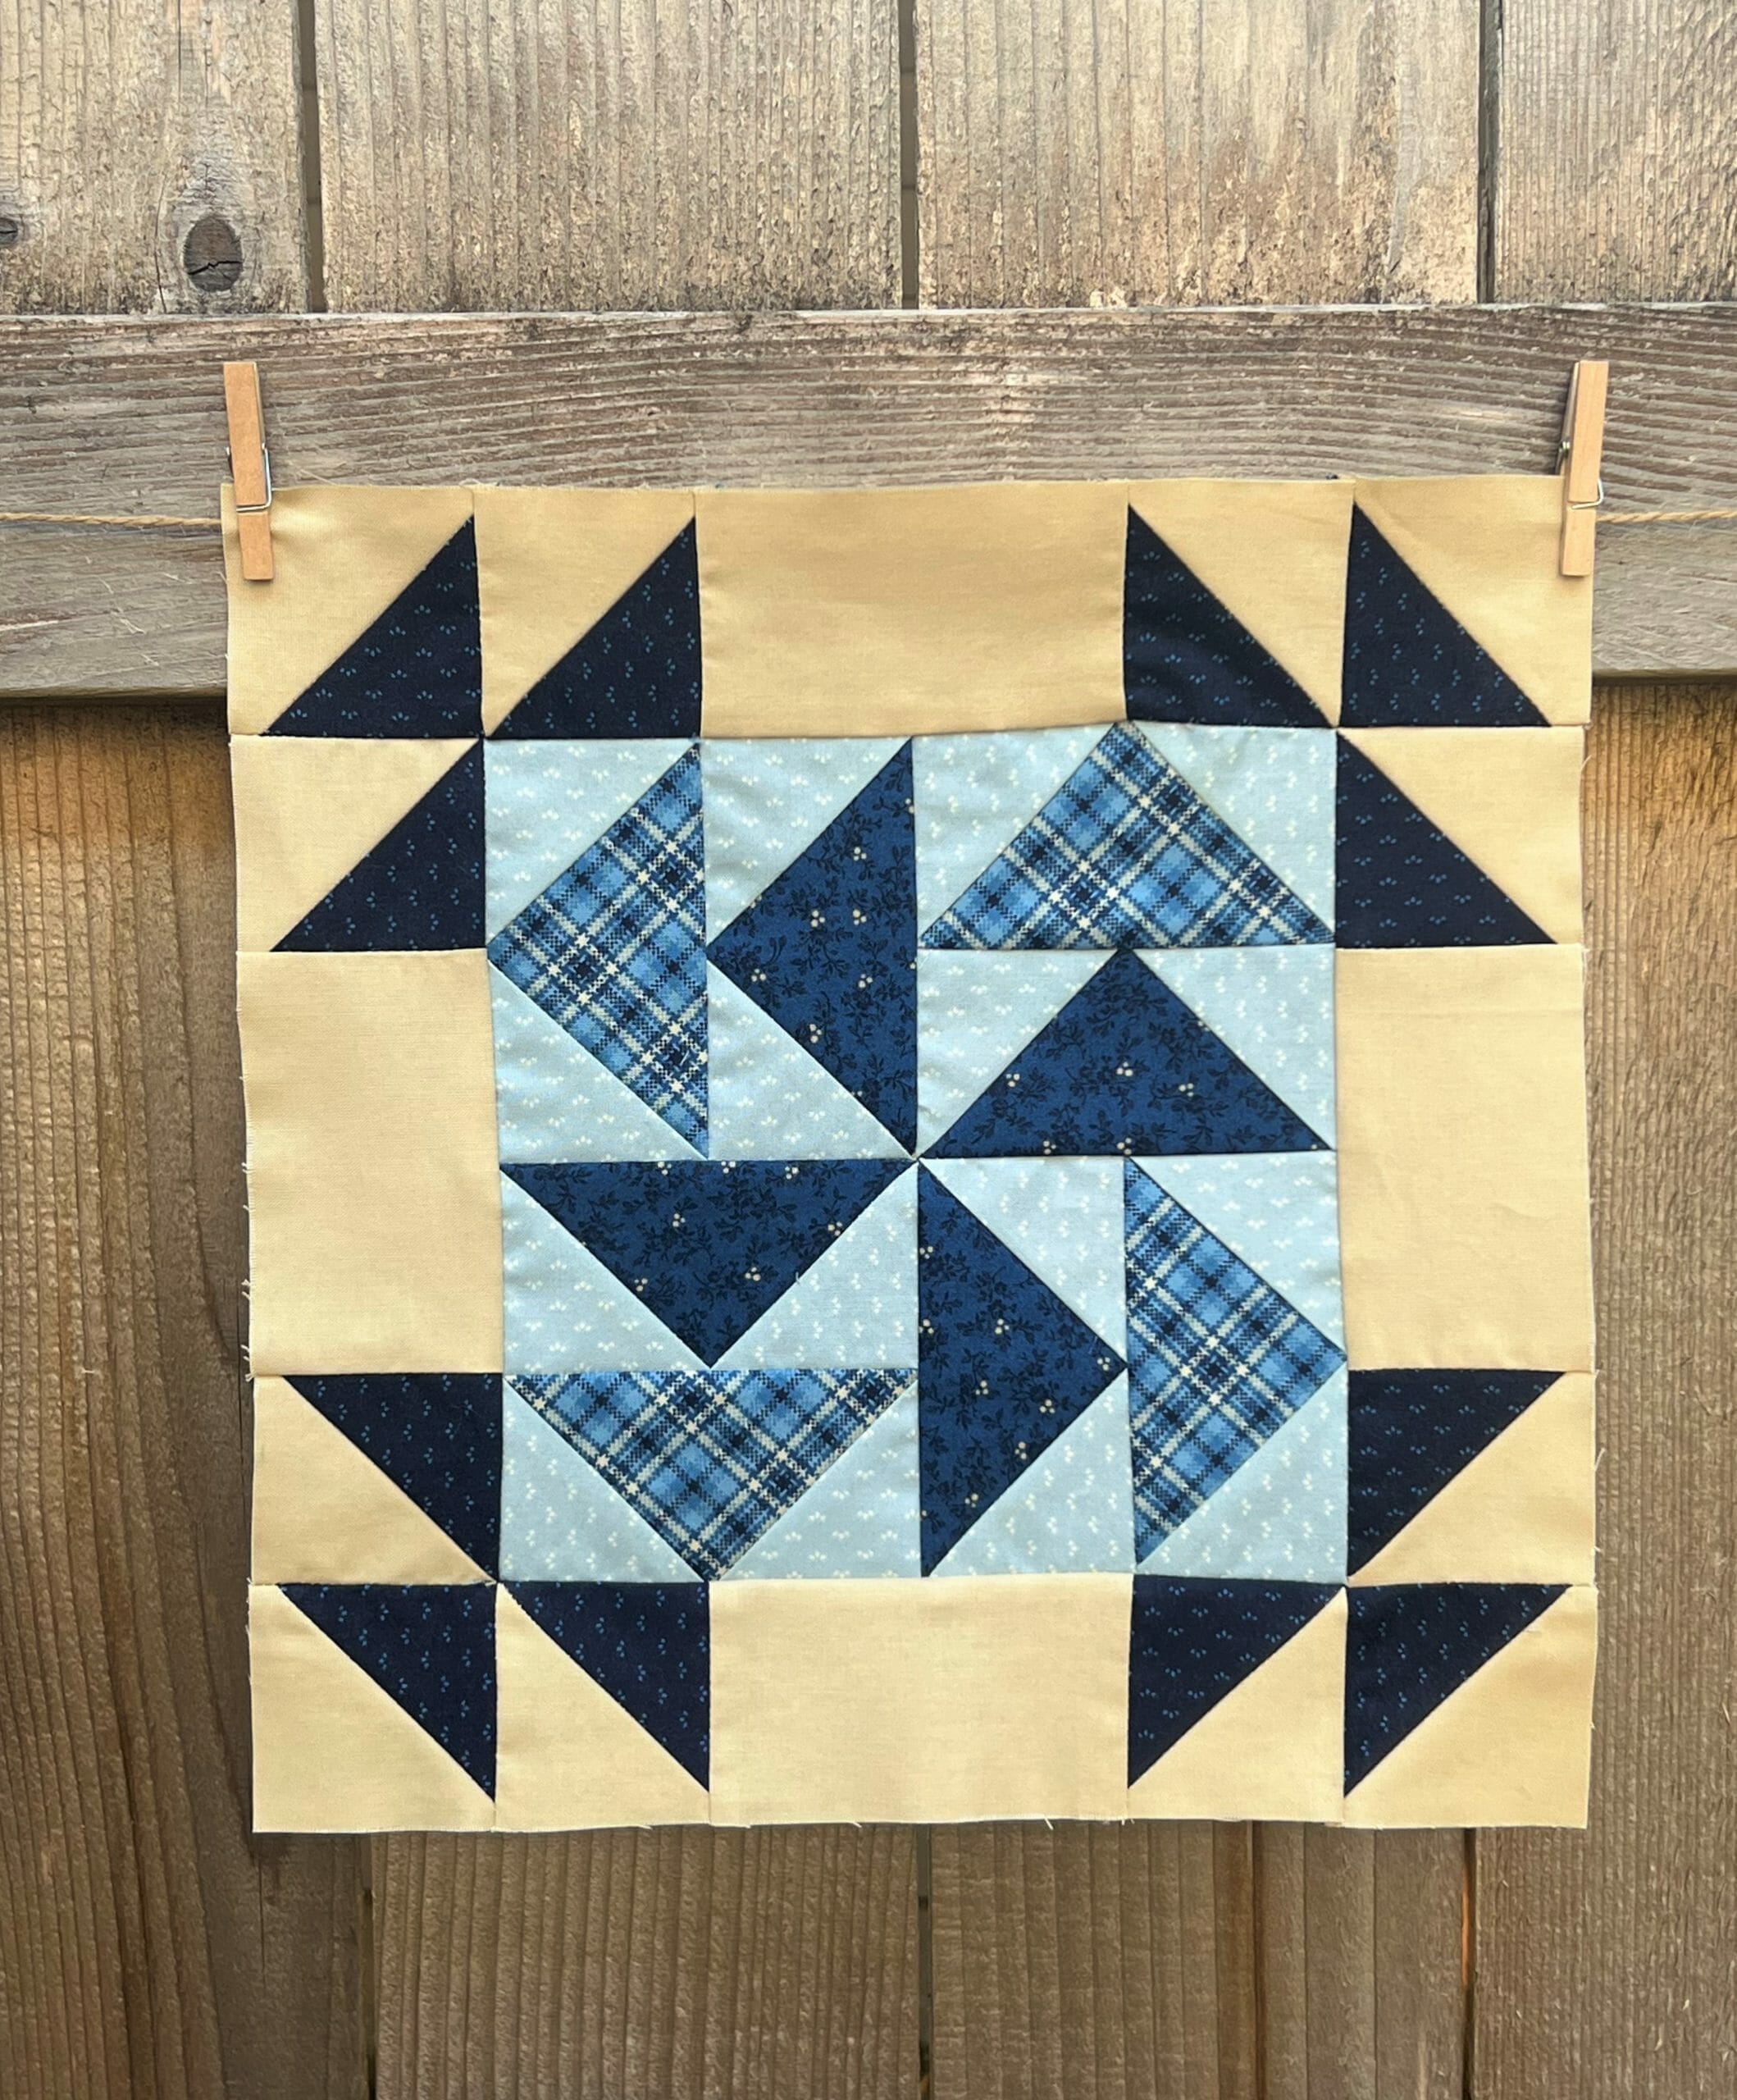
You’ll make eight flying geese to be exact – two sets of four matching units. I like to assembly line sew these, so that’s what you’ll see in my photos. And fortunately, I actually remembered to take pictures!
Once those are done and trimmed to size, they are sewn into pairs – one of each kind, which will give you four matching units. While sewing these units together, I made sure that the D/F unit was on the top, which allowed me to make sure I was sewing exactly thru the point of the triangle. This will enable you to keep those nice points.

Sew the matching units together, and rotate them so the D fabric (Dk. Prussian Blue) forms a pinwheel in the center of the block.
And of course, add those border units on to finish like so:
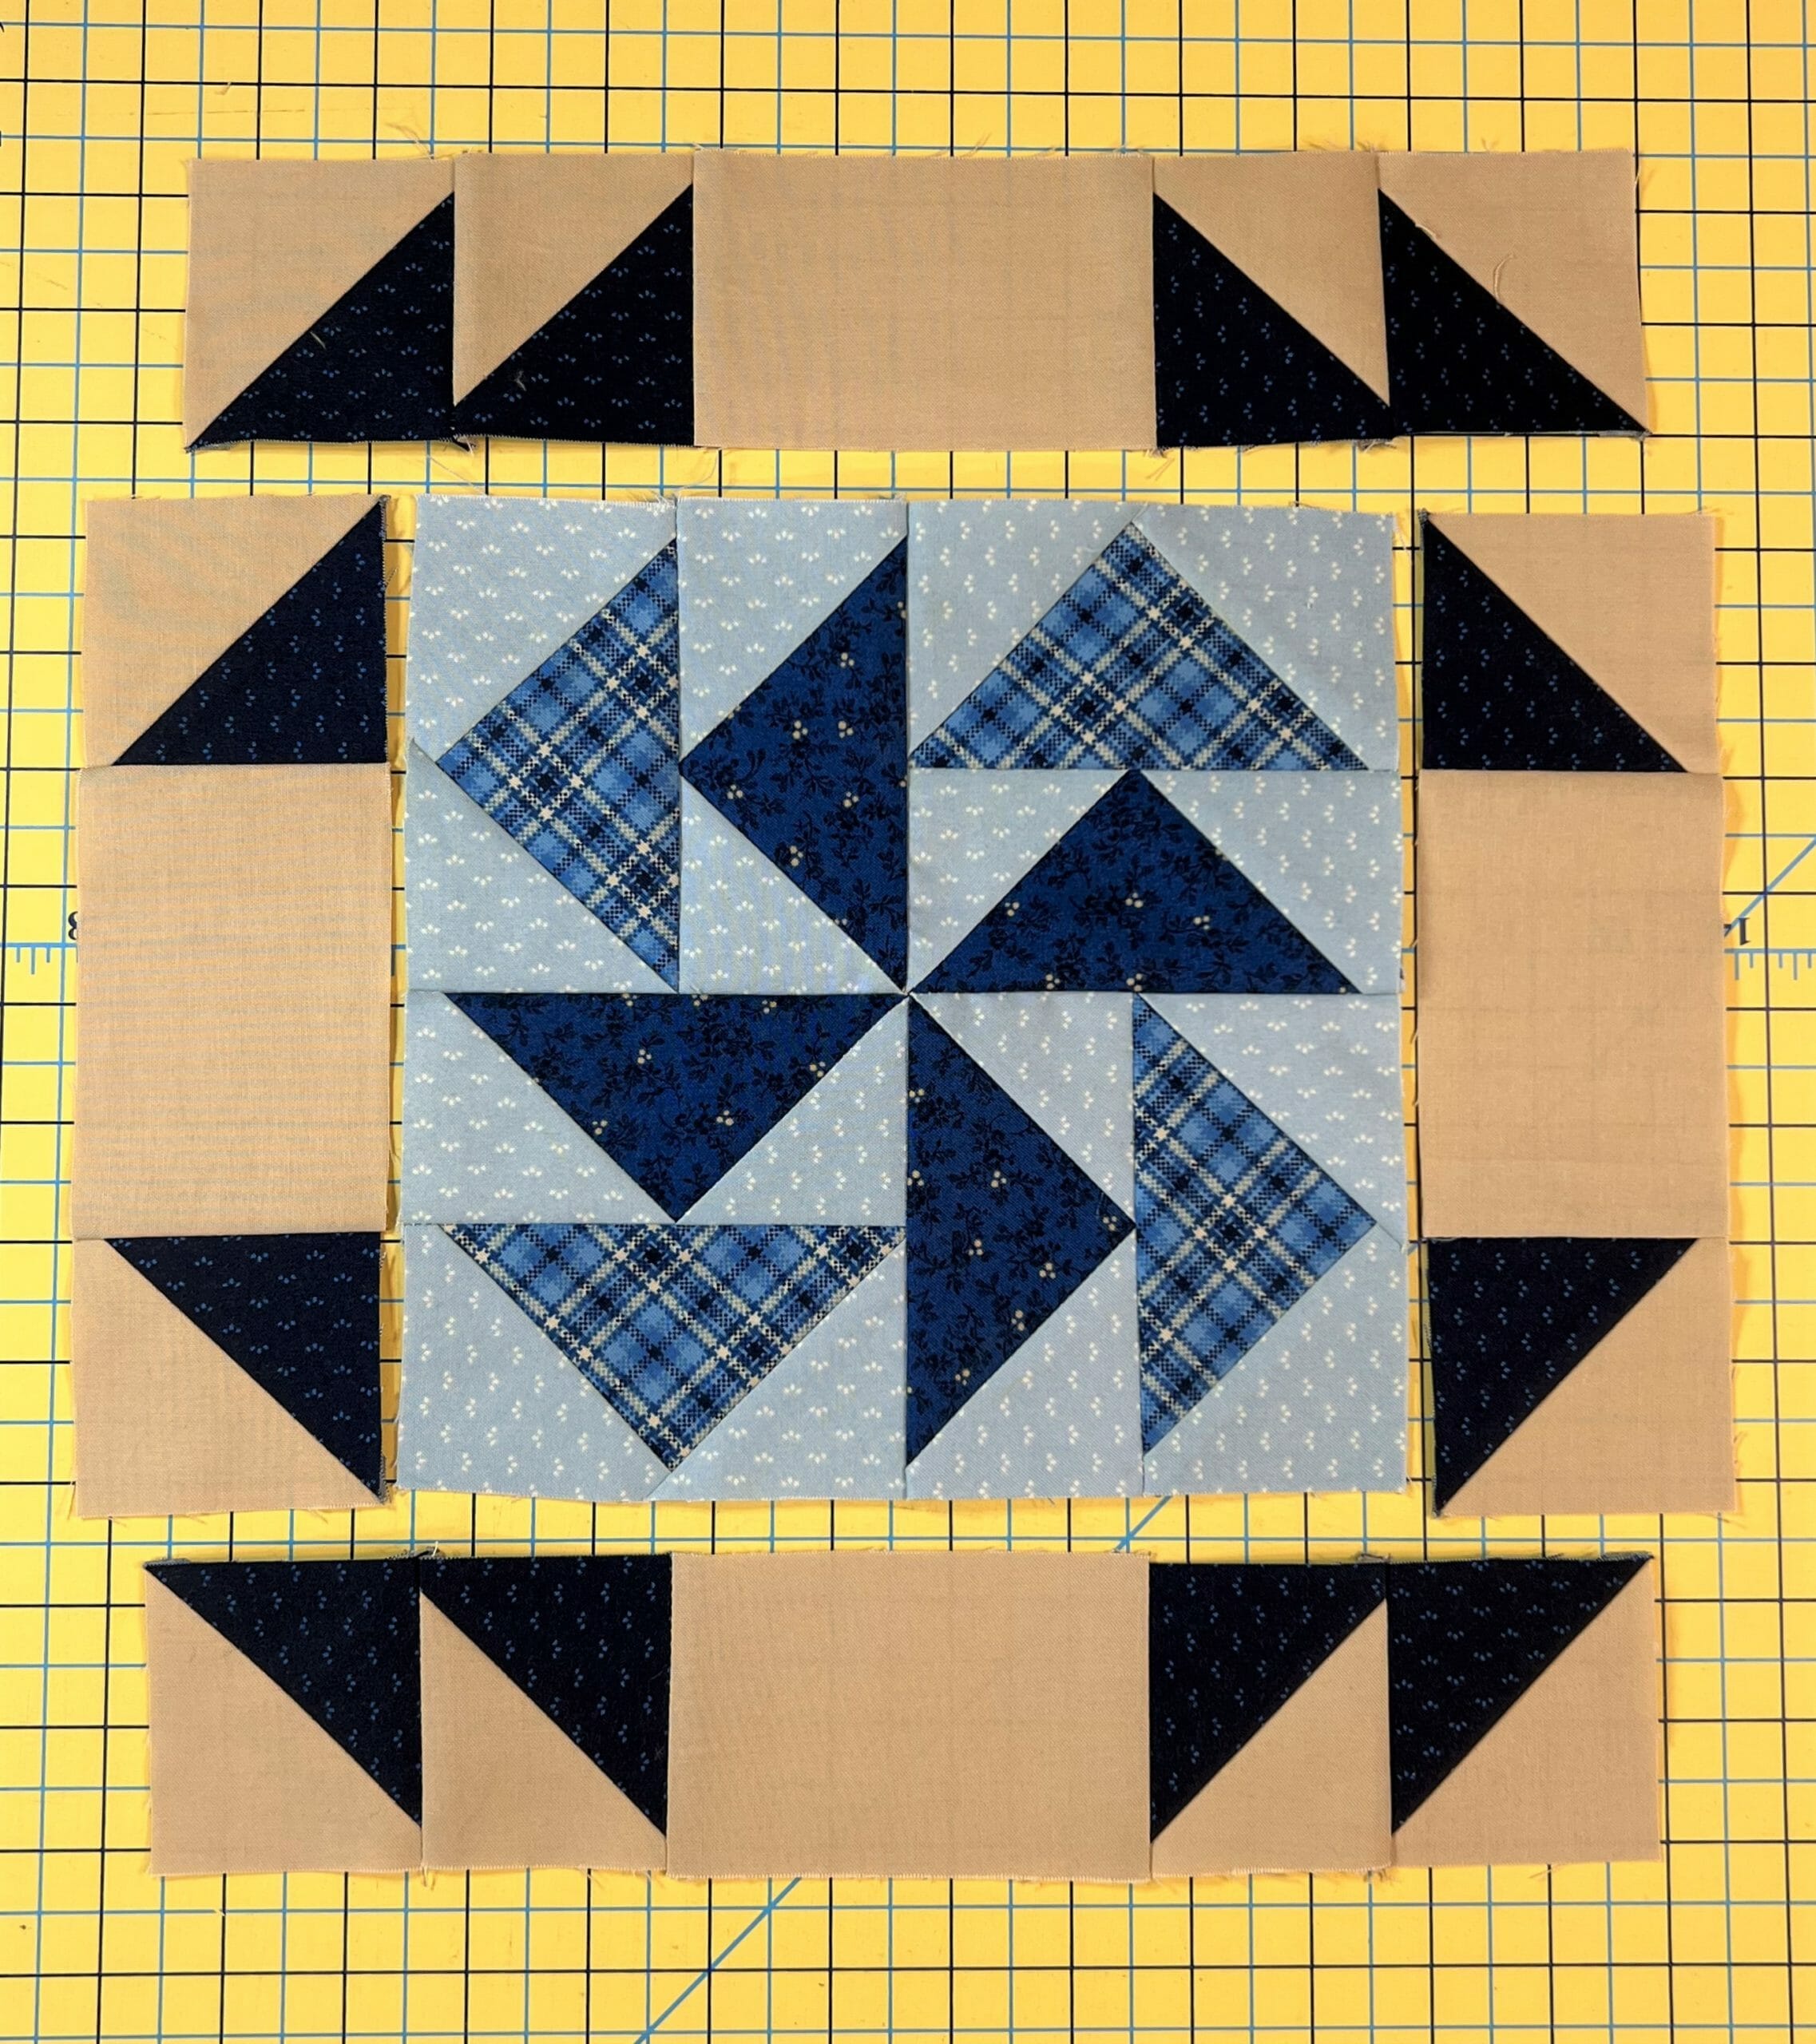
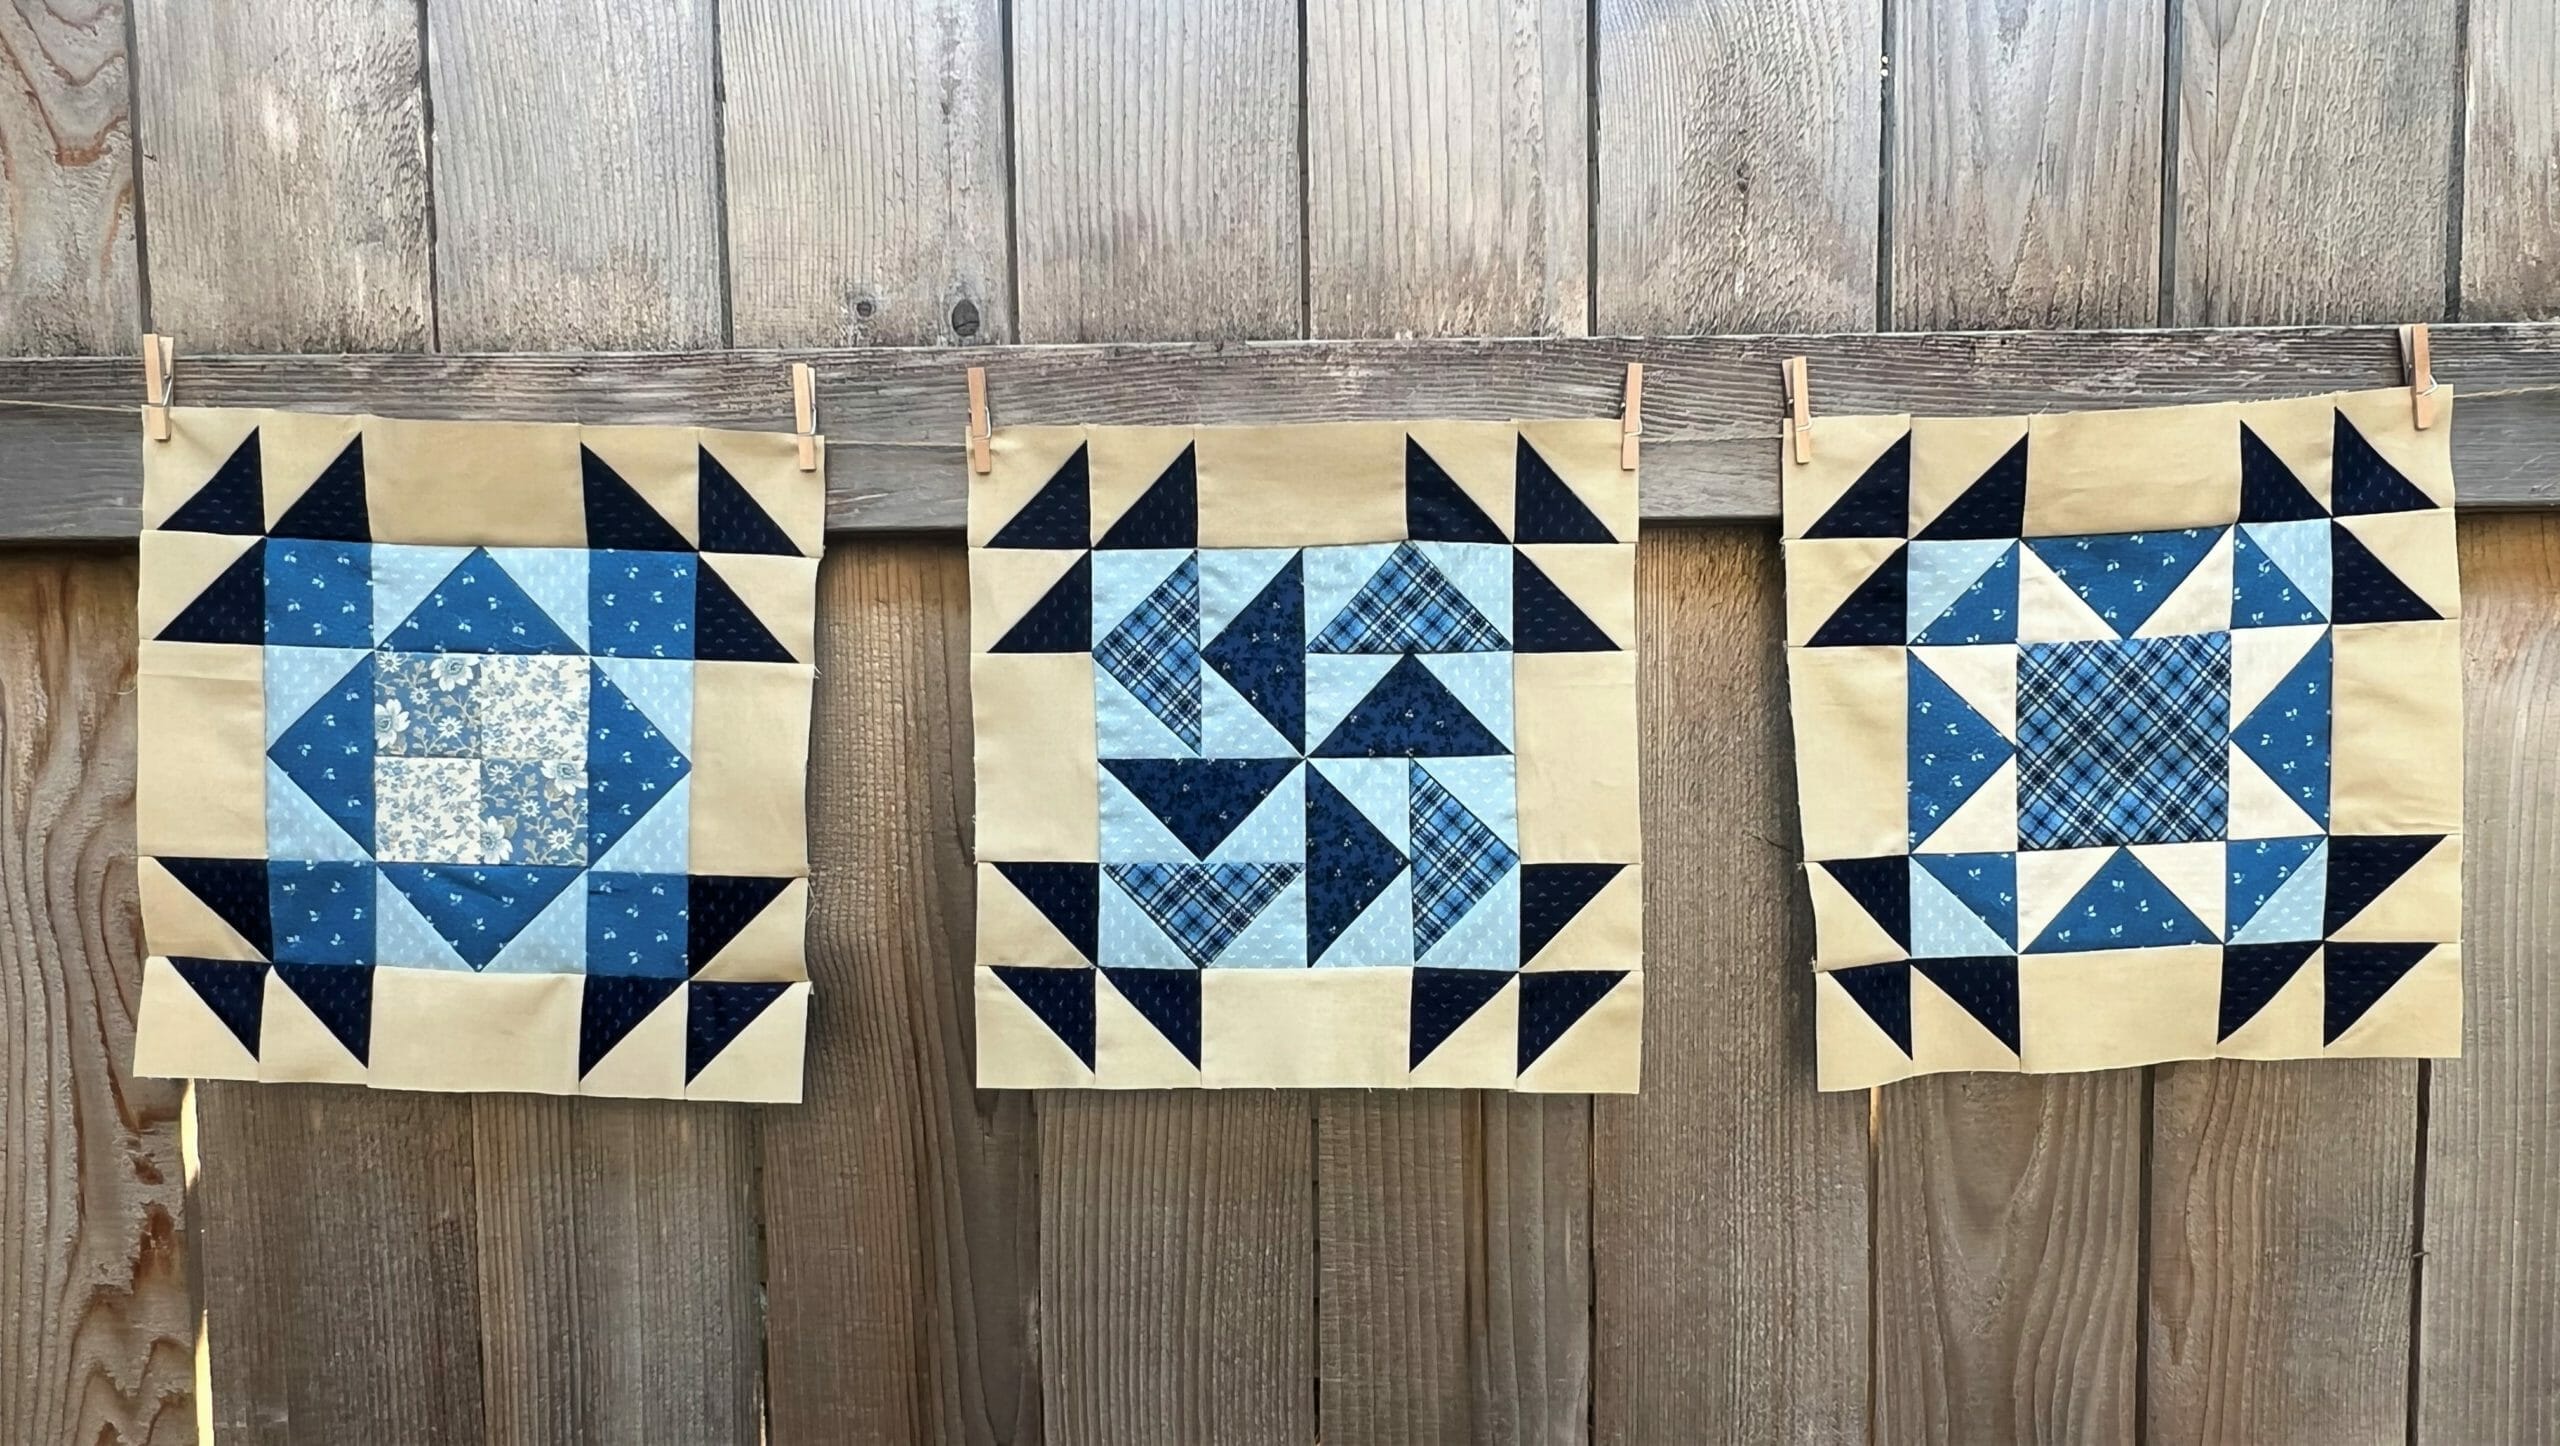
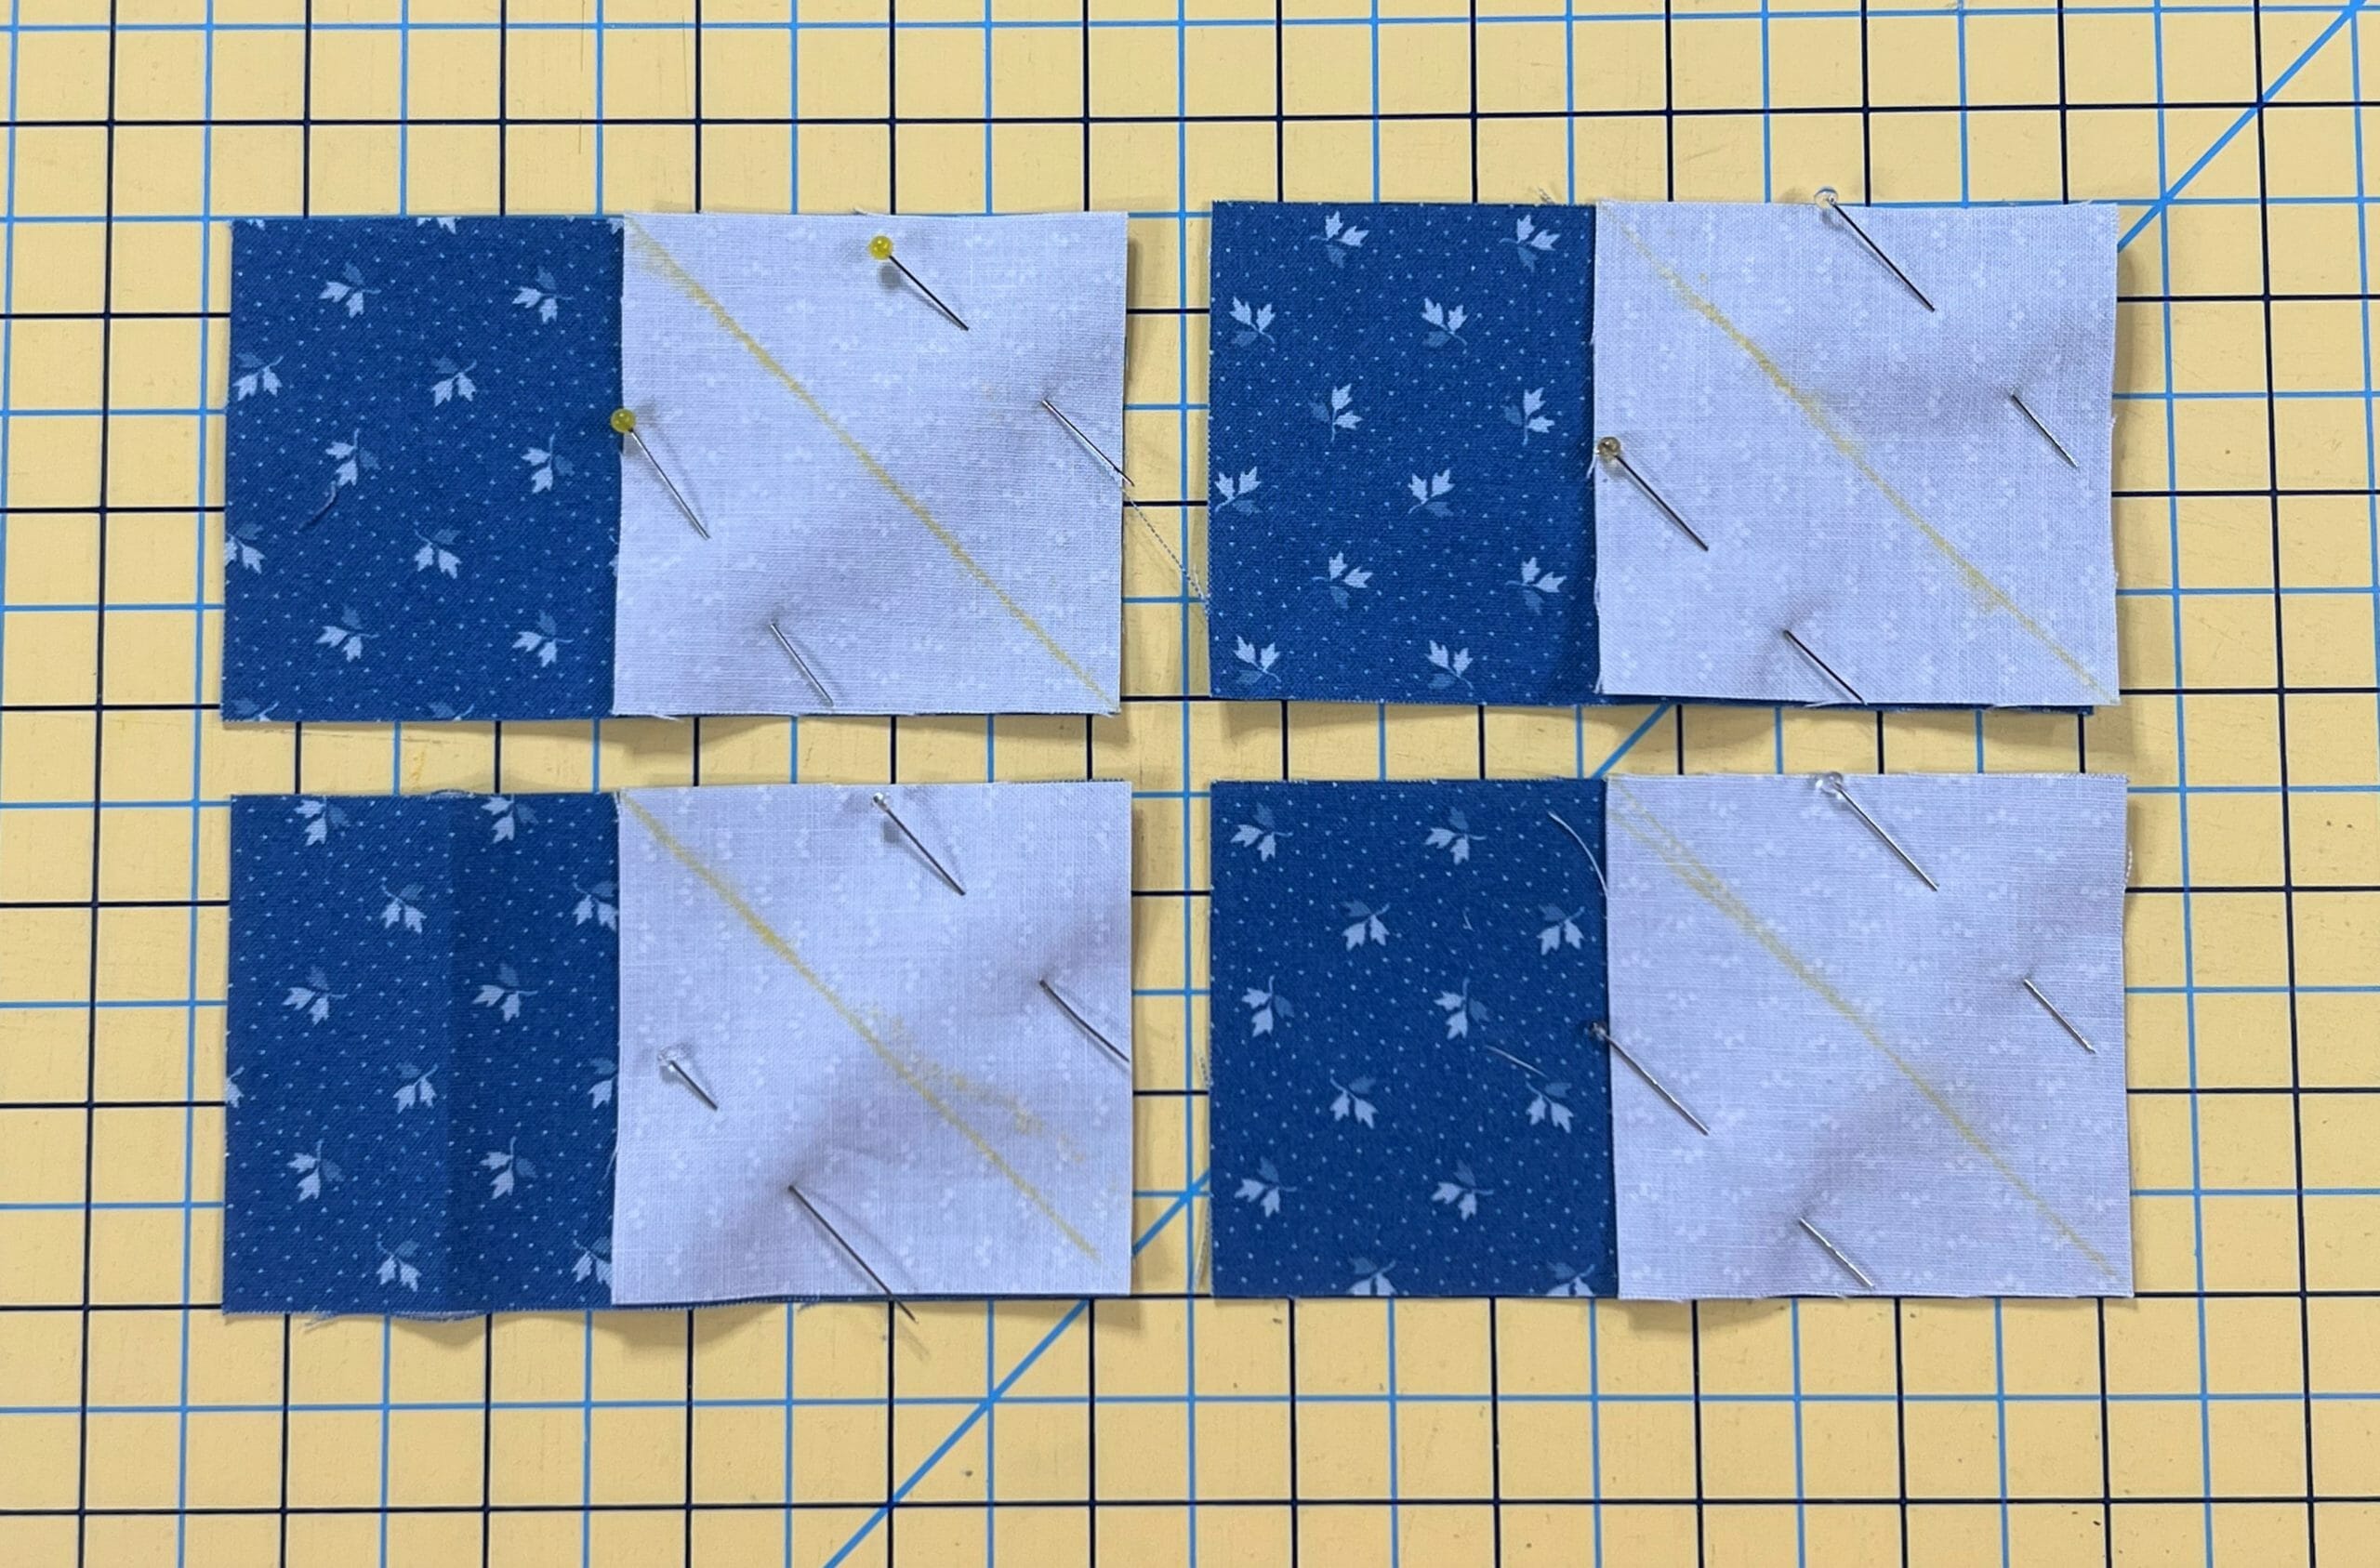
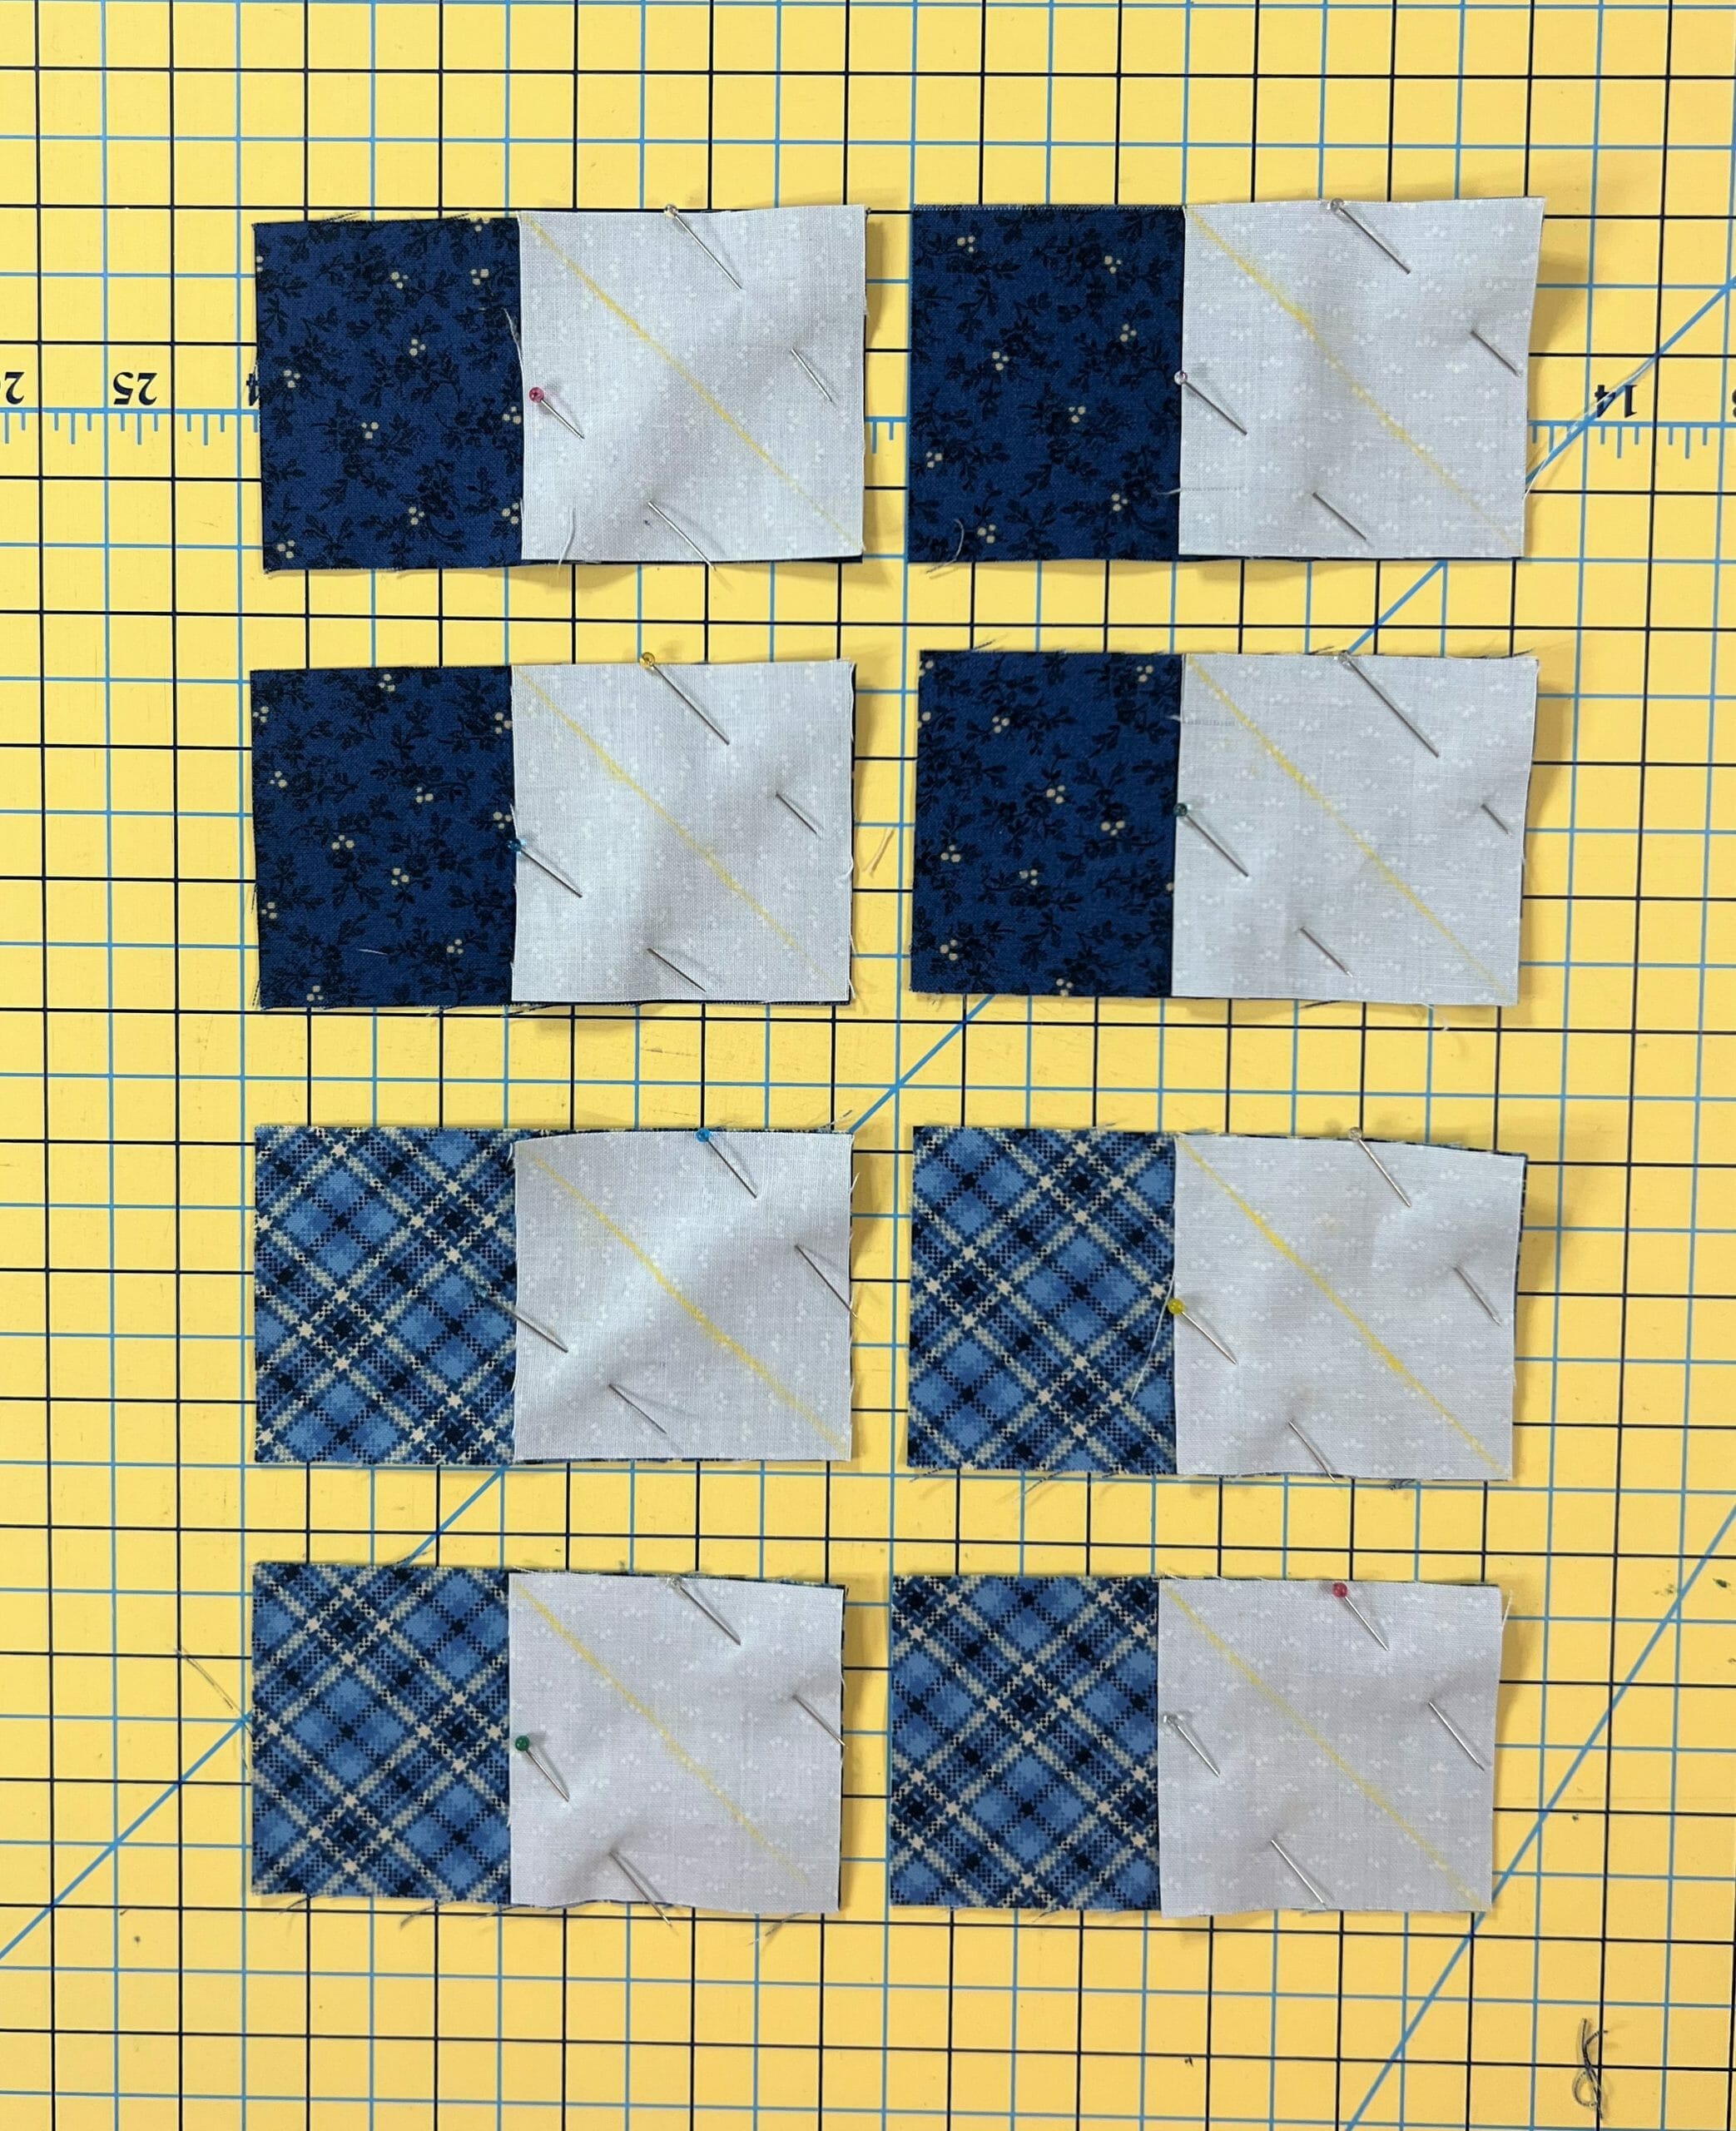
BLOCK #15
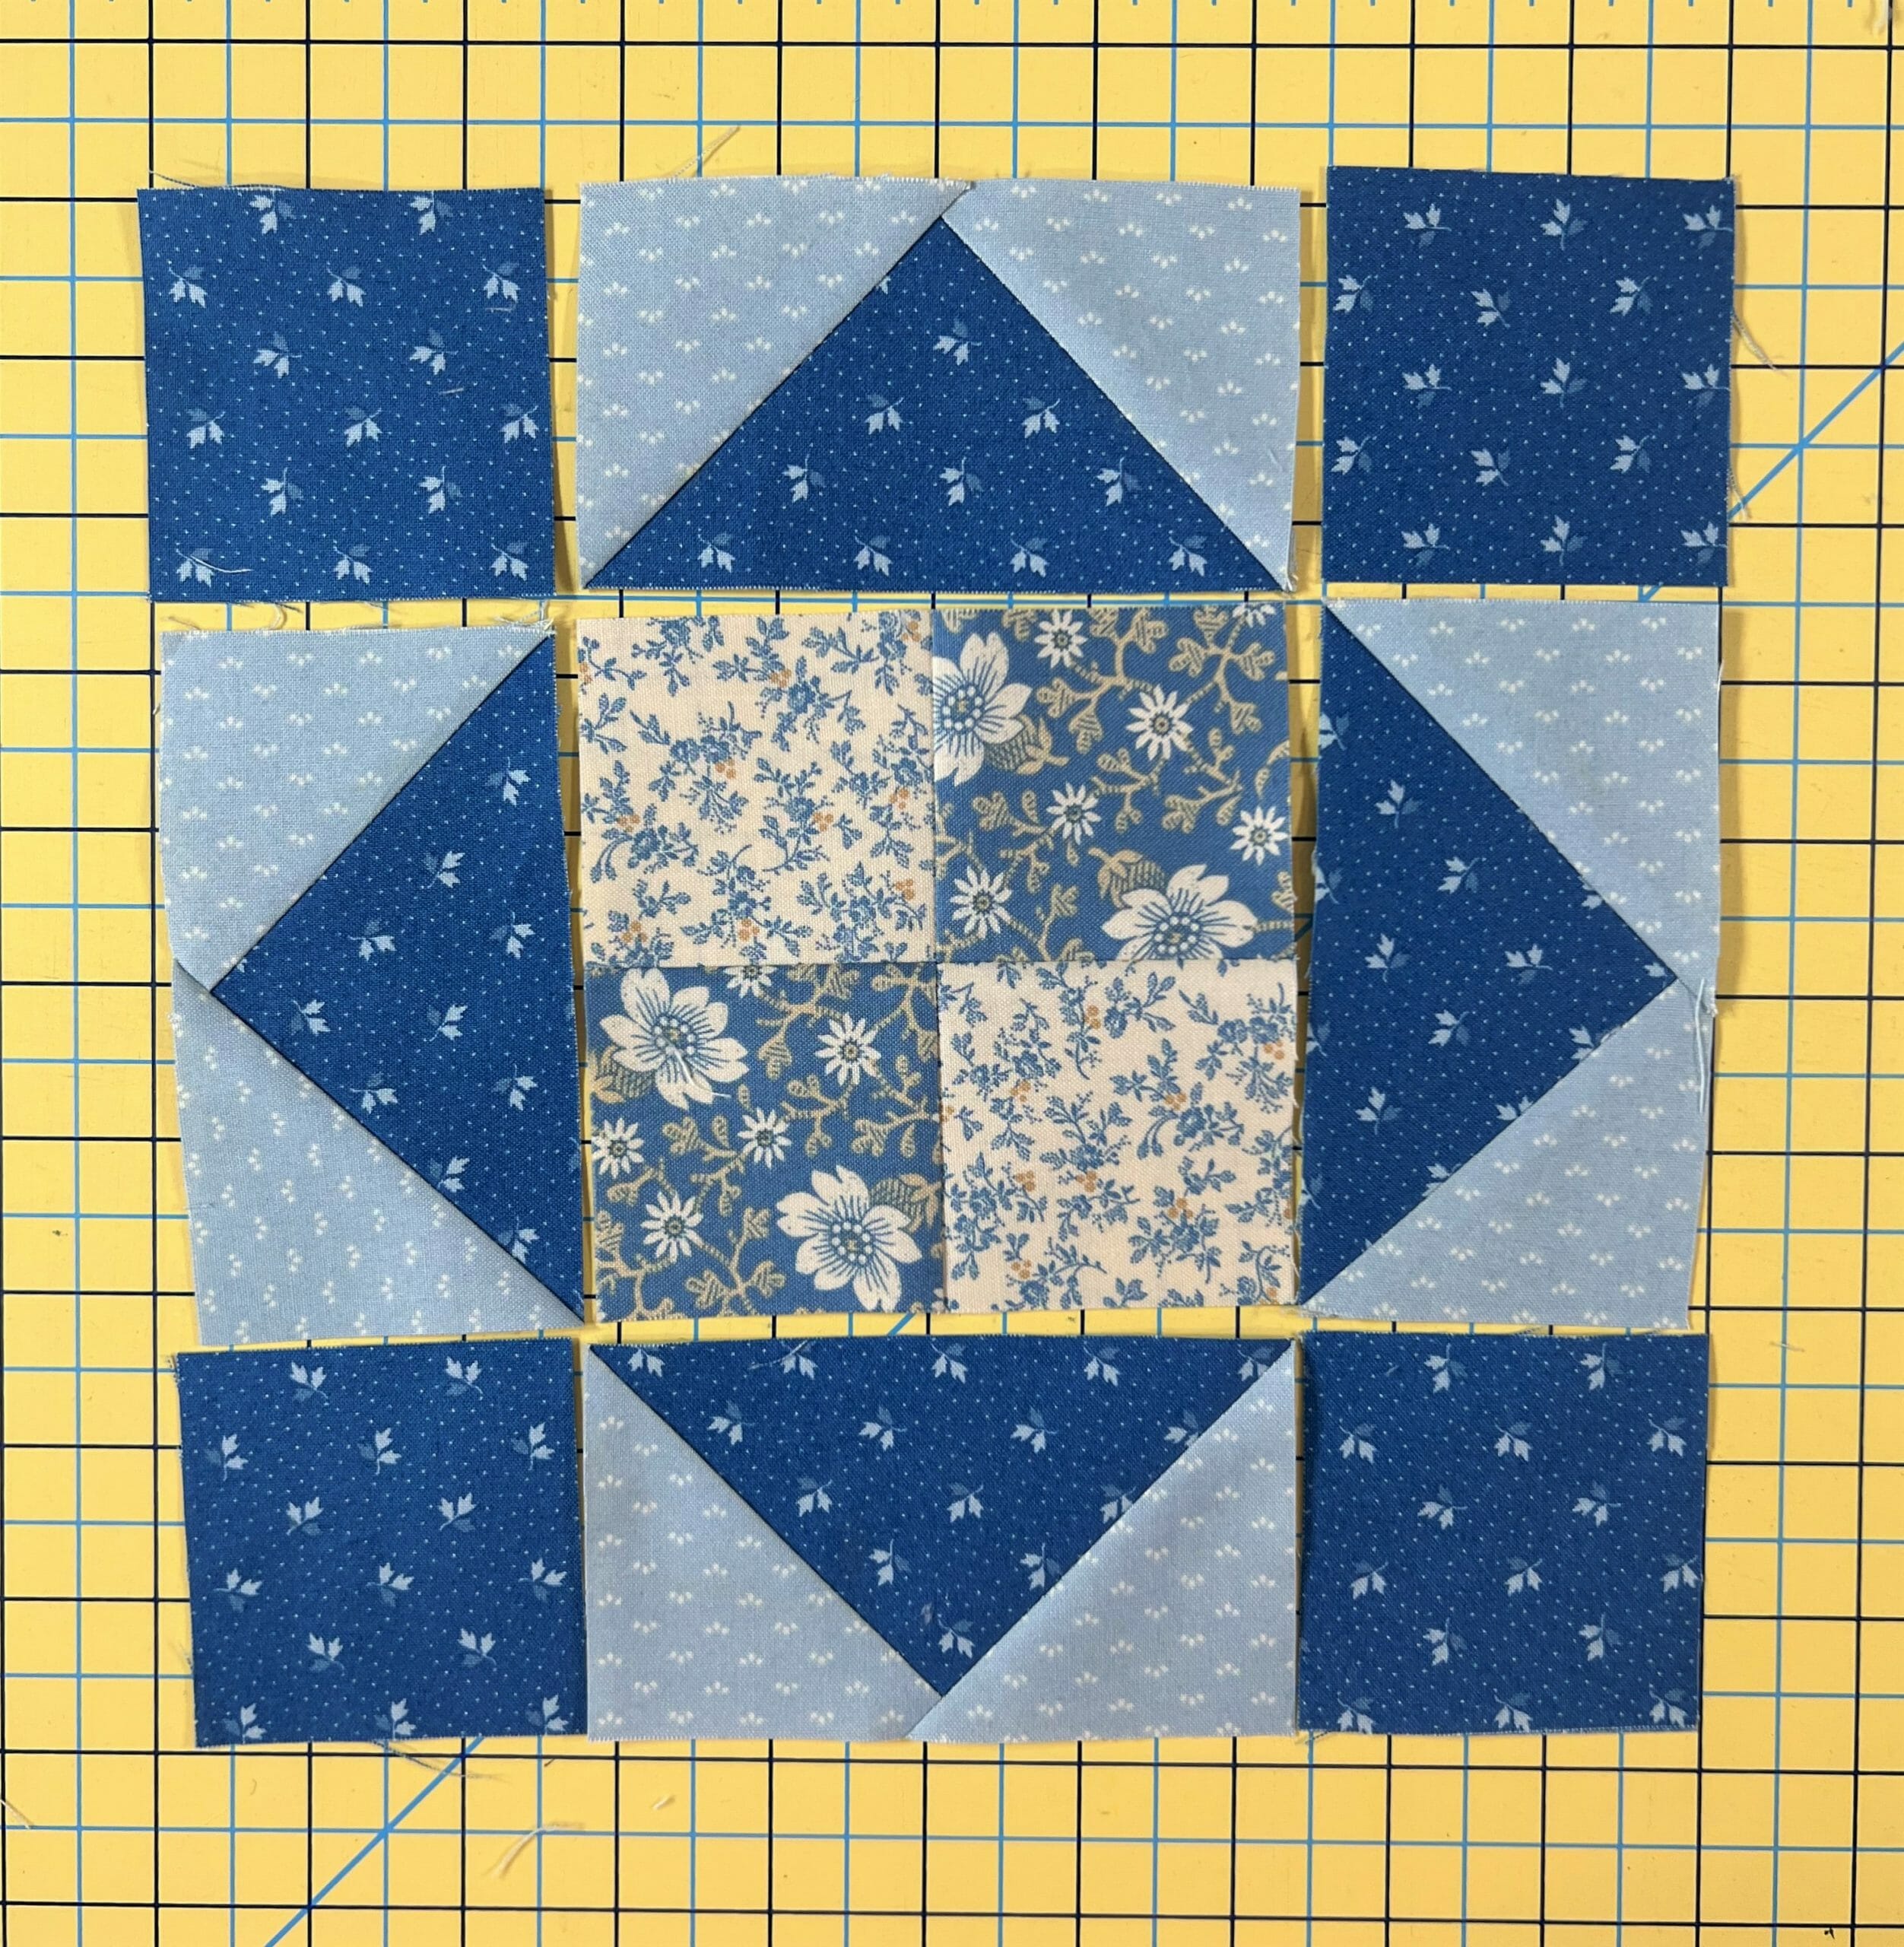
This block is a simple Sawtooth Star block, which we have already made a couple variation of in previous months. However, this one is easier, because we aren’t making any square in a square center units like we’ve done before.
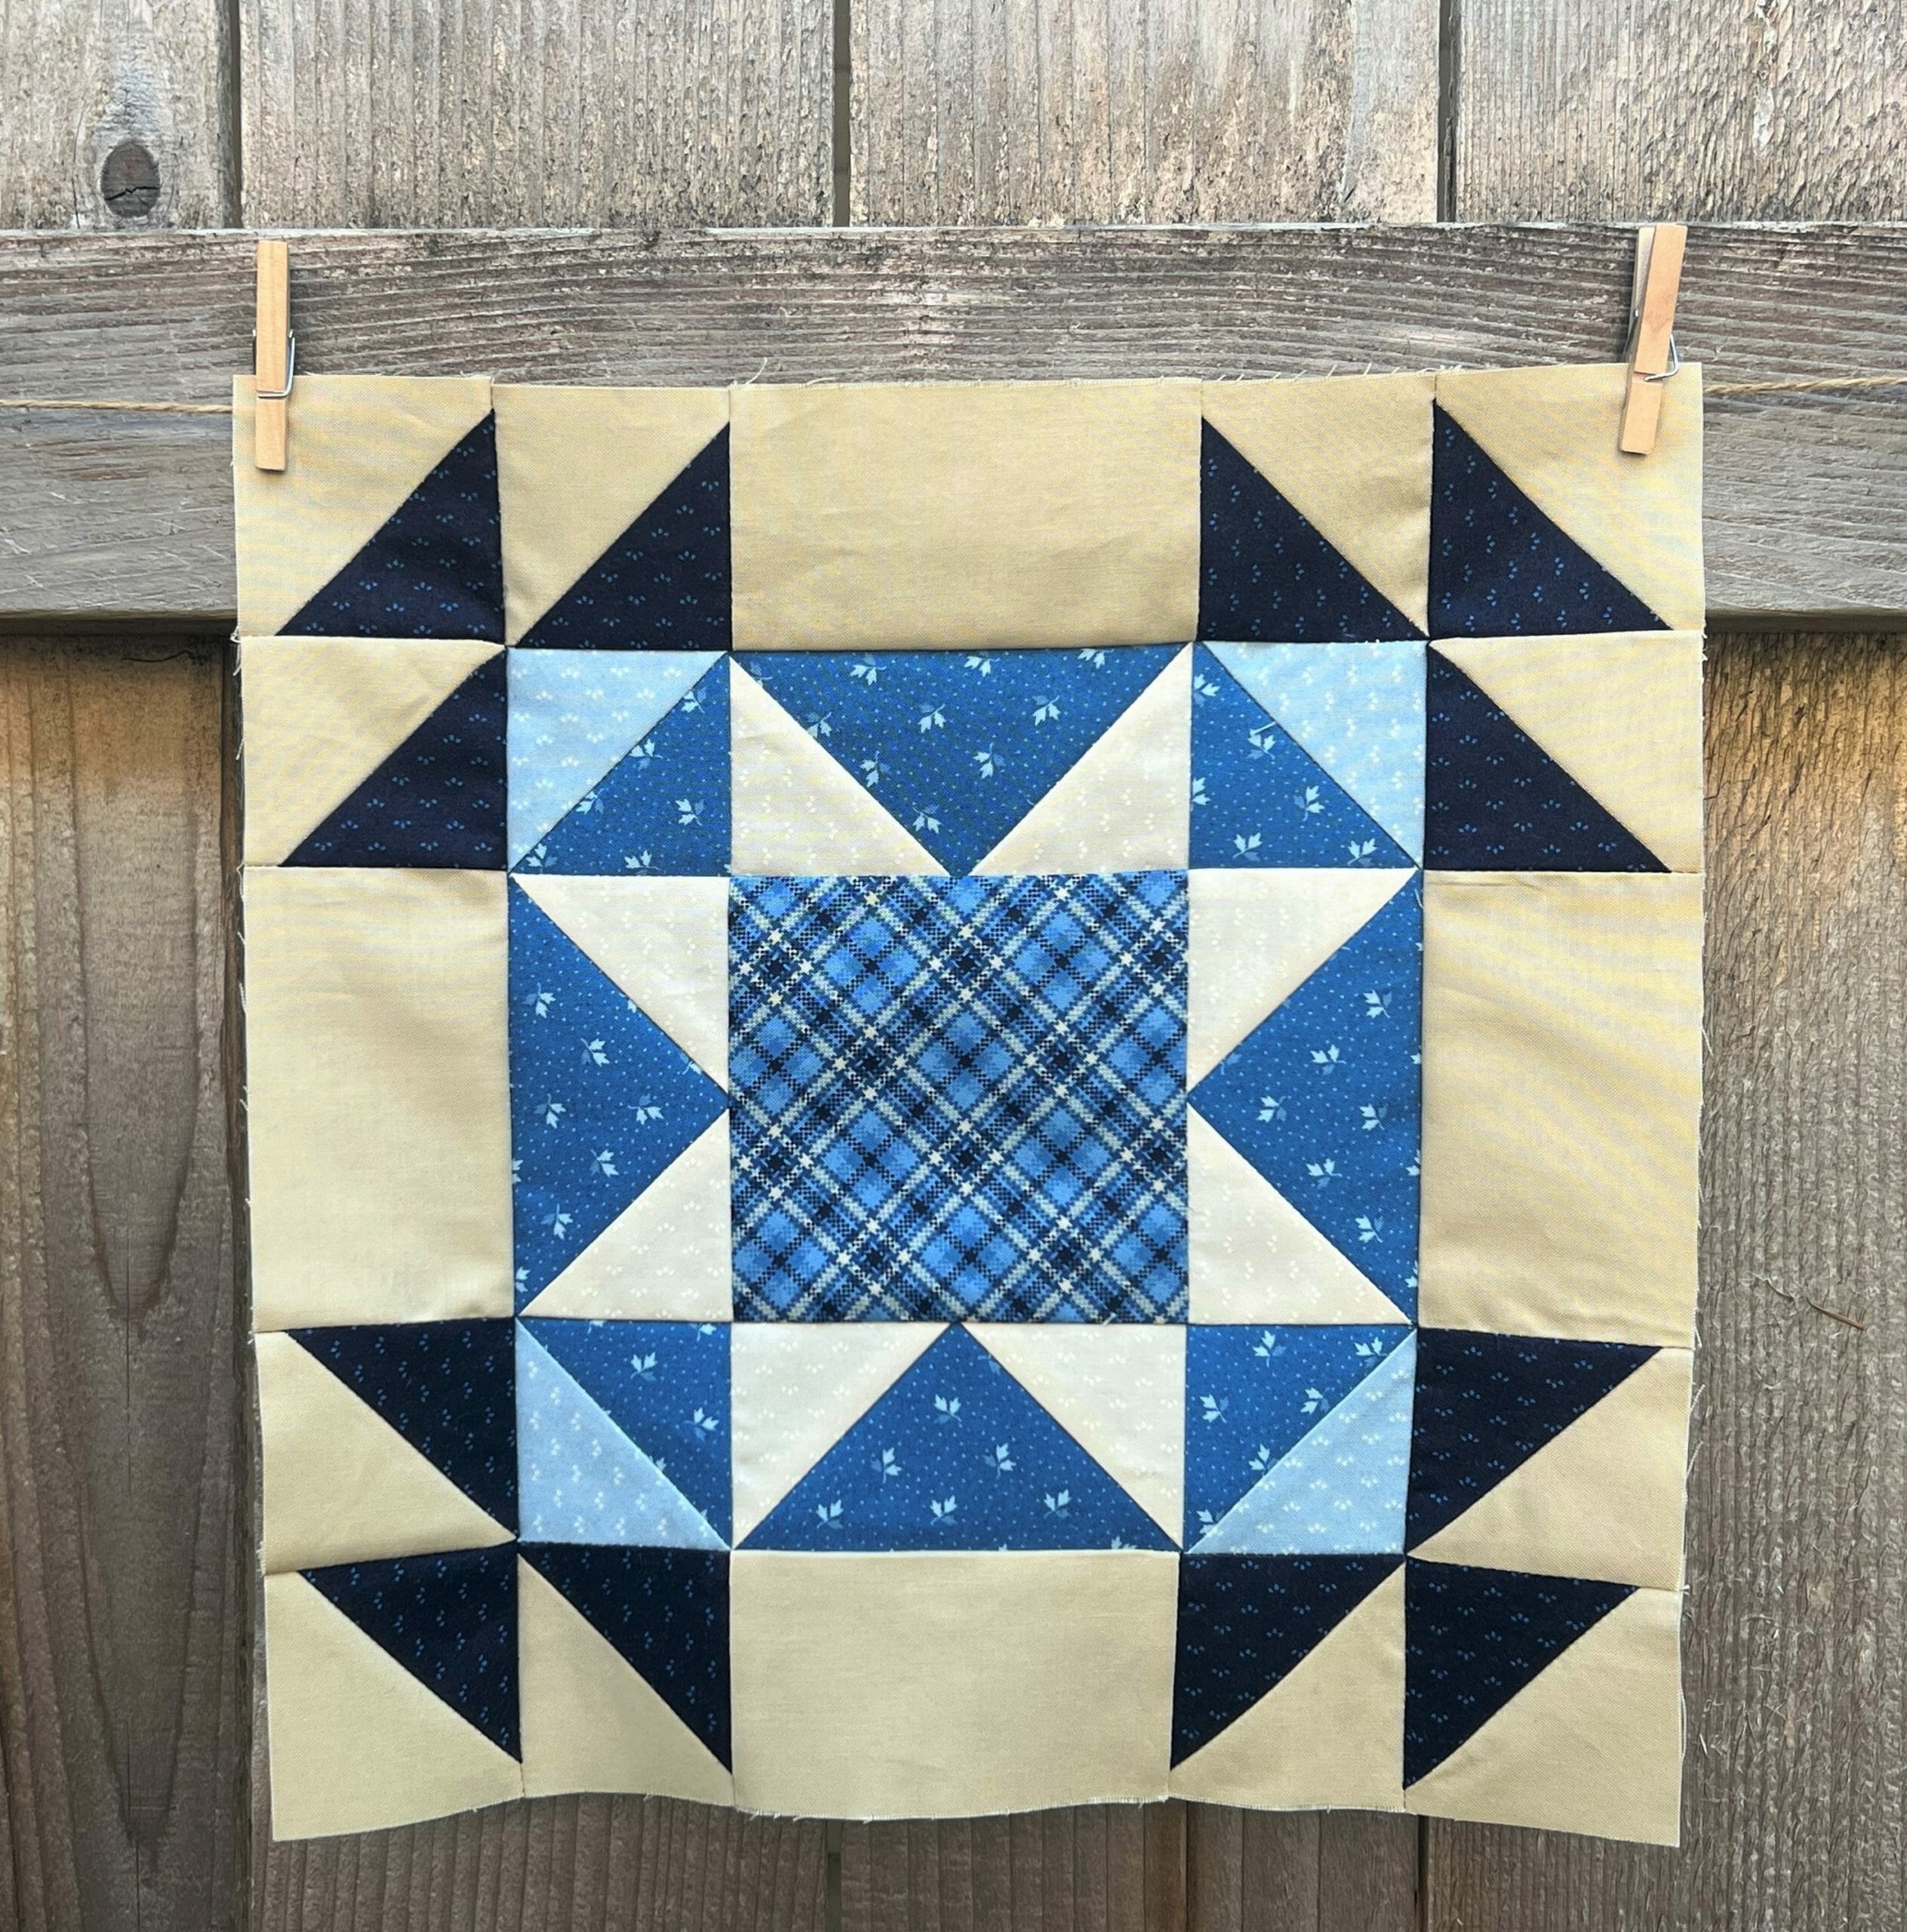
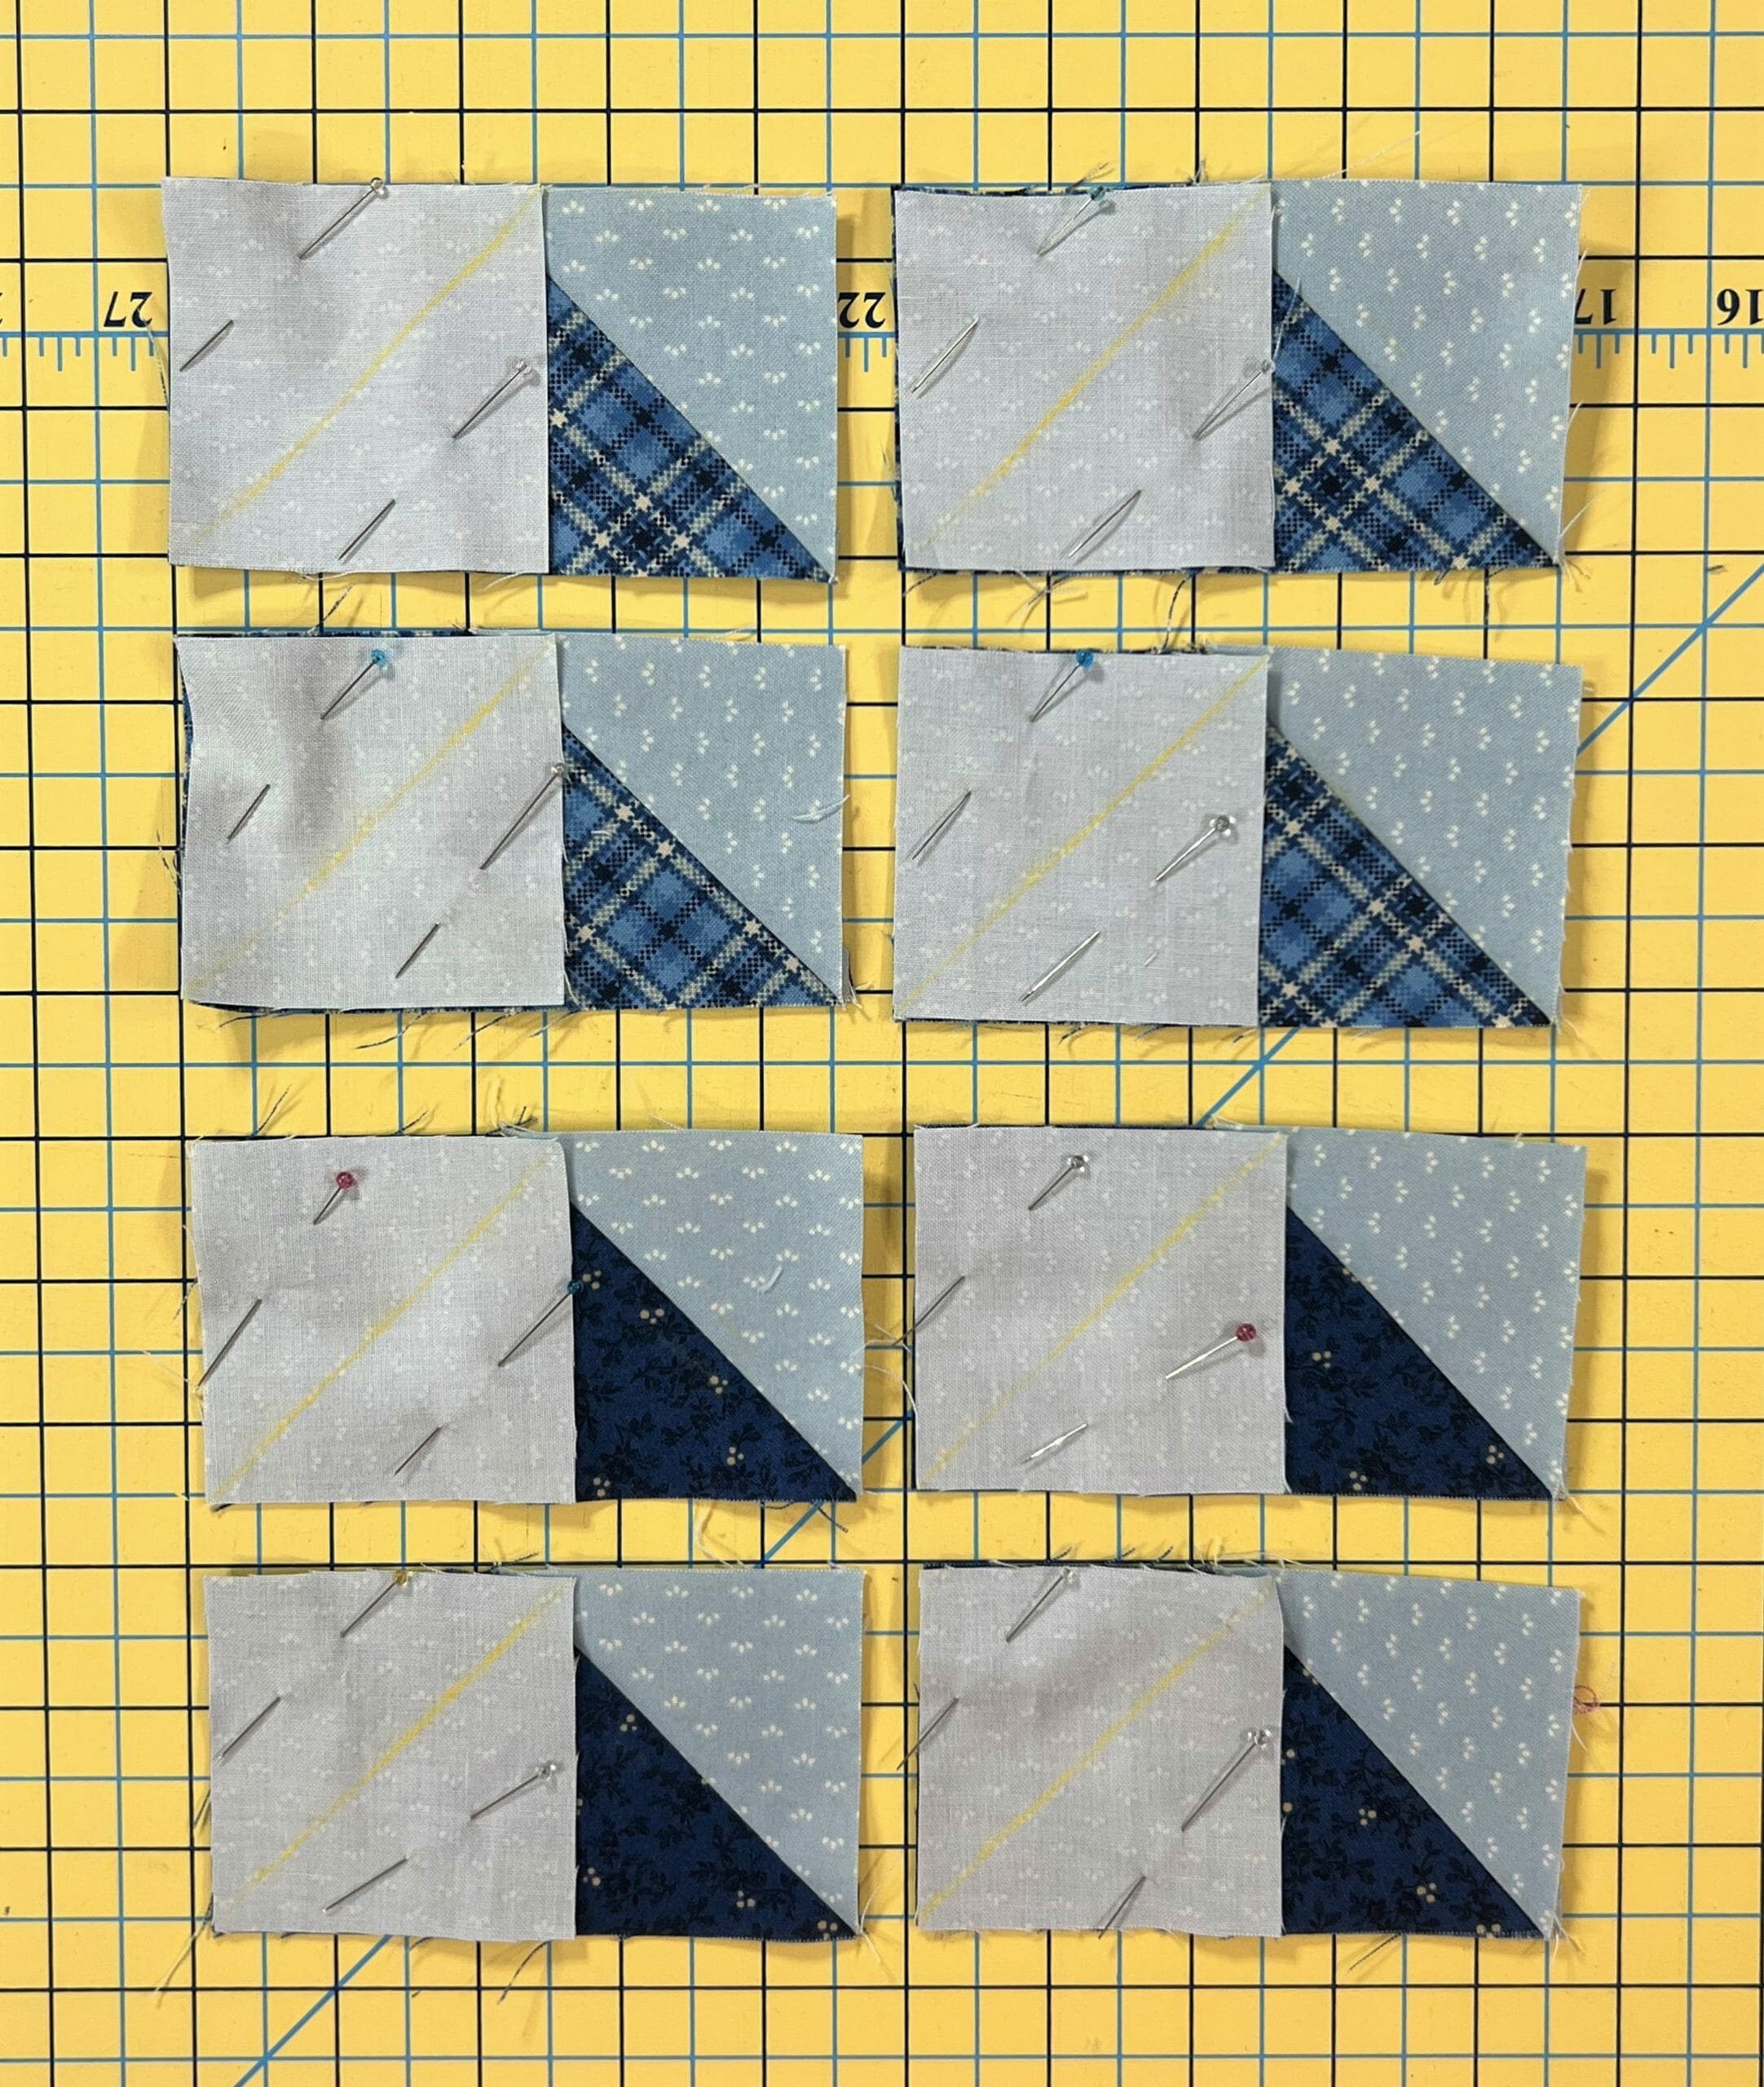
All you need to do is make four Half Square Triangles. Don’t forget, you can cut the G and H pieces a bit bigger than 2-7/8”, and then trim to size when you are done. Make sure you press these toward the lighter H fabric so the seams will nest together when needed.
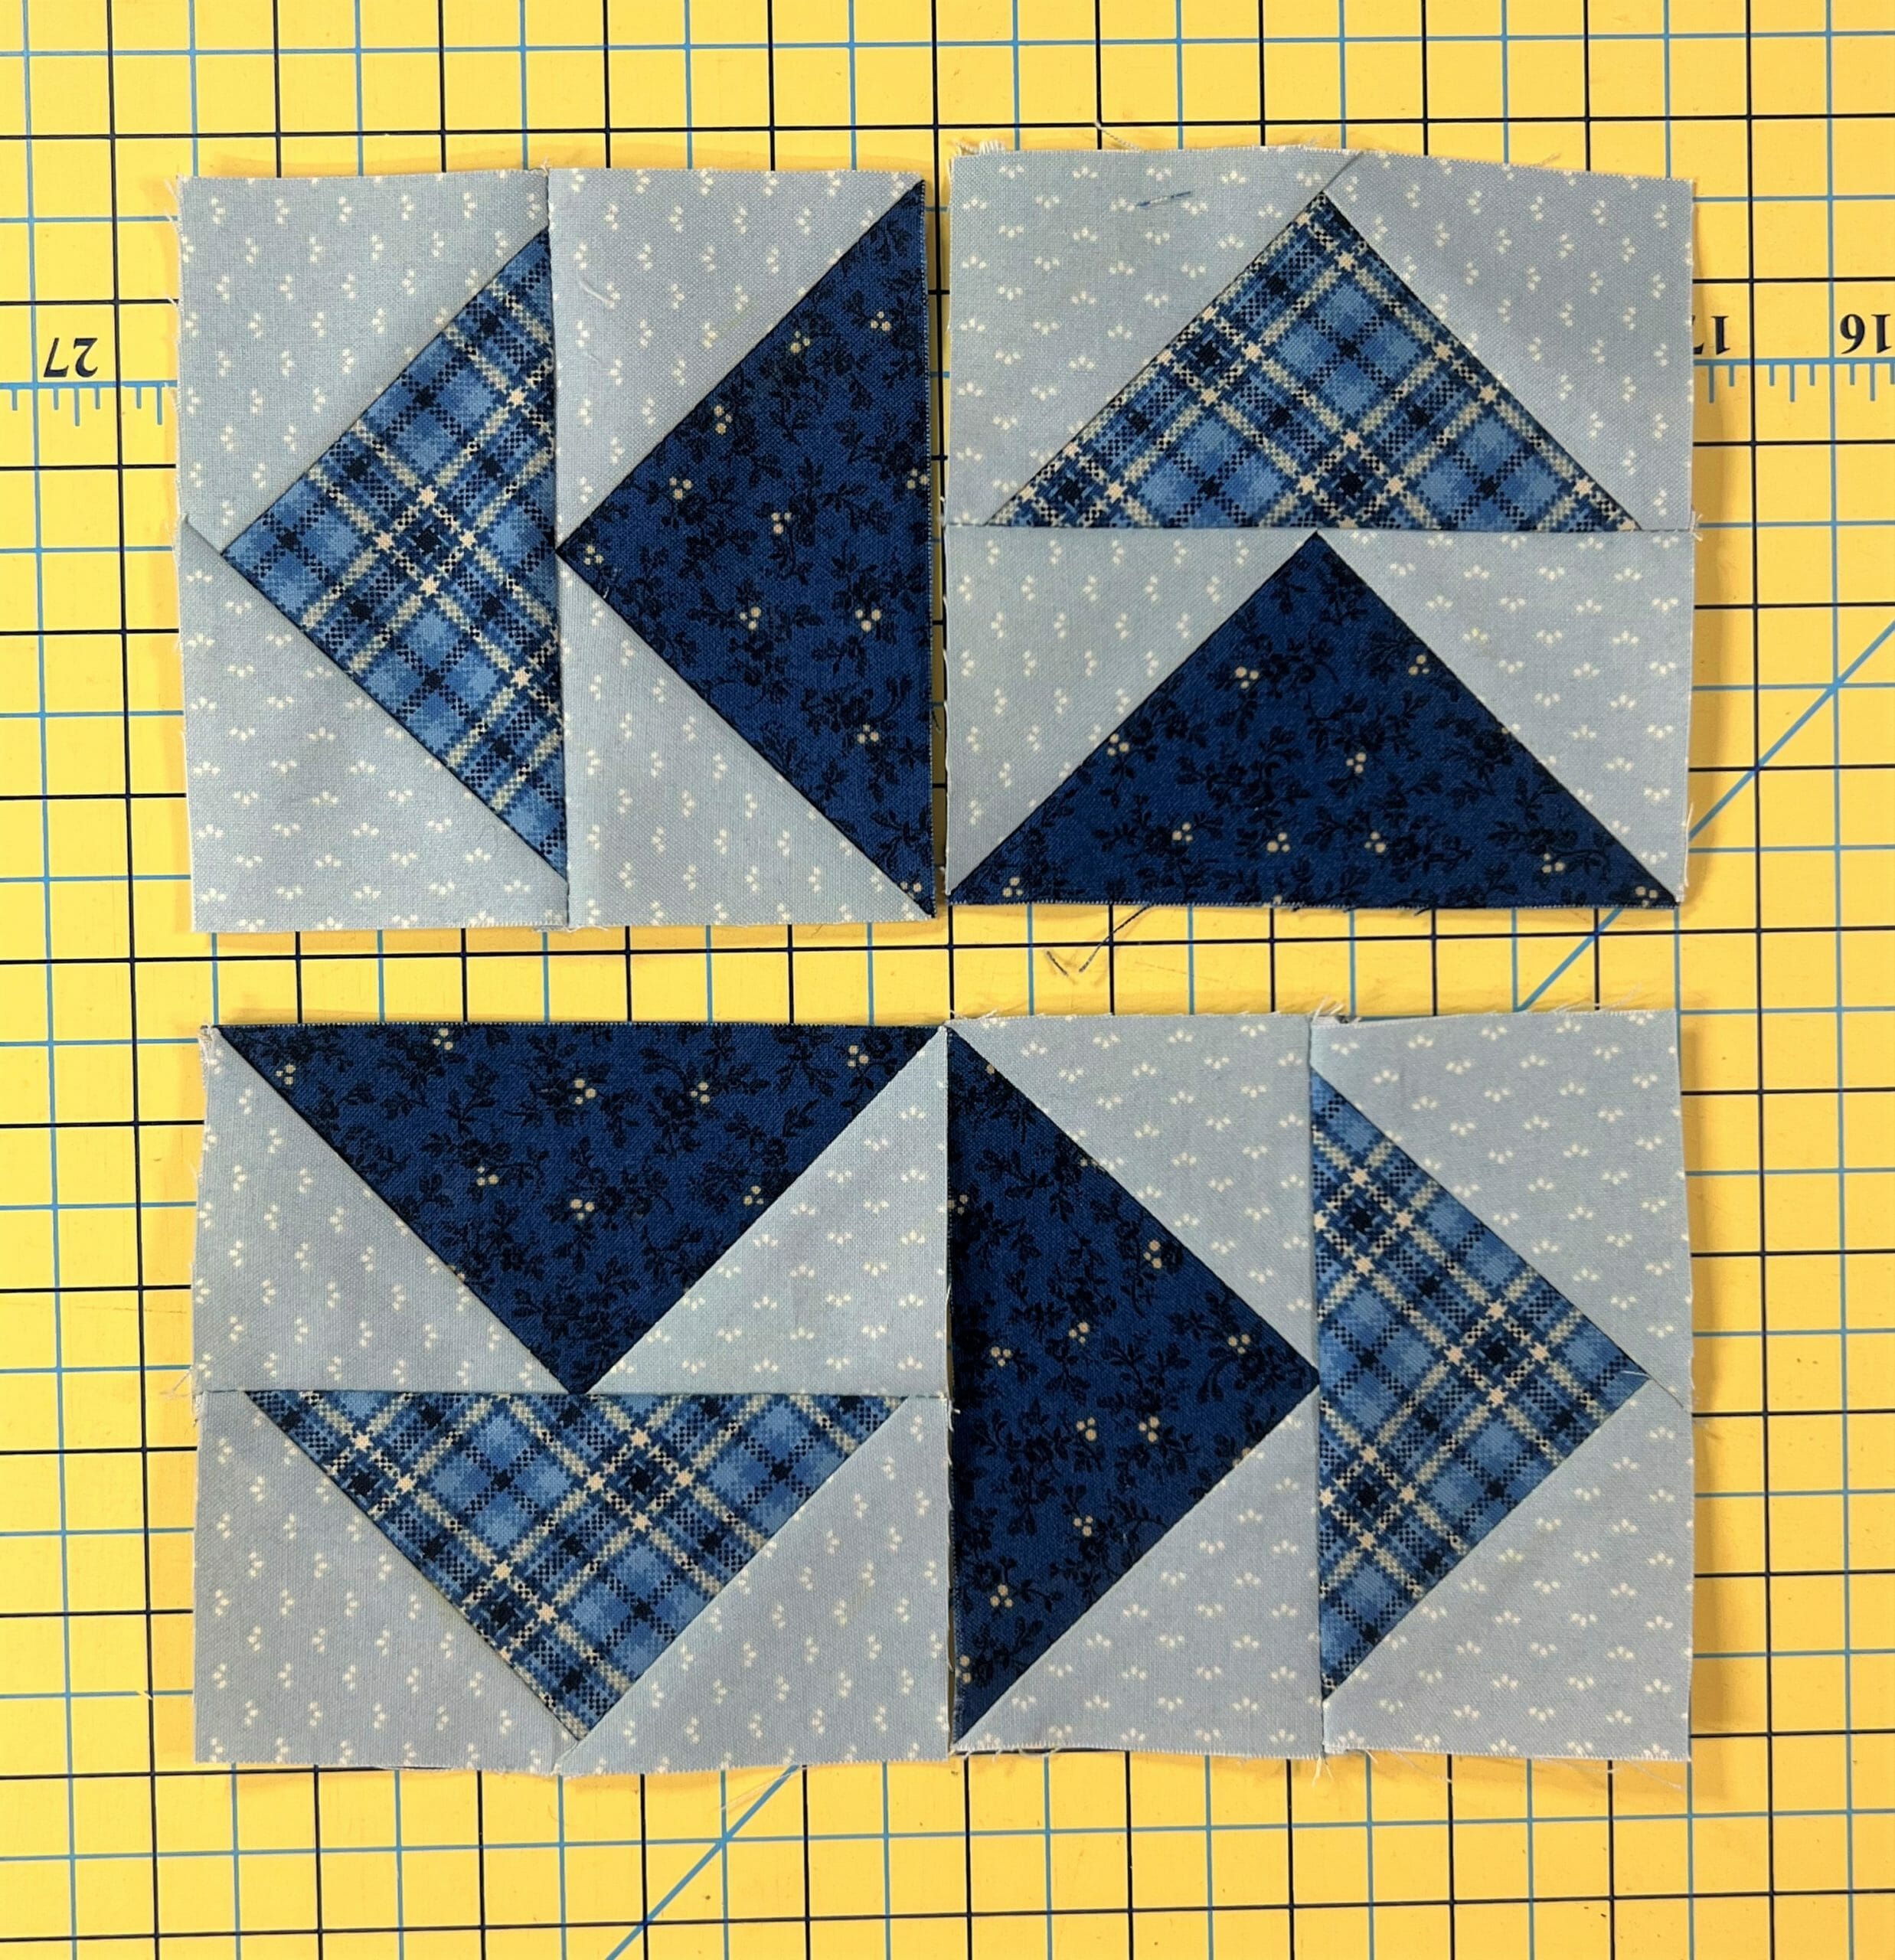
Next we will make four flying geese, which we are getting really good at, right? The photo below shows the second set of squares pinned and ready for sewing, because again, I can’t seem to be consistent with my photos. In my defense, I was days (maybe hours?) away from getting on a plane for a three week vacation, so I was a teensy bit distracted while sewing and prepping this blog post.

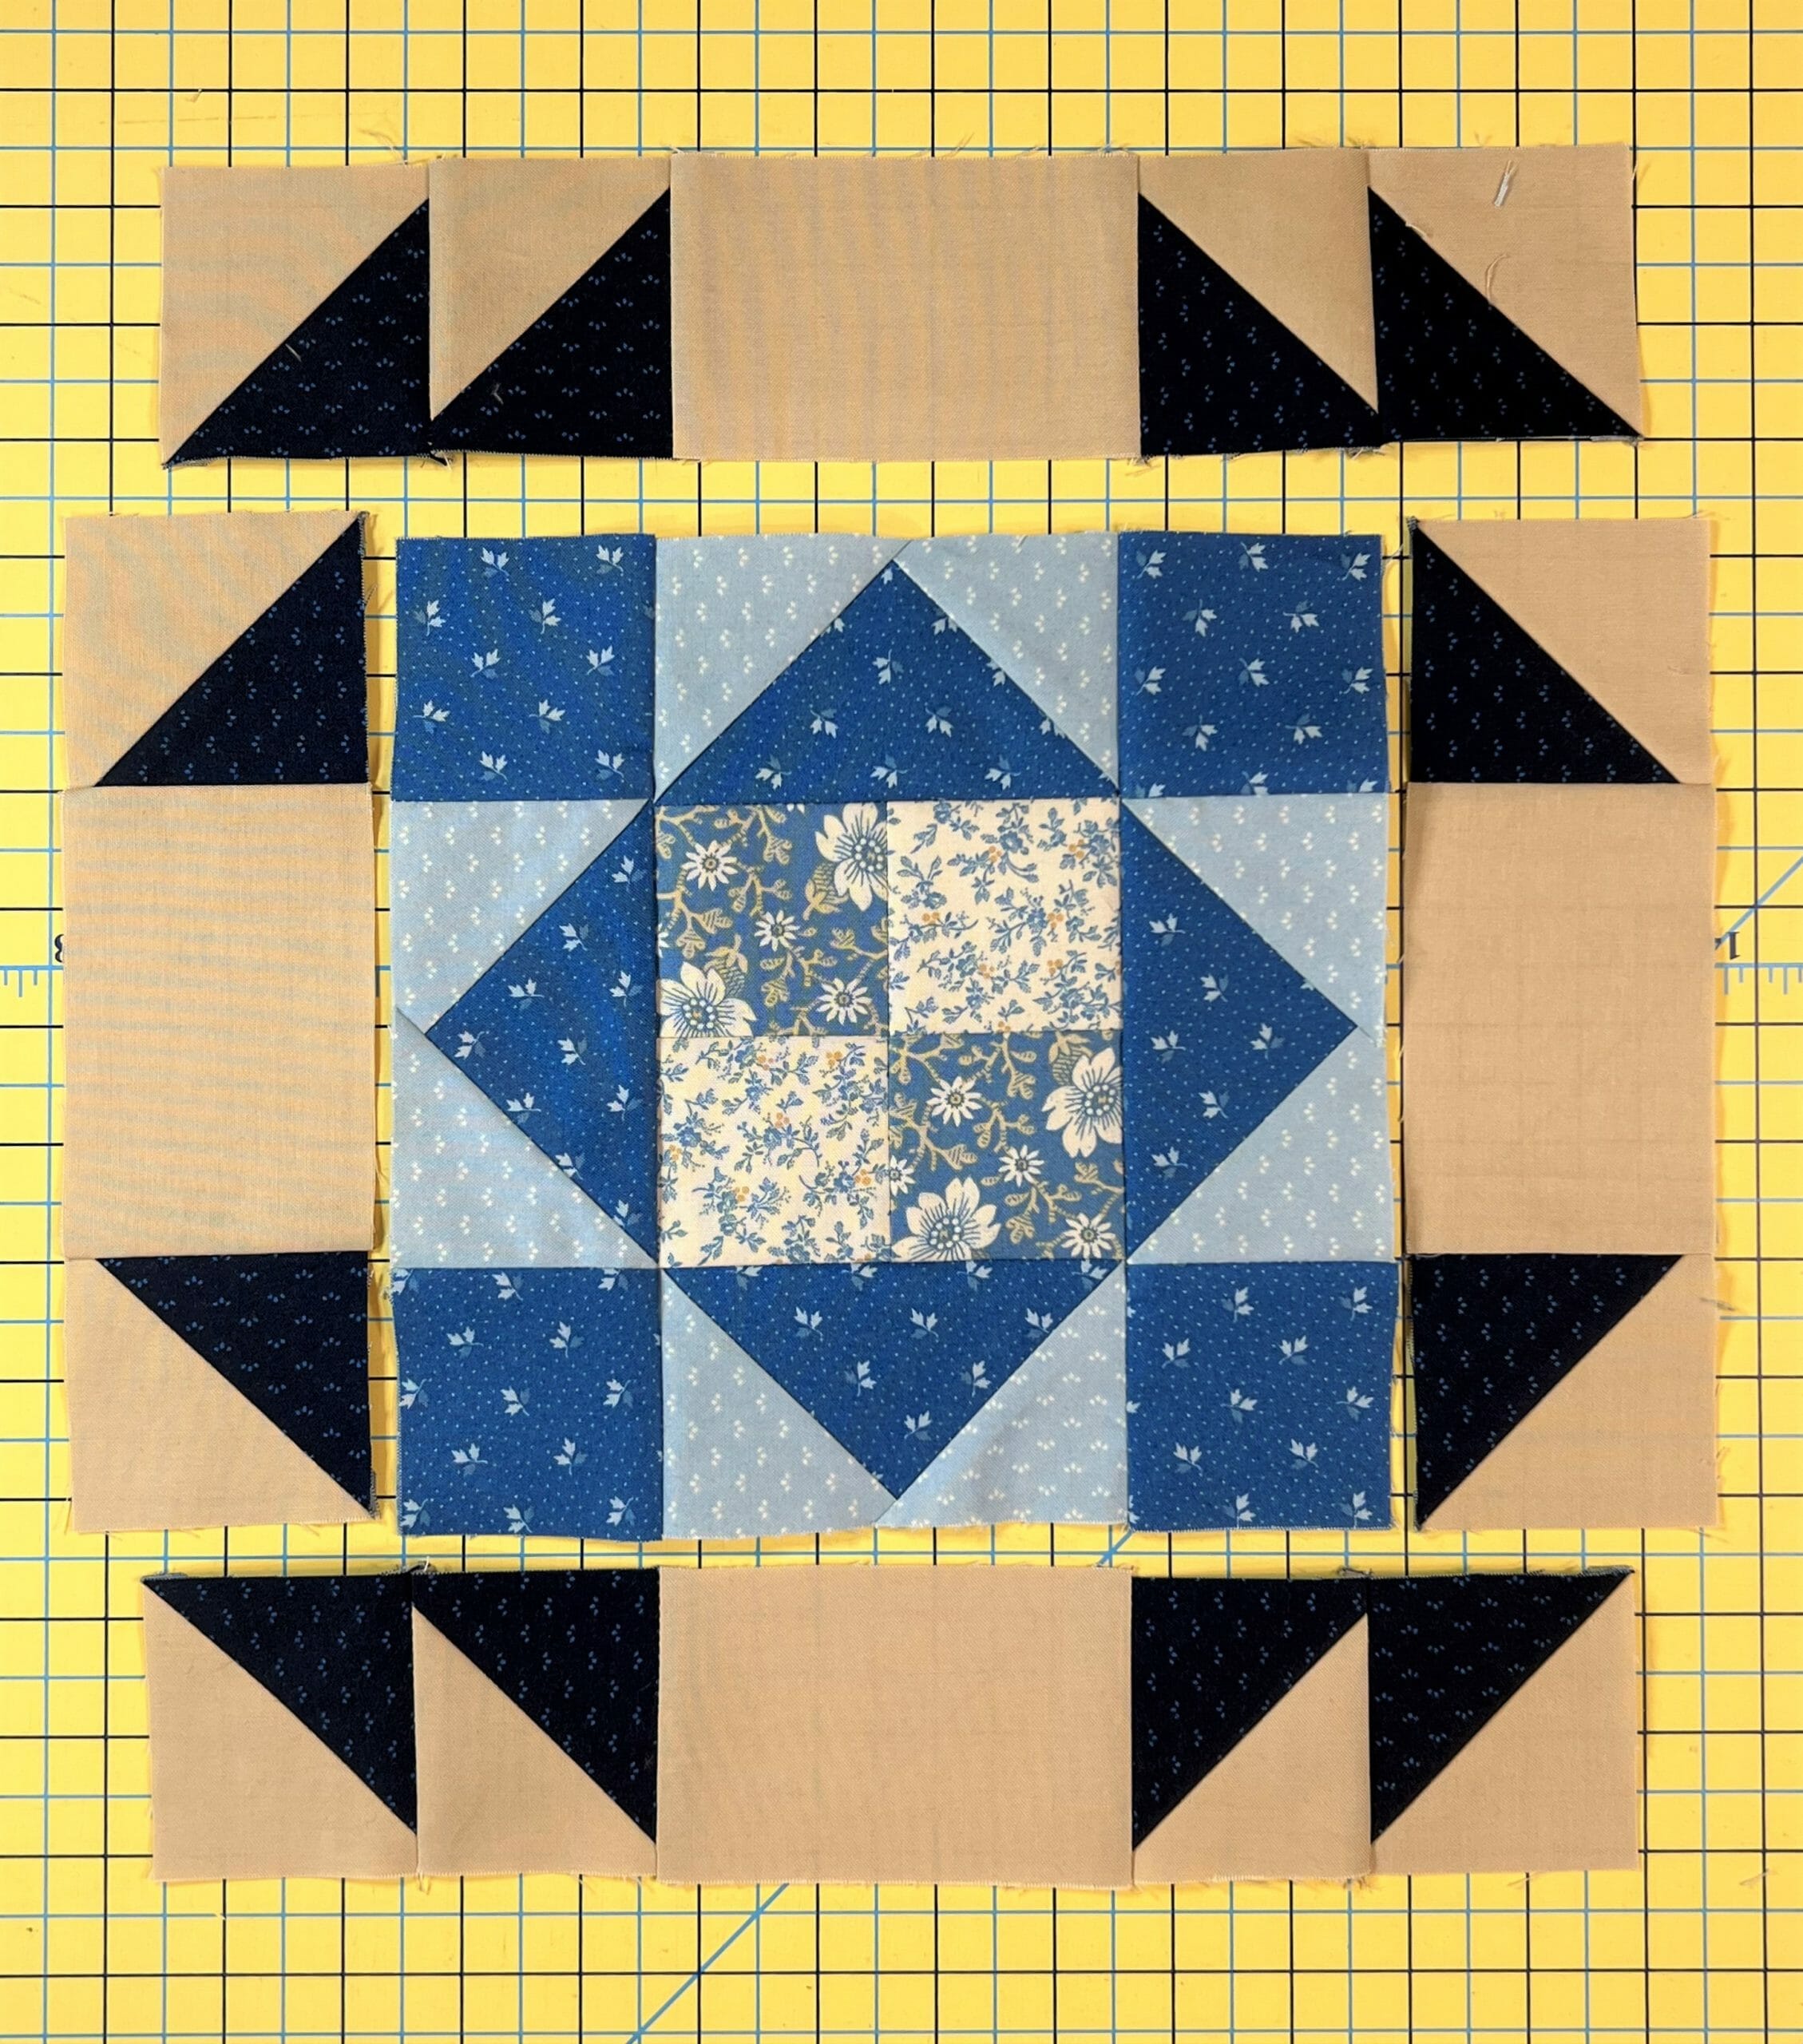
And then we just lay everything out, making sure those Droplet Lt. Denim units are in the outer corners of the block, and sew it all together. If you’ve paid attention to the pressing arrows, the seams should nest nicely together as I mentioned earlier.

Now, just sew on those borders and you’re done!

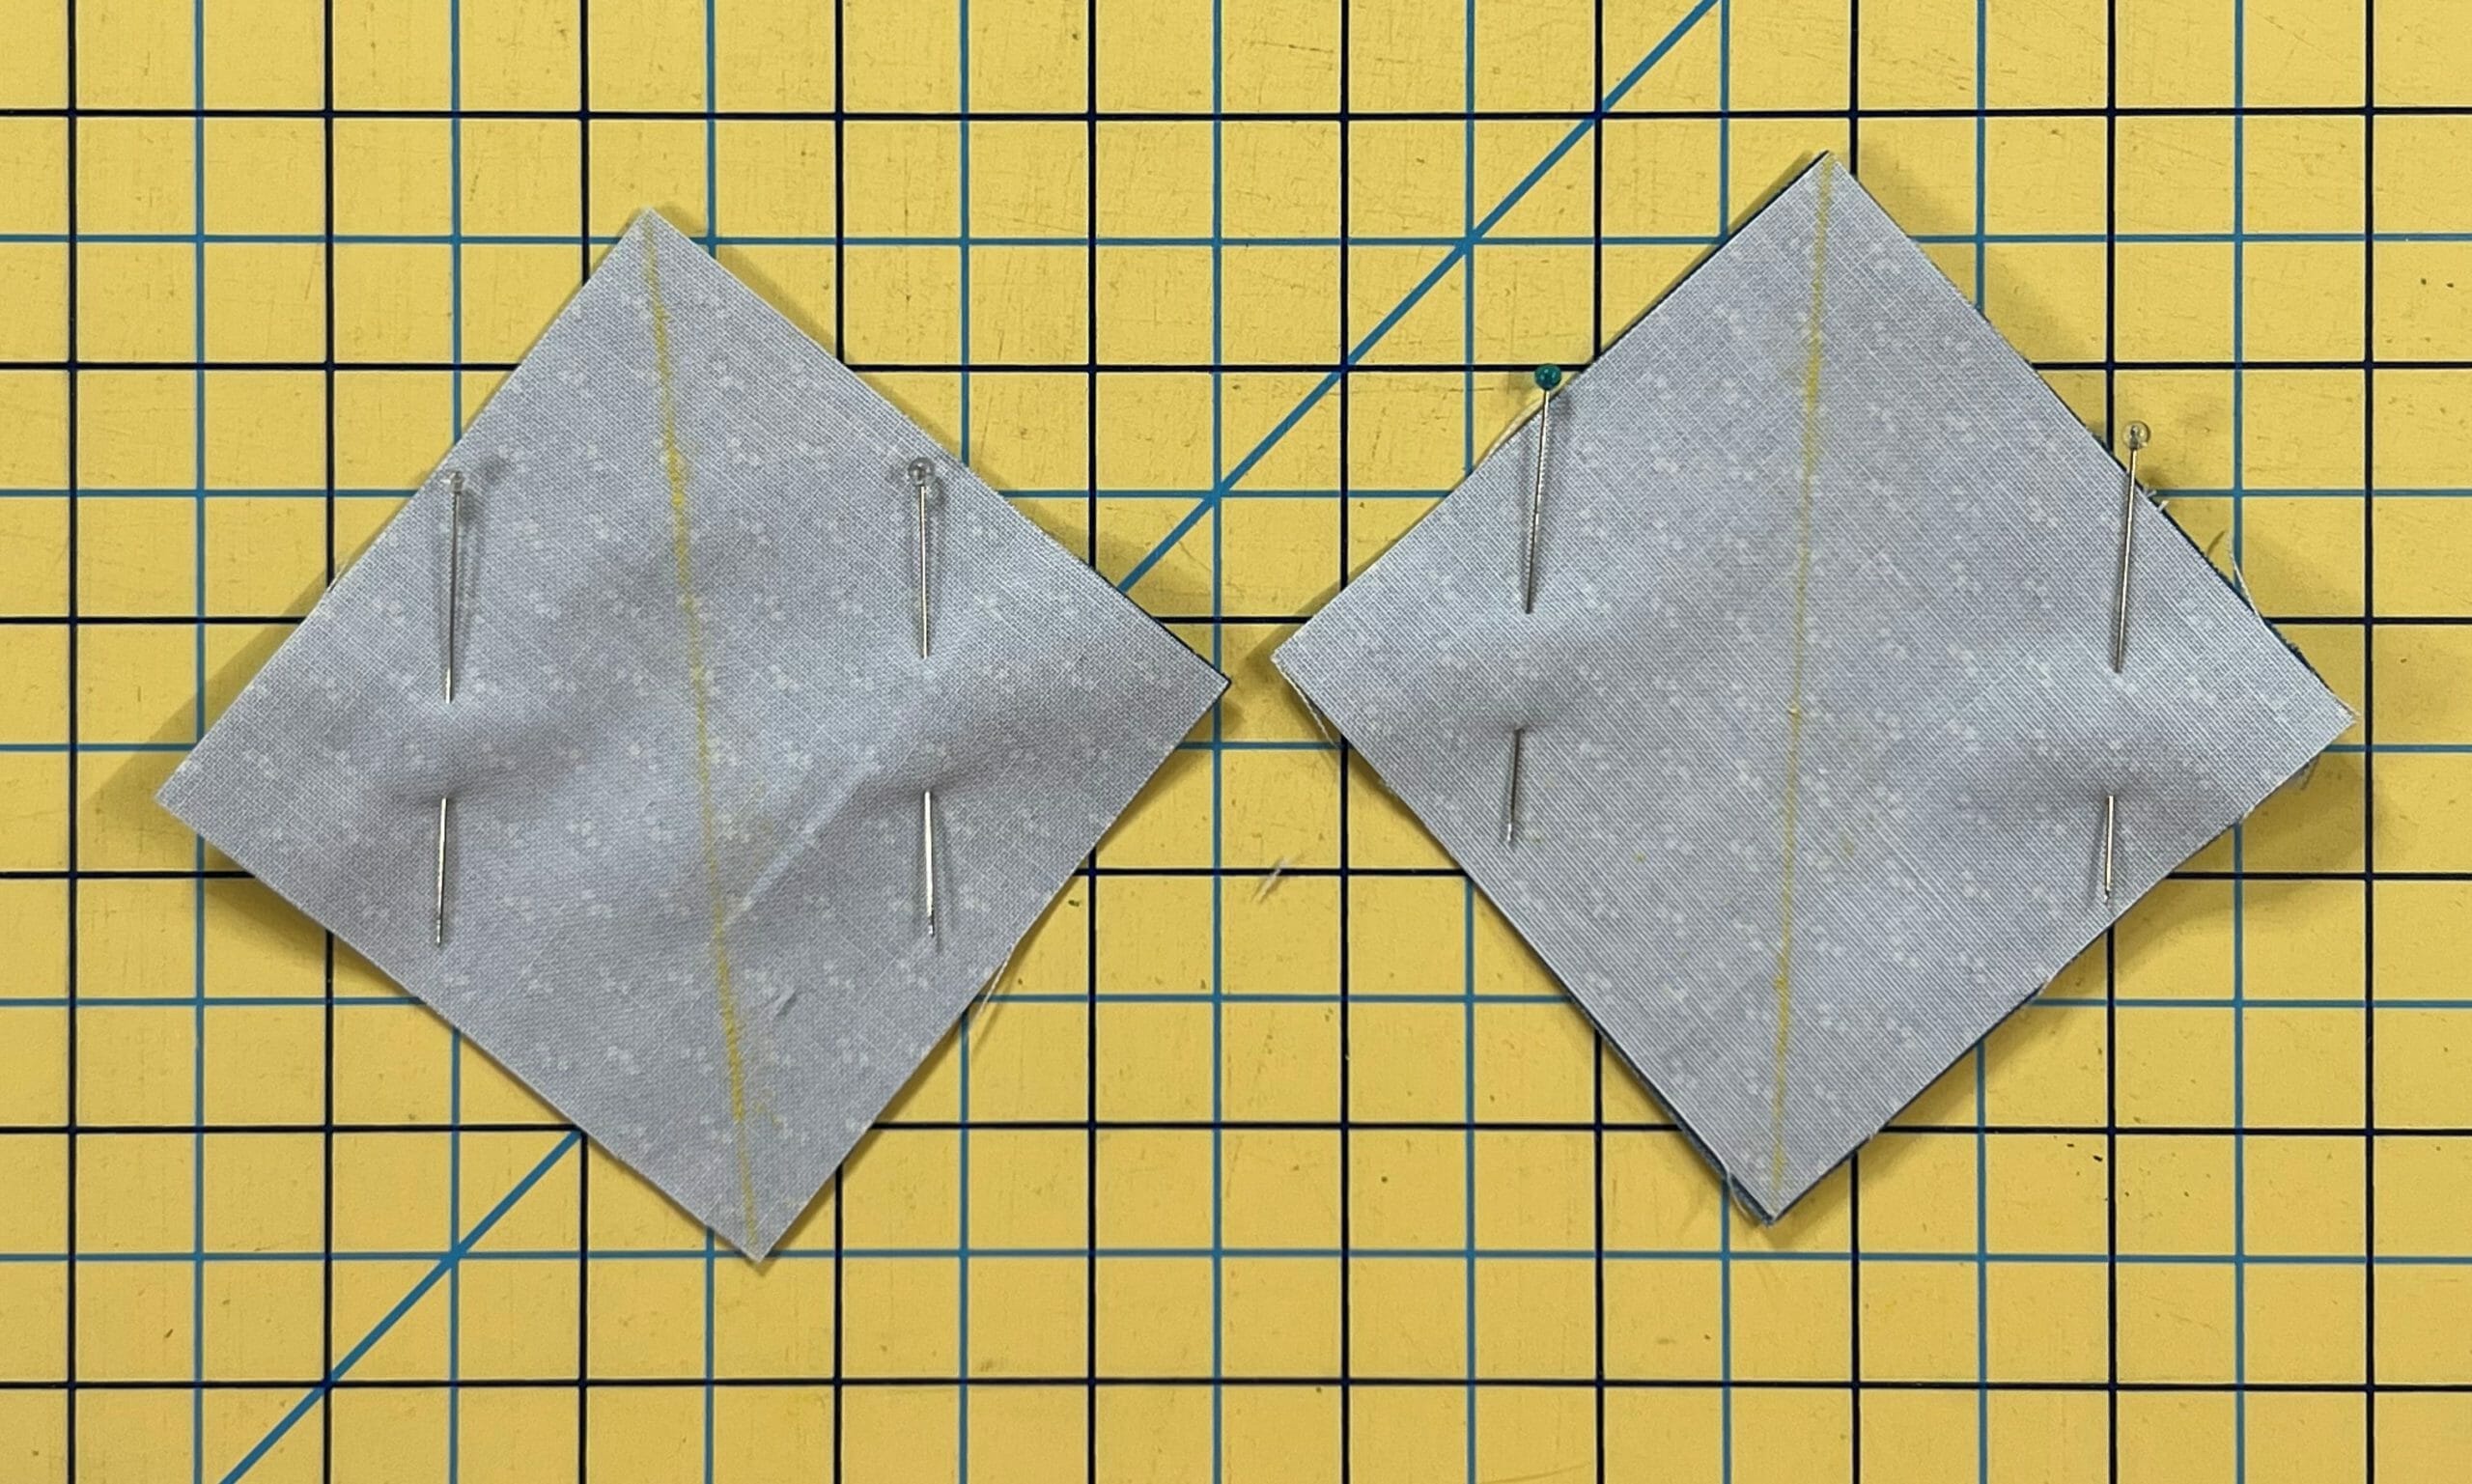
I hope you are all making progress on your sashing strips. I’ve seen a few comments on the Facebook group about getting the directional Droplet Navy pieces to all go the same direction.
When designing this quilt, I just loved the deep rich Navy of this fabric, and decided to use the print, despite it being directional. To be completely honest, the print is SO small, that this is one of those rare times when I didn’t pay any attention to the direction of the print while sewing. It’s something you have to look at closely to even notice, so it didn’t bother me if things were loosey-goosey. You can see below what my sashing units look like, and notice that the prints are not going the same direction.

Once it’s all sewn in to the quilt, these ends become the points of the stars in the sashing. Since the sashing strips get used both vertically and horizontally, I knew it wouldn’t be possible to have everything going the same direction anyway, so I just let them be whichever way and didn’t stress about it. If you want to try and have everything going the same direction, by all means go for it, and please accept my apologies for causing you grief in the process.
We are really nearing the finish line! Next month will be our last two blocks and some more sashing strips, and then we can finally get this quilt sewn and finished. Hooray!
Have a great month everyone, and I’ll catch you all next time!
Kristin