
Hi everyone!
Before we begin with the month 3 blocks, let’s chat about a couple of things.
A few of you have asked questions about the scant ¼” seam allowance I suggest in the patterns, and it seems (no pun intended!) to be throwing some of you off. All of my patterns are written to be mathematically correct, so anyone who wants to use a straight ¼” seam allowance will be able to successfully make these blocks. I personally use a scant ¼” seam and then square up the units as I go. But if any of you prefer to use a standard ¼” seam when sewing, by all means, please do! Just make sure your seams are accurate and consistent, and measure as you go to make sure you’ll end up with the correct 12-1/2” square when each block is finished.
Also, in case you haven’t noticed by now, there are A LOT of half square triangles in this quilt. Everyone has their preferred method of making these, so please feel free to step outside the box. While I used the mathematically correct 7/8” measurements on the cutting for these, please know that there is enough fabric for you to round up the extra 1/8” if you like, and then trim to size when done.
I know some of you are also using the Eight at a Time method of making HSTs, which is great! There are a couple of great videos on YouTube you can look up if you are curious about this method. Like I said, do what works for you!
Okay, let’s talk about this month’s blocks!
Block # 14
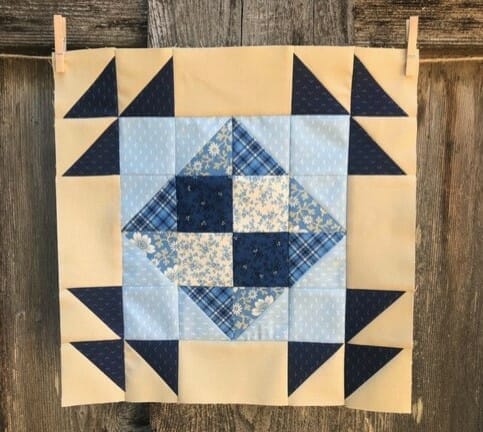
This block has lots of pieces, but it’s pretty straightforward. We’ll begin by making a simple 4-patch.
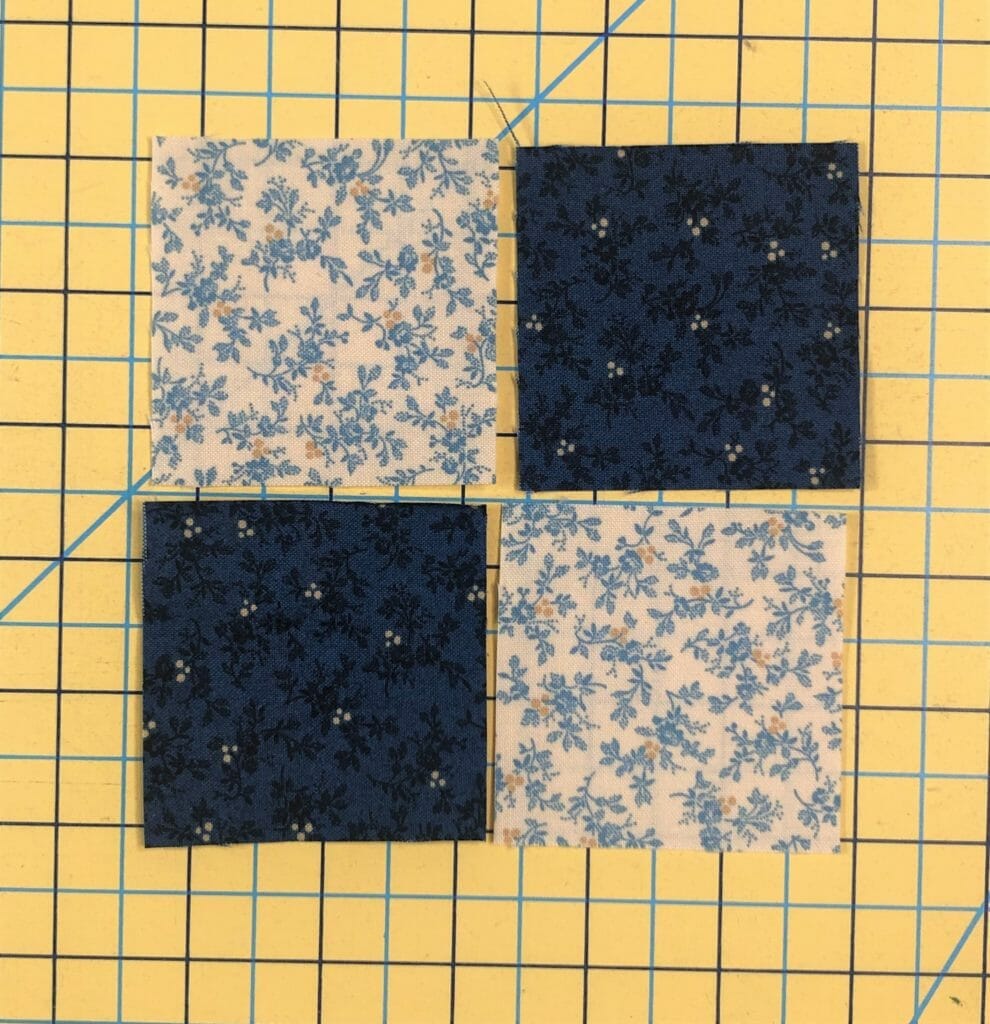
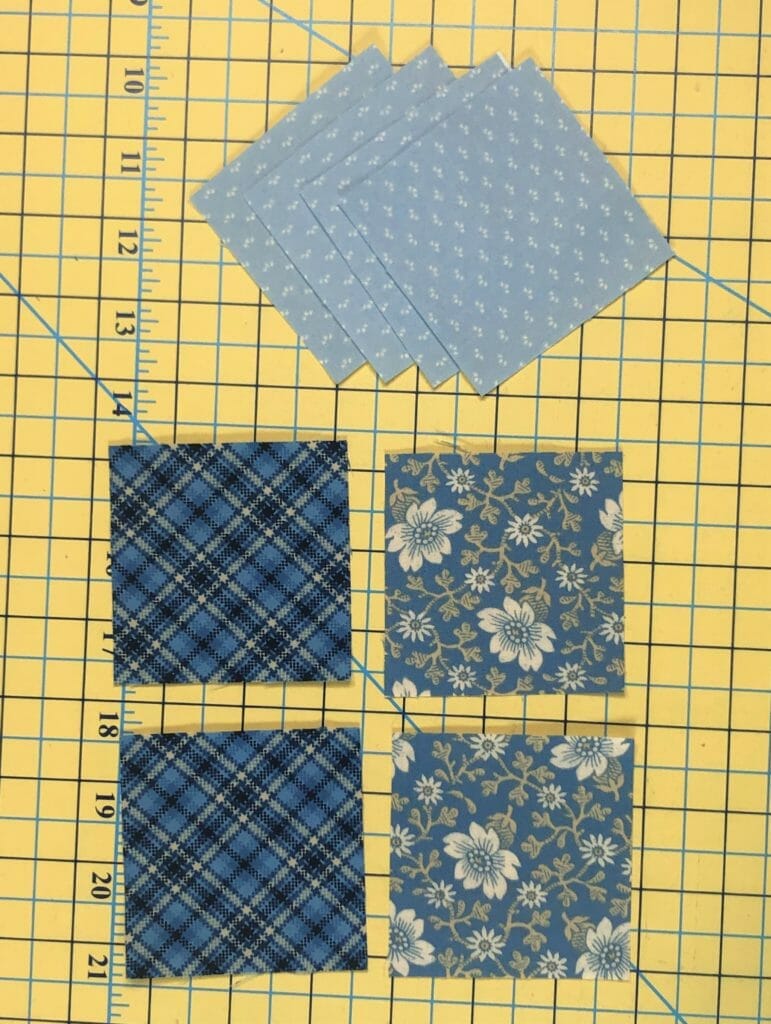
In steps 2 and 3 we will make eight half square triangles – four of each kind.
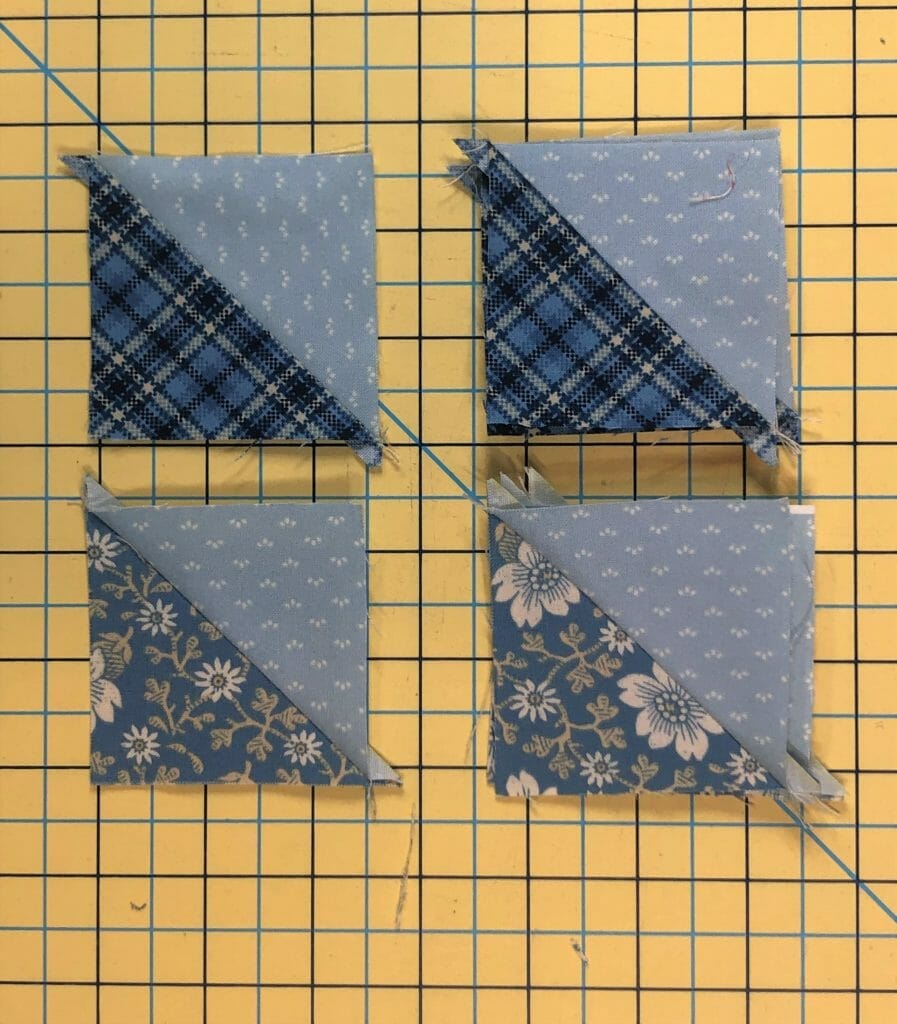
Once the HSTs are sewn and trimmed, I paired them up to get ready to sew them together. Just make sure to keep the Cabin Plaid on the right side of each unit as you sew.
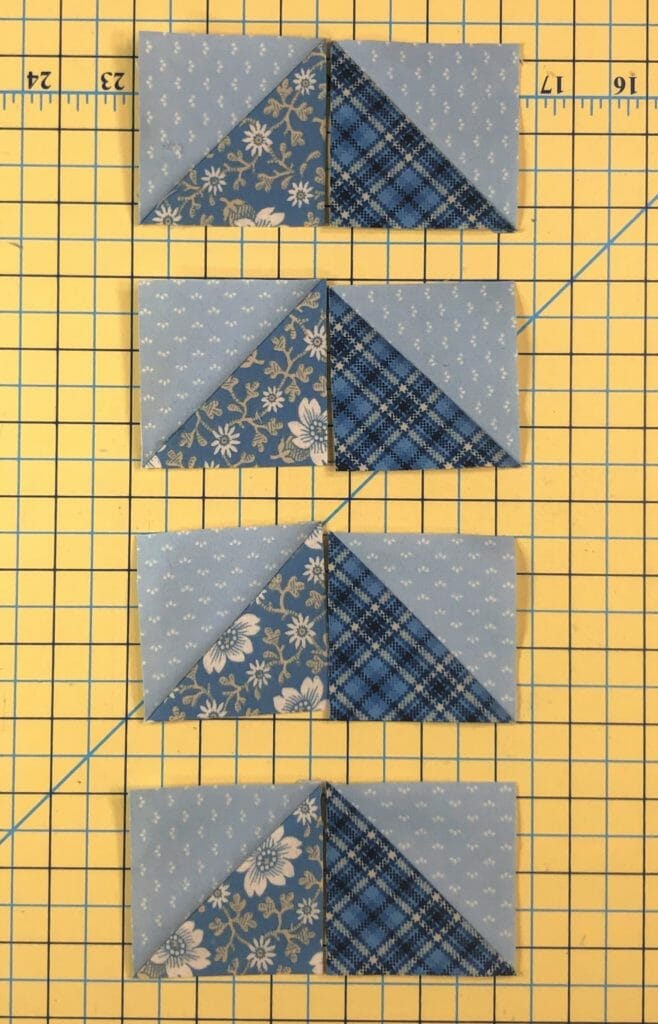
Take two of those completed pairs and sew them to the sides of the four patch. Sew the H squares to the ends of the remaining two units, and then sew those to the top and bottom to complete the center block. If you’ve followed the pressing arrows, all the seams should nest together.

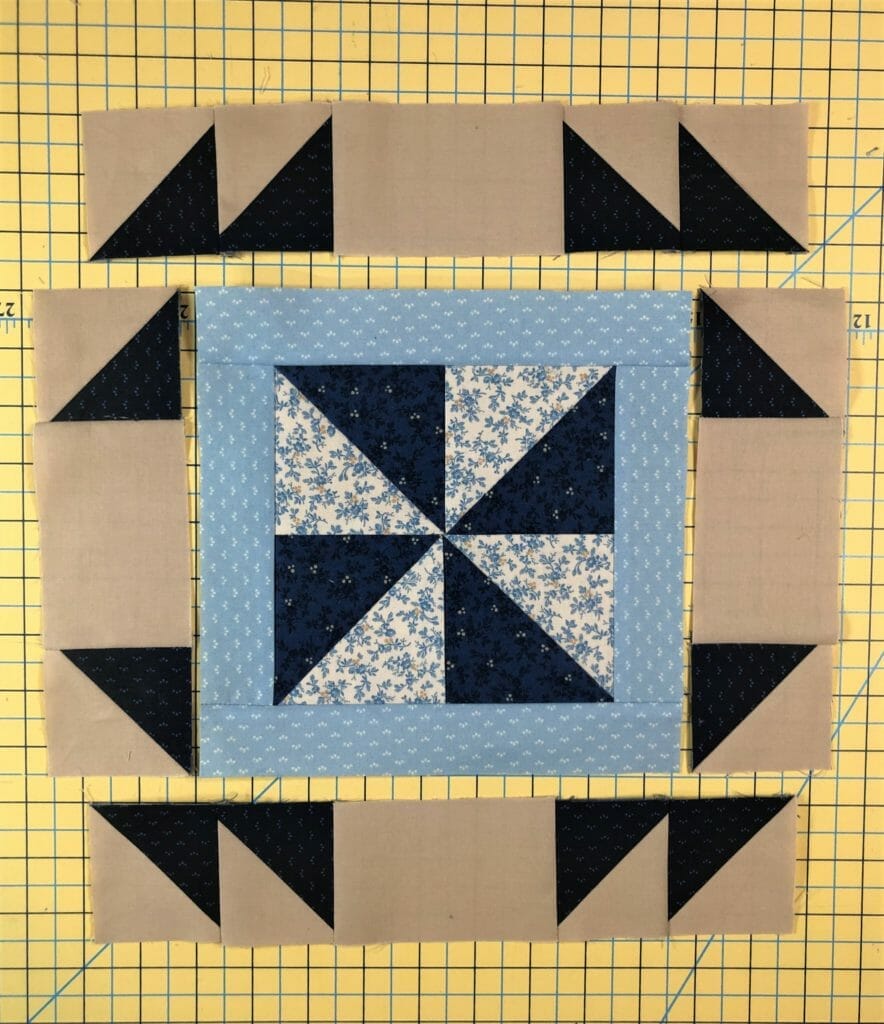
Now all we have to do is assemble and sew on our usual HST borders, and the block is finished!

Block # 18
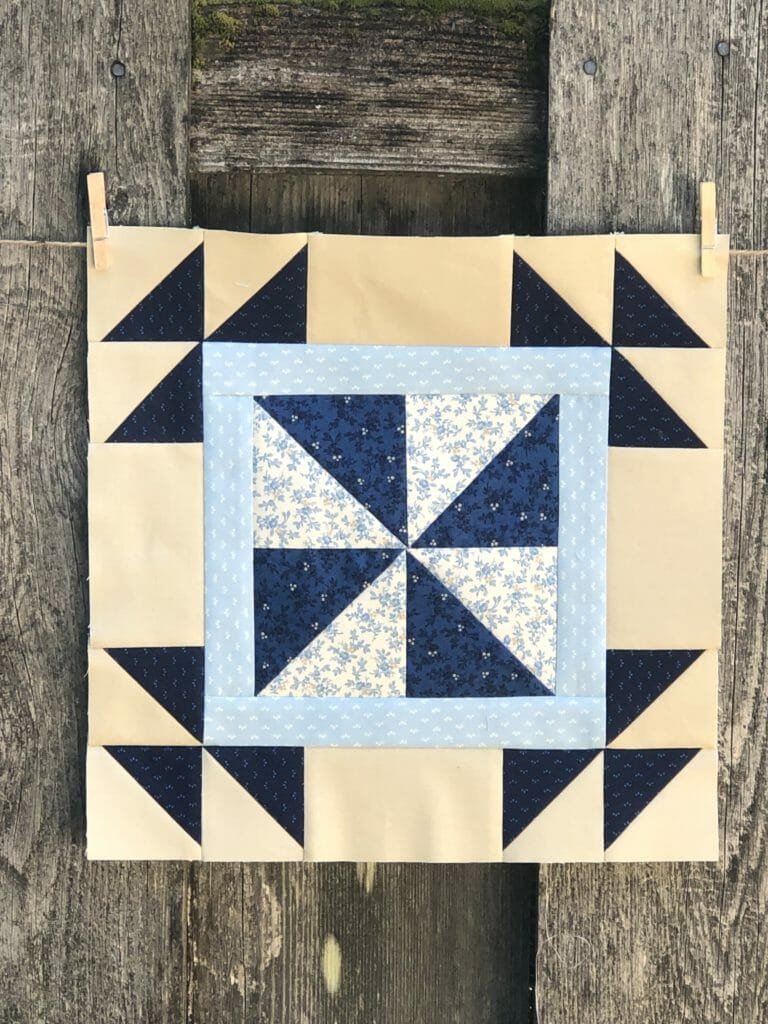
The center portion of this block is block is oh so easy! It’s just a large pinwheel with a border, and it comes together in a snap!
Start by making your four HSTs, and sew them together like the photo below. Make sure your pinwheel block measures 6-1/2” when done. This is when I like to use those scant ¼” seam allowances, so that I have wiggle room for trimming to size.

Then sew the F and G strips on as directed. One tip is to cut your strips a bit longer than necessary, and then trim them to line up with the pinwheel as you go. This is especially helpful with the top and bottom strips. This should measure 8-1/2” square when it’s done.

And of course, to finish things off, we will add those borders we are getting so good at.
Block # 20
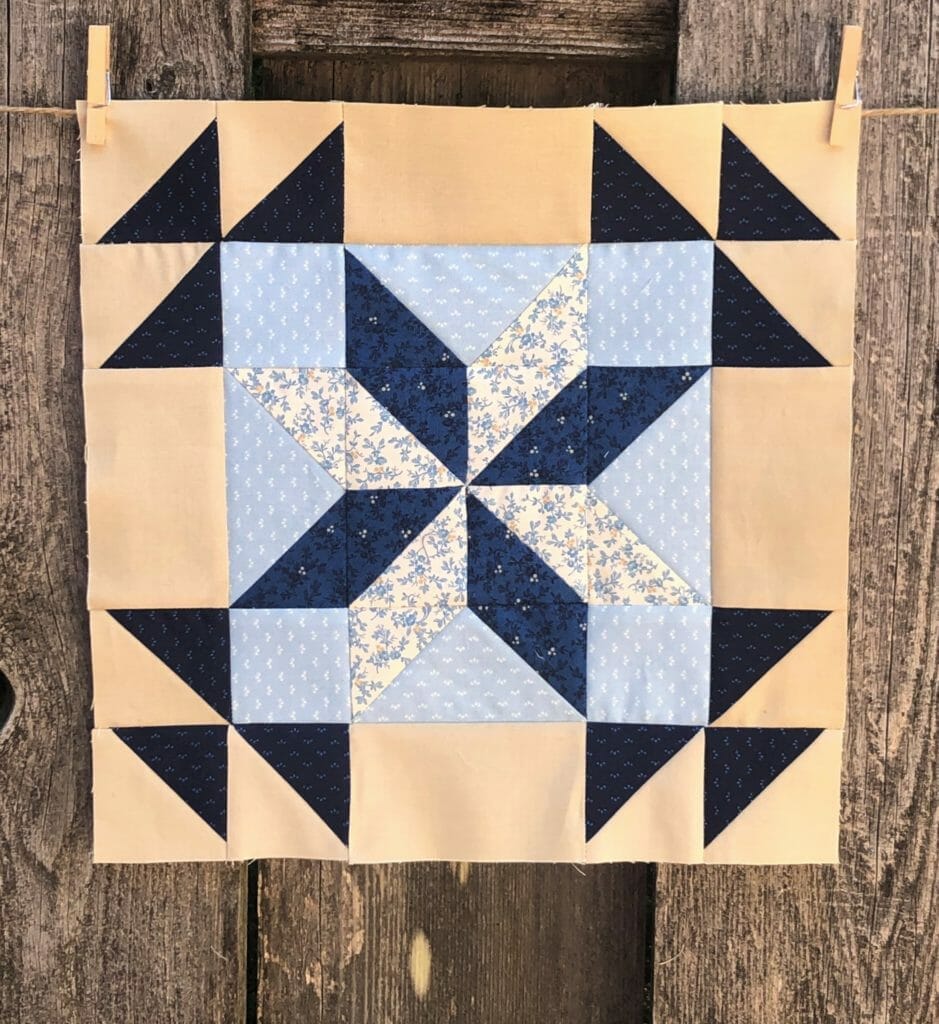
This block is an easy version of the Lemoyne Star. The traditional way to make these is to sew with Y seams and other fun stuff that I don’t personally want to attempt, so we’ll be making this the cheater way.
This block starts the same as the last one, by making a pinwheel unit from half square triangles. It’s important that you have your pinwheel oriented correctly in order for this block to turn out. So please double check as you sew and make sure your D and F triangles are in their proper place, exactly like the diagram in the pattern.

Next comes the flying geese units, and we’ll be using the stitch and flip method. Again, placement is key. You want to start with your Cream G squares on the left side first, followed by the Dark Blue E squares on the right for each unit.


Once you get those flying geese done, you can lay out the block and see that the Dark blues and Creams line up perfectly to make the star. How fun is that?!
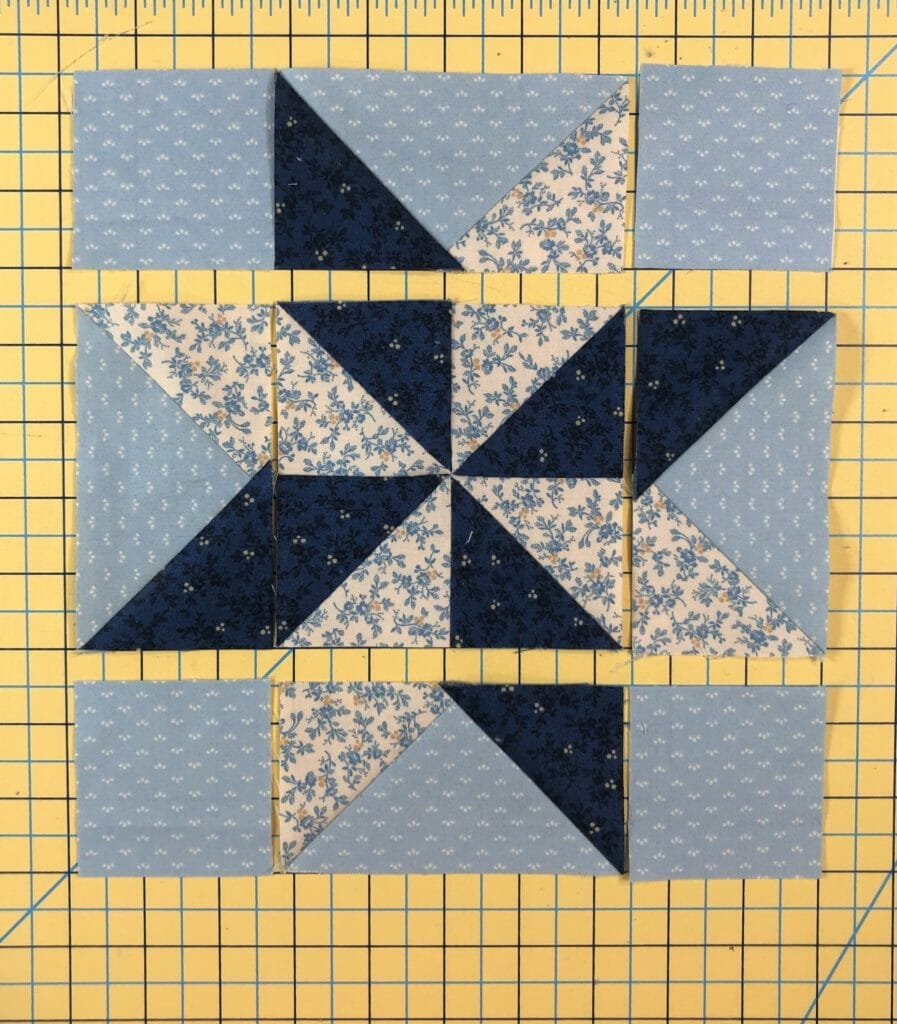
With this is all sewn it measures 8-1/2” square, and now you can add your borders to complete the block.
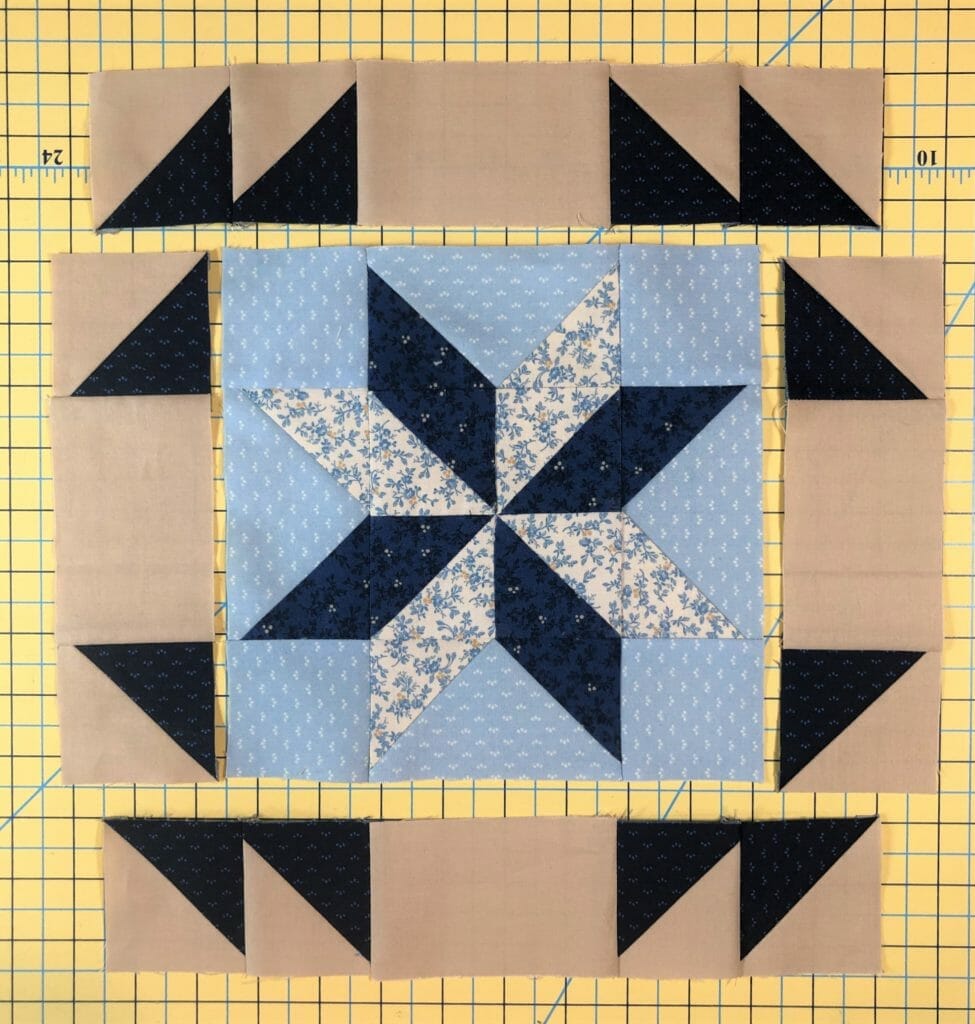
And of course, there are always a few more sashing strips to make as well. I had someone ask if it matters that the A strips are cut crosswise on the fabric instead of lengthwise. I usually cut lengthwise whenever I can for sashing strips, but it’s not imperative. It’s true that cutting as suggested means less give for easing things in, but usually that’s not a problem if the blocks are measuring correctly. If this bothers you, you can cut three out using the FQ and cutting lengthwise, and save your fourth one for the months when you have the extra fabric for making eight, and just cut nine instead those months. It’s totally up to you!

Well, that’s it for this month. Please holler if you have any questions, either on here, or on the facebook group, and I’ll try my best to get to them. Thanks for stopping by!
Happy Quilting! – Kristin


 Tutorials

