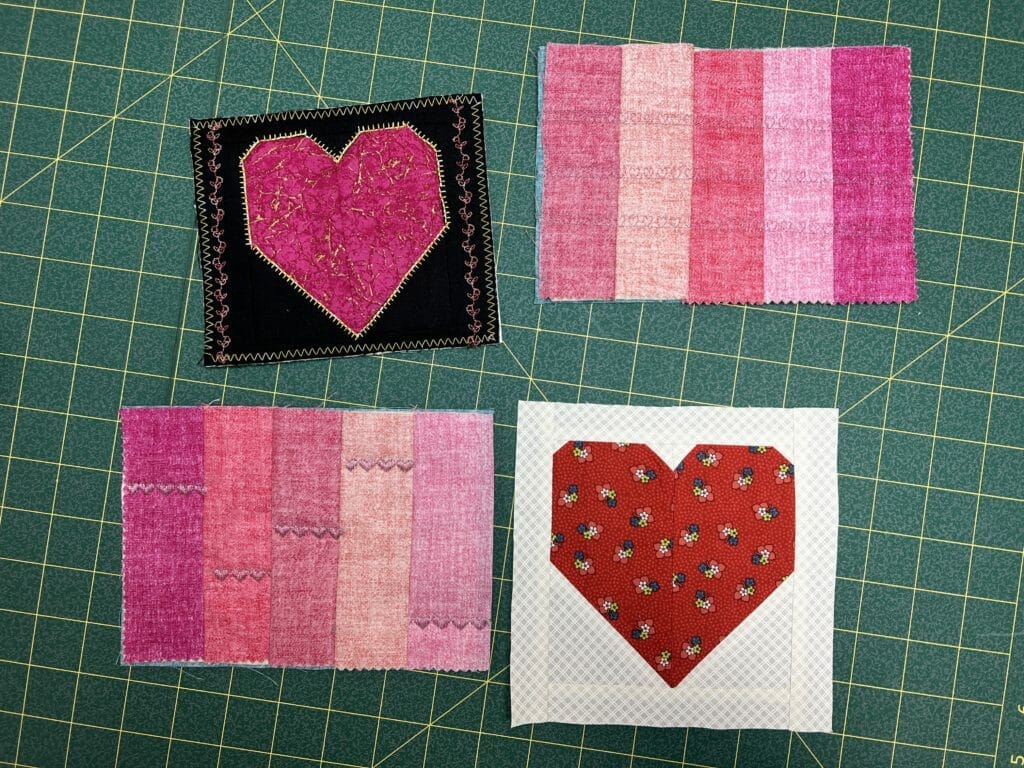
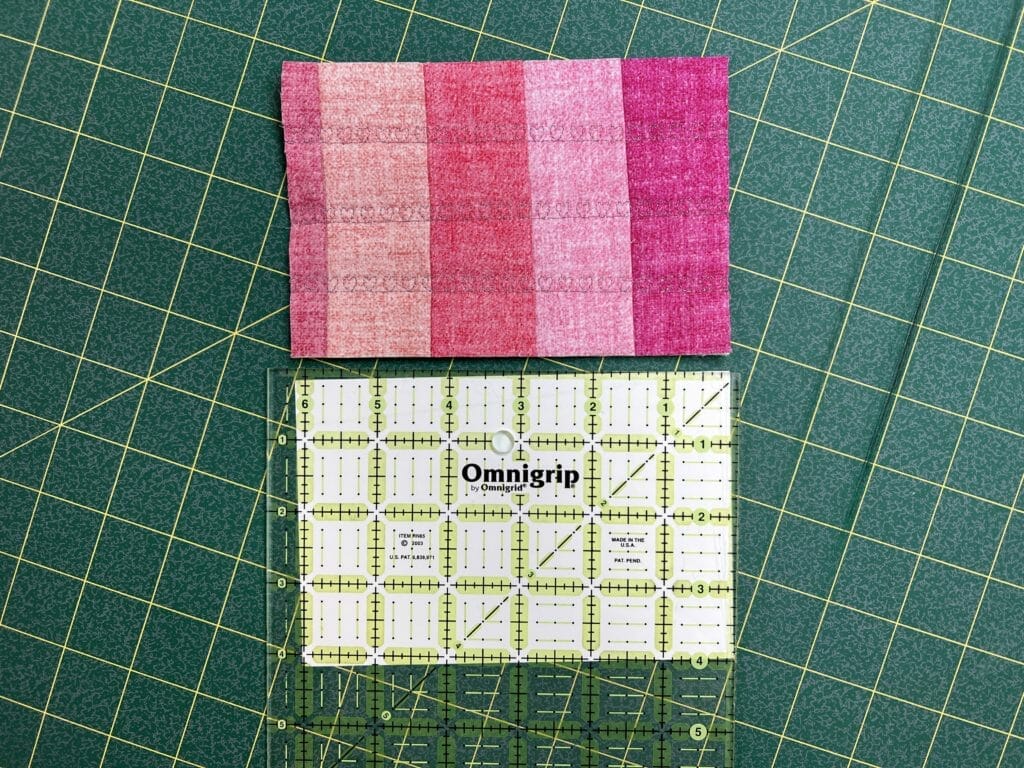
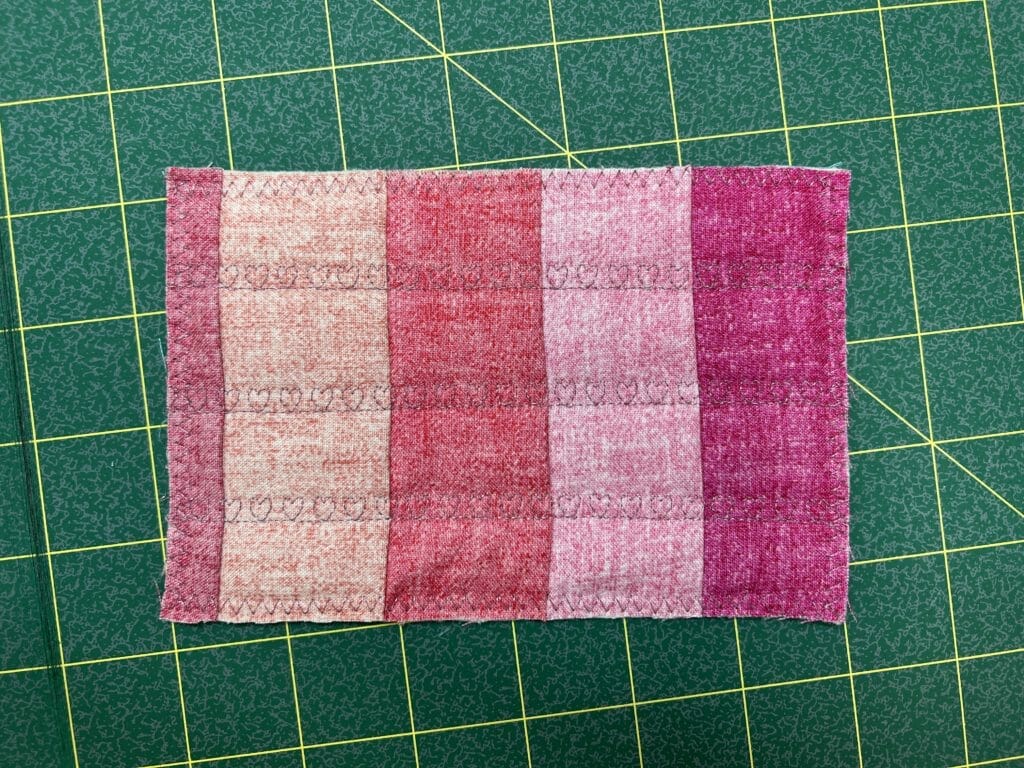
Quilted Valentines (or postcards) are so easy to make!
Use your scraps or a block pattern you’ve always wanted to try and let’s send something handmade to our loved ones.
What you will need:
~5″x7″ finished pieced block to trim down to 4″x6″
~5″x7″ batting
~5″x7″ backing fabric to trim down to 4″x6″
Quilting thread
Quilting ruler
Rotary cutter
Cardstock or
Bolt Boards Sewing machine or hand sewing needles
Step one:
Create your pieced mini quilt. Pick a block you’ve always wanted to try, use scraps and foundation piece to finish around 4×6″.
Step Two:
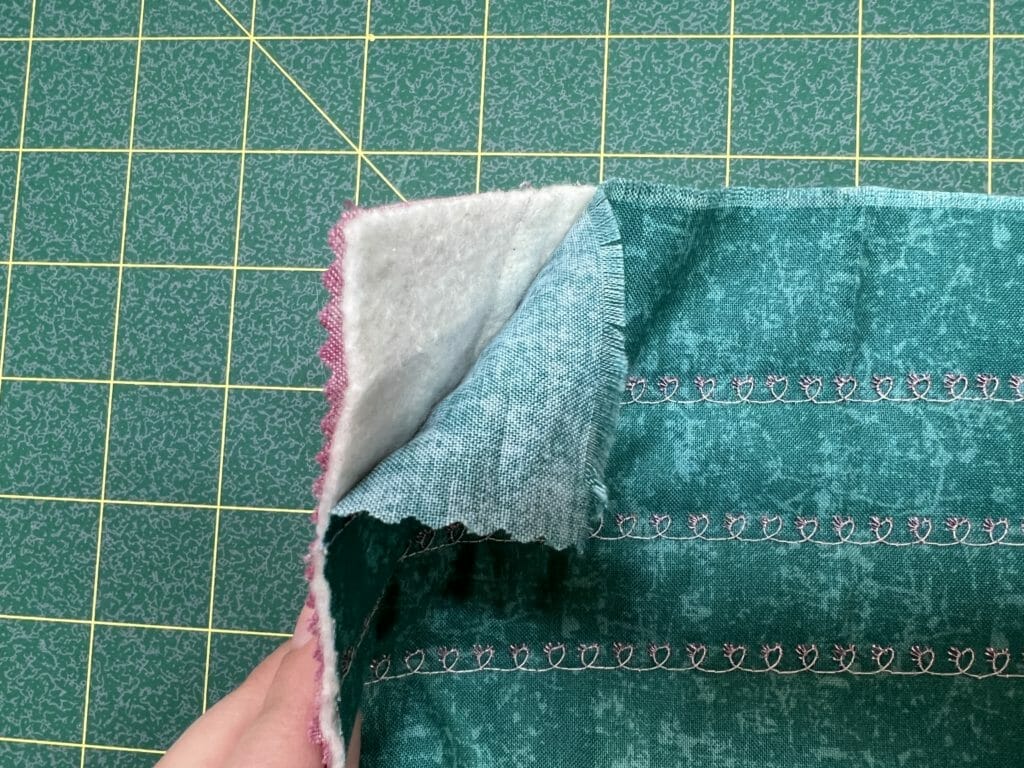
Sandwich your batting between the block and backing fabric. Spray baste to keep everything in place during quilting, or hand baste if you feel it needs it.
Step Three:
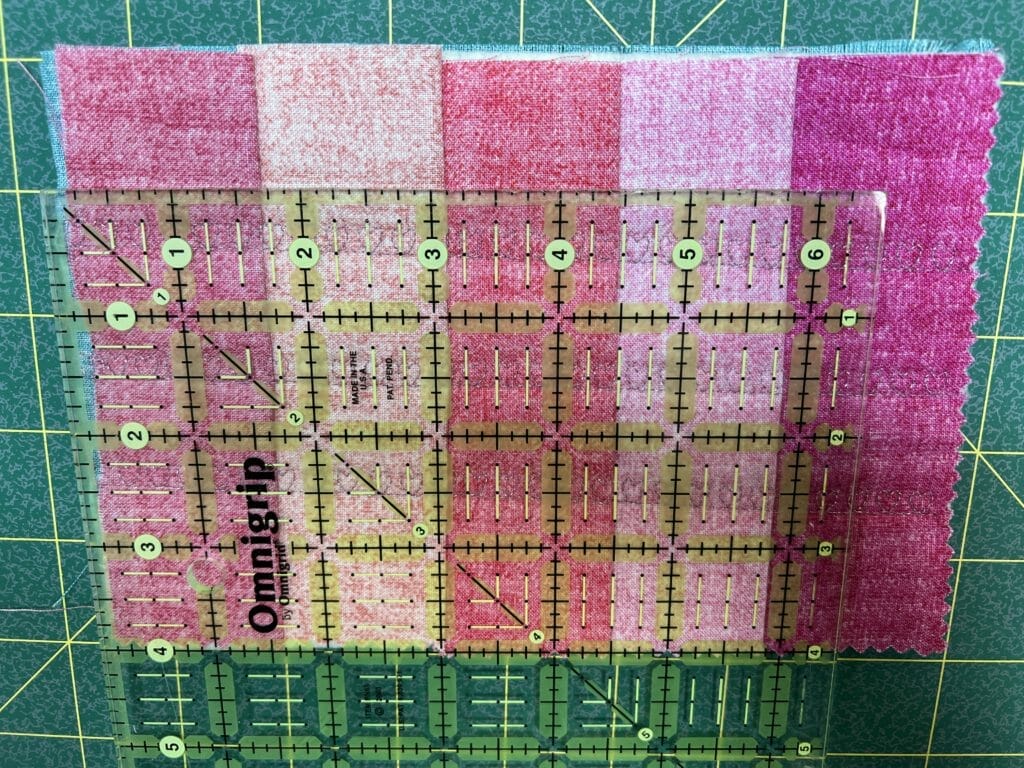
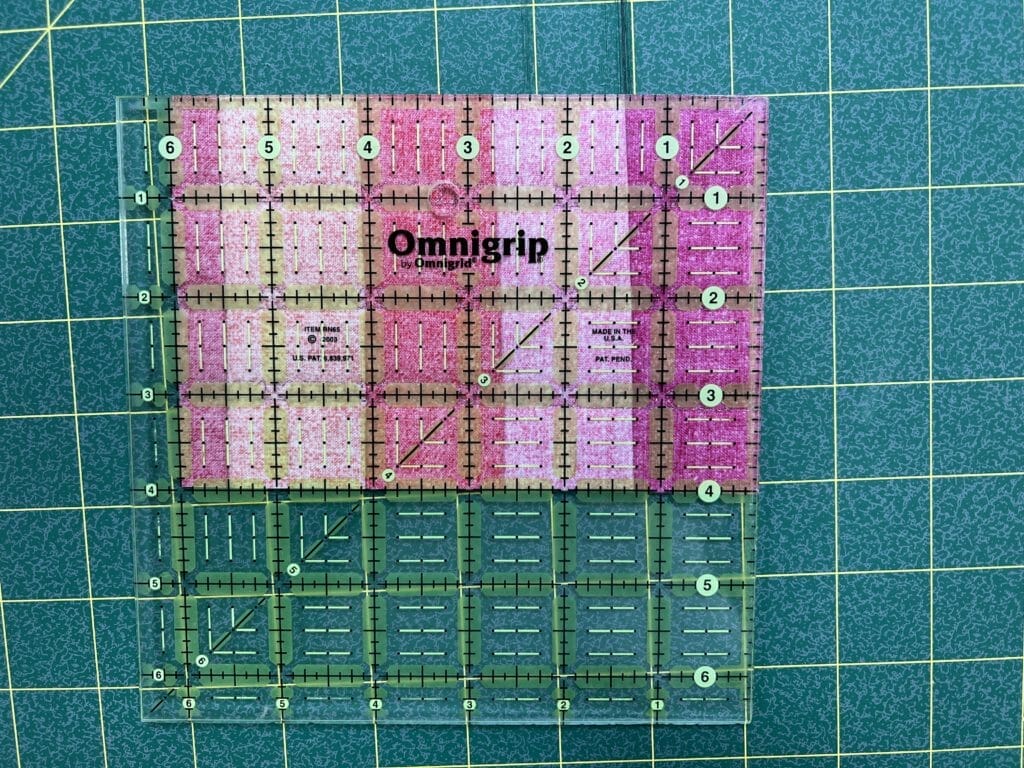
Trim the block down to size. 4×6″ Is the standard postcard size but if you plan to hand-deliver it there is no limit!
Step Four:
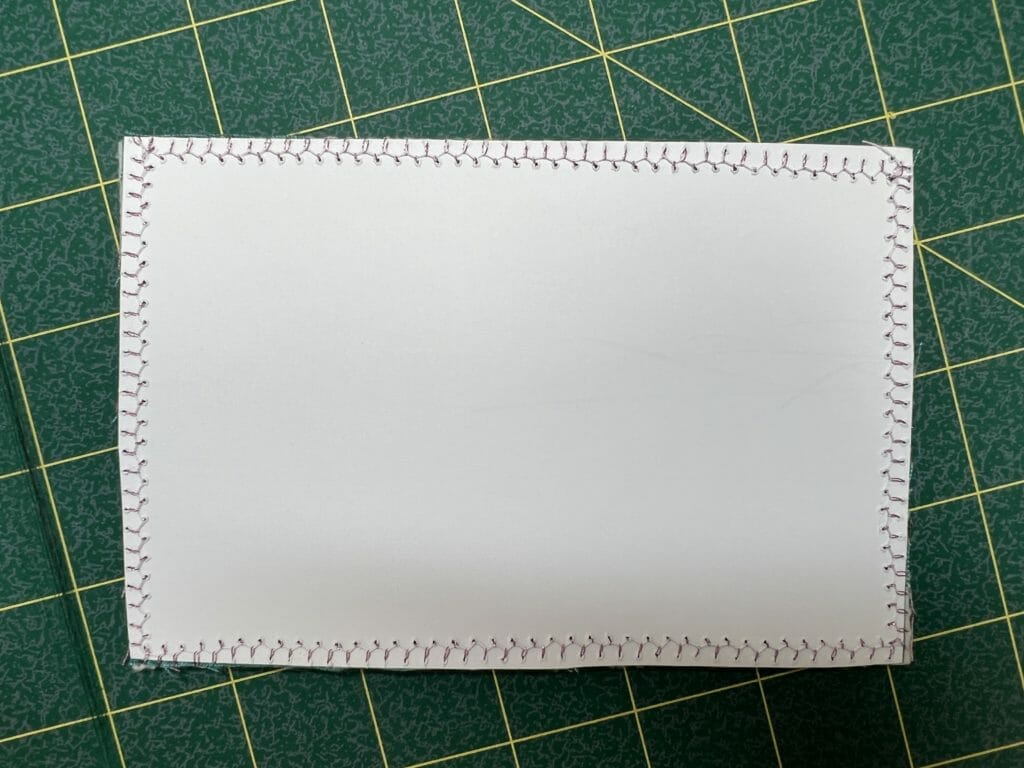
Time to attach your fabric to the cardstock or
Bolt Boards. You want to make sure the card stock is sturdy enough to hold up during shipping, admiring, and reading! We spray-basted the paper to the back of the quilt and made sure all was lined up and fitting properly. Then, all you do is zig-zag stitch around the border. That’s it! It’s amazing how easy it is to attach and MAKE a homemade valentine!
Step 5:
Write your valentine note!
Step 6:
Time to mail or hand deliver your postcard!
Postcards can be mailed as long as they are regulation size (4″ x 6″), no more than 1/8″ thick, and have the word ‘NON-MACHINABLE’ on it. Postage is currently $0.88 (as of January 2022). Or, speak with your mail person and make sure your postcard is in regulation. You could also put your card in an envelope and mail that as you normally would to prevent any damage during mailing.
Let us know in the comments if you’re making a valentine this year!


 Tutorials
