NOTE: these blog posts for the Bountiful quilt top are part of a limited series for our Block of the Month subscription program. Sign-ups for the Bountiful BOM are no longer available. You can learn more about our upcoming Block of the Month subscriptions here.
We made it! This is the final installment of our Bountiful quilt, which means we can get this quilt finished and ready to enjoy just in time for fall.
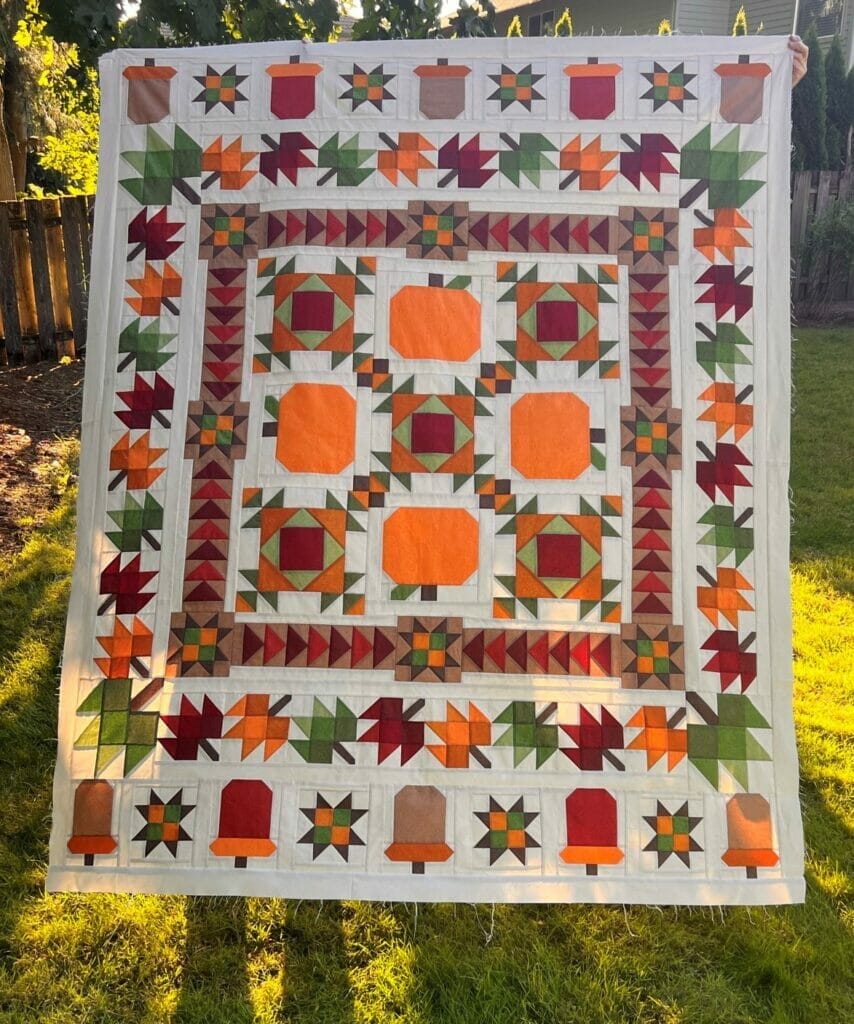
All we have to do is make a few more acorn blocks, sew those into our top and bottom rows, and then put it all together. Let’s get going!
If you remember WAAAYYY back in month 1, we made a few red acorn blocks. Now we are going to do the same thing again, just using different fabrics.
We’ll start by making the stems. Easy Peasy!
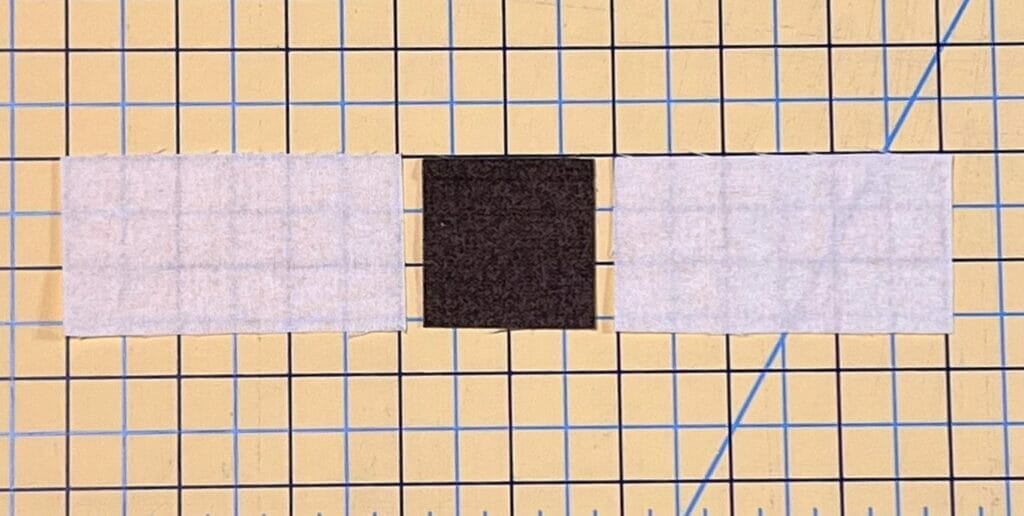
Next comes the acorn tops. Use the stitch and flip method to sew on all those E squares to the ends of A, like it shows in the diagram. Somehow I managed to cut mine 2-1/2″ wide instead of 2″, and didn’t notice until I’d sewn on the first set of E squares.
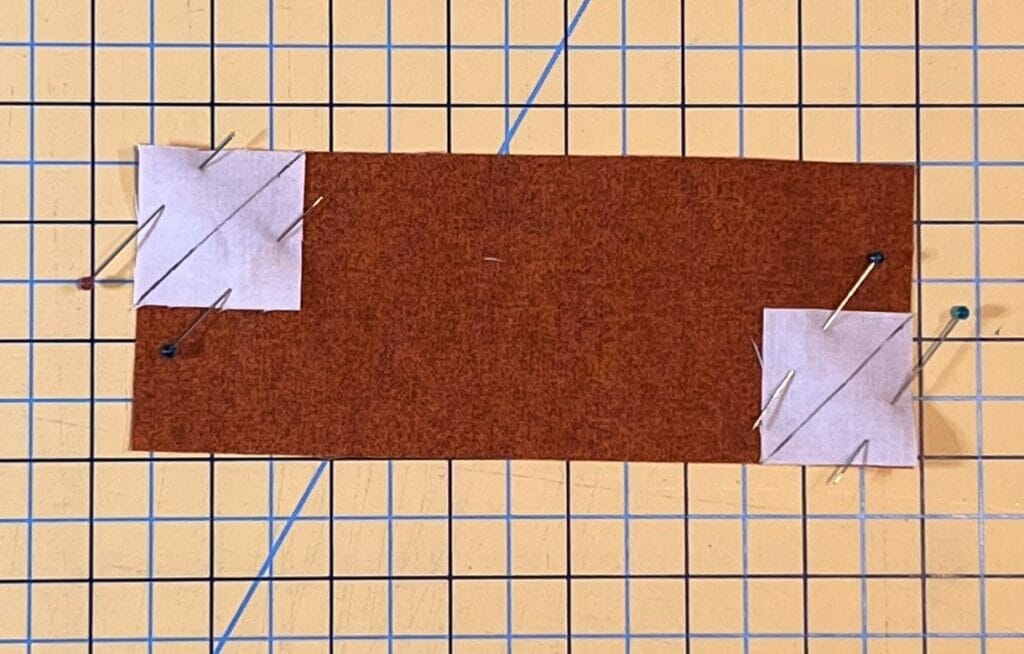
OOPS! So rather than start over, I trimmed them as they were, so then I only had to sew just one more E square where I’d cut them off. I’m not immune to making silly mistakes, that’s for sure!
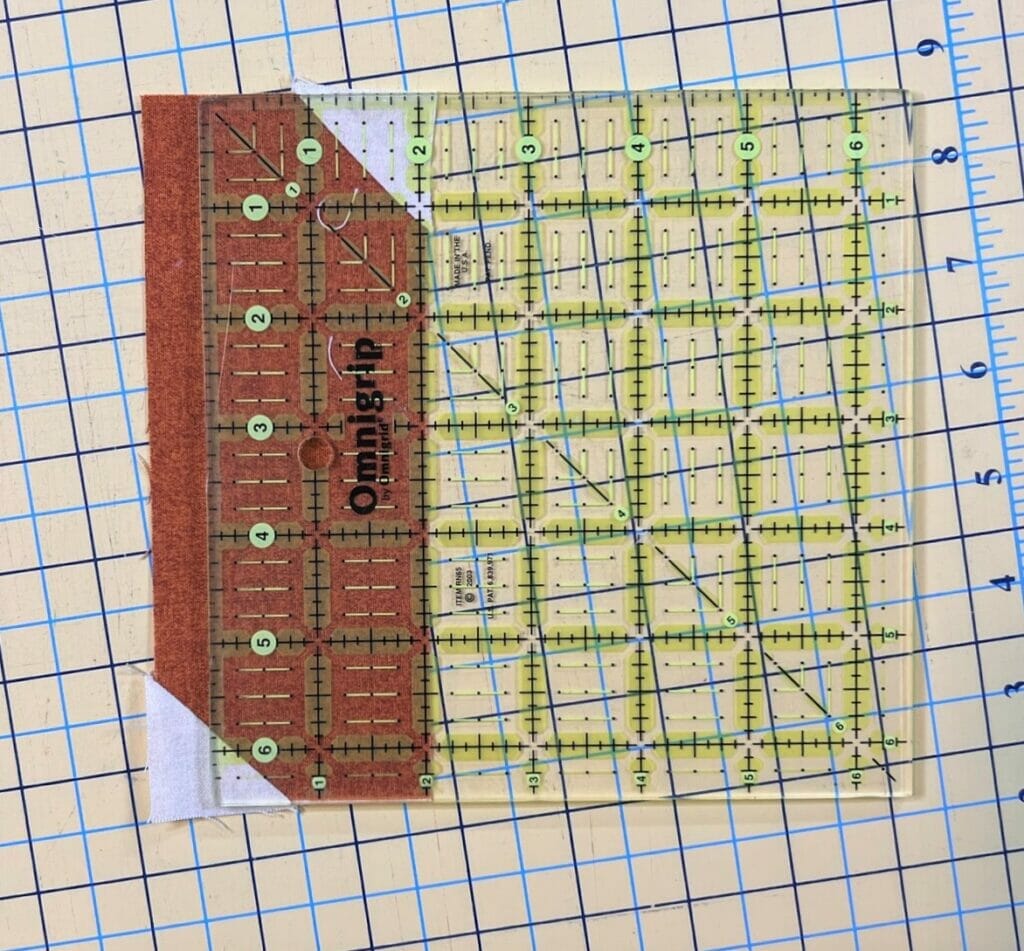
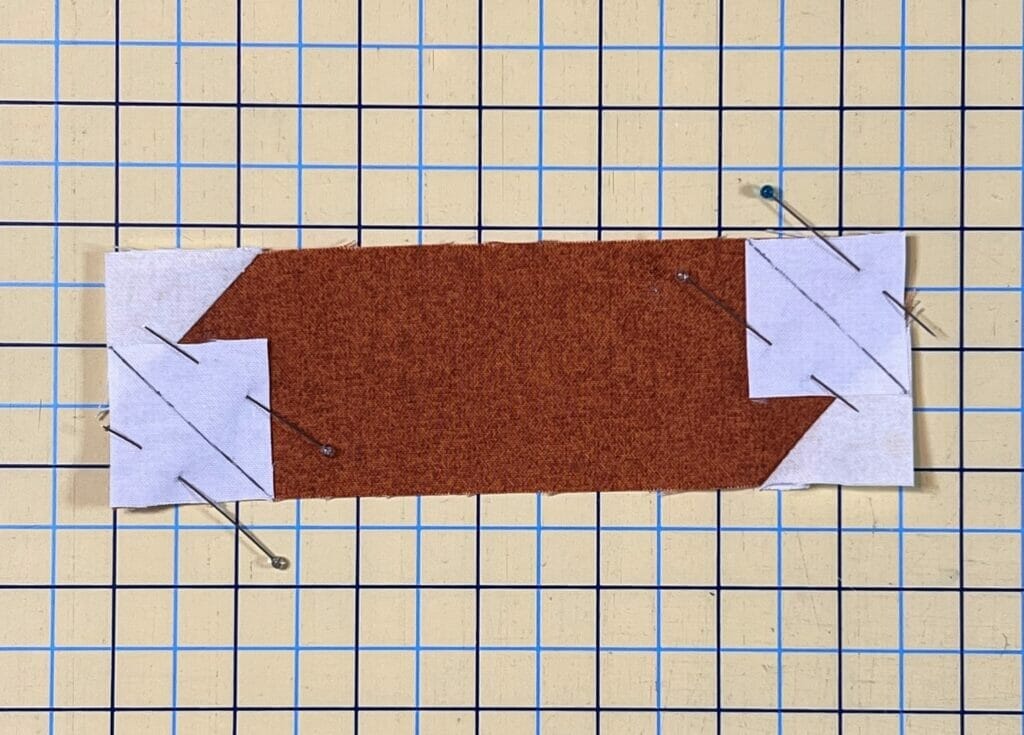
Once I had those properly sewn (and fixed my mistake), I began sewing the Acorn base, using the same technique as before.
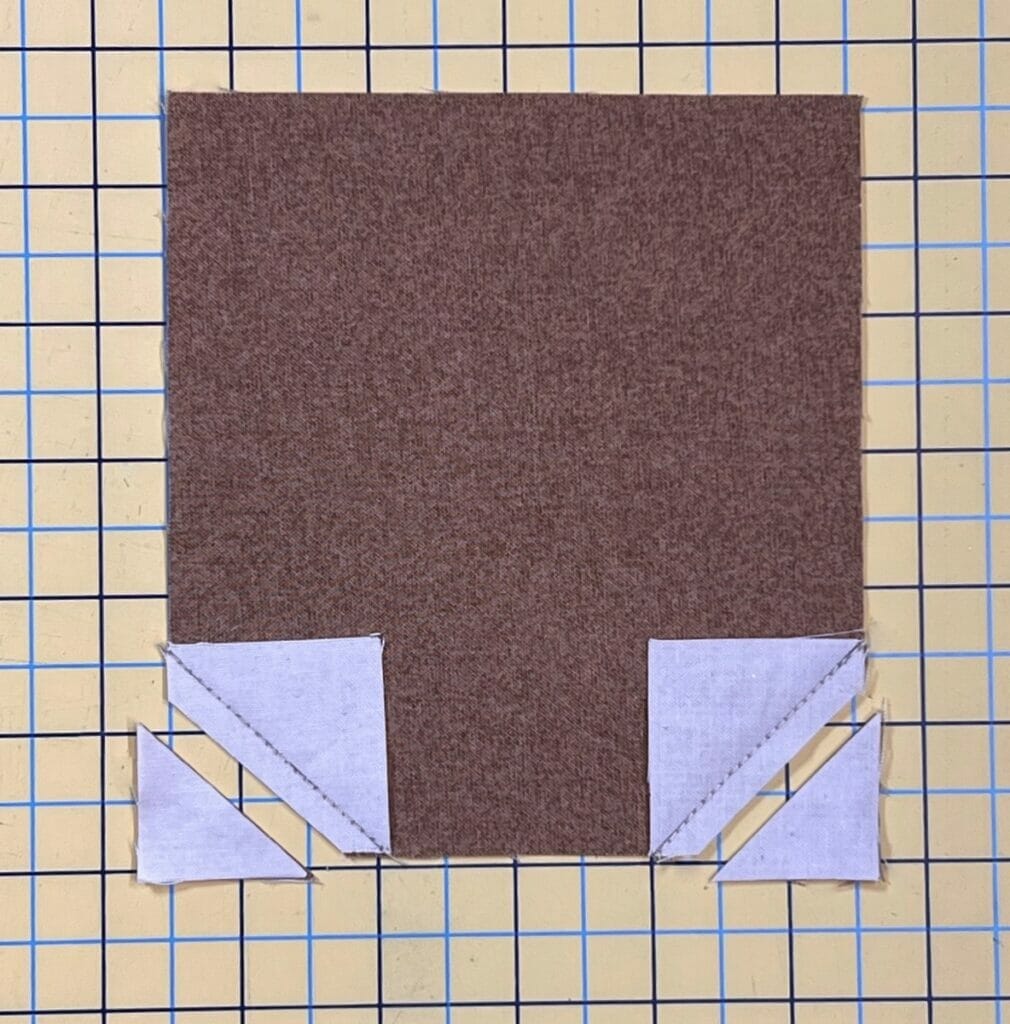
After the triangles were pressed down, I attached the G strips to the sides of each one.
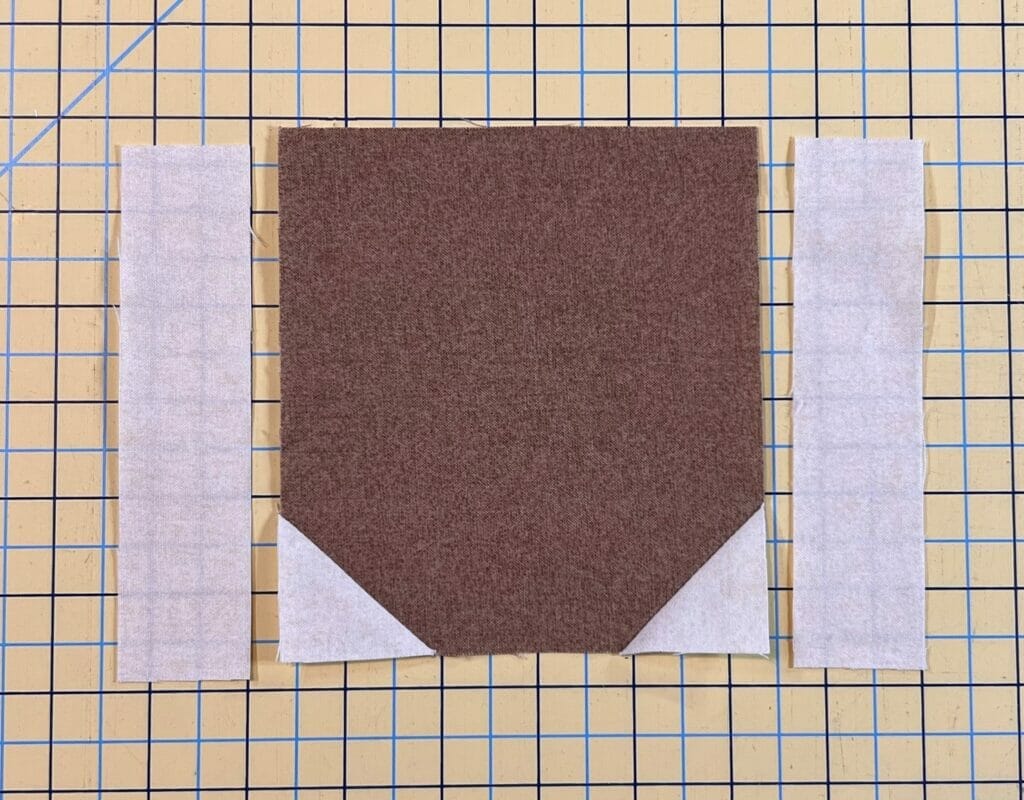
I sewed these assembly line style, so I was sewing steps 4 and 5 at the same time I was also sewing steps 1 and 2, and didn’t attach the stem units earlier, like my directions say. I guess I can’t even follow my own directions, sheesh!
So here is the acorn block, with all the components, ready to sew together.
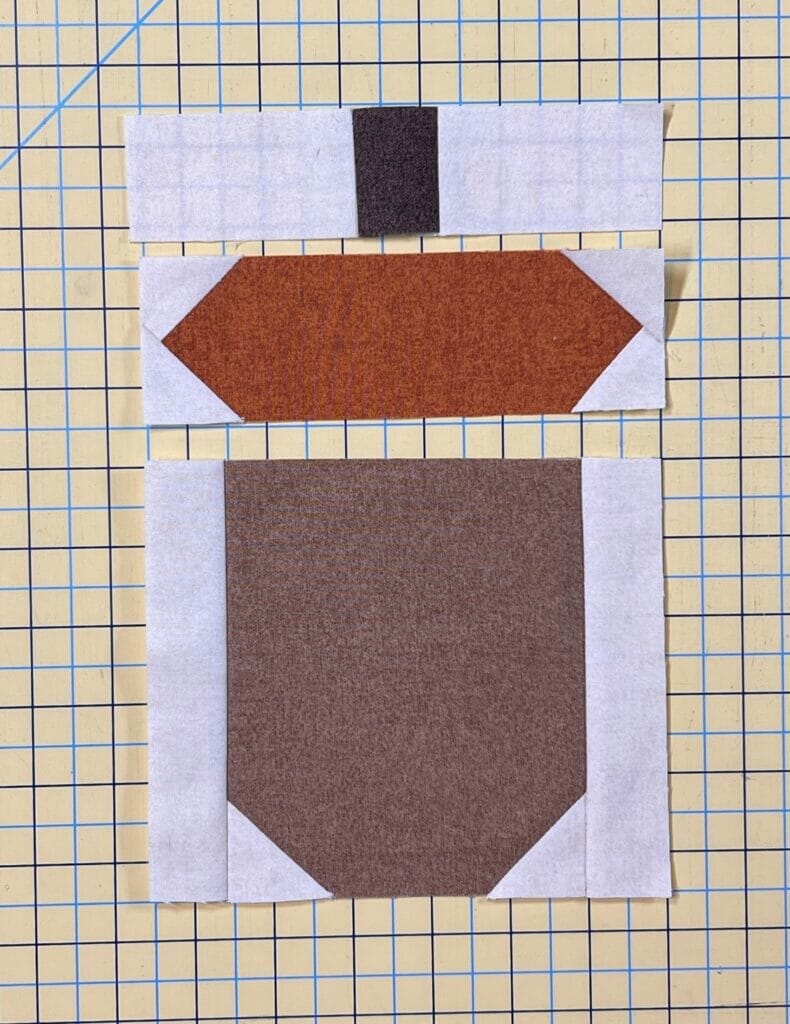
Now all of our blocks are DONE! Time to sew it all together!
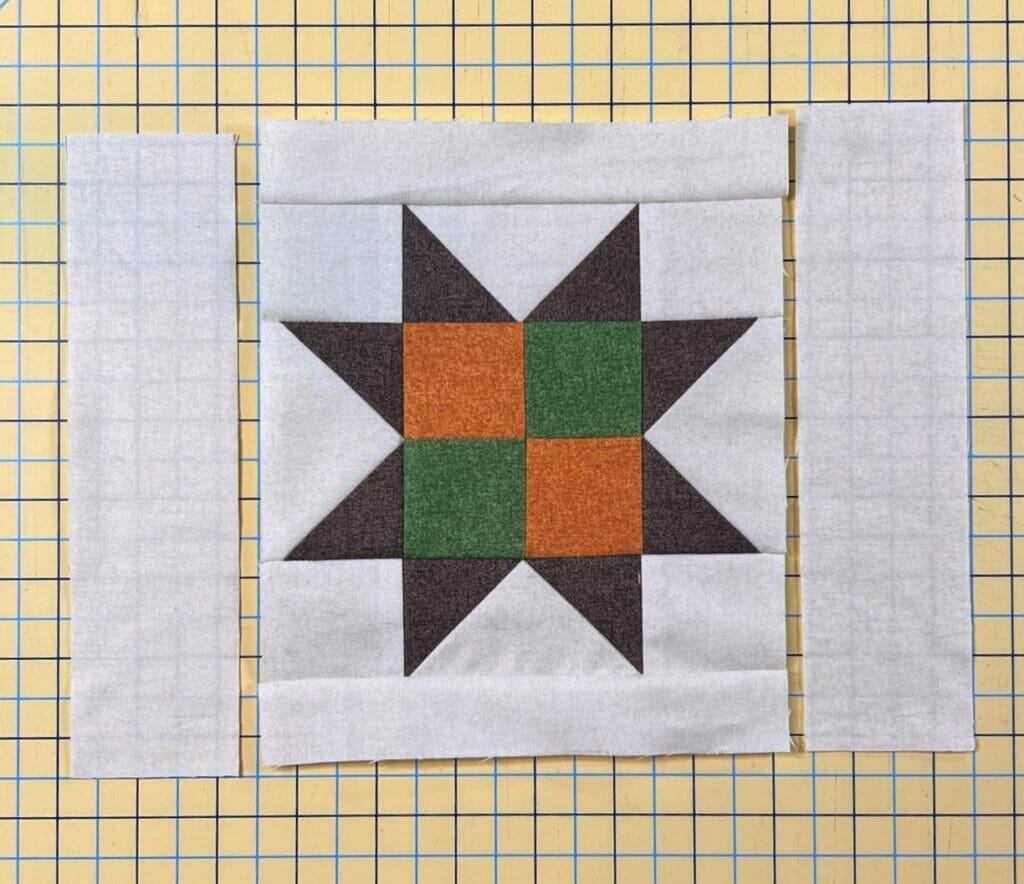
In step 7, you’ll sew some H strips to the sides of all the sawtooth star blocks you made last month.
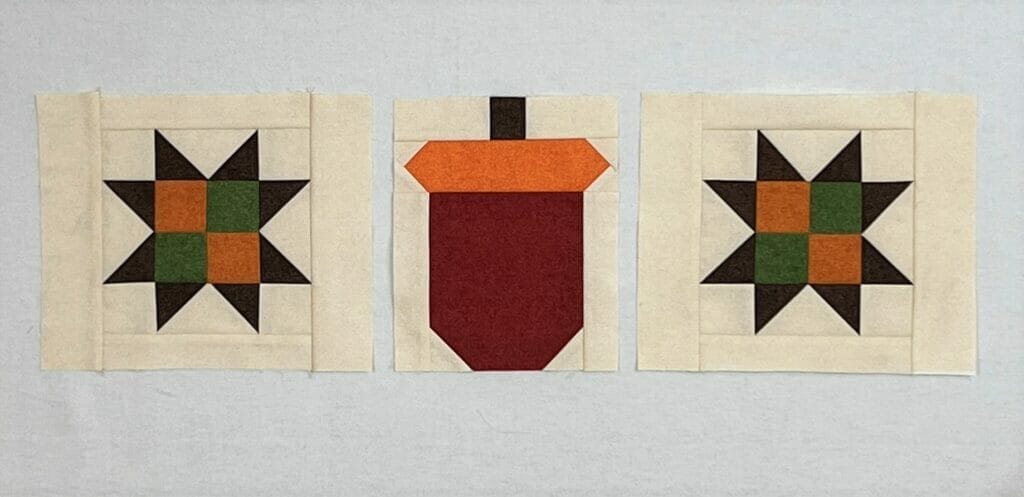
Once that’s done you want to sew those to each side of a RED acorn block- the ones you made a long time ago back in month 1, like I mentioned earlier.
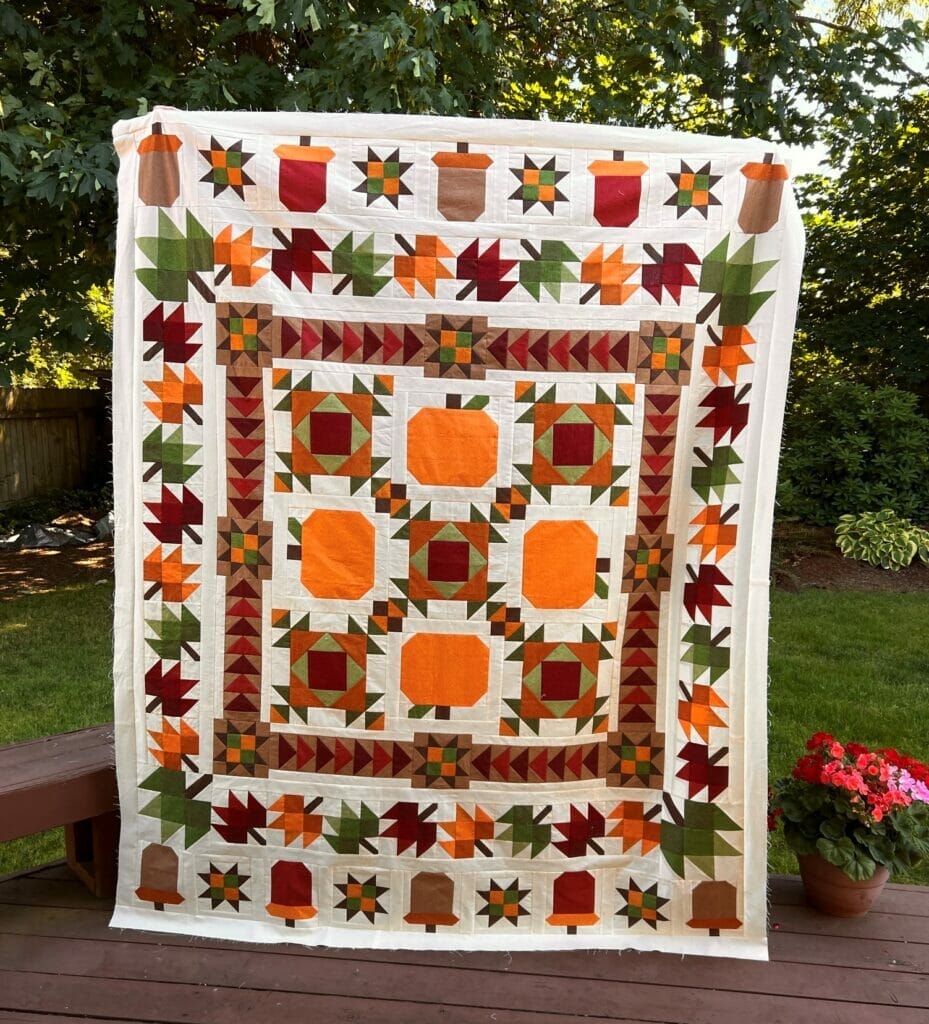
Now you’ll use the Acorn blocks from this month, and sew them to the red Acorn units you just made. My design wall wasn’t quite long enough to show you how I laid them out, so they ended up on my back deck for a photo op.
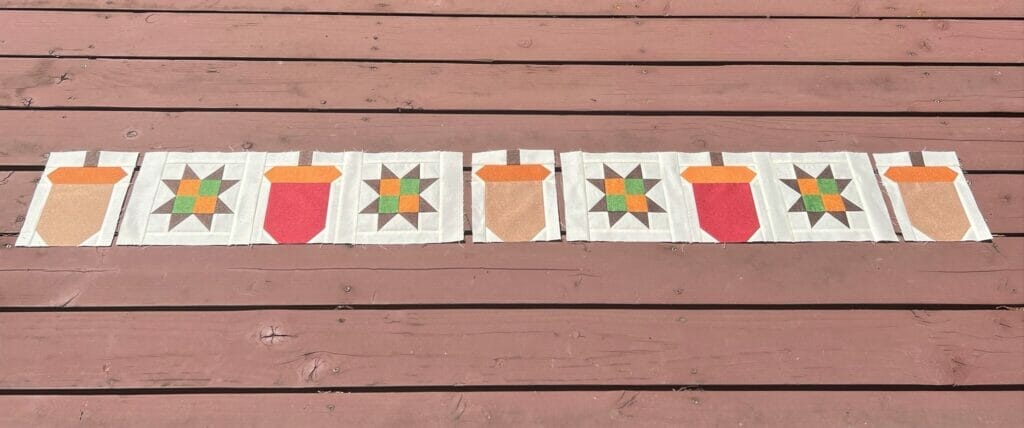
Once you’ve made these two rows, sew them to the top and bottom of your quilt. Hopefully everything lines up pretty well with the portion of the quilt that’s already made.
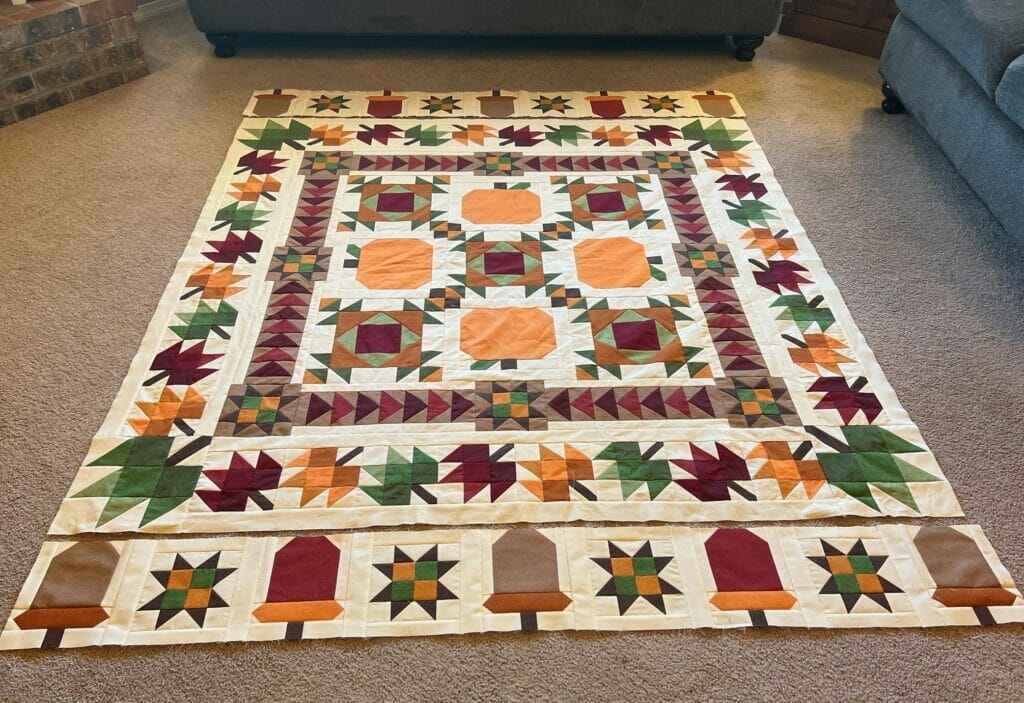
If they are a bit too long, you can either spray them generously with some starch, like I’ve mentioned in a previous blog post, and they’ll shrink up just enough to ease in. But if things are WAY off, or you want to get really ambitious, you can strategically rip out along some of the seams of the H strips, and trim some of the H strips ever so slightly before re-sewing them. I would only recommend doing this if your top and bottom border sets are like an inch longer or more. If it’s less than that, starching should do the trick.
If your border strips are too short, you can rip out some seams and re- sew those H strips using slightly less than a ¼” seam allowance. Or, if they are really too short, you could simply add a small extra cream strip of fabric to each end. No one would ever know it’s not supposed to be there.
Once those pieced Acorn/Star borders are on the top and bottom, all you need to do is attach your I and J strips to the quilt, and you are FINISHED!. I always cut these a bit longer than necessary, and trim them once they are sewn on. I guess I was on a roll when I was doing this step, so I don’t have any photos of the final borders getting attached. Sorry about that! I think I just got too excited to finish!
Thank you all so much for joining me over these past nine months. I hope have enjoyed sewing with me, and I hope that you enjoy this Bountiful quilt for years to come.
Happy Quilting! – Kristin


 Tutorials

