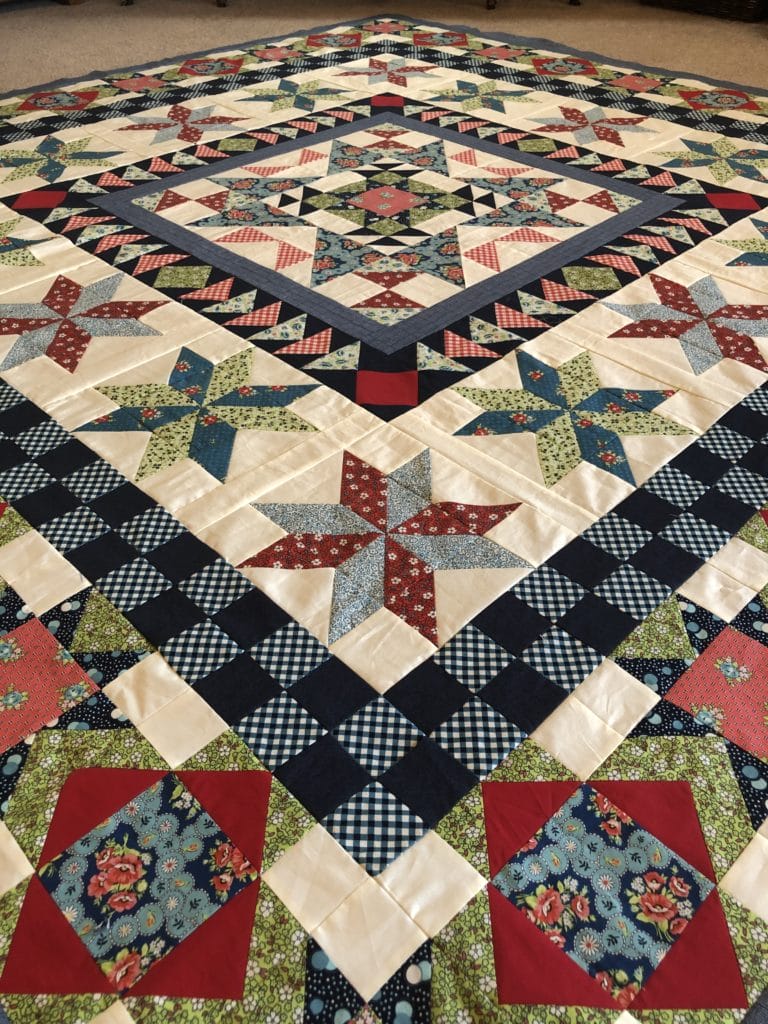
Hi Friends!
This month is easy peasy, especially after all the work we did on this quilt last month!
All we have to do is sew on a simple border, and then make ourselves some flying geese.
I may have mentioned this before, but whenever I’m sewing borders I always give myself some wiggle room and cut the borders longer than necessary. This way I can trim them to the perfect size after they are sewn on.
I also always pin my borders so that the solid border is on the bottom as I sew. This allows me to see all the the blocks to make sure I’m sewing on the points where they intersect. Also, you can see from the photo below that I’m a Lefty, so my pins are going the “wrong” way, haha!
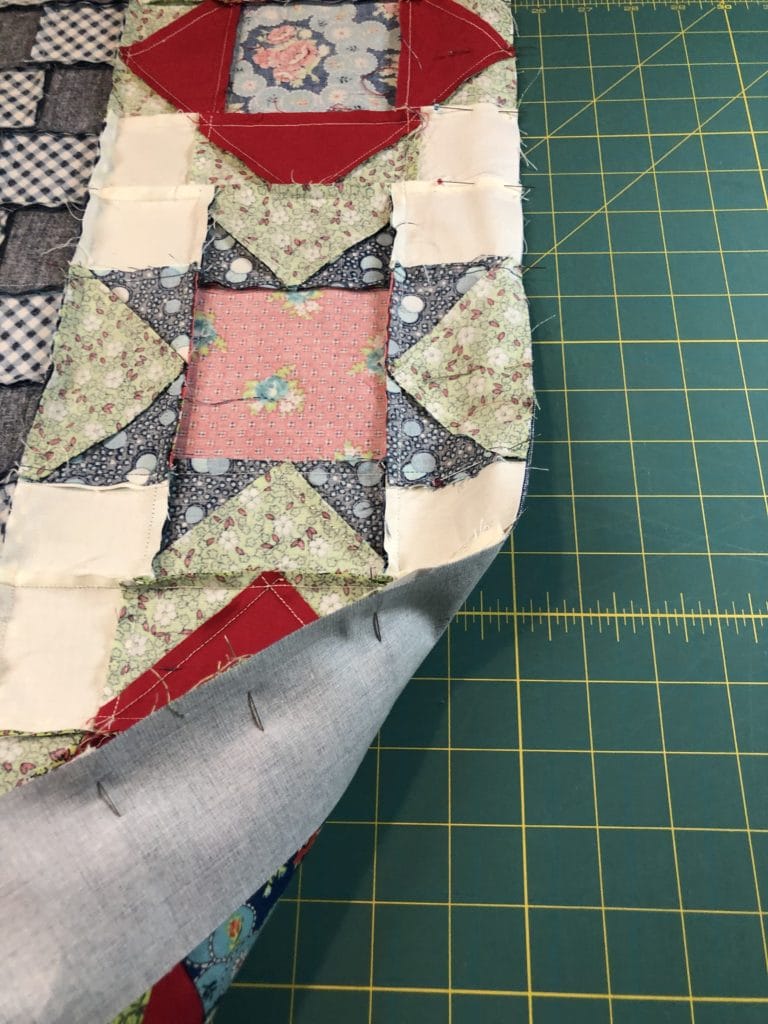
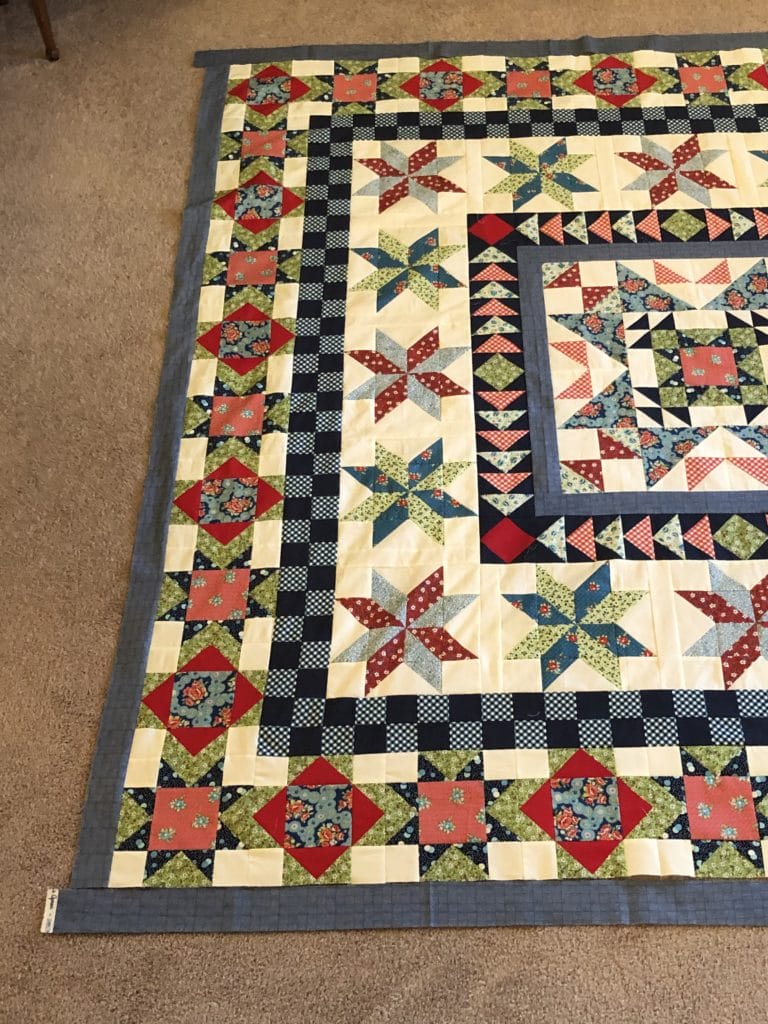
I had enough fabric length to use two 2-1/2 x WOF strips for all four borders. The top and bottom borders didn’t have too much hanging over, as you can see below, but it was still enough to get the job done and have room to trim.
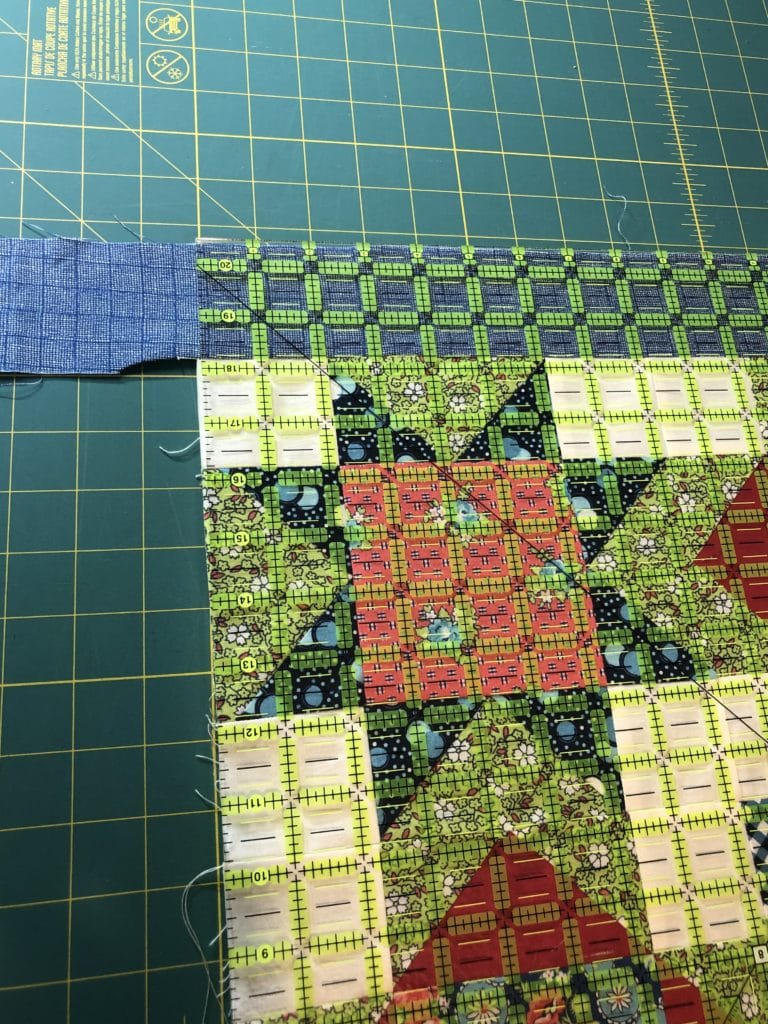
My favorite tool to trim my corners is a giant 20-1/2” square ruler. Using such a large ruler helps me to make sure the quilt is squared up nicely.
Now on to more flying geese! I’m sure you are all pros at this by now, since there are SO MANY in this quilt. I feel like I should almost apologize for all the flying geese I put in to this design. I think I’ve actually worn out my Bloc-Loc tool doing so much trimming! But to me, the work is worth it, because I absolutely love how this quilt turned out.
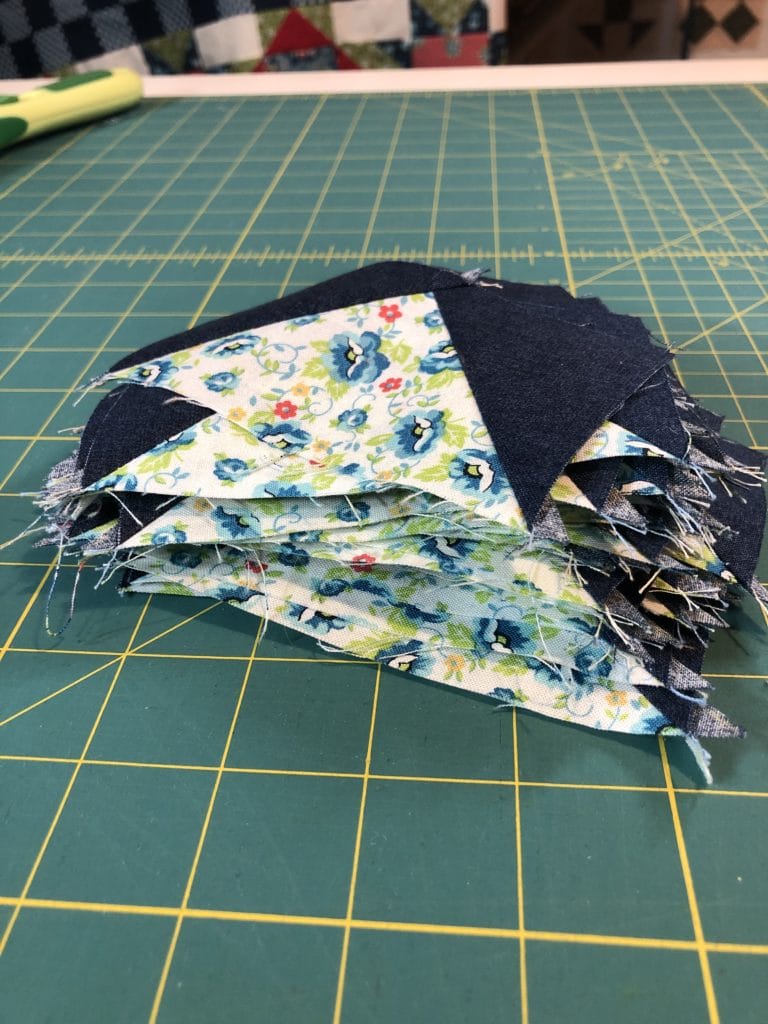
Always remember you can cut all your pieces just a hair bigger than necessary so that you have wiggle room to trim your pieces to perfection.
I won’t bore you all with another tutorial for no-waste flying geese, since this has been well covered in previous blog posts for this quilt.
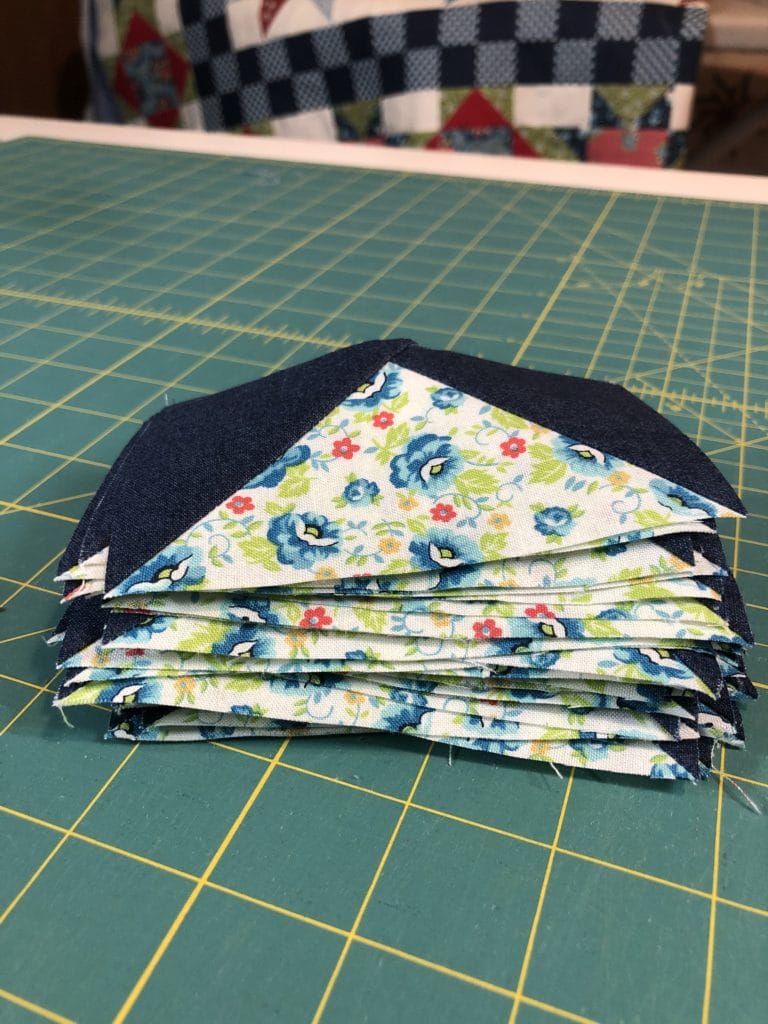
Here are all my flying geese, trimmed up and waiting for next month, when we can finally finish this quilt! Hooray!
Until next month-
Kristin


 Tutorials

