Tutorials
 12.10.2020
Well friends, we are now officially past the half-way mark with this quilt. Yay!
This month will be a lighter month as far as sewing goes, but since we are full swing into the holiday season, hopefully it will be a welcome reprieve for everyone. Don’t get me wrong, sewing is my happy place, but at this time of year I love me some cookie baking, Hallmark movie watching, gingerbread house decorating, carol singing filled days. I hope you all have time at this season to do what fills you with joy!
I know a few of you got ahead of yourselves and tried to sew the star blocks together before getting this month’s instructions, and couldn’t understand why they didn’t fit. Now that you all have your instructions and fabric, you can see that these little stars have some sashing strips sewn between them. See? It all works out in the end!
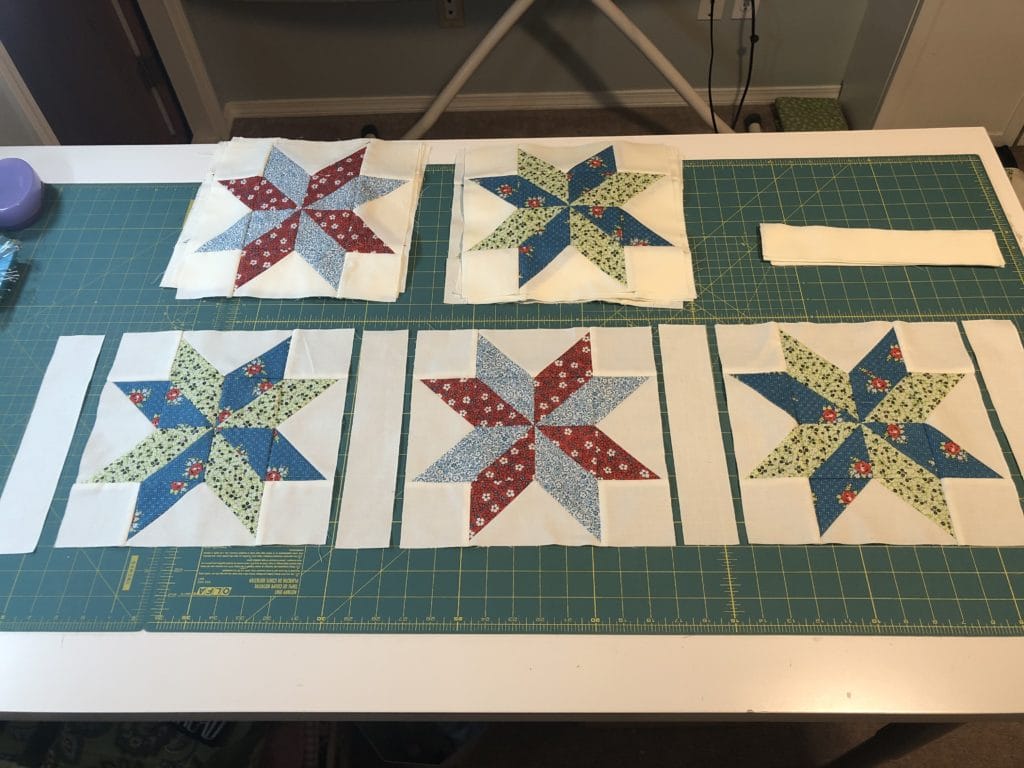

All of my seams are pressed toward the A strips. Once I was finished with step 1, I added the final stars to two of the strips.
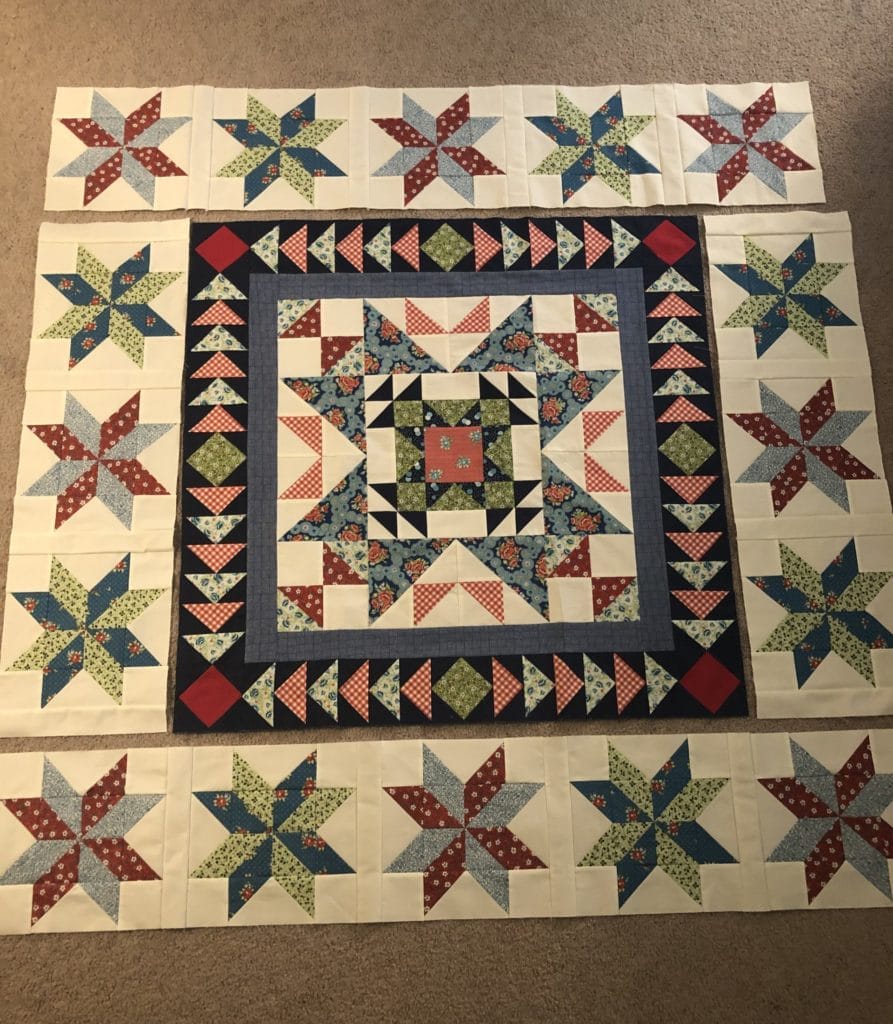
Now everything is pieced and ready for the Star Block borders to be sewn to the center.
Sometimes, no matter how well we try and sew, sometimes things don’t fit together as planned. It happens to EVERYONE, not matter how much experience you have. We are human and fabric has give to it. If you find that your Star Block borders are a bit off, you can adjust them by either taking in or letting out the sashing strips as needed. No one will ever know!
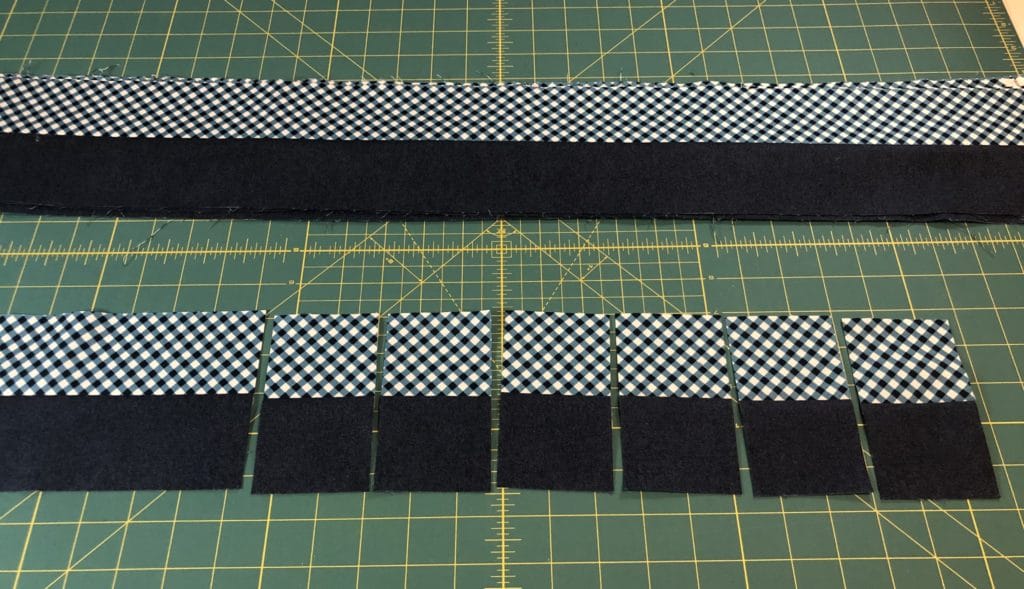
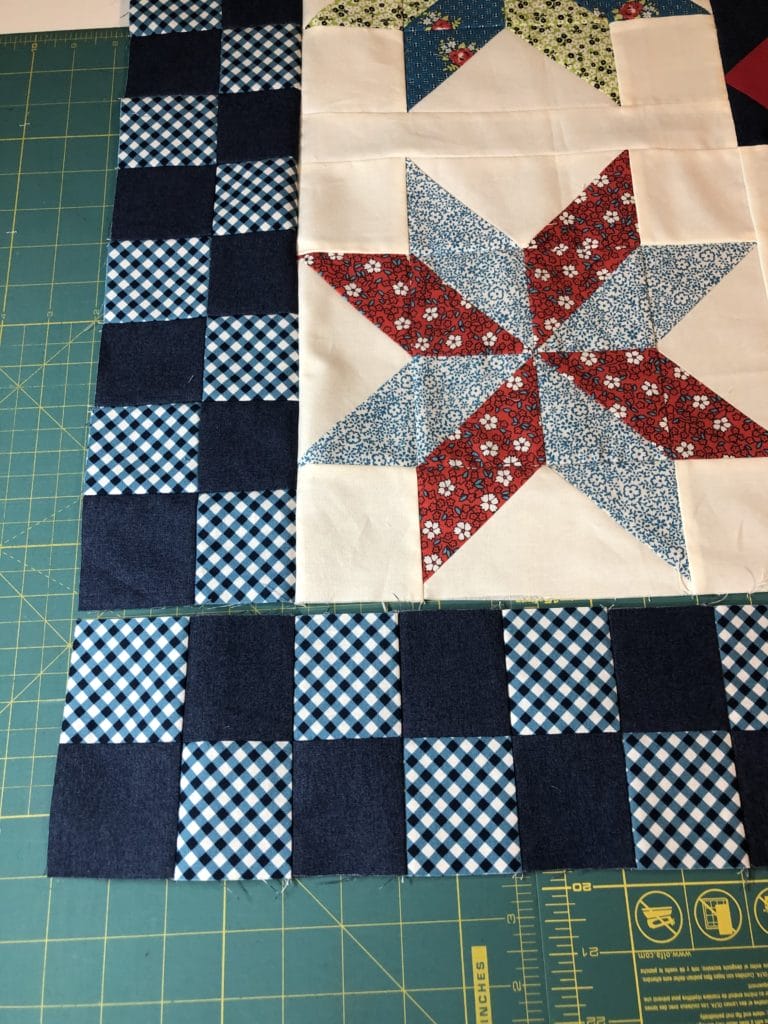
Now it’s time to make those checked borders. Here are all my strips cut and ready for sewing.
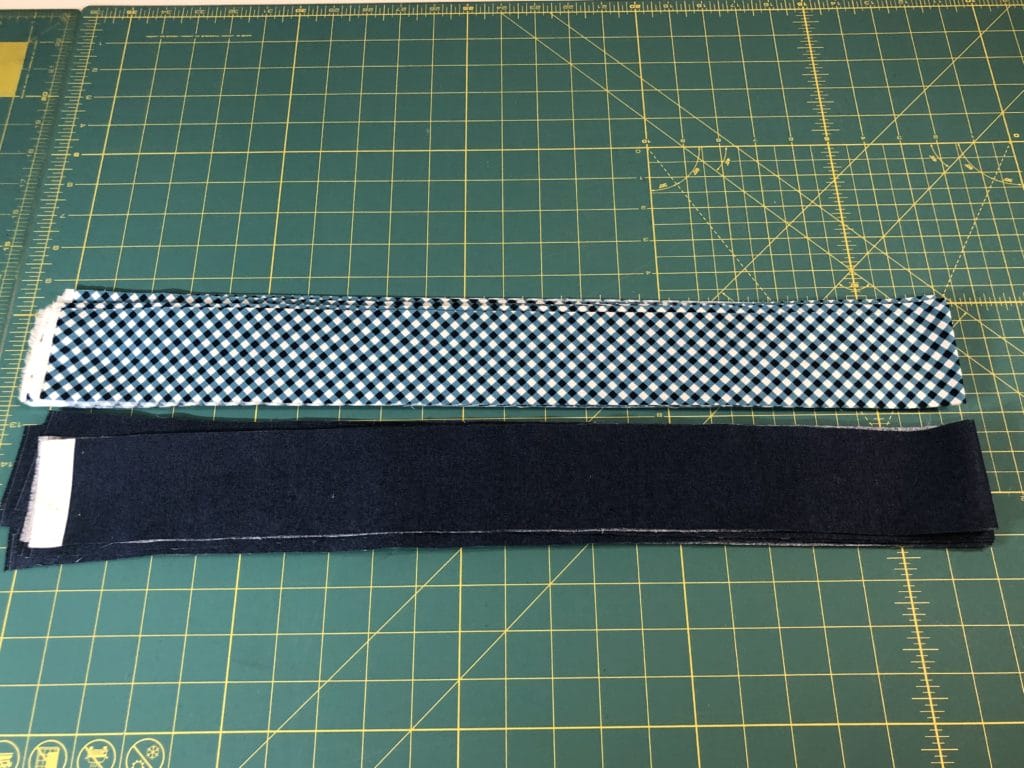
By sewing and cutting eight sets of the B/C strips you will have PLENTY for making the borders. I ended up with over half of the last set leftover.
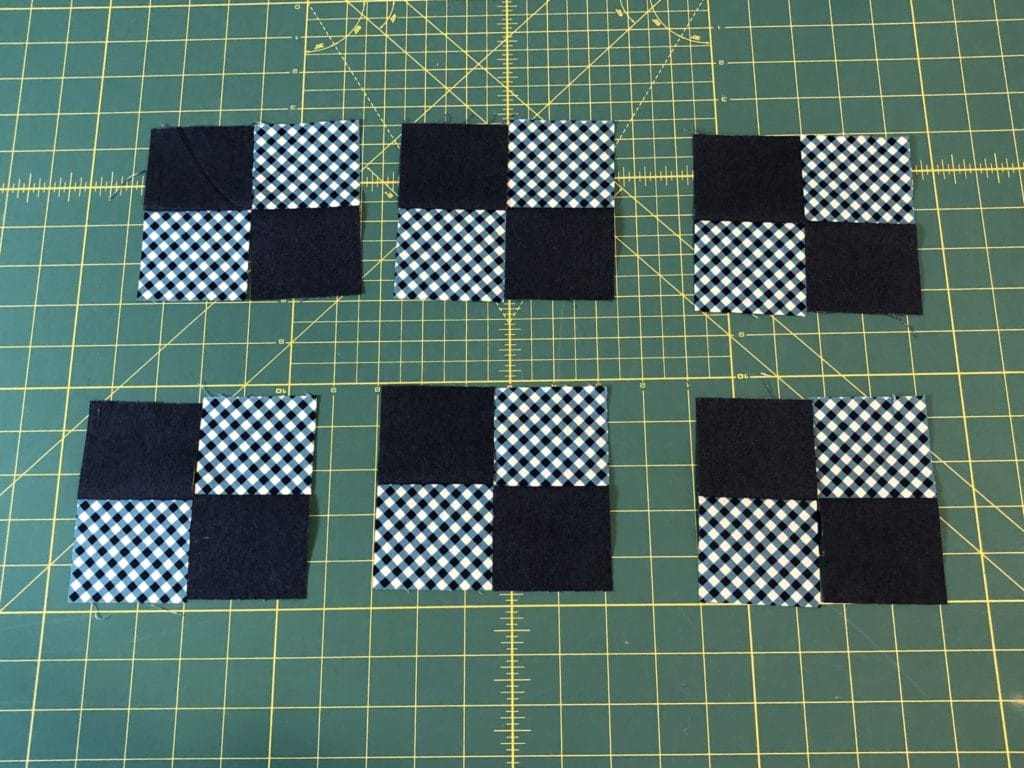
I decided to sew all mine into pairs, and then double each time until I had the correct sized strip sets. However, if you do this method, be mindful that the shorter sets use 28 B/C units and the longer ones use 32 units, so you will need to be counting as you go.
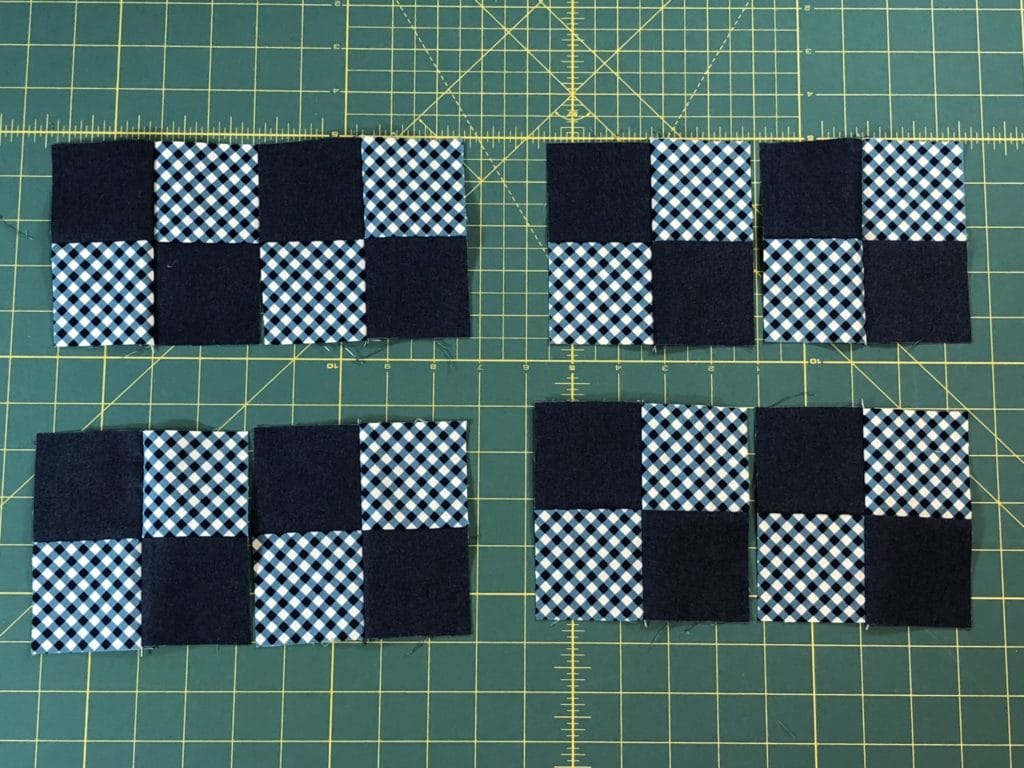
I kept sewing and doubling up until I ended up with what you see below. The top two strips get sewn together to make the top and bottom borders, and the bottom two strips are sewn together to make the shorter side borders.

Also, as I got busy sewing along I did this:
Yep, I wasn’t paying attention and ended up with like fabrics that would have been sewn together once I attached my top and bottom checked border rows. Once again, I’m not good at following directions, especially my own! Fortunately it’s an easy fix: I just took the last B/C unit off one end, and then sewed it to the other end.
Whenever making any type of pieced border, it can be tricky to make sure things fit properly. Even a 1/32 difference in seam allowance can have a big effect when you are piecing together dozens of squares. I’ve made hundreds of quilts, and I still every once in a while end up with something being way off. Here are a couple of tips I use that may help.
For border strips that are too long: After I’ve ironed my border, if it’s off by around a ½ inch or less, one of my favorite tricks is to spray the pieced strip with MaryEllen’s Best Press, and let it rest. I don’t iron it again before sewing. I just let it dry and it shrinks up just enough to usually fit pretty well. After I sew it together then I press and it works like a charm!
If my pieced border is REALLY long, I will go back and increase the seams in multiple places by just a hair. There’s no need to rip anything out, just sew right next to the old seam. You need to be careful that you don’t increase each individual seam by too much, or it will throw off how things fit and nest together in the coming months. So it’s better to do a tiny bit on multiple seams, rather than just adjust a few seams by a large amount.
For border strips that are too short: If my borders are just a bit too short, then I can usually stretch them a bit and ease them in, but if they are way off, then I get friendly with my seam ripper. I generally will rip out multiple seams and then re-sew them just a scant under the ¼” seam allowance until it fits. It’s not fun or easy, but it works.
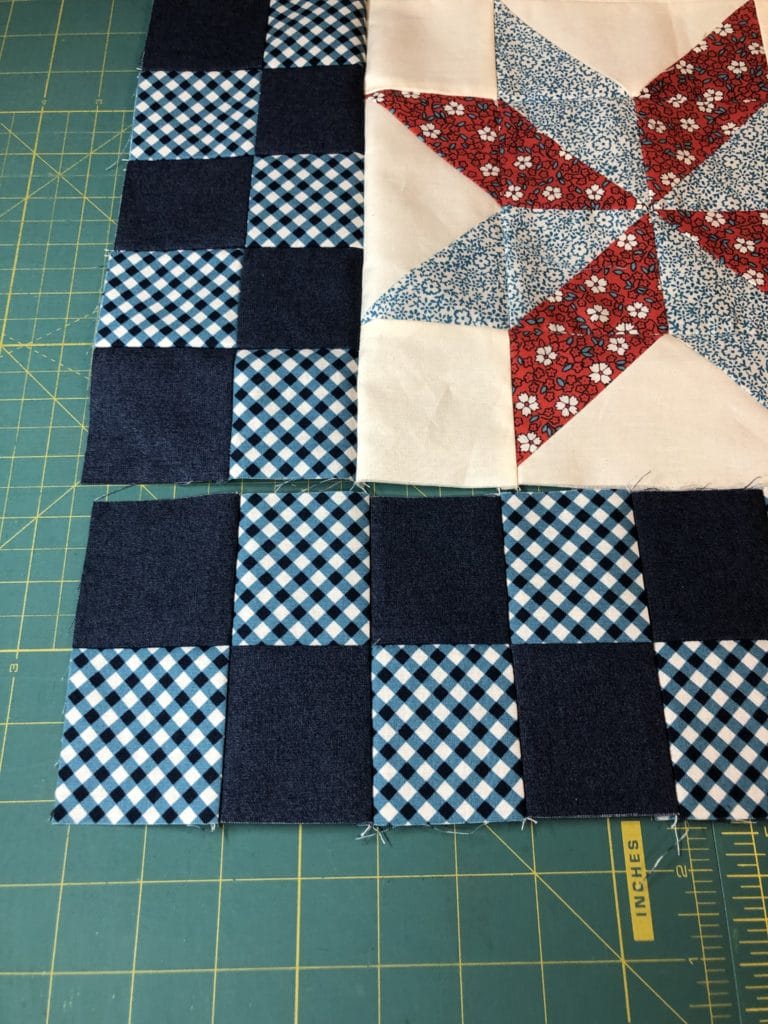
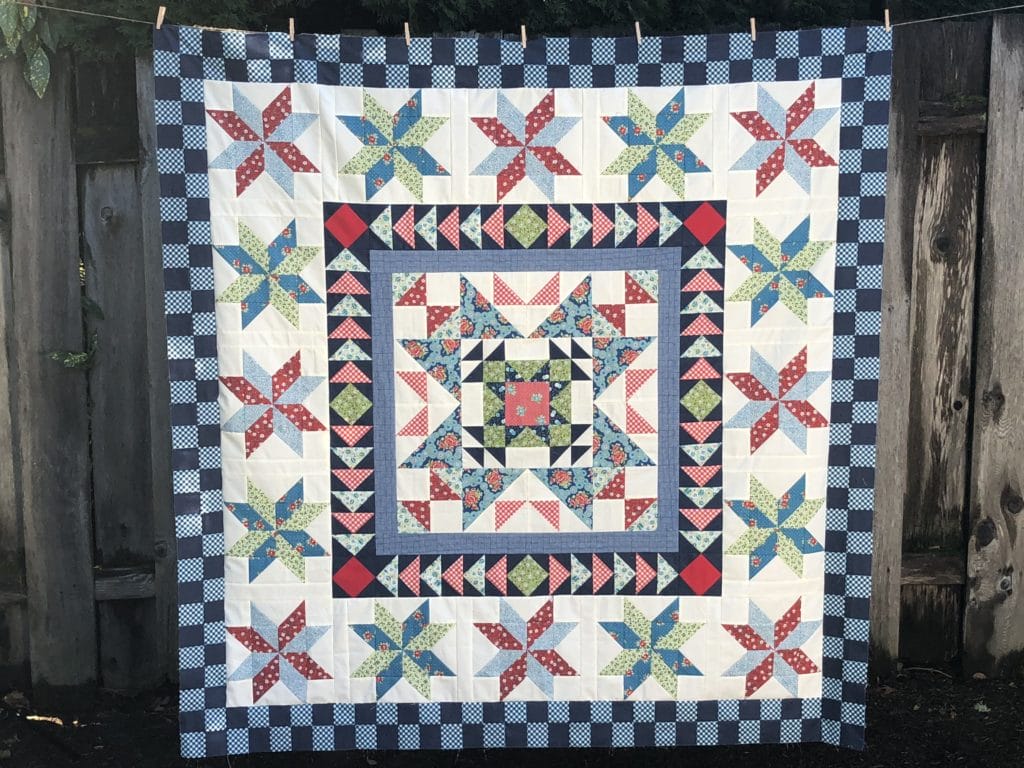
This quilt is really starting to get big!
Have a wonderful holiday season, and Happy Quilting!
-Kristin