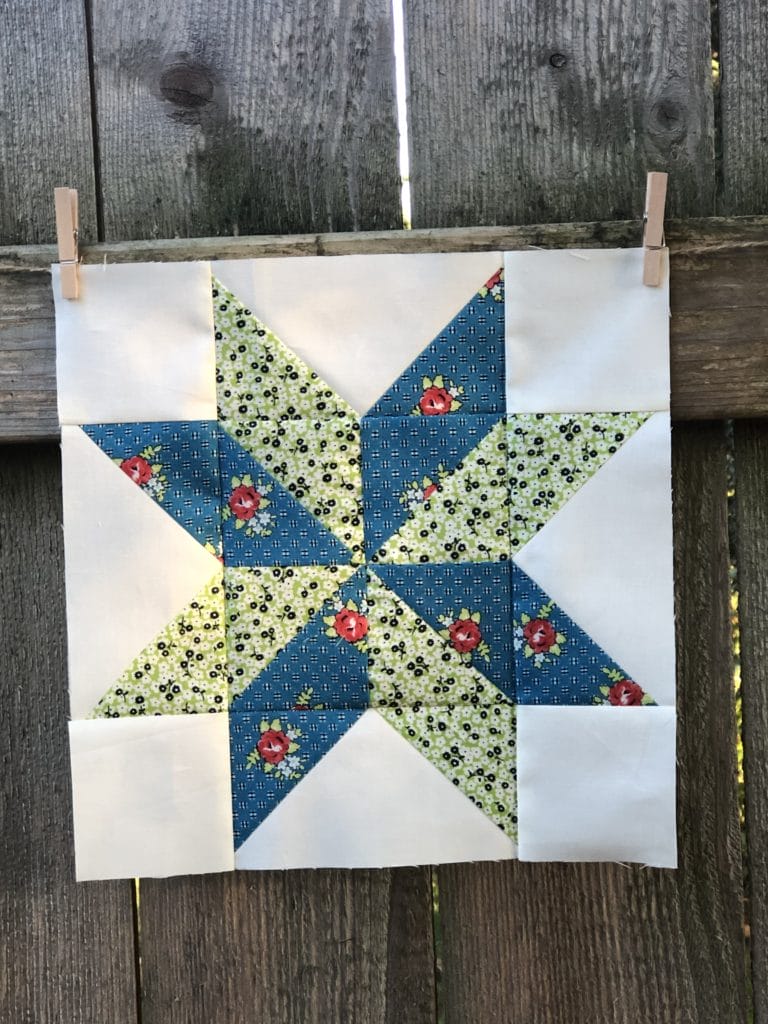
If this month feels like Déjà vu, you aren’t going crazy. The blocks we are sewing this month are exactly the same as last month, only with different fabrics. So I won’t bore you by giving you another tutorial about how I sewed the block together. You can’ refer to last month’s blog post for help on that if you need.
This month I thought I’d give you a tiny glimpse into how I sew blocks together when I have a lot to make at once. Whenever I’m sewing I always try to streamline things as much as possible. Perhaps many of you do this too. I like to get everything cut out and marked at once, and then I try to sew as many components as I can at the same time.
Here I’ve cut out everything I’ll need for all eight blocks.
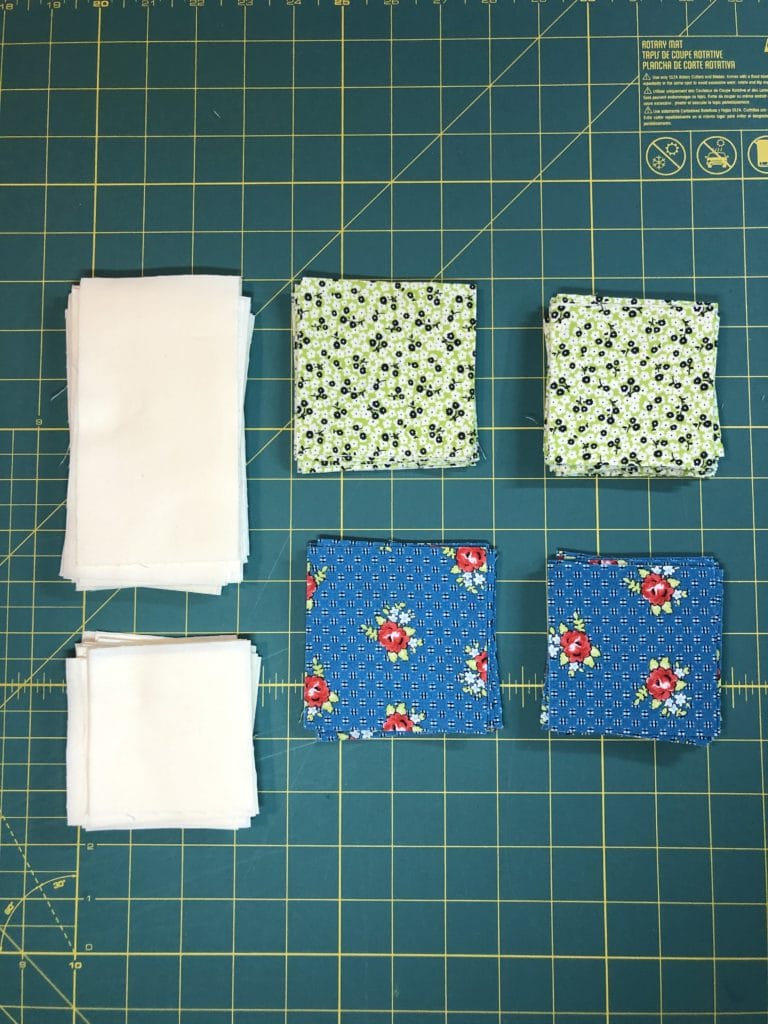
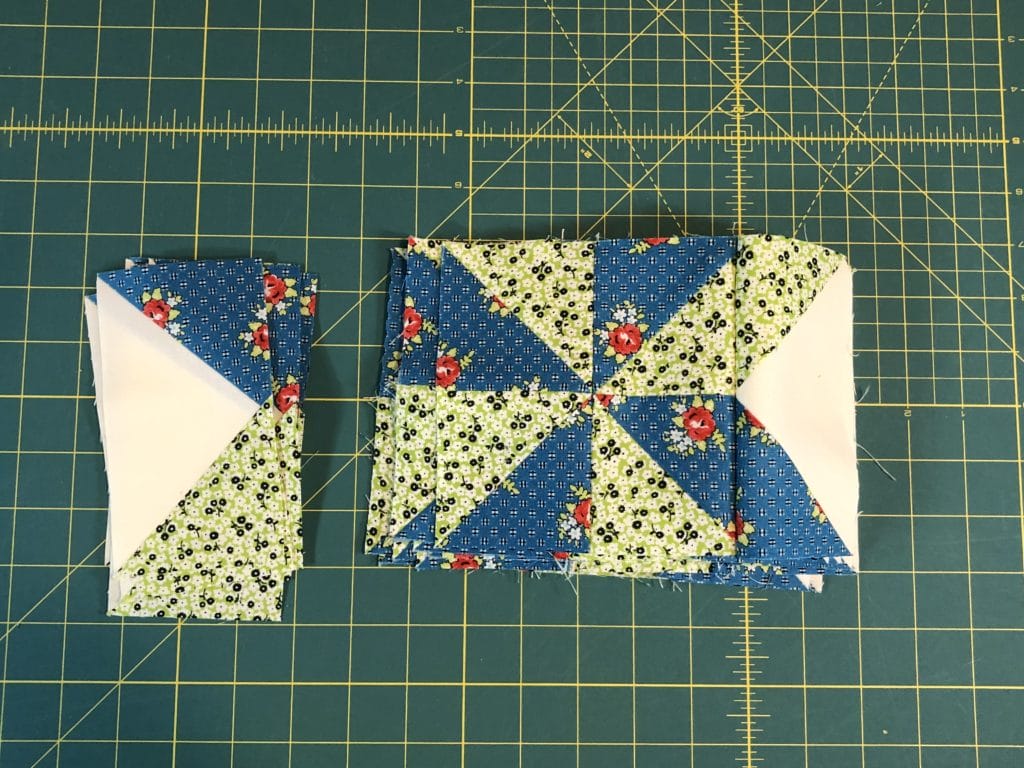
To start, I’ll be sewing the flying geese units and the HST (Half Square Triangle) units for the pinwheel centers at the same time, so I’ve got everything pinned and ready to go.
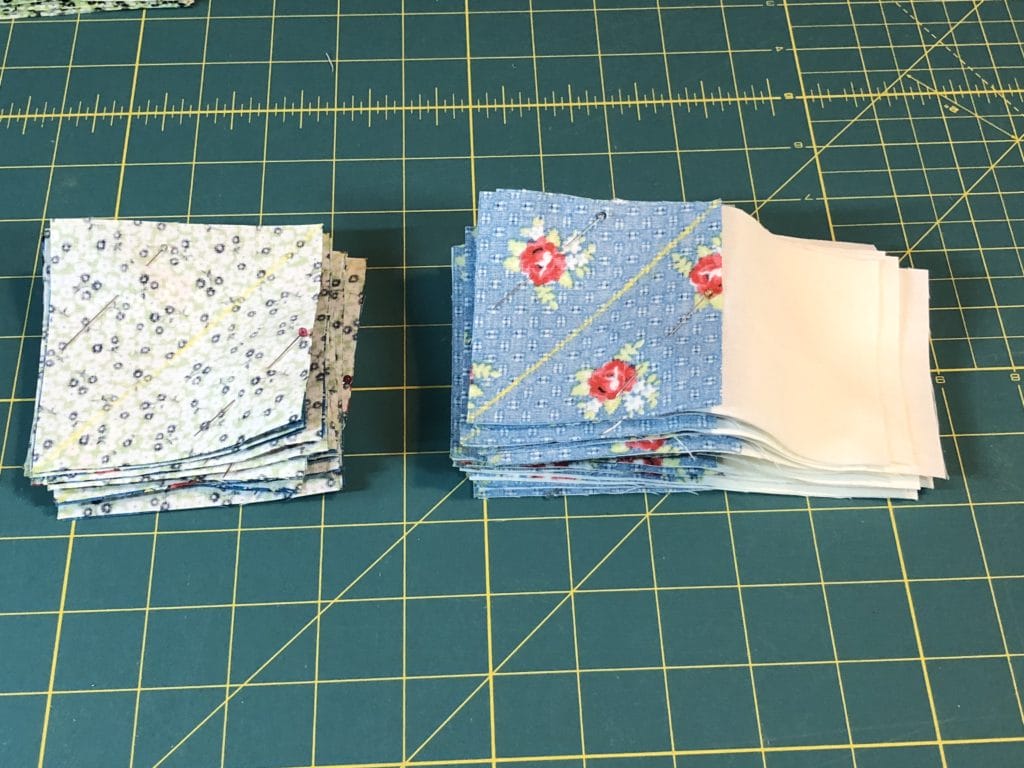
I know some of you mentioned in the Facebook Group for this Block of the Month that you were saving your cut corners from the flying geese units, and I must confess I’ve been doing the same. When I cut off the corners, I just leave the pin in the portion that is cut so that I can go back and sew them together later. When I figure out what I’m going to do with the bonus HSTs I’ll let you all know. First I have to get this quilt finished. 🙂

Here is my table full of lots of lovely chain piecing. Clearly I need a bigger table! I keep telling my husband this but he doesn’t believe me. Also, I would need a bigger room for a bigger table, which means buying a new house. Seems reasonable to me! Somehow, he is not convinced…

Once I’ve finished off my flying geese and HSTs, I get ready for some quality trimming time. I always trim and true up my pieces with each step. So once my pinwheel centers are made, I will check them again just to make sure they are all the correct size.

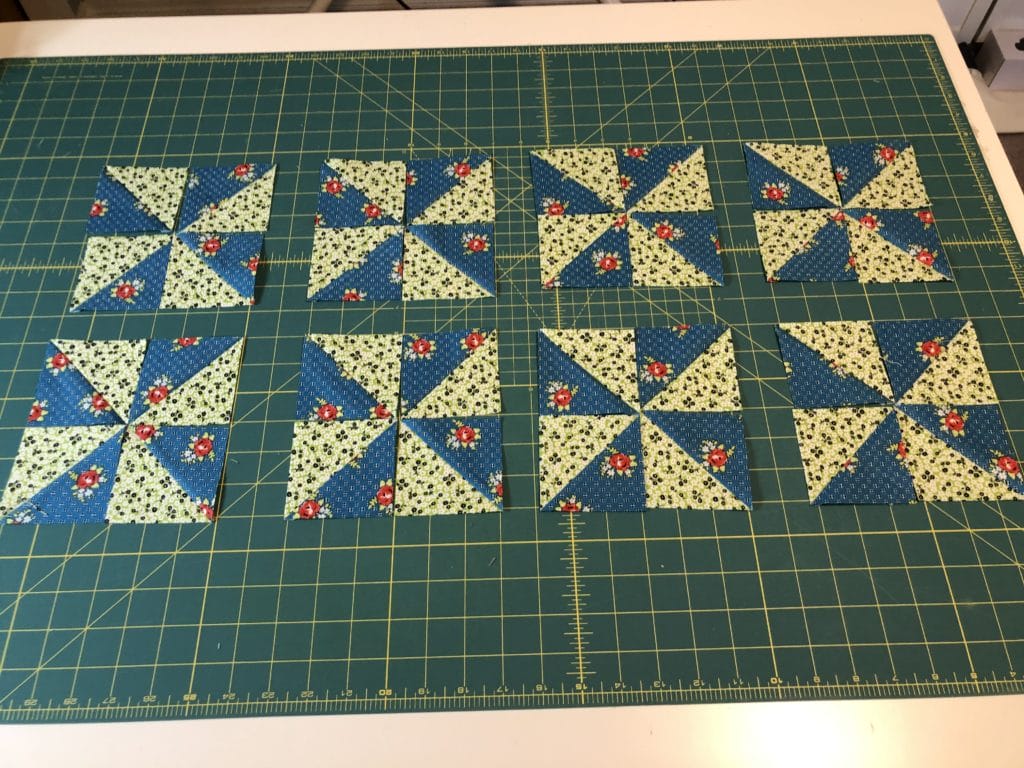
When I made last month’s blocks I was in a hurry and didn’t pay attention to my own directions. So I ended up sewing ALL of my pinwheels incorrectly and they didn’t match up as they were supposed to. Ugh! I had to rip everything out and re-do them. So this time I was determined to do it right the first time, which meant laying out all my pinwheel blocks and checking them with the flying geese units before I began pinning and sewing them all together.
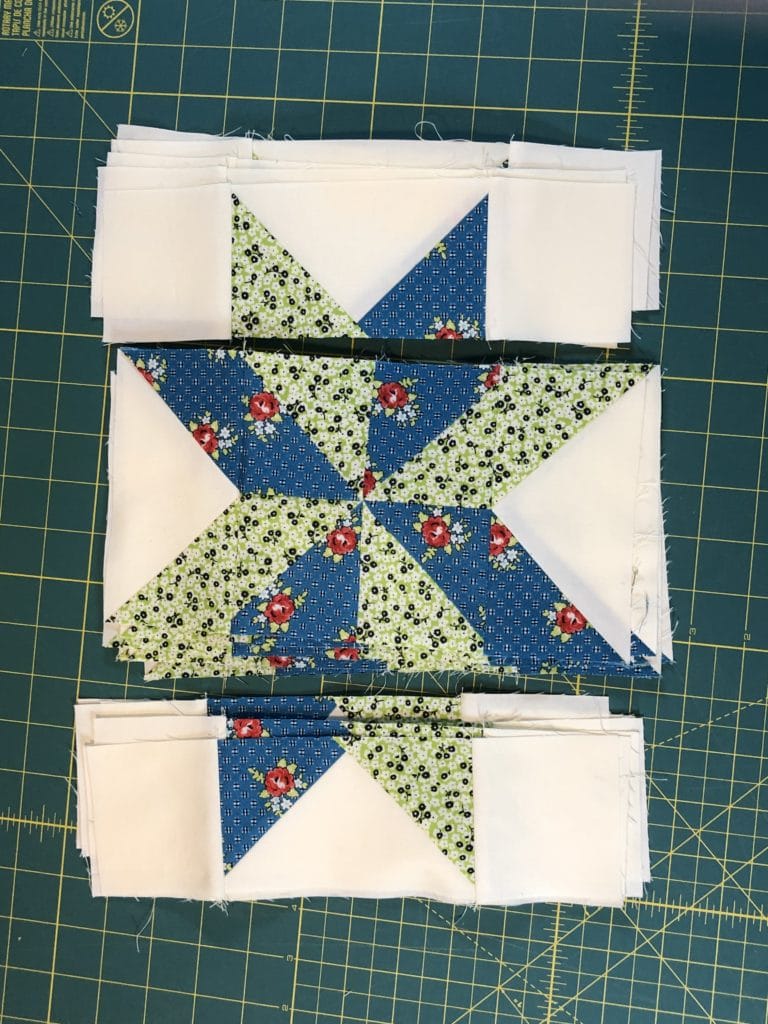
While I was sewing my pinwheels, I was also sewing the “B” squares to the ends of half of my flying geese so that the top and bottom units of the star blocks would be ready to go.

I always press open the centers of my pinwheel units so that they will lay flat. There are some great tutorials on YouTube that show how to do this much better than I can show you here with still shots, but in a nutshell, you want to open your seams so that you will get a pinwheel design on the back side too.

Once I’d finished up with the pinwheels and the top and bottom flying geese units, all I had left to do at this point was sew the remaining flying geese to the sides of the pinwheel units and then I could finish the blocks.
Here they are hanging on my fence, all finished and ready to go.
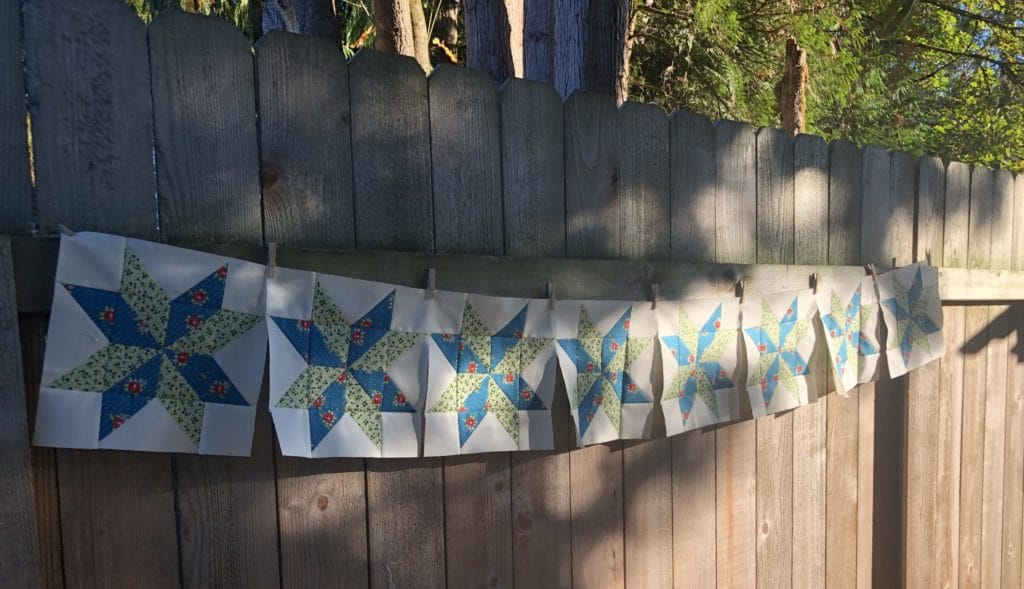

I can’t wait to get these sewn together and add the checkered border next month. I’m sure you all feel the same! It’s hard to sew these blocks and then wait to add them in the quilt. But don’t worry! We will be finished with this beauty before you know it. We are now almost halfway done. Hooray!


 Tutorials

