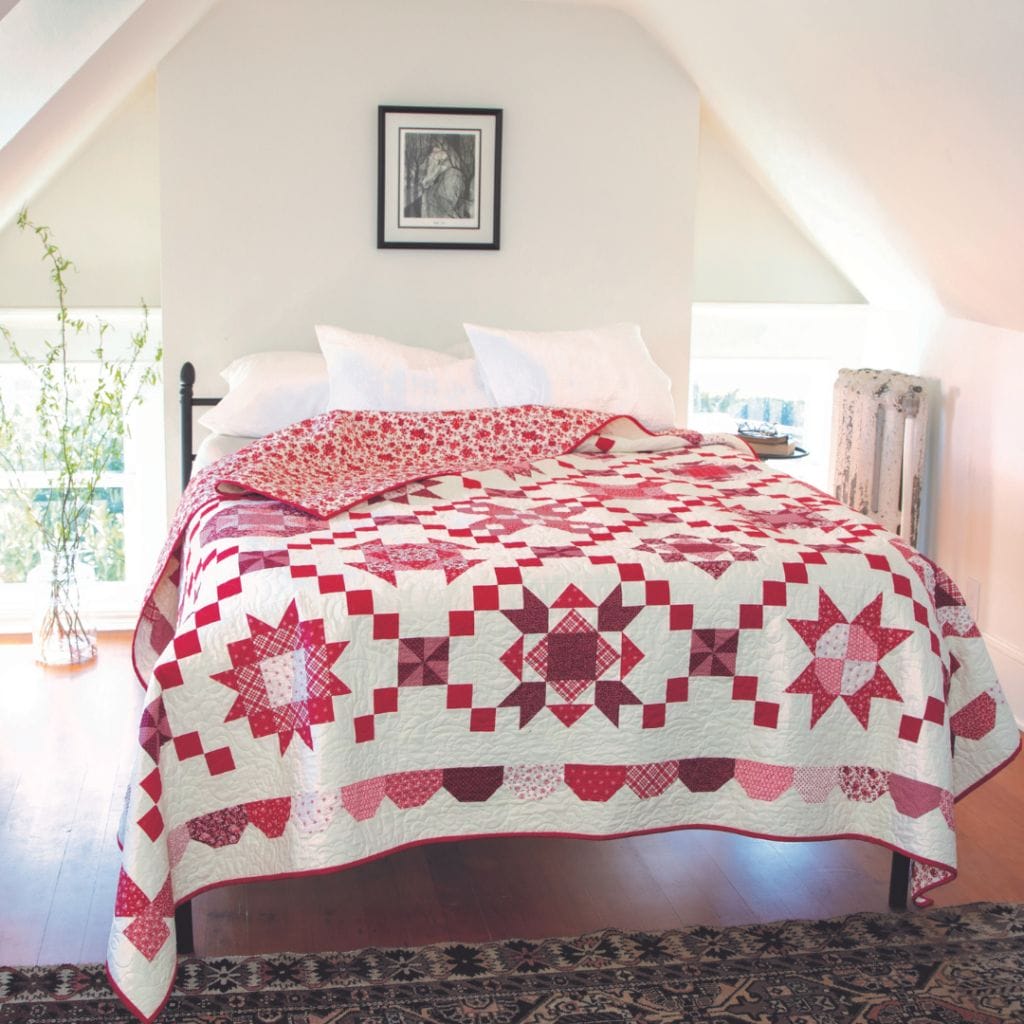
Hello friends! I’m excited to join you on this journey over the next twelve months while we sew up this not-so-little gem of a quilt called Ruby. I’ve always LOVED red and white quilts so I jumped at the chance to design one for Connecting Threads. I’m pretty happy with the results, and hope that you will be too, especially once it’s all finished.
Threads
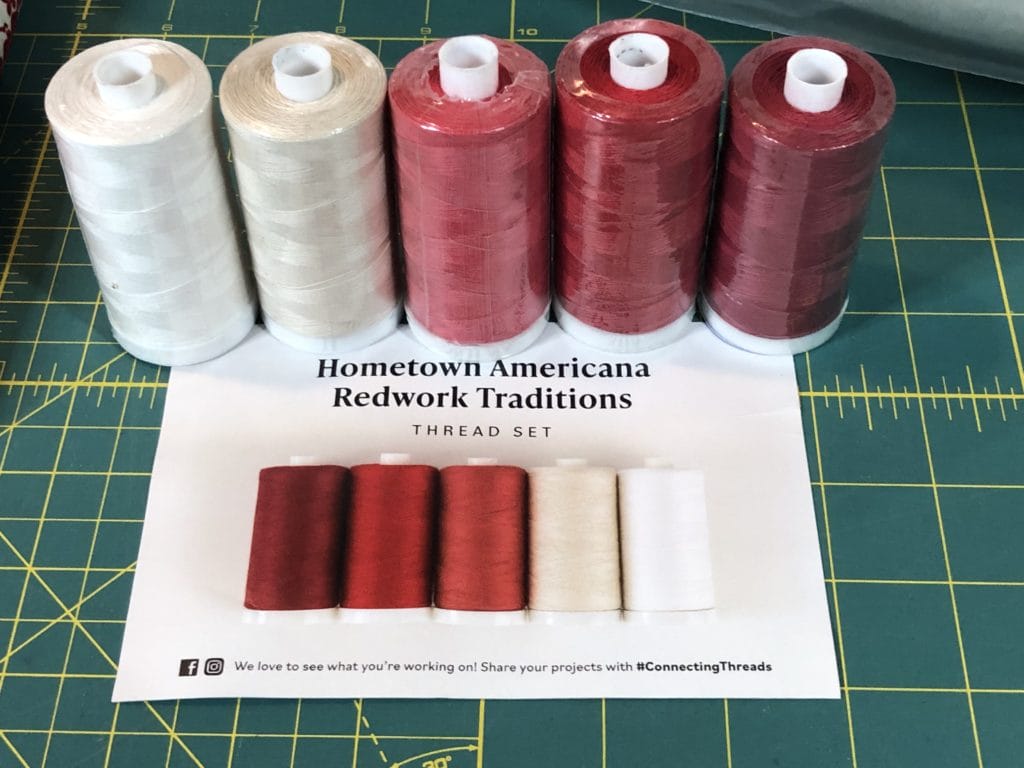
In preparation for this BOM, I snagged a few extra supplies from Connecting Threads. I love their thread and use it all the time anyway, so lucky for me there is a thread set that goes PERFECTLY with this quilt. It’s the Hometown Americana Redwork Traditions Thread set. Of course, you don’t have to use this thread to make the quilt, but since all the colors are perfect for whatever blocks we’ll be making, I just decided I wanted it from the start.
Backing Fabric
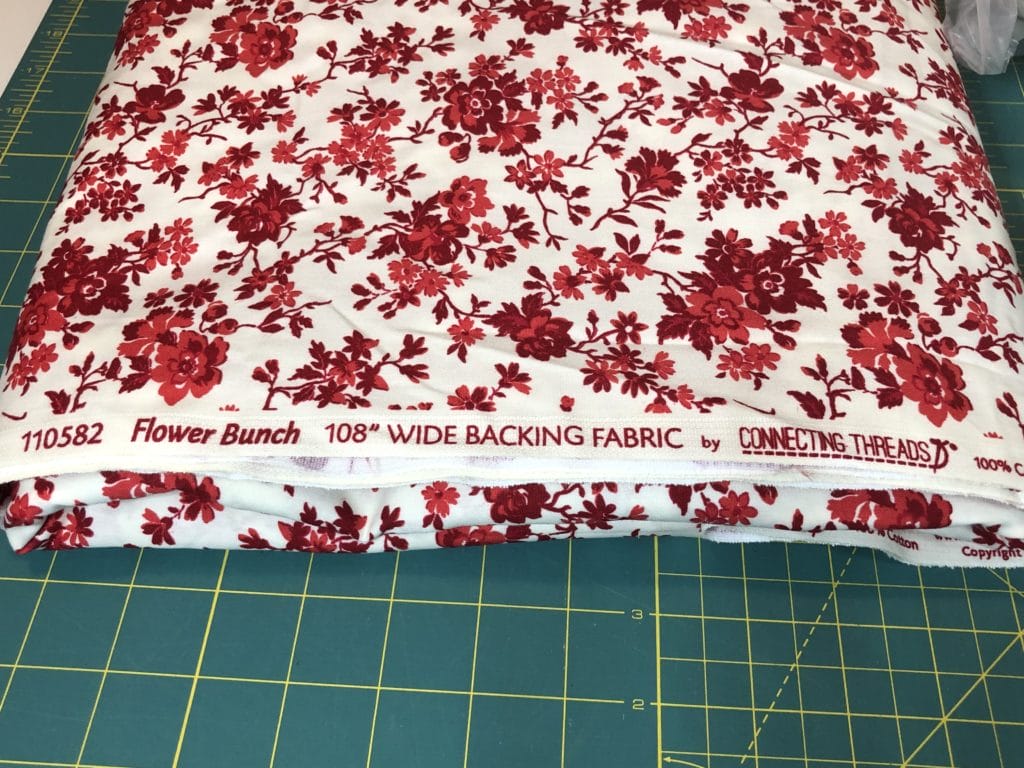
I also got backing fabric, because, depending on the popularity of any given CT fabric collection, there is a chance that the backing fabric I want might not be available by the time I’m ready for quilting. And since we will spend 12 months making the top, I really wanted to make sure I could get what I wanted. So while you don’t have to buy backing fabric now, I would strongly suggest you do, especially if you want something that coordinates.
The pattern states that you’ll need 9.75 yards of standard 44″ wide fabric for the backing. You can also choose to get 3 yards of the 108″ backing fabric as I decided to do. If you go that route, you’ll want to get 3 yards. I picked Flower Bunch (#110582), which coordinates perfectly with this quilt. In fact, it’s so pretty it could be a whole cloth quilt on it’s own. I love it!
Cutting
Before we begin cutting and sewing, I’d like to offer a few tips. I know many designers who write patterns in a way that has you cutting pieces slightly larger, and then trimming things down after sewing parts together, so that everything is just right when you are done. While there is absolutely nothing wrong with that, I chose to write my patterns so that everything is mathematically correct and let customers make their own adaptations as they see fit.
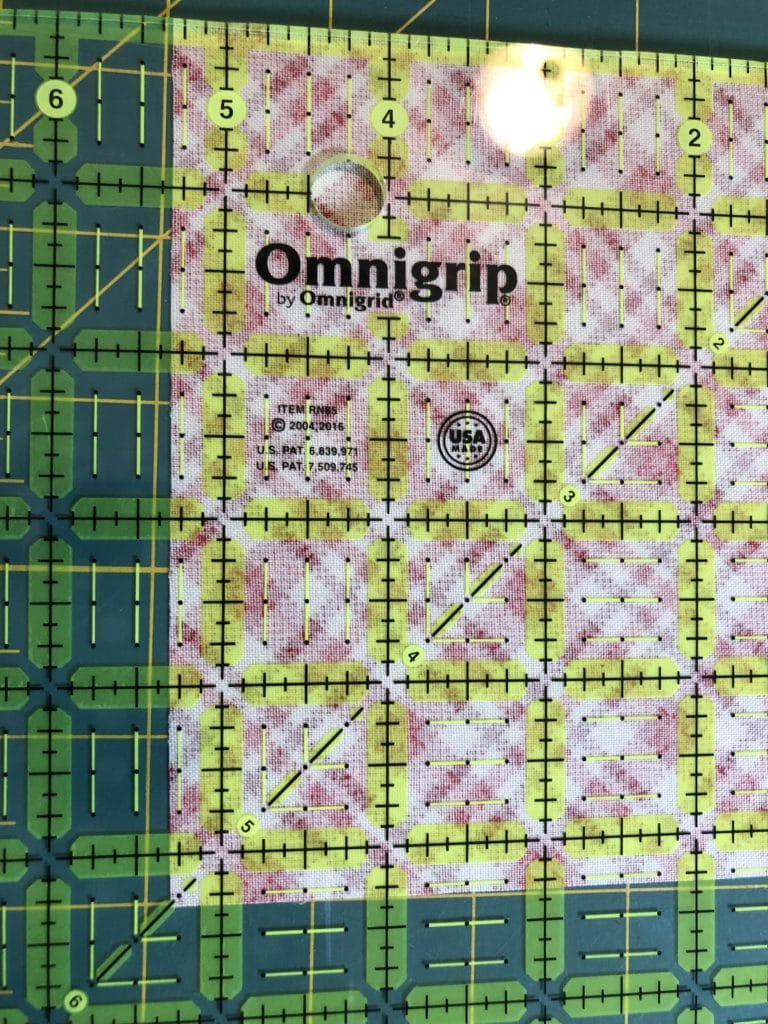
That being said, whenever I’m personally making a quilt, I generally cut all my pieces just a scant bigger (like about 1/16” at most), and I also sew everything just a scant under the ¼” seam allowance. This always gives me great results, and allows for me to square things up as needed.
Here is a photo of about how much bigger I cut my pieces, just to give you an idea. If you look closely at the ruler, you can see this piece is just a bit bigger than the 5-1/4″ measurement that is stated in the pattern.
Of course, feel free to cut and sew as you see fit, I’m just letting you know what I do that helps me to get the results I’m after. And don’t worry about having enough fabric if you want to cut things a bit bigger with this kit. I’ve allowed for AMPLE fabric with this BOM, so you should be all good!
This Month’s Blocks
Okay, let’s get started with this month’s blocks! Here are the first four we will be making:
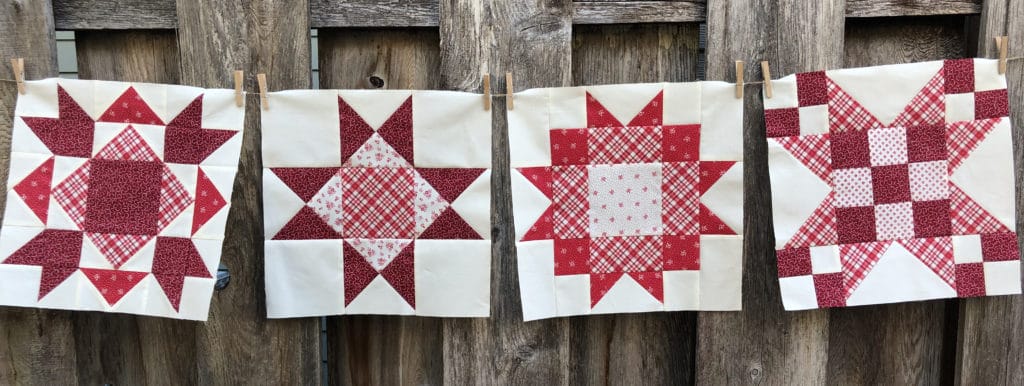
BLOCK 14
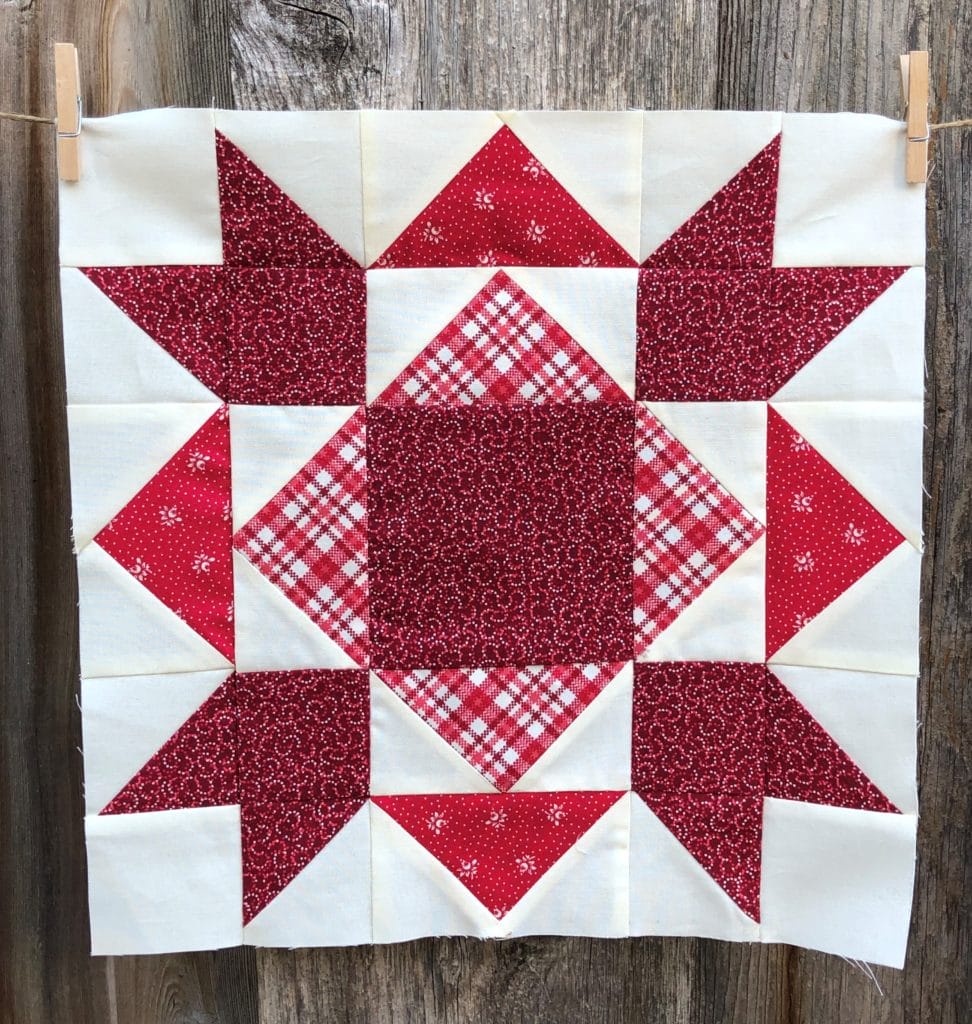
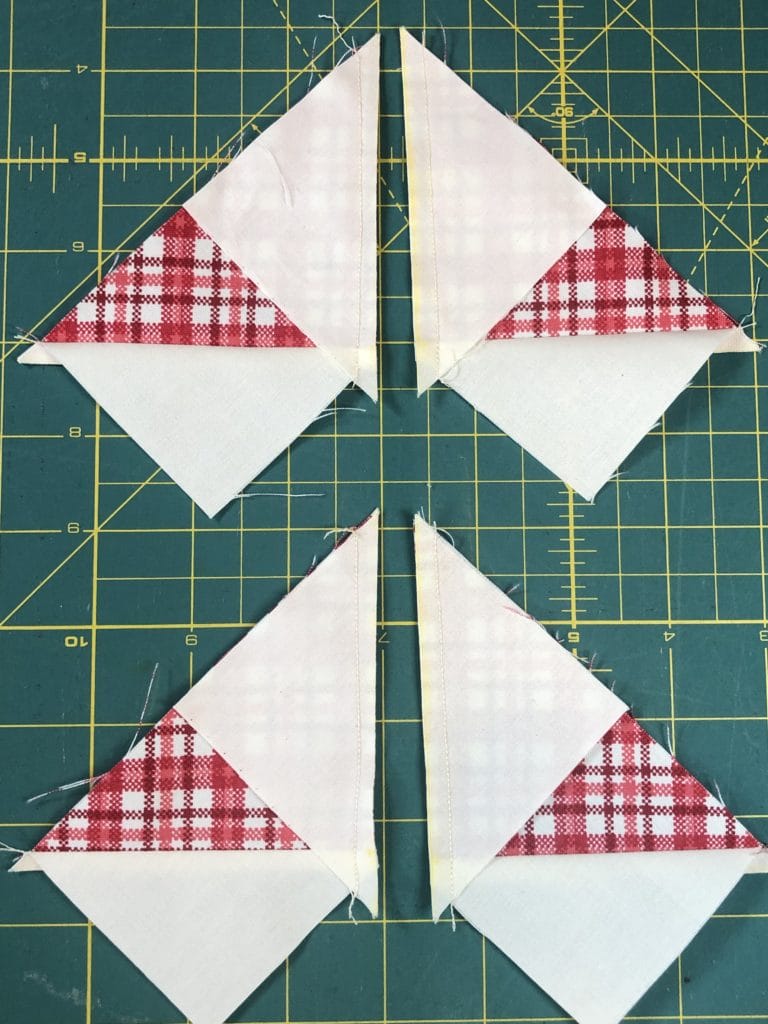
If any of you have made previous quilts of mine, you probably know that I LOVE the no-waste method for making flying geese. I think mostly because it bothers me to cut those triangles off with the traditional method and throw them away. I know there are those super talented quilters who can magically come up with something amazing out of those tiny triangles, but I’m not one of them. I used to always save them, thinking that someday I would create a masterpiece, but I would inevitably throw them away sometime later, always feeling a bit guilty. Dumb, I know, but using the no-waste method I don’t have any guilt haha!
Below are some photographs of steps 1 and 2 for block 14, just so you can see what this looks like in ‘real life’.
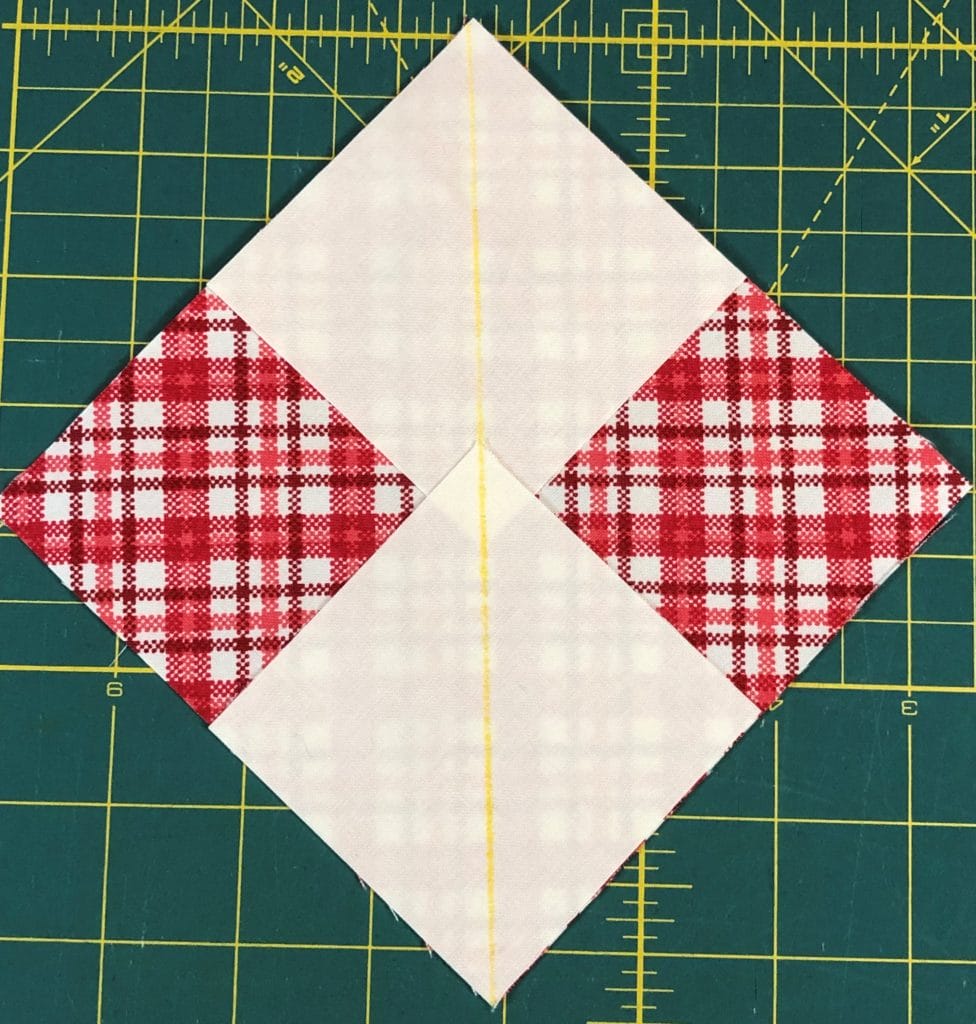
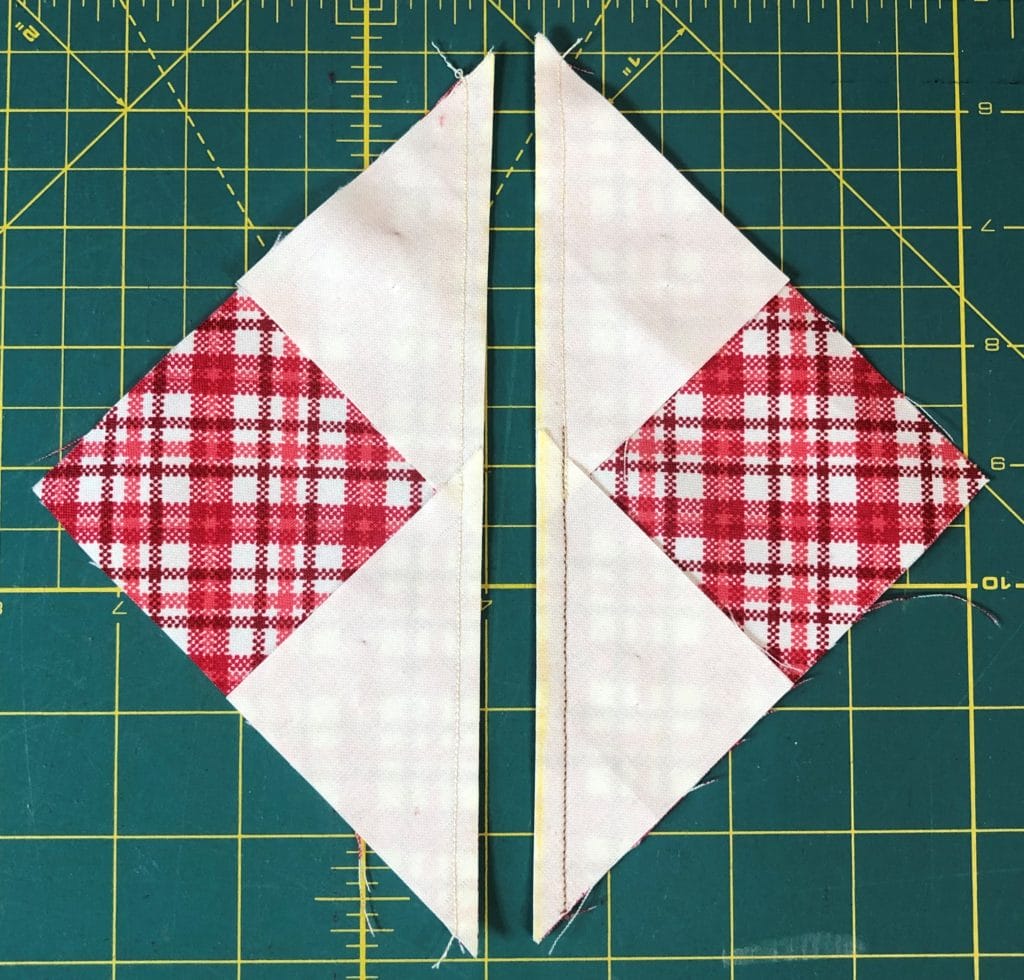

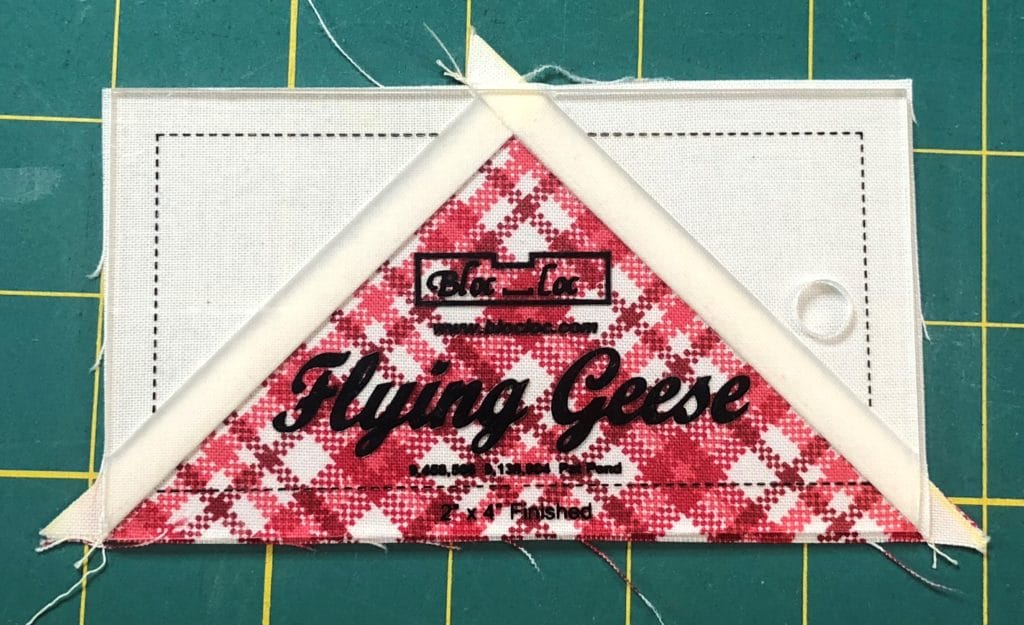
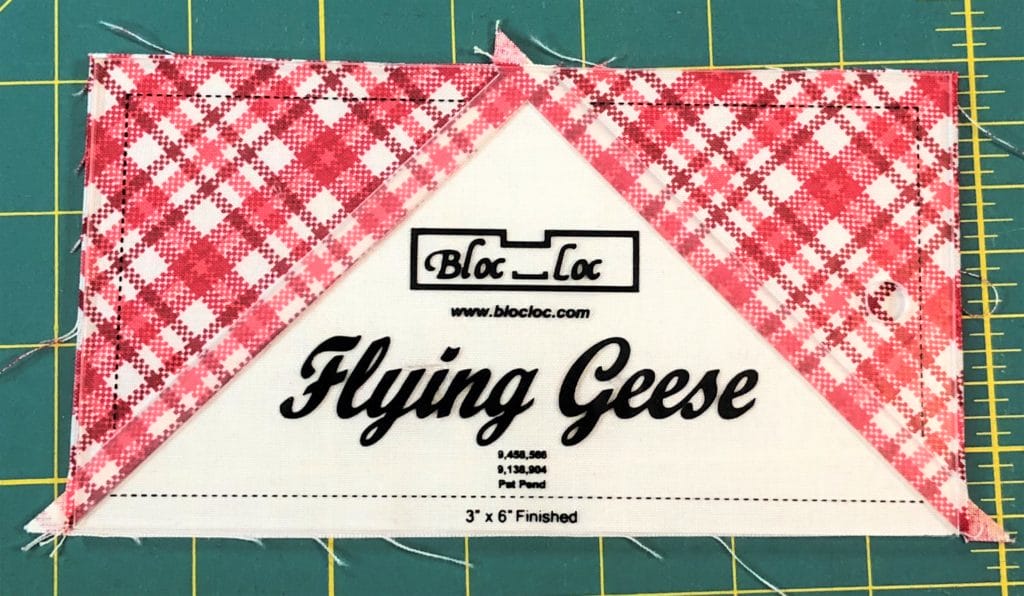
When I’m all done pressing my flying geese, they always need a good trim, and I use the Bloc-Loc flying geese tool to square up my units. This is another tool that is entirely optional. They aren’t cheap but I really like how all my flying geese end up absolutely perfect when I use this to trim them.
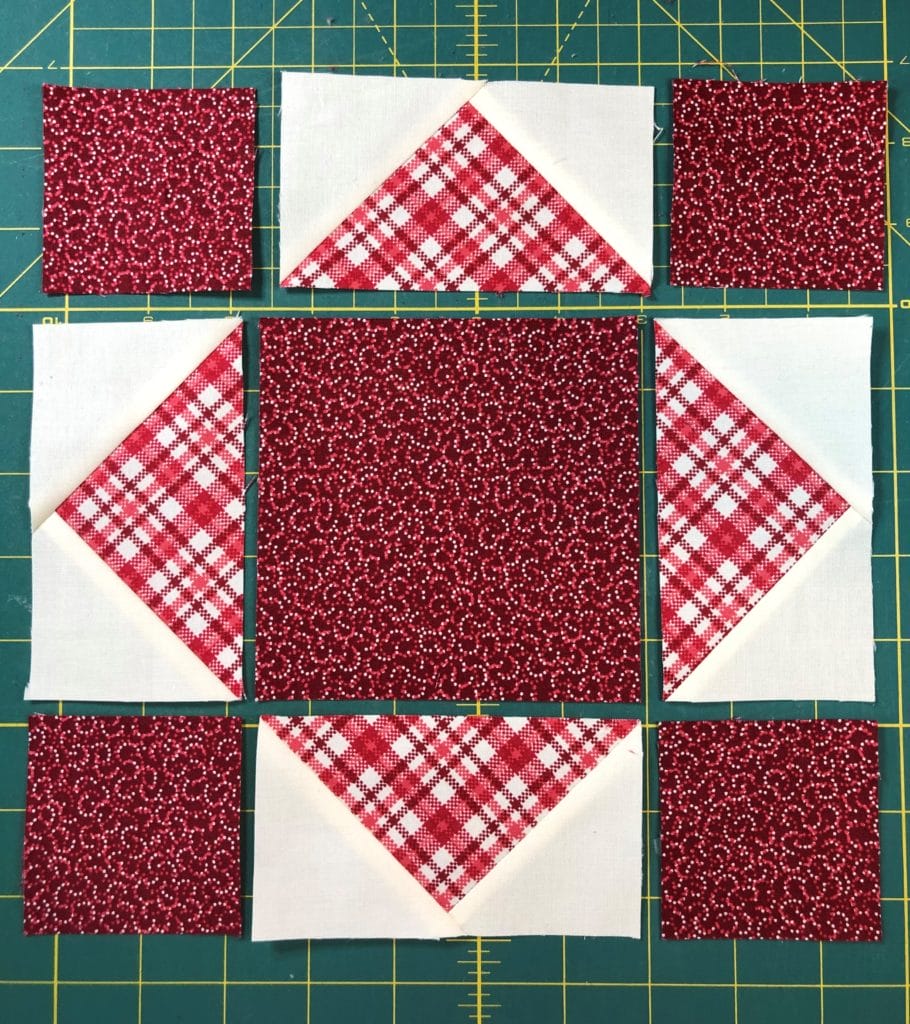
After making the first set of flying geese, you’ll attach them to the A square, along with the B squares, to make the center portion of the block.
Next we will make some more flying geese in steps 4 and 5, followed by 8 half-square triangles in step 6. These flying geese are the same as above, and half-square triangles are pretty straight forward.
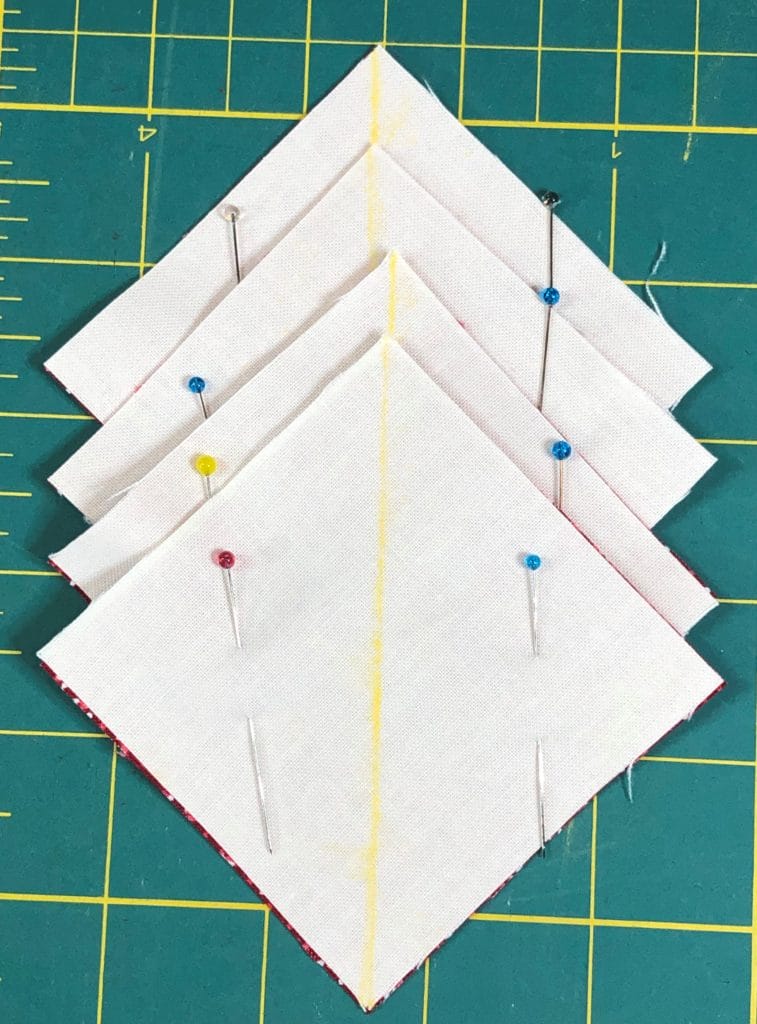

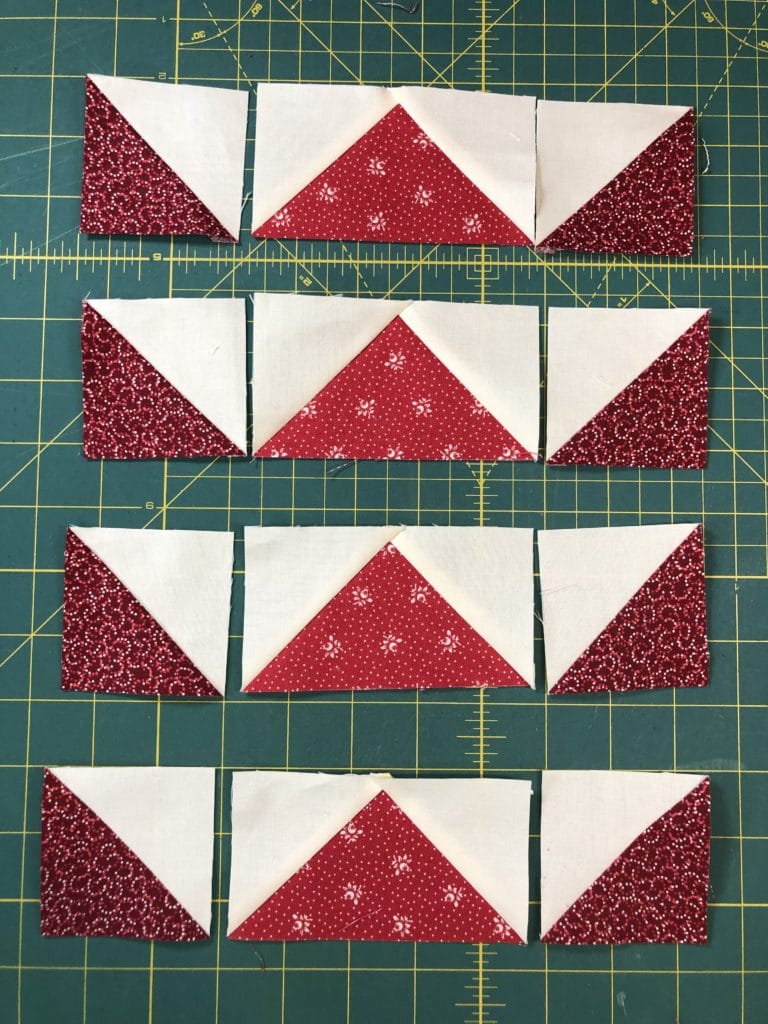
Somehow, while sewing and trimming, I didn’t snap a pic of the completed half-square triangles, but you can see them below all trimmed up and ready to go. In step 7, we will sew these units together like so:
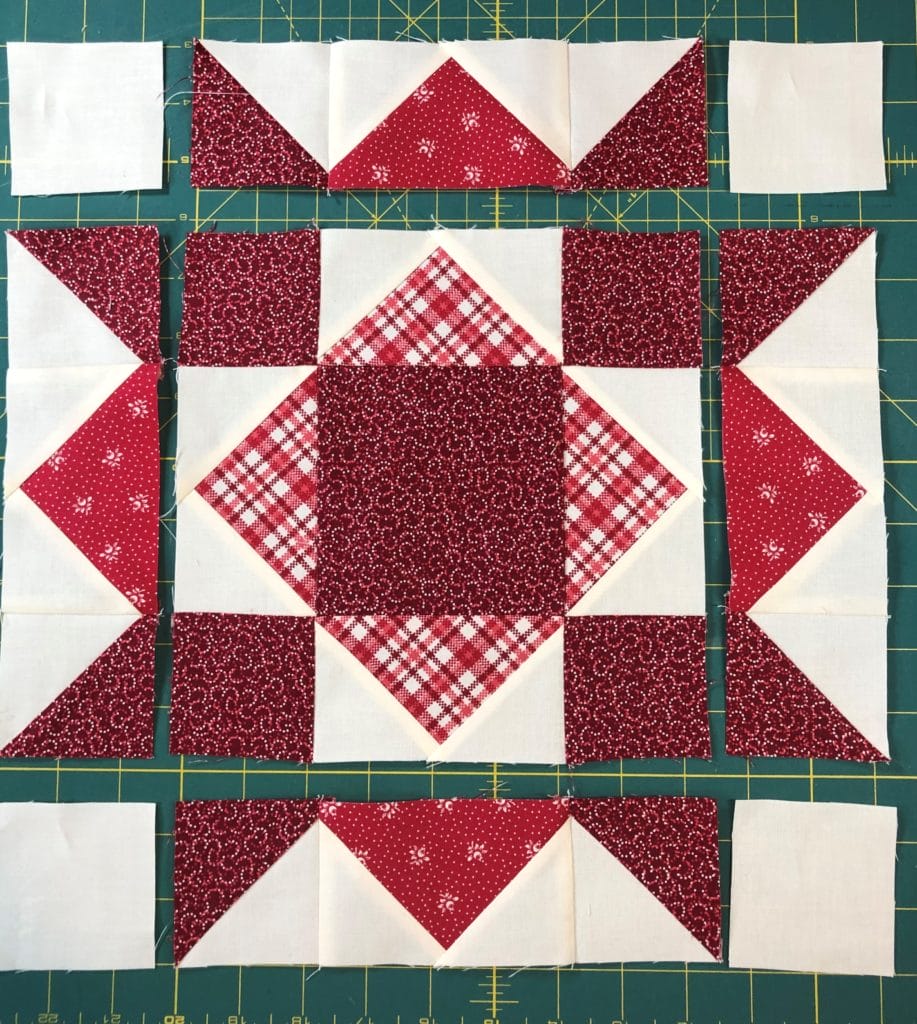
Now it’s time to sew all the components together. Pay attention to the pressing arrows so that all the units will nest together. If all goes according to plan, the block should measure 12-1/2” square.
BLOCK 16
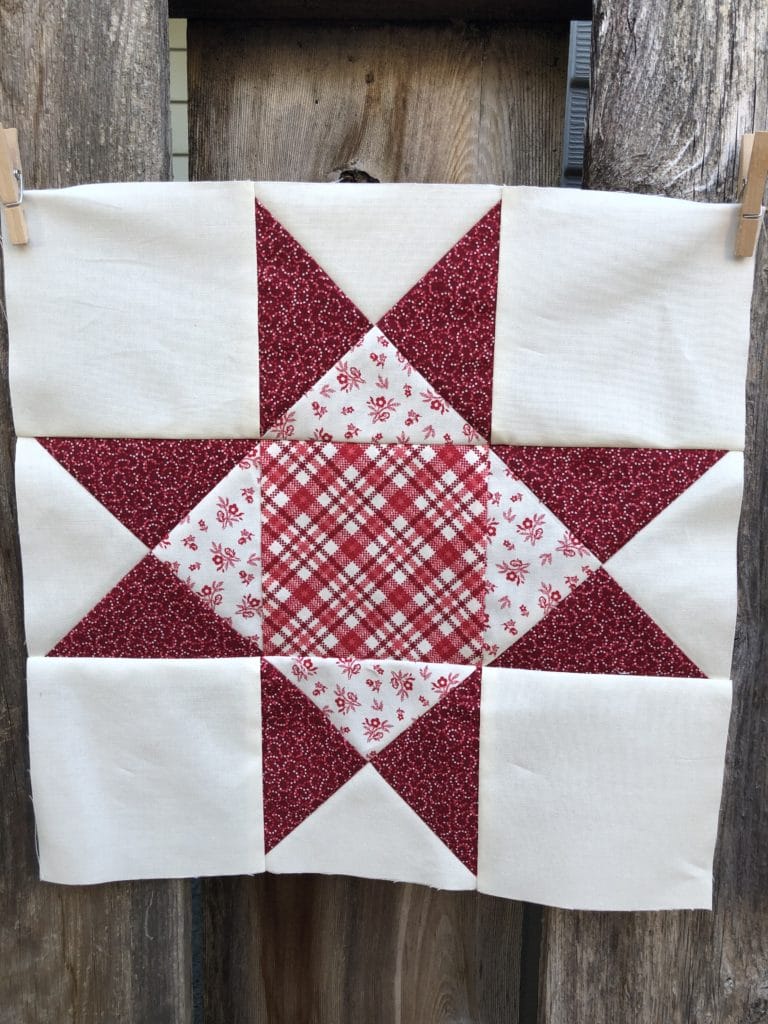
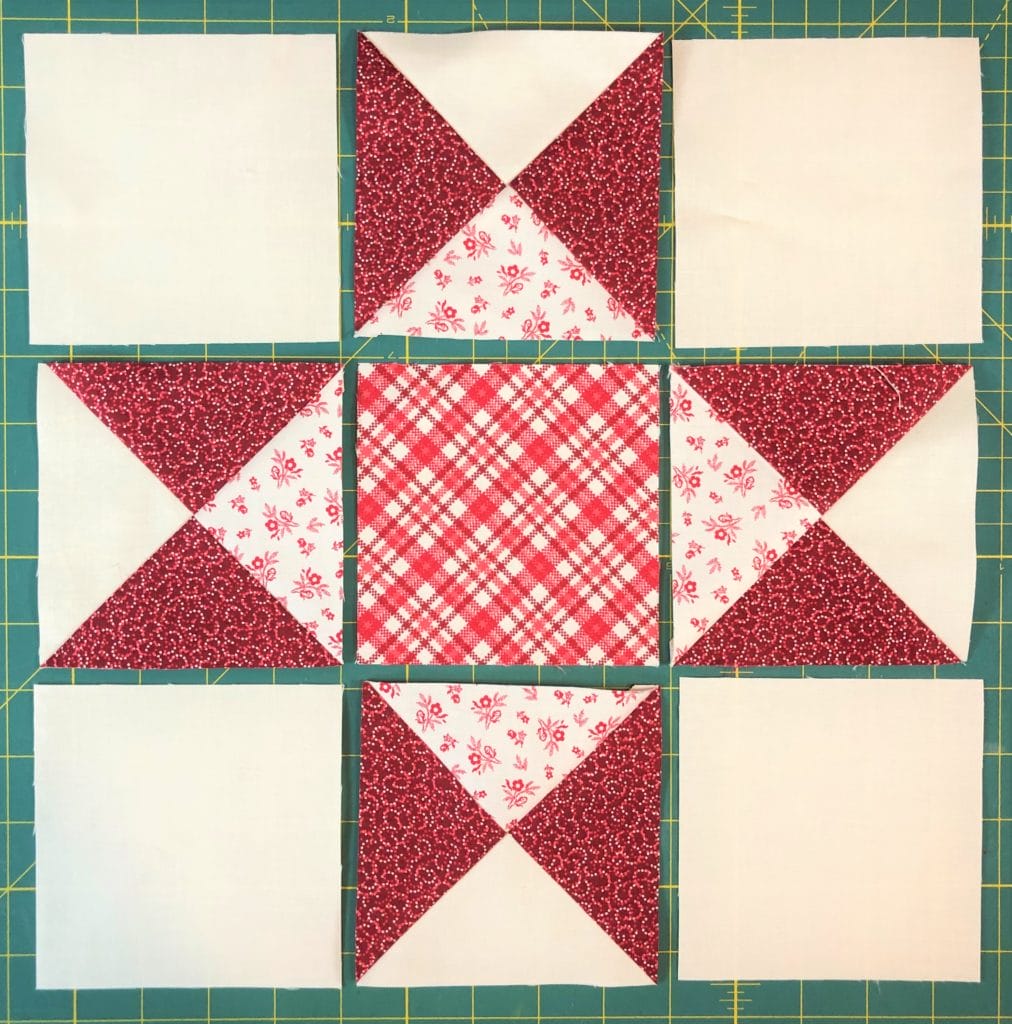
This block is traditionally called the Ohio Star block, and it’s one of my favorites, probably because it’s pretty easy!
We will begin by making some quarter-square triangle blocks. You’ll start by making two sets of half-square triangles: Two will be with the A and C fabrics, and two will be with the D and C fabrics. Usually at this point I would trim these up, but when making quarter-square triangle blocks, I always wait until the very end to square everything up, because with these blocks, it doesn’t really matter until the end. Plus it gives me some extra wiggle room in case I need it later.
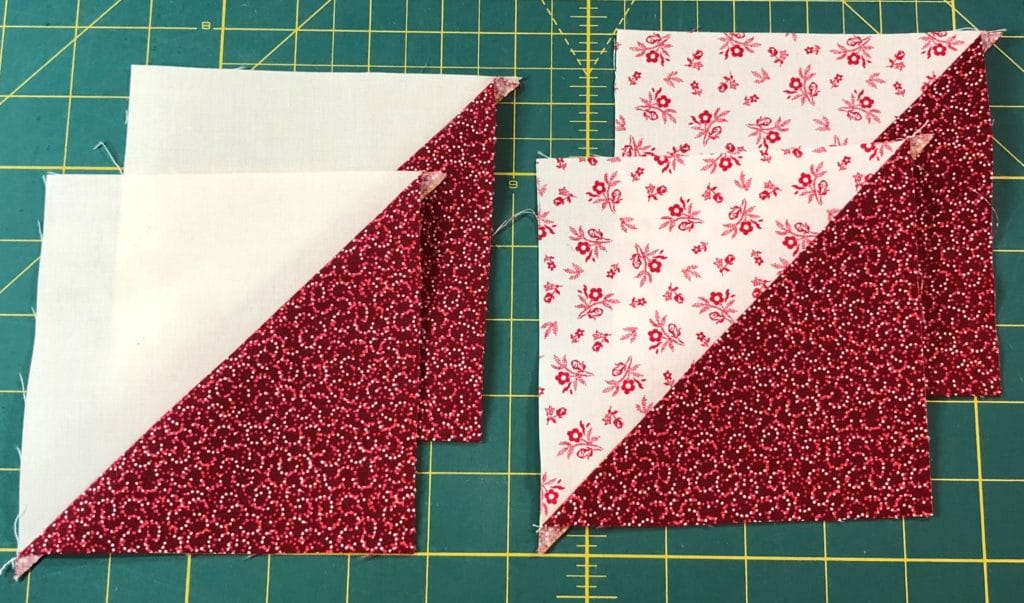
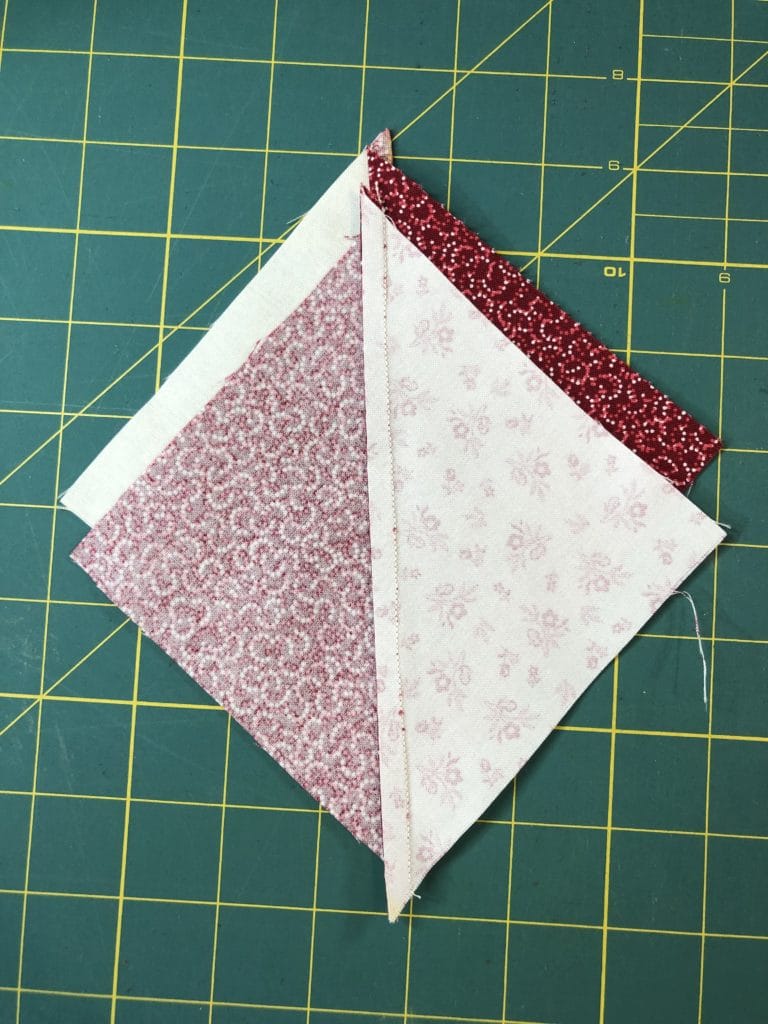
Next, we will pair a C/A square (from step 1) with C/D square (step 2), and place them so the C triangles are on opposites sides, like so:
Draw a line across the square, and then stitch on either side of the marked line.
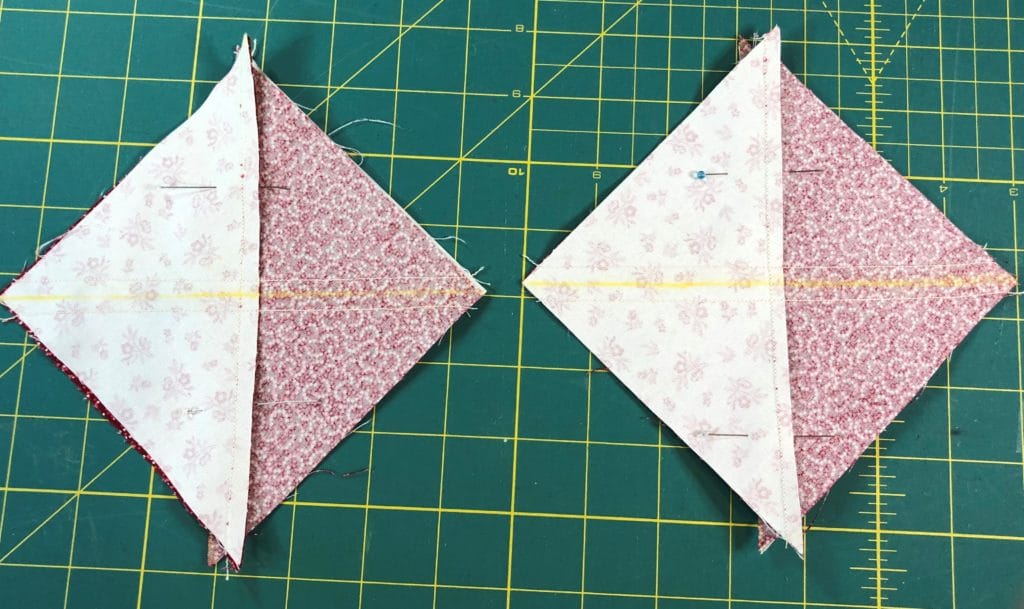
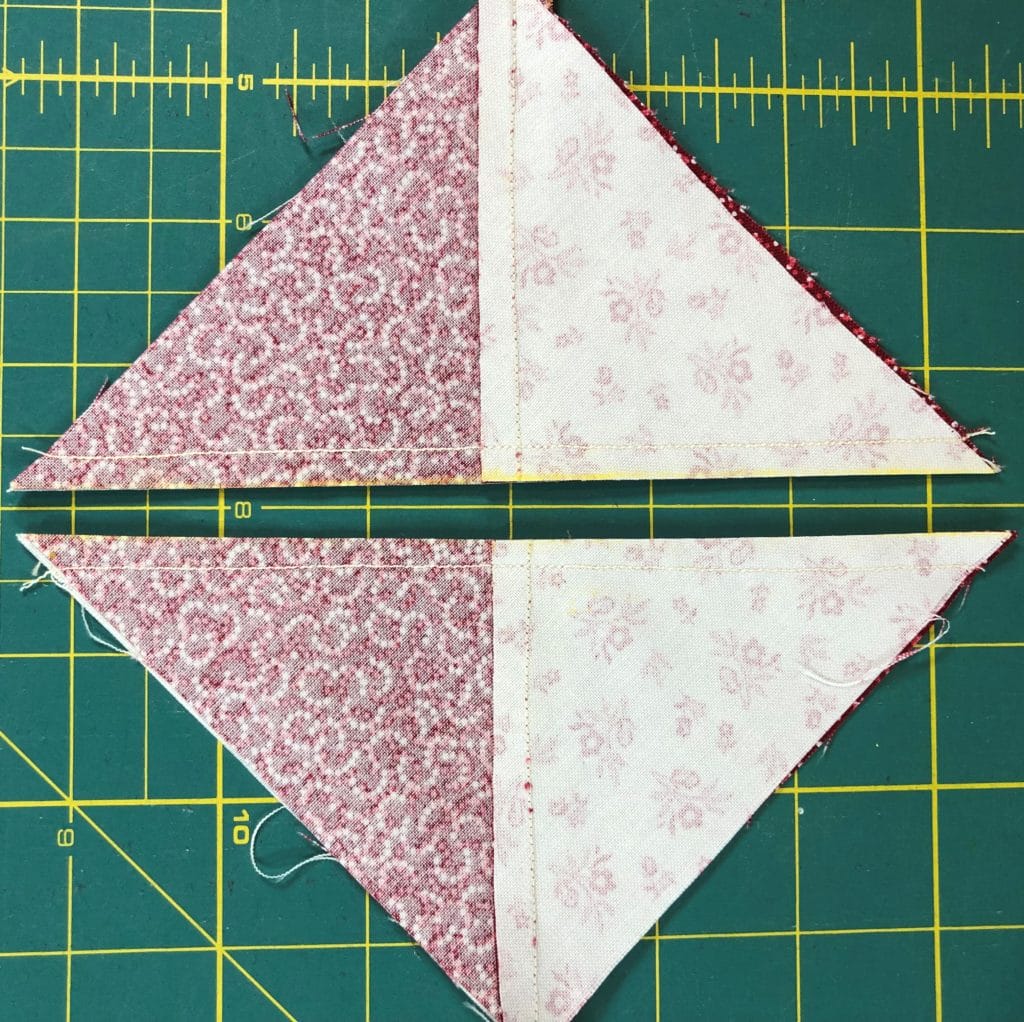
After you cut ON the marked line, you’ll end up with two quarter-square triangle units. You’ll repeat this so that you’ll have a total of 4 of these squares. Trim them up to be 4-1/2” square.
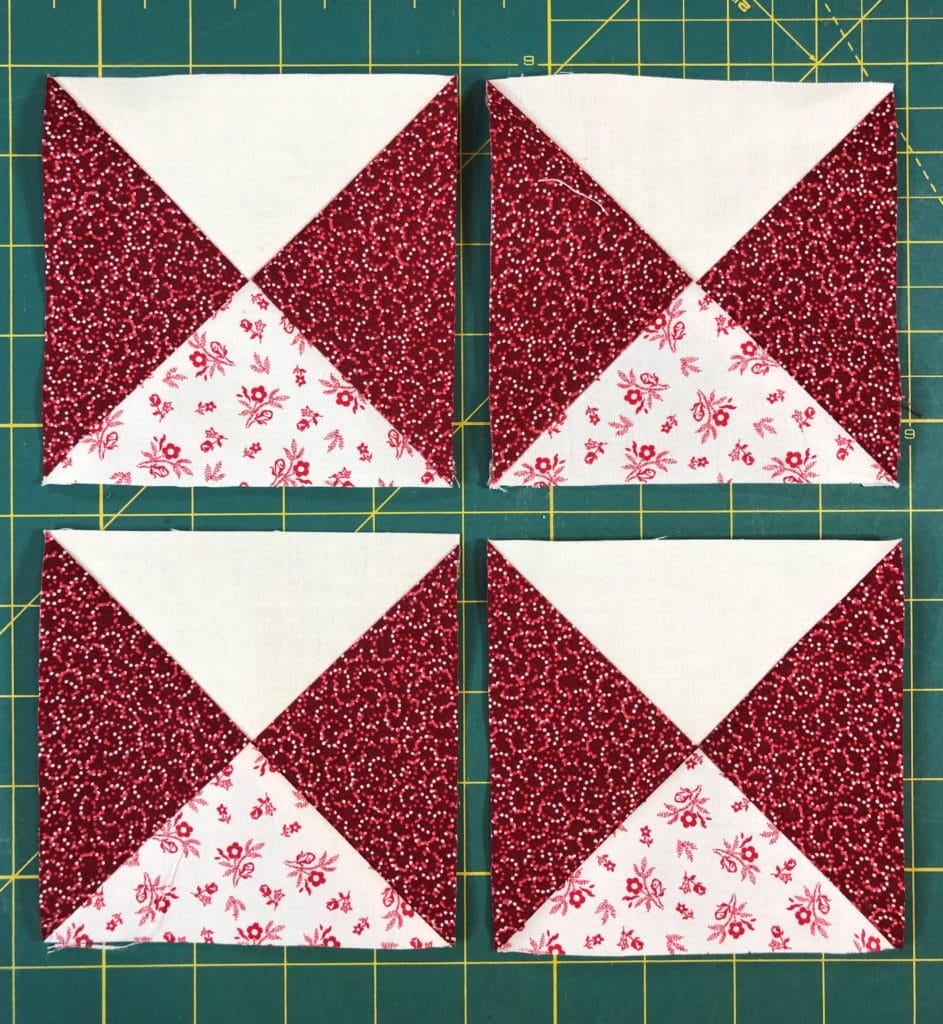
Now it’s time to assemble the block. This block is pretty simple, but you’ll just want to make sure that all of your Corsage II Ivory triangles (A) are framing the center B square. I always lay out all my pieces before sewing so that I make sure everything is oriented correctly.
BLOCK 21
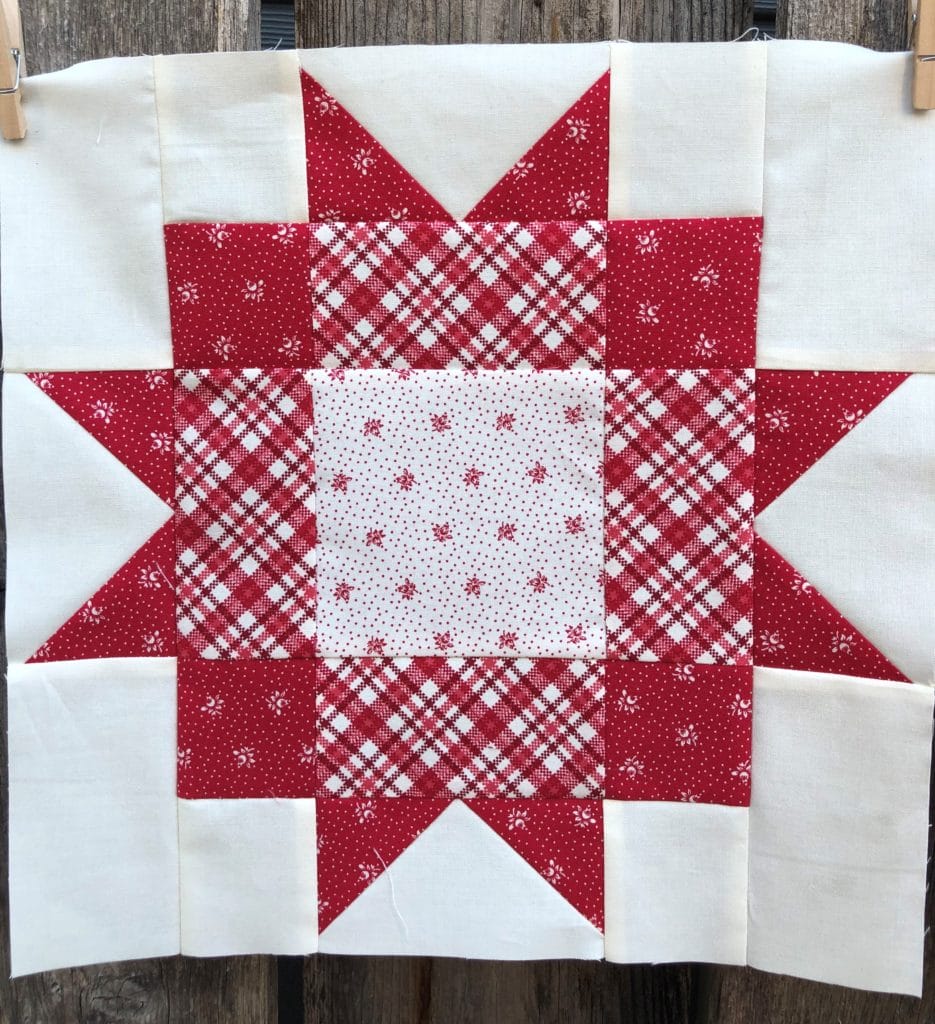
This block is also pretty straightforward. Again, you’ll want to pay attention to the pressing arrows so that when the block is all sewn together you’ll have those seams in the right direction.
You’ll start by making a modified 9-patch like so:
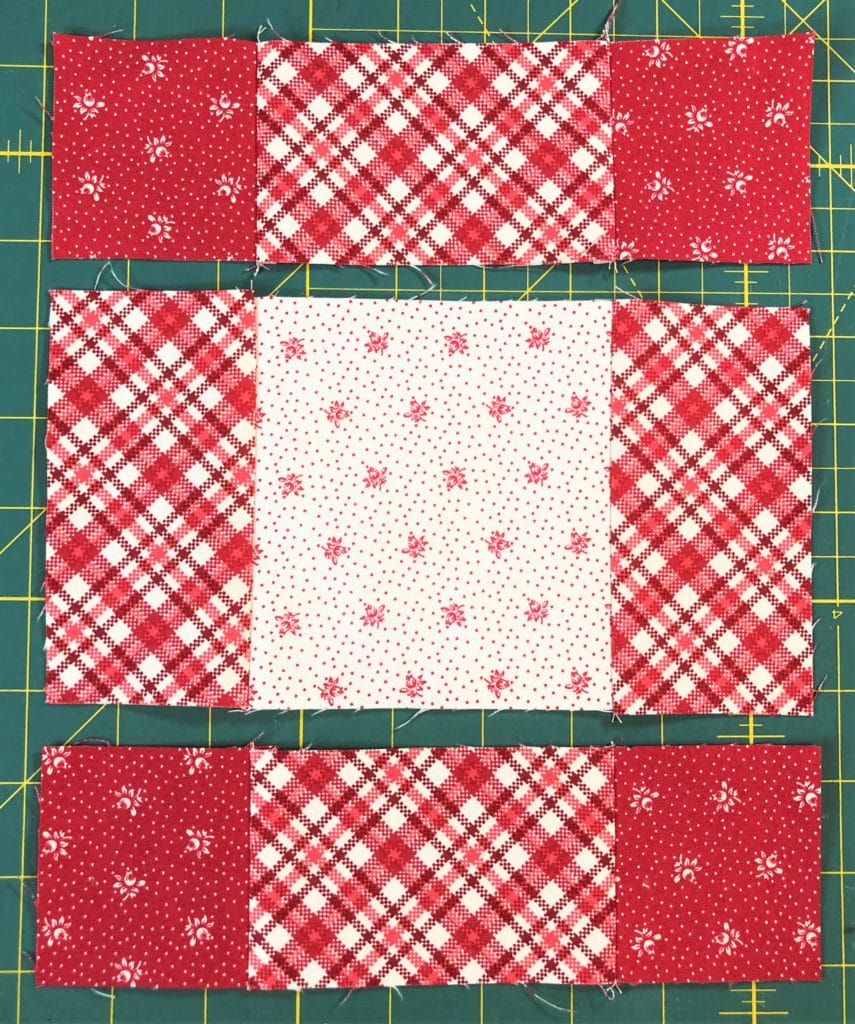
Next you’ll move on to making some more of those no-waste flying geese. This is the same drill as before with the previous block. And once those are finished you’ll add some of the background F and G pieces to the ends of them like you see here:
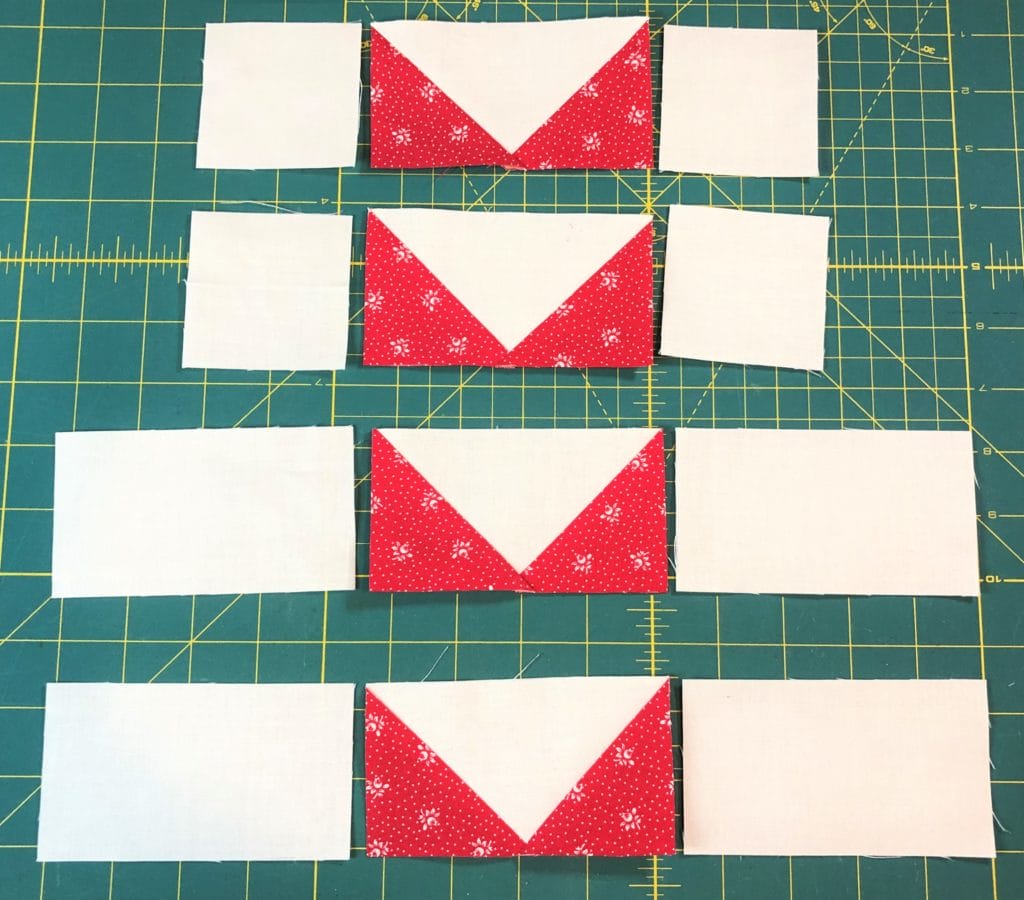
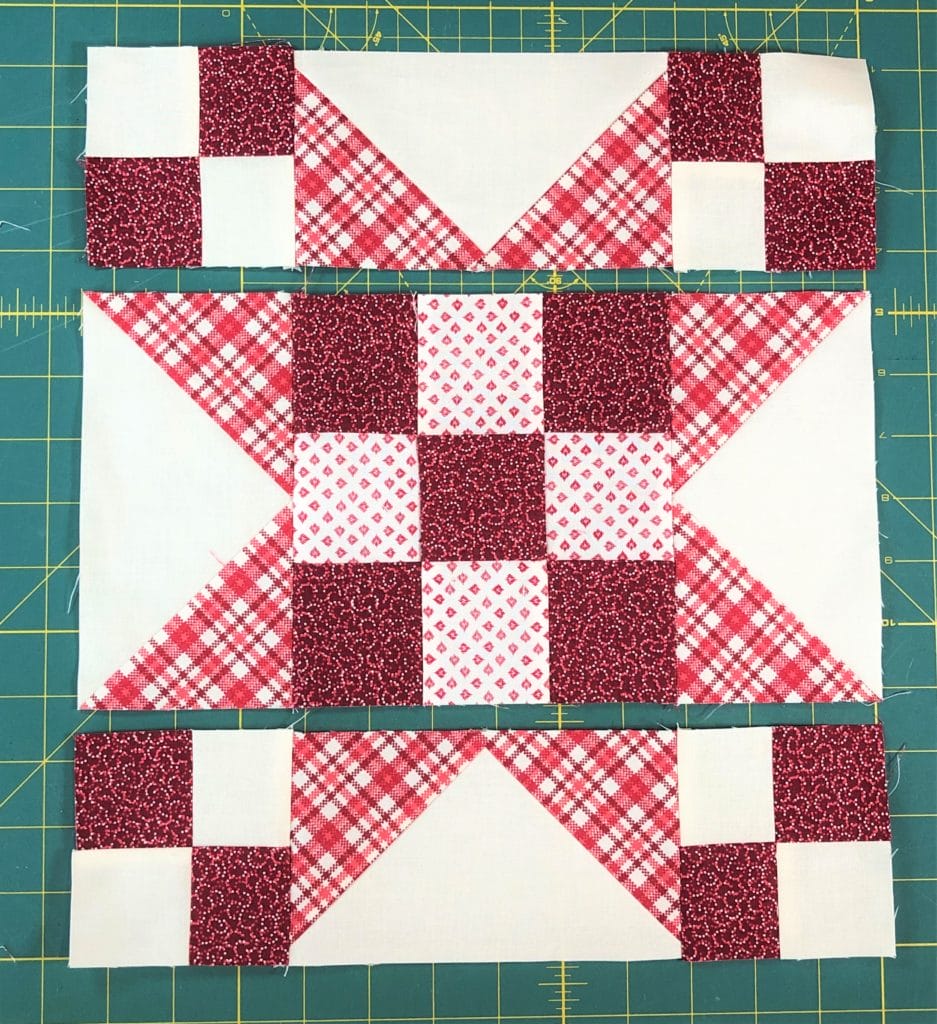
Now all you have to do is attach those completed flying geese units to sides, and top and bottom of the center unit, and you are good to go!
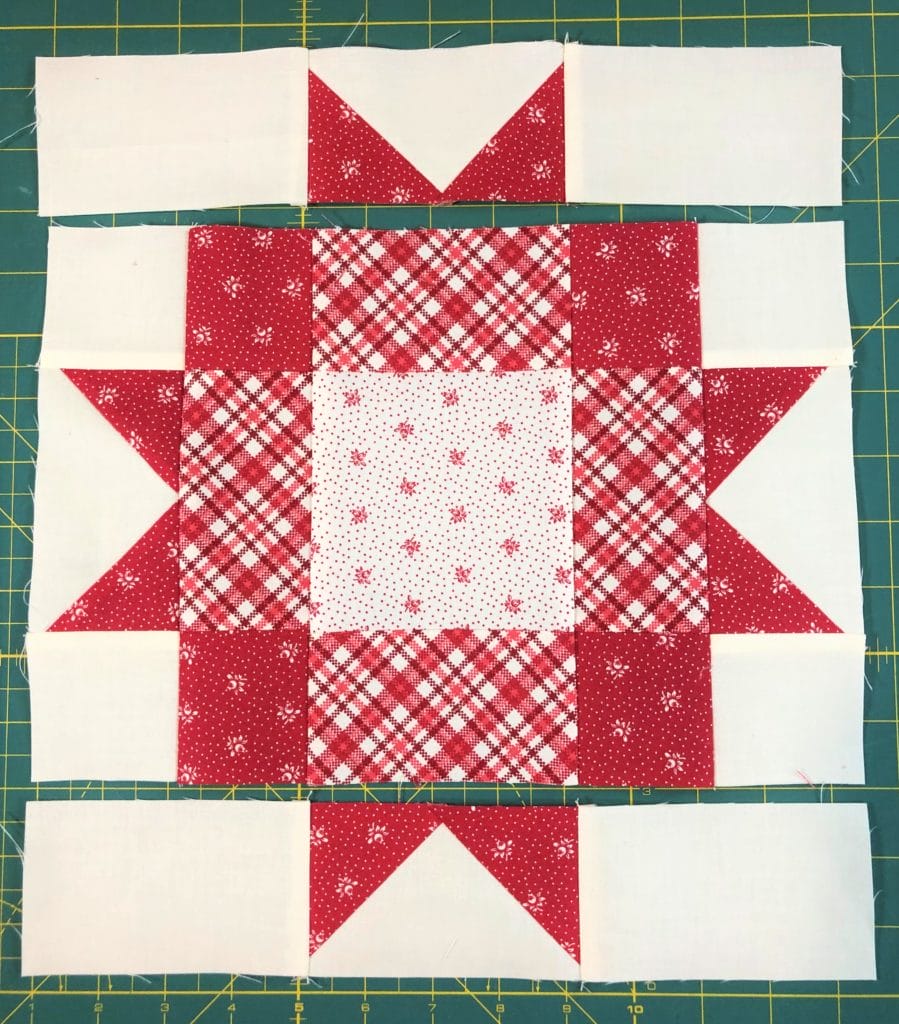
BLOCK 22
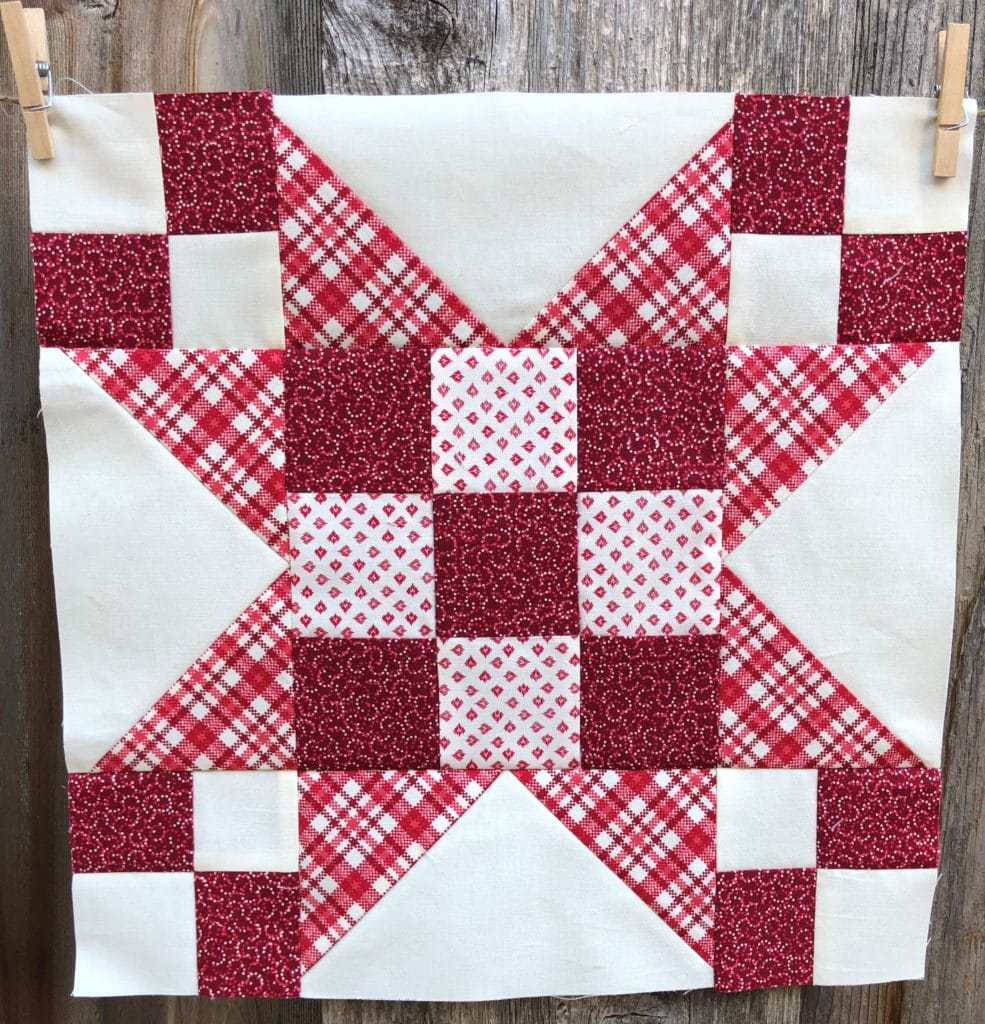
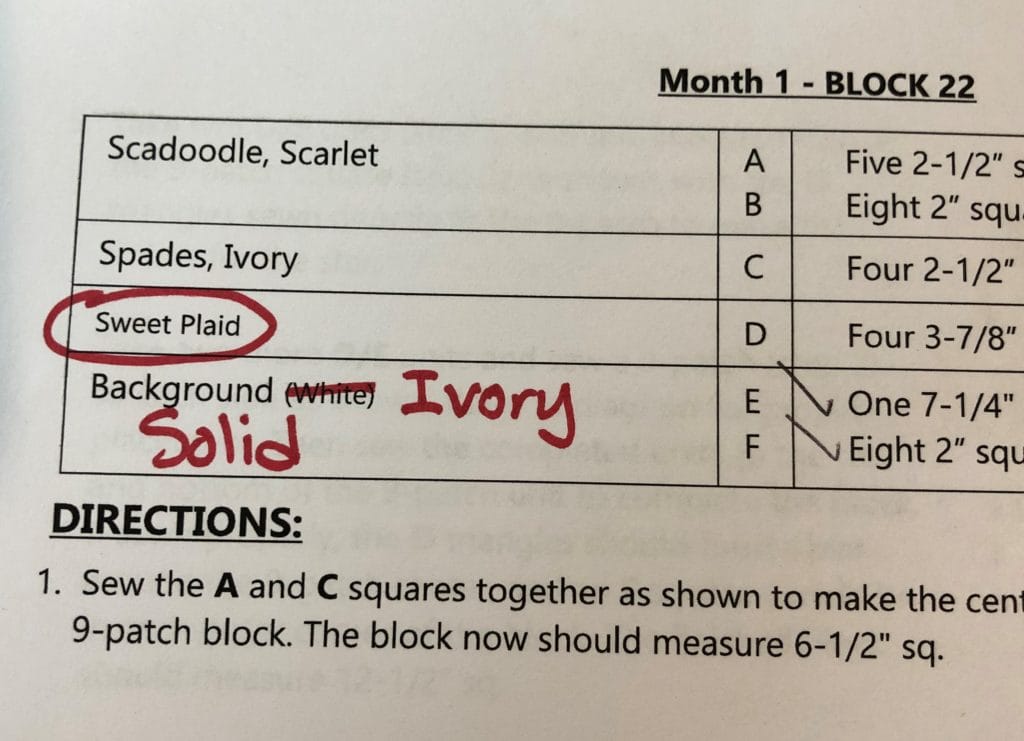
Before we begin the instructions for these blocks, I have to apologize for a silly mistake in the cutting instructions. You’ll notice that the last fabric is labeled “Background (White)”, which is obviously not correct, since there is no White fabric in this pattern. This is a generic term I use when writing patterns, which gets changed to the actual fabric name for the final edit. The dumb thing is, I MARKED THIS IN RED PEN to change it, and then somehow didn’t. Ugh. Anyway, please know that “Background White” is really Solid, Ivory.
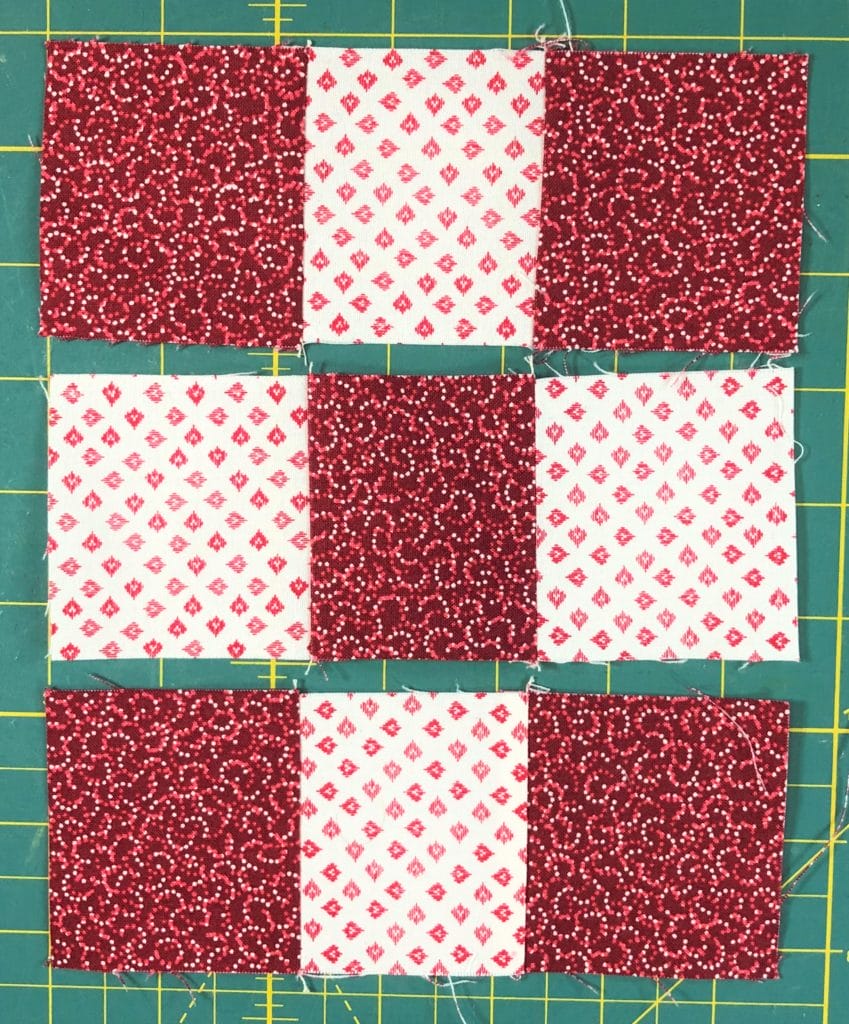
Now on to sewing! We’ll start by making a simple 9-patch and then make, you guessed it, even more no-waste flying geese. (Gee, this sounds kinda similar to the last block…)
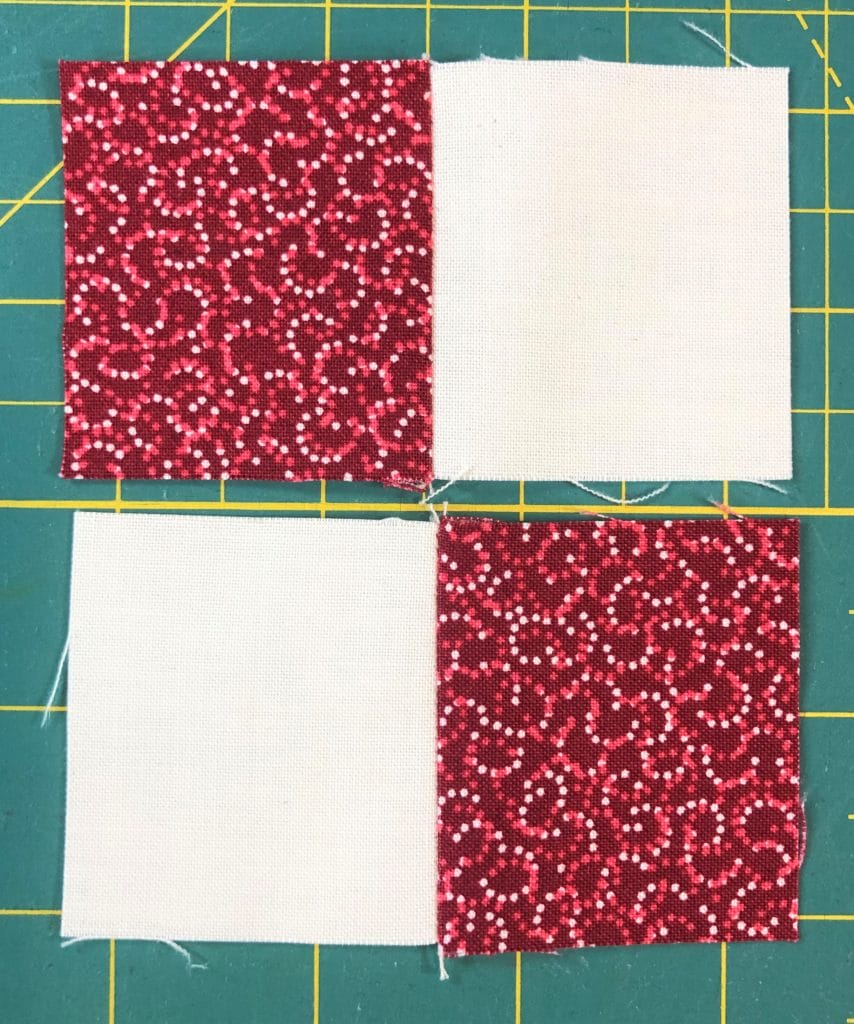
Then we’ll make a few easy 4-patch units – Four of them to be exact.
The only thing to worry about when assembling this block is the orientation of the corner 4-patch units. As you can see from the picture, the Ivory F squares should be in the outer corners. At least, that’s how I’ve done it. That being said, since this is YOUR quilt, you can switch up the orientation if you so desire, and put those red squares in the corners instead. It’s entirely up to you, just make sure that whatever you do, it’s on purpose. That advice probably applies to more than just quilt blocks, haha!
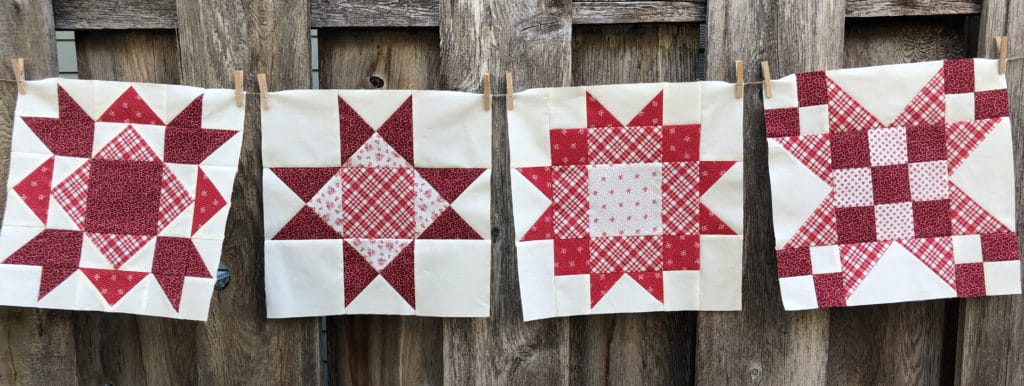
I hope you’ve enjoyed these first few blocks. Next month we’ll get started on some of those Irish Chain pinwheels. Stay tuned!
-Kristin


 Tutorials

