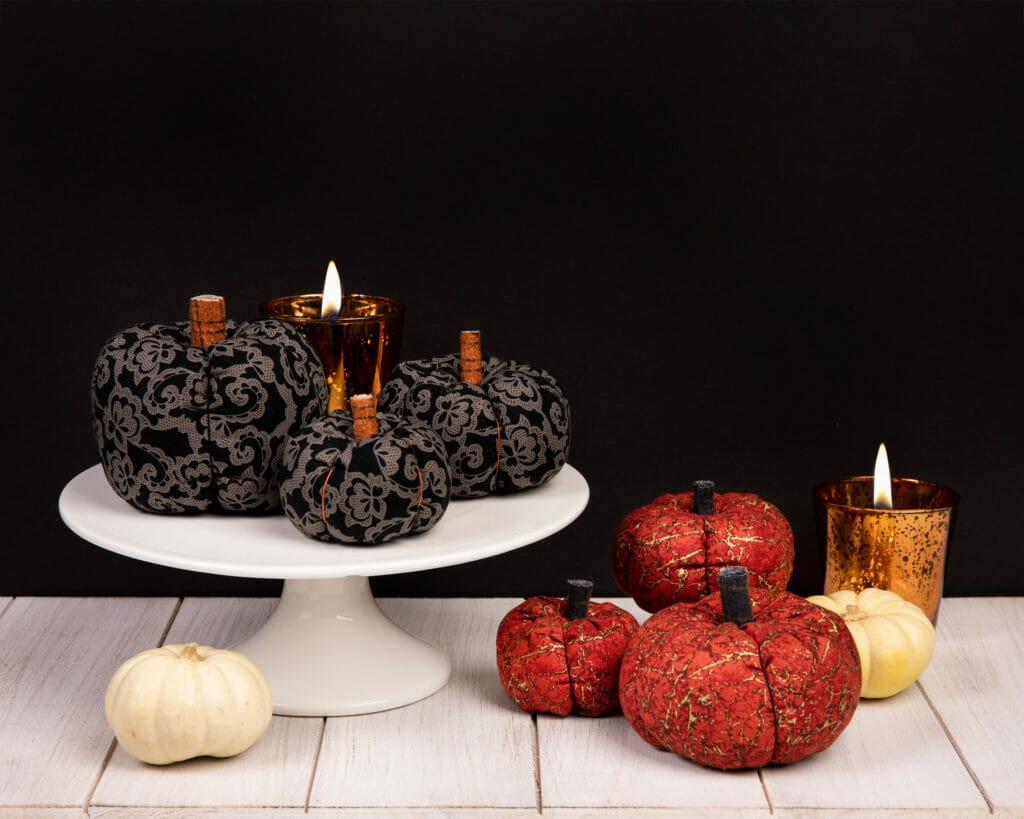
Get into the spirit of spooky season with an easy weekend tutorial! Made with fat quarters (or scraps), stuffing and some strong thread, these fabric pumpkins take less than an hour to sew together and look adorable anywhere in your home. Let’s get started!
Supplies (all items shown are linked here and throughout the post):
- Fat quarters or fabric scraps for the pumpkin
- Flannel or felt for the pumpkin stem
- Cinnamon stick (optional)
- If you want a simpler, aromatic alternative for a pumpkin stem, these work beautifully!
- Cotton sewing thread (any color, this will be inside and won’t show)
- Thick, cotton embroidery thread
- Long darning needle (or similar)
- Polyfill (or stuffing of your choice)
- Fabric glue
- Scissors, rotary cutter, cutting mat (basic sewing supplies)

Iron your scraps and cut your fabric.
The ratio for these fabric rectangles is extremely simple – about 2:1 – so you can adjust it to the size of your choice. That means that the long side needs to be twice as long as the short side. The samples I cut were 16″ x 8″, 14″ x 7″, and 12″ x 6″ (see the orange Quartz Metallic pumpkins in the first photo). If you want your pumpkins to be a bit taller, just pad an extra 1/2″ or 1″ to the short side: 16″ x 9″, 14″ x 7.5″, 12″ x 6.5″ (see the black Bat Lace pumpkins in the first photo, they’re all just a bit taller than their orange counterparts). The size I cut for this tutorial is 12″ x 6.5″.
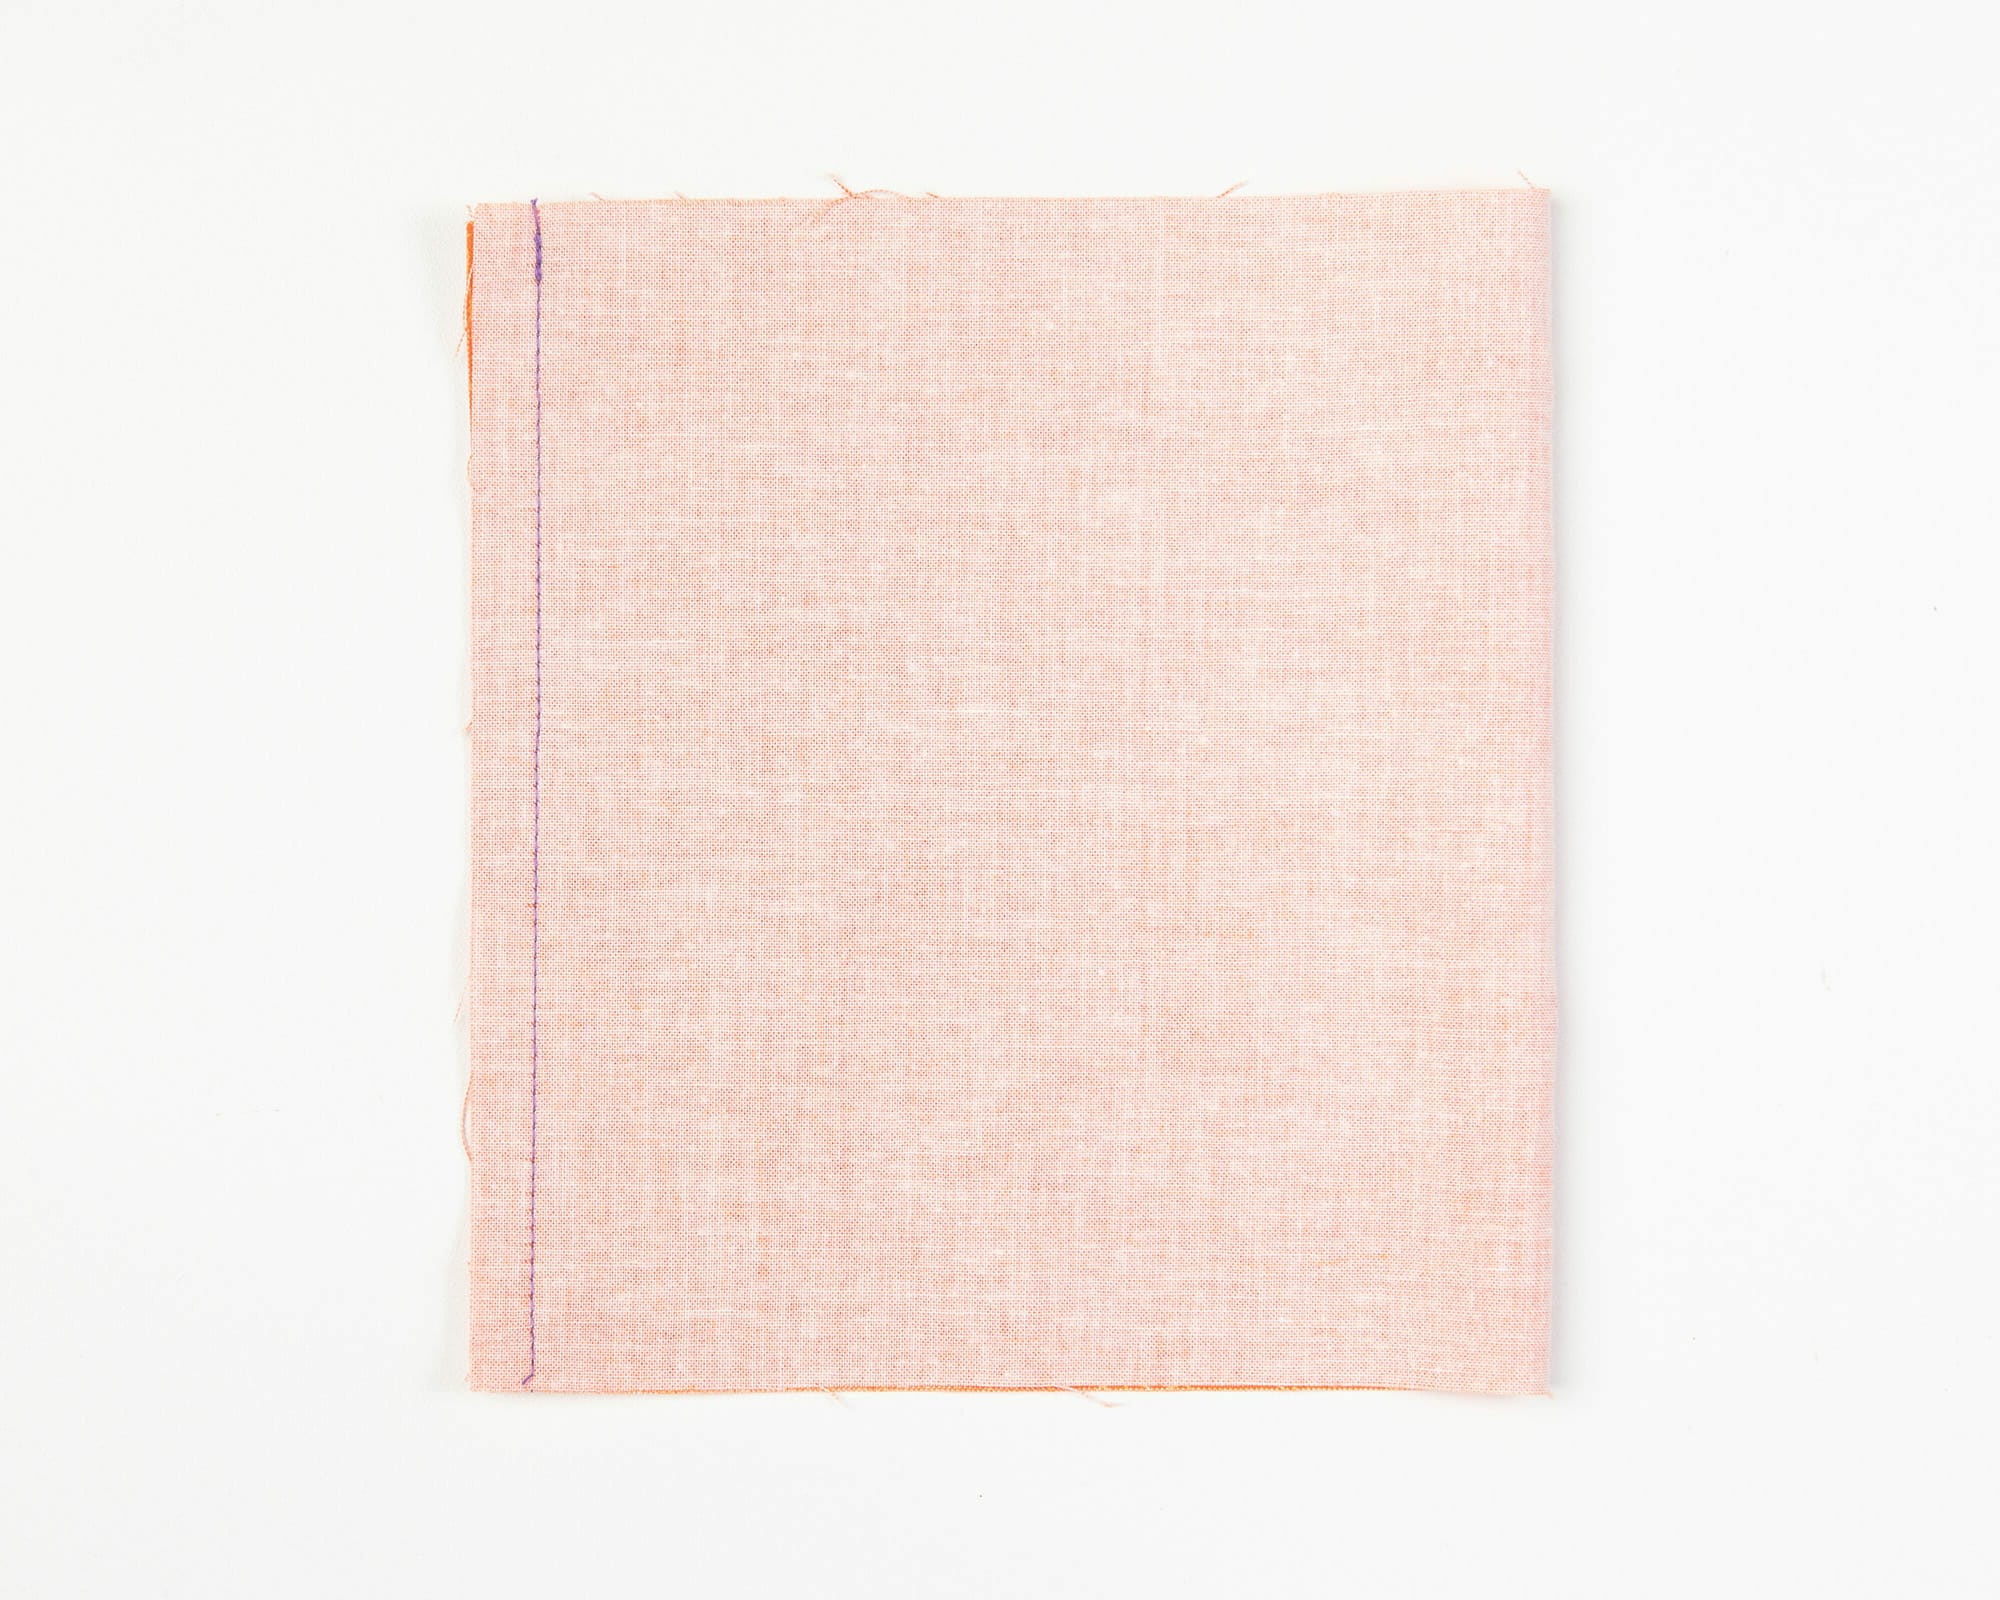
Fold the fabric in half, right sides together, and sew a seam along the two short sides with a 1/4″ seam allowance. You’ll have a little tube like this:
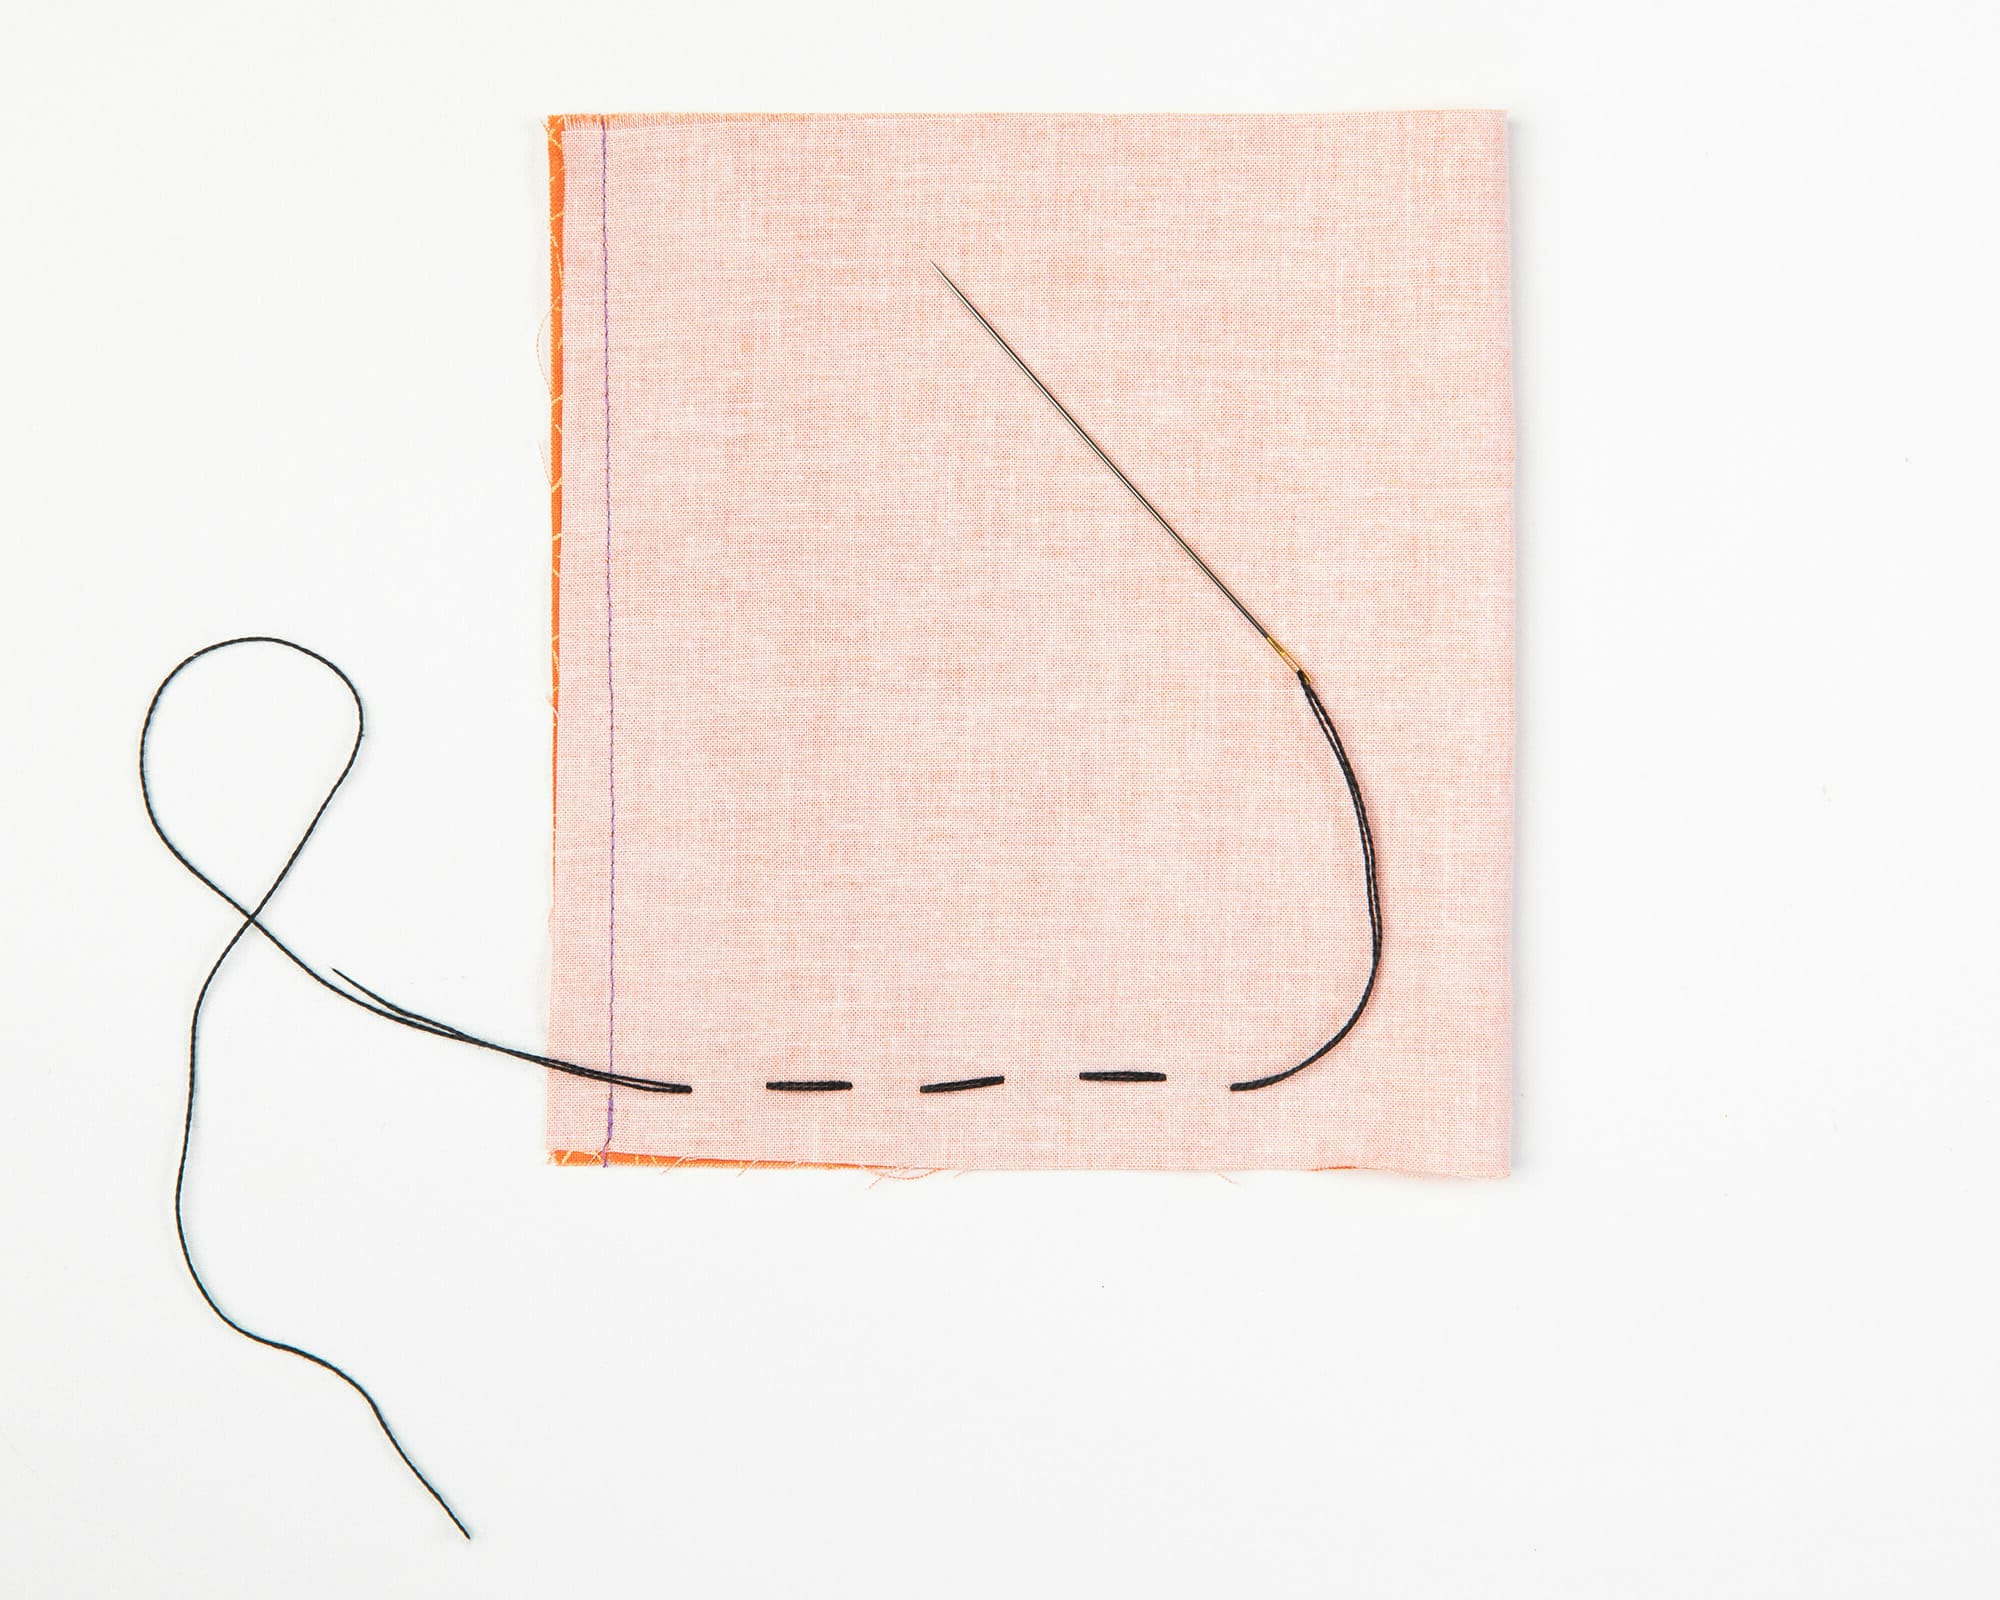
Next, we’re going to sew the bottom of the pumpkin closed. Grab your darning needle and load it up with about 12″ of the Perle Cotton thread. Along the bottom edge, start stitching 1/2″ away from the edge, with a stitch every 1/2″ or so – nice big, wide stitches to create a gathered bottom edge:
Once you’ve stitched through the entire bottom edge, you’re going to cinch it nice and tight (it’s why I recommend the thicker thread here, so you can really pull those gathered stitches together). You should have something that looks like this:

Turn your pumpkin right side out.
Now you get to start stuffing! Take your poly fill and start cramming it in there, really making sure you get deep in those gathered crevices at the bottom. The more you stuff the pumpkin, the tighter it will look at the end.
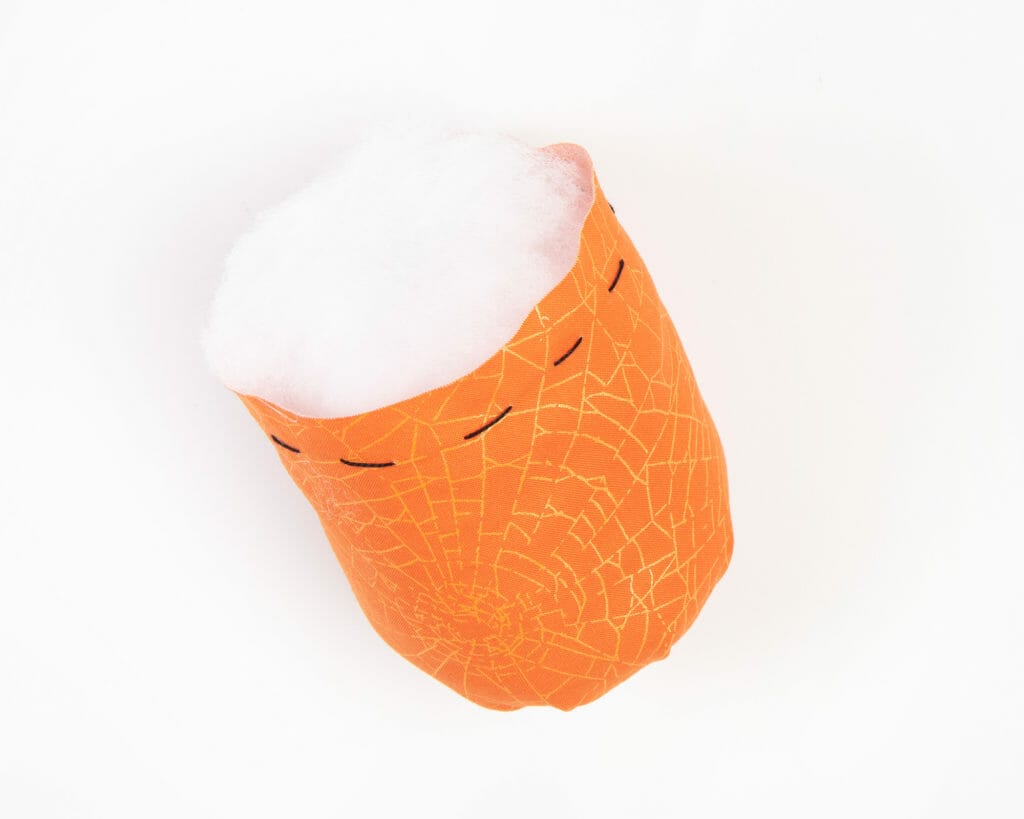
Next, you need to gather the top edge. Load up your darning needle with a long piece of thread – I tie off the top and then create the ribs with the same piece of thread, so it’ll need to be long enough to create the indentations. Mine ended up being about 30″ for a 12″ x 6.5″ pumpkin. Just like you did before, you’re going to create 1/2″ wide stitches about 1/2″ away from the fabric edge. It should look something like this:
Now you’ll need to cinch the top closed. This can be a bit tricky, especially if you’ve really stuffed this little pumpkin! Start by pulling it tight and start your knot – just one crossover of your thread – and pull it even tighter. This will make it easier to finish your knot and keep it taut.
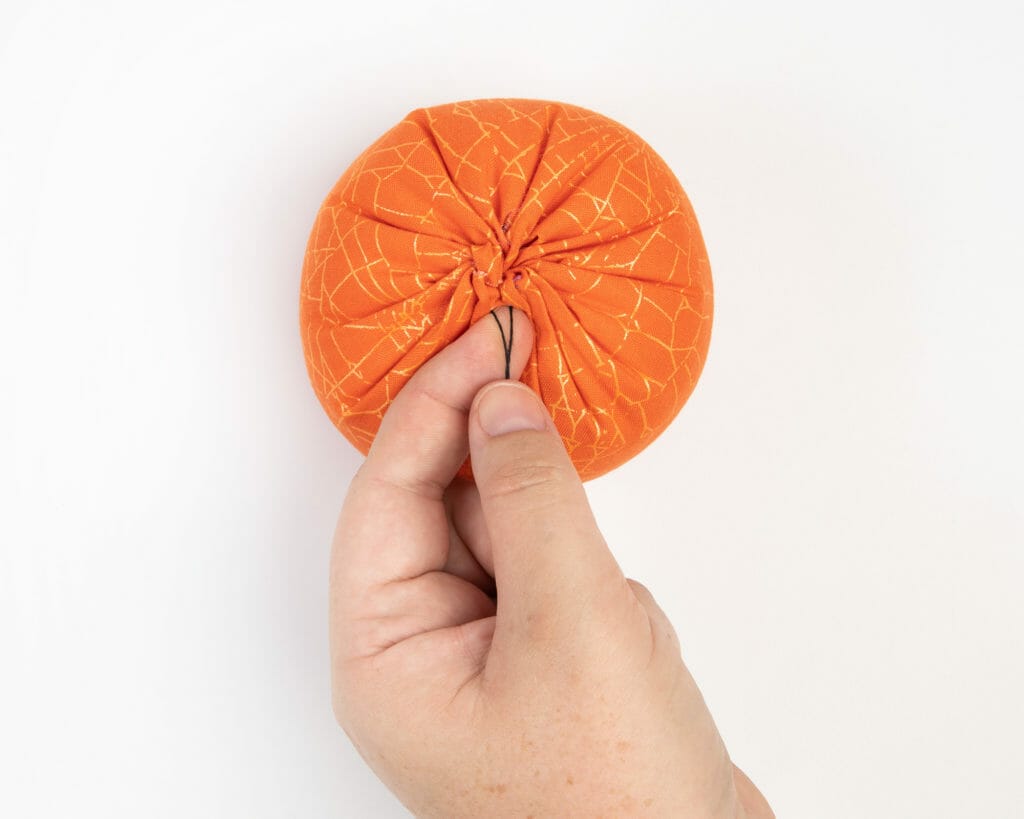
As you’re pulling it, start tucking in the top gathered seam into the opening. I like to use the end of a pen or the Purple Thang (the best multi-use tool ever!) to push those gathered edges inside the pumpkin. Tie it off as taut as you can, but don’t worry too much if it’s got a teeny little opening left at the top – this is where you can put your stem and no one will ever know! 😉 Leave a nice tail too, this is where we can tie off our thread at the end of the tutorial.
Then, we create the ribs. I like 5 of them evenly spaced throughout, but I tried 4 and 6 ribs: both looked cute! Take your darning needle and punch it down the center of your pumpkin.
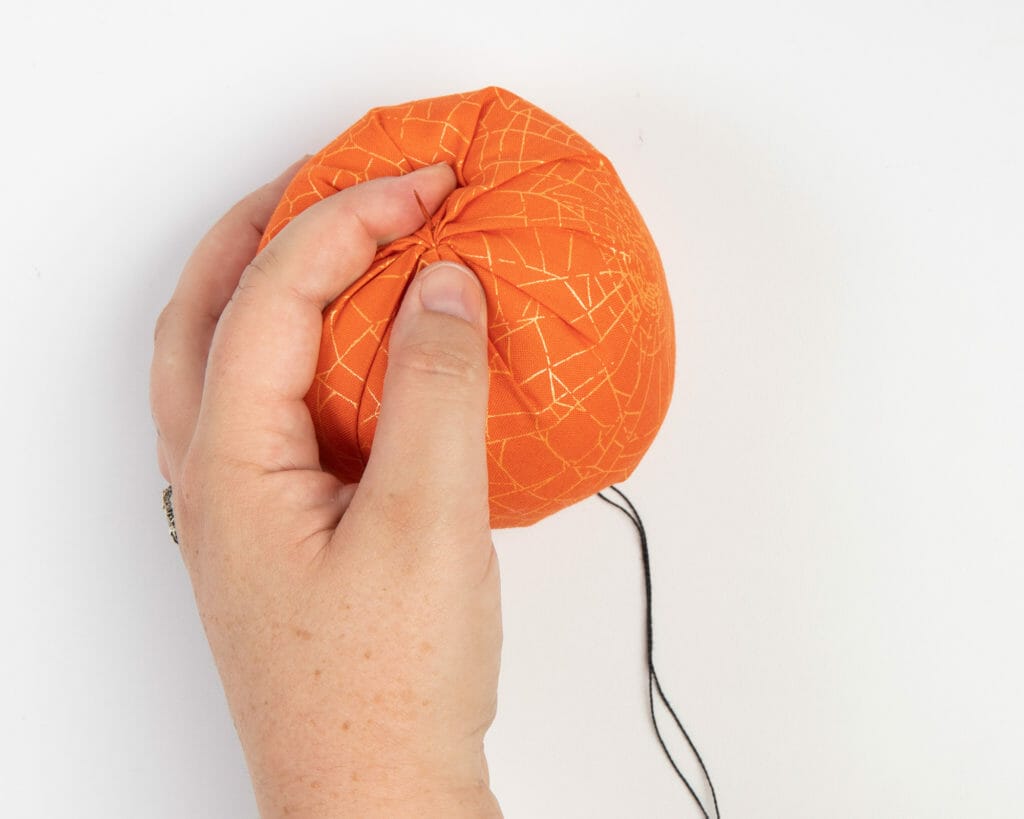
If you have a tall pumpkin with a shorter needle, you may need to squish it:
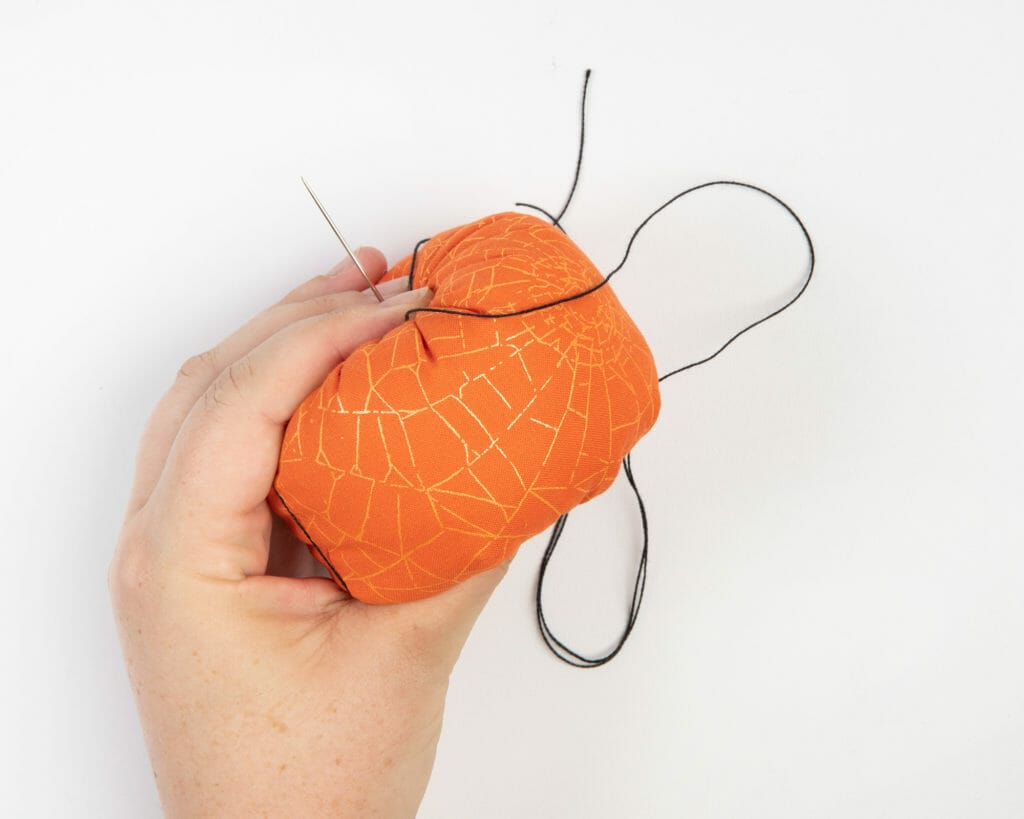
I like to use a rubber thimble (like these) or a rubber needle gripper to help pull the needle through the pumpkin. Pull it taut, then thread it through the opposite end again. Repeat this 3 more times until you have 4 ribs. On the fifth rib, tie off your thread with the leftover tail. I like to thread my needle through a notch at the opposite end of the pumpkin to help stabilize my knot when I tie it off. Grab the leftover thread – cut it off or tuck it into the pumpkin.
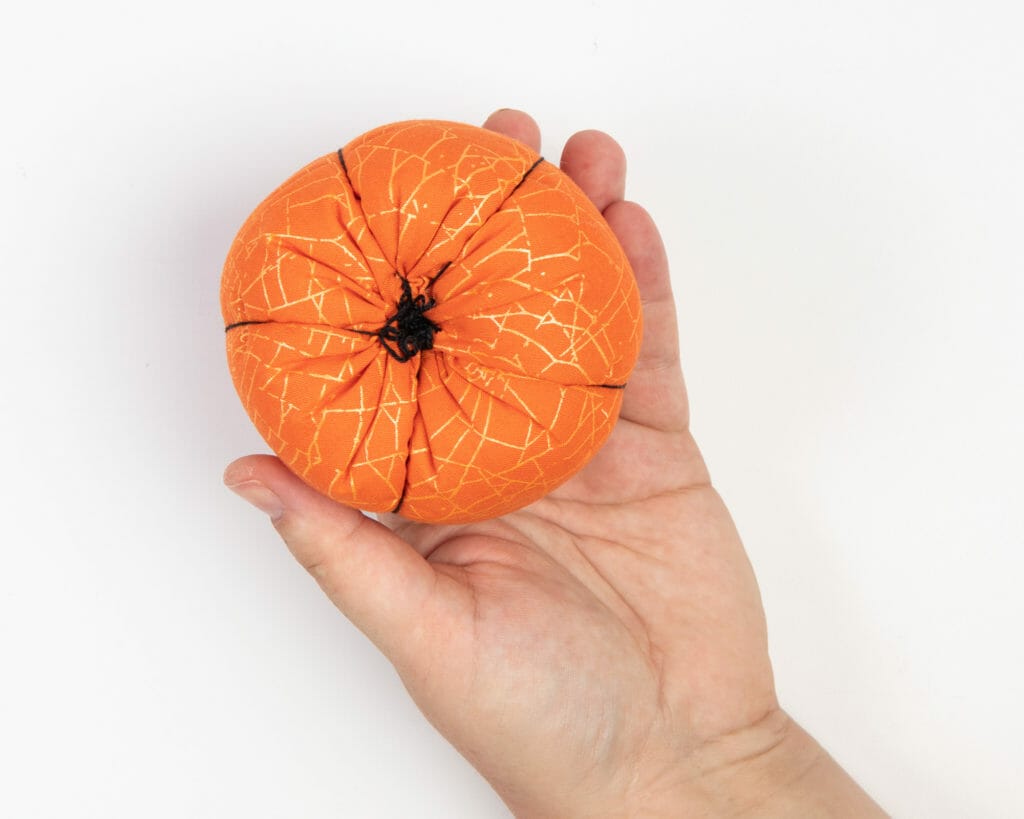
Next, we create the stem. If you’re using a cinnamon stick, just cut it to size and wedge it into the top of your pumpkin. You can add some liquid fabric glue here to stabilize it, or not: I had success with the stick staying on with both methods.
To create a flannel stem, cut off a 1.5″ strip of the edge of your 10″ layer cake square. I love the 10″ Woolie’s Flannel square because of the pinked edge: it looks so great as the top of the stem! You can also cut a piece of flannel or felt to 1.5″ x 10″.
On the wrong side, add a little glue to one end.
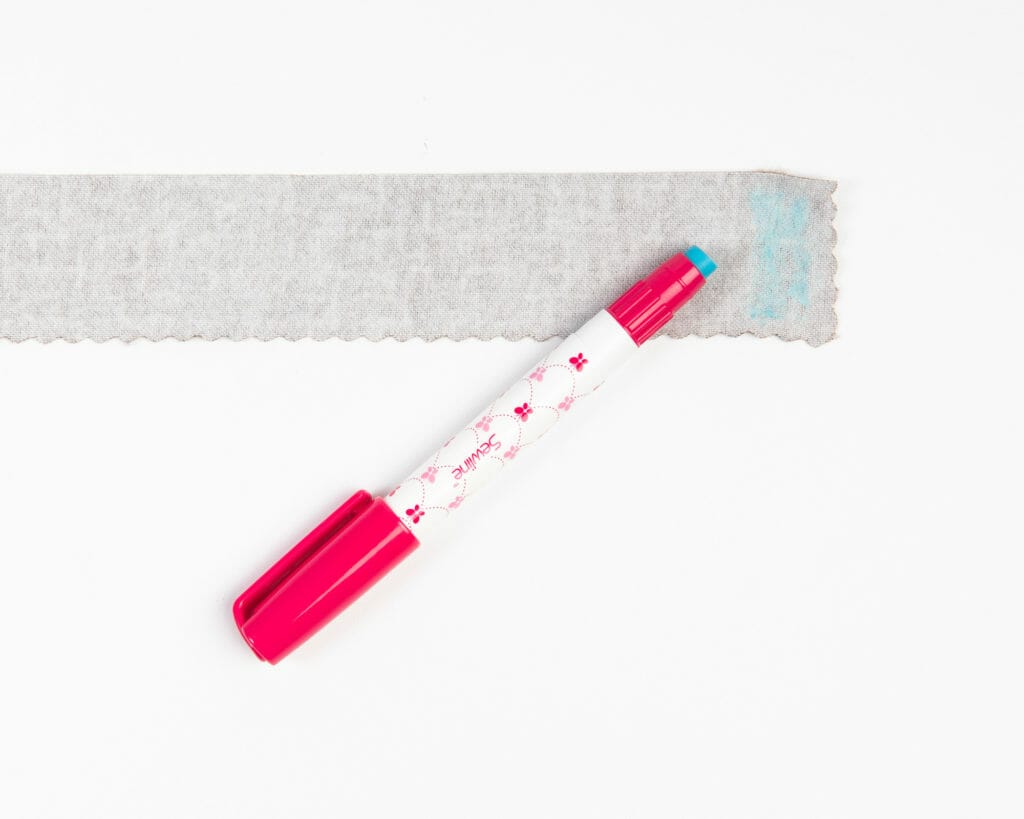
Fold over a little edge and press it down.
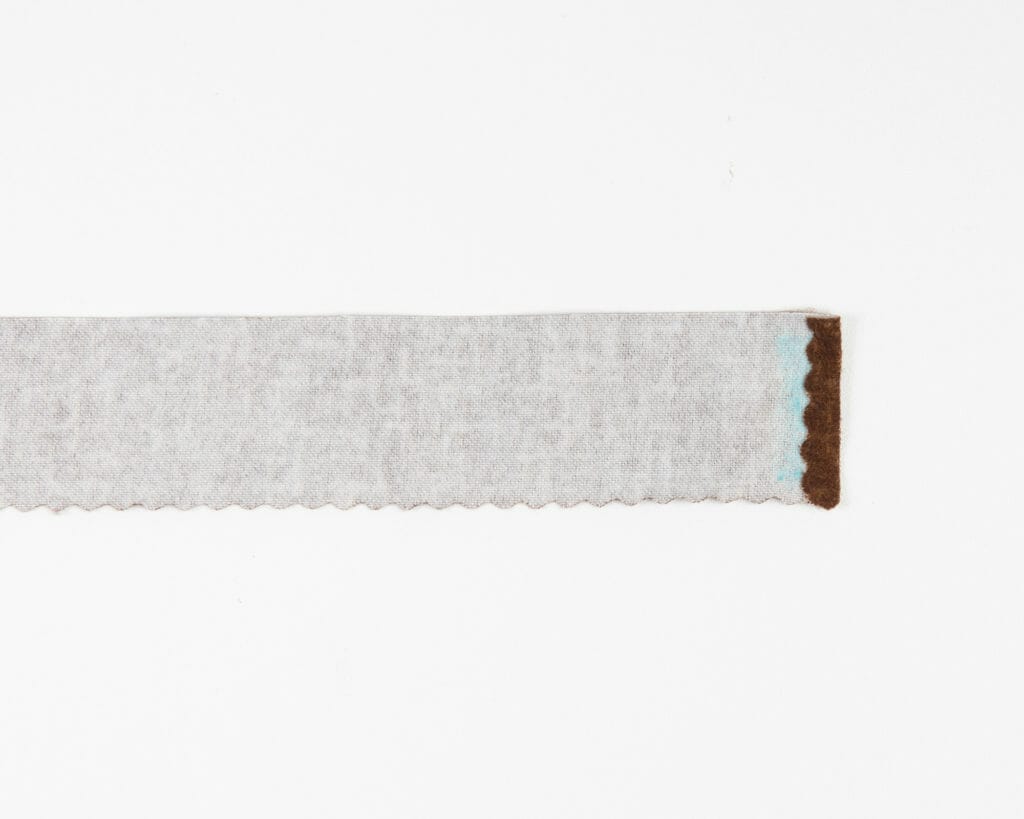
Now I like to glue a little bit, roll a little bit, then rinse and repeat until it’s about the size I want. Cut off any excess fabric, add some glue to the end and roll it around the edge.
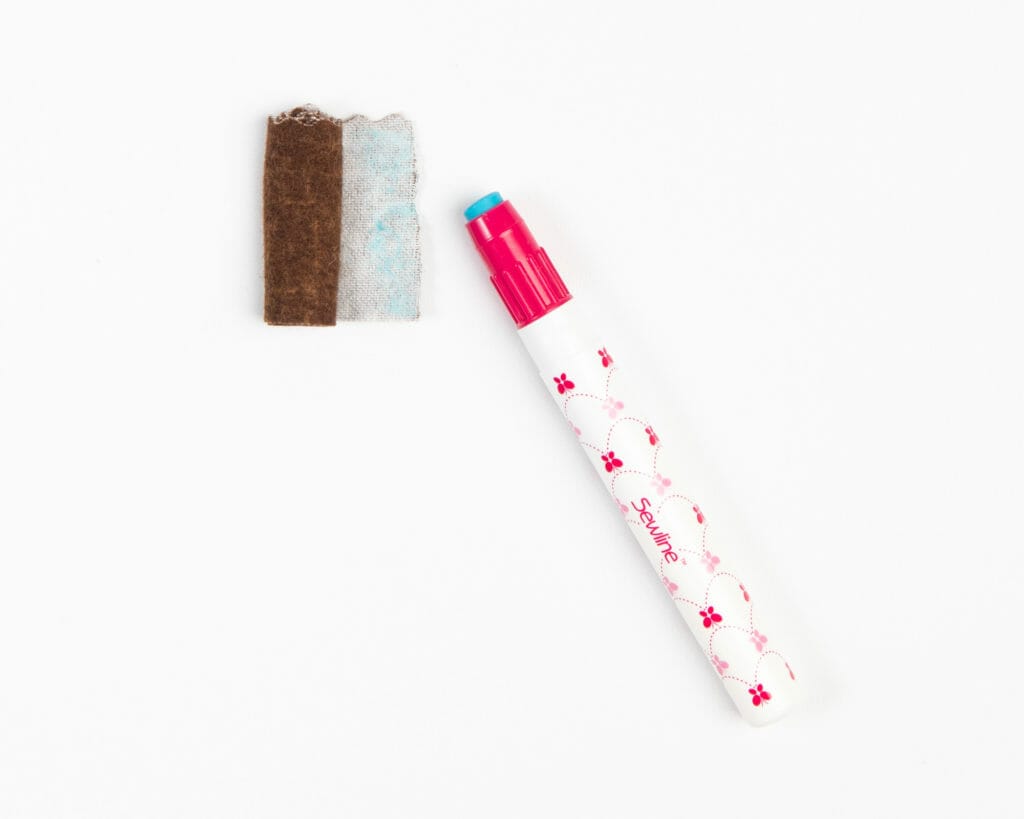
Take your scissors and cut a small V shape at the bottom of the stem: this really helps you nestle the stem into the center of the pumpkin. It’ll look something like this (now is the time to shorten your stem if you think it’s too tall!):
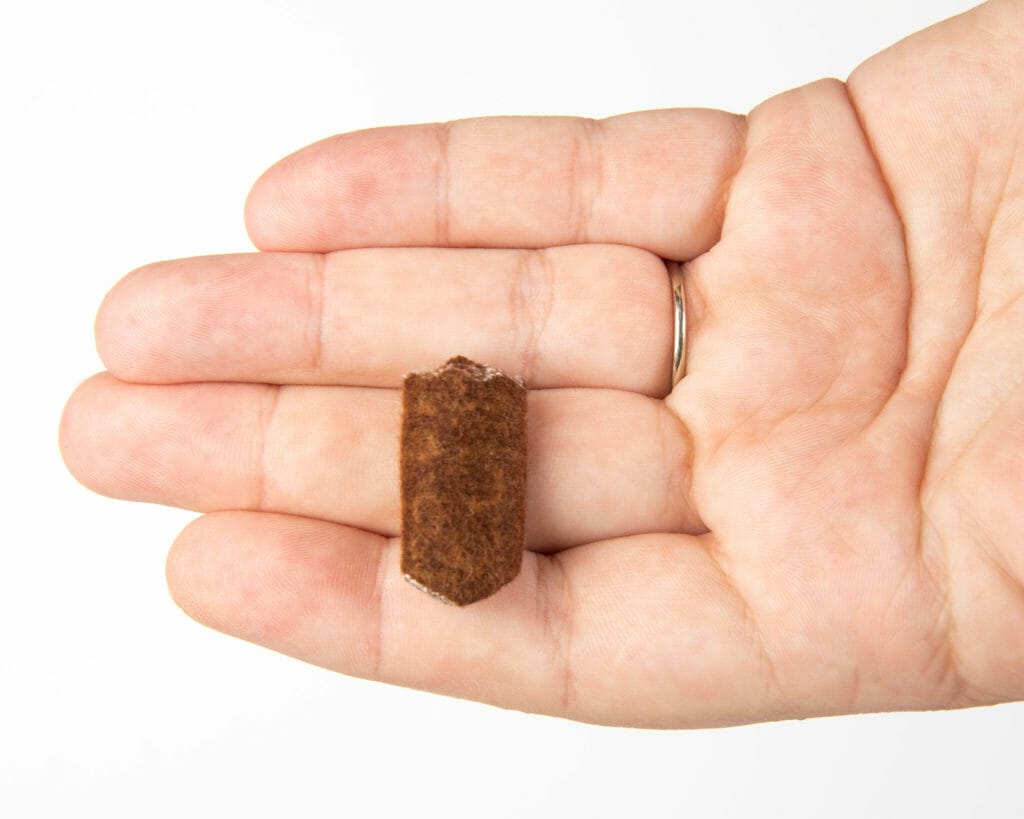
Add some fabric glue to the bottom of the stem and put it in the top center of your pumpkin. You’re done!
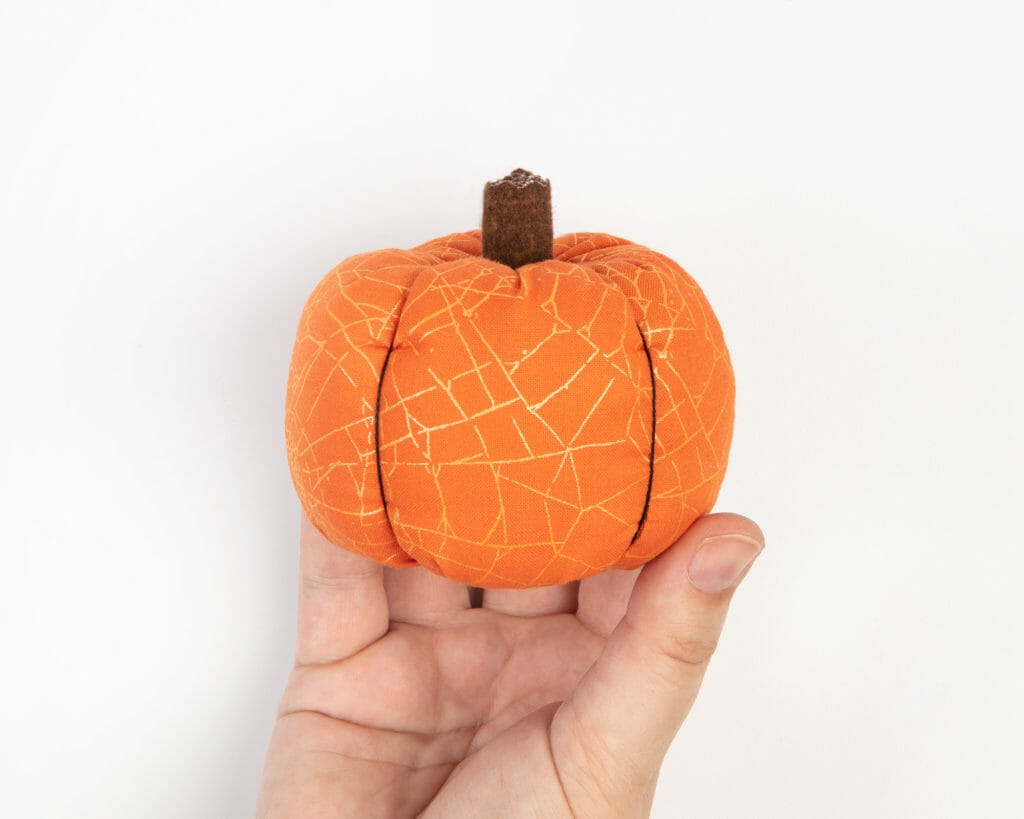
Congrats, you made an adorable fabric pumpkin! If it’s a little wonky, it’s easy to adjust: you can move around the stuffing and modify the position of the ribs.
We can’t wait to see what combinations you come up with and don’t forget to tag us on Facebook and Instagram so we can see your creations! Happy Halloween! 🎃


 Tutorials

