Tutorials
 3.30.2023
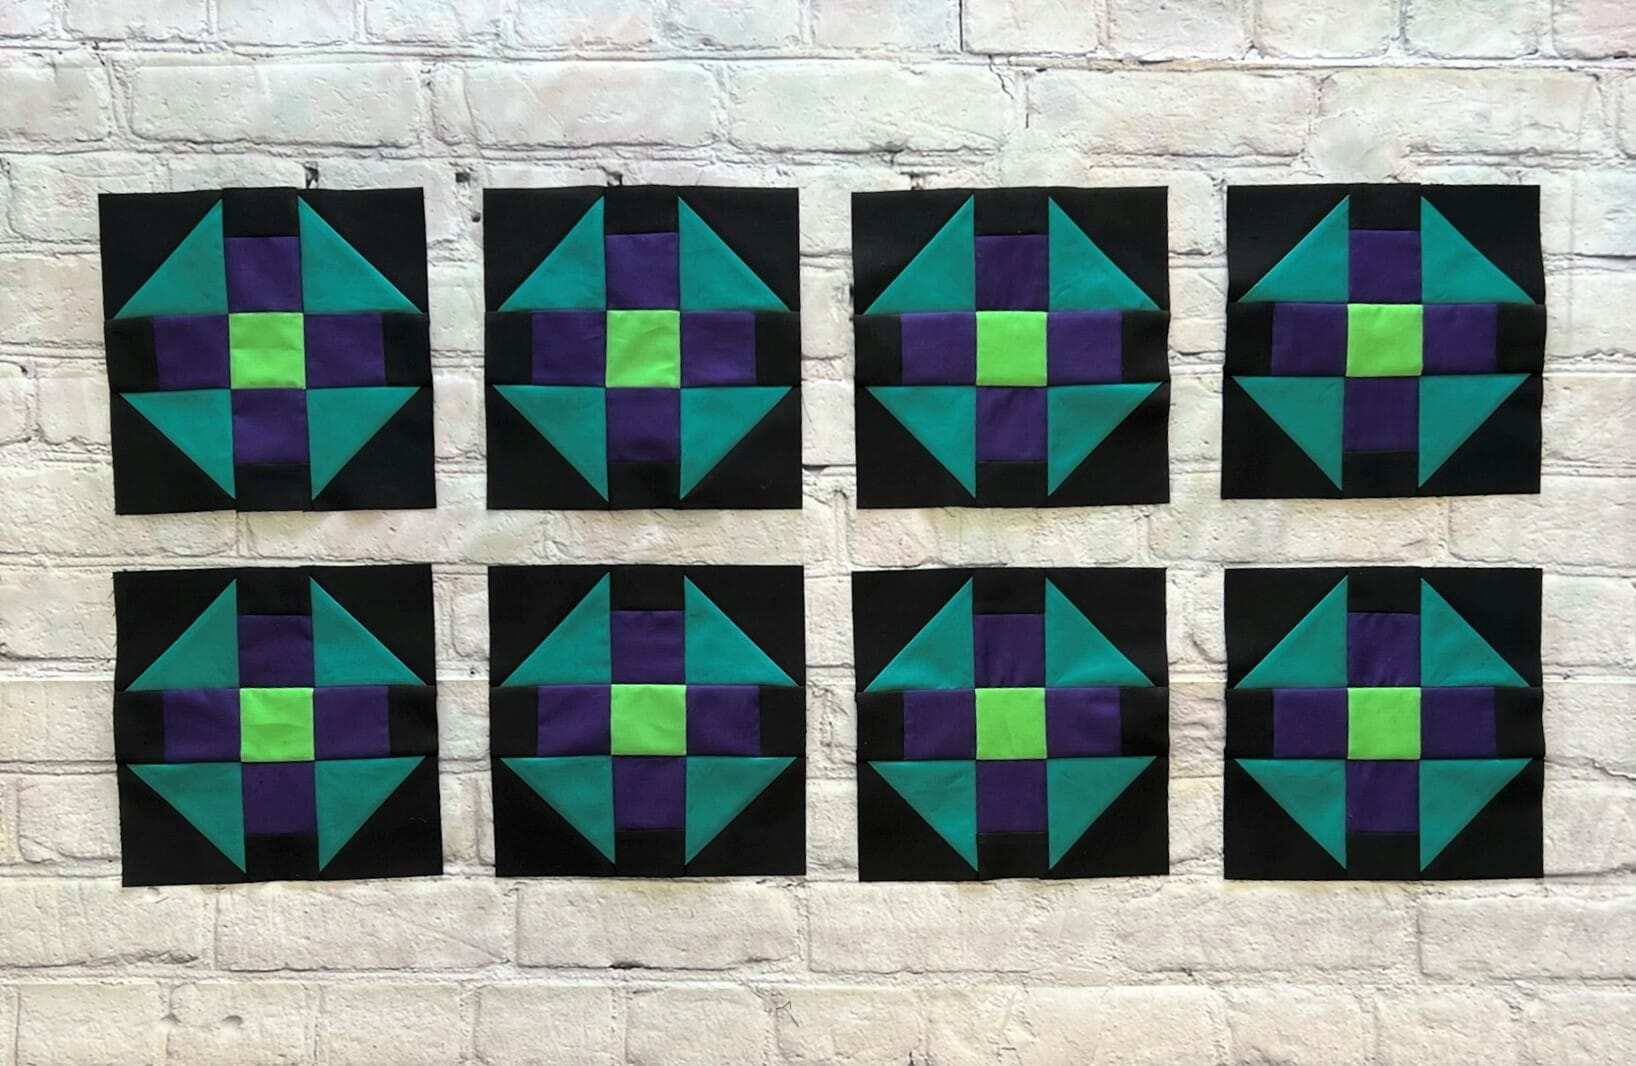
NOTE: these blog posts for the Aurora quilt top are part of a limited series for our Block of the Month subscription program. Sign-ups for the Aurora BOM are no longer available. You can learn more about our upcoming Block of the Month subscriptions here.
Hello Friends!
I have loved seeing so many Facebook posts with you all sharing your sewing for our first month. Please keep it up!
I know we started things off with some challenging sewing and piecing, but from what I can tell, you all handled it like champs! Soo… this month you will get a little bit of a breather. In fact, The eight Churndash style blocks we’ll be making are so simple, you almost don’t even need a tutorial… but you’re getting one anyway, lol!
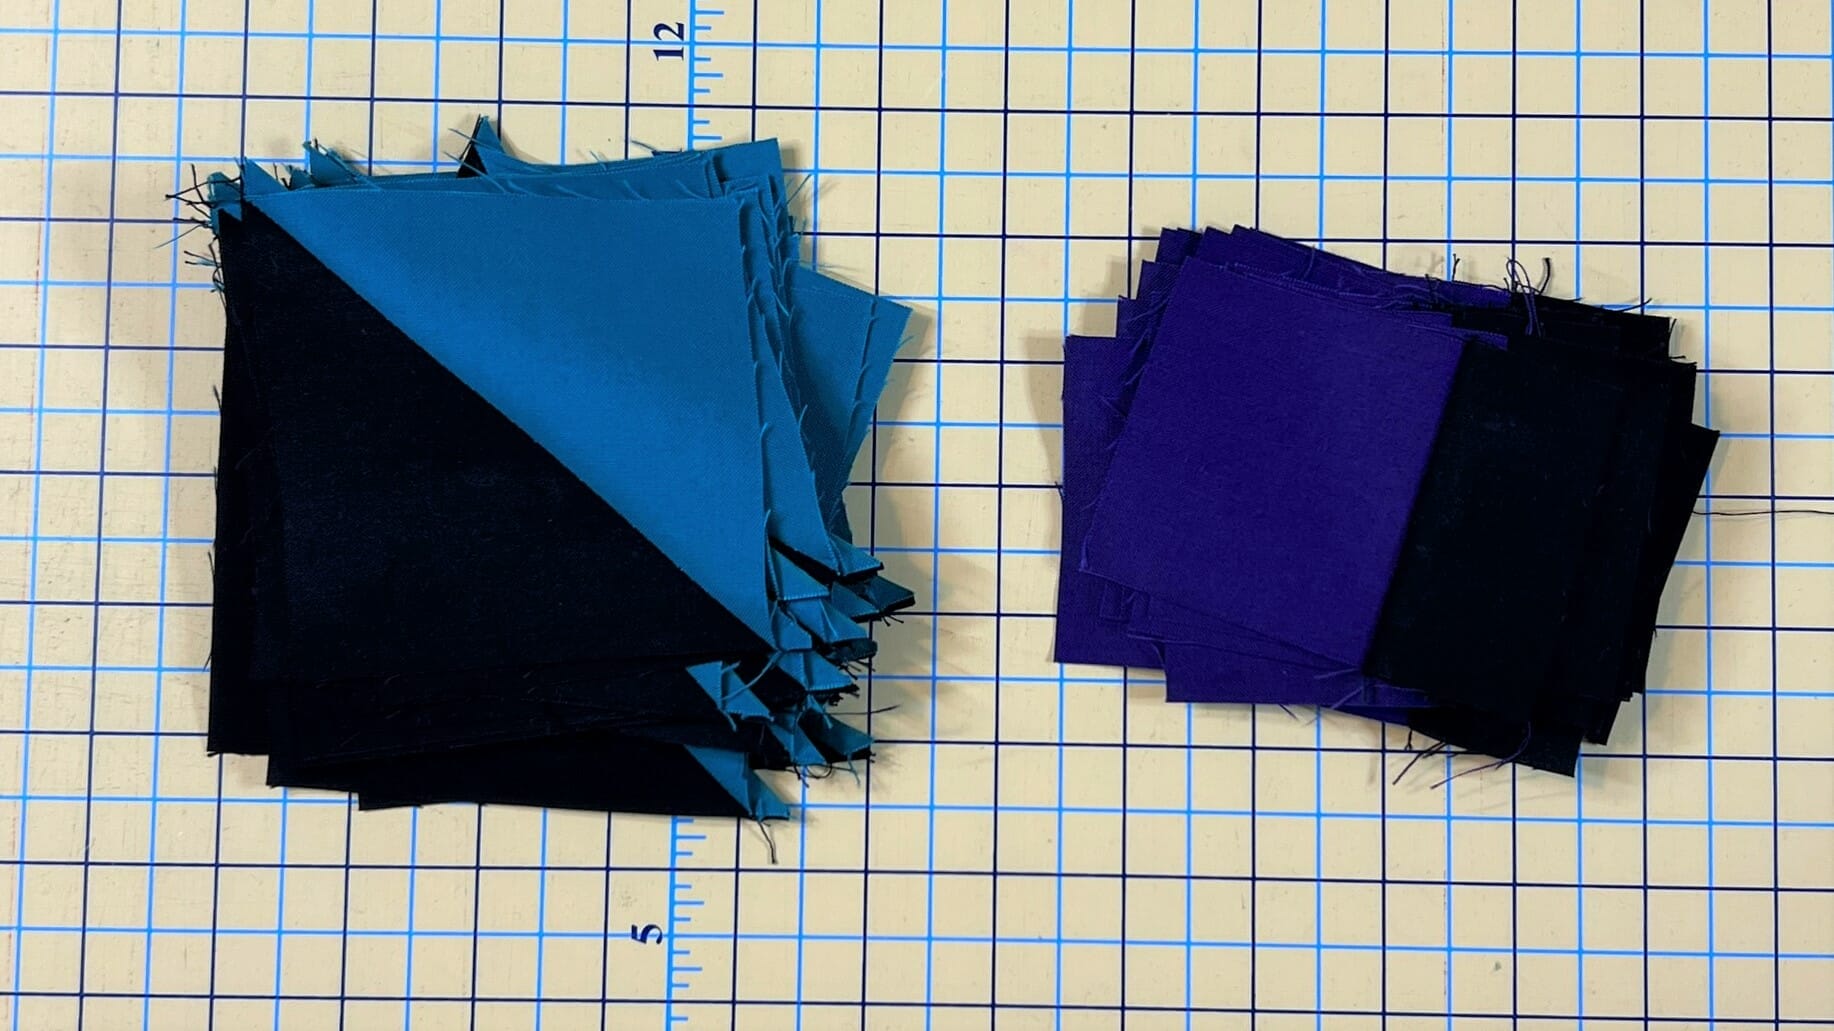
We’ll begin by making some HSTs – 32 to be exact. Remember, the cutting instructions are mathematically correct, but you can cut your squares a bit bigger at the start, and then give yourself some wiggle room to trim at the end.
I’m sure you’ve all made these a million times, but here’s a couple photos anyway: Also, for some reason my photos this month have a lot of variation in color hue. I tried to fix them, but to no avail, so you’ll just have to bear with me! My photoshop skills are not as proficient as my quilting skills.
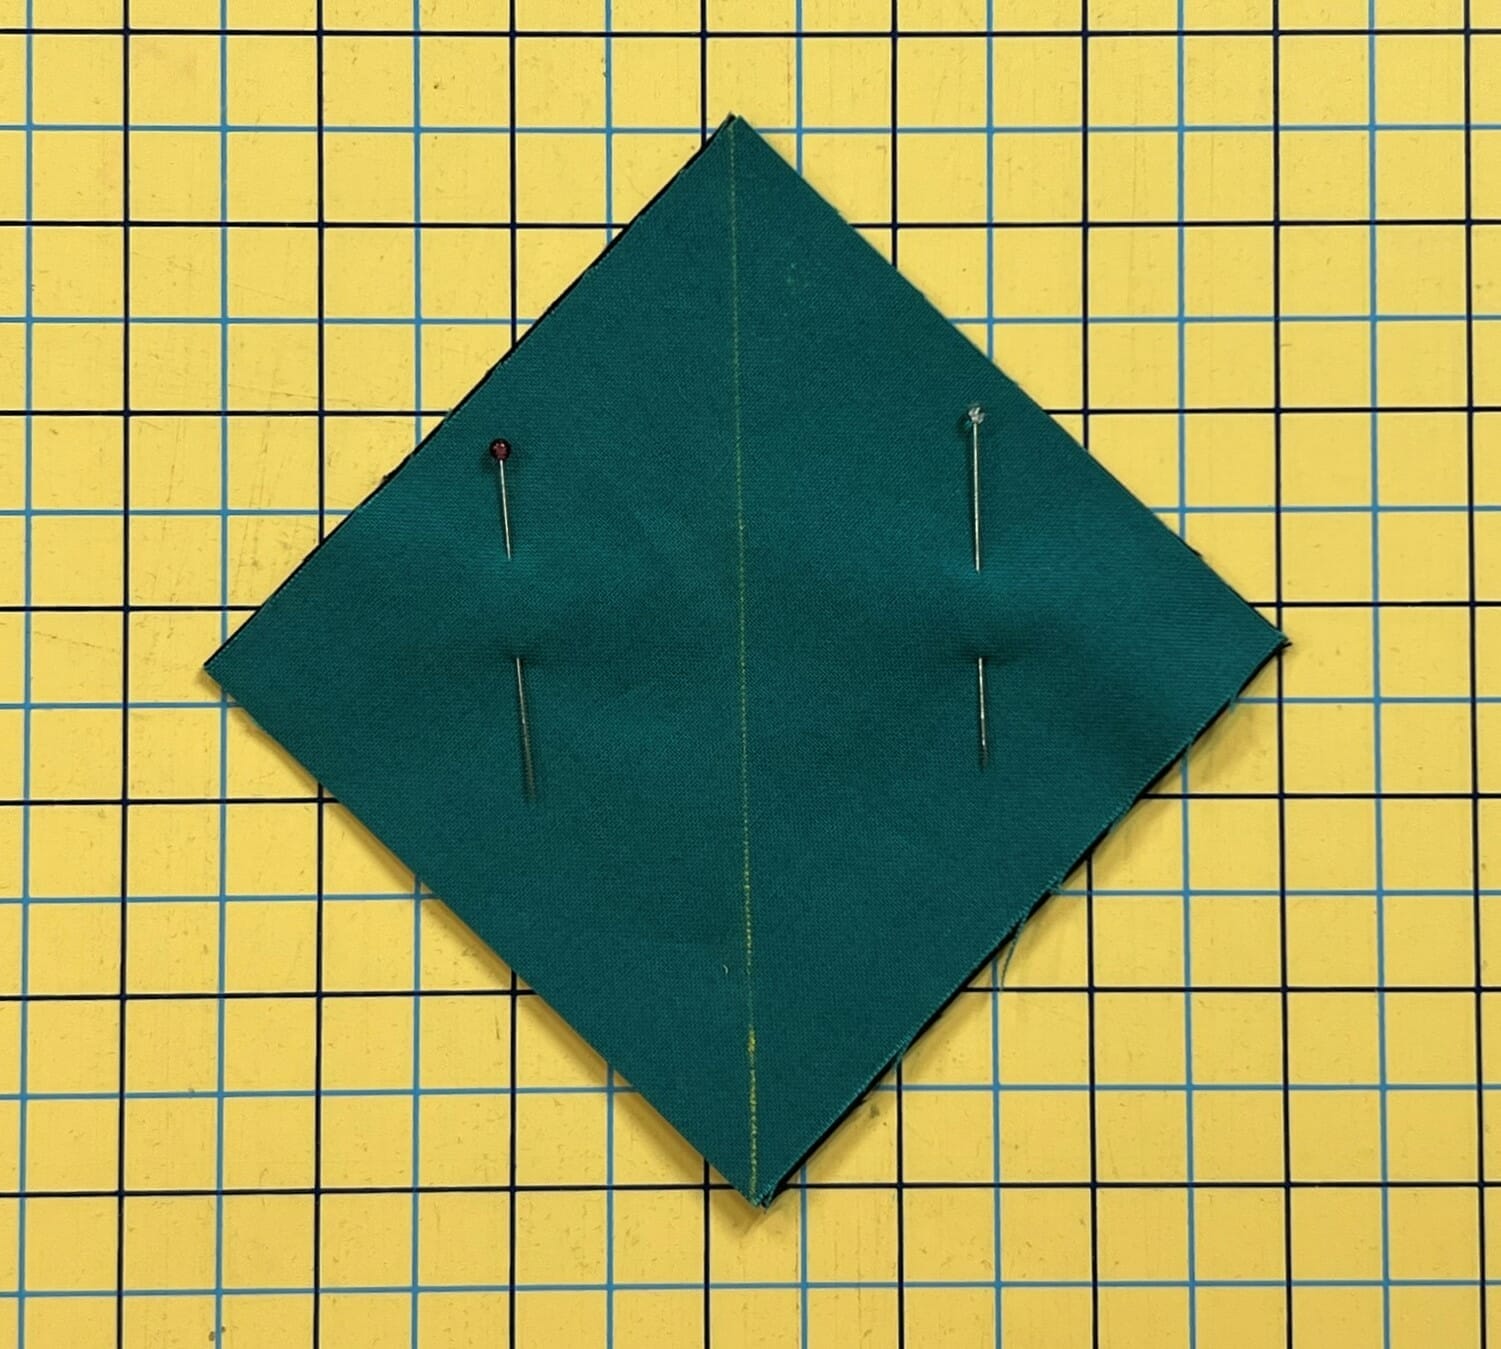
Here’s my messy stack of squares, with the seams sewn on both sides and ready to cut down the middle.

Once they are done and pressed, it’s time to trim. I like to trim things on a rotating cutting mat whenever I can. It’s not necessary, but I think it makes trimming go faster. Connecting Threads happens to sell the one I use in case any of you are interested. It’s the Omnigrid 360 rotating mat – 14 inch size. It’s fantastic because it’s lightweight, but stays put and rotates so easily.

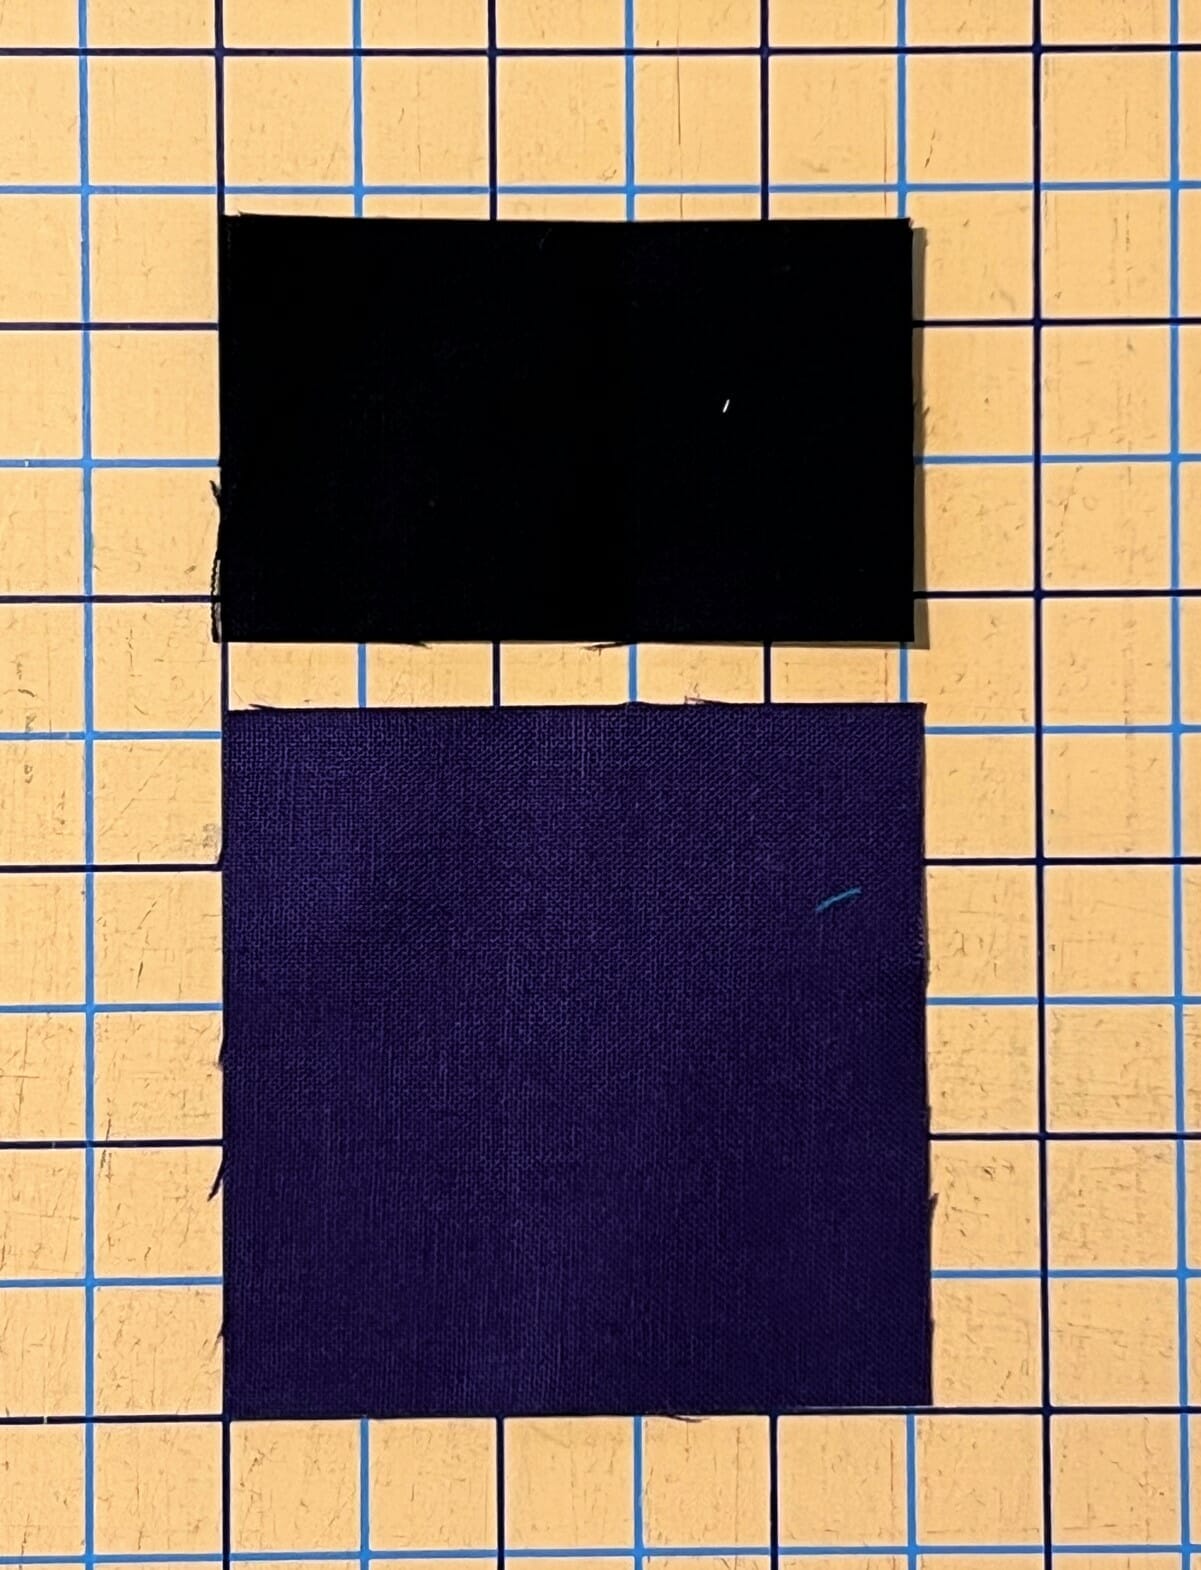
Next to make our block we sew our purple and black rectangles together like so. I did some assembly line piecing, so these got sewn up at the same time as my HSTs.
And now all we have to do is put all the units together. I think I’ve said this a lot in the past, but I ALWAYS lay out my blocks – every single one – before I begin pinning and sewing. I’ve learned that if I don’t, I end up having to rip at least one or two things out, which makes me a little grumpy. Even as simple as these blocks are, I know I would inevitably turn a triangle or rectangle the wrong way. So it’s just what I do!
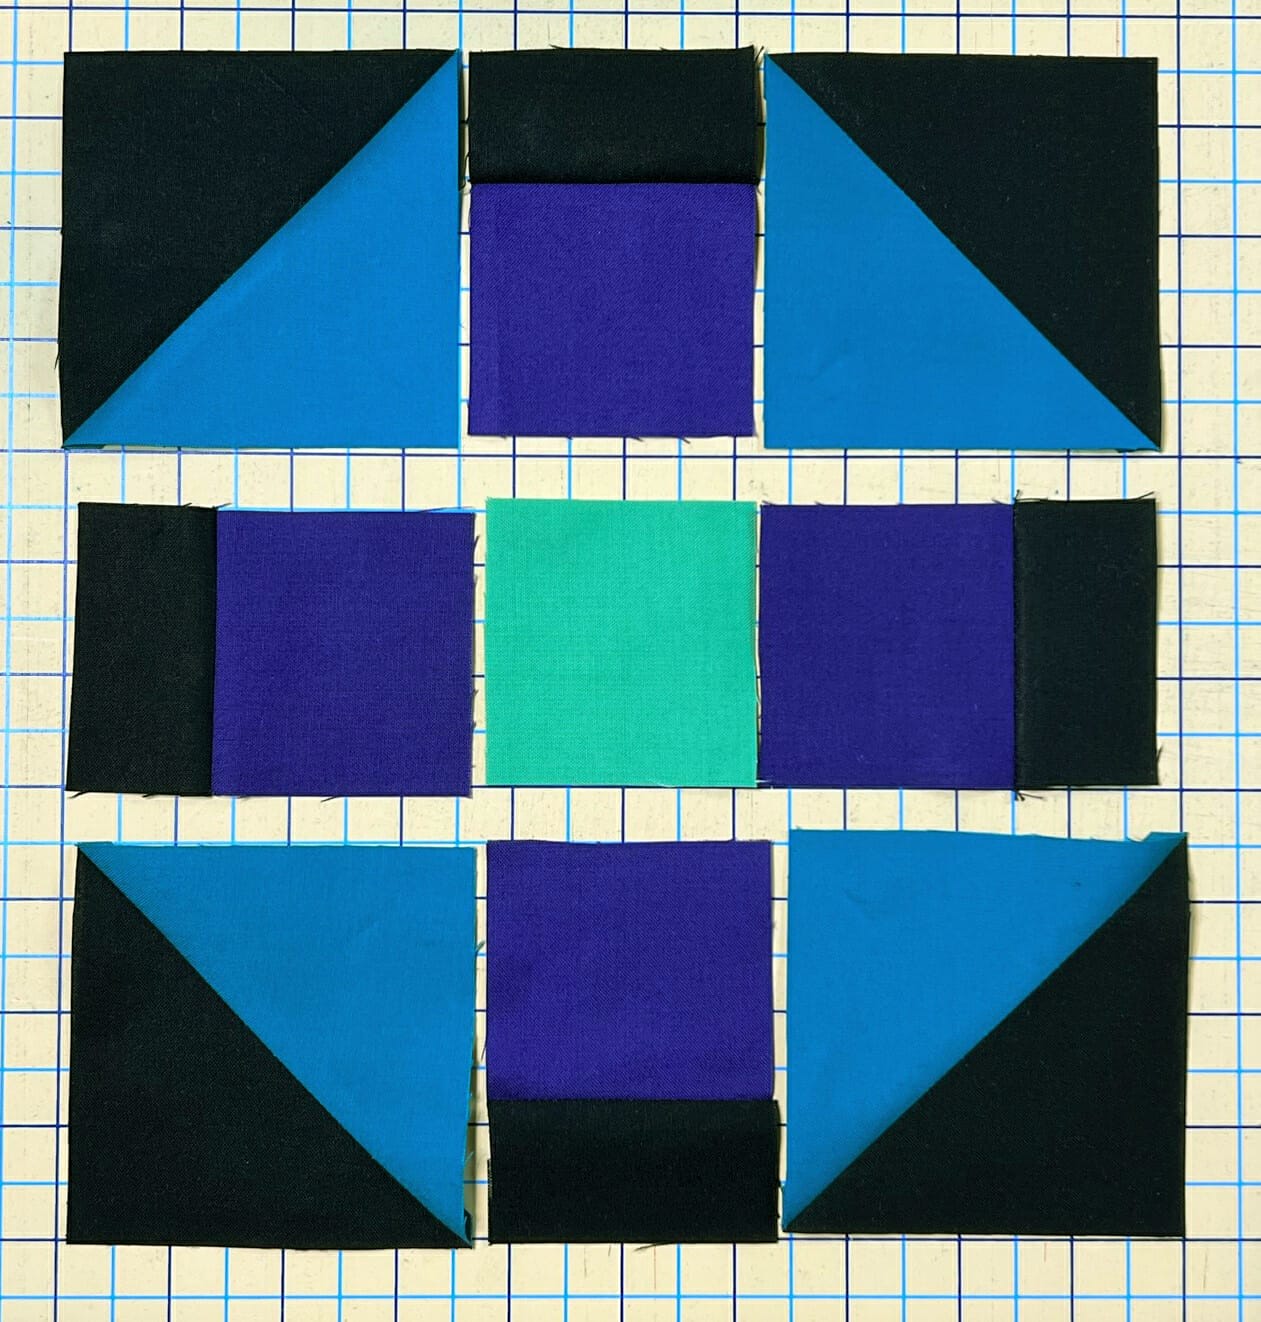
To finish, I sewed each of the three rows for the block, and then sewed those rows together like so:

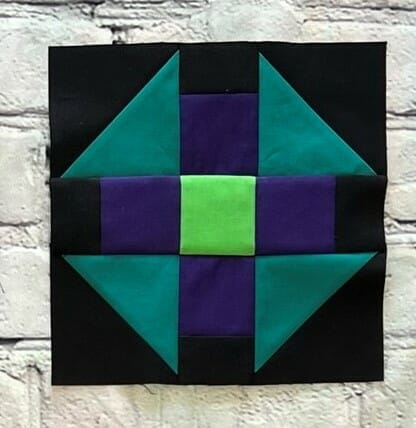
And that’s it! Easy-peasy, right?! Next month we’ll sew a few more blocks for this inner border before moving on to put everything together down the road.
Thanks for checking in, and Happy Quilting!
Kristin